Budget:
previous total: 2457.70
Purchase price: 2250
Timing belt kit and lower radiator hoses: leftover from last car
Black paint: 15.37 from bowers implement
Pcv, hub nuts, oil filter: 27.50 oreillys
Belts, thermostat gasket, plugs: 45.19 advance
Front hubs, amazon: 44.80
Radio harness 4.50 amazon
Air filter 12.14 amazon
Thermostat 7.80 amazon
Upper radiator hose 11.60 amazon
NGK plug wires 29.98 amazon
Valve cover gasket 8.82 ebay
8 inch speakers, baffles, and headrest speakers from parts express: 37
Tweeters: 10.50 amazon
Sound deadening: free!!!
Tires, simpletire.com: 112
Left rear suspension and air guide and subframe brace: 205
Battery: 111
Gauge rings: 40.19
Brake pads, rockauto: 23.11
Tire mount and balance: 40
Project total: 3036.50
So, 500 miles later update!
First, I had a battery die. When I went to replace it, I found that the negative cable terminal was only there due to gravity. Completely broken. Looked around the shop, grabbed the closest thing I had. A;so, grabbed an interstate to replace what was in there. I didn't take a picture though. Negative cable is now a 2 gauge cable from the battery to the first body ground about 5 inches away. Severe overkill, but free!
Then, we worked on figuring out of the car is too bent to save. So I started at my buddy bills frame rack at the body shop. He couldn't see it, so he sent me to the alignment shop across town. They took a look at it and determined it was a bent subframe, but was only showing on the drivers side. In calling around to some spec miata racers, forum posts, and a hunch it wasn't a subframe, I kept thinking. I took the car to another miata specialty shop and had him look at it. He determined that the drivers side rear spindle was bent, as the long lower bolt was already recently replaced and various measurements he took. So I bought the whole drivers side rear suspension from him, as well as an air guide to replace my busted one. He also showed me how the subframe is pulled slightly out of kilter by the bent bracing back there and added the brace in on the pile. Subframe springs back when the bent brace was unbolted, and the new one lines up perfect.
[URL=http://s54.photobucket.com/user/dusterbd13/media/2000%20miata/20170326_164648_zpslmwsz873.jpg.html]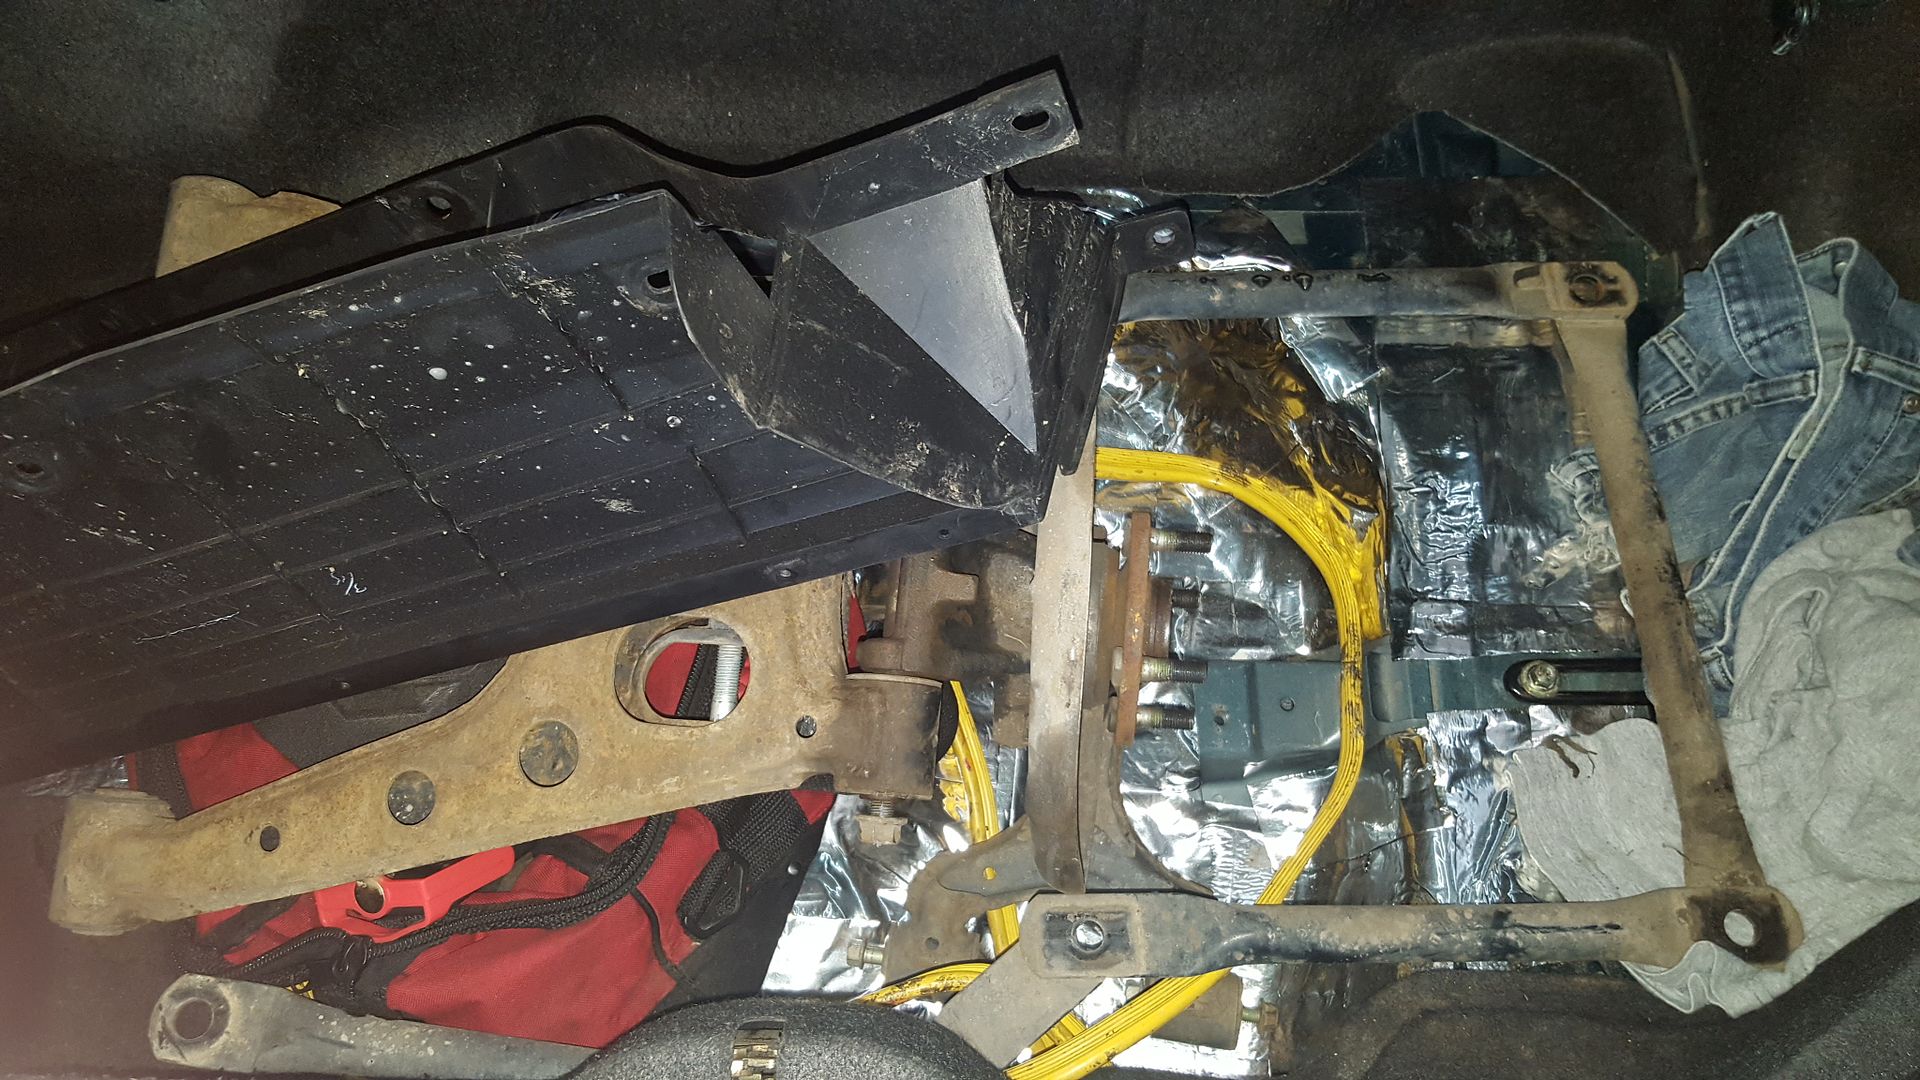 [/URL]
Now that I know the car isnt too bent to save, I went ahead and did the stereo.
I had started by putting in the pioneer head unit on the stock speakers. That lasted about 30 seconds before realizing they were blown. So I put in the infinity reference 6x8 I grabbed from the p5. These sounded great in that car, and my wife's mazda5. They SUCK in the miata. So, plan C, which is the nuclear option. Before plan c, I also tried some pioneer 6.5 component speakers that were given to me, some infinity 6.5, kenwood 6x9. Not what I was looking for anywhere.
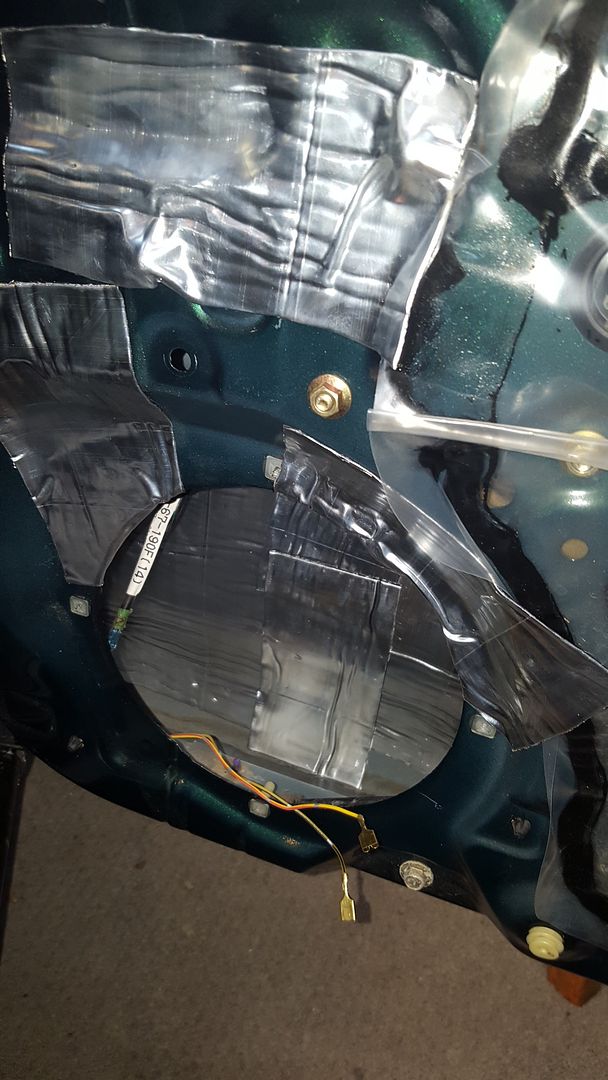
I called parts express after receiving their most recent sale flier. Ordered two titan 8 inch woofers, 4 2.5 inch full range speakers, and 2 foam baffles for the 8s. All on closeout. Cheap. I also ordered some amazon tweeters. I had used these before in my wife's 5 as they fit the holes where the factory tweeters would have gone, and liked their sound quality and price point. So ordered them. I looked around the shop, grabbed an old half roll of peel and seal that was leftover from the wife's audio install, and sound deadened the doors.
[URL=http://s54.photobucket.com/user/dusterbd13/media/2000%20miata/20170324_193416_zpswk0mtyun.jpg.html]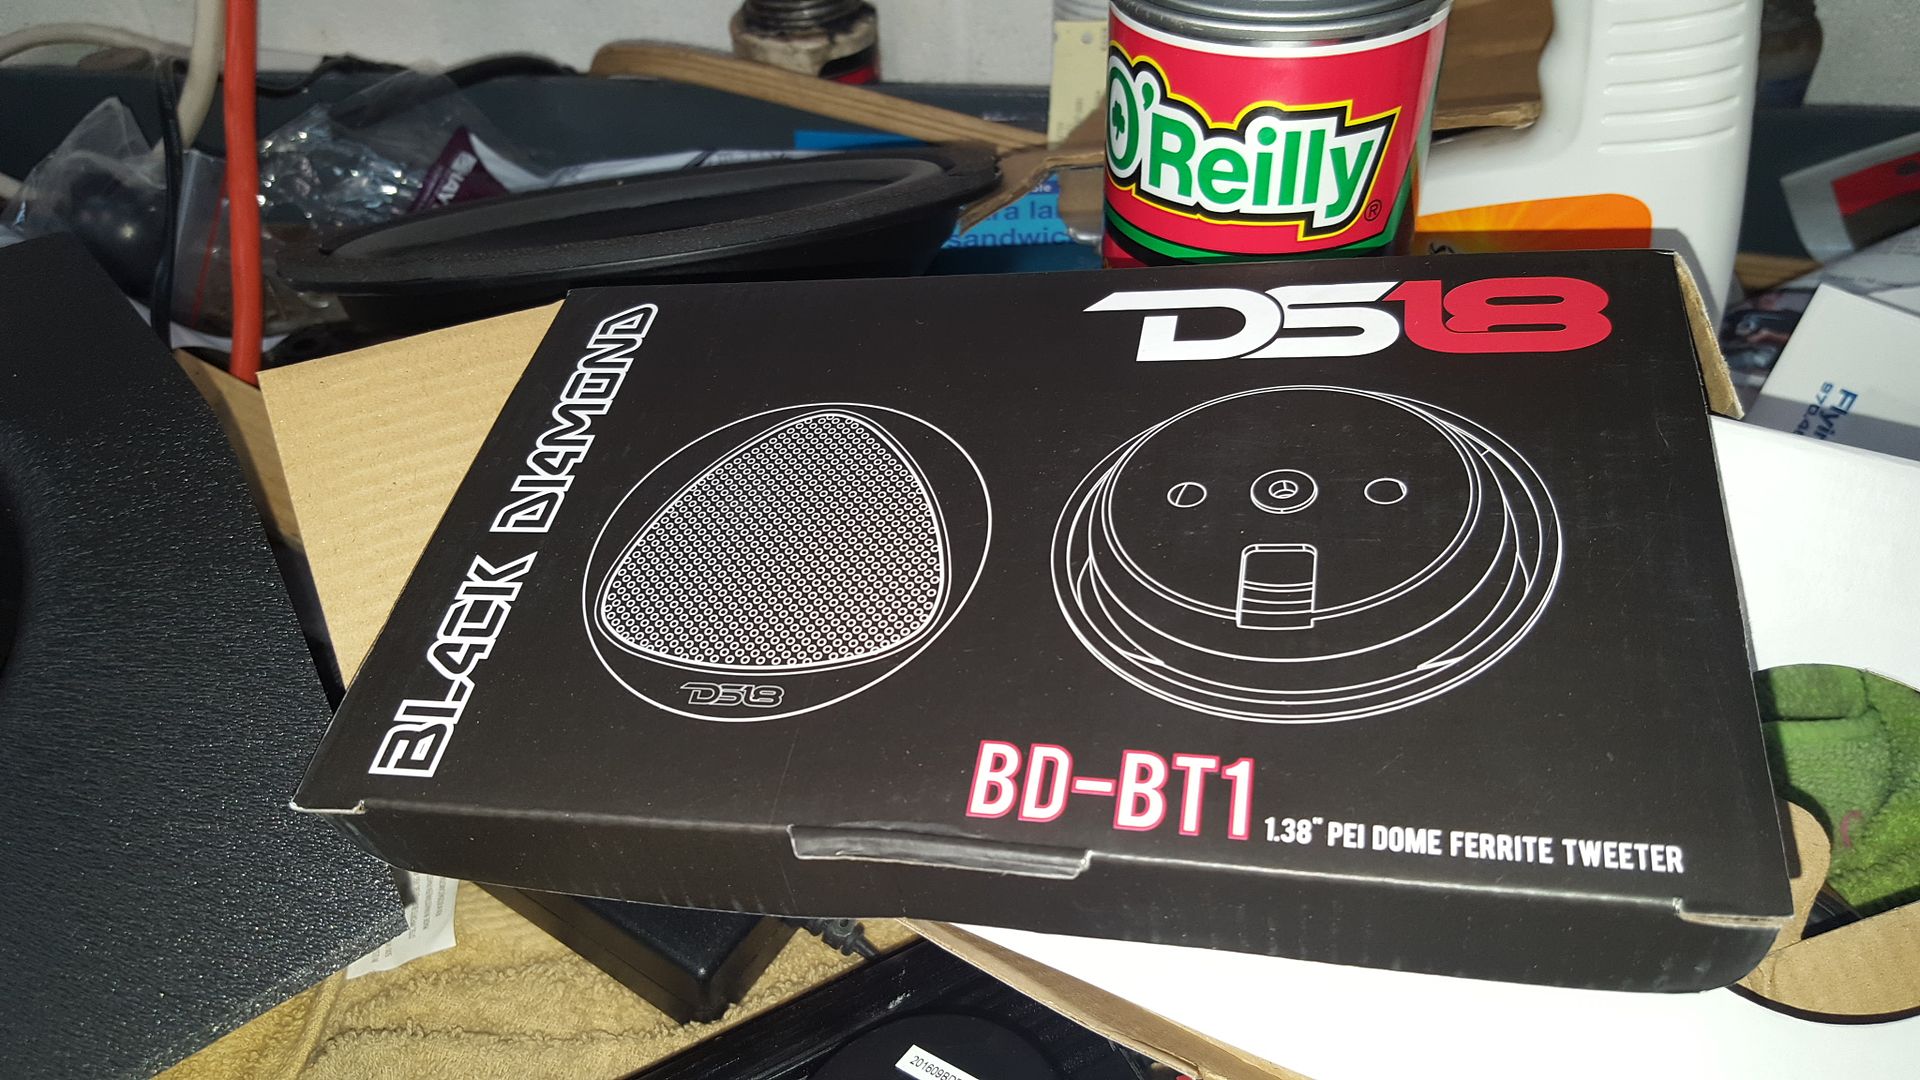 [/URL]
[URL=http://s54.photobucket.com/user/dusterbd13/media/2000%20miata/20170323_202836_zpscjpohtza.jpg.html]
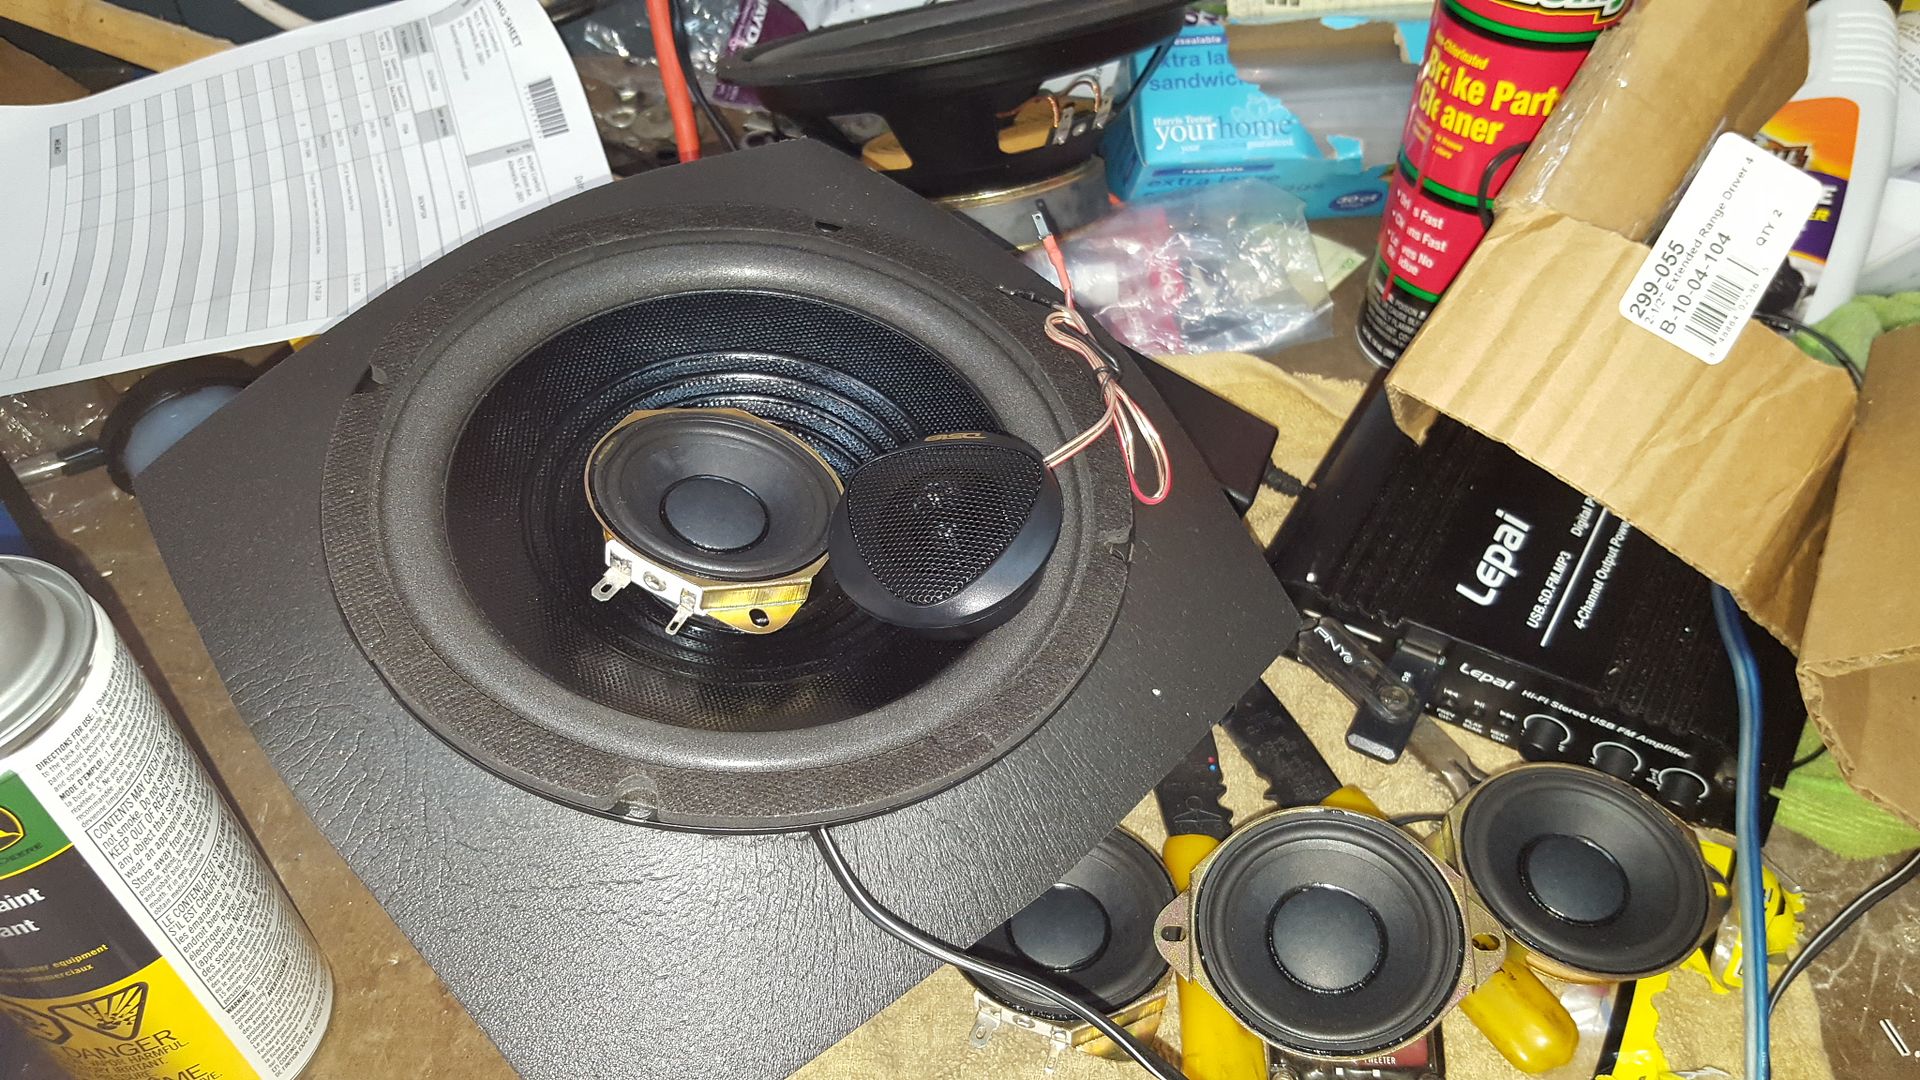 [/URL]
[URL=http://s54.photobucket.com/user/dusterbd13/media/2000%20miata/20170323_202848_zpsrf8drgmw.jpg.html]
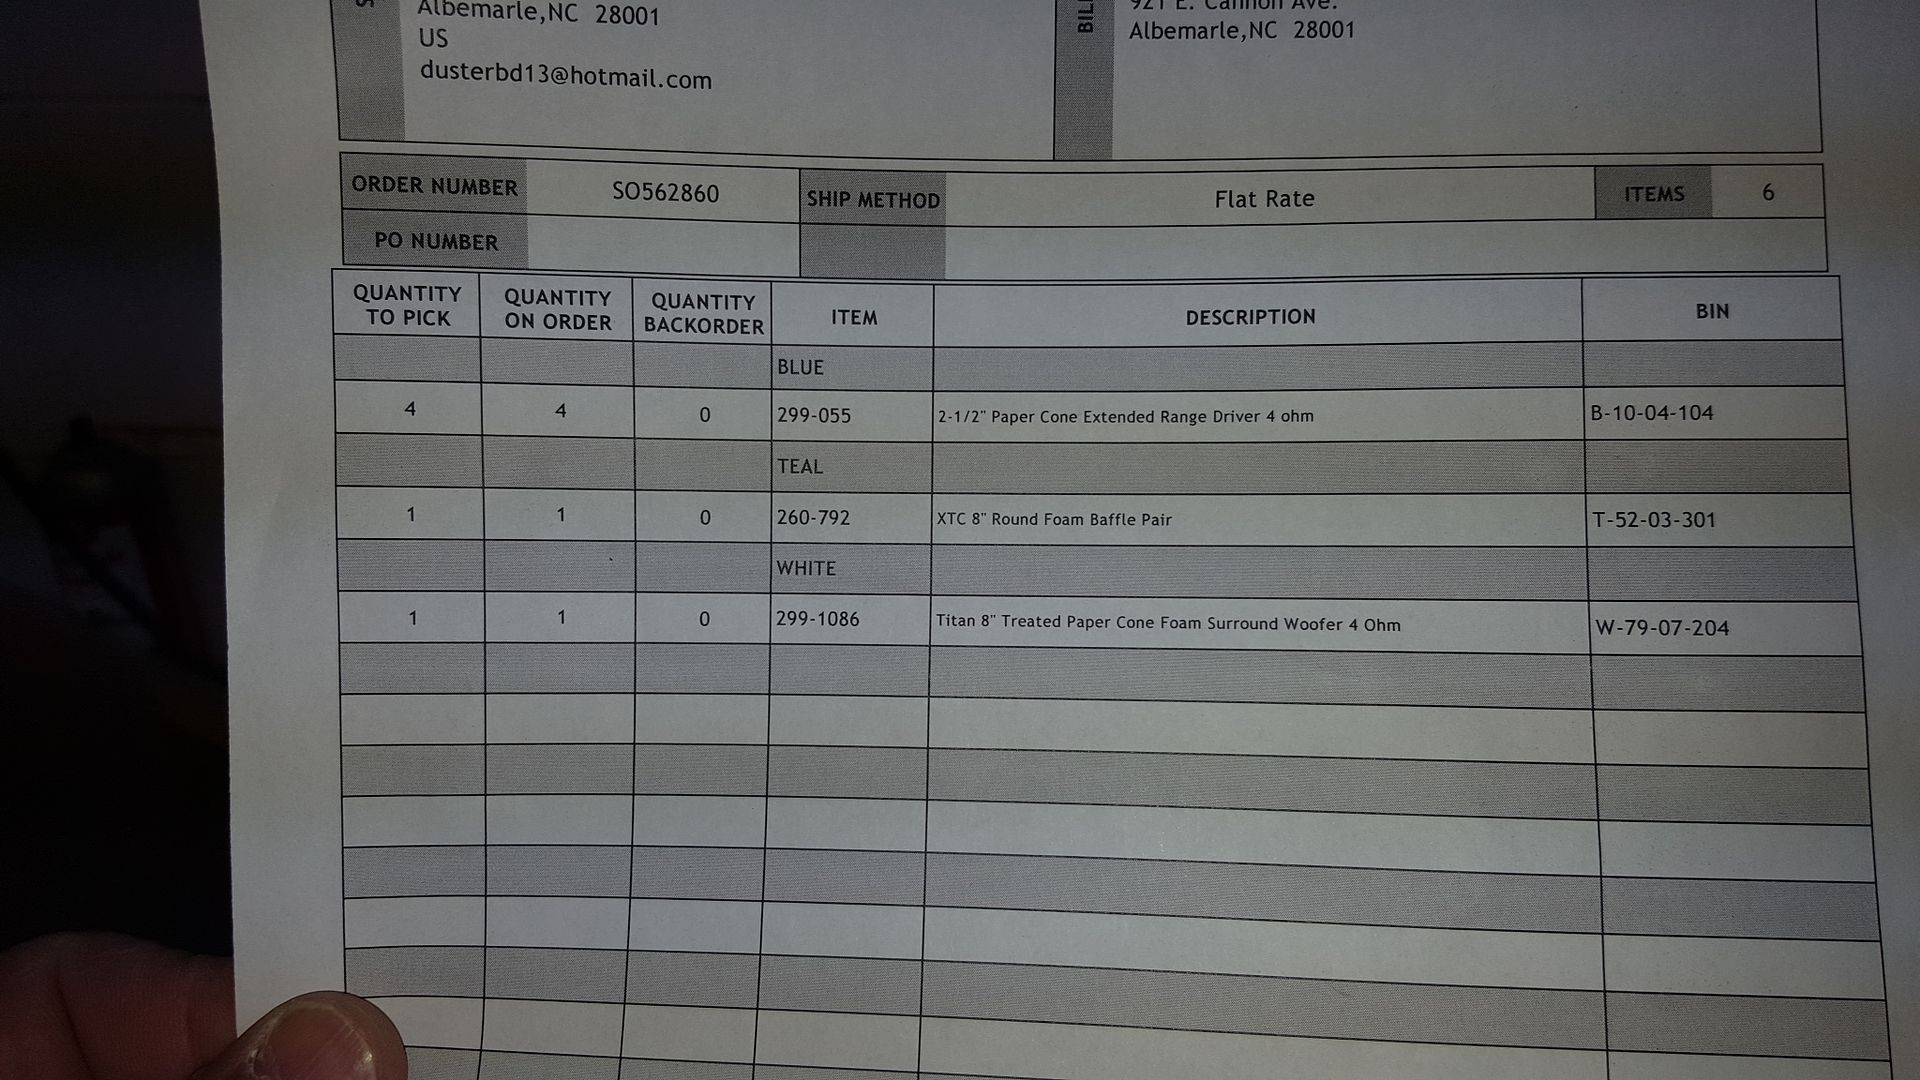 [/URL]
[URL=http://s54.photobucket.com/user/dusterbd13/media/2000%20miata/20170324_191942_zpslb1wyfmi.jpg.html]
 [/URL]
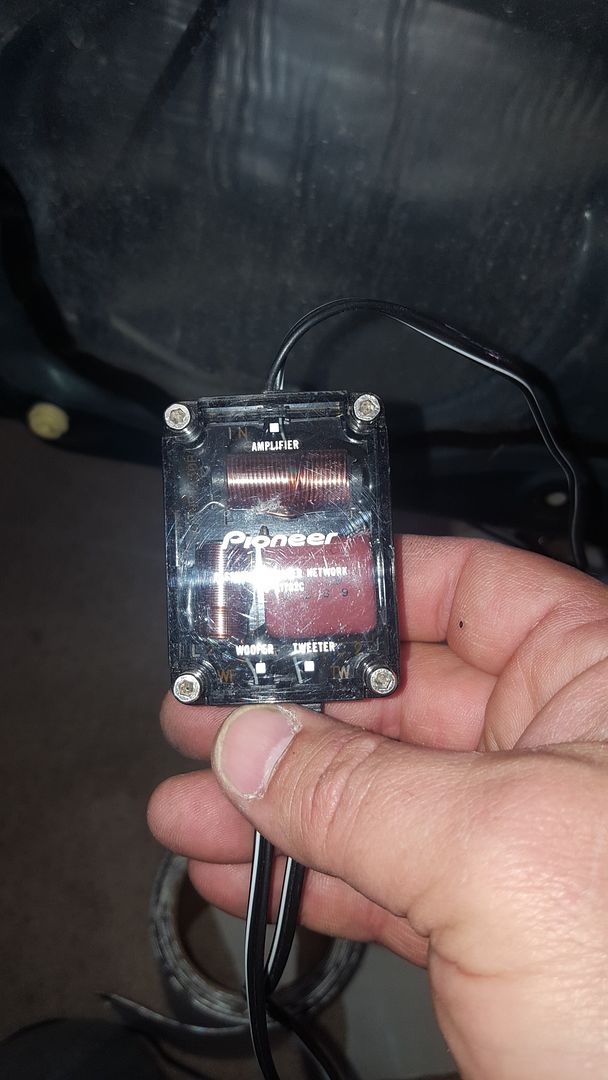
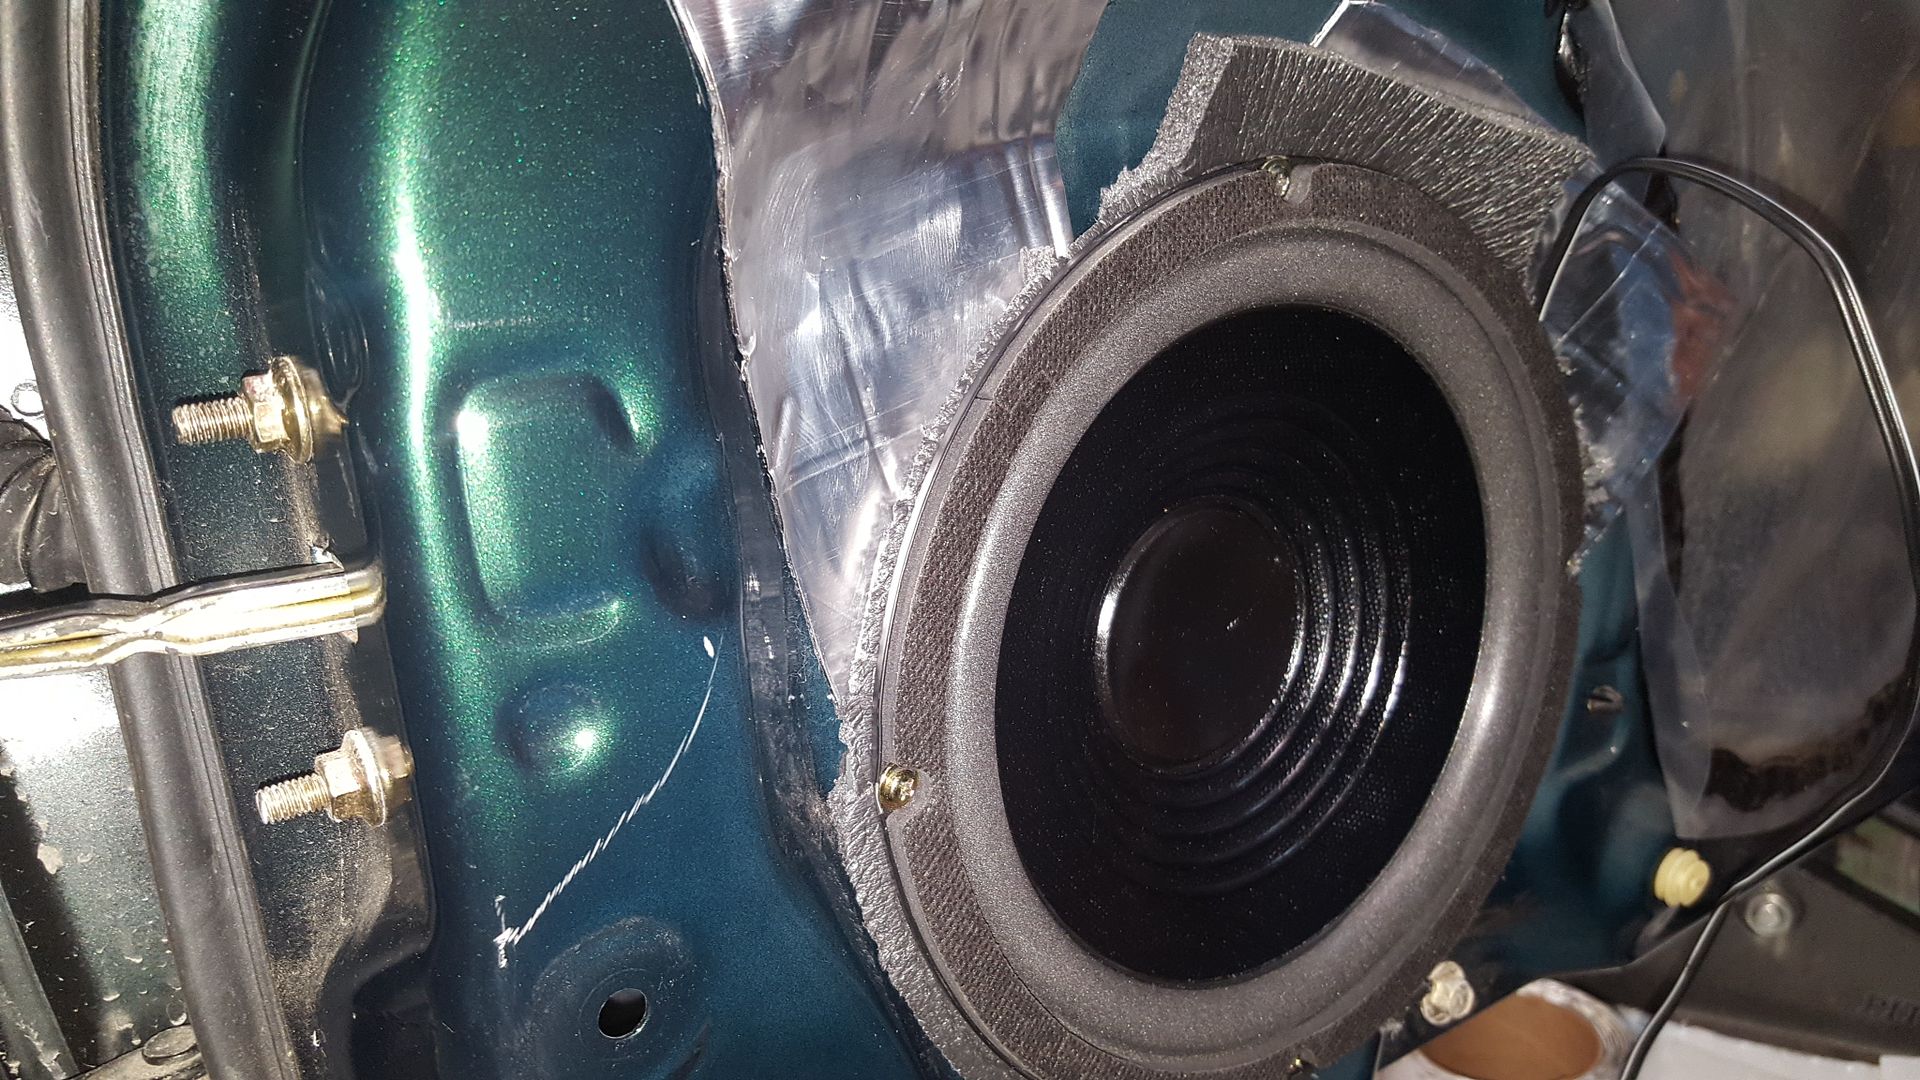
Cannibalized the free junk pioneer setup for the crossovers, mounted the baffle with a hole in the bottom, screwed the 8 to the factory location, and duct taped the crossovers to the back of the baffles where they would be out of harm and waters way.
[URL=http://s54.photobucket.com/user/dusterbd13/media/2000%20miata/20170324_193749_zps5dxp63ze.jpg.html]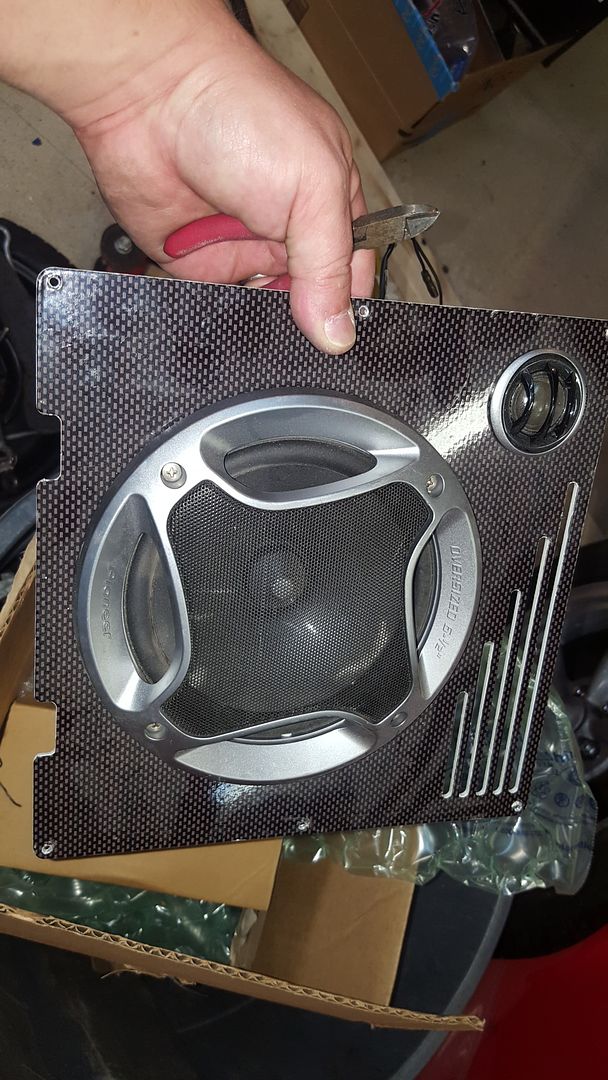 [/URL]
[URL=http://s54.photobucket.com/user/dusterbd13/media/2000%20miata/20170324_191936_zpskoxczifv.jpg.html]
 [/URL]
[URL=http://s54.photobucket.com/user/dusterbd13/media/2000%20miata/20170324_192854_zpszvj7r4hp.jpg.html]
 [/URL]
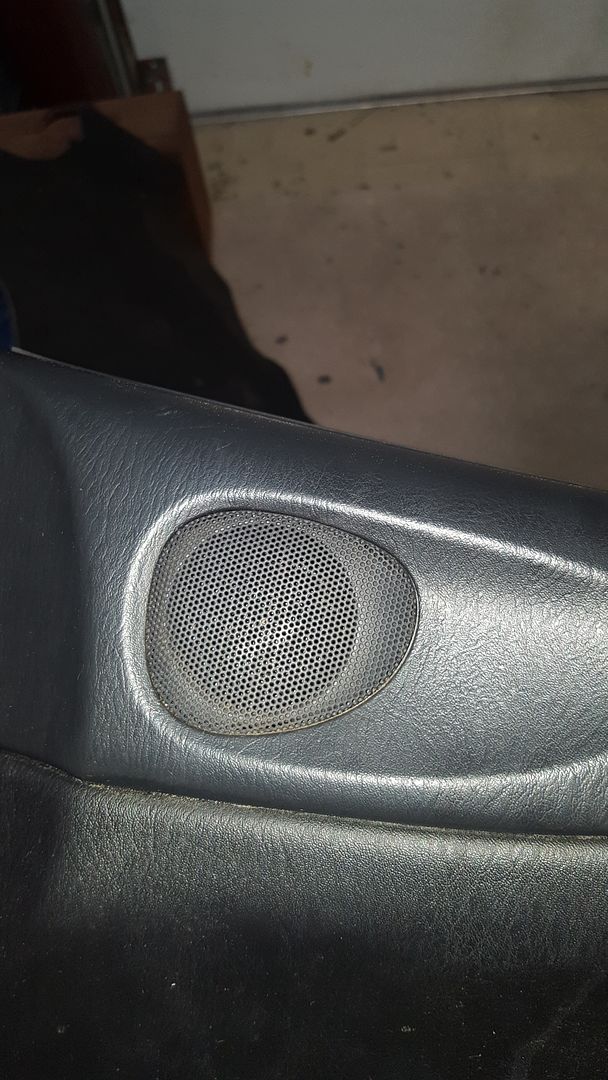
Proceeded to mount the tweeters in the stock location using the supplied hardware and a couple of screws from my harbor freight screw assortment.
[URL=http://s54.photobucket.com/user/dusterbd13/media/2000%20miata/20170324_194711_zpsg6k3ogha.jpg.html]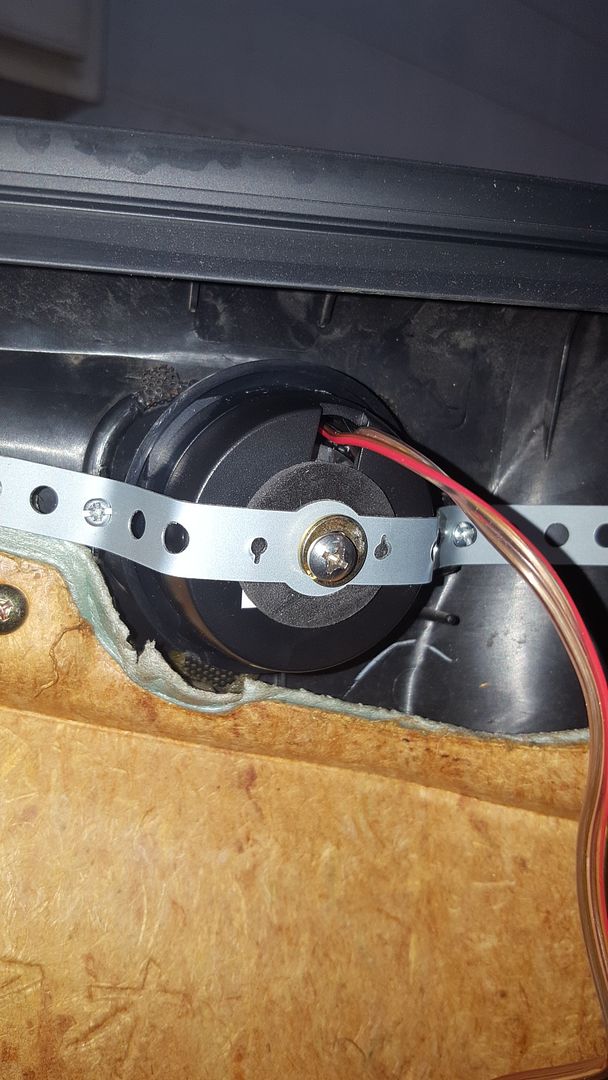 [/URL]
[URL=http://s54.photobucket.com/user/dusterbd13/media/2000%20miata/20170324_194729_zps9nuqayw2.jpg.html]
 [/URL]
And the head unit that powers it all
[URL=http://s54.photobucket.com/user/dusterbd13/media/2000%20miata/20170324_211224_zpsuljwvla9.jpg.html]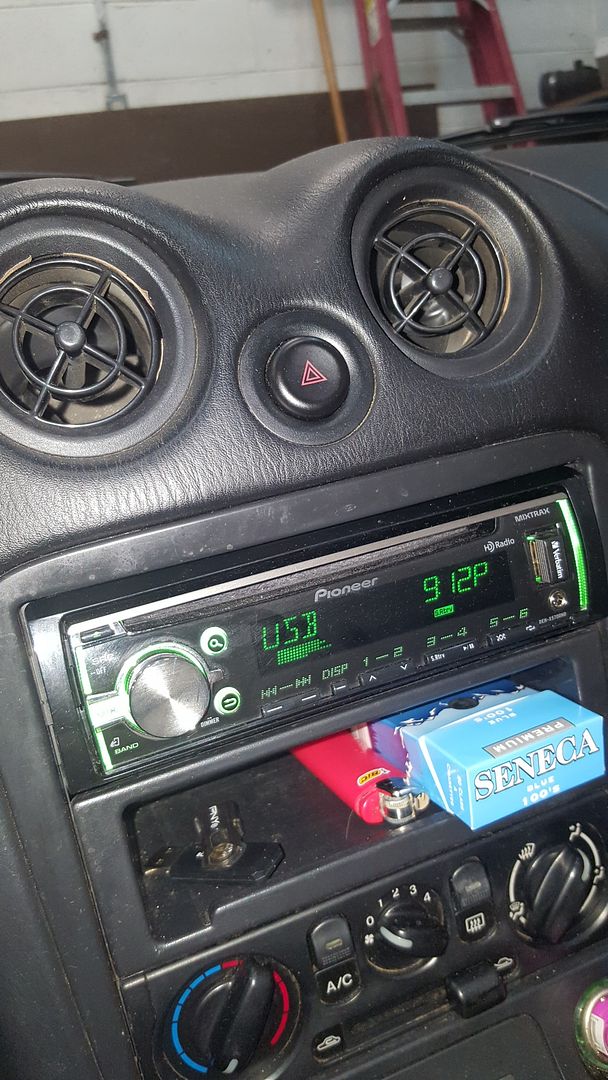 [/URL]
How does it sound? I used the same woofers on a hakuna install with bose in my last car. These blow it away completely. Oh my, does it ever sound good. One of the best ive done yet, in all honesty. Even blows away my stupid expensive, stupid high end setup in the duster. Just wow. And I dont even have the headrest speakers in yet.
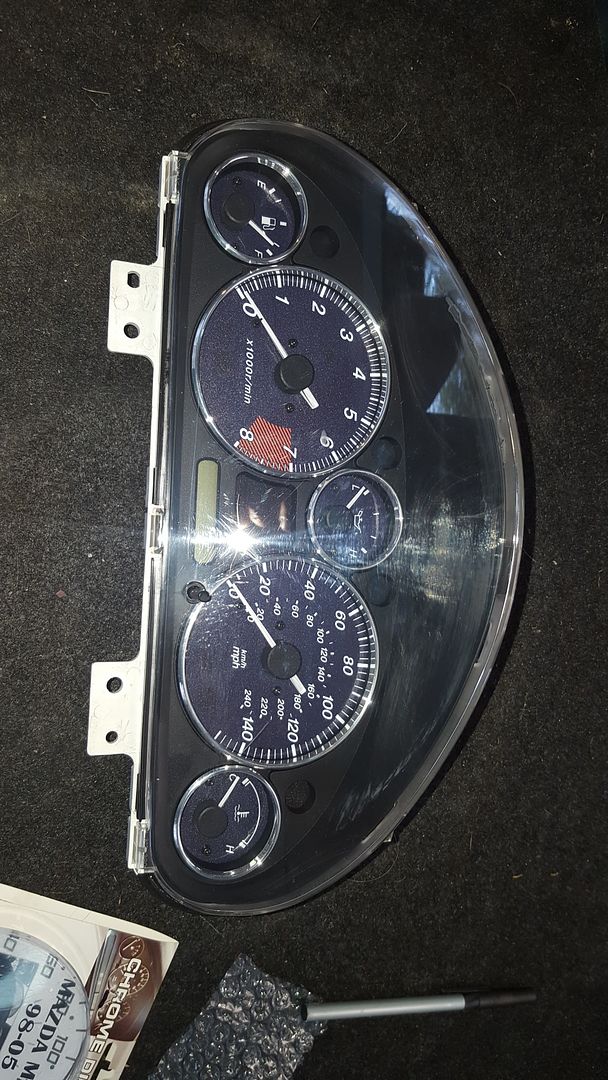
Anyway, to round out the dash for now, I got the car some jewelry.
[URL=http://s54.photobucket.com/user/dusterbd13/media/2000%20miata/20170325_083945_zpsd7vtonv3.jpg.html]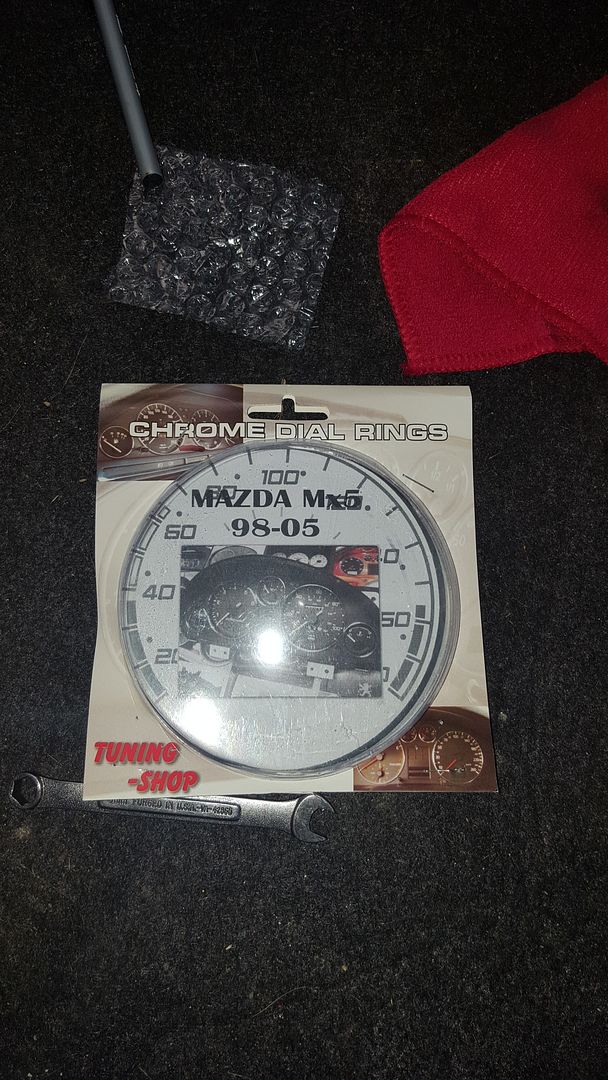 [/URL]
[URL=http://s54.photobucket.com/user/dusterbd13/media/2000%20miata/20170325_083950_zps9mbfo7om.jpg.html]
 [/URL]
Love them. However, they don't fit. At least not like I would think they should. Wound up having to glue them into place. Oh well. Look great, and really brings the dash to a good look.
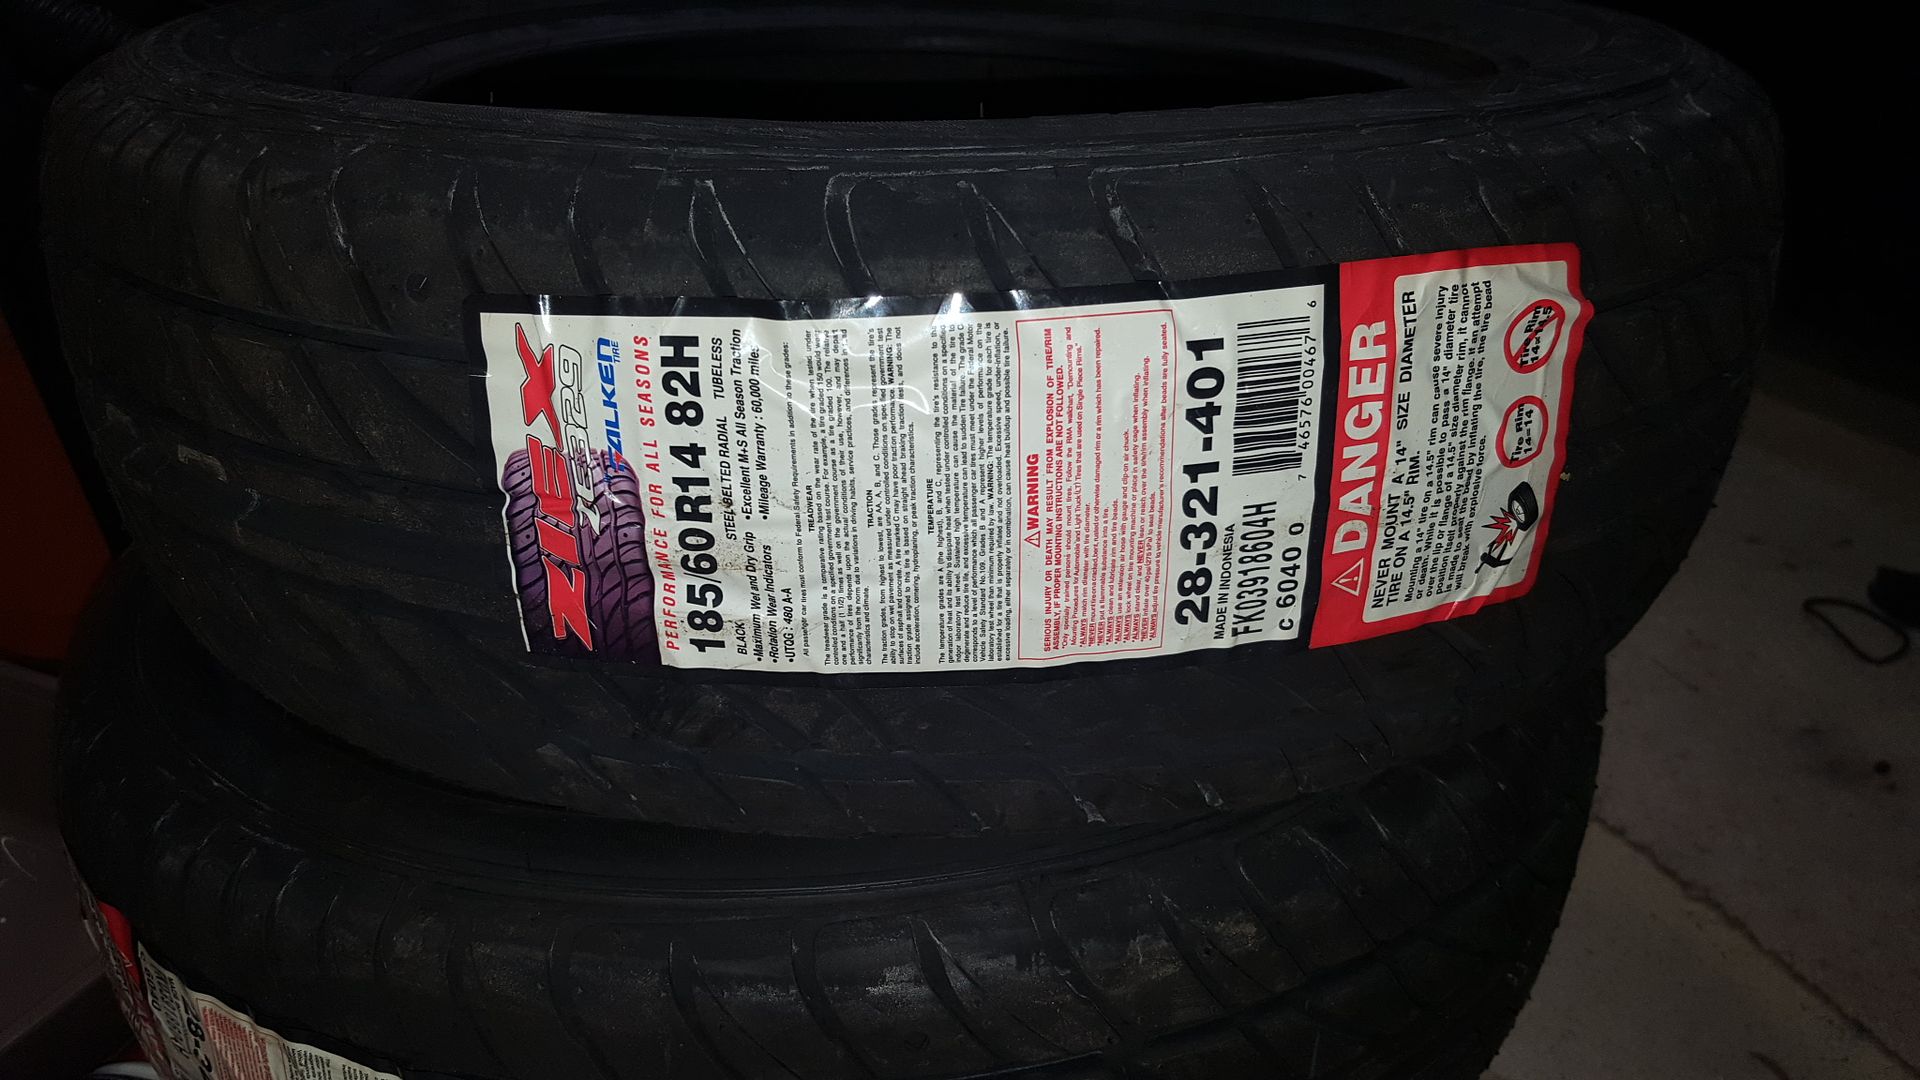
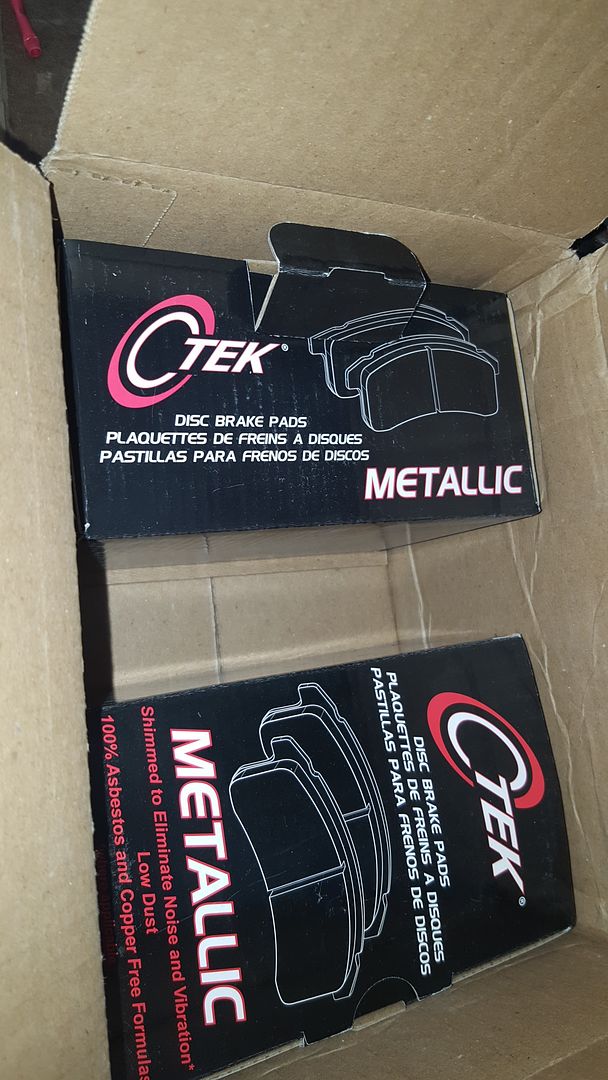
I also got shoes from a spam email. Accidently clicked instead of hit delete, and wound up buying 4 falken 312 in 18/60/14 for 112 shipped. Came from some place called simpletire.com. I honestly thought it may be a scam, so I used paypal to cover my ass. Tires showed up two days later. Date coded for the very end of 2014, but ride and handle good. (yes, they are on. No, I dont have a picture.) I also picked up some fresh centric ctek pads from rockauto on closeout.
[URL=http://s54.photobucket.com/user/dusterbd13/media/2000%20miata/20170326_164728_zpsn5onpy47.jpg.html]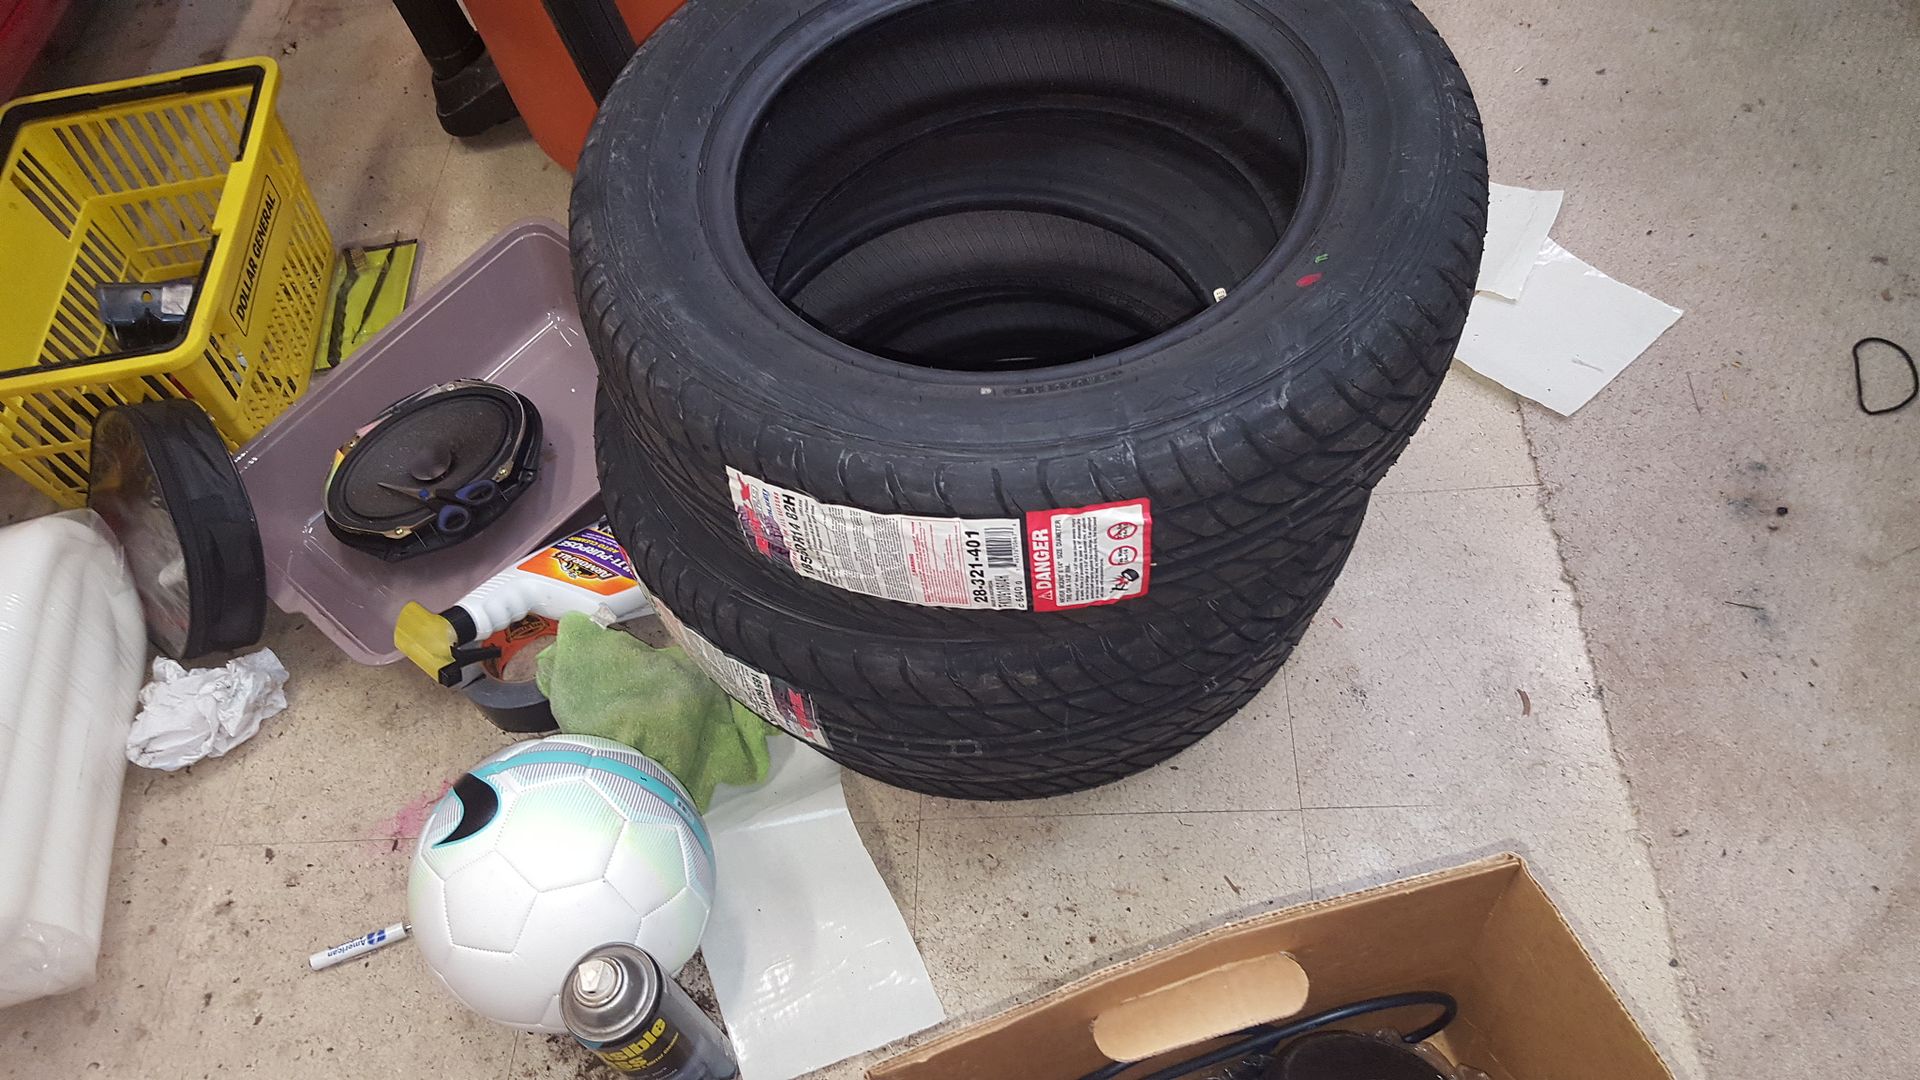 [/URL]
[URL=http://s54.photobucket.com/user/dusterbd13/media/2000%20miata/20170326_164734_zpsut1cjwmn.jpg.html]
 [/URL]
[URL=http://s54.photobucket.com/user/dusterbd13/media/2000%20miata/20170326_164753_zpsdgto3kuv.jpg.html]
 [/URL]
Until next time friends.
Last weekend, I got the new front hubs, brakes, etc installed.
Old and busted:
[URL=http://s54.photobucket.com/user/dusterbd13/media/2000%20miata/20170402_110641_zpsuhdx4bol.jpg.html]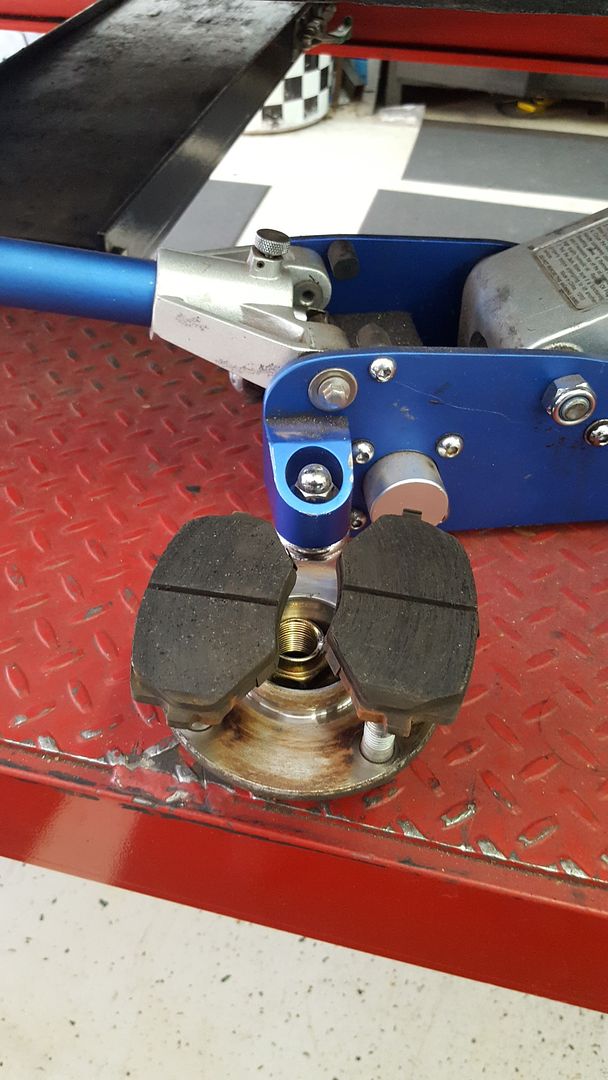 [/URL]
New hotness:
[URL=http://s54.photobucket.com/user/dusterbd13/media/2000%20miata/20170402_113621_zps4egqhk21.jpg.html]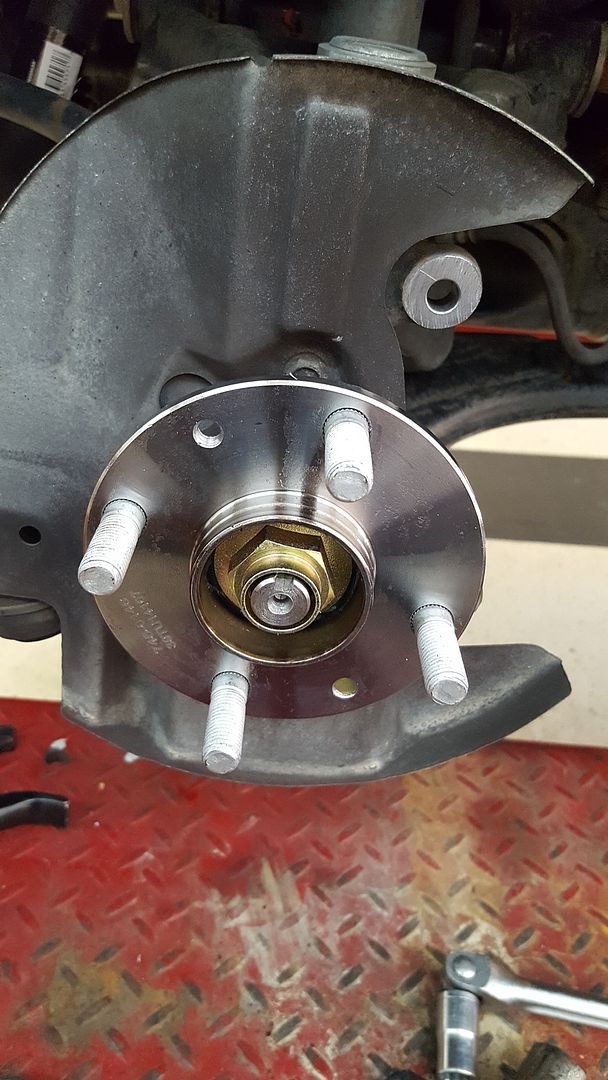 [/URL]
Stops incredibly better, and steering feel is much improved. So, all winning!!
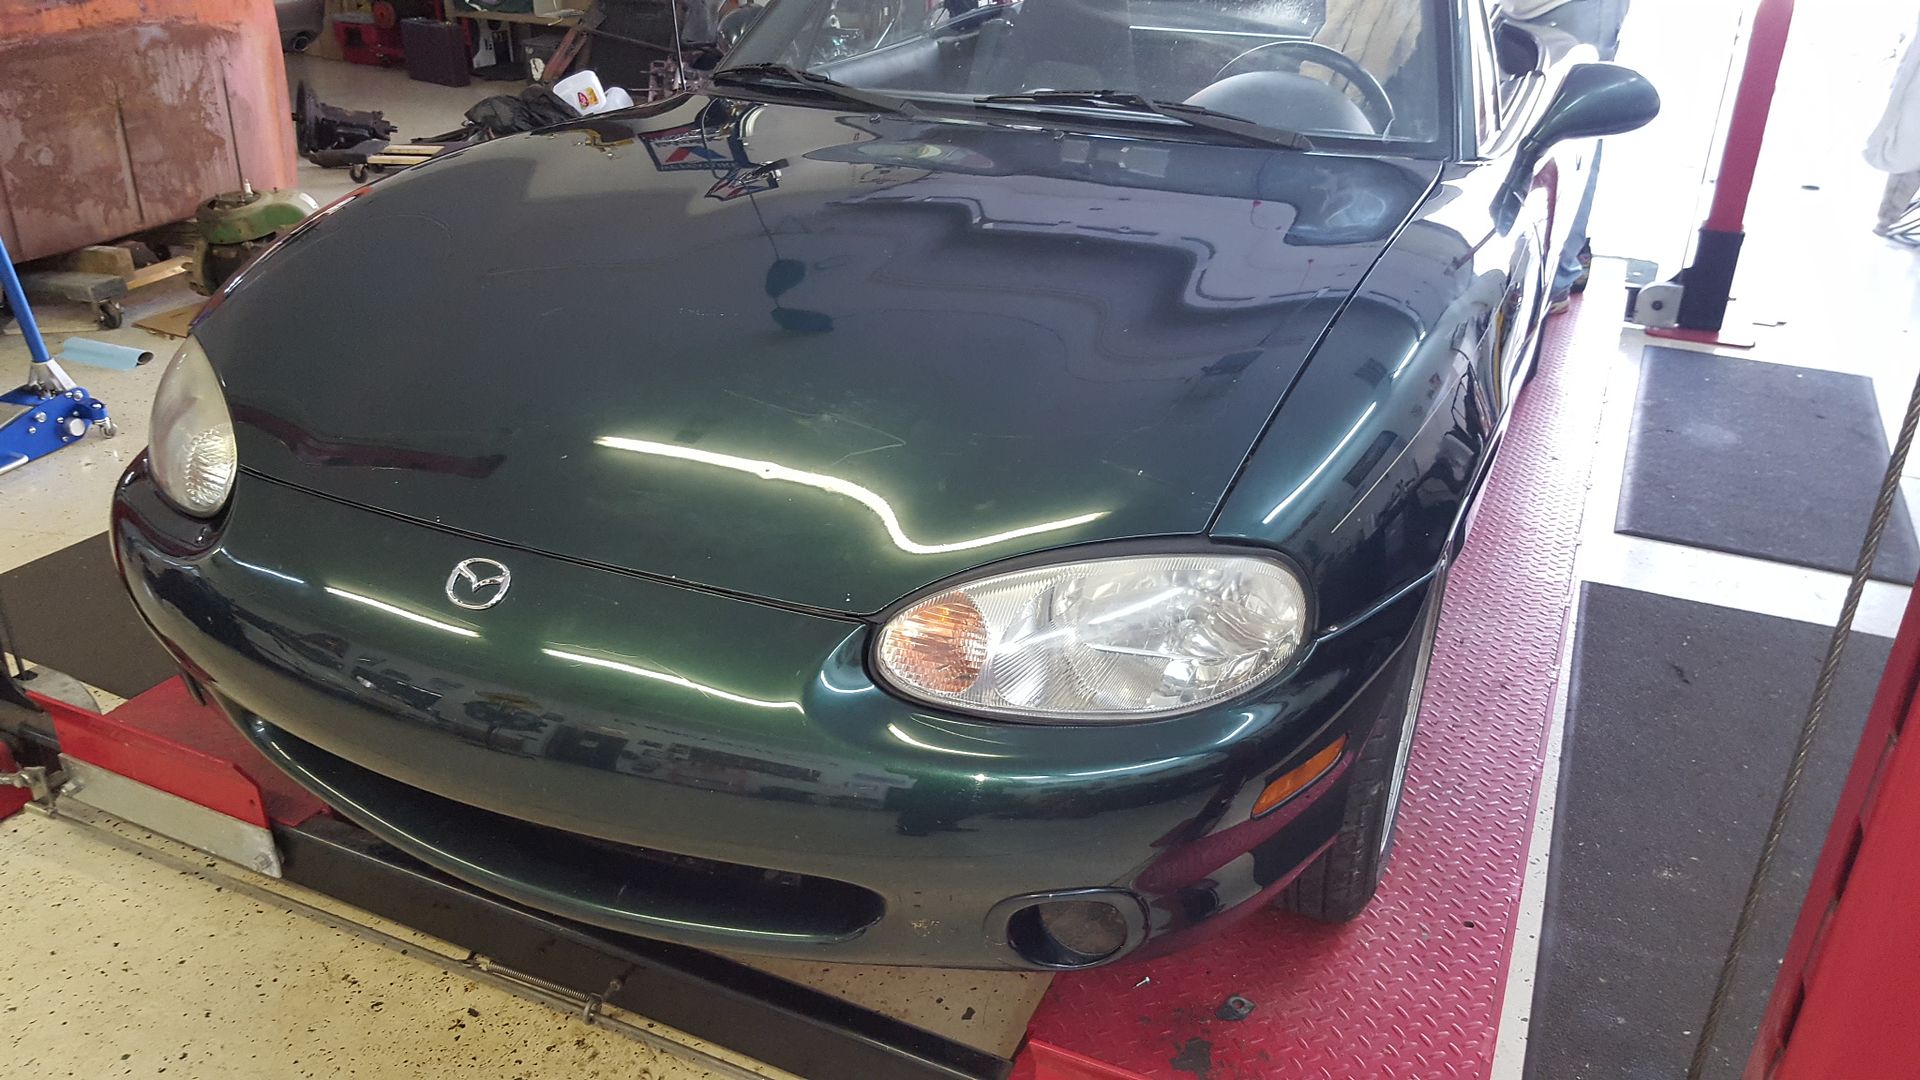
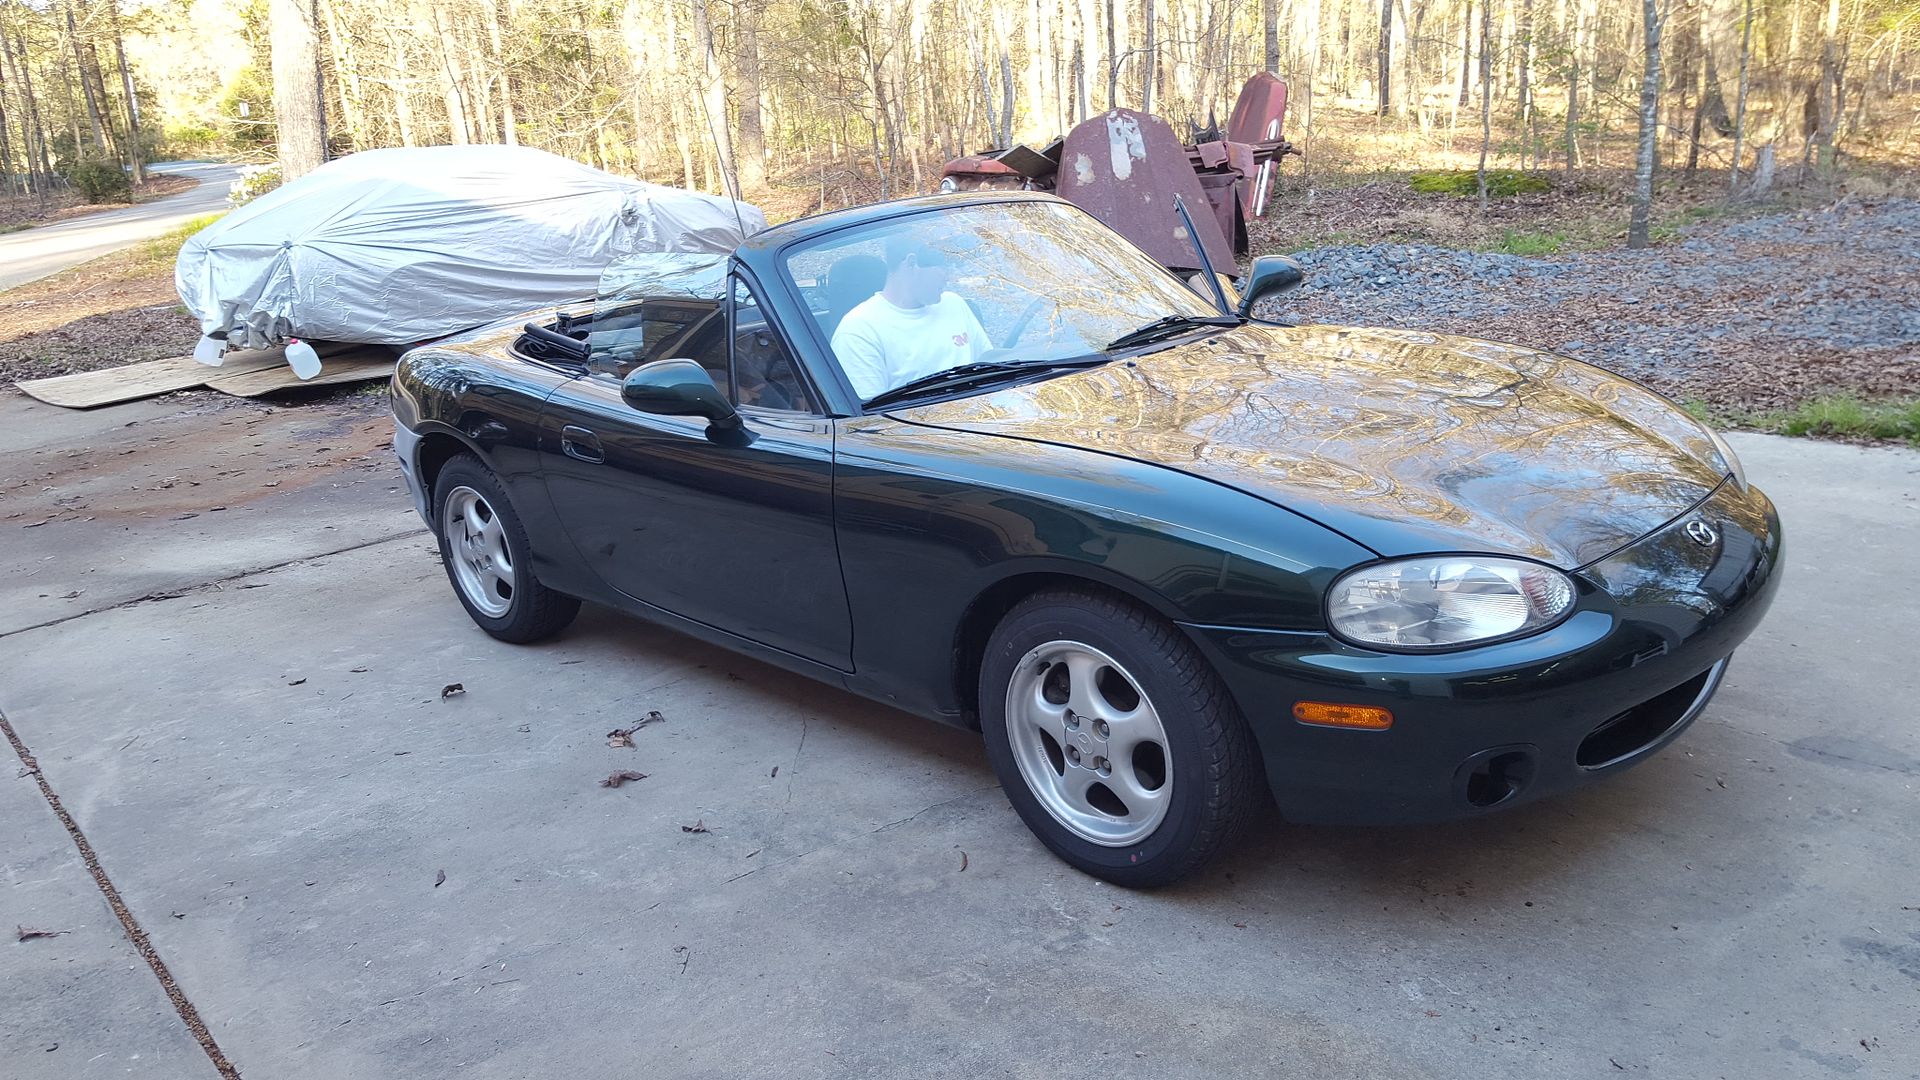
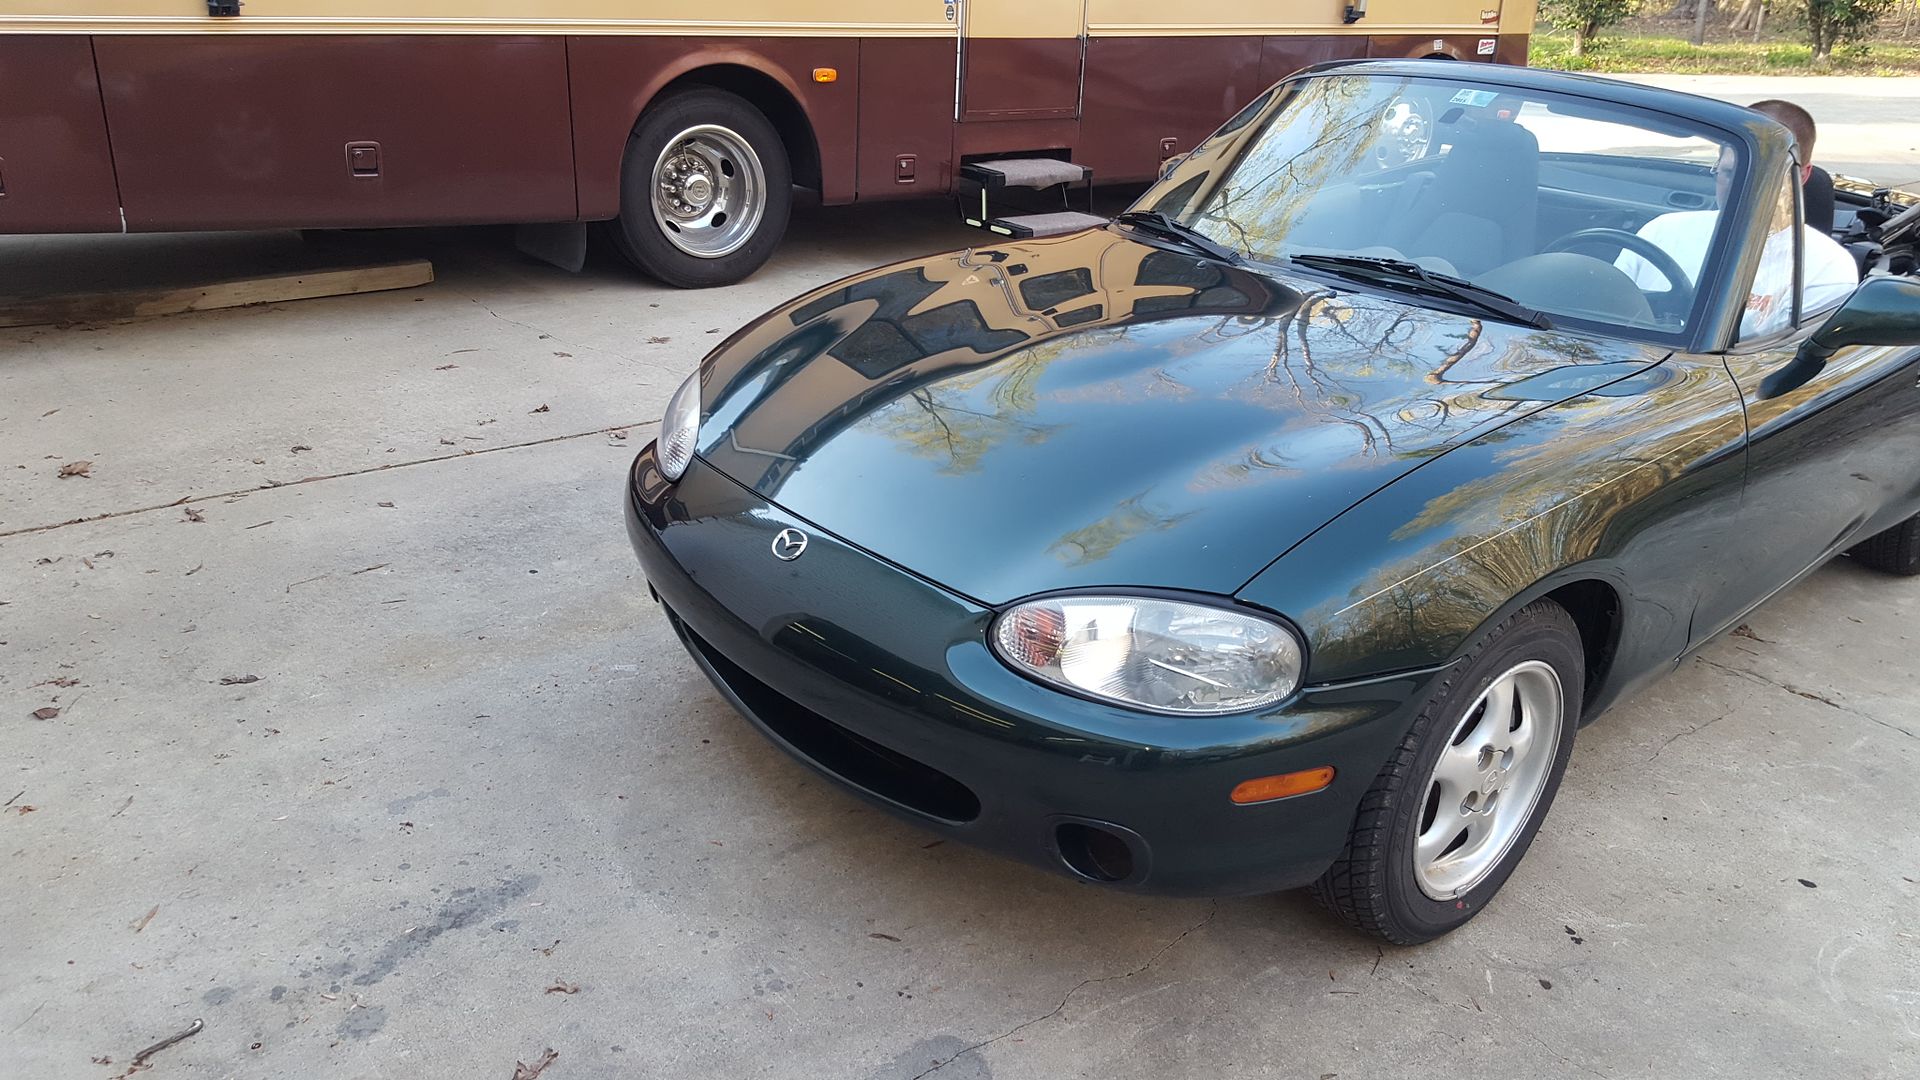
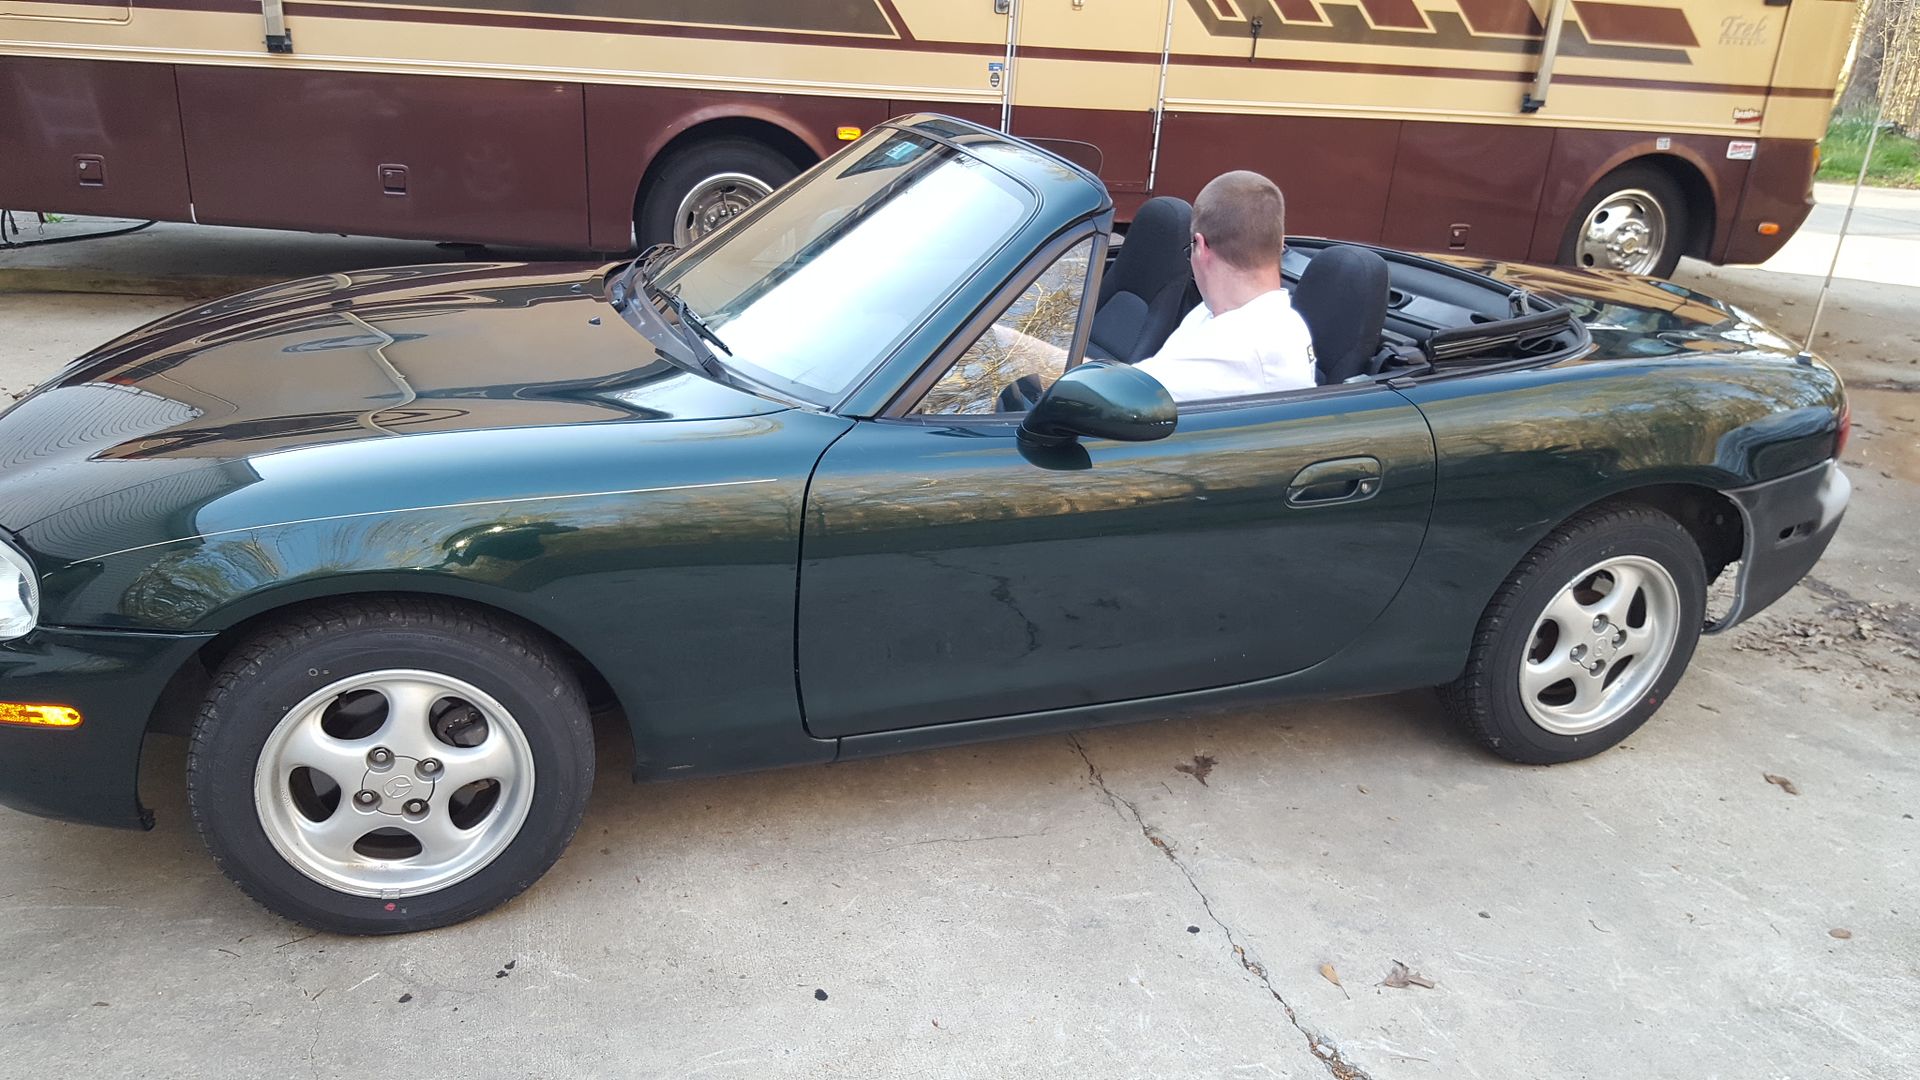
Them I went to install my not busted air guide. This led to brother Dustin coming over, and over the course of the afternoon we beat, shimmed, slotted holes, etc to get the front end sheet metal to line up properly. Finished it off with hitting the whole car with rubbing compound and a porter cable DA. The paint is still heavily scratched, and horrible, but from 20 feet at 20mph looks like a million bucks. Came back FAR better than I anticipated. Which is good, as im holding off on paint for the summer until a few other things are finished in my life.
[URL=http://s54.photobucket.com/user/dusterbd13/media/2000%20miata/20170402_163953_zpse817iq9n.jpg.html]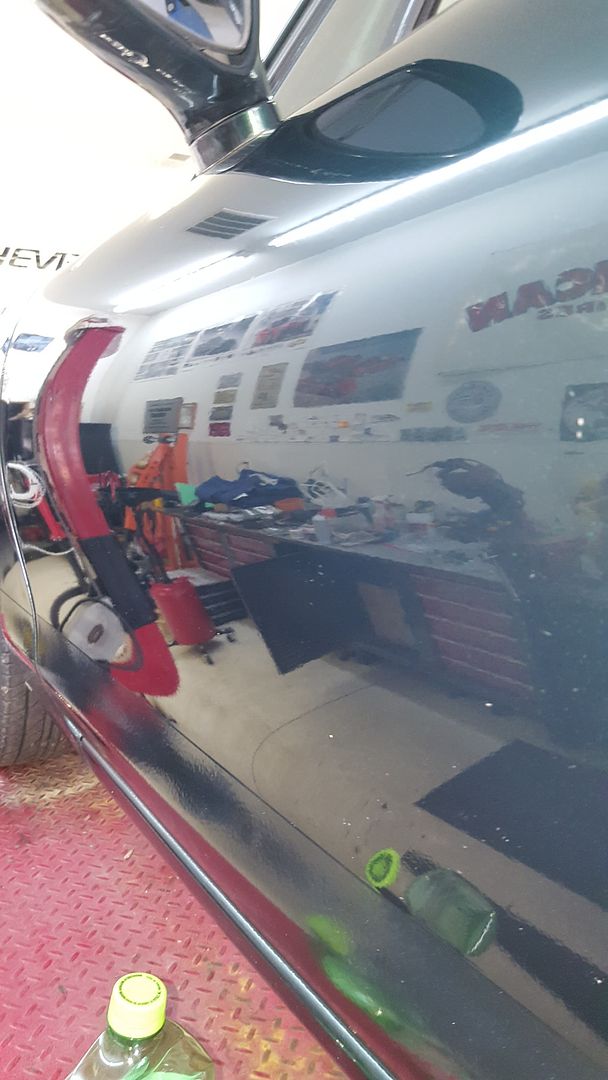 [/URL]
[URL=http://s54.photobucket.com/user/dusterbd13/media/2000%20miata/20170402_171428_zpsq2yeiwne.jpg.html]
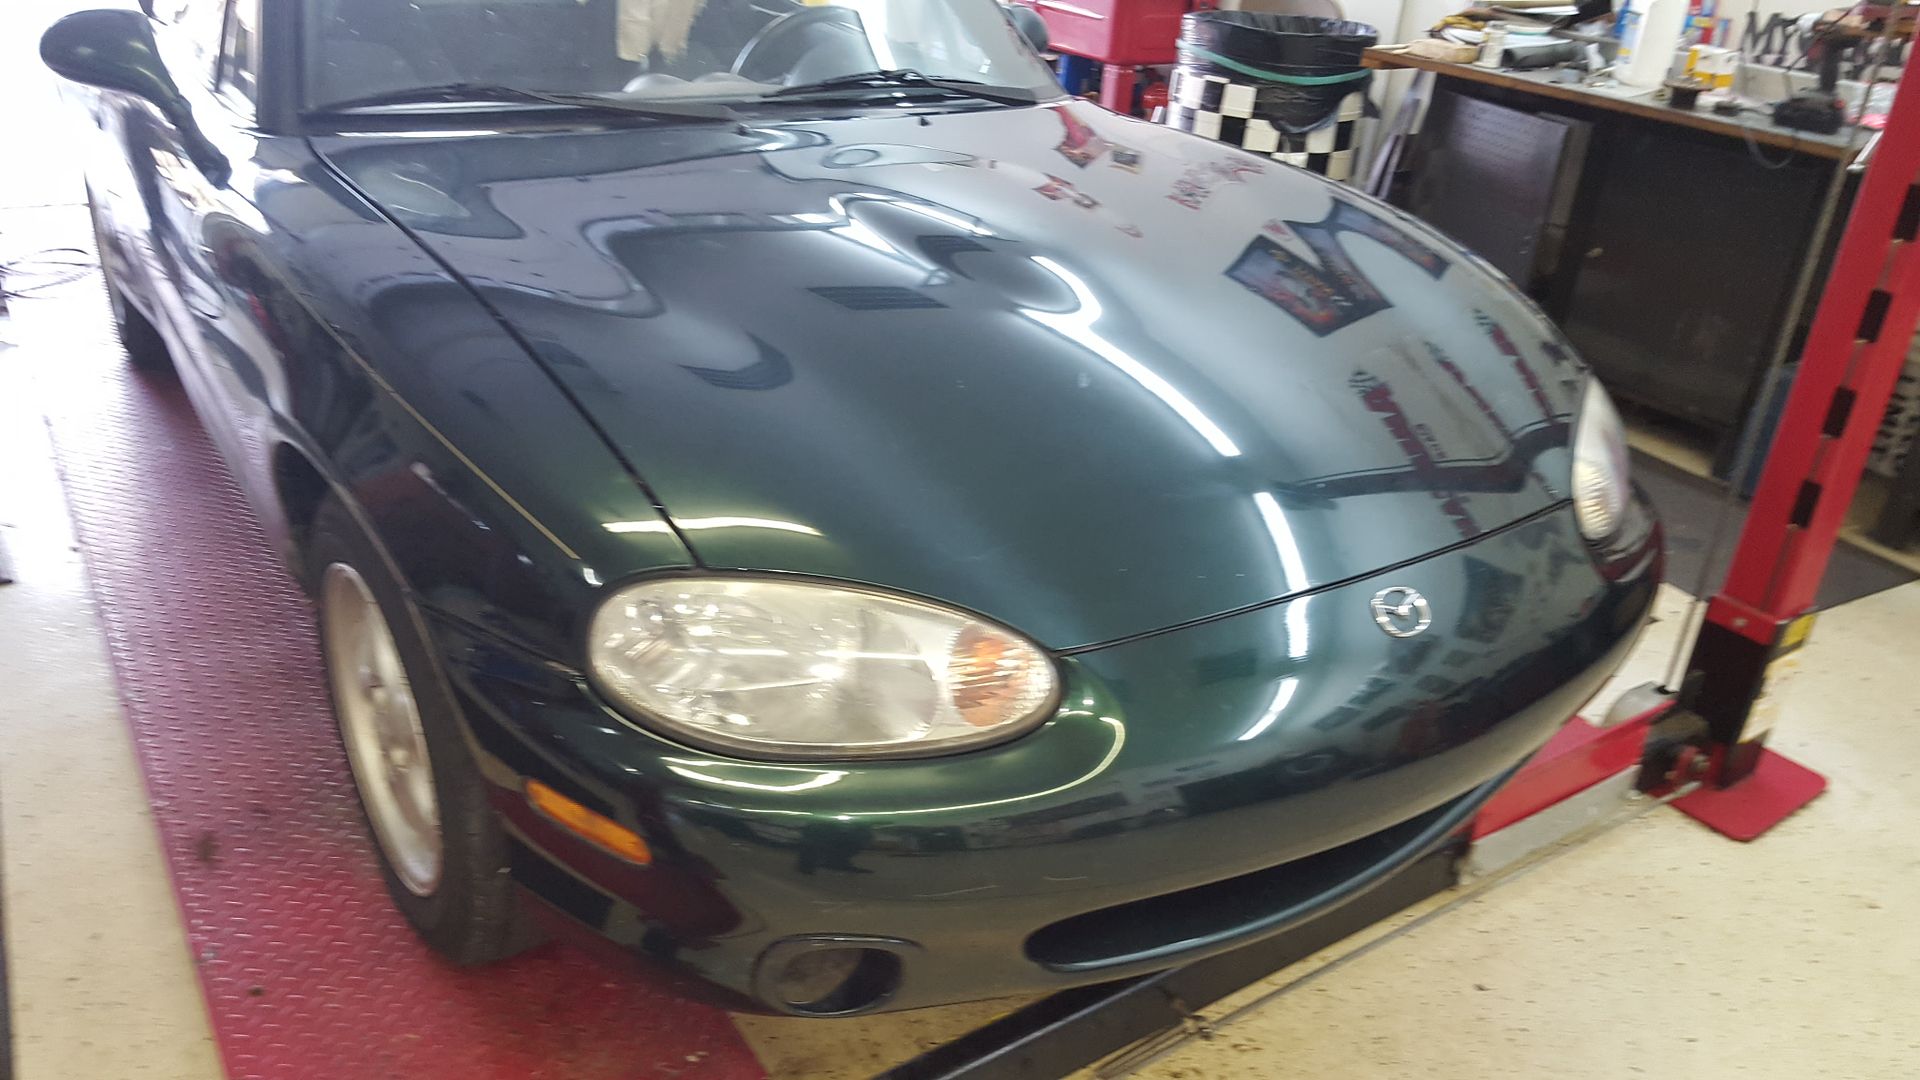 [/URL]
[URL=http://s54.photobucket.com/user/dusterbd13/media/2000%20miata/20170402_171434_zpsi4cjjhuz.jpg.html]
 [/URL]
[URL=http://s54.photobucket.com/user/dusterbd13/media/2000%20miata/20170402_182323_zpsiwar4d9h.jpg.html]
 [/URL]
[URL=http://s54.photobucket.com/user/dusterbd13/media/2000%20miata/20170402_182315_zpsdodtekhl.jpg.html]
 [/URL]
[URL=http://s54.photobucket.com/user/dusterbd13/media/2000%20miata/20170402_182308_zpsy0ipciqy.jpg.html]
 [/URL]
So, after a hit and run today, as well as other people taking such good care of my things in parking lots, etc, im seriously debating spraing the whole car satin black with tractor paint now.
Thoughts? Figure easy to touch up, hides flaws, cheap. Maybe wrap the hood and decklid in carbon fiber.
But I'm seriously considering putting these on every single vehicle I own.

I love that color though(your miata, not this dodge), and I know it's not my car but I wouldn't want to hide it.
White probably. But im definitely more a fan of the black.
And no plastidip. Tried it out and not a fan.
well hell. I just ordered a roll of white vynil and a roll of carbon fiber vynil.
tell me I can do this.....
Lol. I just ordered samples of every yellow metro restyling has, cuz I had the same thought. Let me know how it goes.
I enjoyed the vinyl project on the Challenge BRE van. I look forward to another vinyl project.
Watch a lot of YouTube instructional videos.
Work in doors if possible and keep the vehicle surface temps from getting too hot.
Brother Dustin does the decals on coke machines for a living. Im going to try to talk him into helping.
Cant be that hard, right?
Dusterbd13 wrote: And no plastidip. Tried it out and not a fan.
Definitely avoid plastidip, you saw the pics of my beater NB, it's just awful. Started peeling it off last weekend as the fiancé and I were cleaning on the nice NB. Apparently the PO used some cheap version of plastidip because it's coming off in small pieces rather than peeling off easily like everyone says it should.
Curious to see how the vinyl wrap turns out, I may be interested in trying it on the beater NB depending on how the paint looks once I get the plastidip off.
And I need to pick your brain on building a stereo setup for the nice NB.
Can't wait to see it, white is my favorite car color by far!
There should be a ton of how to videos on warping now, seems like a lot of the tuner guys are doing it to there cars.
In reply to untchabl:
Bring it on!
Skervy: looks time consuming, and tedious, but doable. Dustin says he will help as well.
Budget:
previous total: 3036.50
Purchase price: 2250
Timing belt kit and lower radiator hoses: leftover from last car
Black paint: 15.37 from bowers implement
Pcv, hub nuts, oil filter: 27.50 oreillys
Belts, thermostat gasket, plugs: 45.19 advance
Front hubs, amazon: 44.80
Radio harness 4.50 amazon
Air filter 12.14 amazon
Thermostat 7.80 amazon
Upper radiator hose 11.60 amazon
NGK plug wires 29.98 amazon
Valve cover gasket 8.82 ebay
8 inch speakers, baffles, and headrest speakers from parts express: 37
Tweeters: 10.50 amazon
Sound deadening: free!!!
Tires, simpletire.com: 112
Left rear suspension and air guide and subframe brace: 205
Battery: 111
Gauge rings: 40.19
Brake pads, rockauto: 23.11
Tire mount and balance: 40
Stock 15x6 wheels: 80
Body kit, cruise, and misc: 240 shipped
Sandpaper: 12
3 cans sail blue rustoleum spray paint: 15 1 quart sail blue rustoleum: 18
1 quart enamel hardener: 12
Plastic, tape, mineral spirits, etc I already had. Same with the gun.
Project total: 3413.50
Ok, parts and pieces first. Factory 15x6 wheels, in mint-ish shape for 80 bucks. Couldn't turn that price down.
[URL=http://s54.photobucket.com/user/dusterbd13/media/2000%20miata/20170624_184943_zpsnbnrjqg5.jpg.html]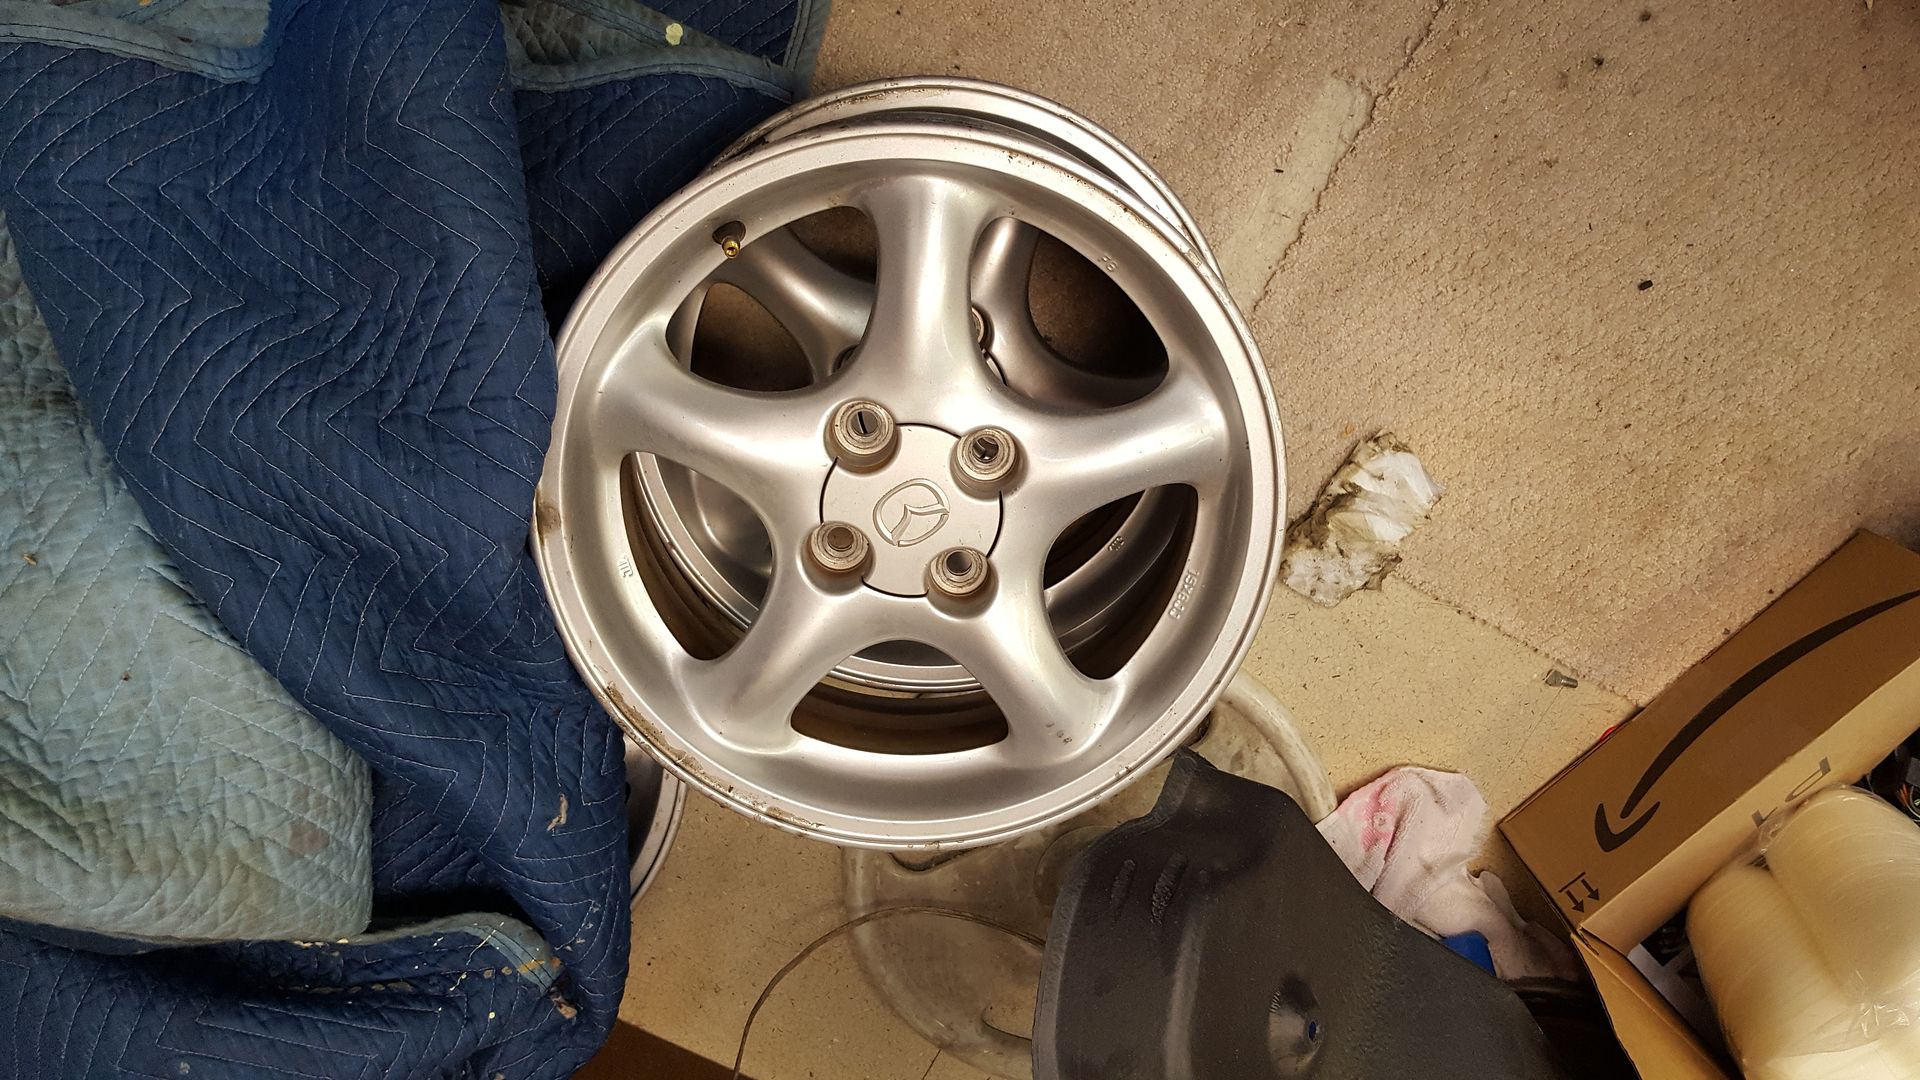 [/URL]
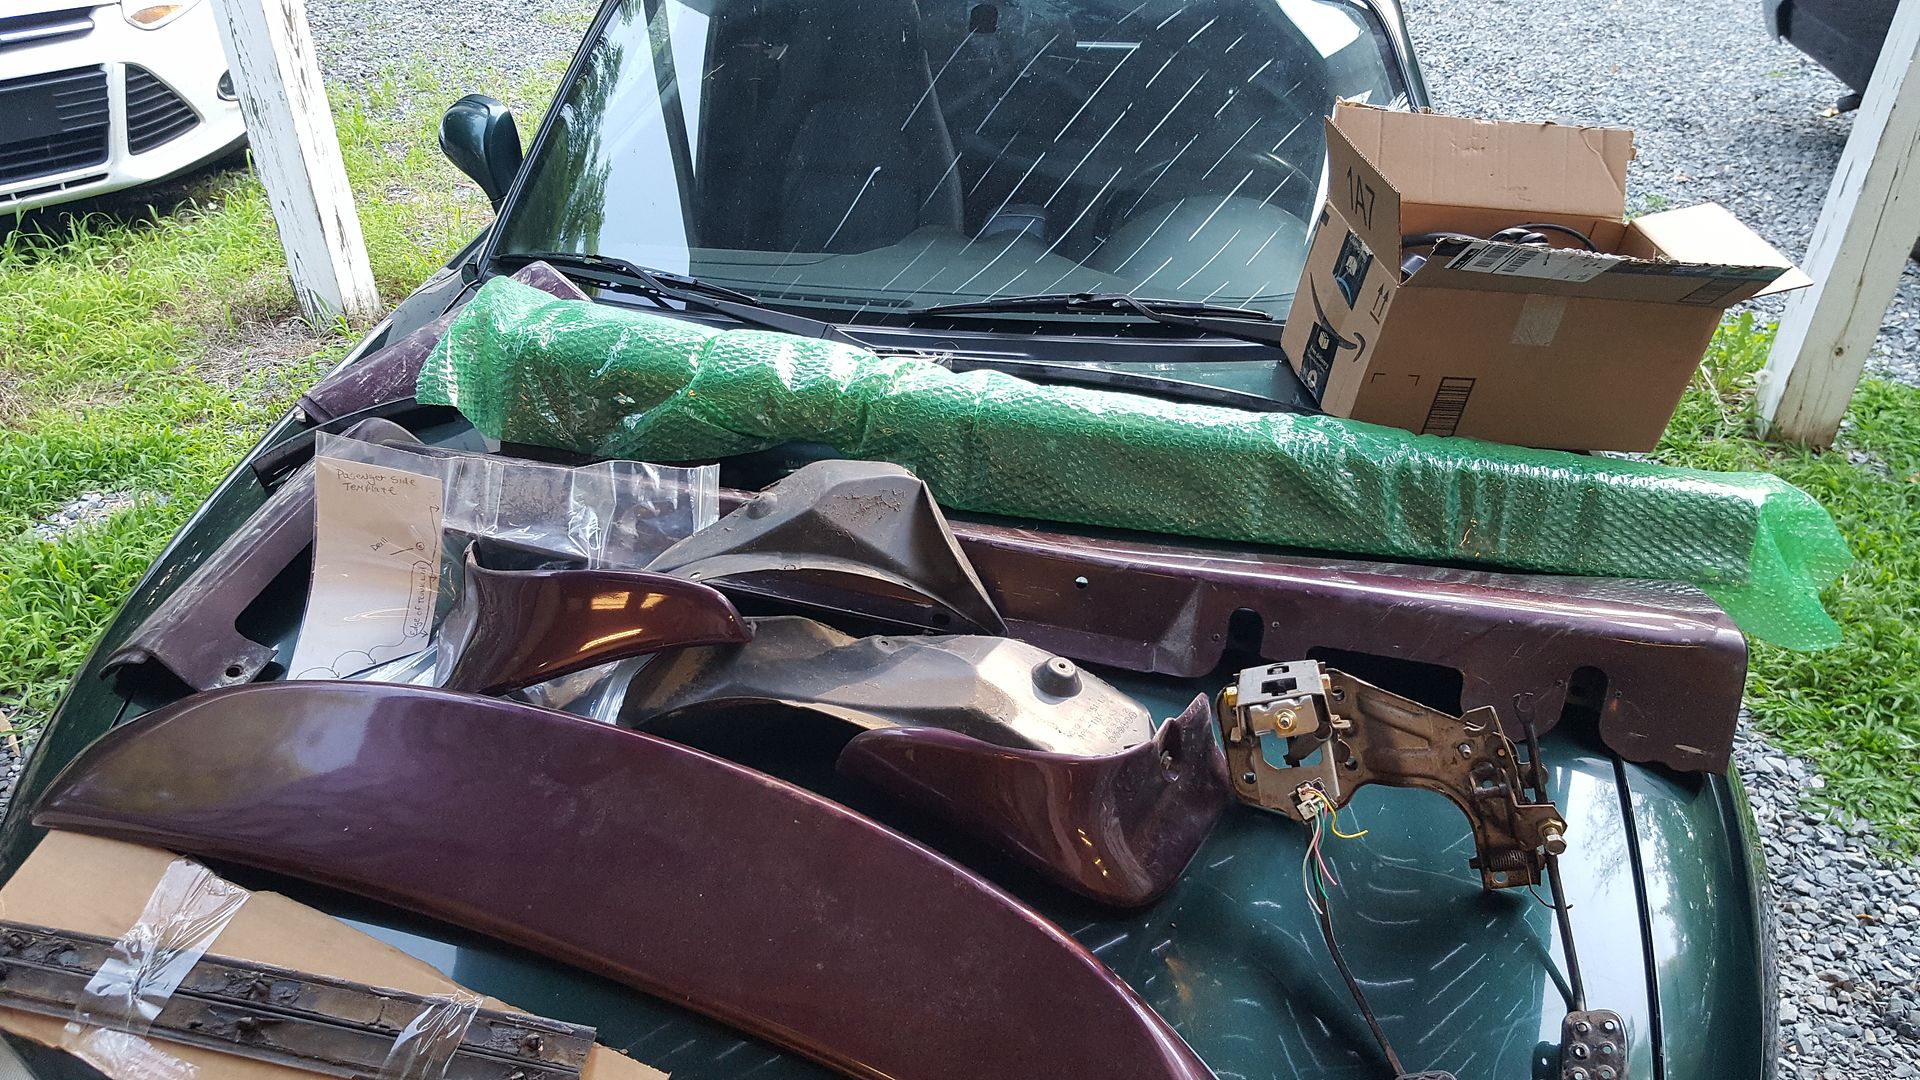
Factory small appearance package, factory cruise, and the metal reinforcements for the top/rain rail (mine are missing, and the top and rain rail are held on with non stock nuts and washers for some reason) for 240 in the best packaging job I have ever had from a private seller. Top notch guy. He even sent me templates and high resolution photos for the holes. If you ever get the chance to buy from Doc Brown, do it!
[URL=http://s54.photobucket.com/user/dusterbd13/media/2000%20miata/20170608_180244_zpsopvkiypz.jpg.html]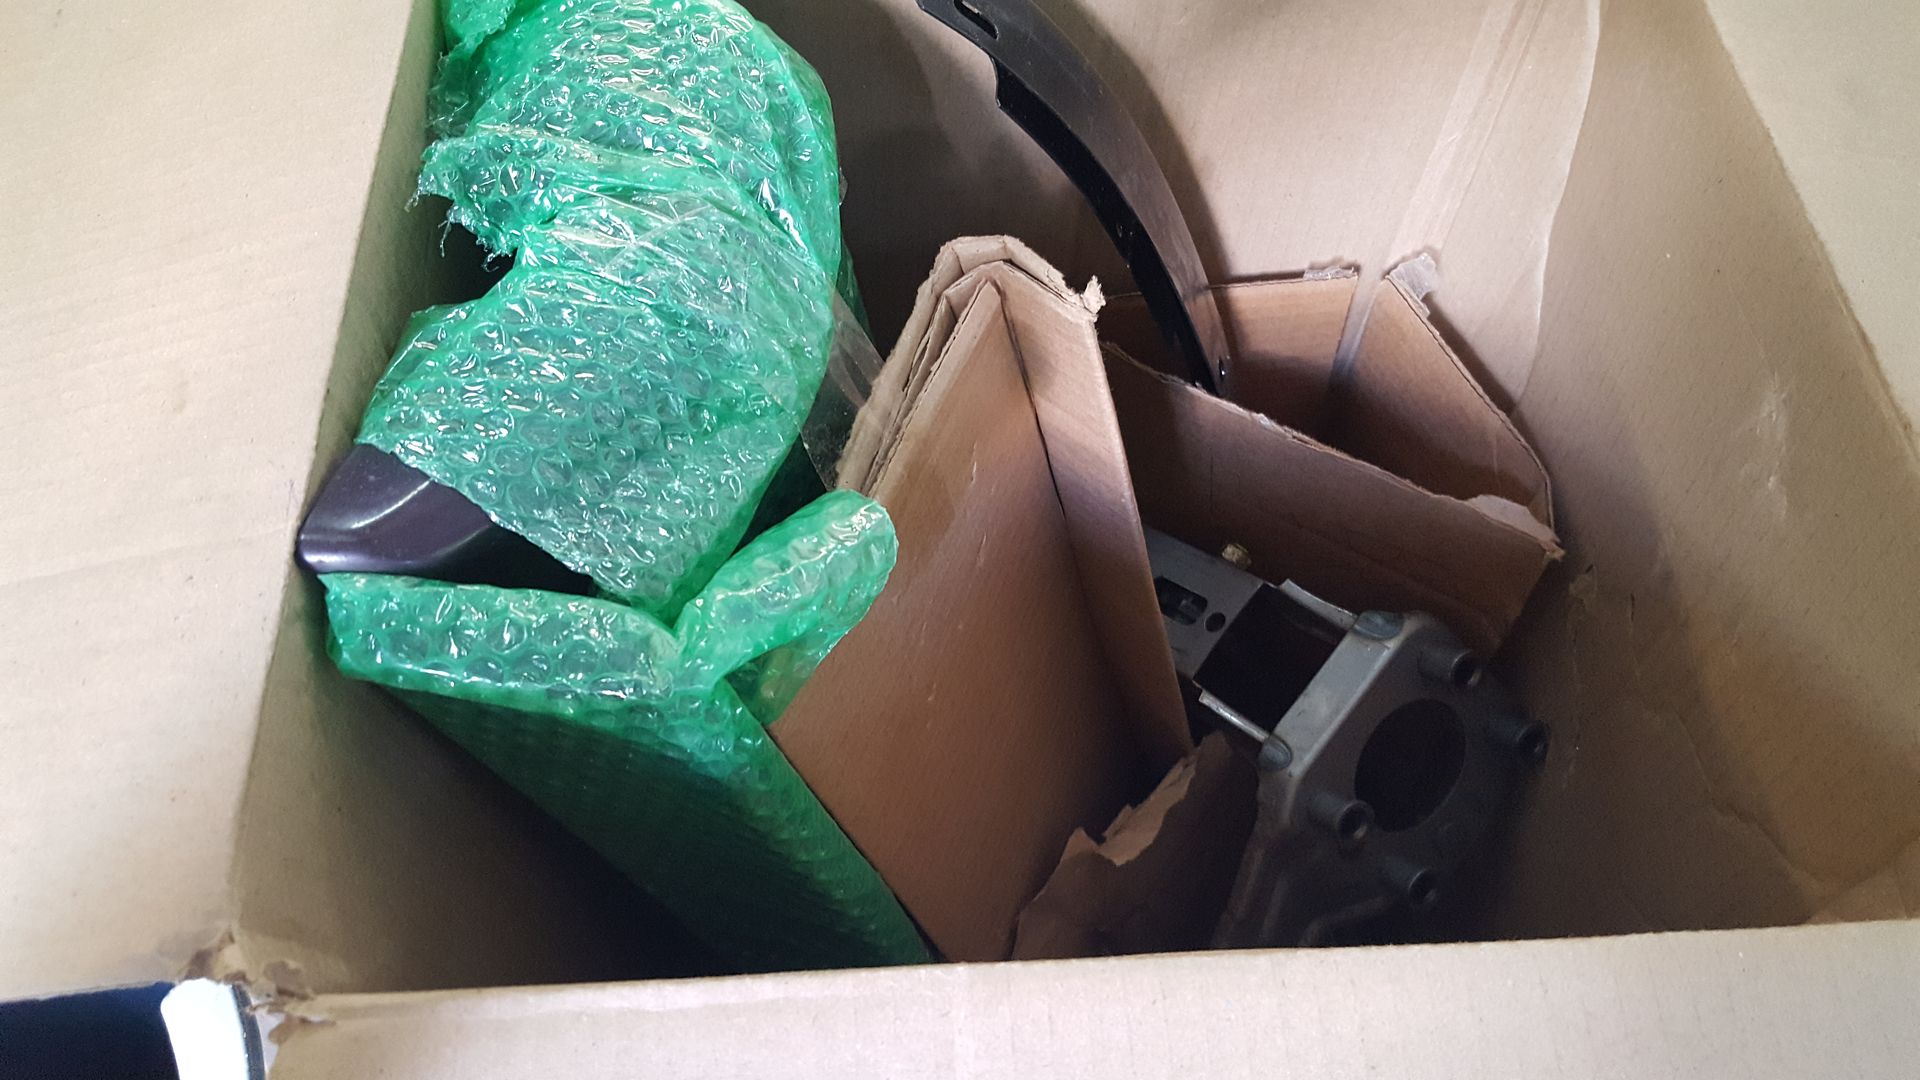 [/URL]
[URL=http://s54.photobucket.com/user/dusterbd13/media/2000%20miata/20170608_180909_zpshoqmuiao.jpg.html]
 [/URL]
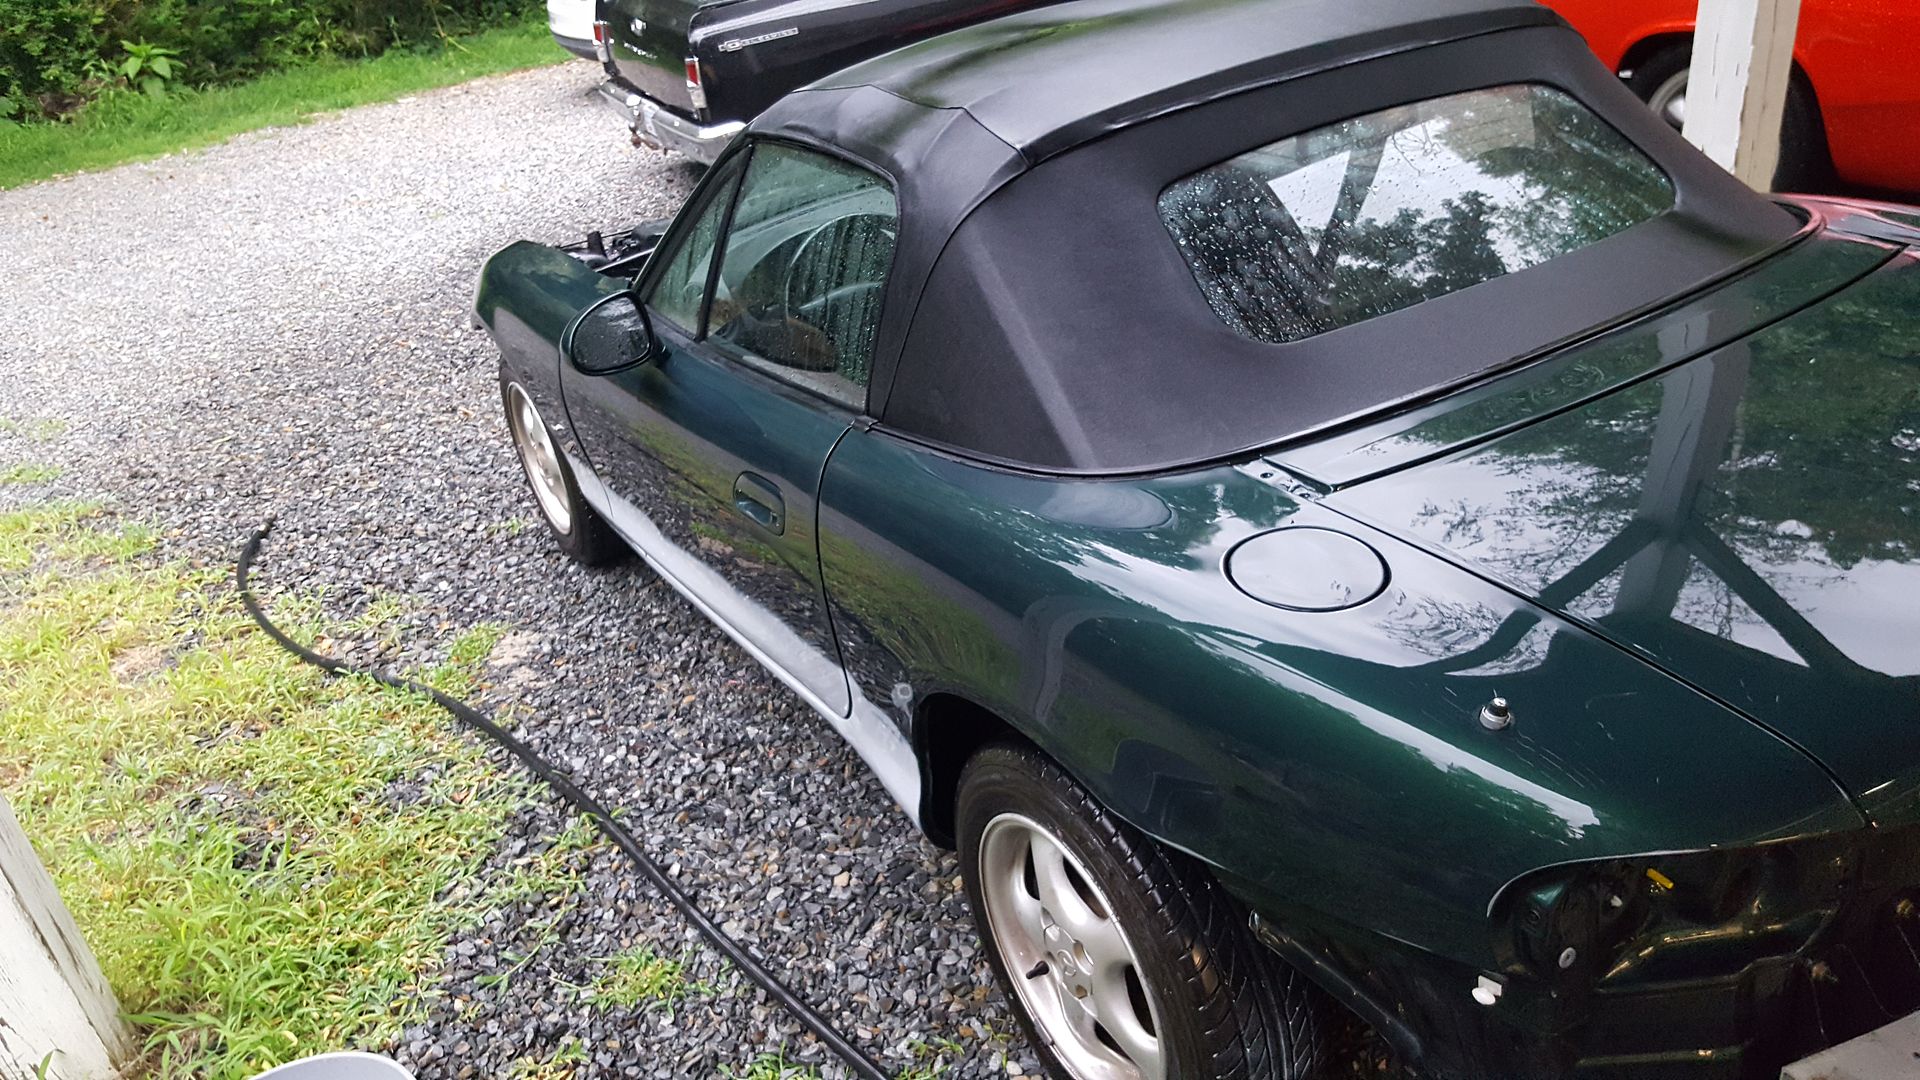
I had also painted the rear bumper back to green somewhere in here. It looked great when I hung it. But overnight, there was some sort of reaction that caused the paint to become sticky and turn into the texture of brushed concrete. NOT HAPPY.
[URL=http://s54.photobucket.com/user/dusterbd13/media/2000%20miata/20170429_194619_zps0heymzqs.jpg.html]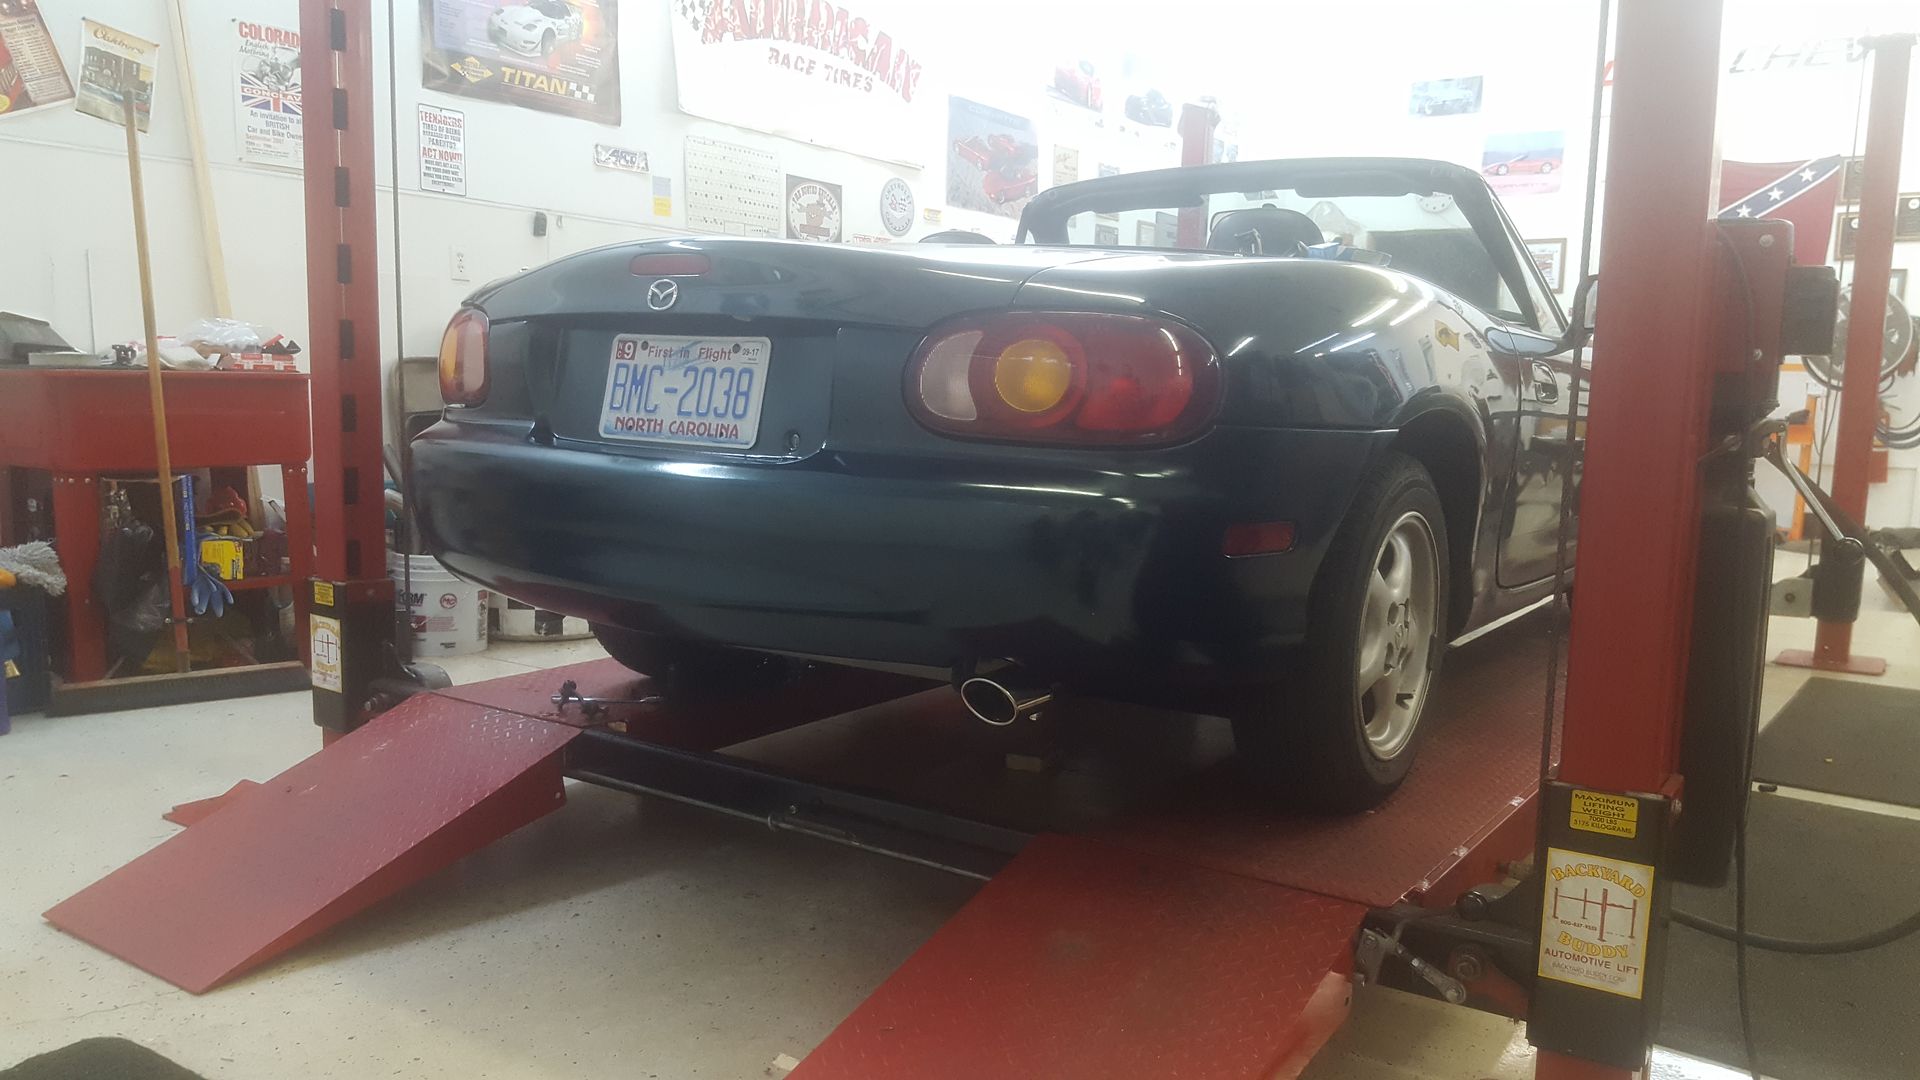 [/URL]
I then proceeded to pound another 4k on the odometer. Love this little car.
In that 4l, I got hit 3 different times, and ran off the road twice. All by people who swear they didn't see the little car that blends in with the grass. No real damage other than pride and scuffed paint. But I had to do something, or I was going to get killed. So the paint job came to the top of the list. I had previously decided against black after having seen a couple NBs done the way I was thinking. Then I thought about white, but couldn't really get into it. So I thread was posted asking for phostoshop help. I was thinking about my mopar roots, and their high impact colors for the muscle car era. Panther pink, plum crazy purple, hemi orange, tor-red, and hemi orange. As well as limelight green. Top banana yellow was also considered. All were given a quick and dirty photoshop by gameboyrmh down in the tropical islands (if he ever comes to America I owe him a beer). The two top contender quickly became petty blue and hemi orange.
Now, a couple of years ago, I woned a 1997 neon ACR in Lapis Blue. One of 3 known to exist in that combination. I loved that car, and still regret having to sell it to cover medical expenses. But, I did what I had to do. This is the car:
[URL=http://s54.photobucket.com/user/dusterbd13/media/the%20ACR/025-2.jpg.html]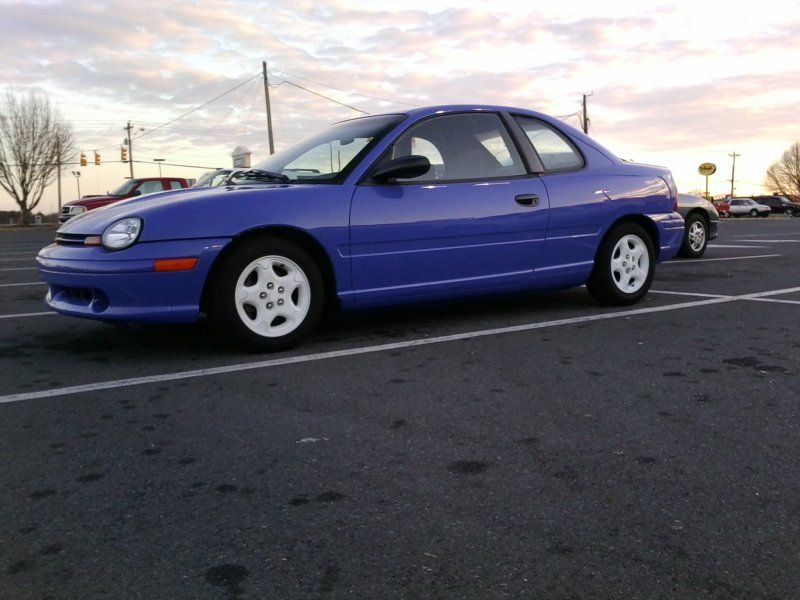 [/URL]
It pushed me over the edge to blue when I found that picture.
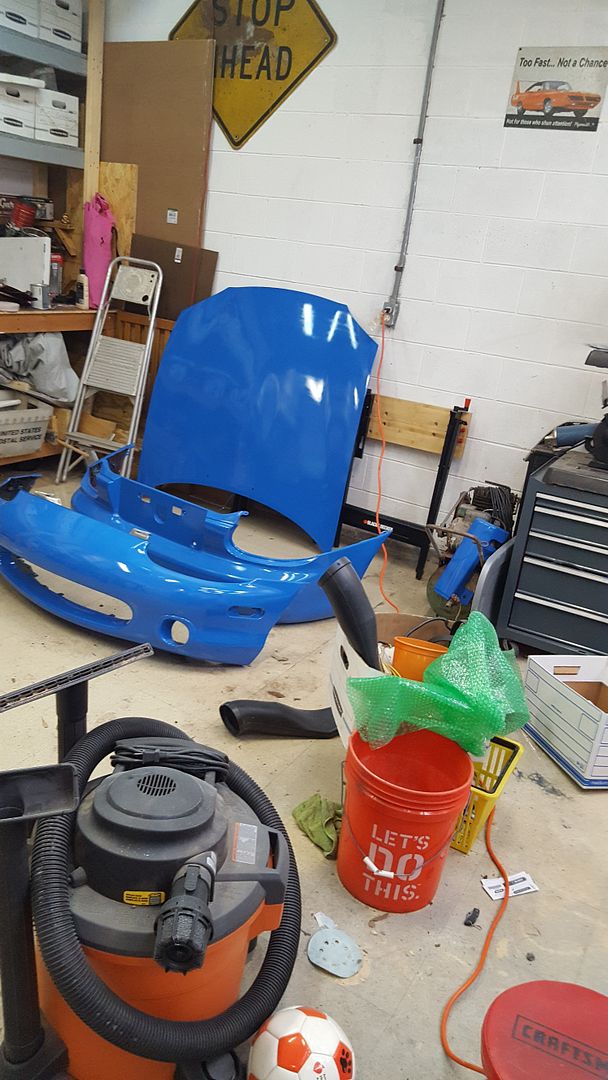
Now, with my wife being out of work, and this car being an essentially valueless mileage sponge, I didn't want to actually spend money on a paint job. In digging around, I ca,e across people using rustoleum rattle cans and roller applied, with multiple year results. Seemed to be what I was looking for. So I bought a few rattle cans of sail blue. Looked to be pretty close to either lapis blue or petty blue. Shot a test piece (the front fender chunk of the bidy kit)
[URL=http://s54.photobucket.com/user/dusterbd13/media/2000%20miata/20170617_205747_zpsok7gxxyj.jpg.html]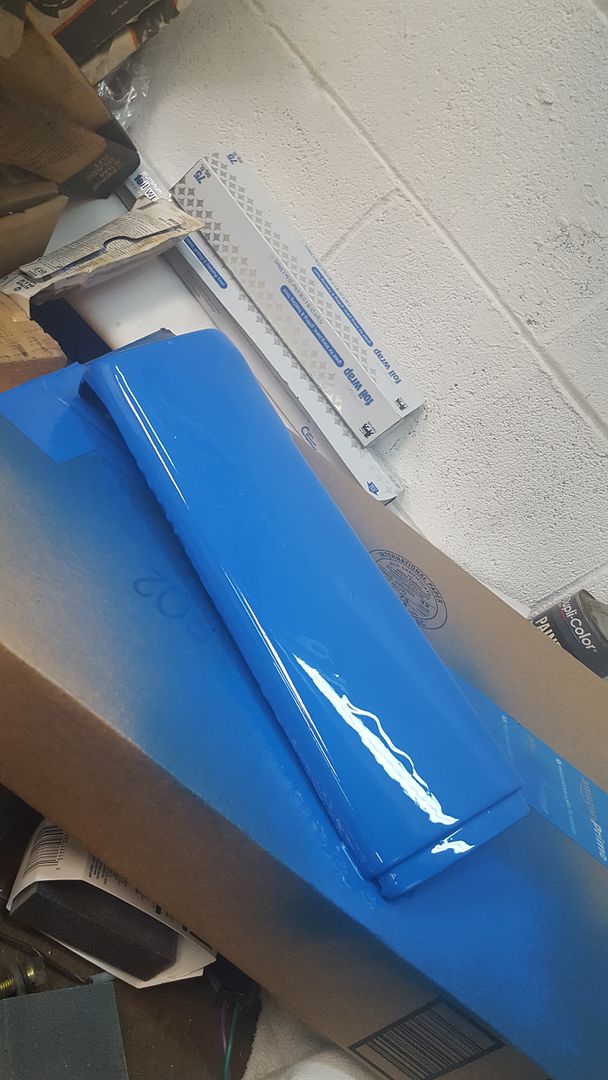 [/URL]
Perfect. Even glossy enough with good depth right out of the can!! So, I thought to myself, ive sprayed satin paint jobs before and they looked great. I can do this! (this picture for reference. All the supplies I used throughout the paint job)
[URL=http://s54.photobucket.com/user/dusterbd13/media/2000%20miata/20170624_184925_zps1j78yhqr.jpg.html]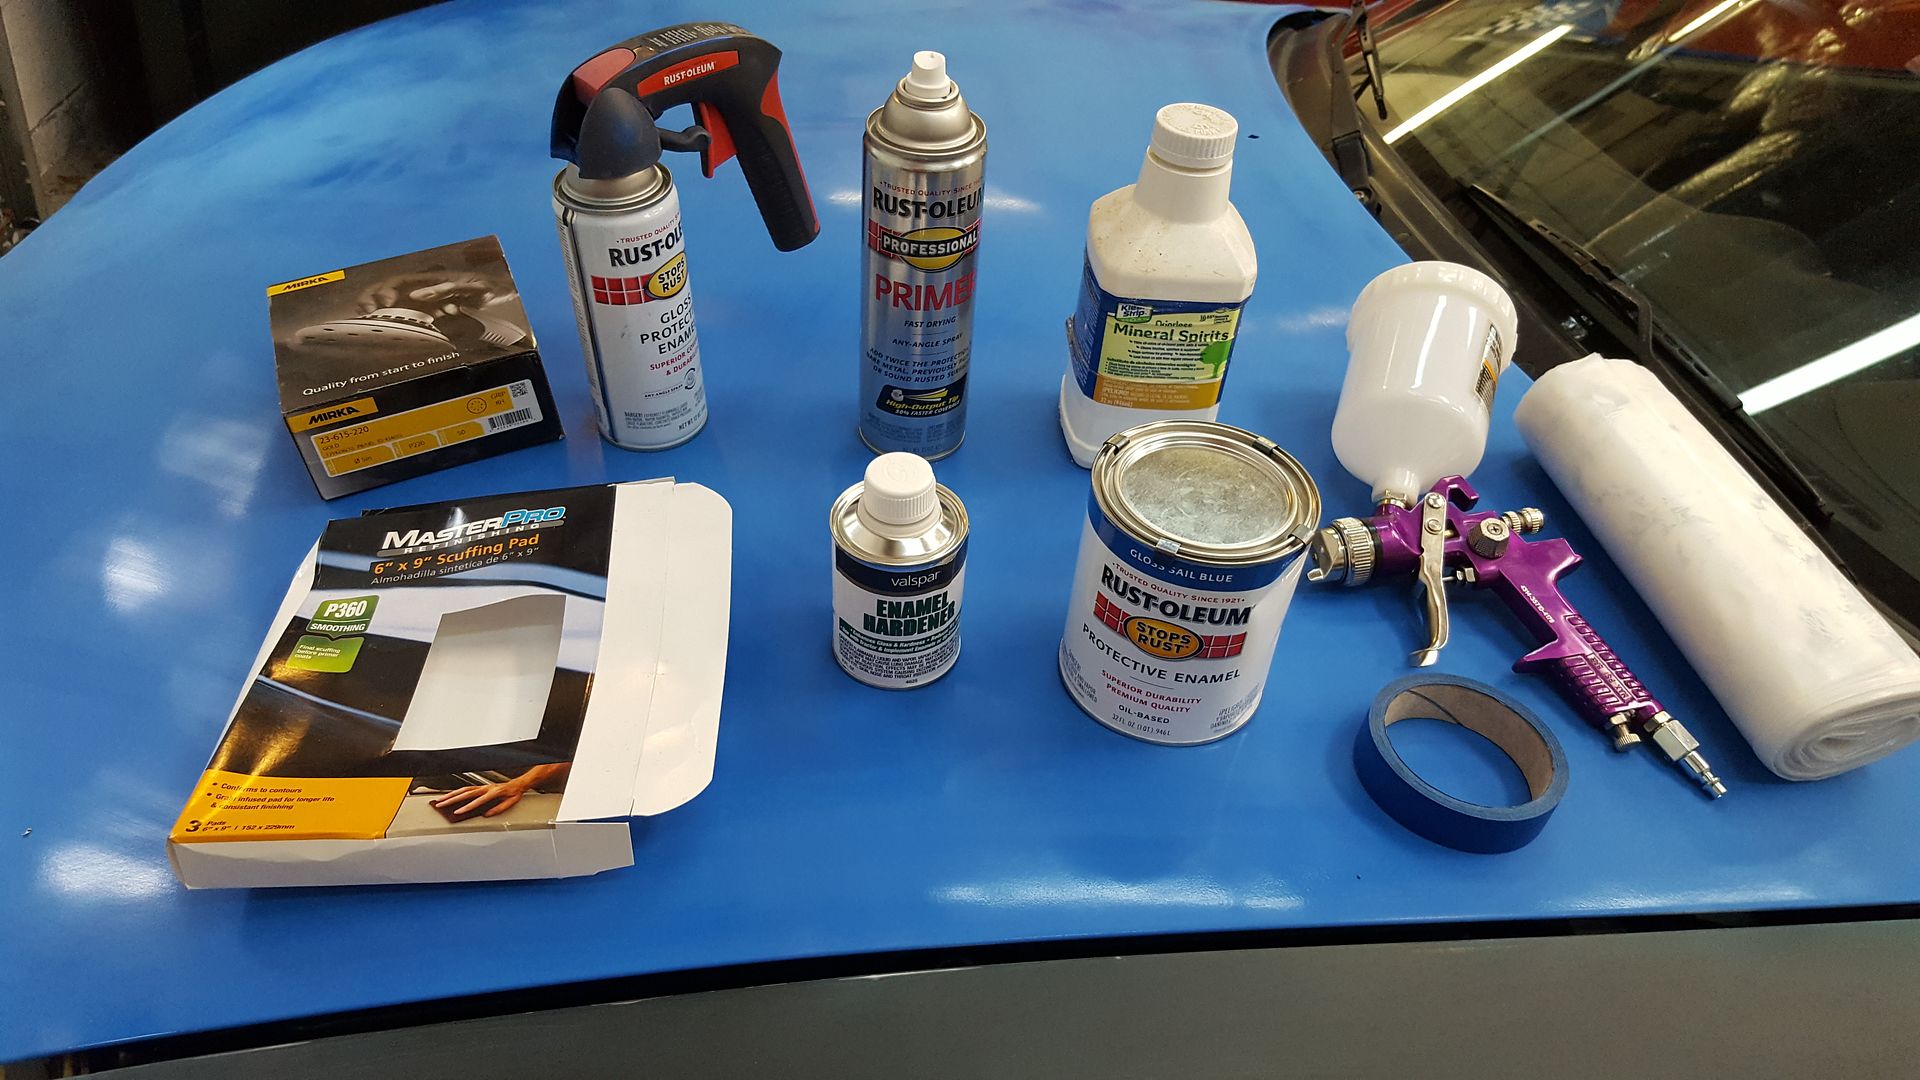 [/URL]
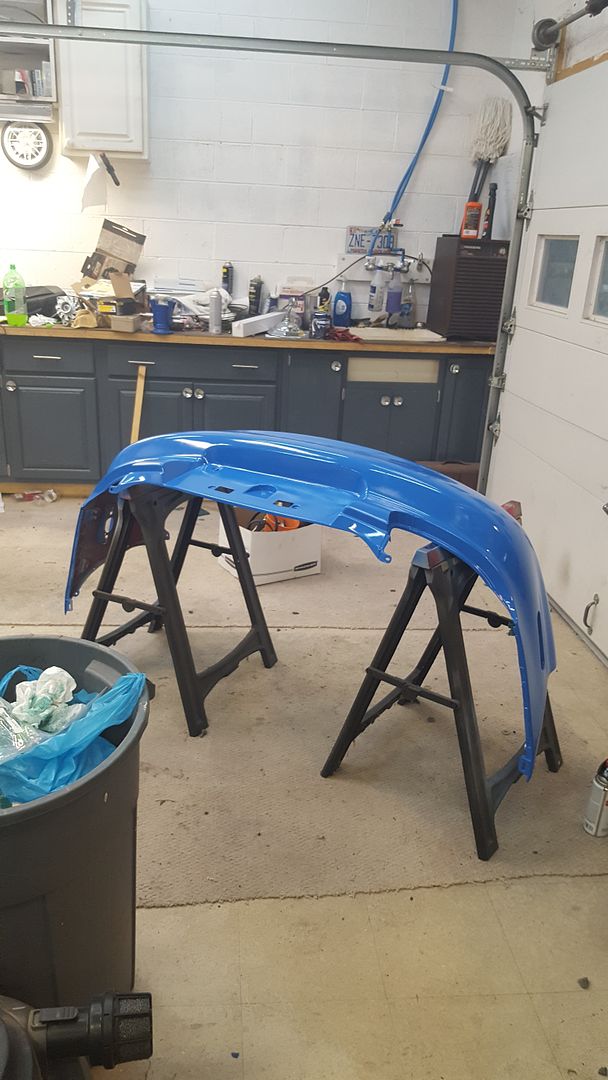
So I stripped the odd paint off the rear bumper, and re-primed with some leftover rustoleum primer I had. (if you look n the background of most pictures, you will see just how much crap I have laying around. I need to keep purging with extreme prejudice.) and shot it in blue.
[URL=http://s54.photobucket.com/user/dusterbd13/media/2000%20miata/20170619_194734_zpss1wsxfqi.jpg.html]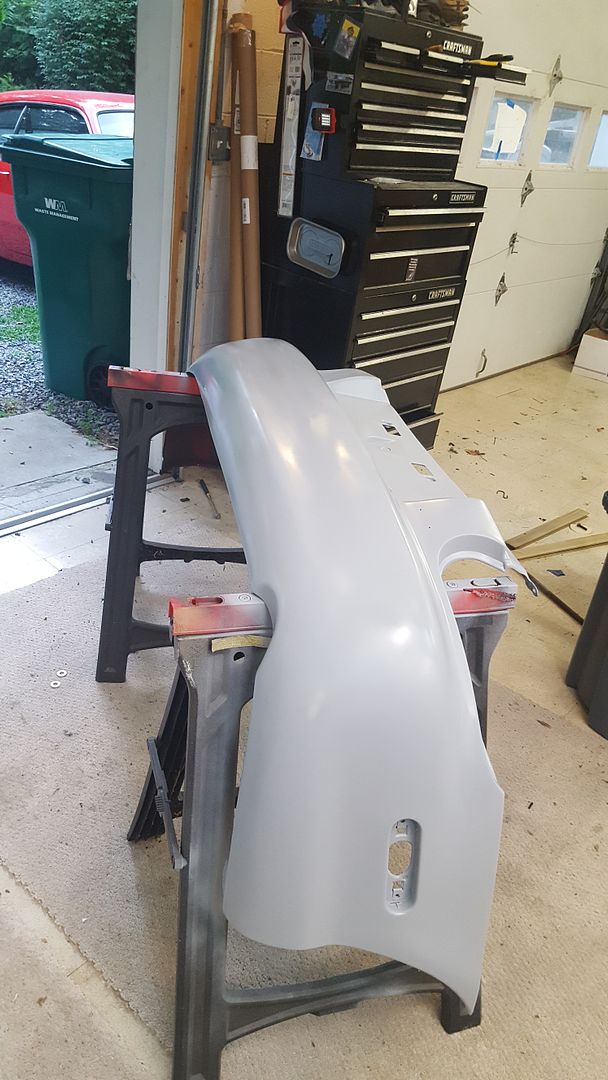 [/URL]
[URL=http://s54.photobucket.com/user/dusterbd13/media/2000%20miata/20170619_195419_zpsuvq8frqr.jpg.html]
 [/URL]
Looked great!
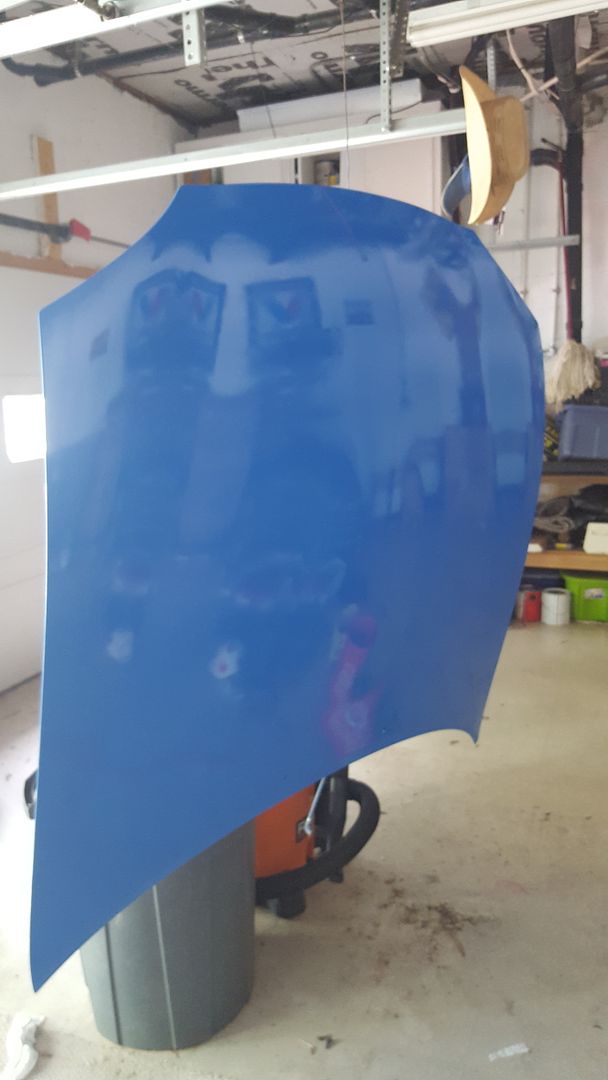
Moved onto the hood. There was clear coat damage, chips. Scratches down to the metal, etc. So I fired up my electric DA palm sander with some 220 mirka paper I got from amazon, feathered it all in, hunk the hood up, and painted it. This is when I learned that rustoleum spray cans, unlike krylon or duplicolor, has overspray that stays wet FOREVER. Turned my new dehumidifier blue, part of the floor blue (the VCT is wrecked from a gas spill, so no big loss), my nose hair and mustache blue....
And tiger-striped to beat the band. Looked like absolute crap.
[URL=http://s54.photobucket.com/user/dusterbd13/media/2000%20miata/20170620_090449_zpsbbwwovqb.jpg.html]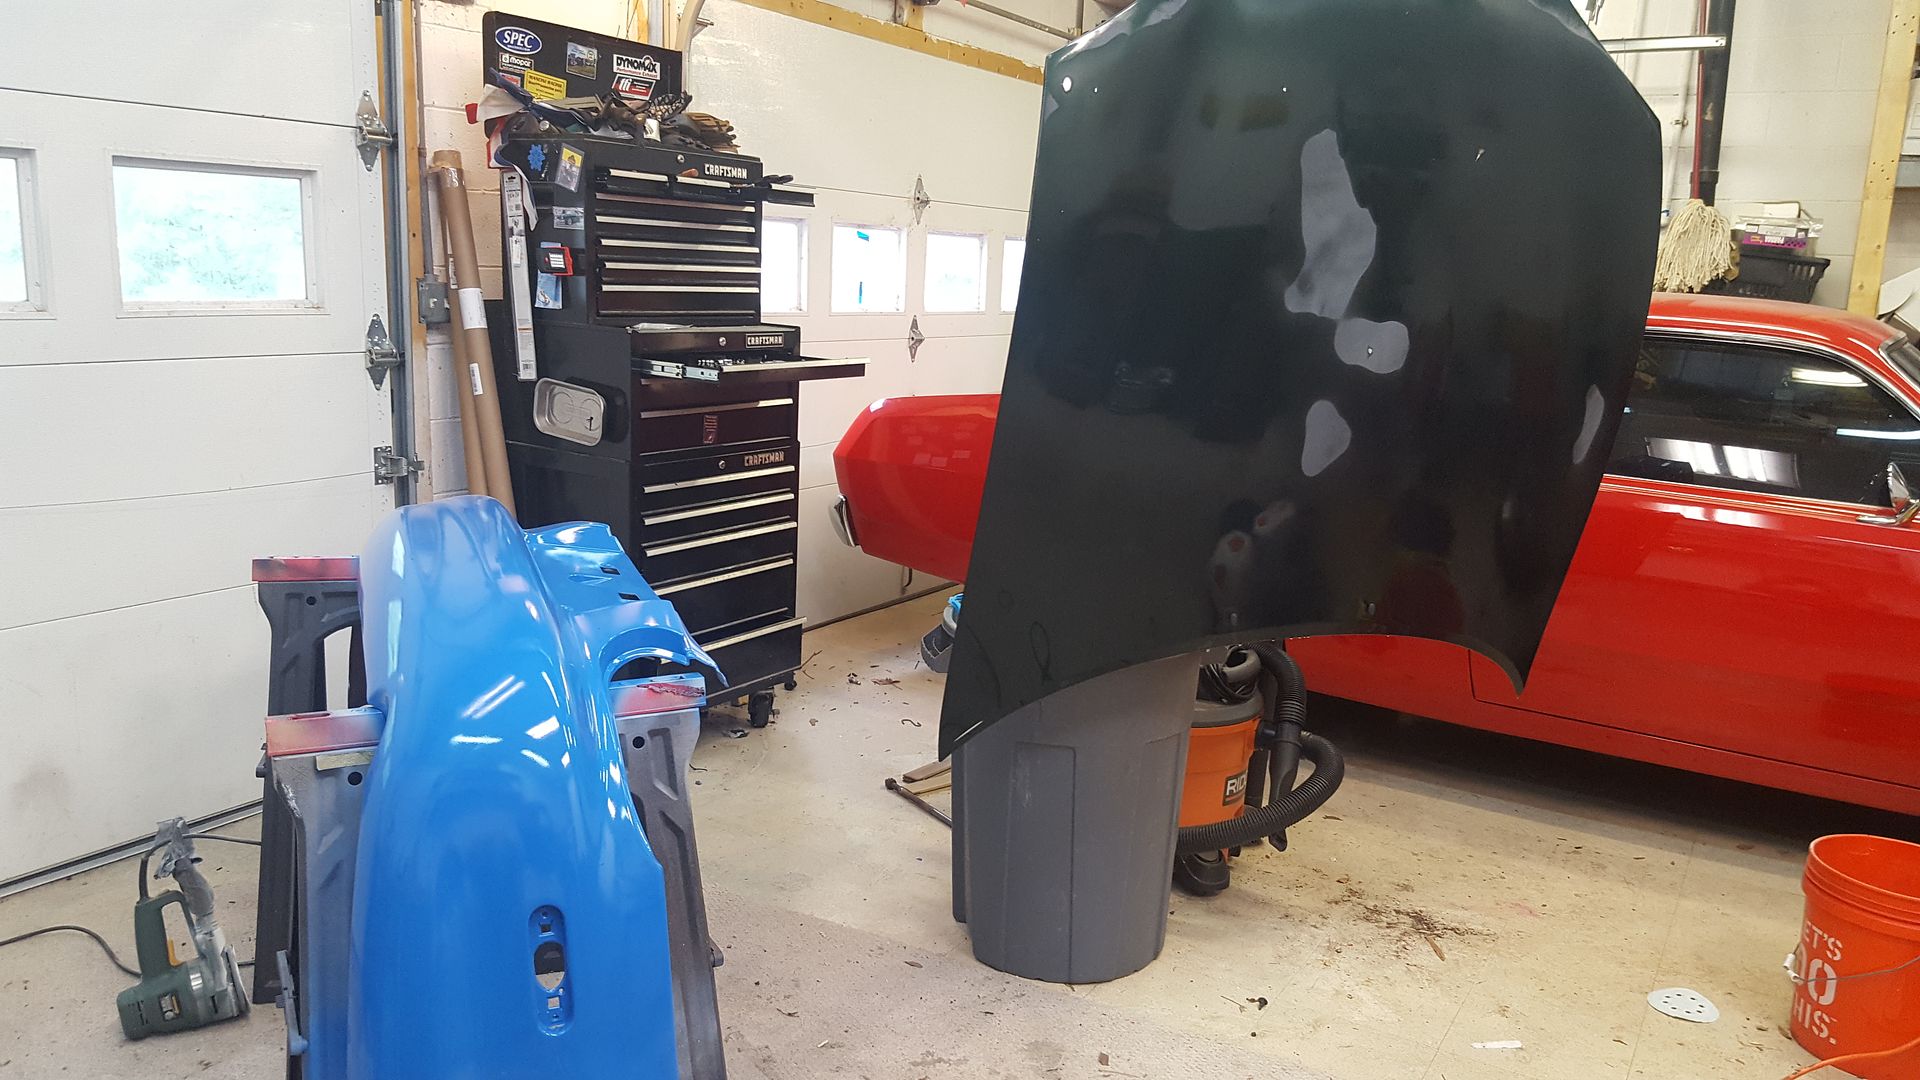 [/URL]
[URL=http://s54.photobucket.com/user/dusterbd13/media/2000%20miata/20170620_113828_zpsu0txk1kr.jpg.html]
 [/URL]
While I thought about how to fix the hood, I went ahead and did the front bumber, appearance package parts in rattle can.
[URL=http://s54.photobucket.com/user/dusterbd13/media/2000%20miata/20170622_191108_zps31ax67uf.jpg.html]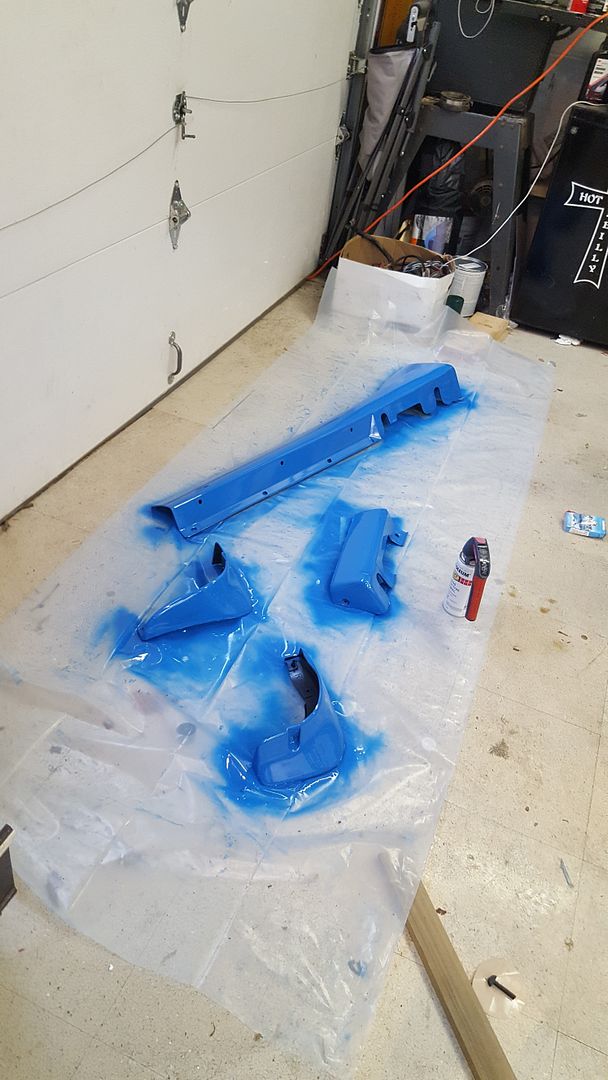 [/URL]
[URL=http://s54.photobucket.com/user/dusterbd13/media/2000%20miata/20170622_191110_zpsmwazbcvt.jpg.html]
 [/URL]
I had no idea how to fix the tiger-striping issue on the hood, and only made it worse with subsequent attempts. So I called my two buddies that do paint and body, and asked for their opinions. One had never attempted anything even remotely like this. The other (art) has done it before, and told me to wait for a good winter day with cold temps and no humidity. Then you can spray with no striping. Striping caused by the thinner paint drying quicker at the edges. Well crap. He brought up spraying it from an HVLP gun. I told him I never did that, and it would have to be outside. He volunteered to teach me. So, this escalated quickly.....
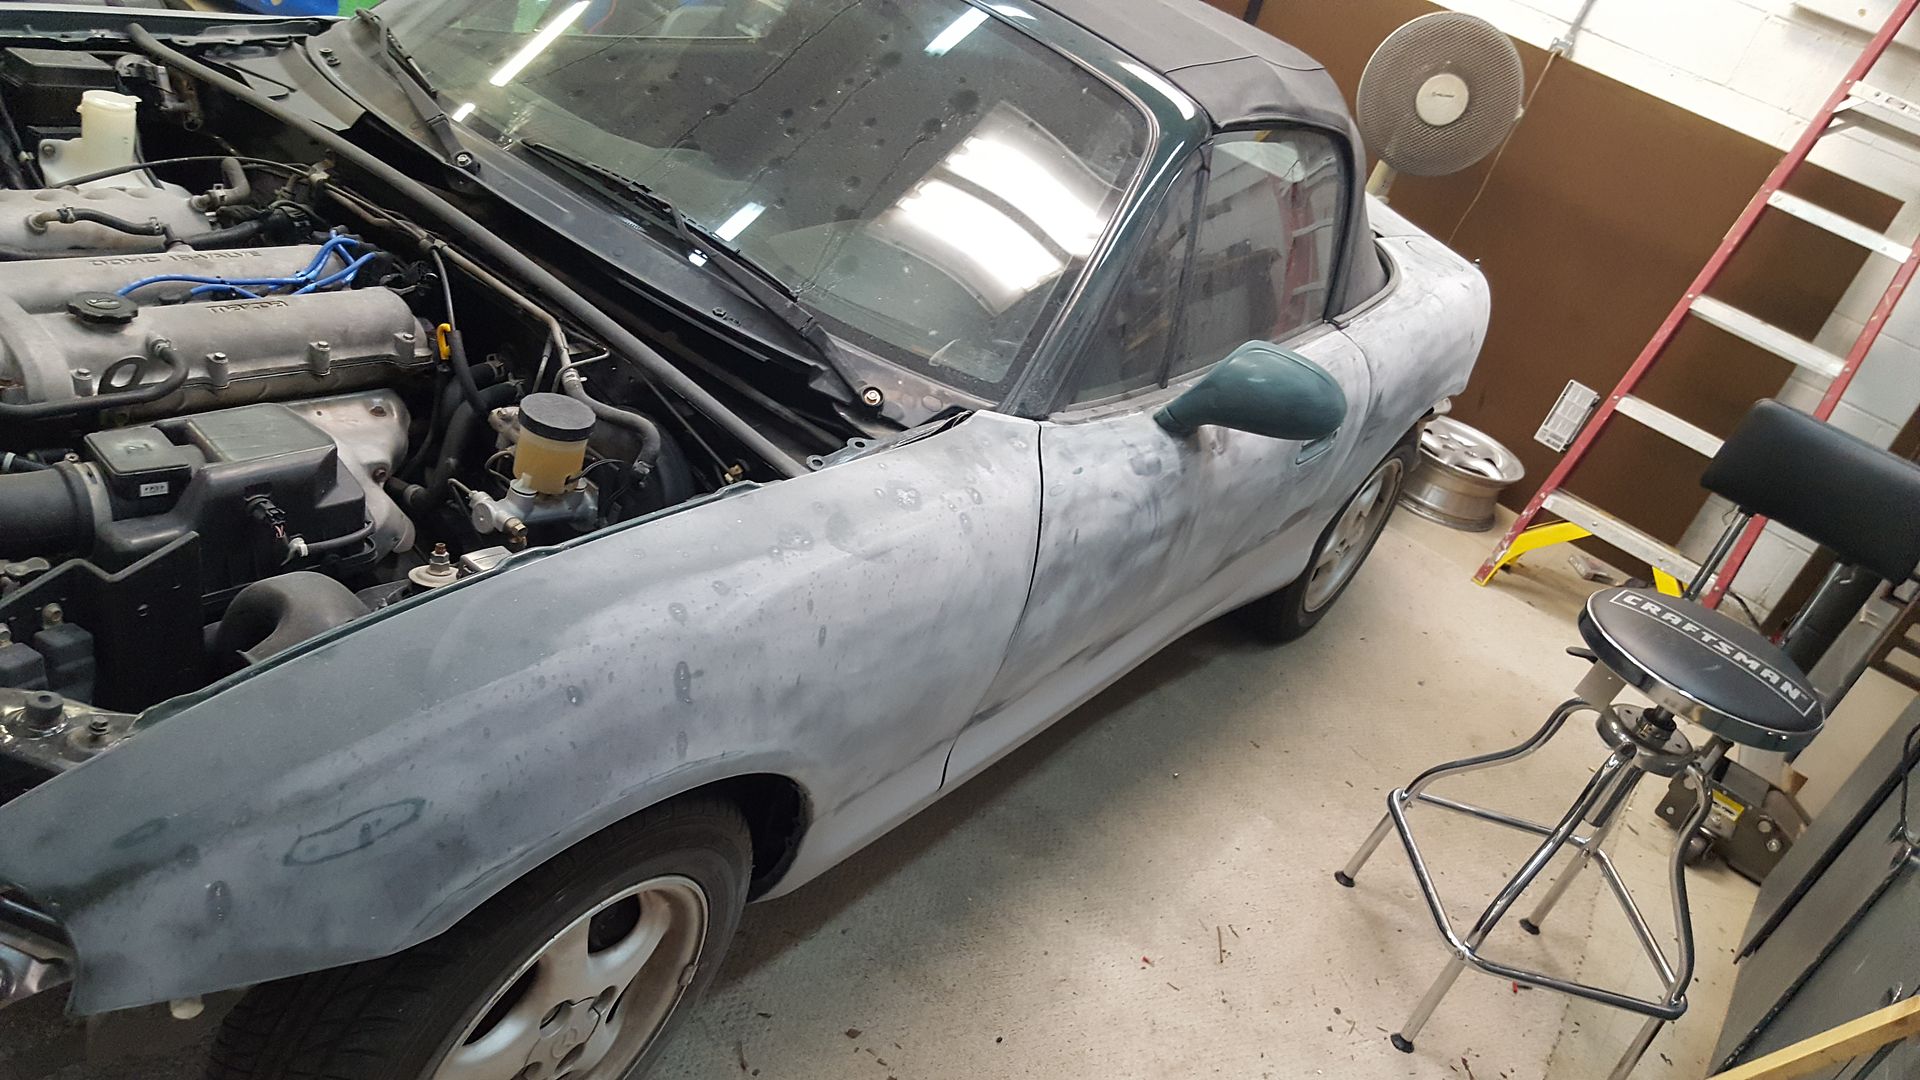
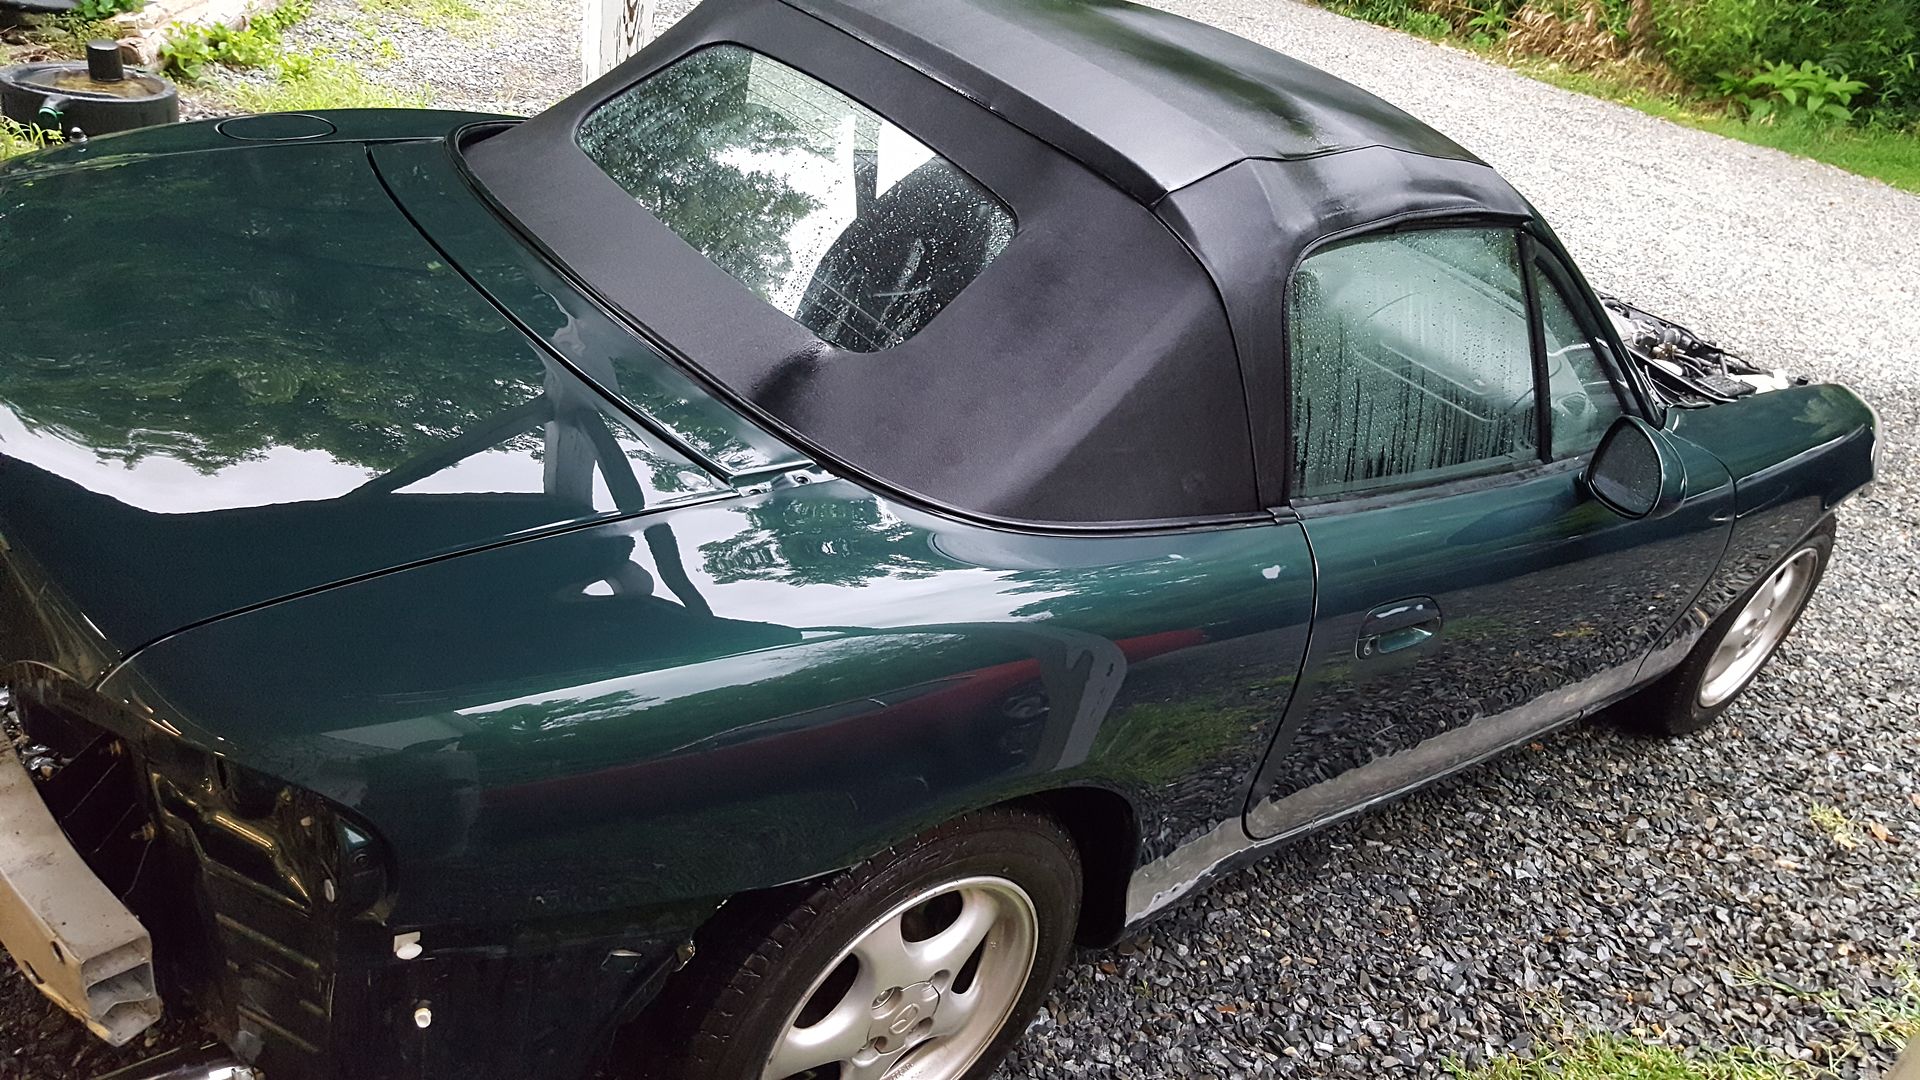
I began by stripping the grave guard off the rockers and doors. Used one of the 3M brown coral looking wheels that they sell at wal mart. Worked great! Scuffed the rest of the body with 220, followed by washing and sanding with 340 grit brown scuff pads and dawn suds in the bucket. Did this a few times.
[URL=http://s54.photobucket.com/user/dusterbd13/media/2000%20miata/20170622_191116_zpsjmremmaj.jpg.html]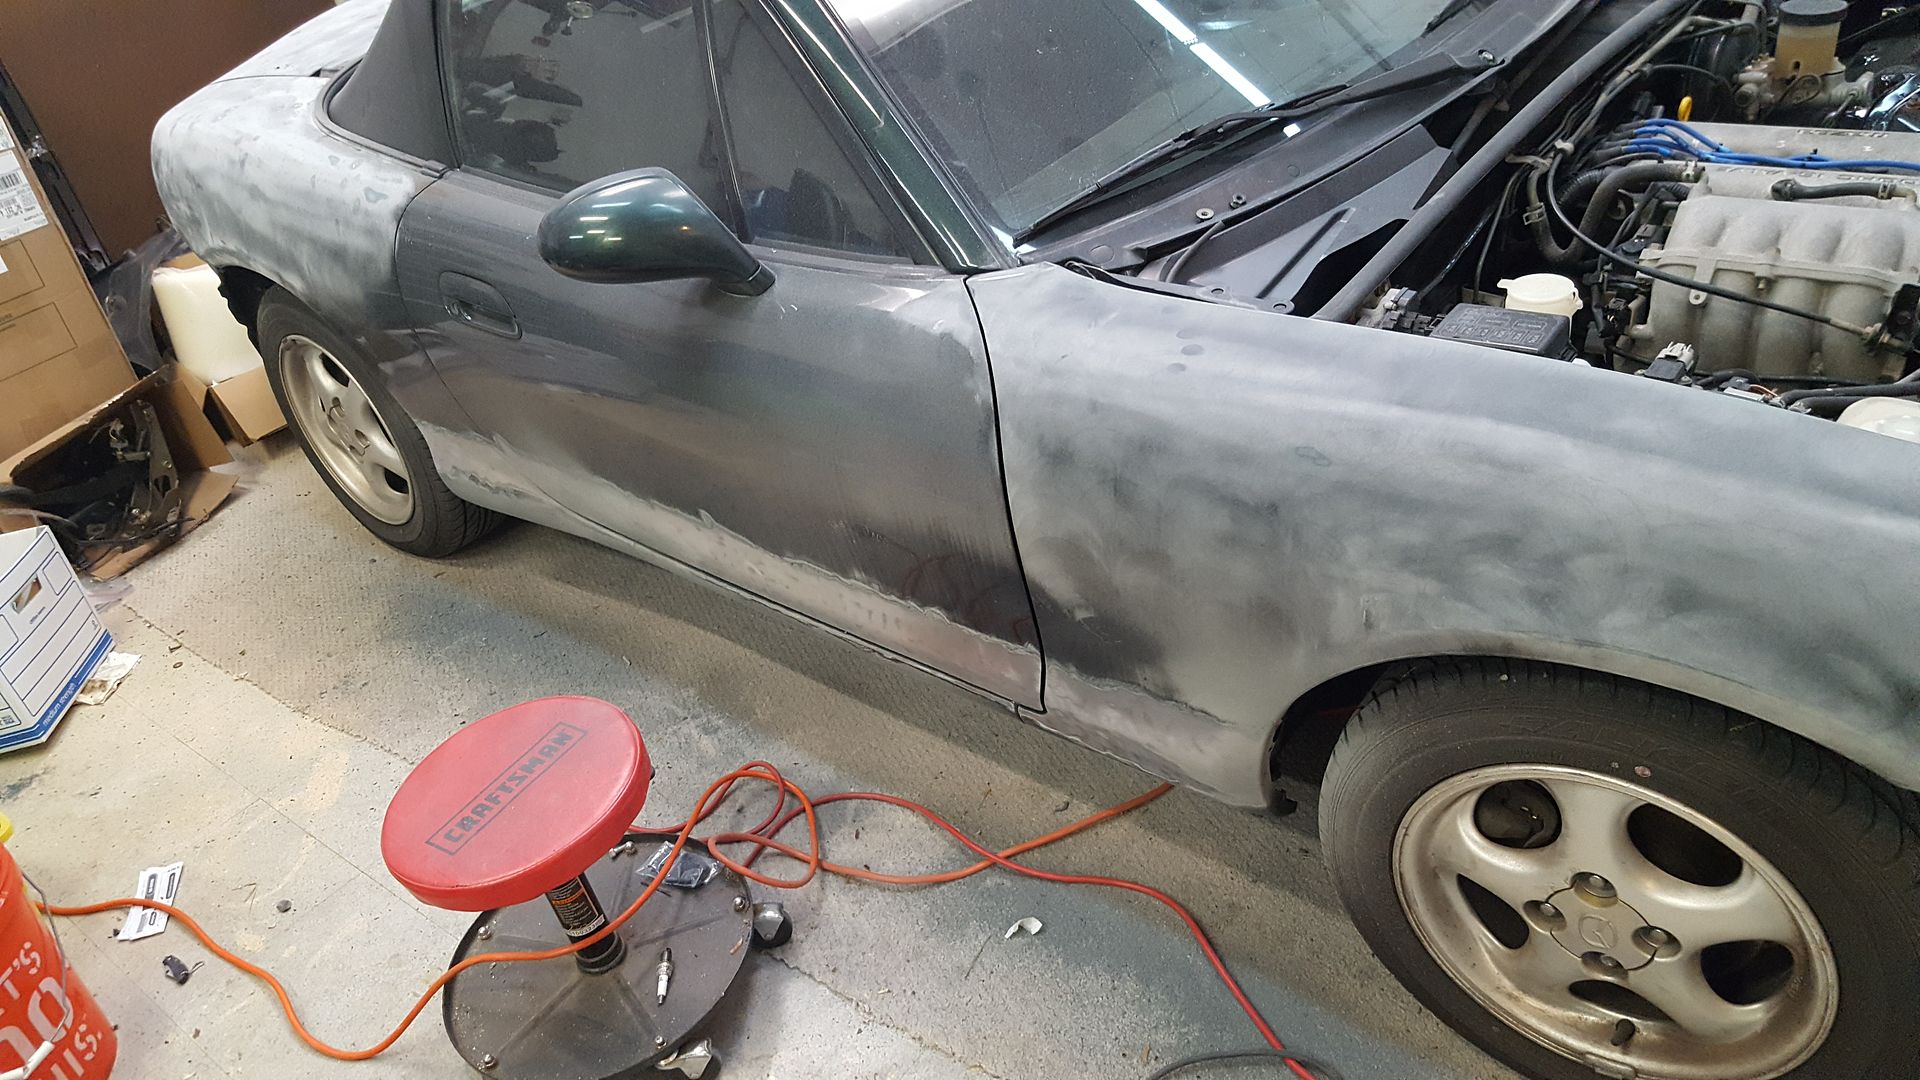 [/URL]
[URL=http://s54.photobucket.com/user/dusterbd13/media/2000%20miata/20170622_191125_zpsszrtphnc.jpg.html]
 [/URL]
[URL=http://s54.photobucket.com/user/dusterbd13/media/2000%20miata/20170622_194841_zpseos5rljx.jpg.html]
 [/URL]
[URL=http://s54.photobucket.com/user/dusterbd13/media/2000%20miata/20170622_194851_zps1n2g5zqy.jpg.html]
 [/URL]
When it dried, I used the rattle cans to add a first coat on the edged and such that always seem thin when art paints a car.
[URL=http://s54.photobucket.com/user/dusterbd13/media/2000%20miata/20170623_081620_zps3vprn3fh.jpg.html]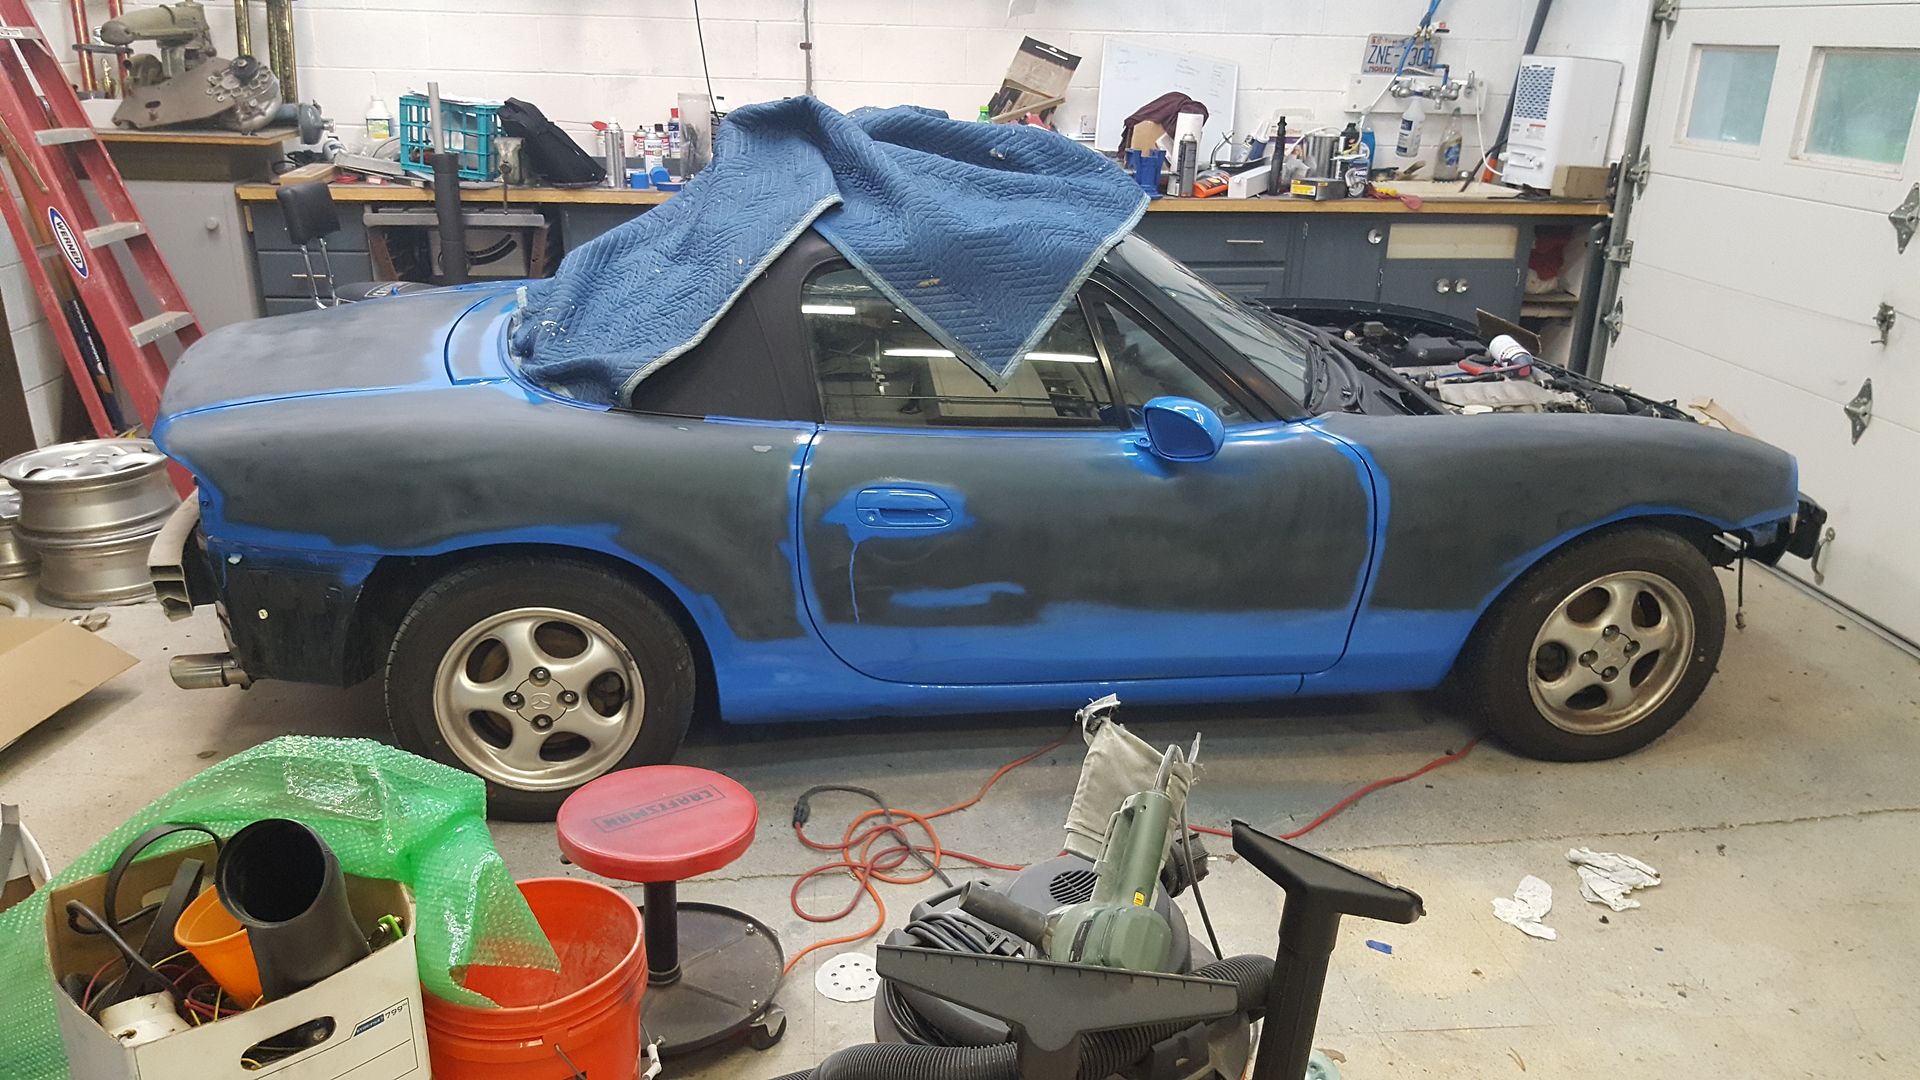 [/URL]
I also used some semigloss black john deere paint on the windshield surround
[URL=http://s54.photobucket.com/user/dusterbd13/media/2000%20miata/20170623_133412_zpshv1njjsi.jpg.html]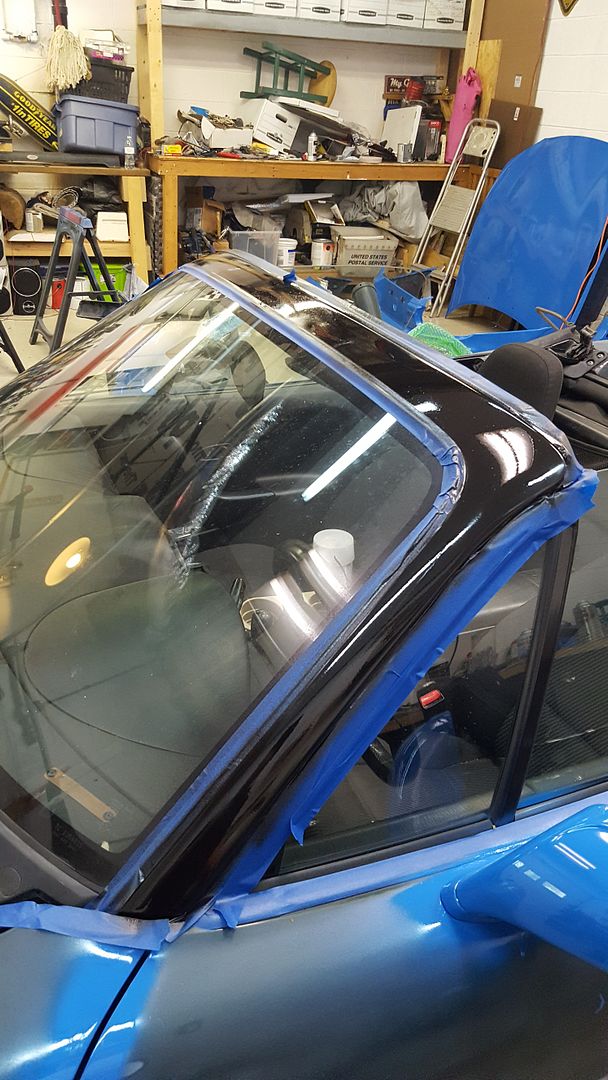 [/URL]
And then hung all the body panels on loosely. Reason for loosely is so paint could work its way into nooks and crannies easier, making it look a lot better when finished. At least that's the reasoning in my head....
[URL=http://s54.photobucket.com/user/dusterbd13/media/2000%20miata/20170623_160814_zpshg94csoc.jpg.html]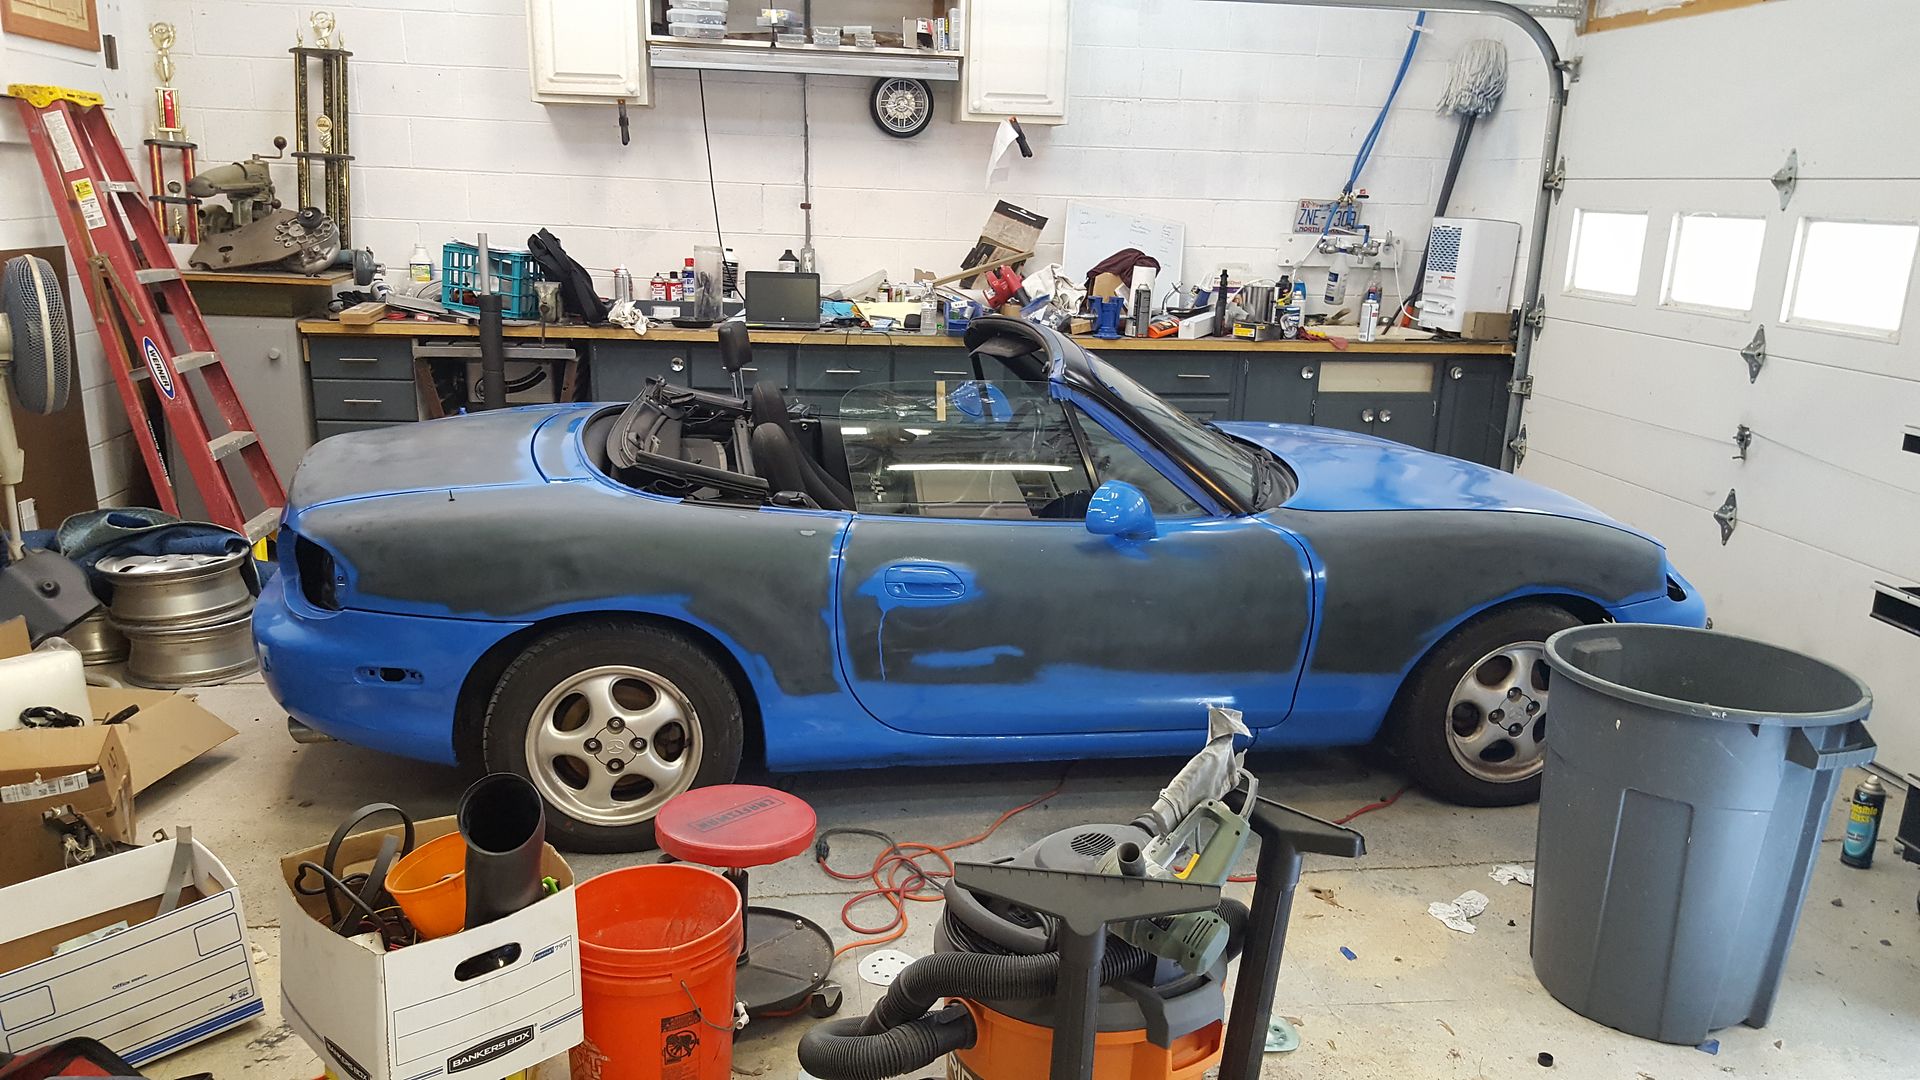 [/URL]
Outside for a couple more SOS pad and dish washing soap washes.
[URL=http://s54.photobucket.com/user/dusterbd13/media/2000%20miata/20170623_200617_zpsmxssngta.jpg.html]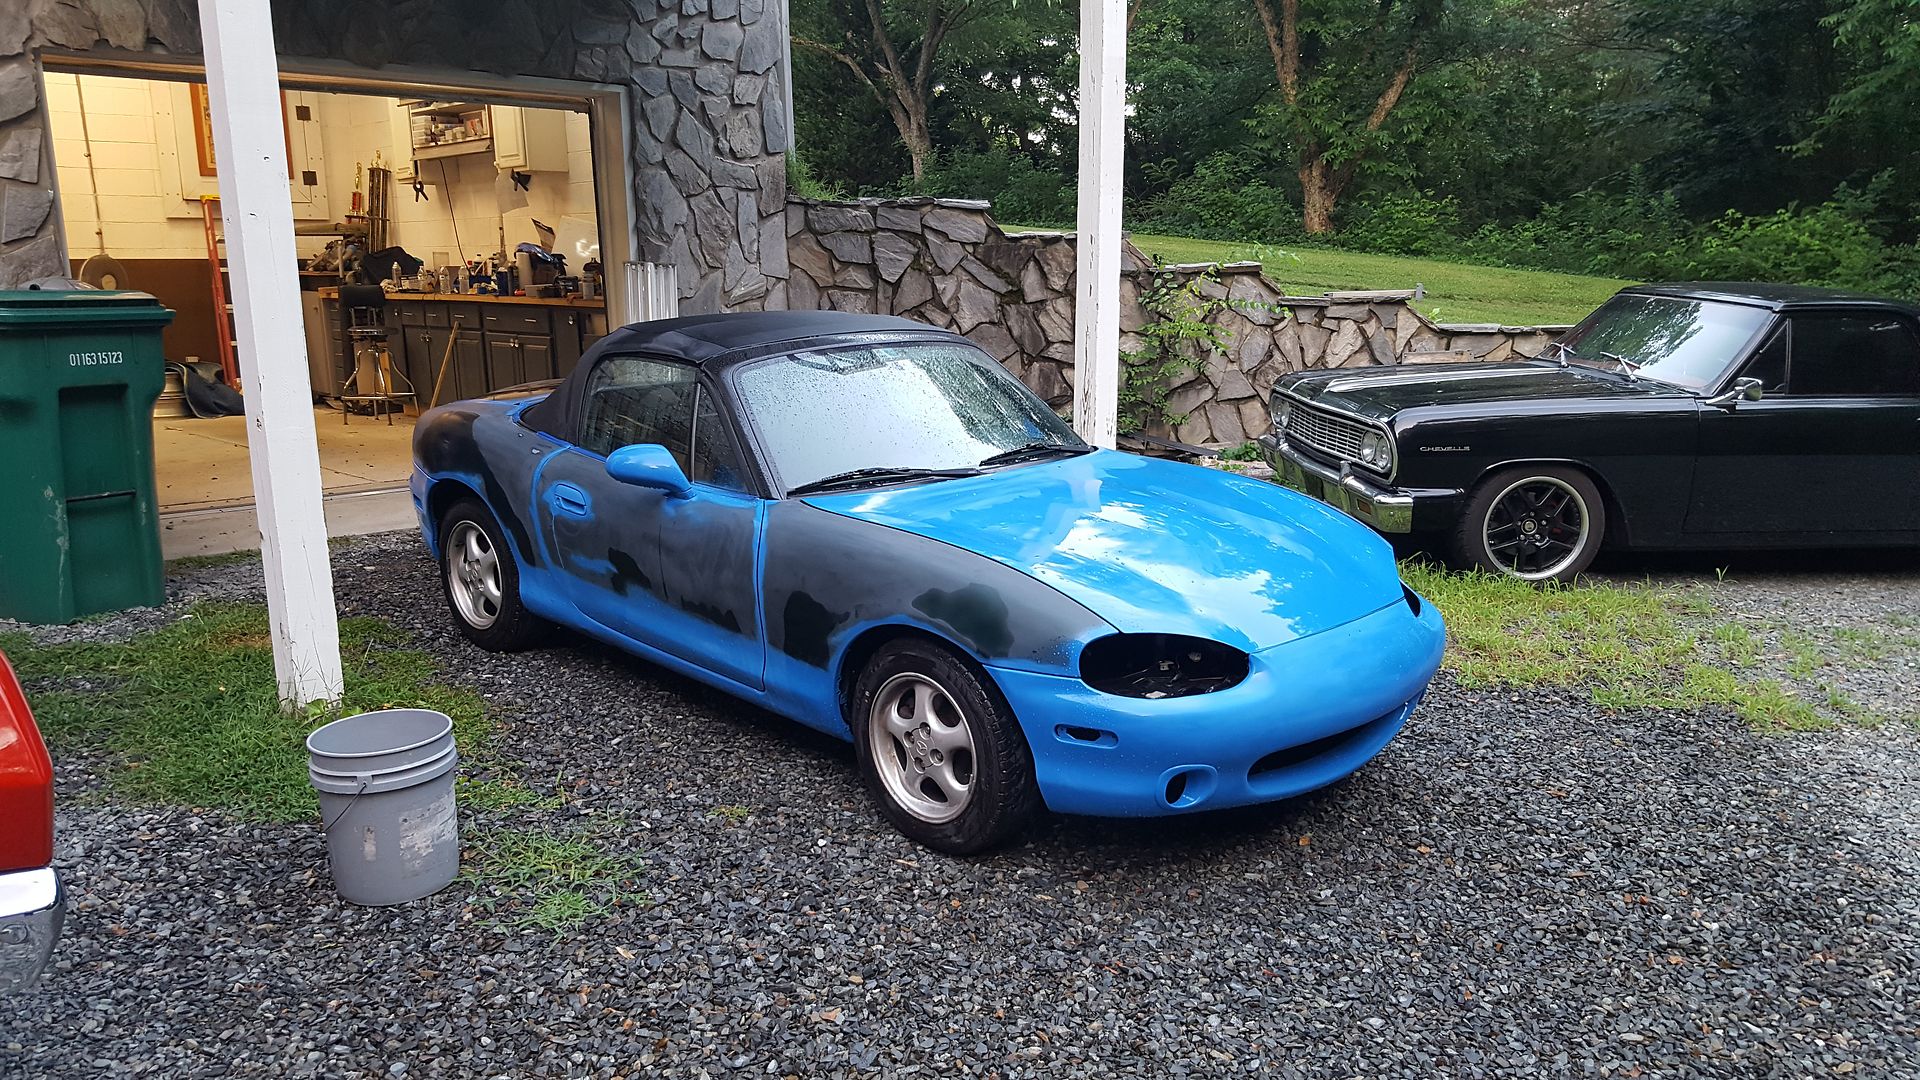 [/URL]
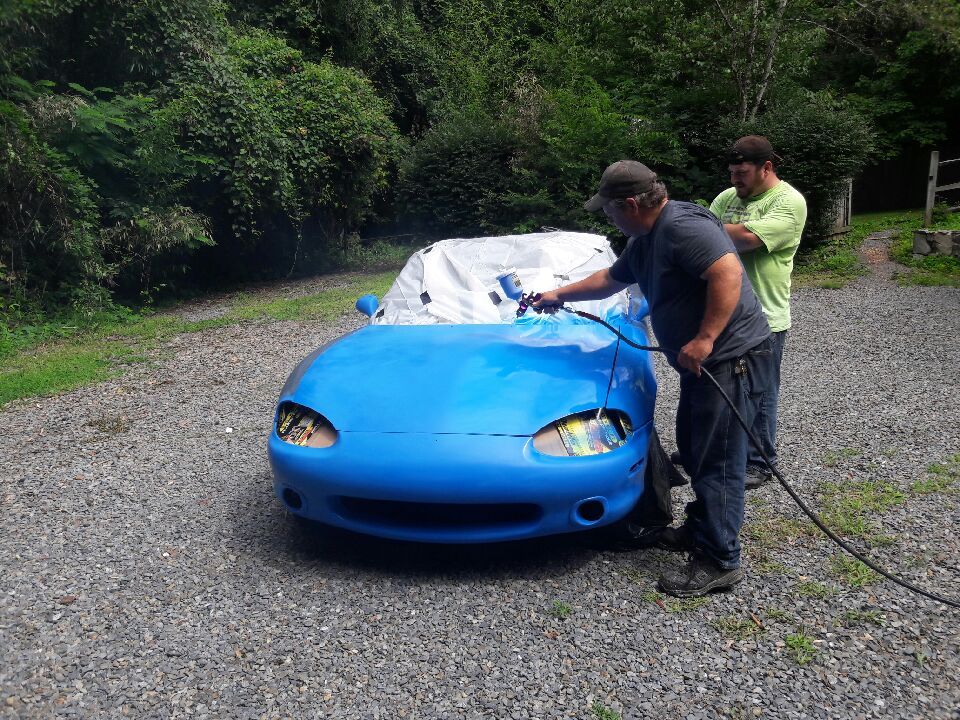
This morning was paint day. Pulled the car outside, and masked it off. As well as move all the other cars up the street or indoors. My buddy brad and his oldest son came down (the body guy that never tried anything like this) and art was coming to teach us.
Used plastic, painters tape, and duct tape to cover the top and engine bay, taped off the third brake light and side mirror glass and lock cylinders, and trash bags over the wheels. One last quick wipe-down with lacquer thinner for good measure.
[URL=http://s54.photobucket.com/user/dusterbd13/media/2000%20miata/20170624_184913_zpsgh964u0i.jpg.html]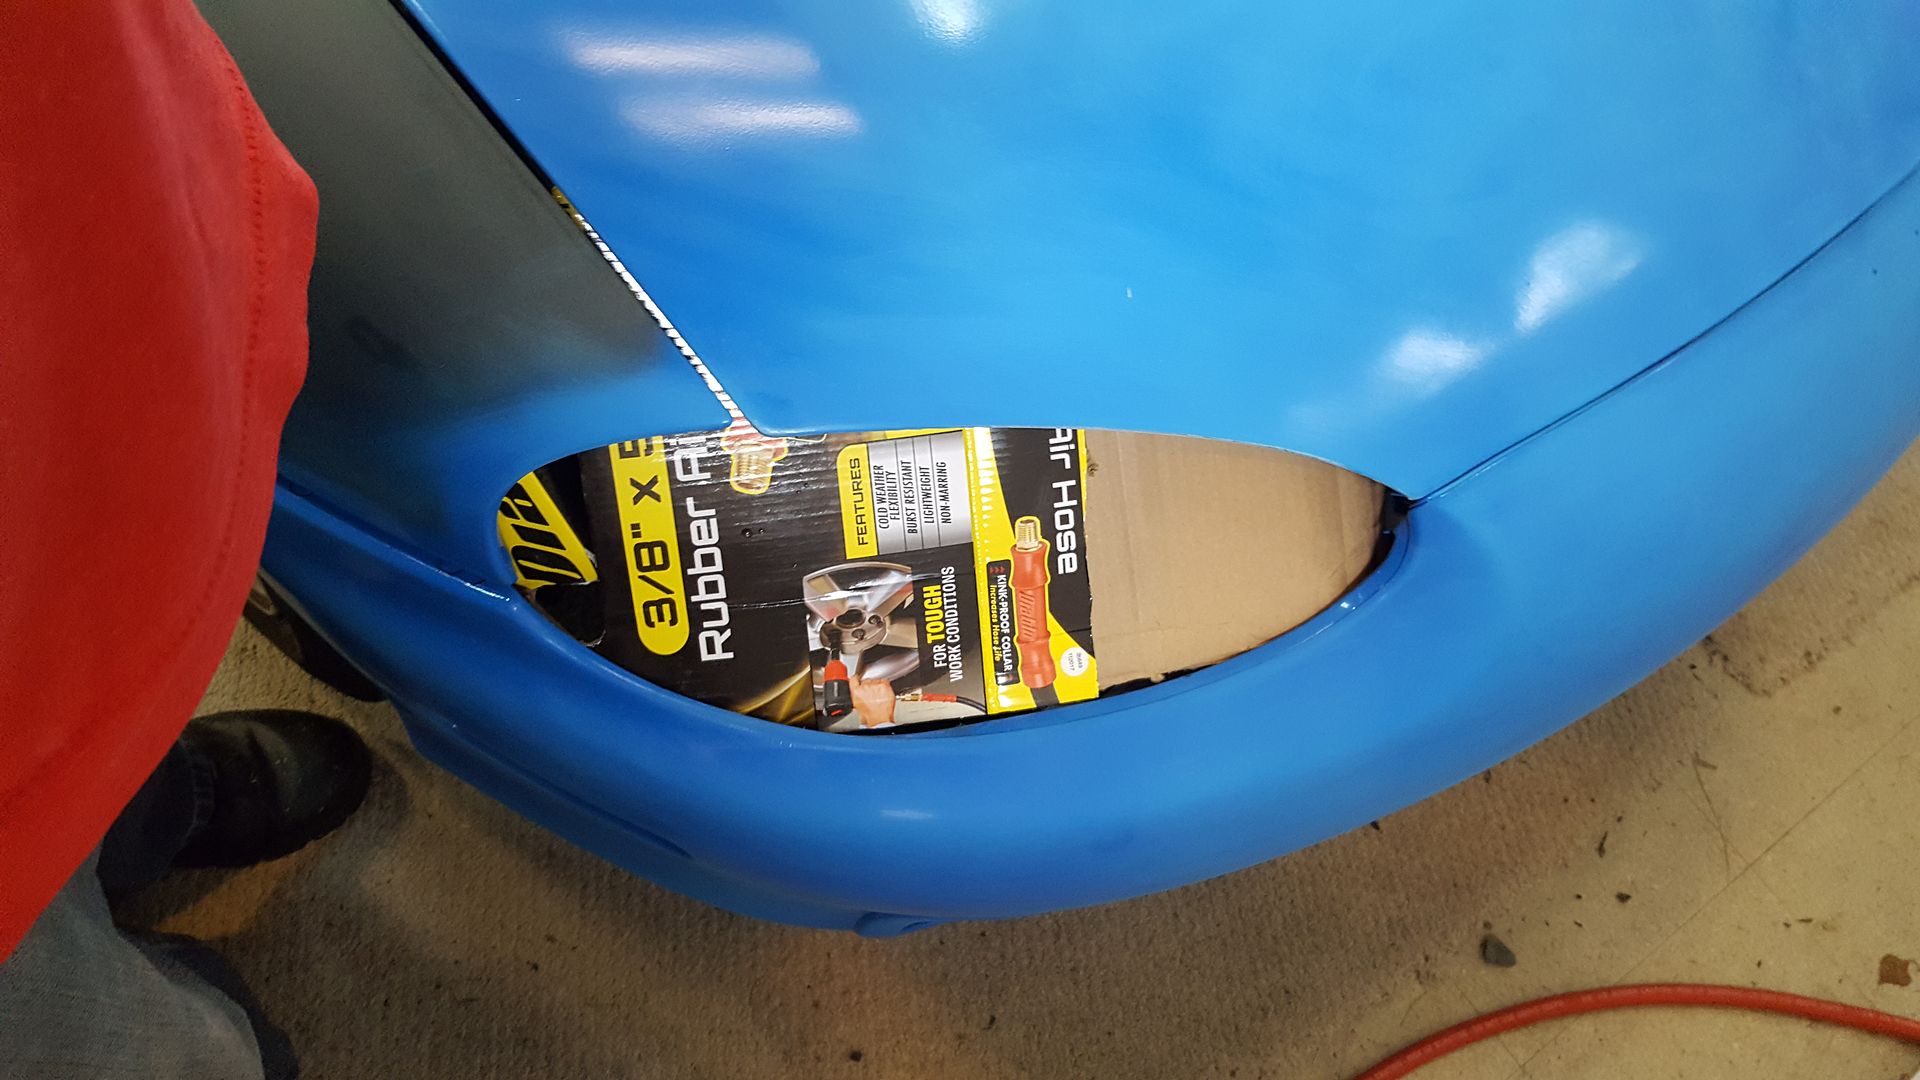 [/URL]
[URL=http://s54.photobucket.com/user/dusterbd13/media/2000%20miata/20170625_110616_1498418603912_zpskbbg7ssy.jpg.html]
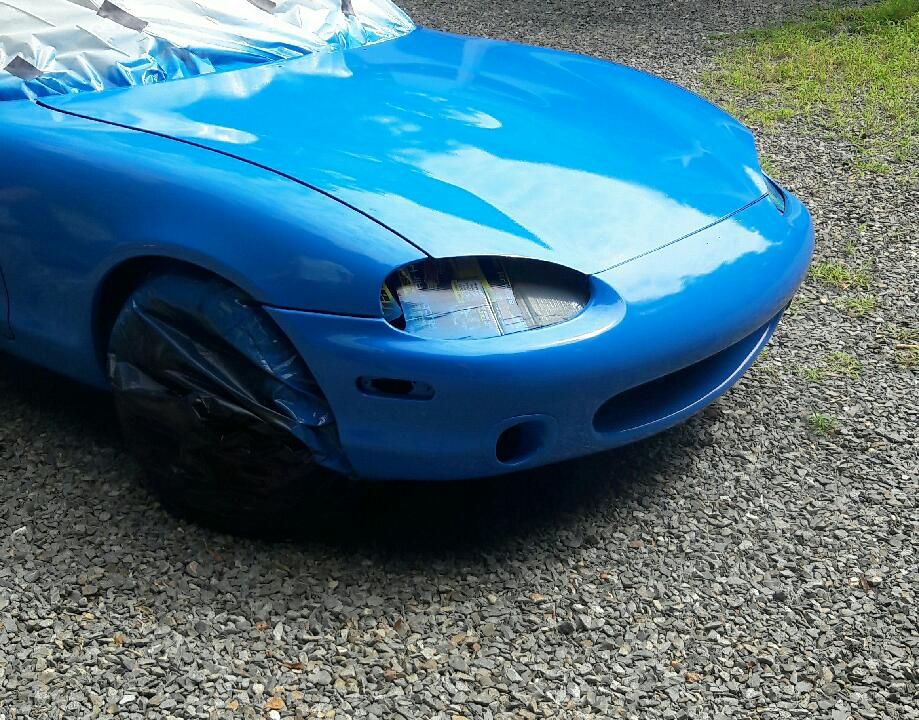 [/URL]
Art taught us mixing rustoleum (1:1 with mineral spirits, and a splash of hardener, about 1/4 inch worth in the mixing cup), and then taught me how to run the gun. Hes the guy in gray, im the guy in the green shirt. Art shot the first coat, I shot the next 3.
[URL=http://s54.photobucket.com/user/dusterbd13/media/2000%20miata/20170625_110206_1498420817149_zpslsj7gzkd.jpg.html]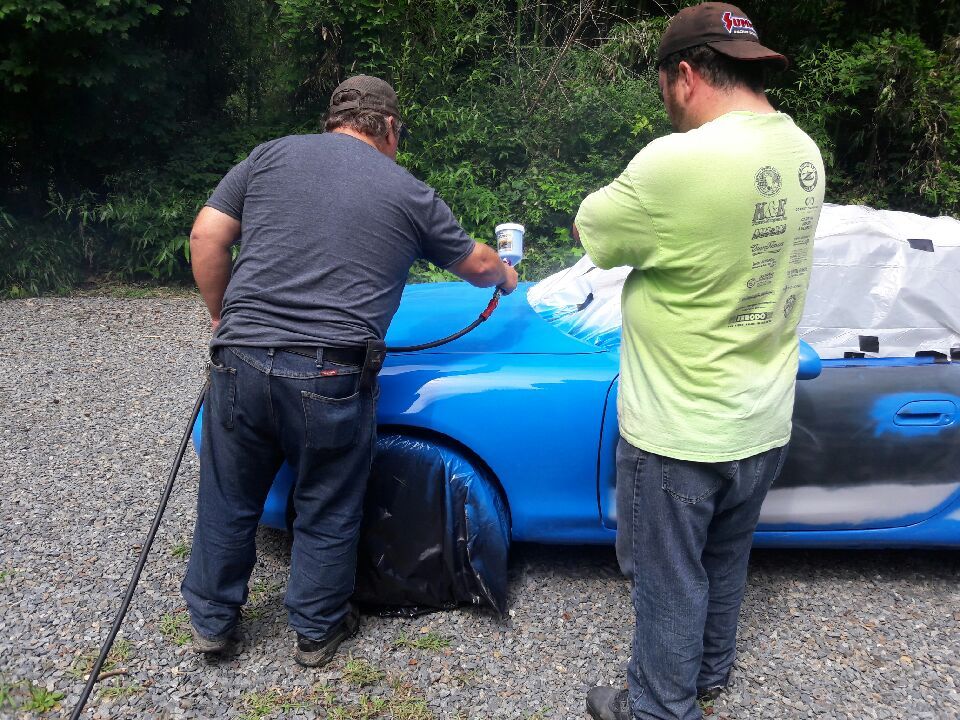 [/URL]
[URL=http://s54.photobucket.com/user/dusterbd13/media/2000%20miata/20170625_110216_1498418605831_zps6ytuv7cr.jpg.html]
 [/URL]
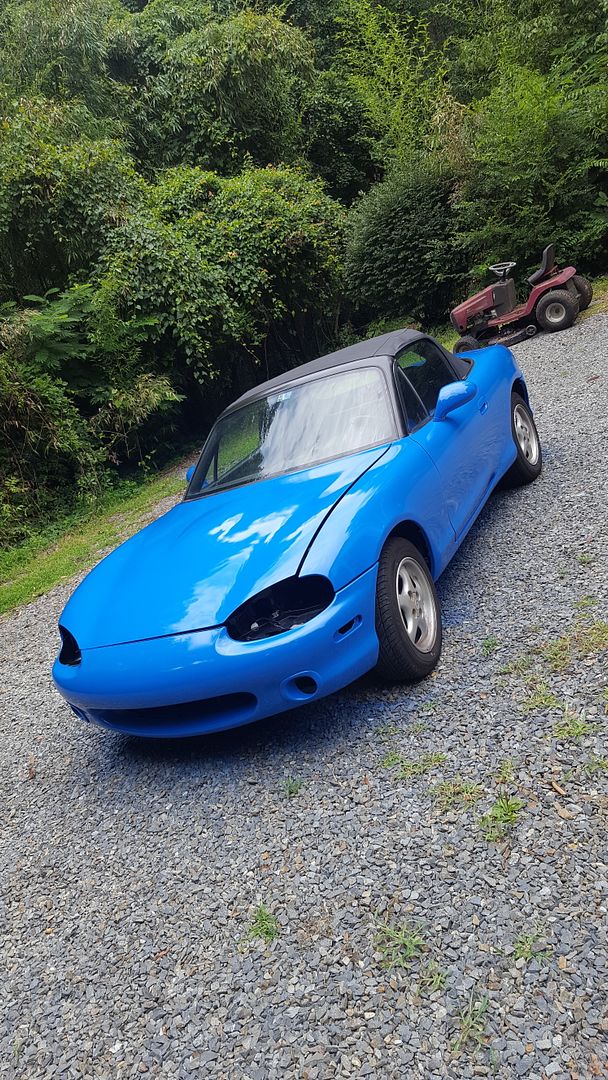
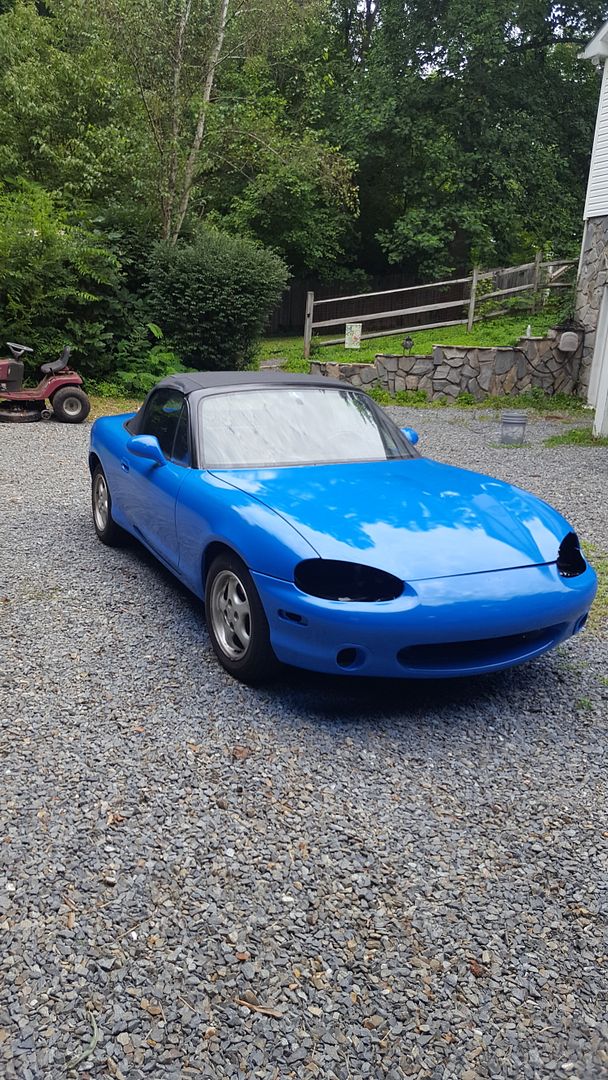
A couple hours of BSing on the back porch later, and it was ready to unwrap.
[URL=http://s54.photobucket.com/user/dusterbd13/media/2000%20miata/20170625_123437_zpspeay4wf4.jpg.html]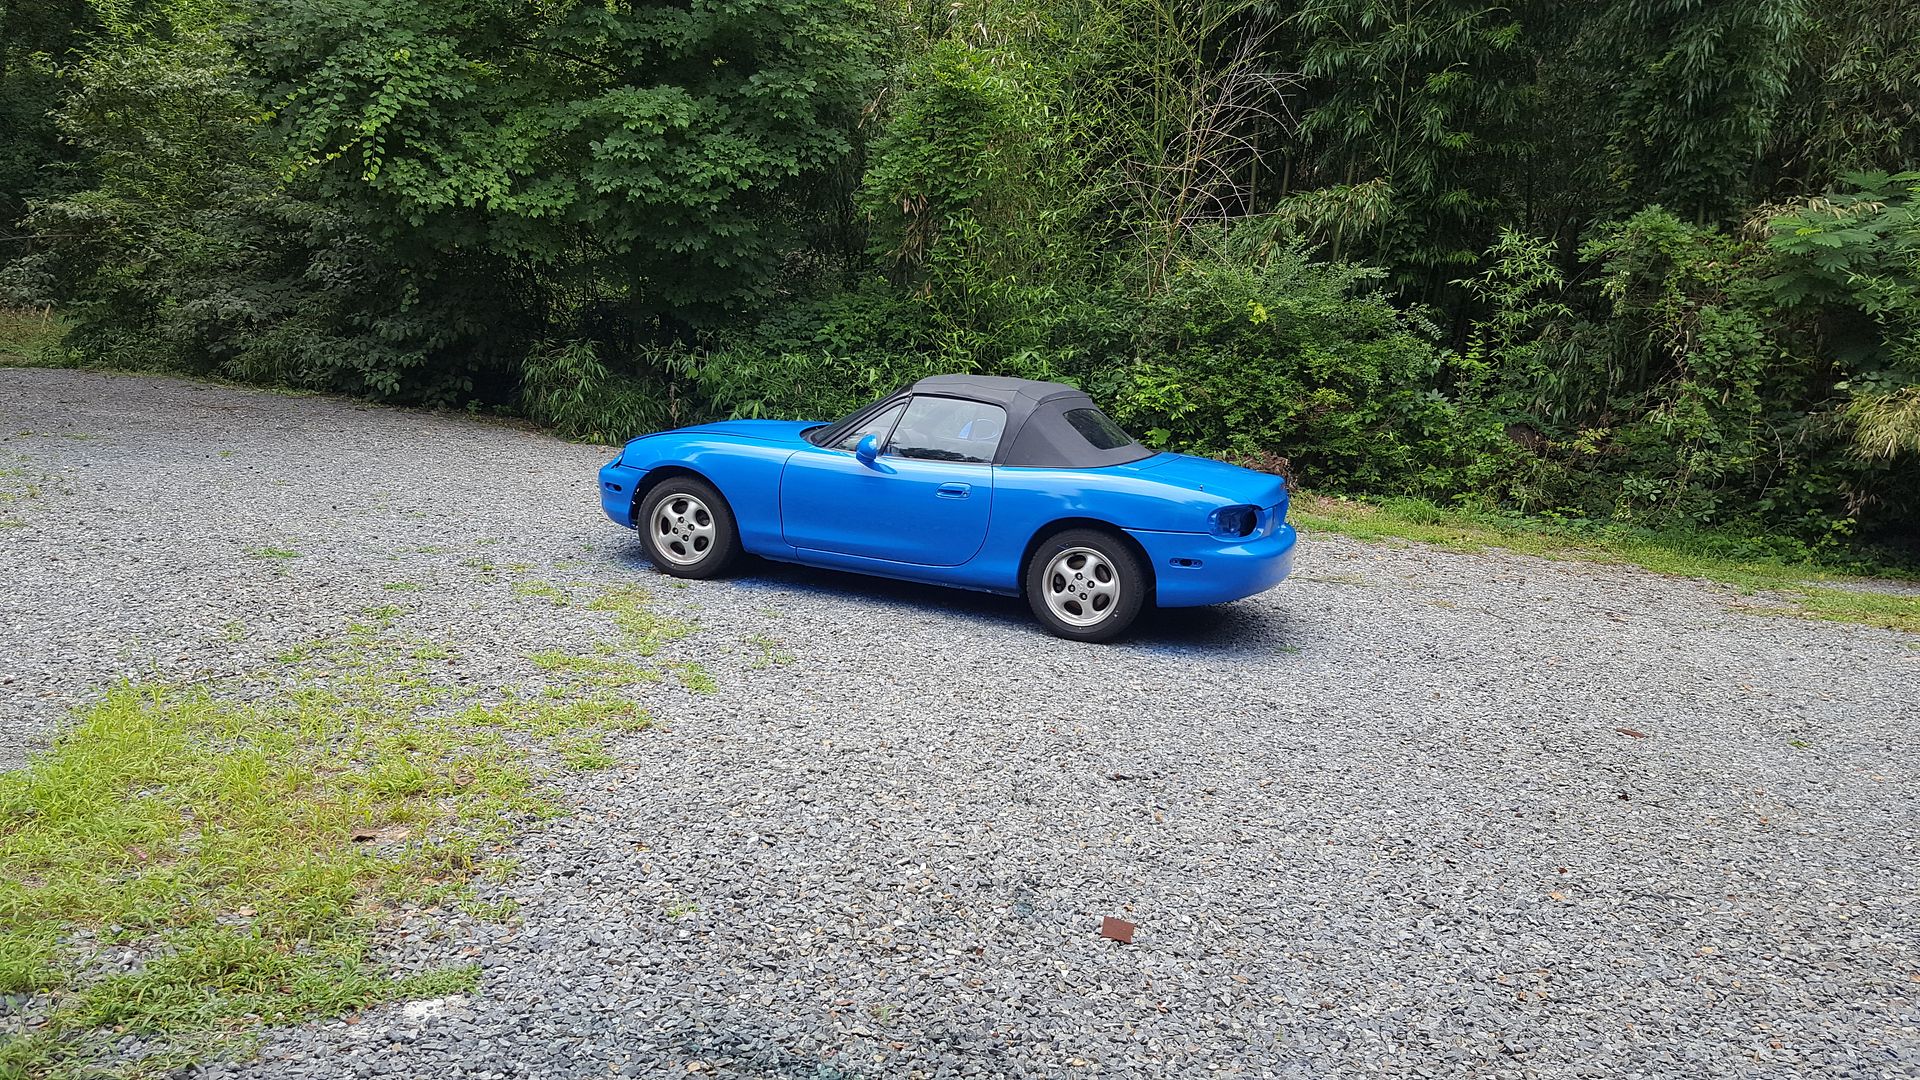 [/URL]
[URL=http://s54.photobucket.com/user/dusterbd13/media/2000%20miata/20170625_124755_zpsjumpypqy.jpg.html]
 [/URL]
[URL=http://s54.photobucket.com/user/dusterbd13/media/2000%20miata/20170625_124805_zpsqhzffcjy.jpg.html]
 [/URL]
[URL=http://s54.photobucket.com/user/dusterbd13/media/2000%20miata/20170625_124832_zpsenbpcfzr.jpg.html]
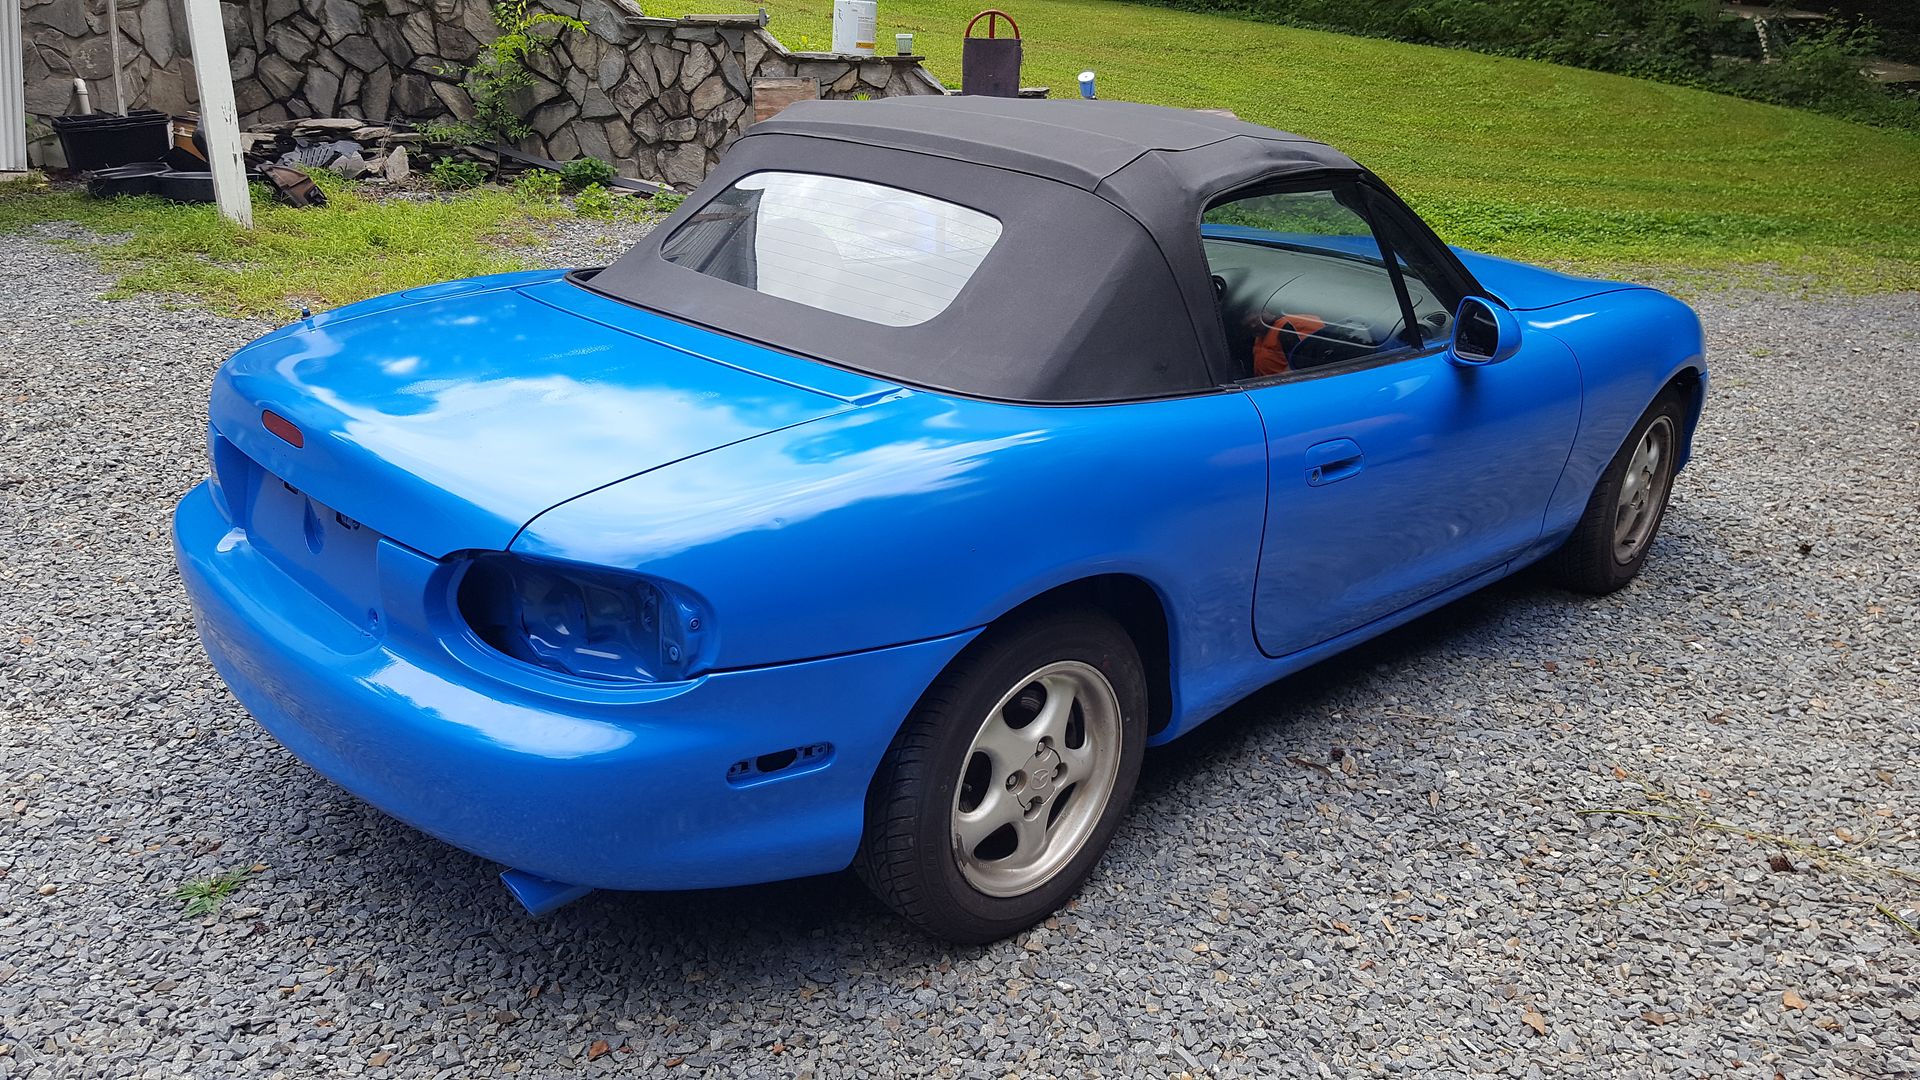 [/URL]
[URL=http://s54.photobucket.com/user/dusterbd13/media/2000%20miata/20170625_124840_zpsmxifk4dc.jpg.html]
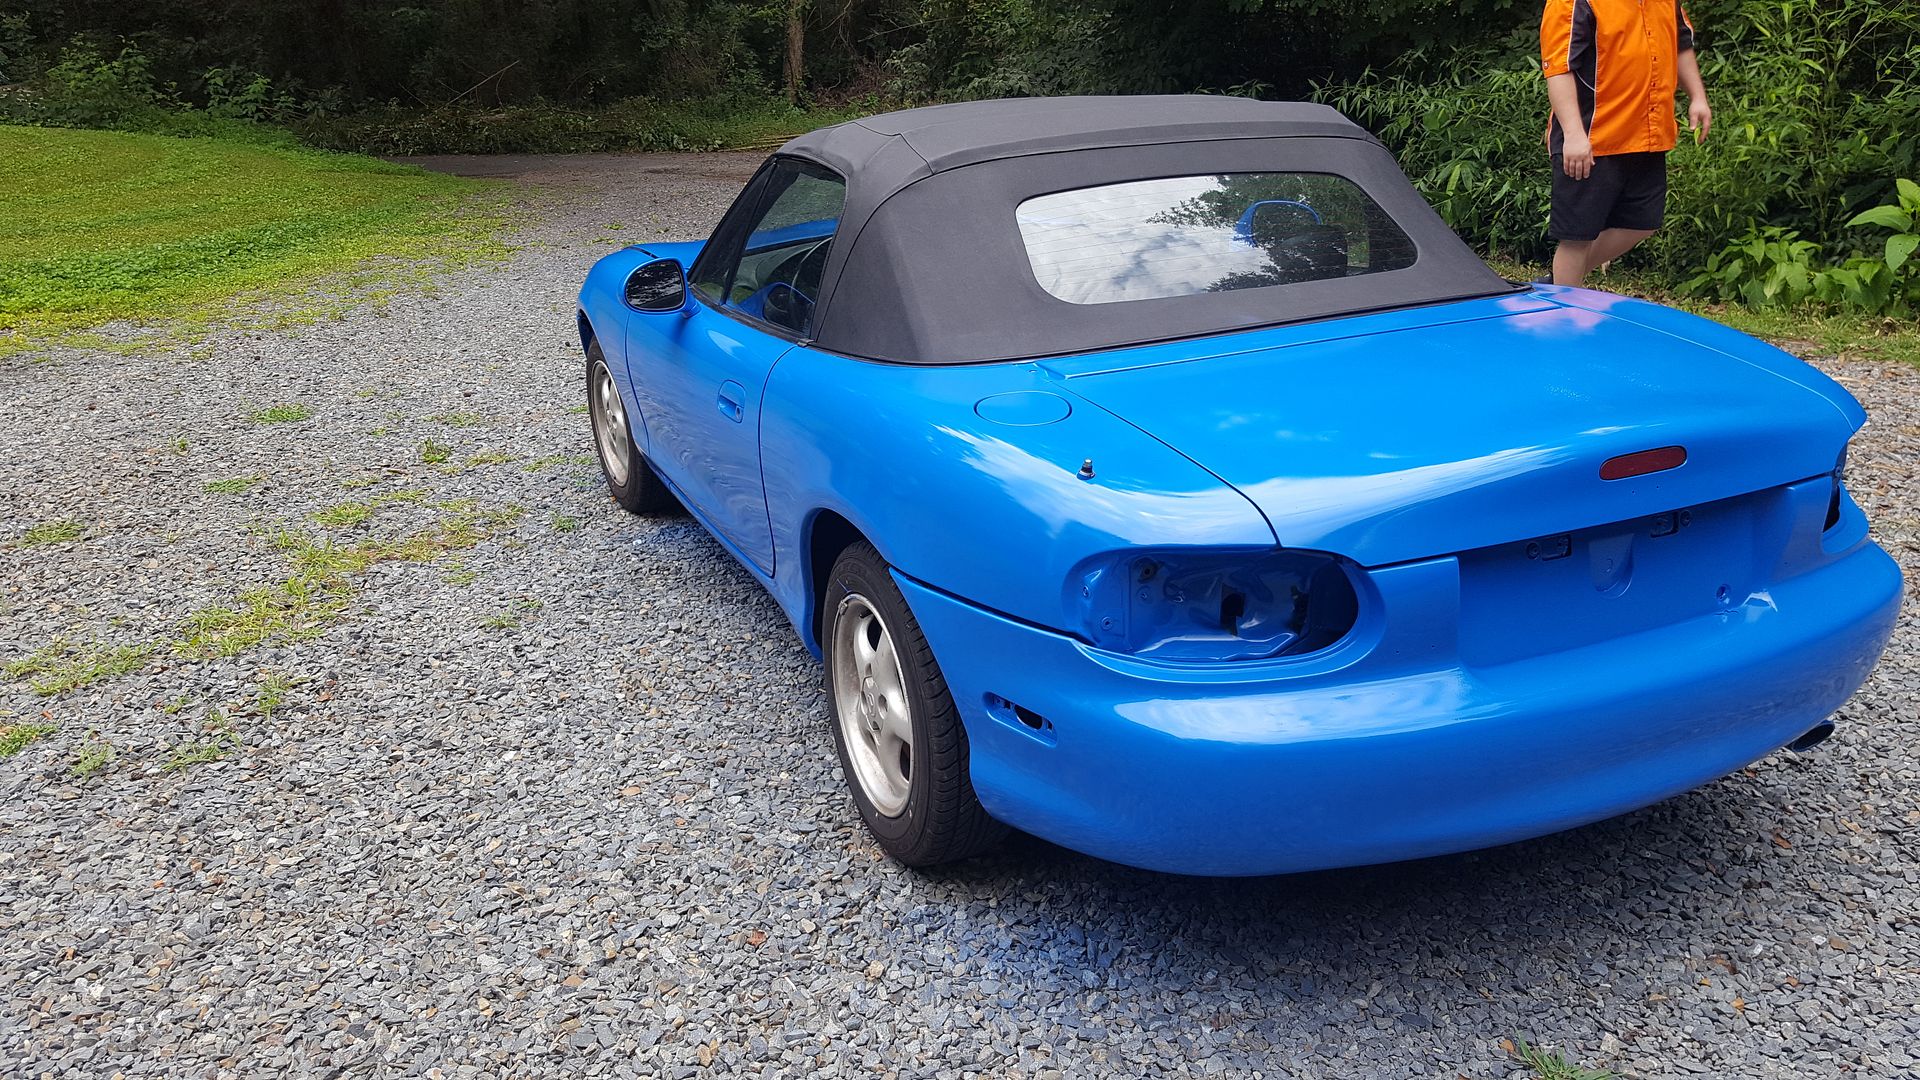 [/URL]
Yes, there's some orange peel, drips, runs, and trash. It needs wet-sanded and buffed. But this picture is indicative of how 75% of the paint laid down.
[URL=http://s54.photobucket.com/user/dusterbd13/media/2000%20miata/20170625_124824_zpsany509tq.jpg.html] [/URL]
Im really happy. Looking forward to getting it all put back together with the appearance package. And white wheels, because im a 90s kid at heart.
In reply to AngryCorvair:
thanks!!
and i just noticed that i forgot to mask off the exhaust tip. it is now blue. dammit....
oh well. little steel wool and paint stripper, be good as new again.
Dusterbd13 wrote: my nose hair and mustache blue....
I couldn't stop laughing thinking about that and what your wife calls the color.
What hardener did you use?
Dude........
You're warped.![]()
Thanks for the laugh.
Hardener (giggity) was/is valspar enamel hardener from amazon.
Damn, that came out better than I'd have expected Rust-Oleum to.
I'd be eager to hear how well that Valspar hardener works if you have a test panel or inconspicuous area to attack with an awl or the like. Valspar hardener is available at TSC too, and I'm curious how well it would work for some workshop fixtures I have.
In reply to Crackers:
Ill see what i can do about attacking the fresh paint. I have to redo the decklid due to solvent pop anyway. But im going to wait for a little bit until the paint is cured fully before worrying about it. Ill happily test then.
And yes, lot better than i expected from rustoleum.
Quart was 18, harderner 12, and the mineral spirits i had. The spray paint was 5 a can from lowes, rest was gotten from amazon. I used 2.5 cans of spray paint, the whole quart of rustoleum, whole quart of mineral spirits, and about 1/2 the hardener.
You'll need to log in to post.