SanFord got a little more love today.
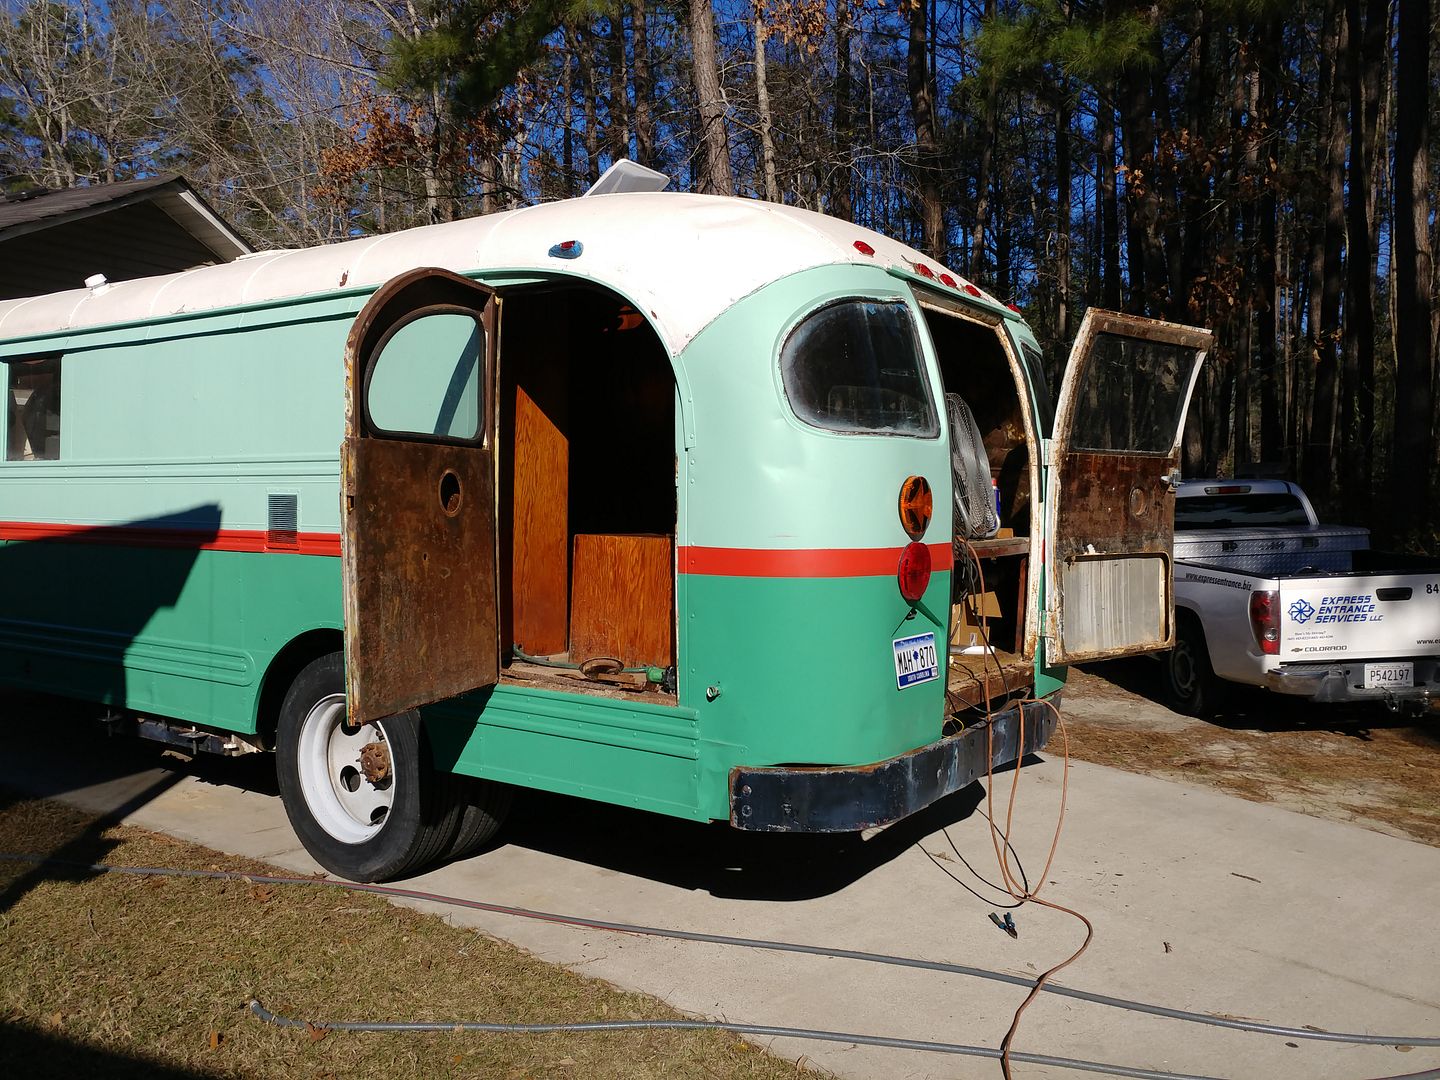
I am starting on the interior, at least the back room, so I can install a mattress. Toward that end, I need to clean up the ceiling and walls for paint. So out comes the grinder and wire wheel. I'm not going to be stripping the interior down to bare metal, I just need to remove the last of the carpet and glue. I started at the back by the side door. You know, that side door that I decided to never open, because the latches were a rusted mess.
That is until I realized there was no way to get to the walls and floor in that corner without opening it.
The latch was every bit as bad as I thought it was.
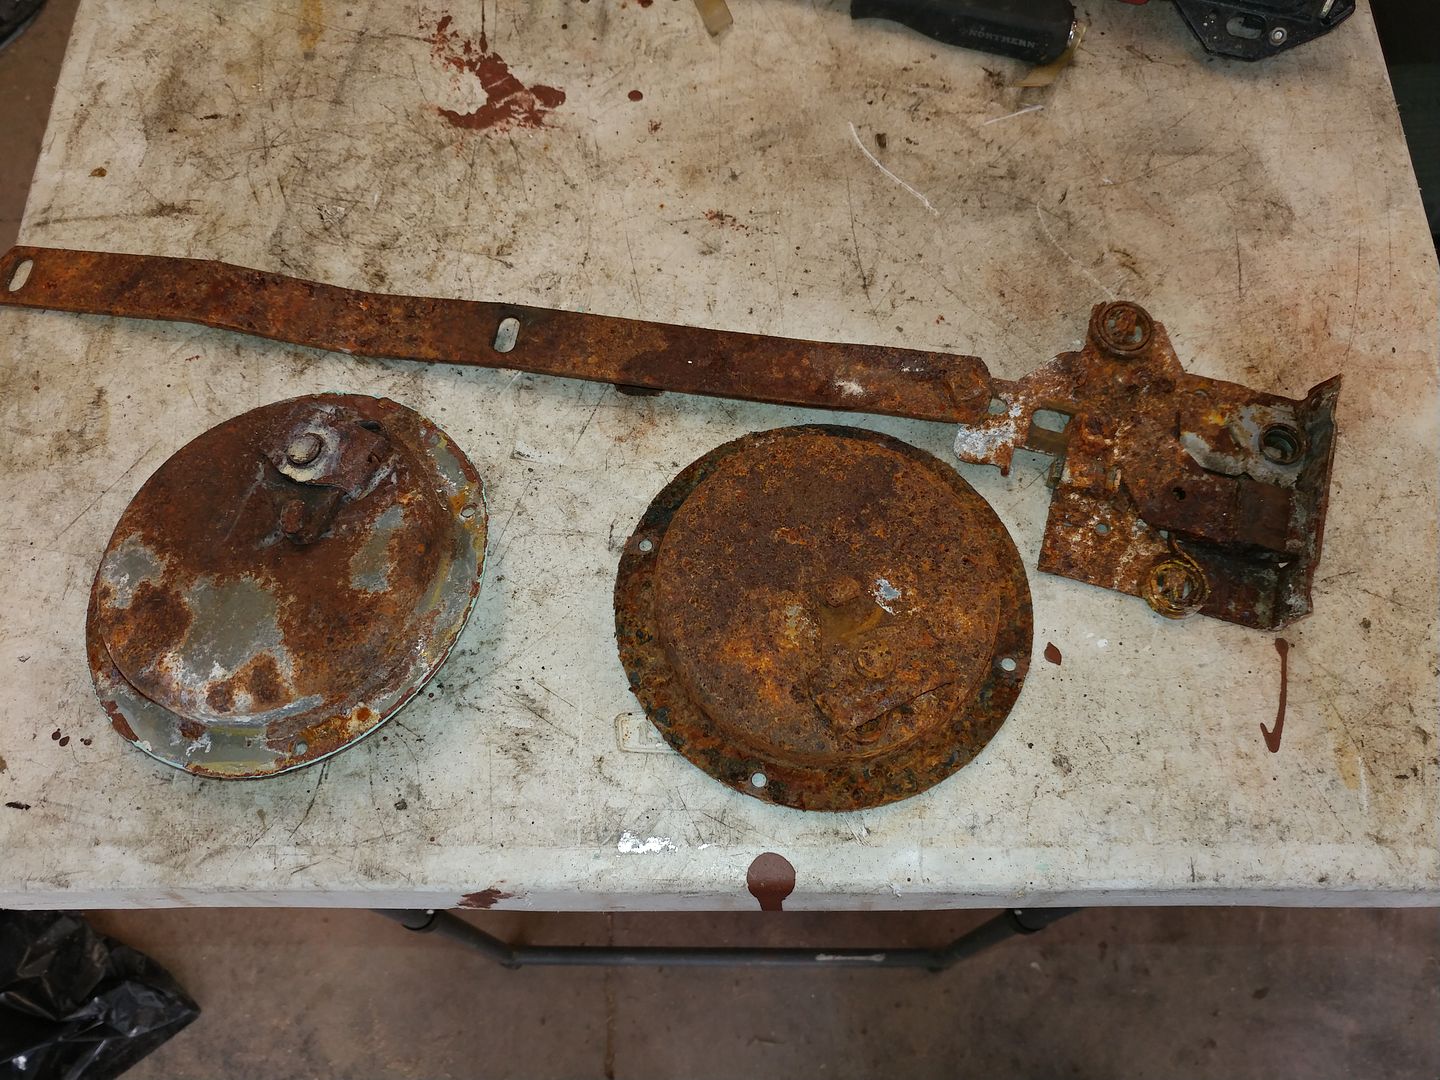
Copious amounts of penetrating oil and a liberal application of a hammer and I finally got the latches to move.
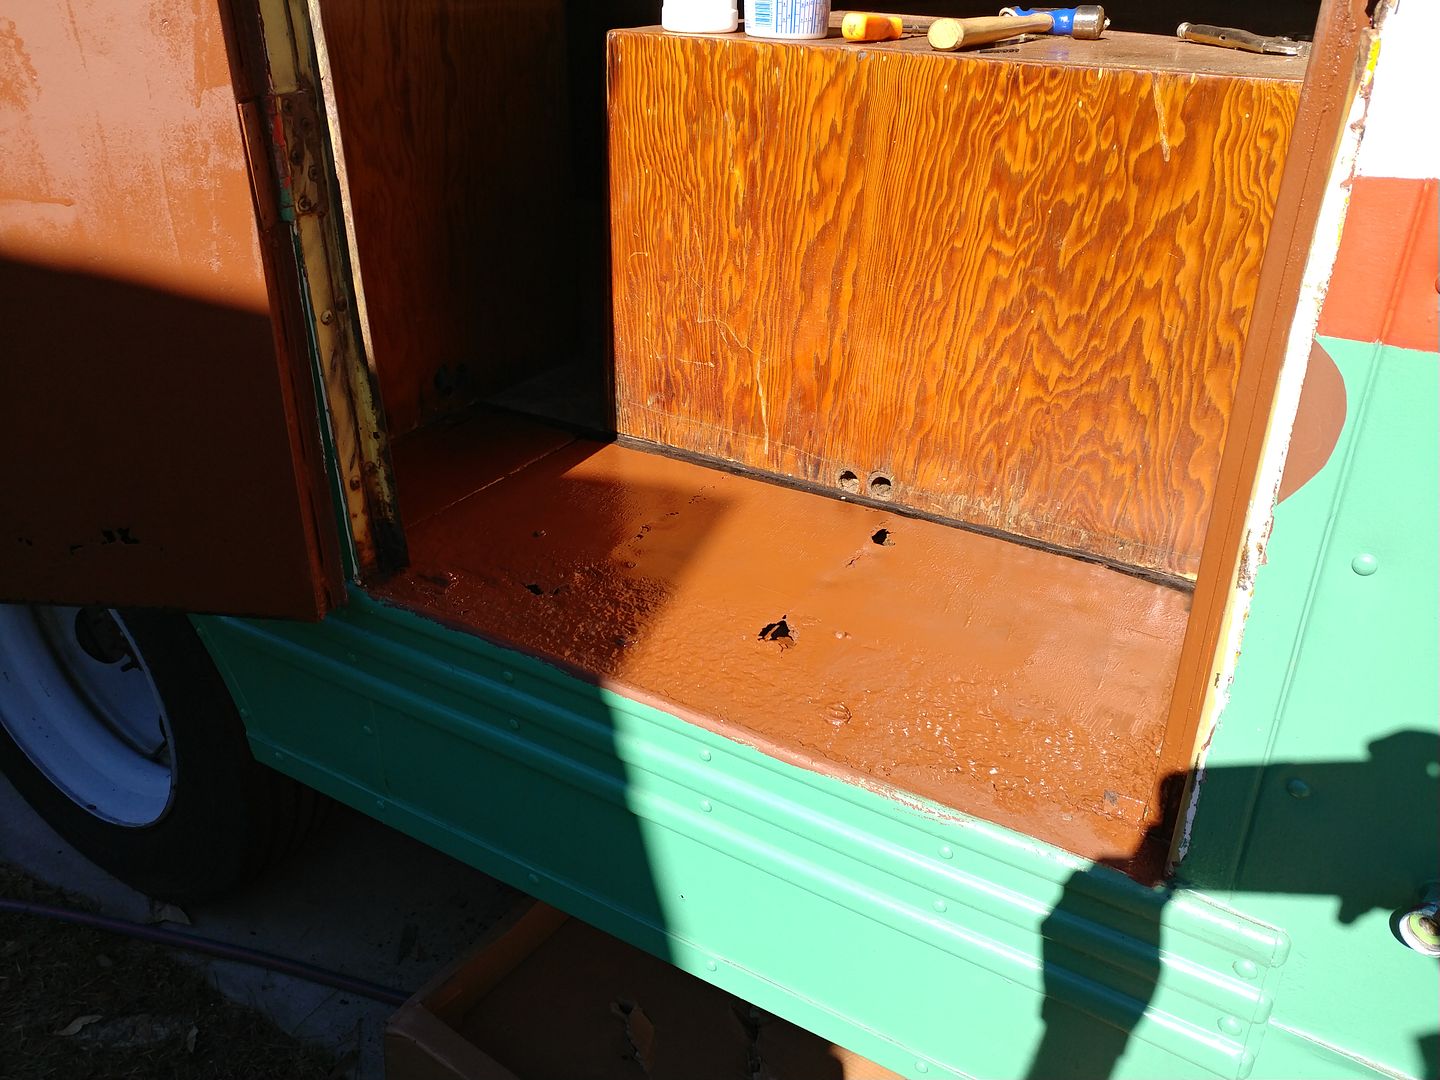
This door has been leaking for a long time. I knew the floor was going to be a rusty mess, so I decided to pull the flooring up and tackle that next.
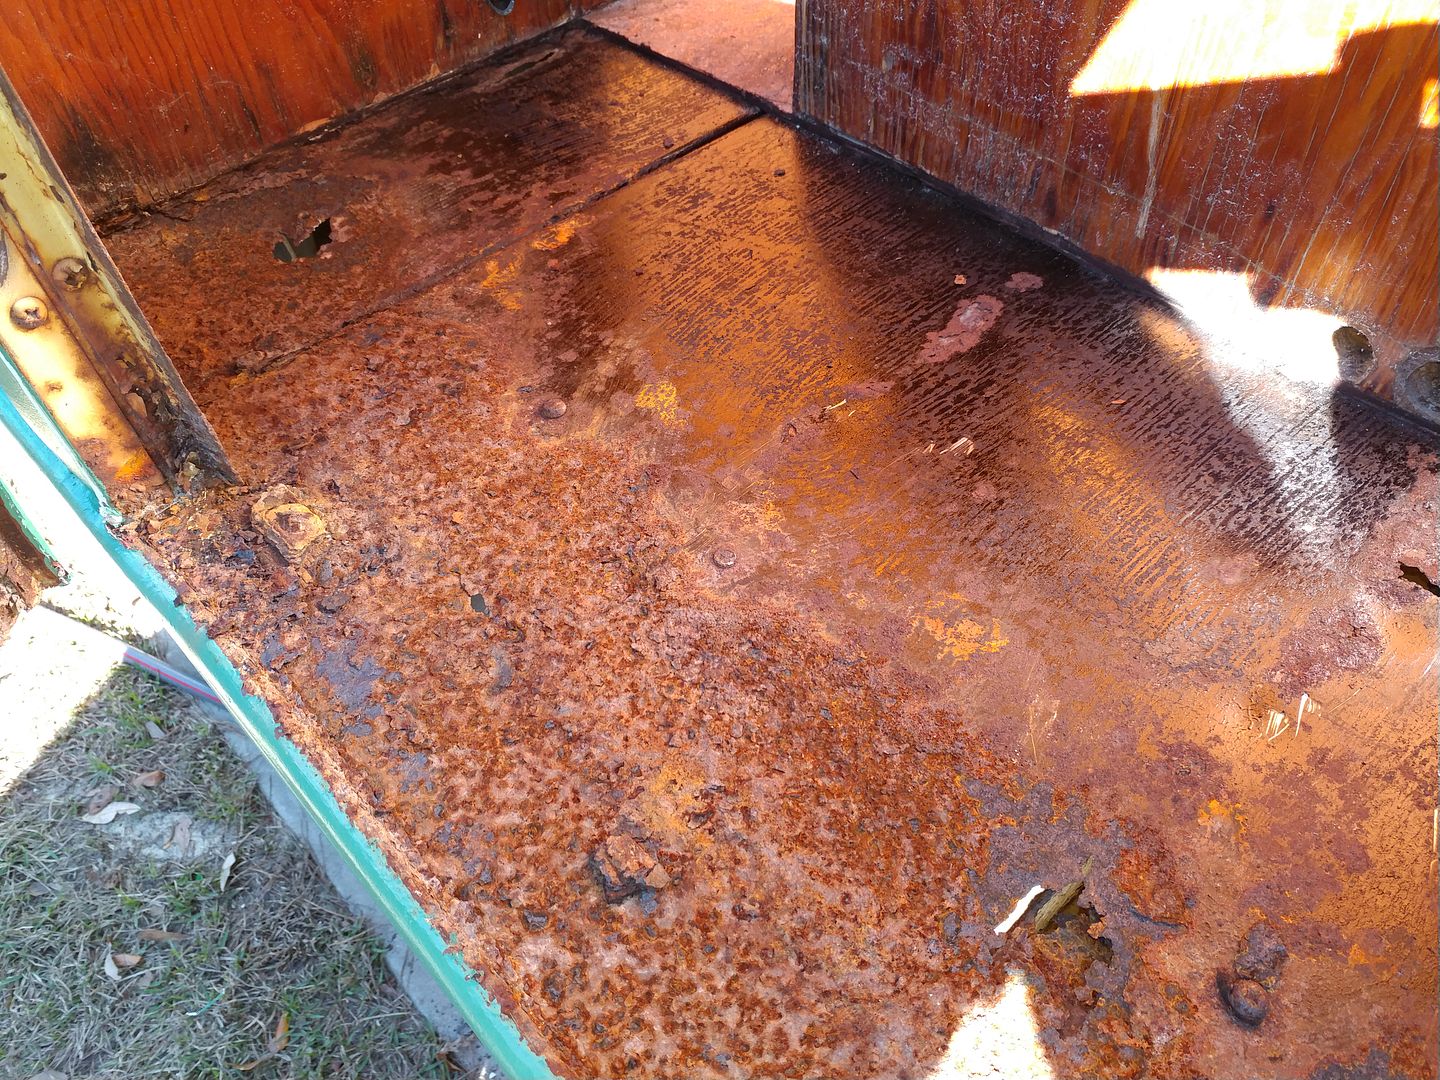
It could be worse. The proper way to fix this is cut the old out and weld in new. I'm not going to be doing that. So I cleaned it all up, coated it with Ospho, and followed that up with a rusty metal primer. The holes will be patched with sheet metal and NP1 to stop water penetration. The finish floor will be going on top of that.
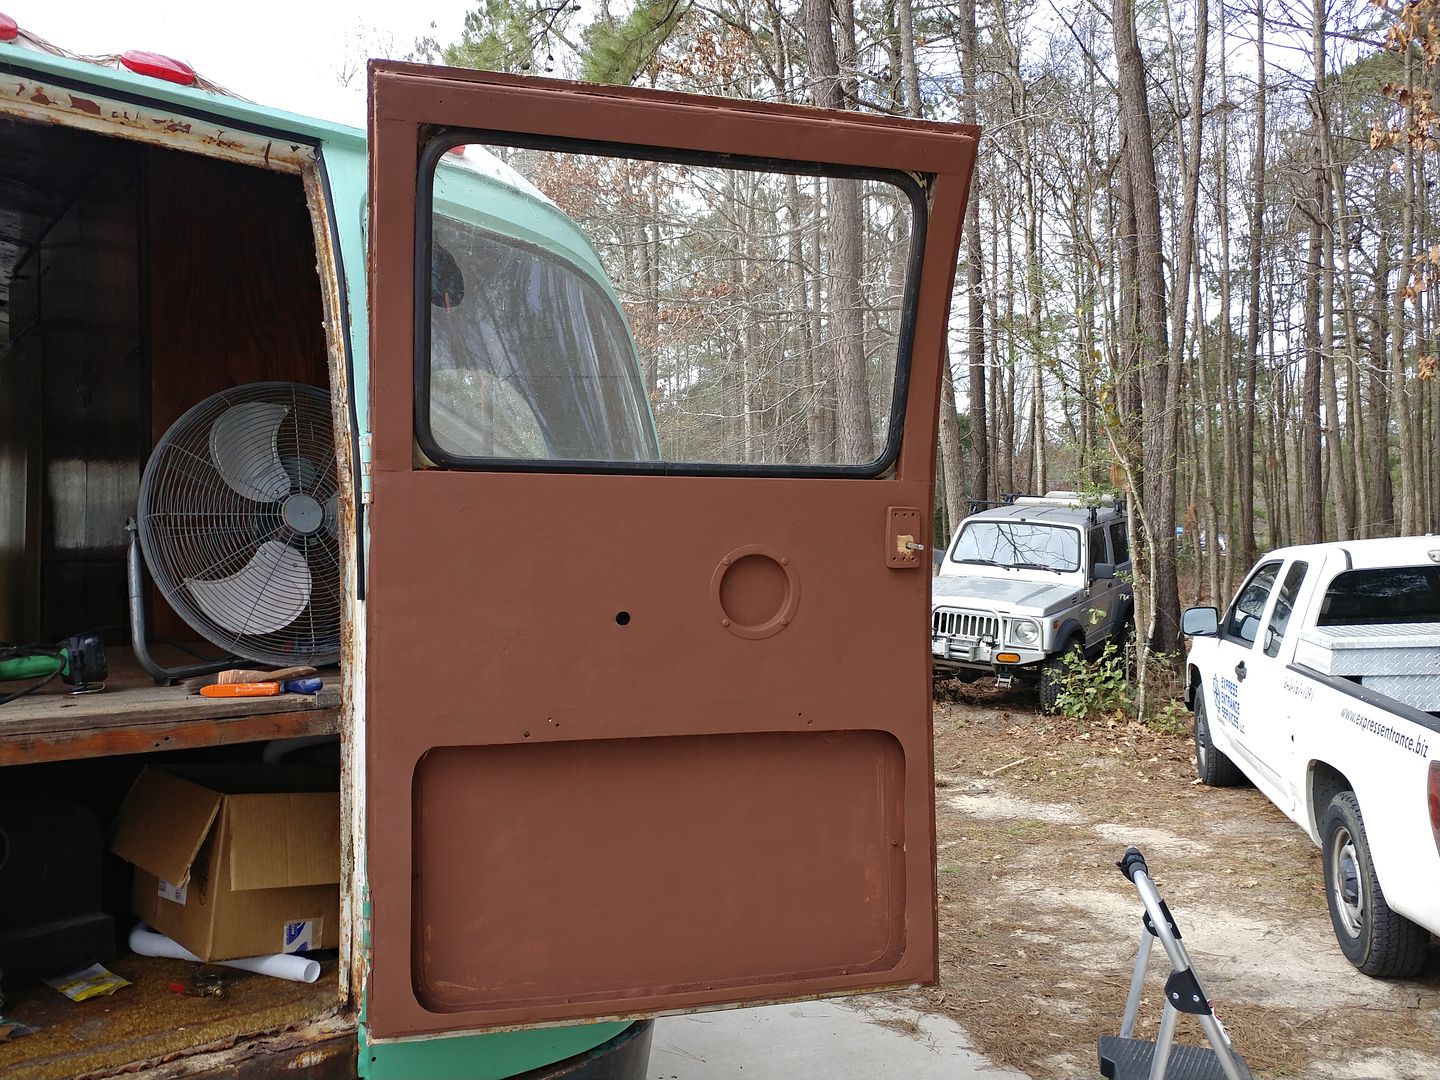
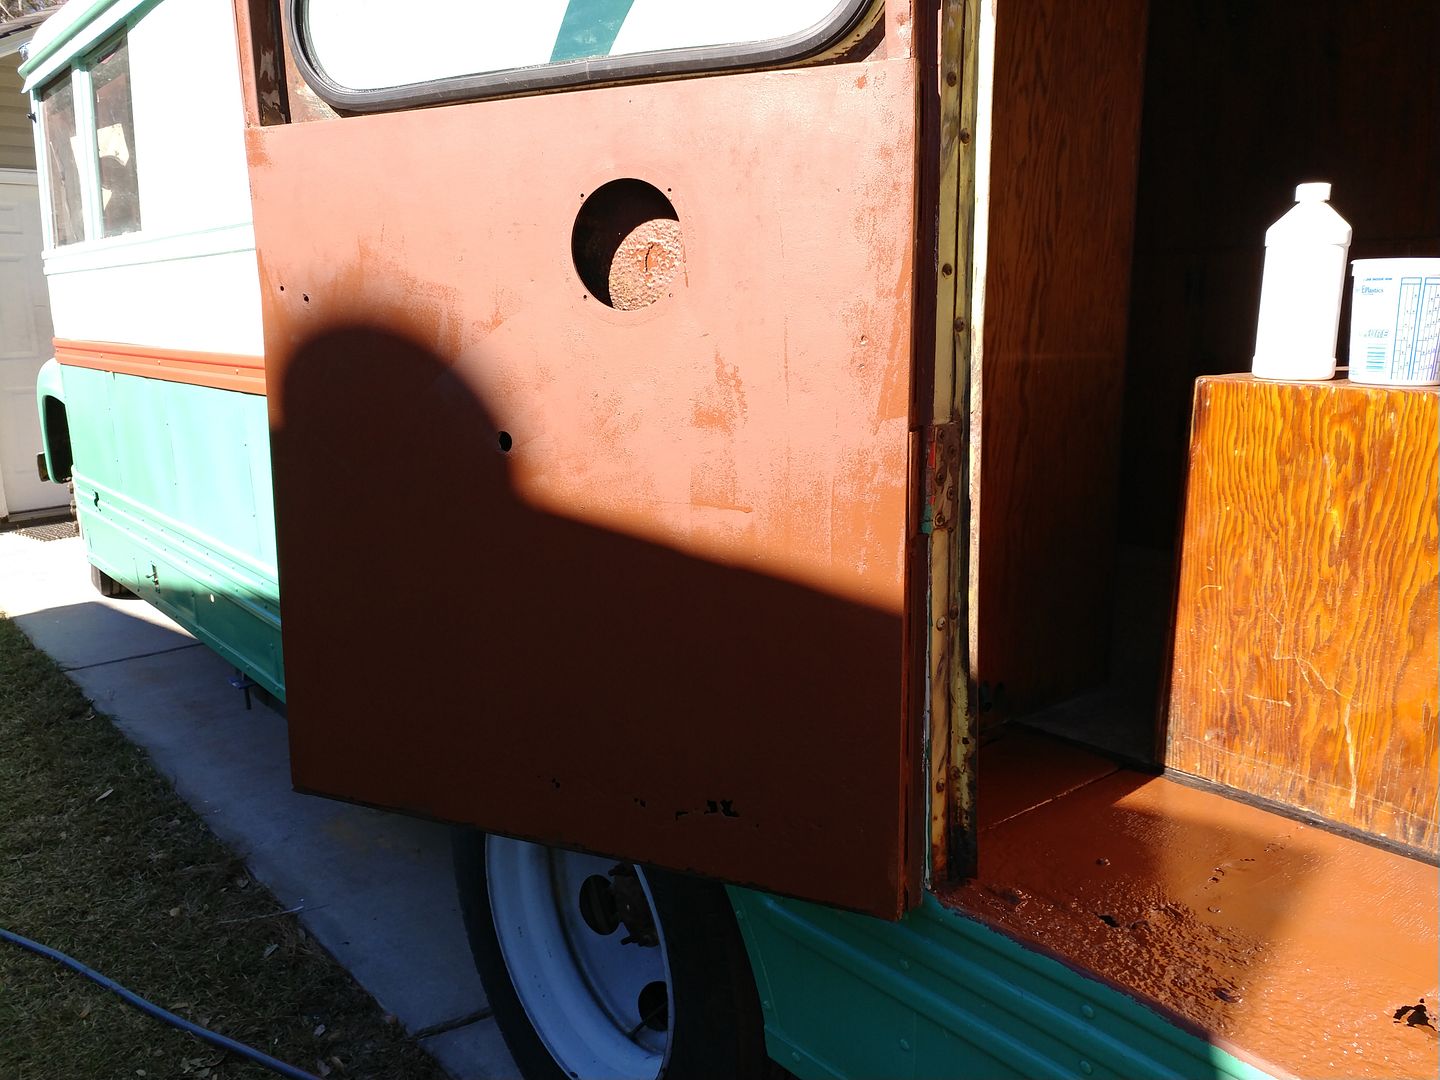
While I was cleaning, I also cleaned up the rear doors and got a coat of primer on them as well.
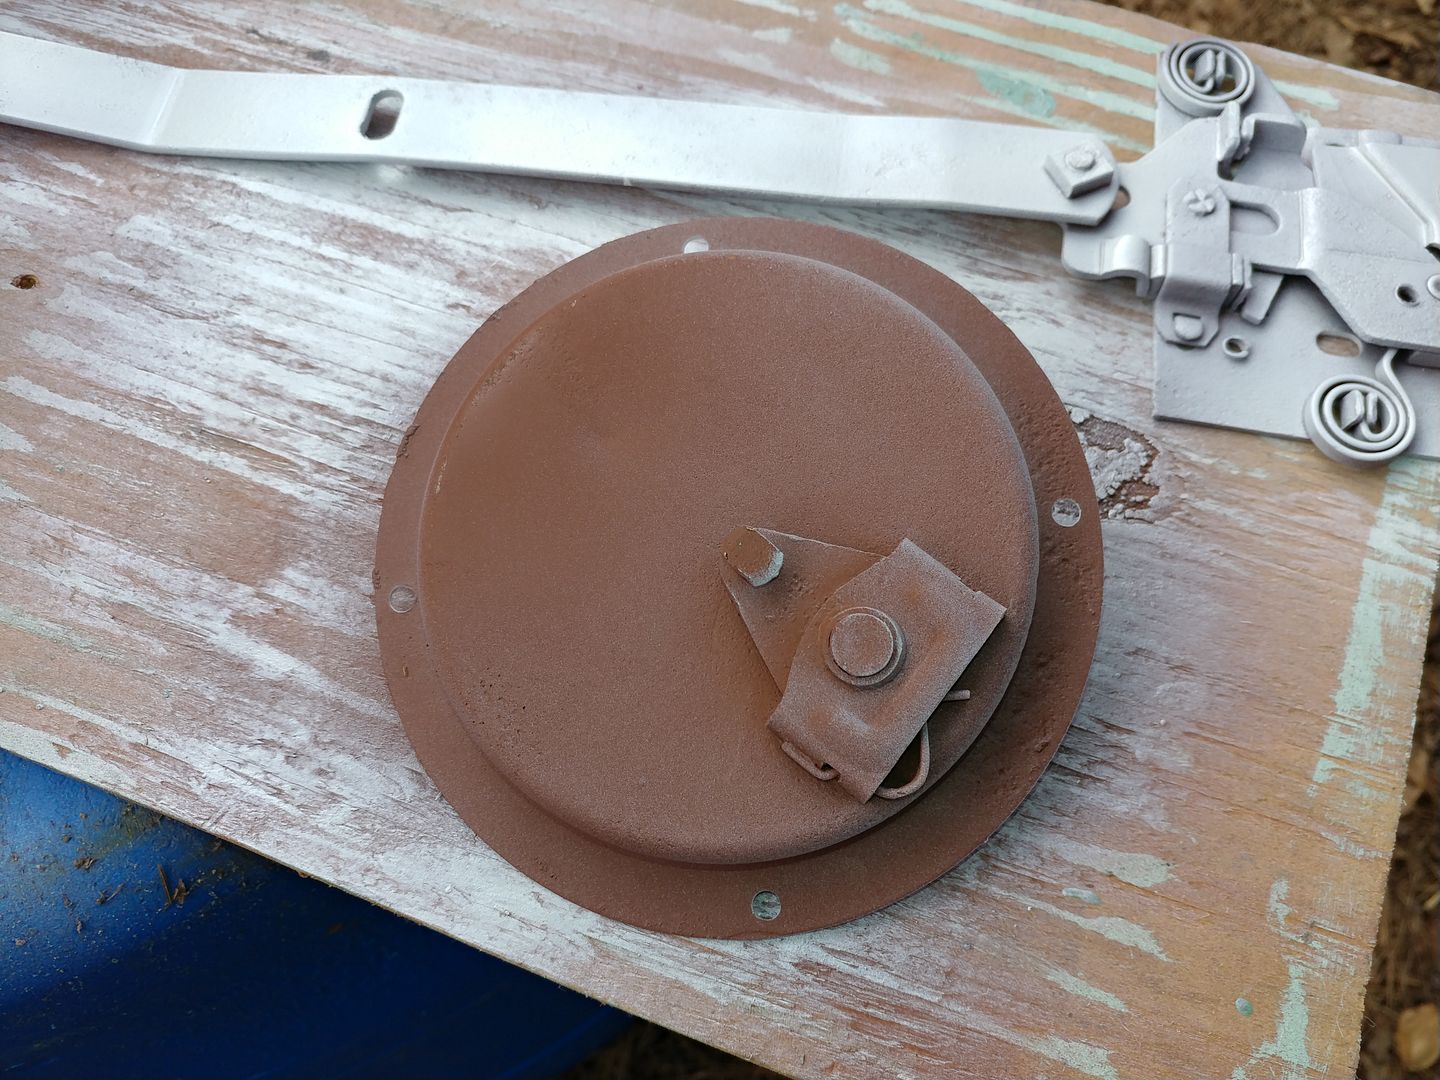
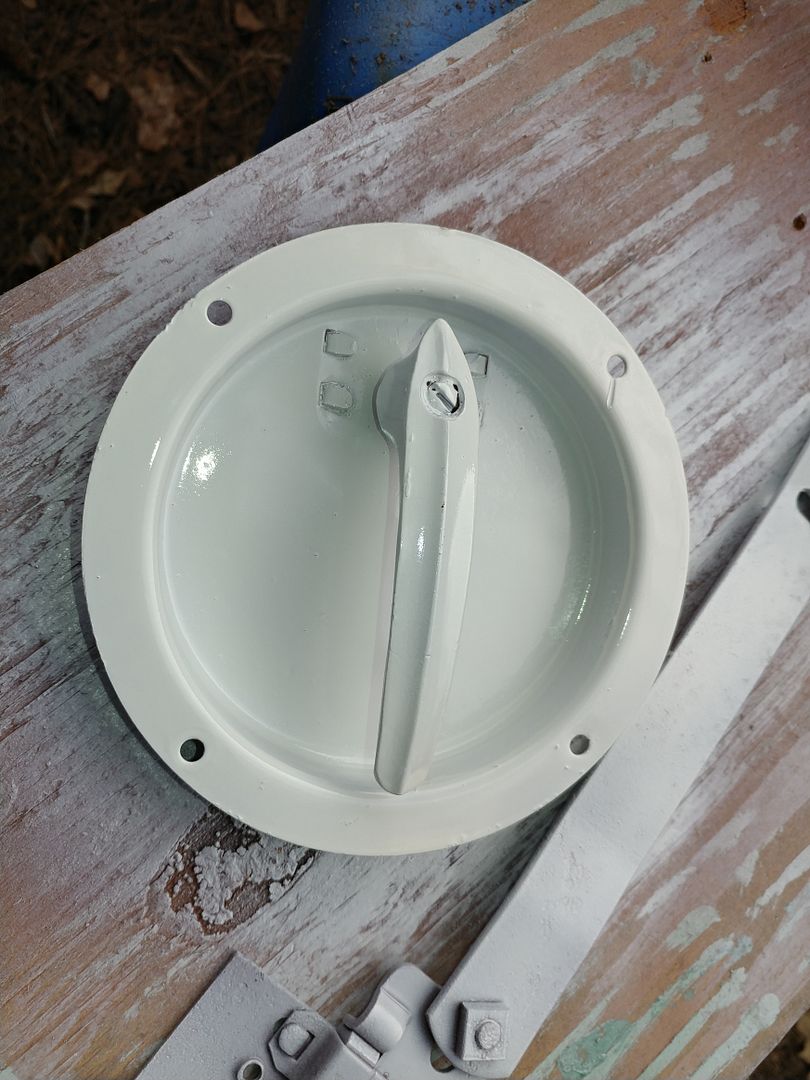
The side door latch also made a trip through the blast cabinet for some much needed rust removal. A light coat of paint should at least slow the rust down.
I'm hoping to get most of the rear room painted tomorrow. Also, the front turn signals showed up today. They are as awesome as I thought they would be. I'd like to get them mounted as well.
More to come.
Toyman01 wrote:
It could be worse. The proper way to fix this is cut the old out and weld in new. I'm not going to be doing that. So I cleaned it all up, coated it with Ospho, and followed that up with a rusty metal primer. The holes will be patched with sheet metal and NP1 to stop water penetration. The finish floor will be going on top of that.
Just wanted to post to tell you how much I appreciate your honesty in sharing your decision NOT to make Sanford yet another unattainably perfect internet build where everything is restored better to showroom.
As they say: the enemy of good is great. That statement accurately describes the struggles in my own shop quite well; seeing you choose to get Sanford serviceable instead of perfect is so refreshing!
Any concern over exhaust gas entering the cabin from the floor holes?
In reply to Mad_Ratel:
No. I will be covering any holes with sheet metal, sealed and screwed to the floor. Then a finish floor will be going on top of that. Probably some type of laminate. That will seal everything up tight.
AngryCorvair: Hmm, I hadn't thought about that... That's a possibility...Wanders off to Google stock lengths of chrome pipe...
Back on SanFord today, in between helping my daughter chase down a leaking power steering hose on her SuperCoupe.
The lights are semi-mounted. I'll pick up a couple of SS door loops, to run the wire in, to finish them out. I love the way these things look.
Yes I know the windshield still needs to be tackled. I'm dreading that one.
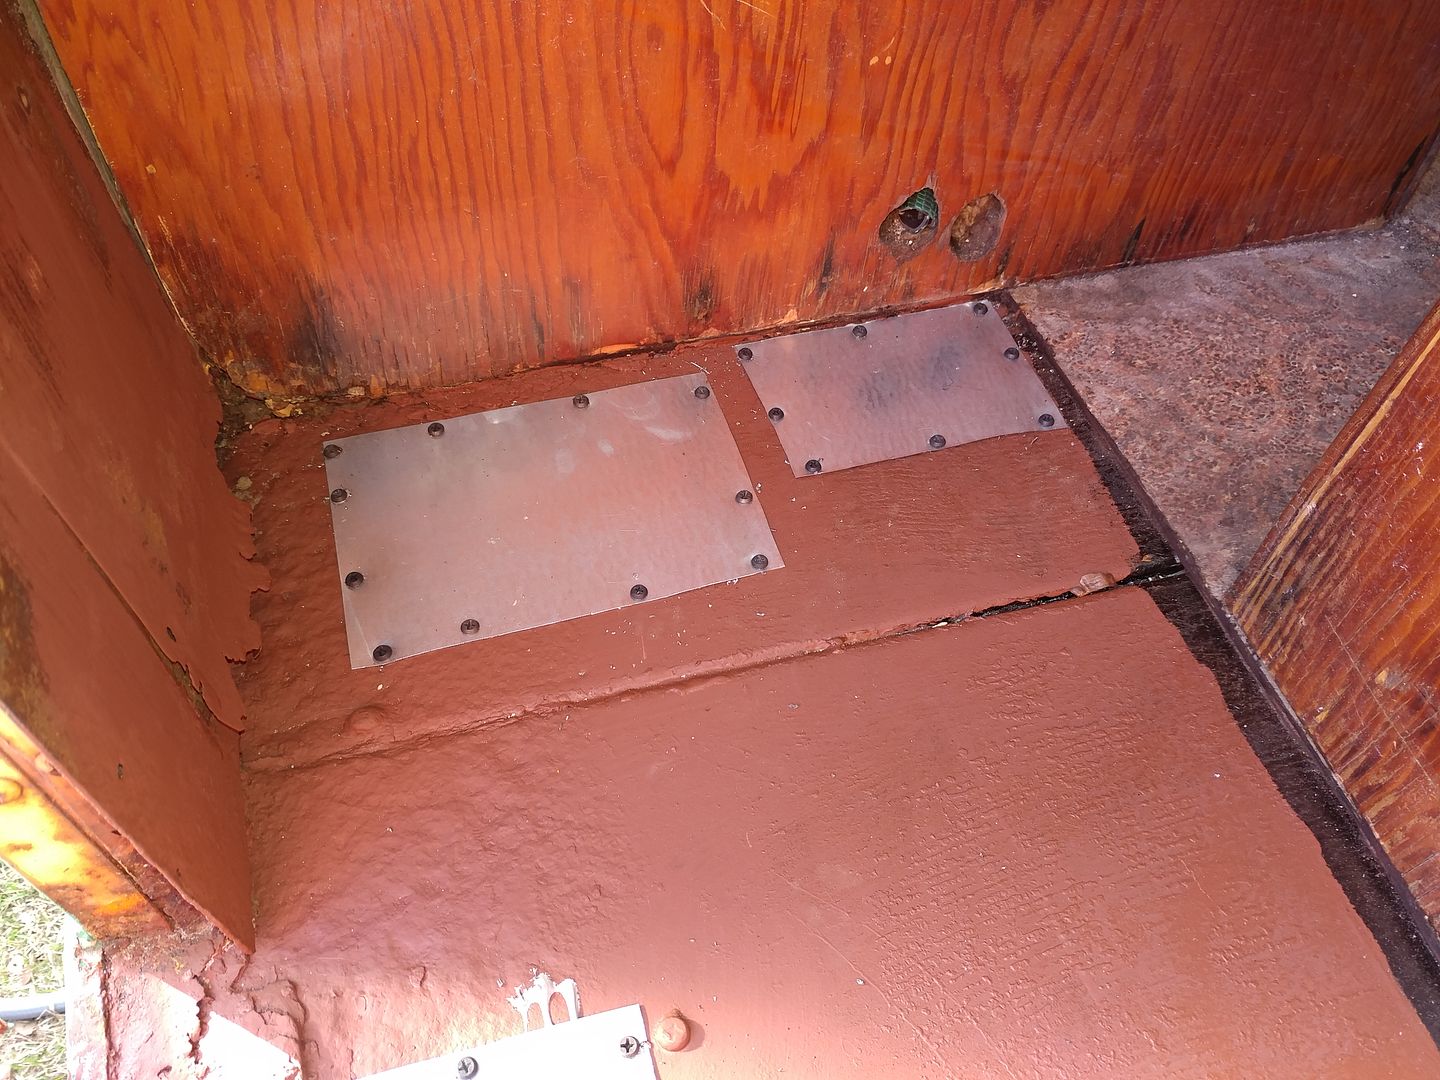
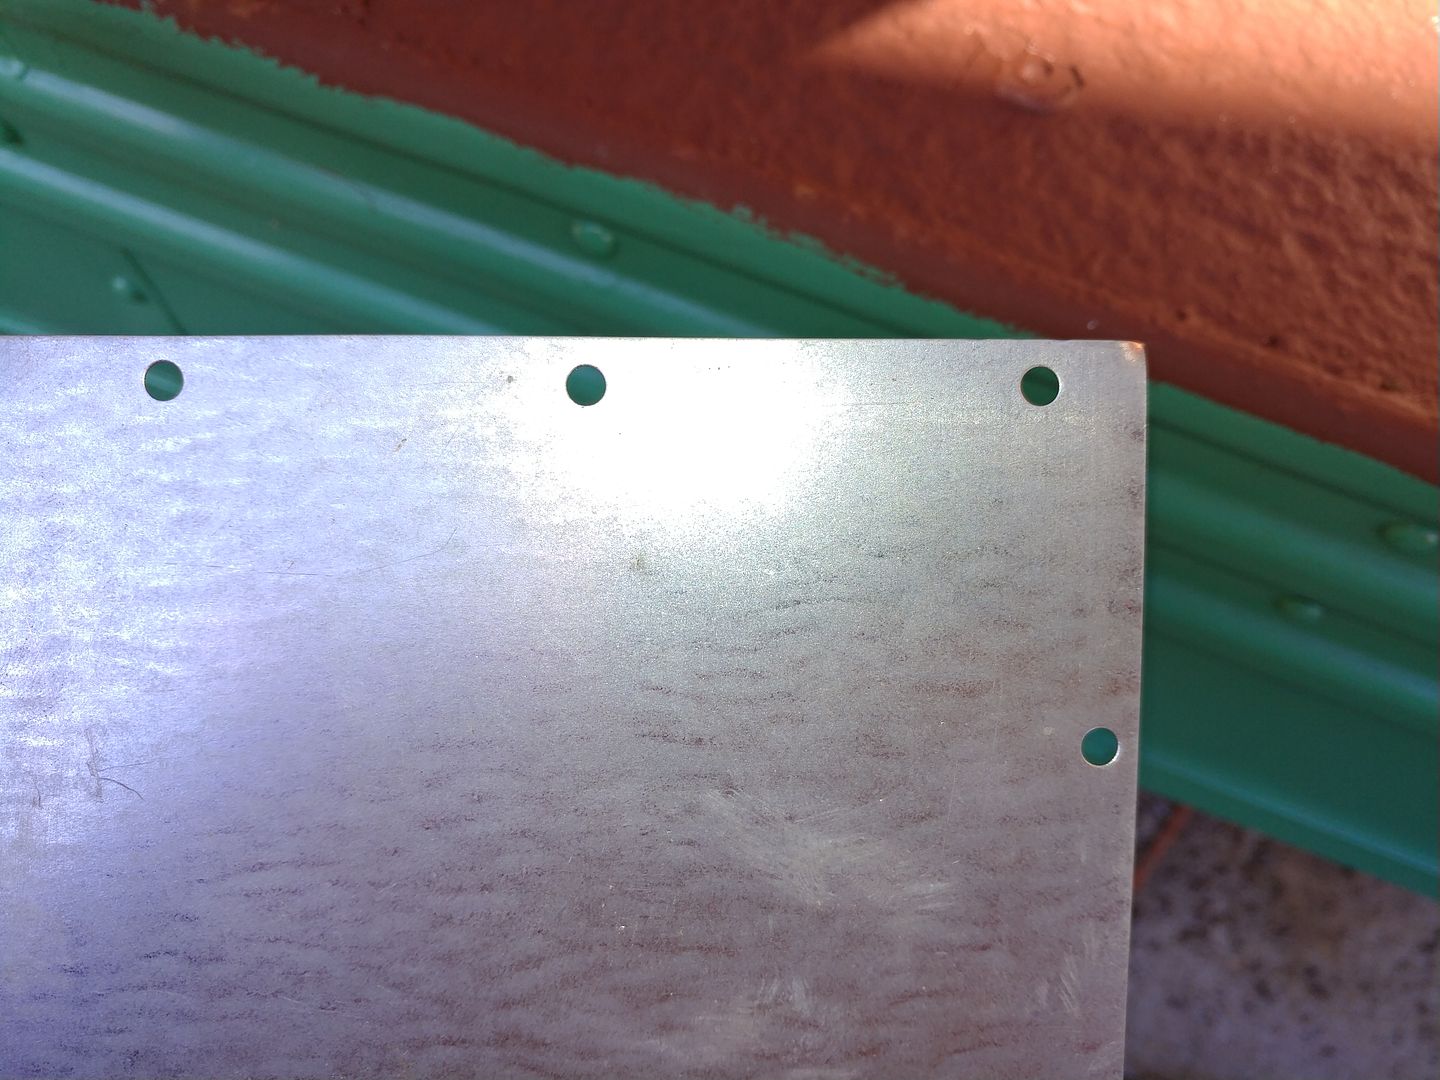
Next up was patching the floor by the side door. I cut the patch panels out of some galvanized sheet I had and punched perimeter holes. NP1 and screws hold it in place.
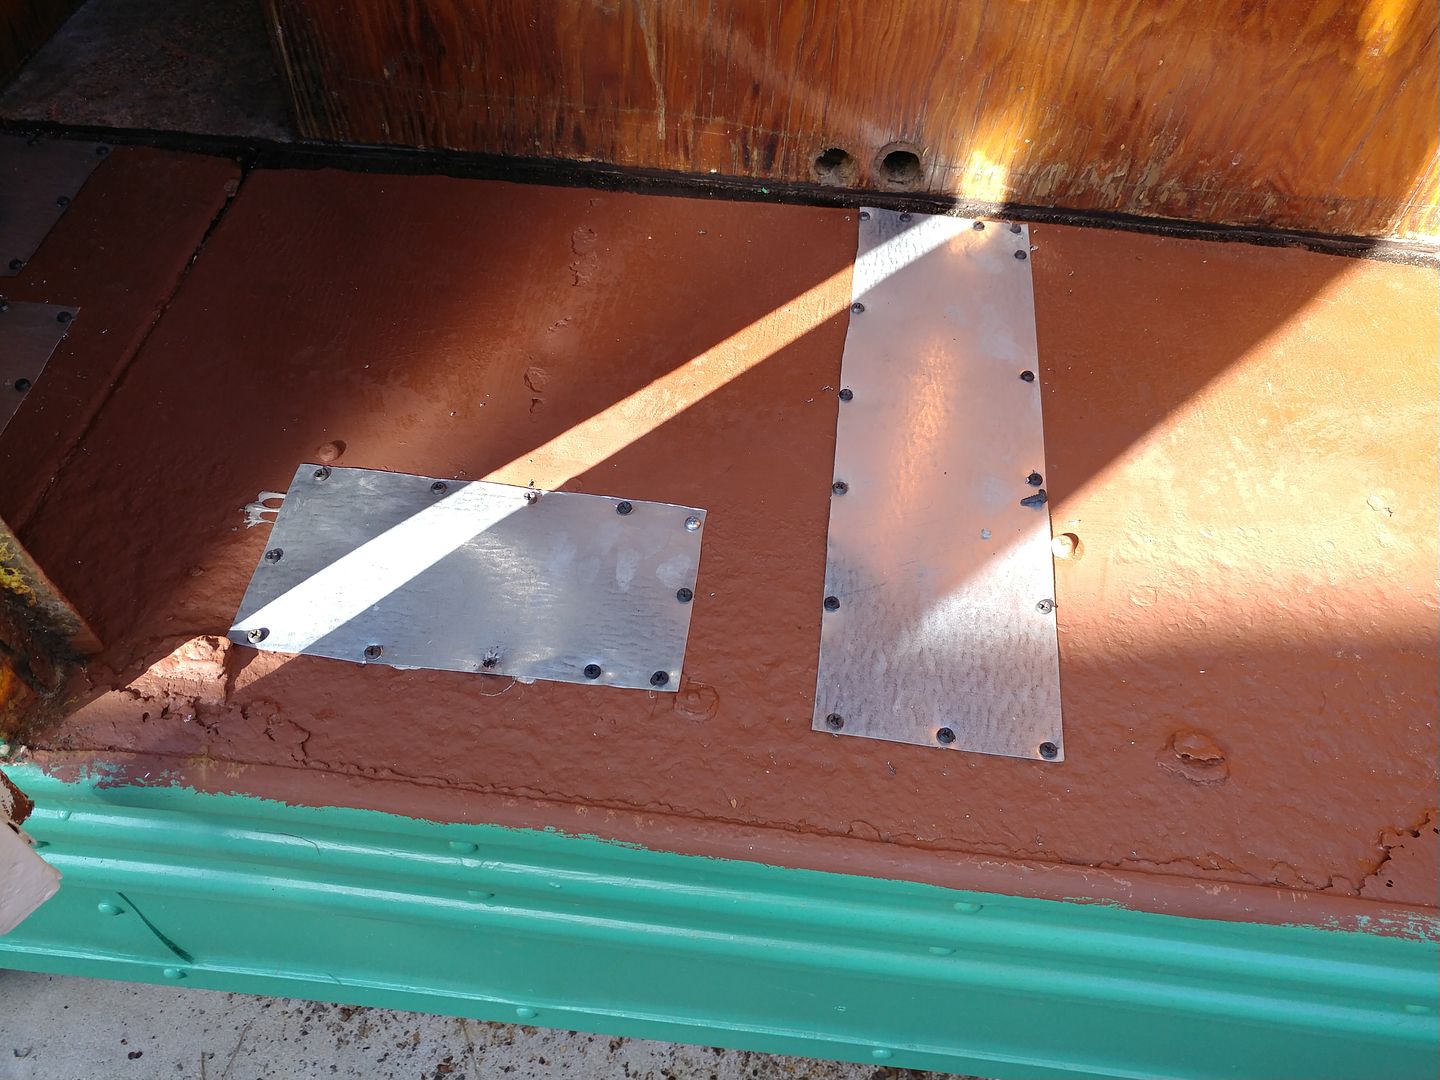
If you do anything with sheet metal, and need holes punched around the edges for welding or screws, go get one of these: Air Punch and Flange Tool. It is a wonderful tool. Perfect holes, as fast as you can mash the lever.
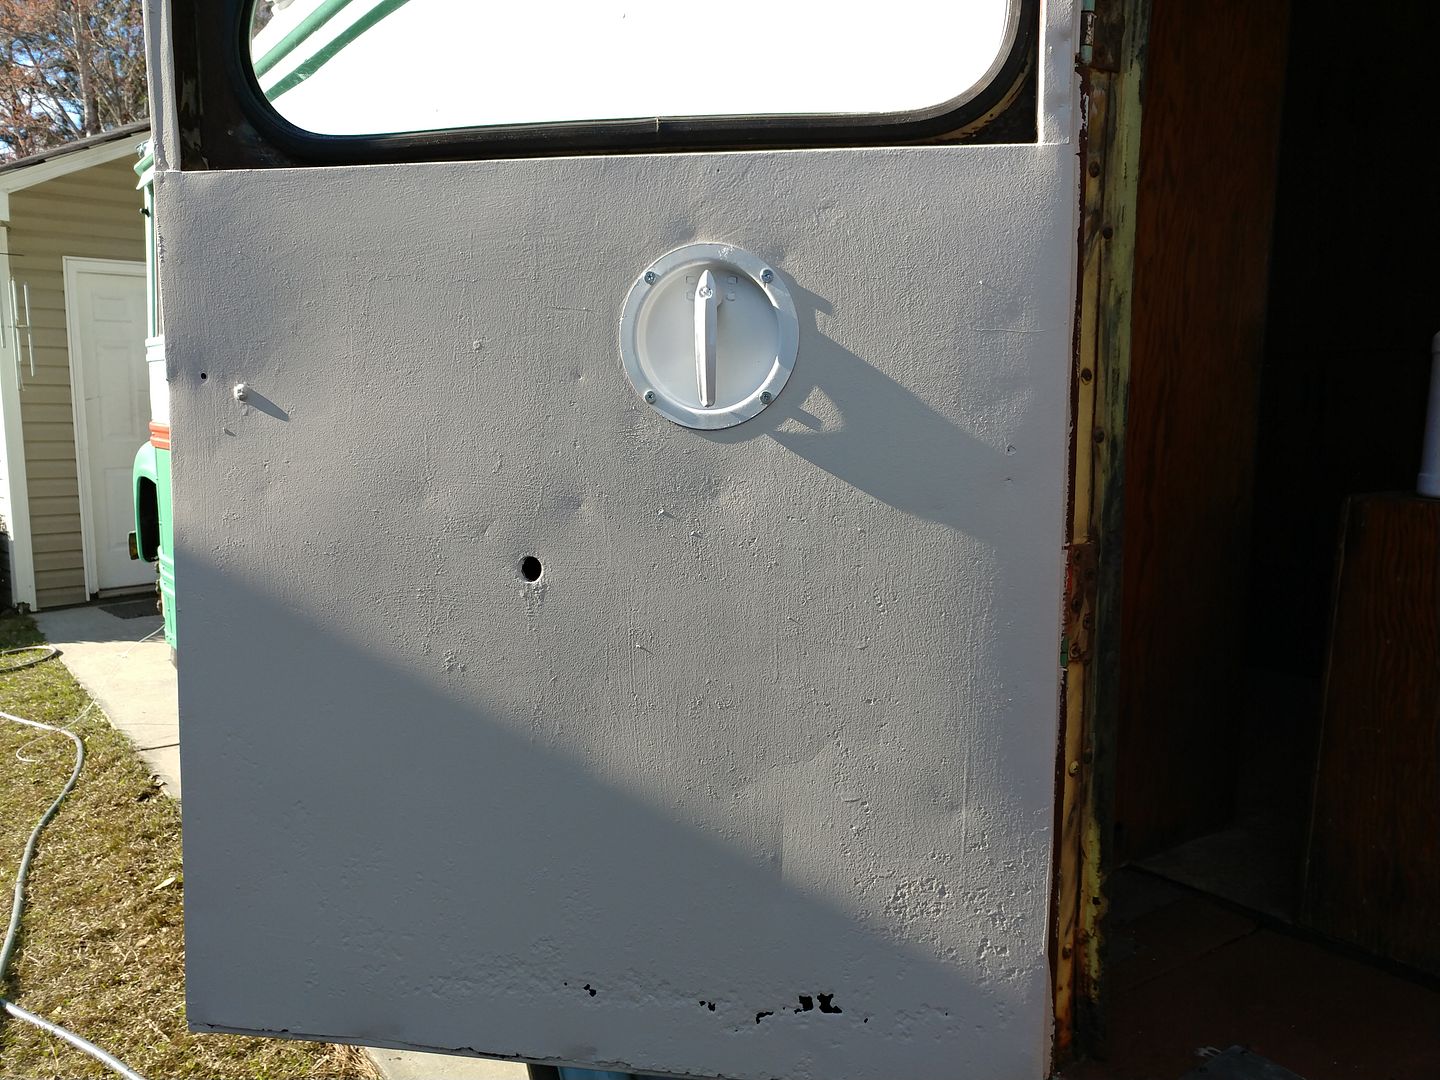
The side door latch got reinstalled. It now works perfectly. I also painted the interior of the doors. I'm not sure on the color. It's a very light cream/beige. I'll have to get more of the interior painted so I can see how it looks on the inside. This door will also be getting some kind of kick panel to cover up the ugly and the holes. Probably something in wood, but that is on down the list a good ways.
We also spend some time with a wire wheel, working on the ceiling and walls. To call this part not fun, is a understatement. Running a 4.5" grinder overhead sucks. I enlisted DD's help for a while. We might have to make this a all hands evolution next Saturday. 5 people, taking turns, should be able to knock this out fairly quickly.
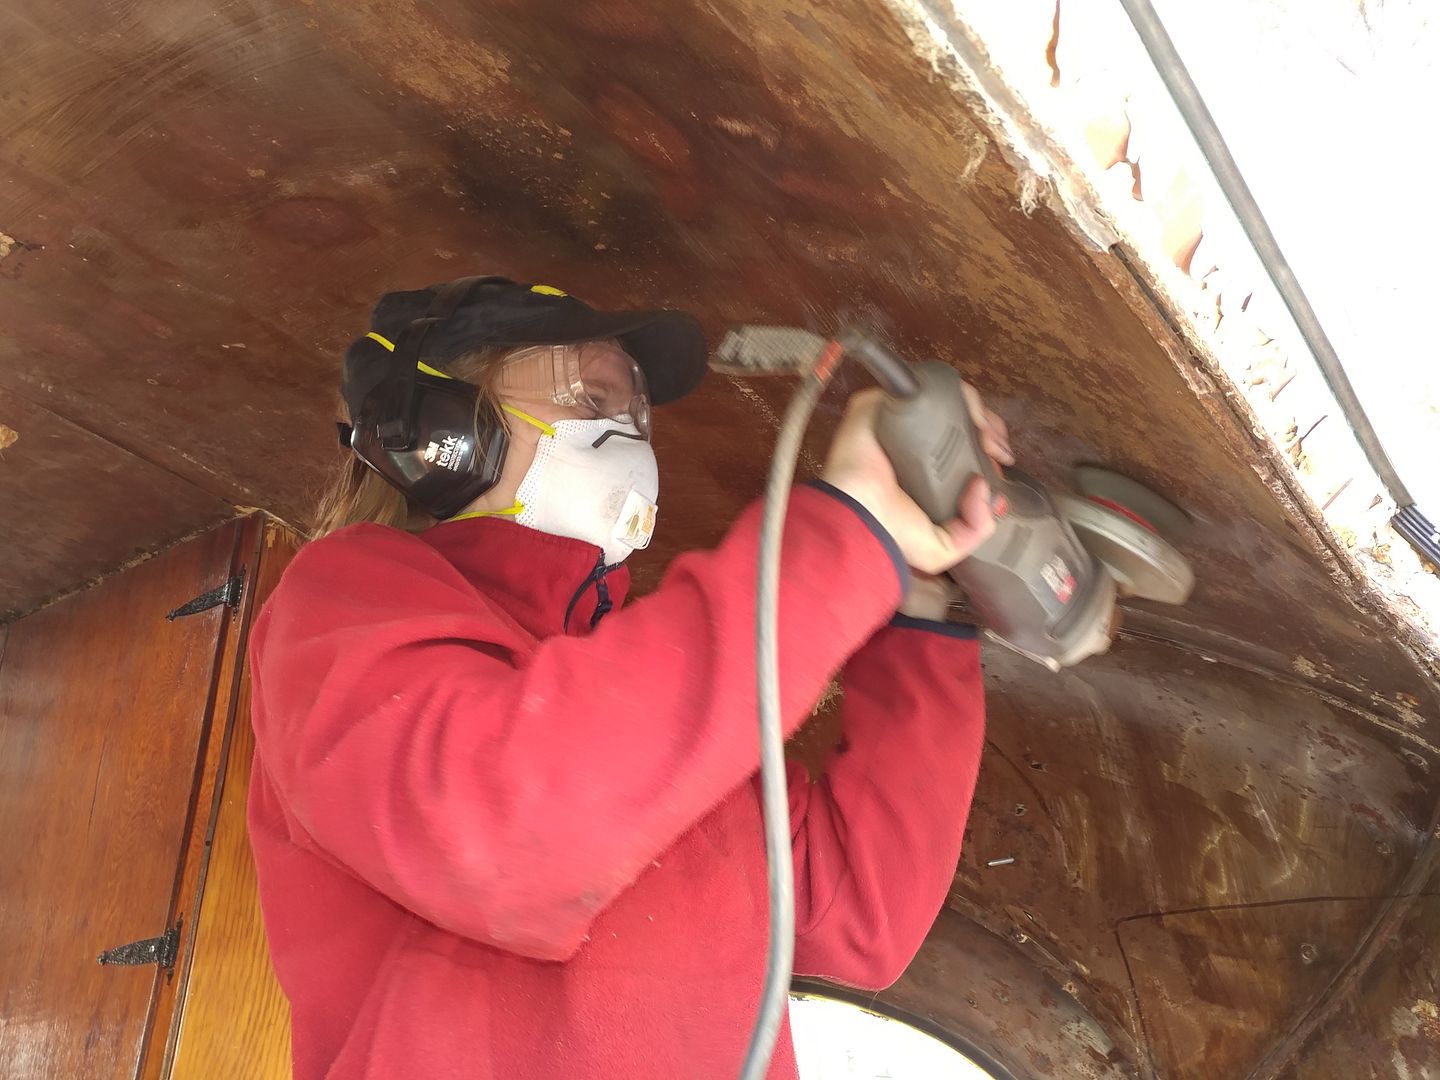
Those lights look great. I do not envy you that amount of overhead rust removal.
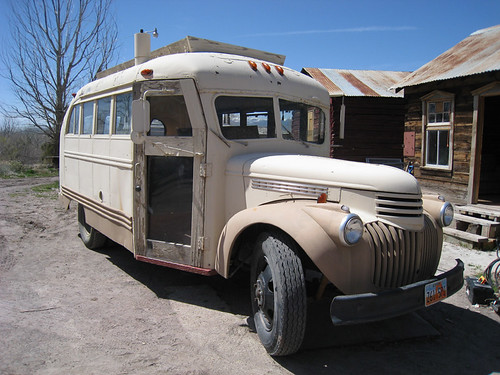
One year ago today, I was on my way back from Wisconsin with a really old bus.
A lot has changed in that time.

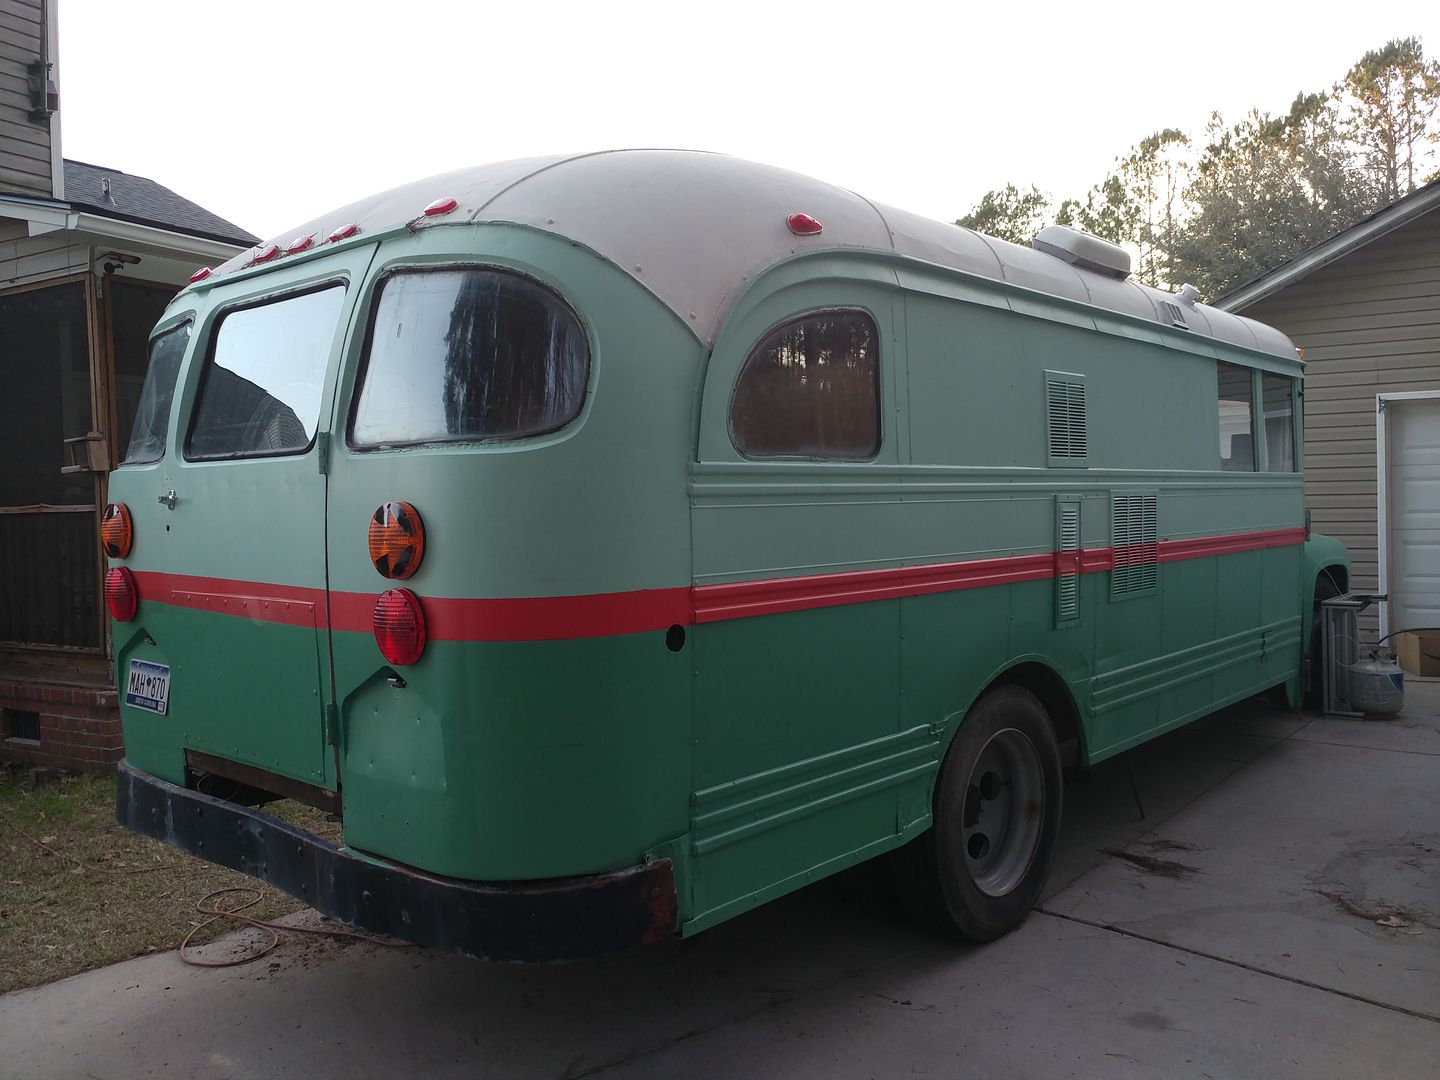
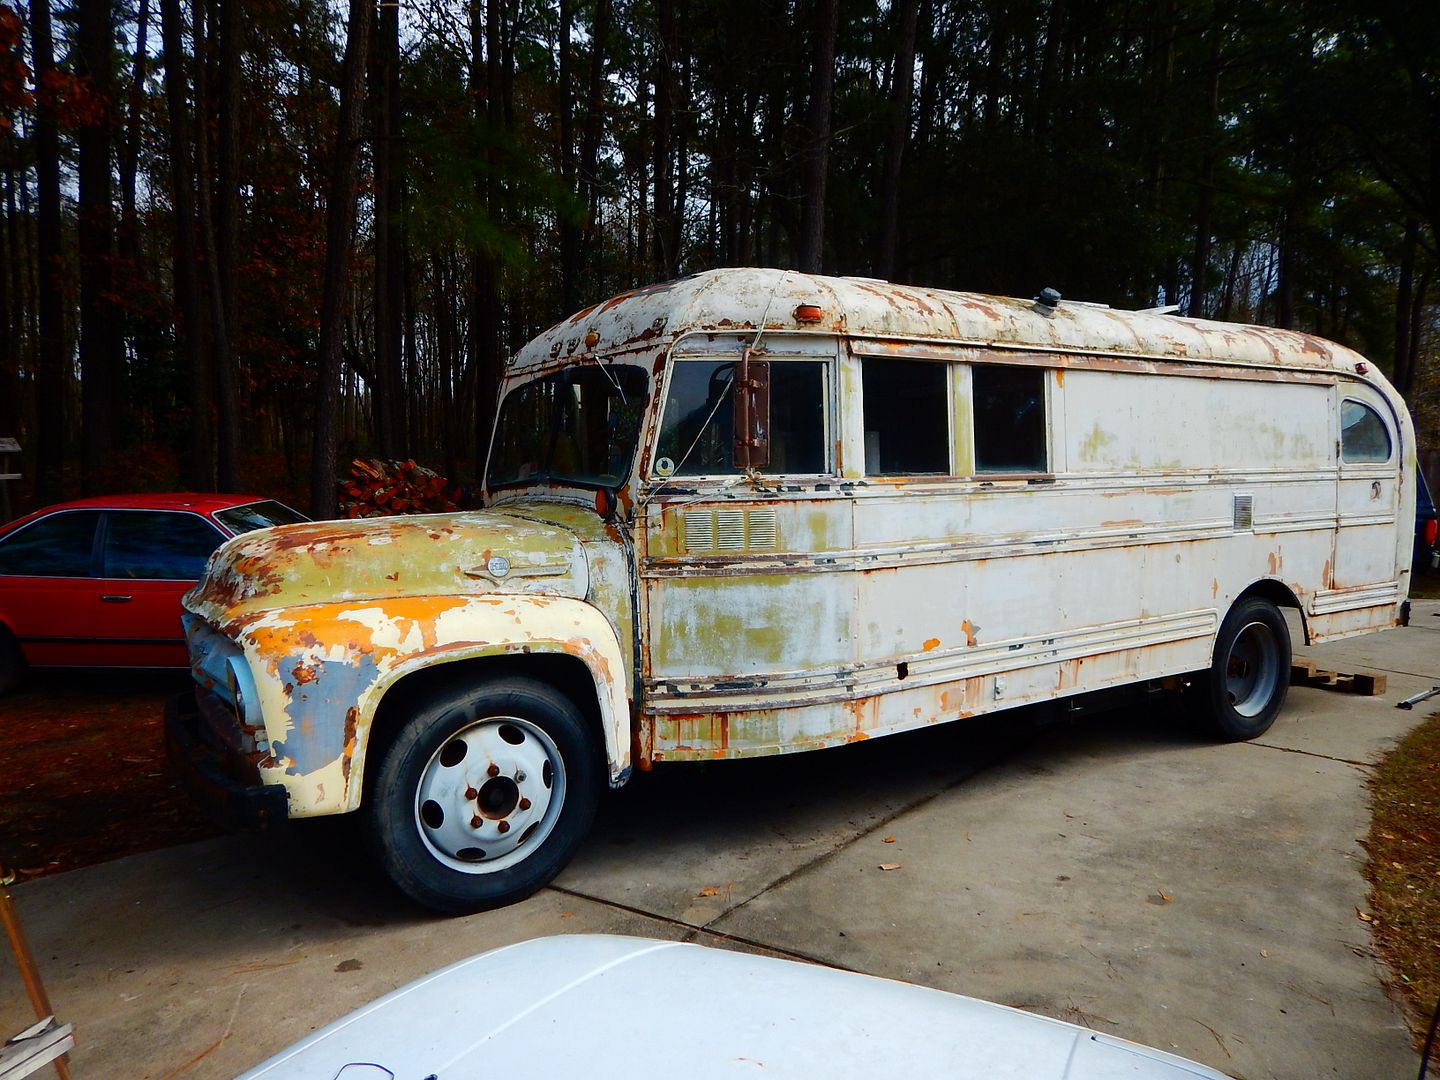
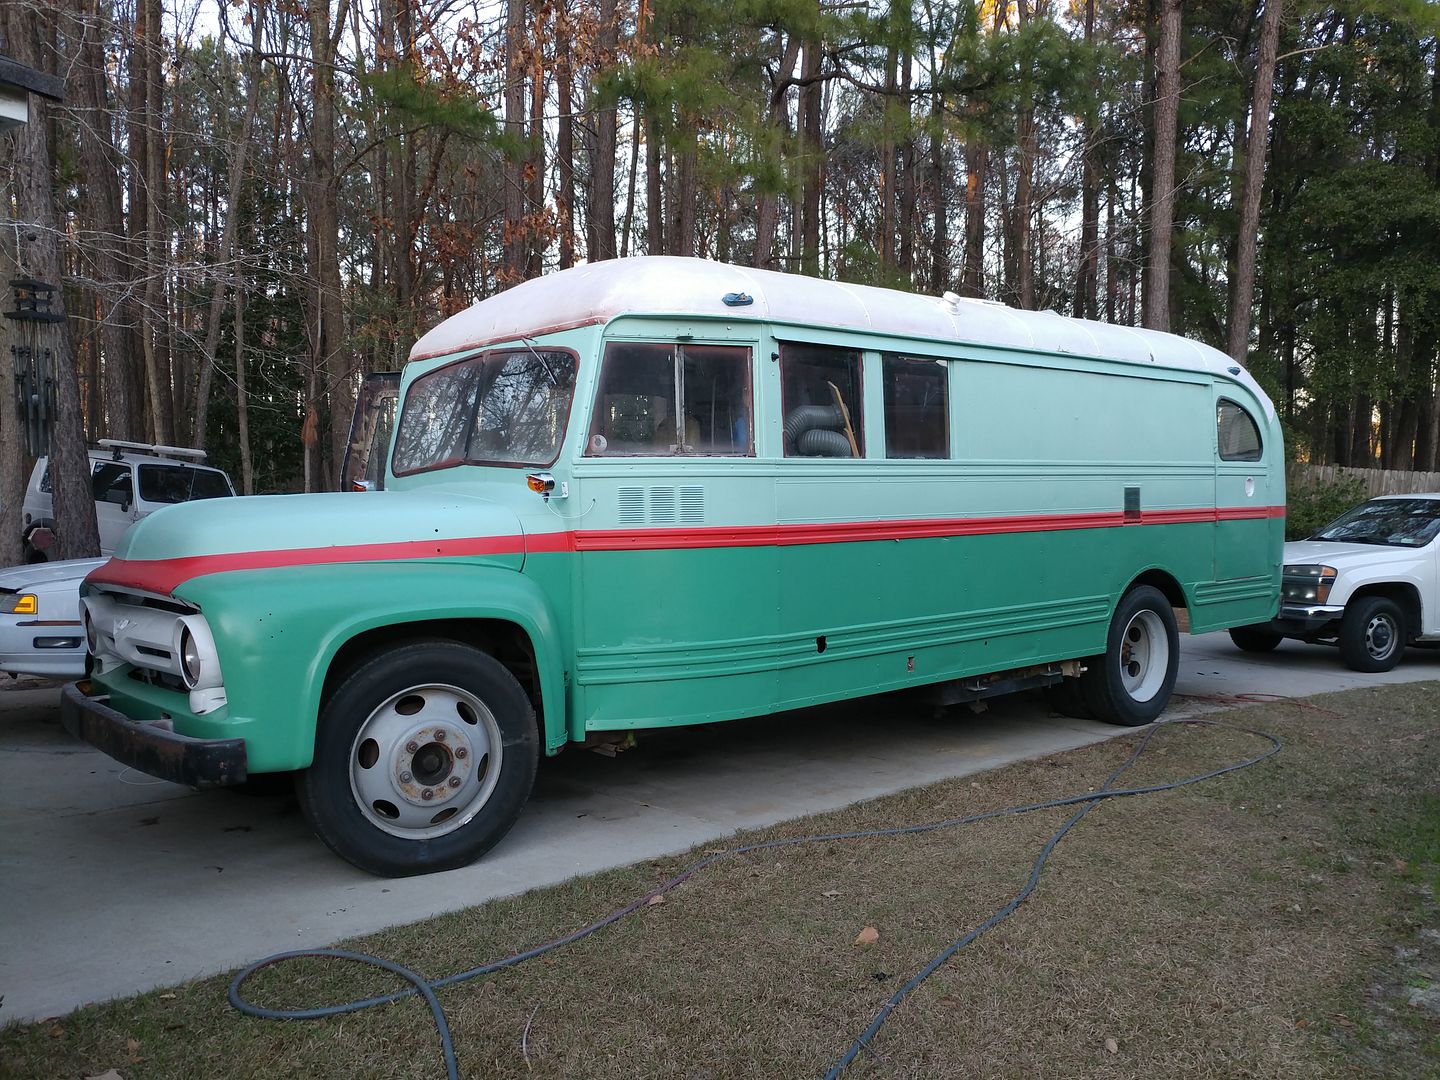
We still have a long road to travel, but I think we are headed in the right direction.
Mad_Ratel wrote:
Any concern over exhaust gas entering the cabin from the floor holes?
It's a RV with propane appliances, so it should have at least one CO detector on board that will notify you of that problem.

NOHOME
PowerDork
1/31/17 5:53 a.m.
Toyman said:
The proper way to fix this is cut the old out and weld in new. I'm not going to be doing that.
And this is why I cant have a big old camper like yours. I would have had to put this in a rotisserie and sandblaster it down to bare metal as I rebuilt every panel to the way it came from the factory.
I know myself well enough that it would lead to financial ruin.
And yet, the idea of a bus on a rotisserie really intrigues me
In reply to NOHOME:
We're gonna need a bigger rotisserie...
In reply to NOHOME:
As much as I would love to have the time and financial wherewithal to do that, it's not going to happen.
Over on the Skoolie forum, there is a guy that is doing a body off restoration of a 30s era bus. He's 5 years and 10s of thousands of dollars into it and still has a long way to go.
SanFord is going to be serviceable first. Then I can divide the rest of it into weekend projects. A window here, a bent or rusted panel there. It shouldn't take more than 20 years to finish it. 

RossD
UltimaDork
1/31/17 7:38 a.m.
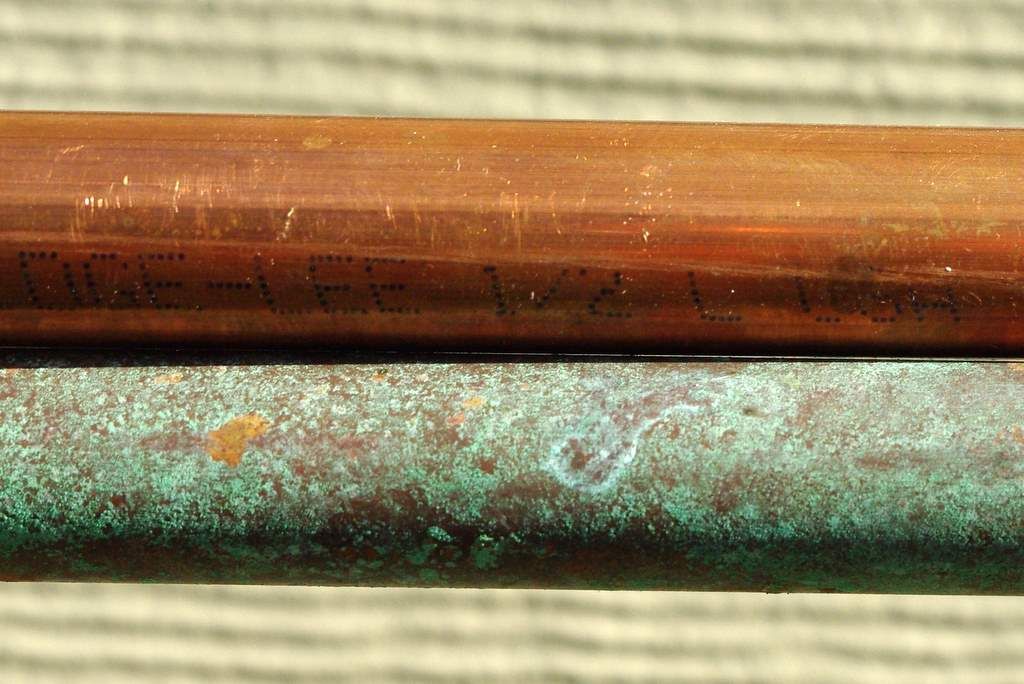
I had to look up what a 'SS door loop' was and that's a pretty good idea. Probably a better than my soft copper tubing idea. I don't know why but I want an old vehicle with copper tubing serving some function, hopefully in the engine compartment.
In reply to RossD:
Copper isn't a bad idea either. It would tarnish about the same color as the bus.
NOHOME
PowerDork
1/31/17 10:50 a.m.
Toyman said:
Over on the Skoolie forum, there is a guy that is doing a body off restoration of a 30s era bus. He's 5 years and 10s of thousands of dollars into it and still has a long way to go.

Link?
I did a quick search of that site trying to see if it was an obvious first page build.
Did not find it, but have come to the realization that there is a far deeper pool of crazy than I am exposed to on this site.


Good lord that has a make shift wooden door too. 
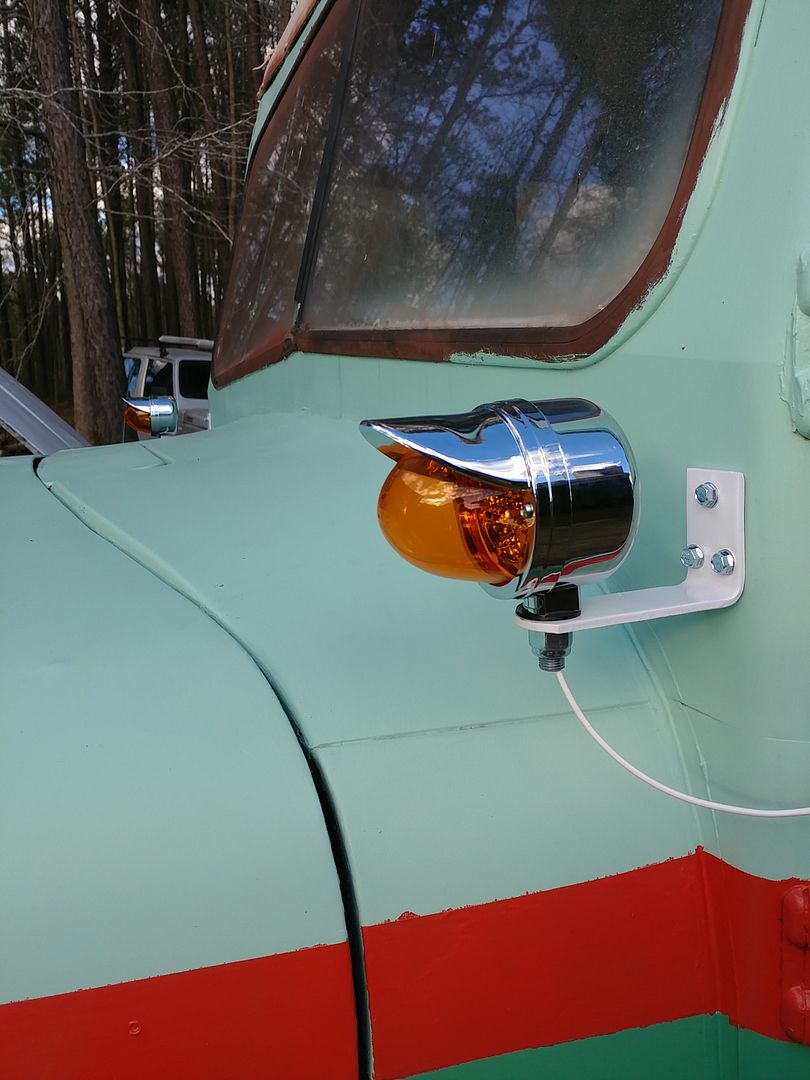
The front turn signals are done.
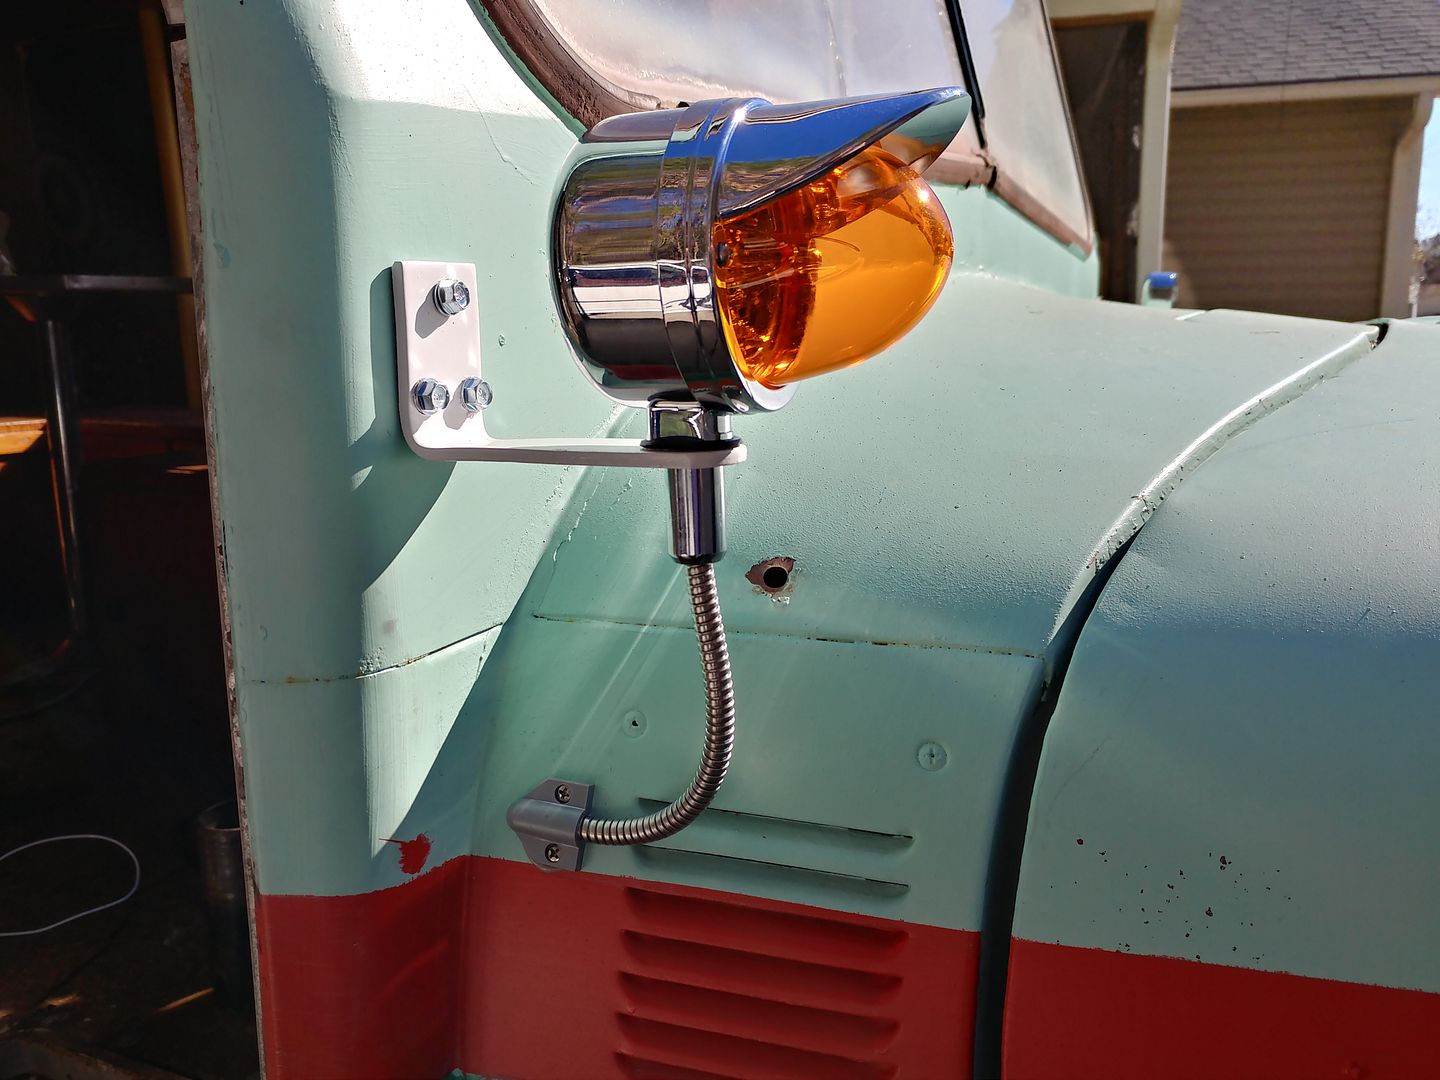
I didn't want to use the zinc nuts that came with the fixtures. The studs happened to be 1/2" 20 so I trotted town to the local parts house and picked up some chrome wheel locks that looked acceptable.
The wire runs through a stainless tube used for door loops. It's not perfect, but I like it.
Some time in the future, I may build a set of custom mounts that will hide all the wiring. I might not as well.
I was also rolling around under it today studying the brake system. I thought some of you might be interested in what the underside looks like.
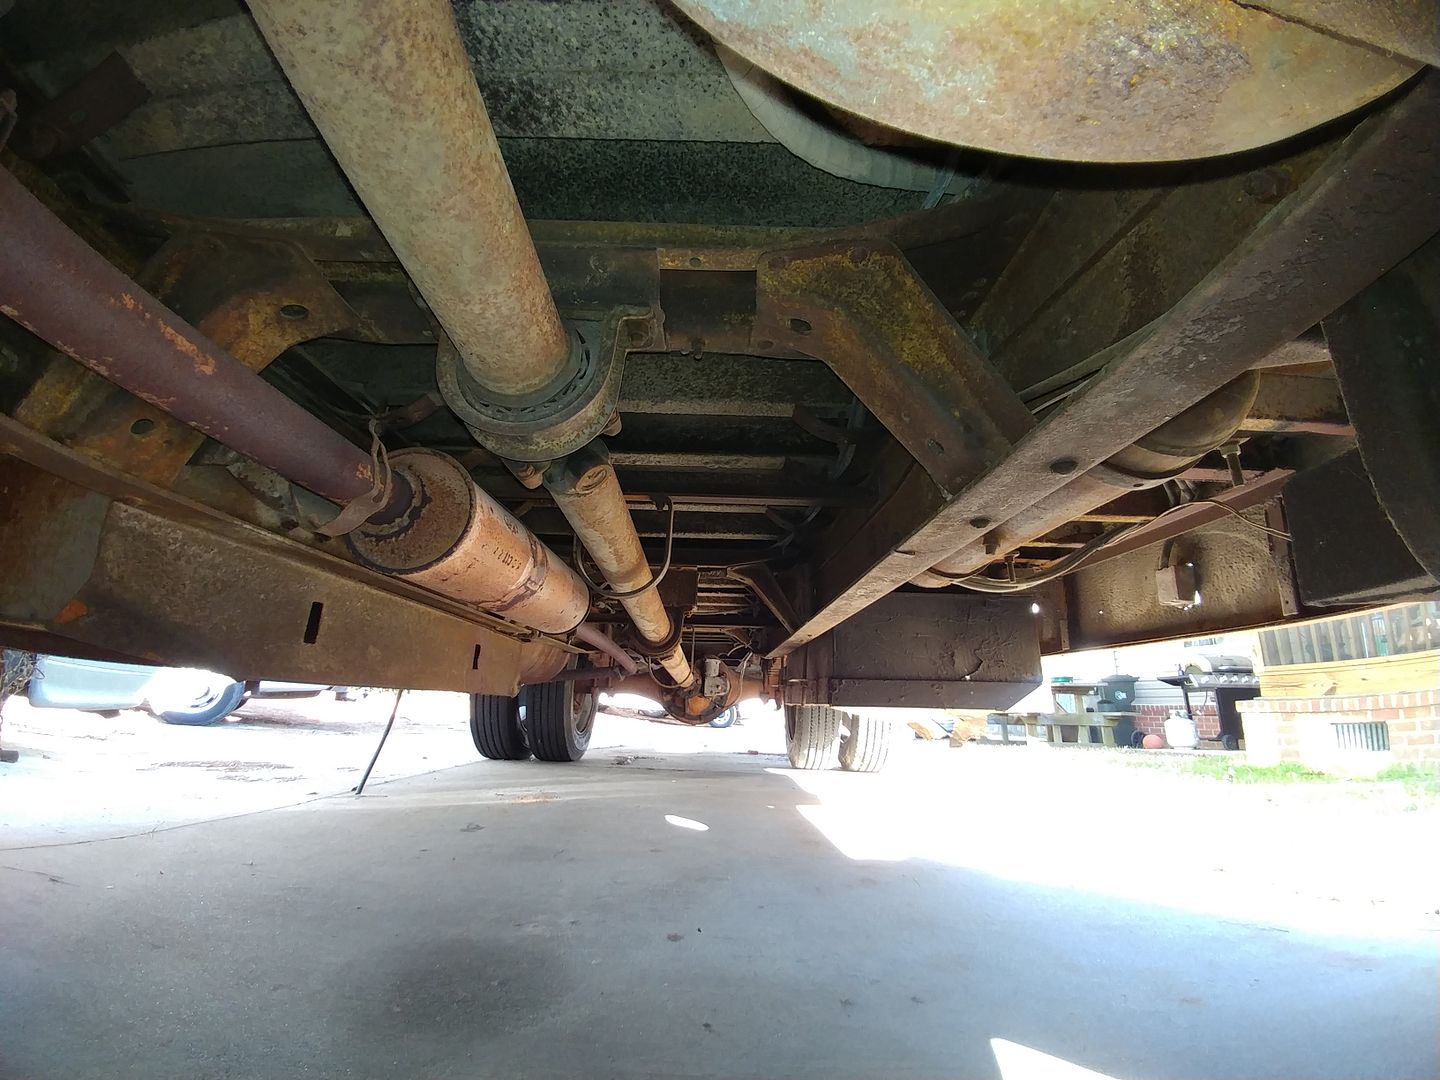
The picture makes the drive shaft look a mile long.
98% of the rust is surface only. I was surprised at the condition considering it came from the northern states.
Holy mamma! If you hadn't said that the pic made it look a mile long I probably would've thought that haha. I watched the video when you guys finally made it home and you were right, it was pretty epic. I'm just glad that things didn't turn into a total clusterberk after that fiasco with the oil. Can't wait to see what's next on ol' SanFord!
I'm happy your one of those people who think about us who do actually want to see what it's like down there! GRM is awesome.
Turn signal install looks correct!
Nice use of an EPT on the turn signal, Doorman01
I'm fighting a cold so overhead grinding was out for the day. So was playing with the brakes. I needed a easier, more mental project.
Since it's February, I thought I would spend a little time working on the air conditioning.
If you remember, I decided that a rooftop A/C was out. That big white box just ruined the look of the bus for me. I pretty much made up my mind, that a basement air conditioner was the way to go. There are a few commercial units out there, but they are super expensive. I also have limited room under the bus. Anything I bought needed to be under a foot tall or it would hang out from under the skirt.
So I bought this.
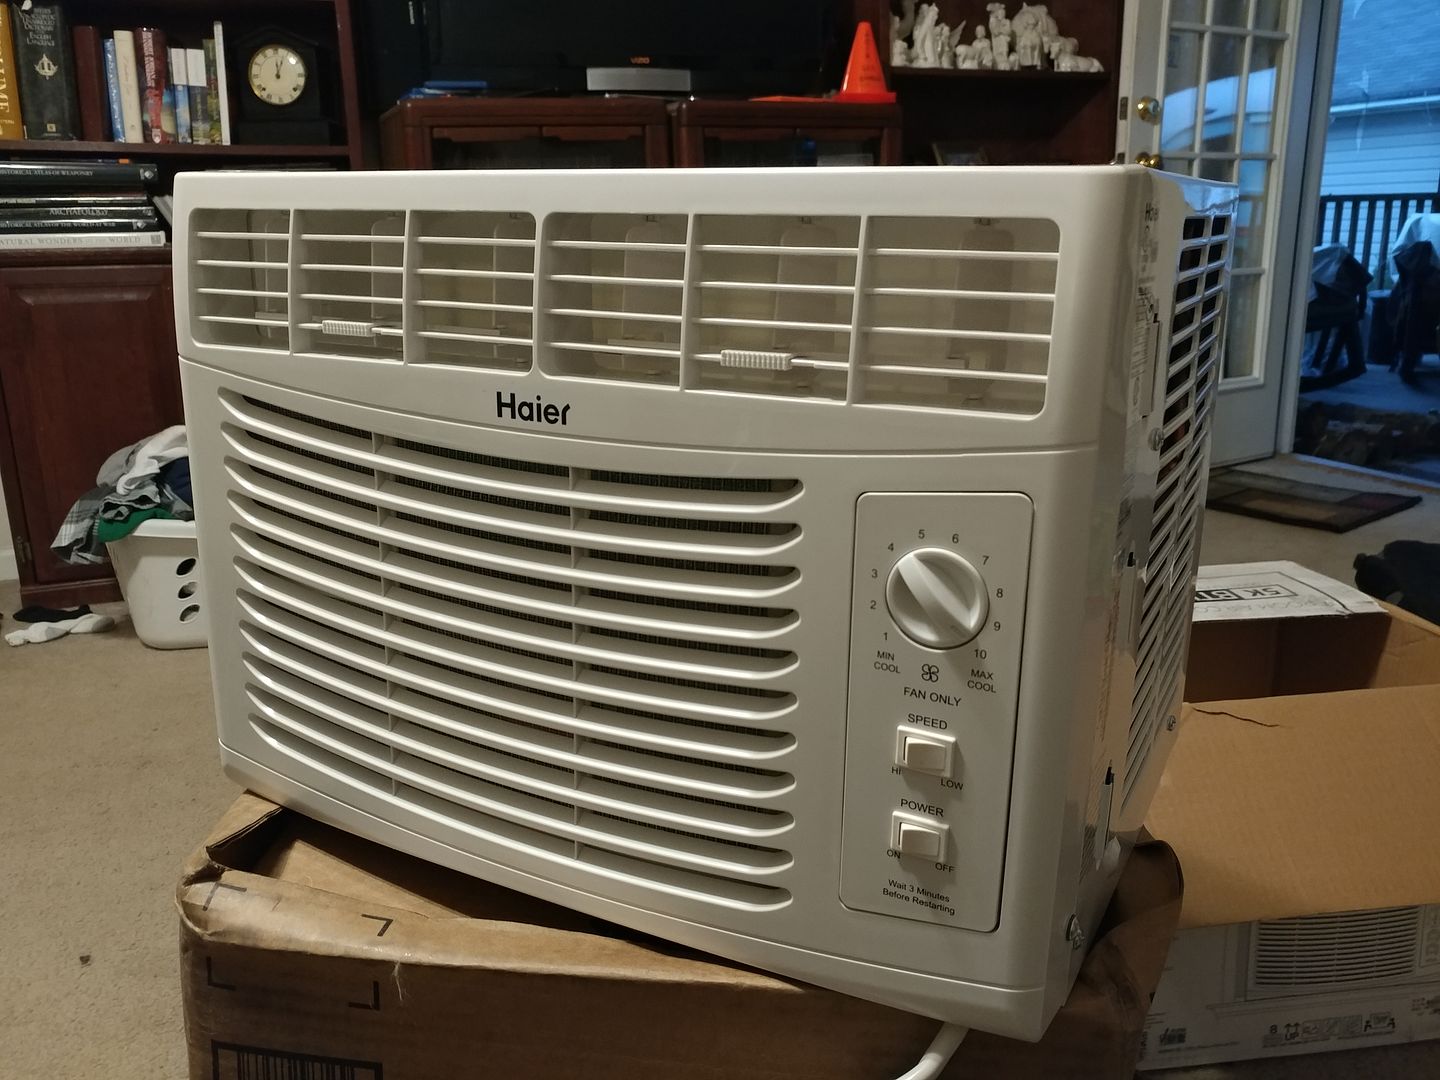
I plugged it in and tested it to make sure it worked, then I took it appart.
This unit has a few advantages. No electronic controls, it draws through the evaporator coil rather than blows through it, and it was cheap. It's 5000 btus, so not big enough, but two of them should do the trick quite nicely. One for the front, one for the back. That will let me keep any ducting super short so I don't unduly stress the fan.
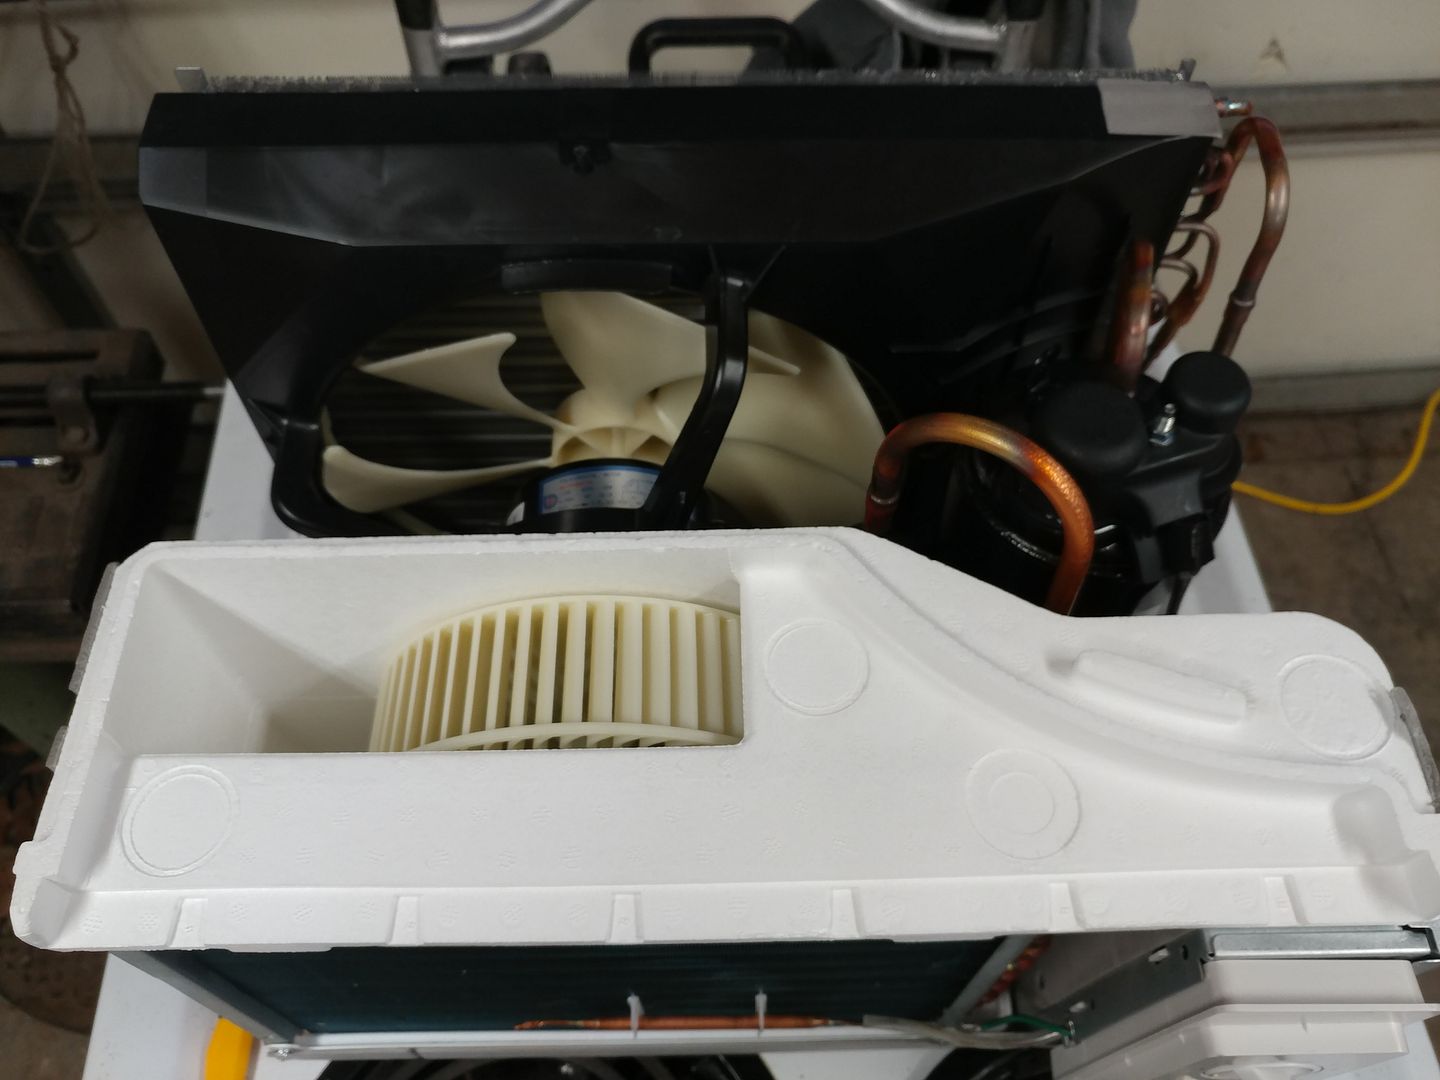
The evaporator fan already blows up, and the case redirects it forward. I just needed to modify the case a little and it will blow through the floor of the bus.
A quick trip to Lowes for an appropriate piece of ducting.
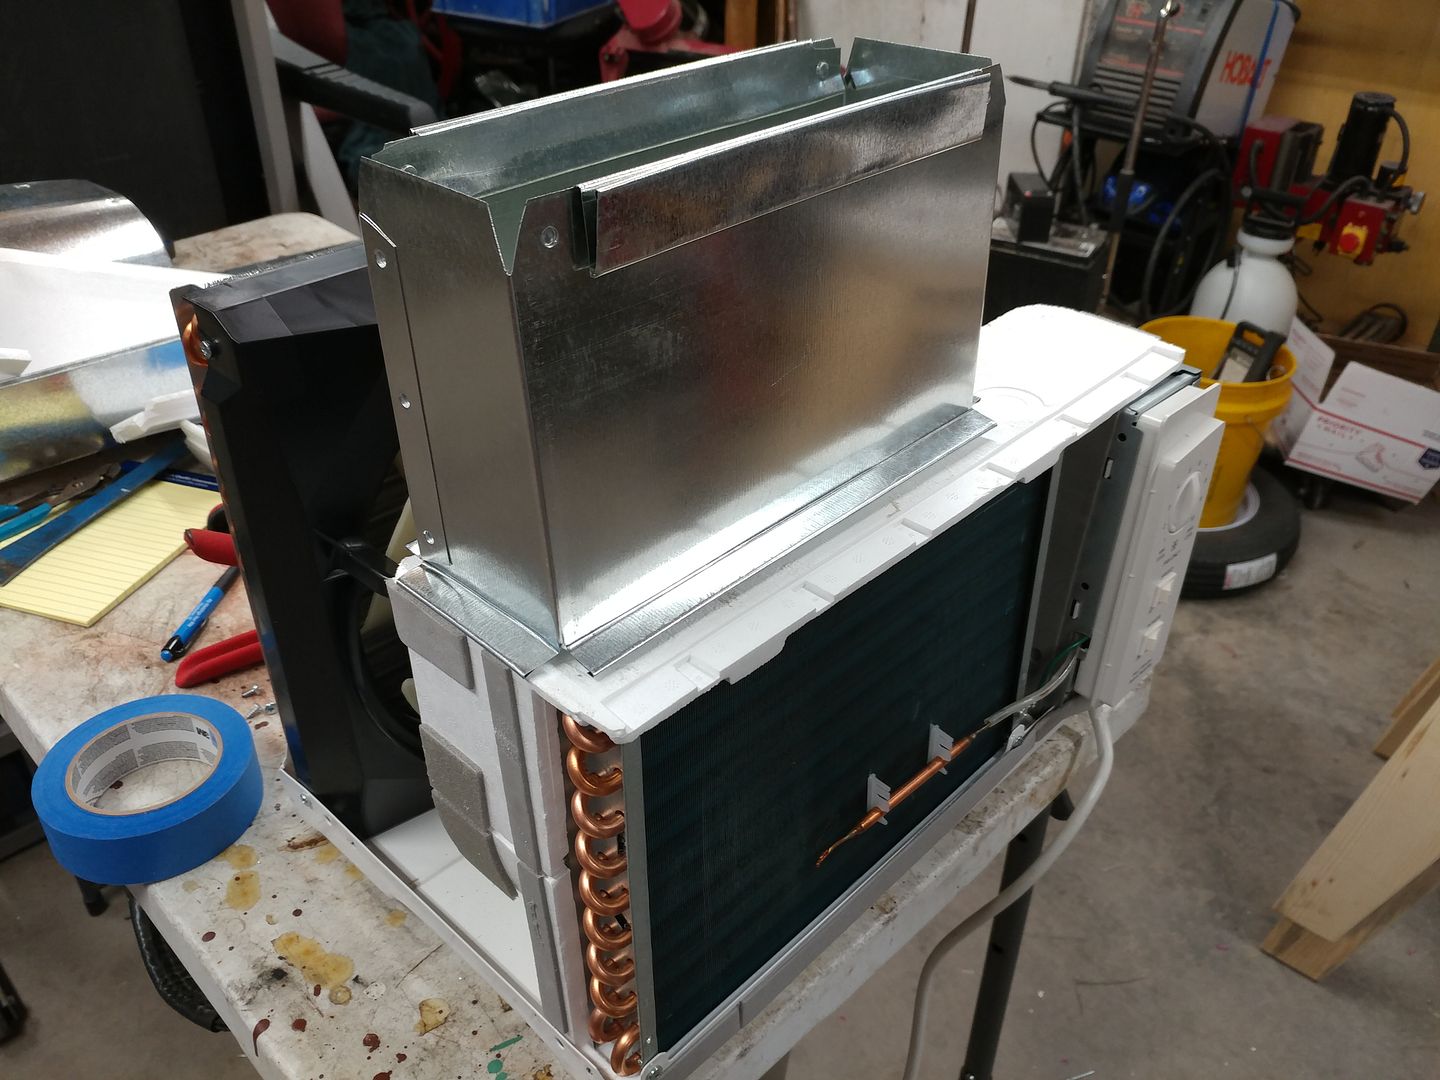
A little bandsaw and grinder work.
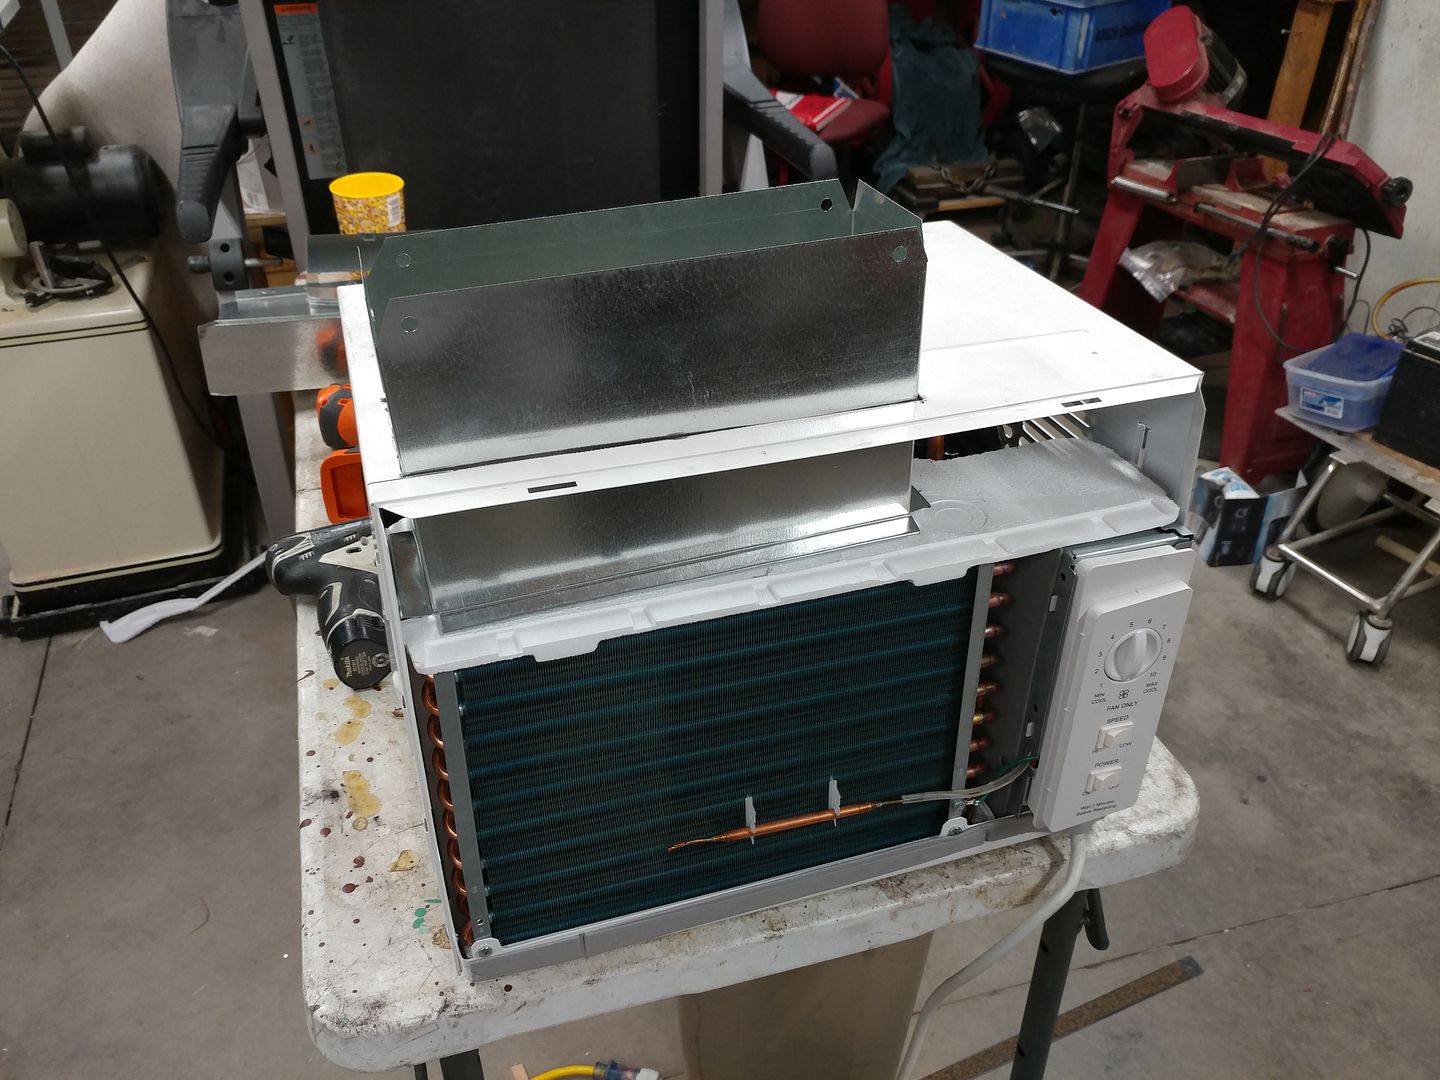
Some insulating.

Then reinstall the case.
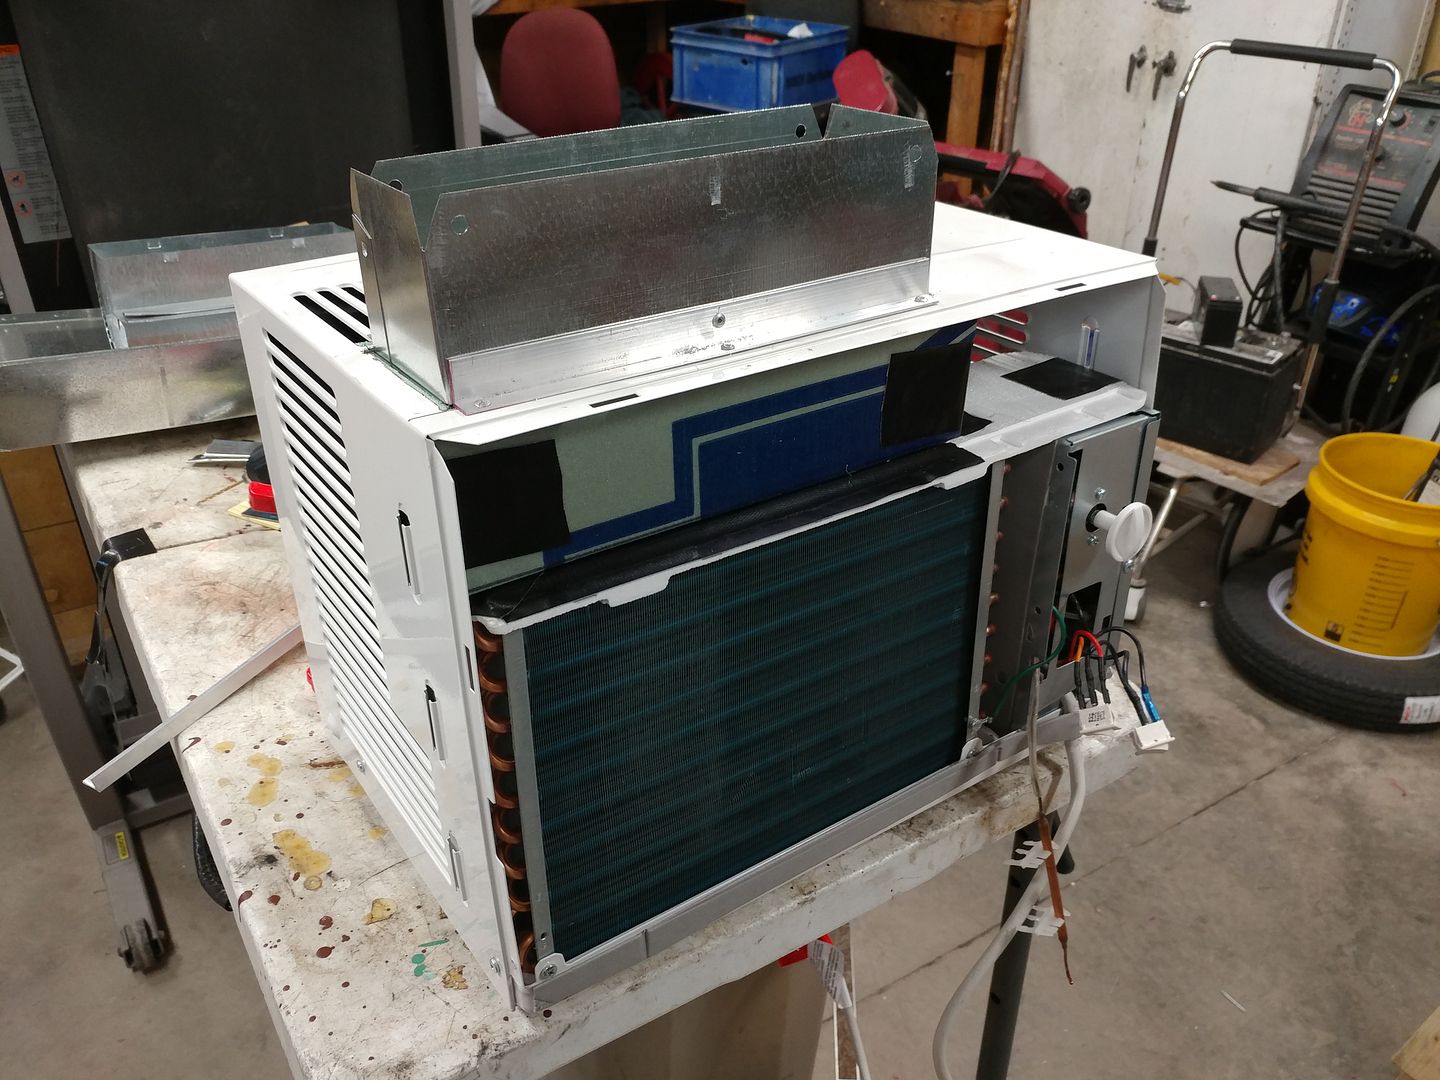
And cold air blows up. 
Now all I need to do is build a return plenum and hang it under the bus. I'll pick up a piece of metal for the plenum Monday.
More to come, but maybe not this weekend.
I hate having a head cold.
I'm looking forward to seeing your progress on that.