It's probably a good thing you're removing the interior panels before driving past any more police stations.
pres589 wrote: Looks like first gear is set up for smoke shows. Otherwise probably a pretty good spread in that five gear box.
We tested this theory today. On E36 M3ty 205s you're right but damn did it sound good bouncing off the rev limiter.
So today was supposed to be coil over day. We got 10 minutes into it and realized what all was going to be involved. Said berkeley it. This is a fun build and coil overs on struts built into the spindle isn't part of a fun build.
So we continued with our weight loss program. We're getting to the point that we're working hard to remove weight. Even decided that removing the AC components was to much work to be worth it. Did remove the engine cover and cleaned up brackets to make the engine more presentable. I've been wondering why the panic button still worked but we found a hidden computer in the trunk that solved that mystery. We also removed enough cruise control components that the adaptive cruise no longer lights up on the dash.
Other than the windshield and rear window we're down to the front seats and cosmetics. Ordered different tires last week and they should be in this week. Also ordered team t-shirts.
Almost forgot, we finally sold the original wheels for $20. I was just happy to see them gone.
We're trying to do things differently this year. Last year we kinda messed around until the last couple of weeks then we said oh E36 M3 and killed ourselves trying to get a working car ready. With our group of friends we have Saturdays to work on the car. We try to get a major project done that day and are using the evenings of others days to finish up the loose ends. This evening we wanted to finish up the doors. We pulled the center panel, window motors, regulators, and the wiring harness. It was a joy to work on a car with no sticky tar stuff on the doors. We pulled all that and then cut gray electrical conduit (cheaper than PVC by 22 cents and a better color so no paint budget) to hammer into place to hold the glass up. Apparently the official picture taker only took pictures while I was standing around watching. Here my friend Chris has his head stuck in a hole while i watch. Does the picture make me look fat? 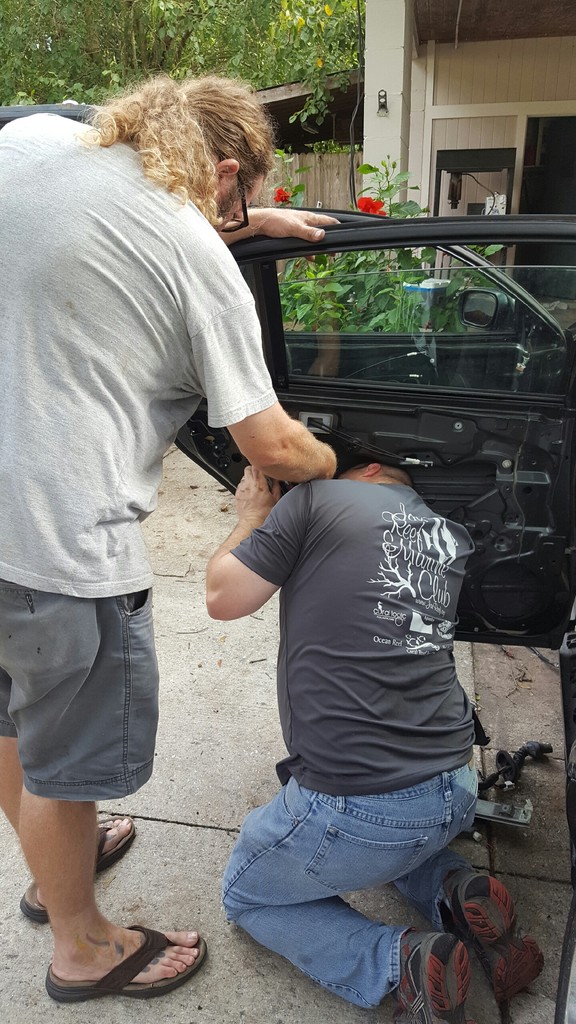 Here's Chris trying to show me how to limbo in a stripped down Q45 while again I watch.
 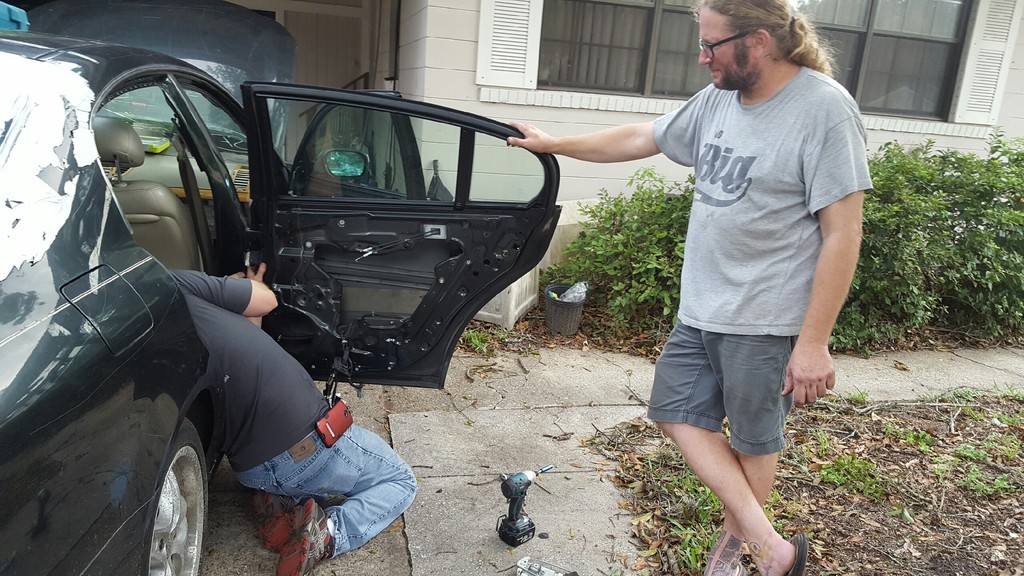 Tomorrow is a bonus day with the holiday so we're going to try and tackle a major project again. Stay tuned.
Today was back window day. As much as clear vinyl is cheap, easy, and functional, I really don't think it will work for the Challenge. We spent about an hour removing the old glass and gasket. Also did a good vacuuming while we had a big hole to work through. First we laid down some paper to trace the opening. 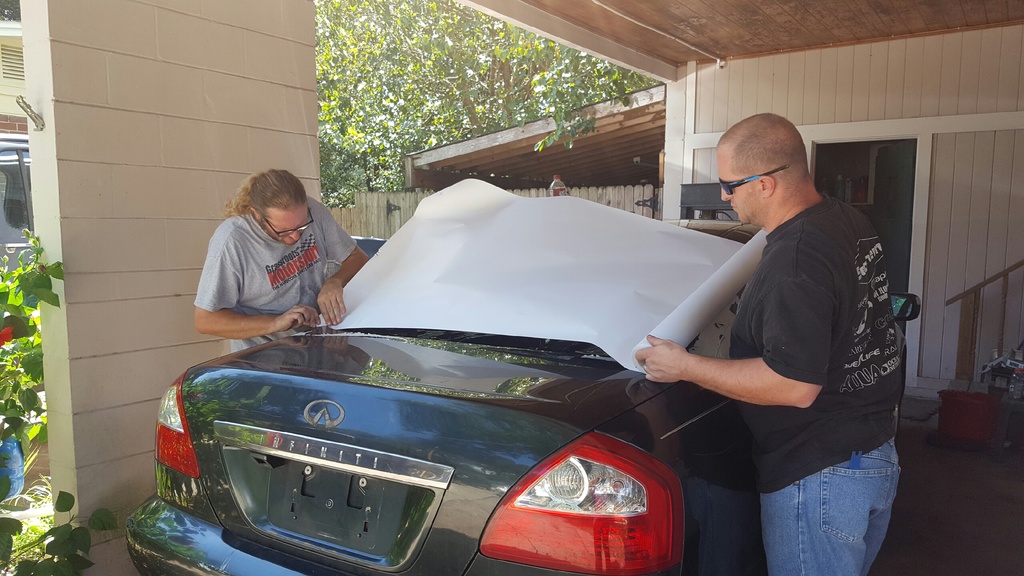 Look at that intense focus.
 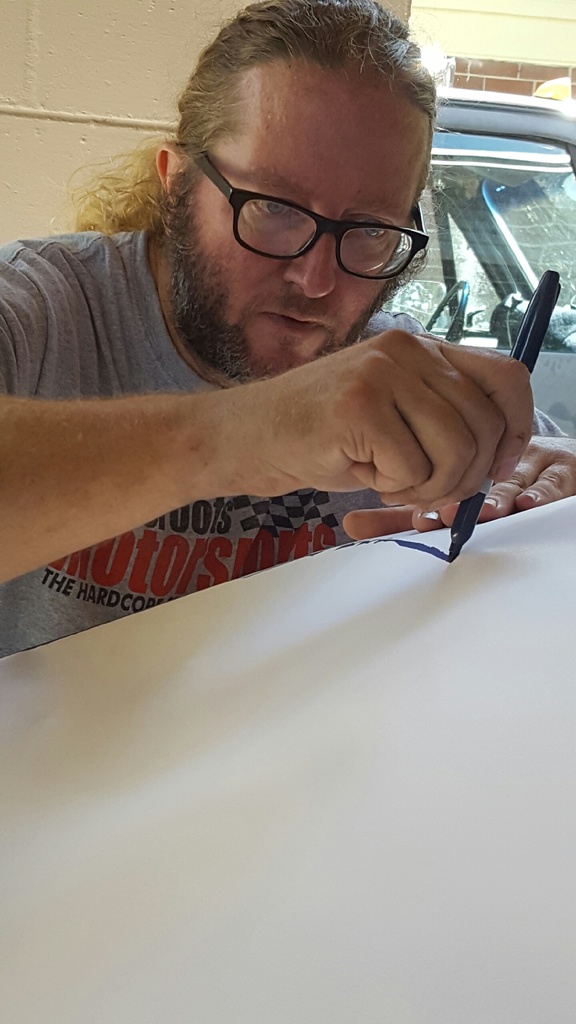 We traced that onto some hard board then cut the plug out with a router.
 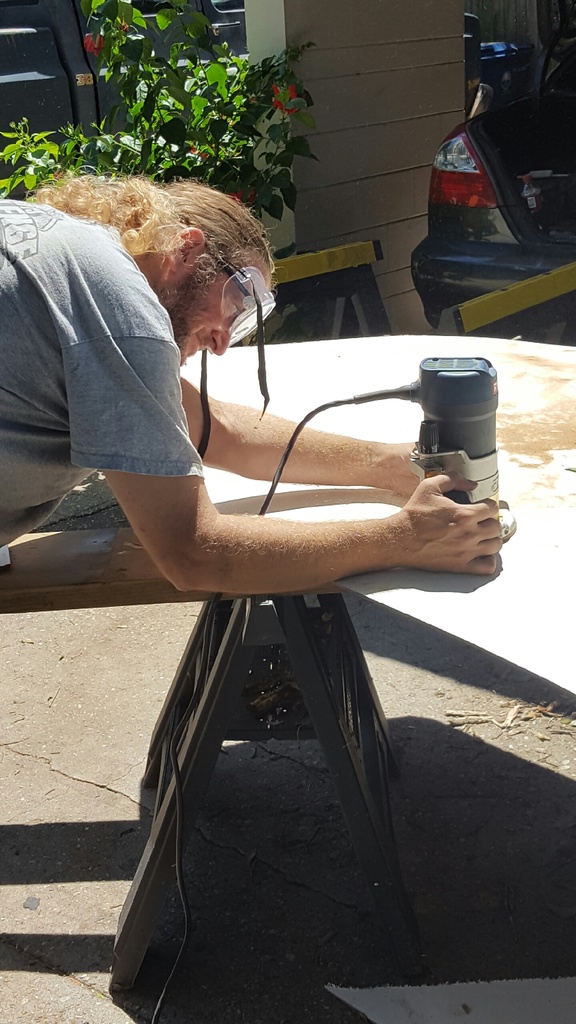 Hard to see here but we made a fence for the router out of a 2x4 allowing us to trim 1/8th of an inch all the way around the plug to get it the right size.
 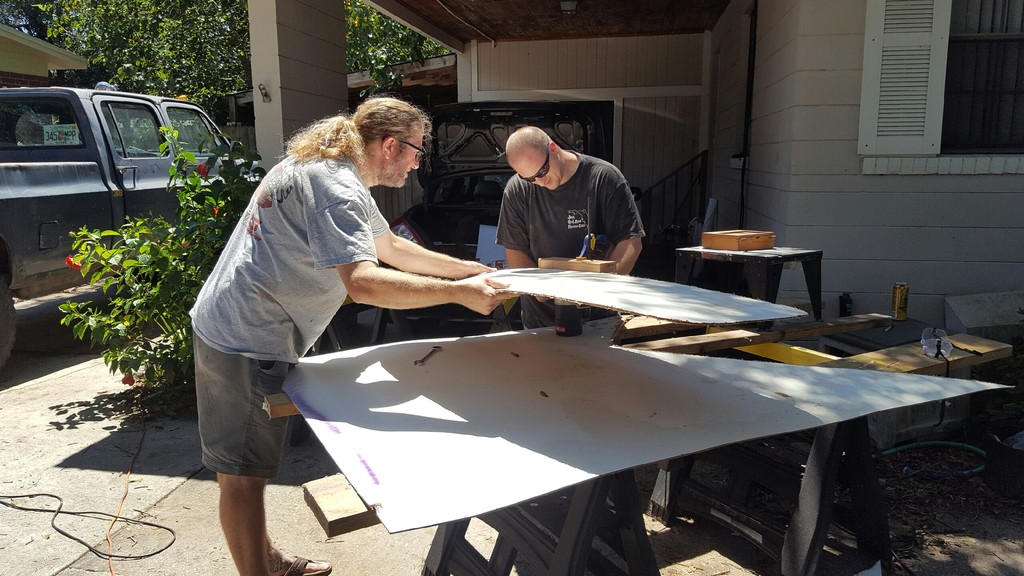 At this point it was time for a late lunch then a run to Lowe's for some supplies. We were at a good stopping point so we'll get back on it tomorrow. Also none of the above photos were staged in any way to show me doing all the work.
OK so we sucked this week. Didn't do much during the week other than cut out the lexan window. Sorry no pictures of that but basically just clamped the hard board template to the sheet of lexan and used a cut off bit to cut the window. Some trimming (discovered that a angle grinder works well YMMV) and it was ready to be put in. Last night pizza and beer with friends was more important than car but got back on it today. Here's Chris welding in some tabs to bolt it to. 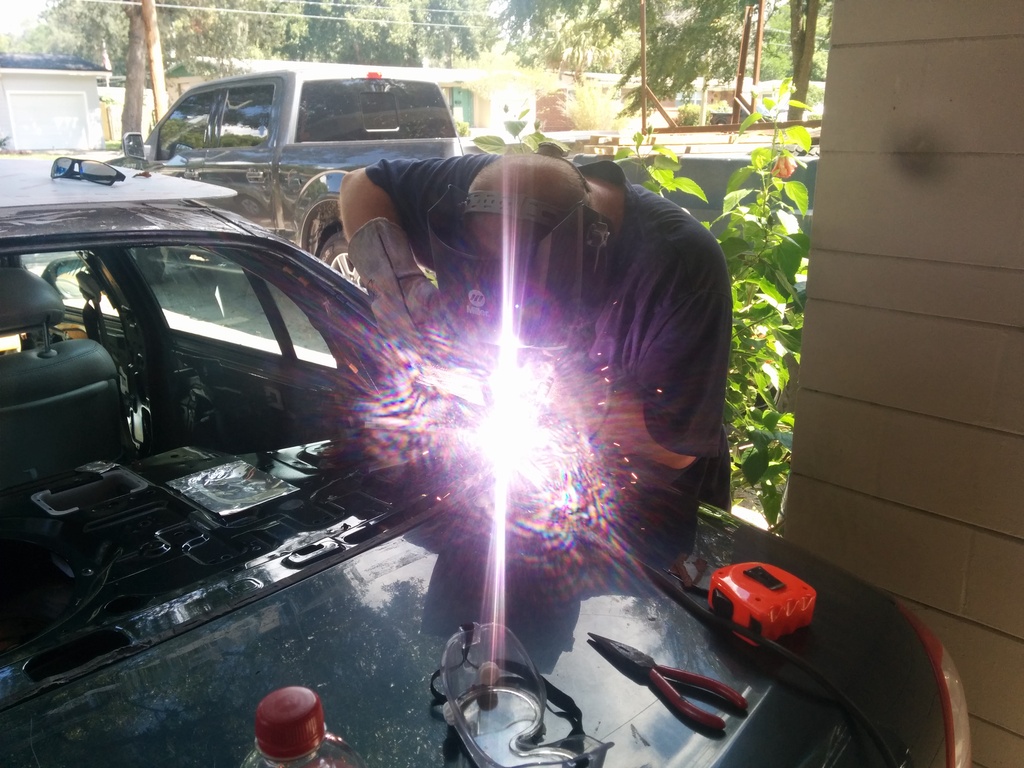 We put some closed foam weather stripping down in the channel leaving a gap at the bottom for the original water drain. Bolted it down with some stainless hardware and here it is.
 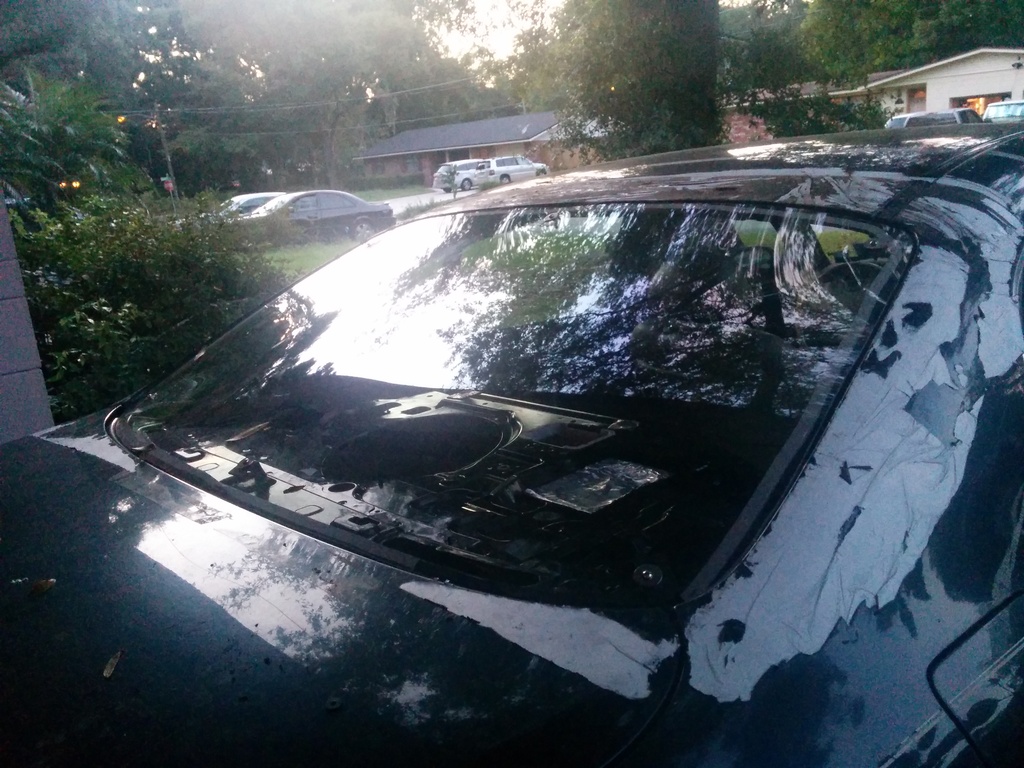 So then to the front window. Didn't take a stopping point picture but here's where we go for the speedster look.
 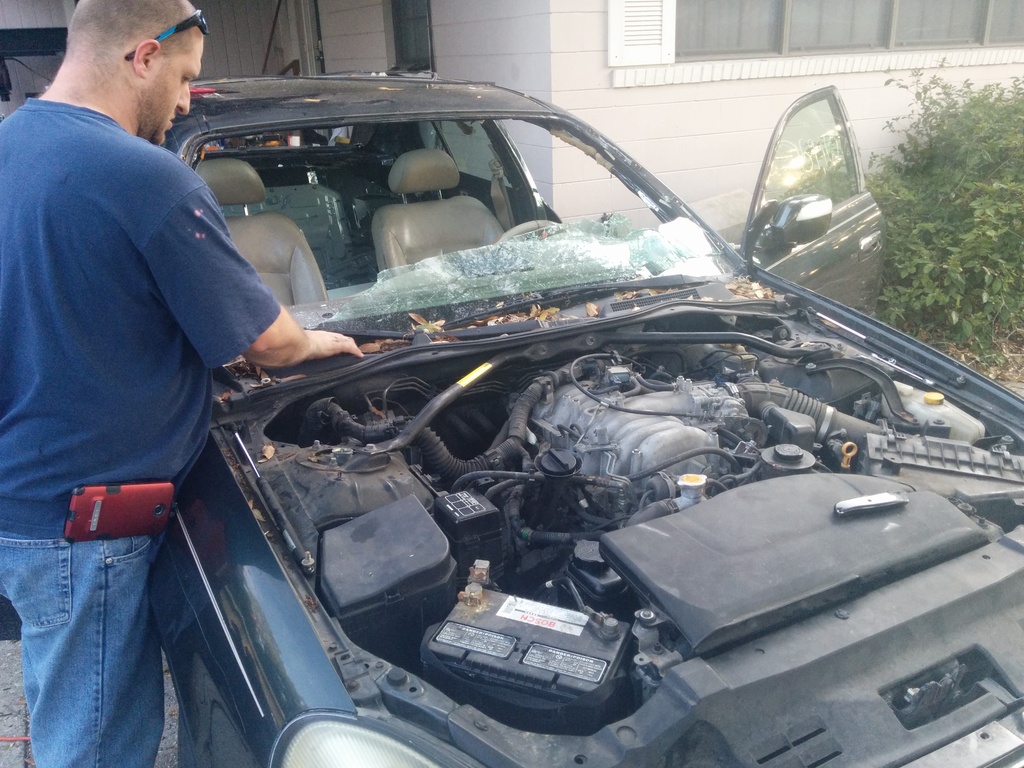 The bottom was the hard part because there isn't much space to get in there. What we did was take a hammer and smash all the glass not on the glue. Then a sawall cut through the glue pretty easy with only minor collateral damage. That's where we are now.
That Lexan rear window looks great. Do you have any closer pictures of how the tabs work?
How did you get the curve into it? Heat and some kind of jig?
I'll try and get some pictures for you today. The curve is so slight that it just did it naturally once held down.
In reply to NordicSaab:
I have a spare Q45 in my basement that is pretty beat up... if you really were interested
In reply to NordicSaab:
I haven't had the chance to really open it up yet but I'll say that this Q45 really changed my perception of them. I've even considered buying one as a DD. I'd have to have the LSD and better gearing though.
In reply to ssswitch: Here's the tabs. We put 5 like this in the corners and top middle. 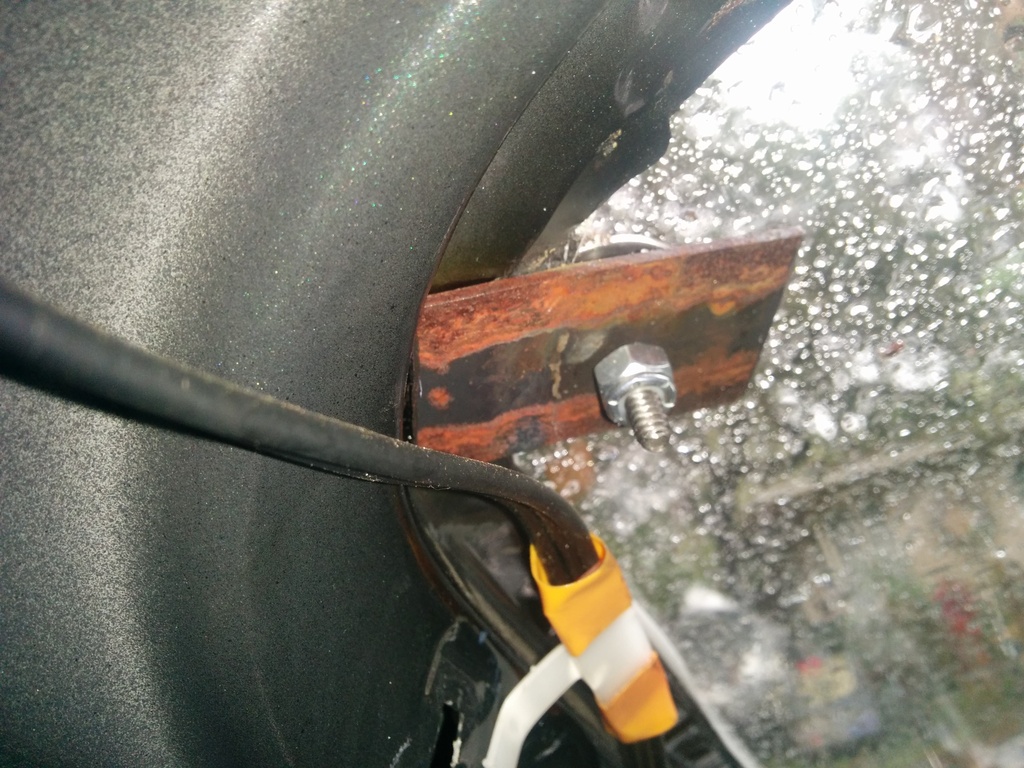 The bottom middle just wasn't close enough so I added an extension. I'd blame Chris for the weld but no it was me.
 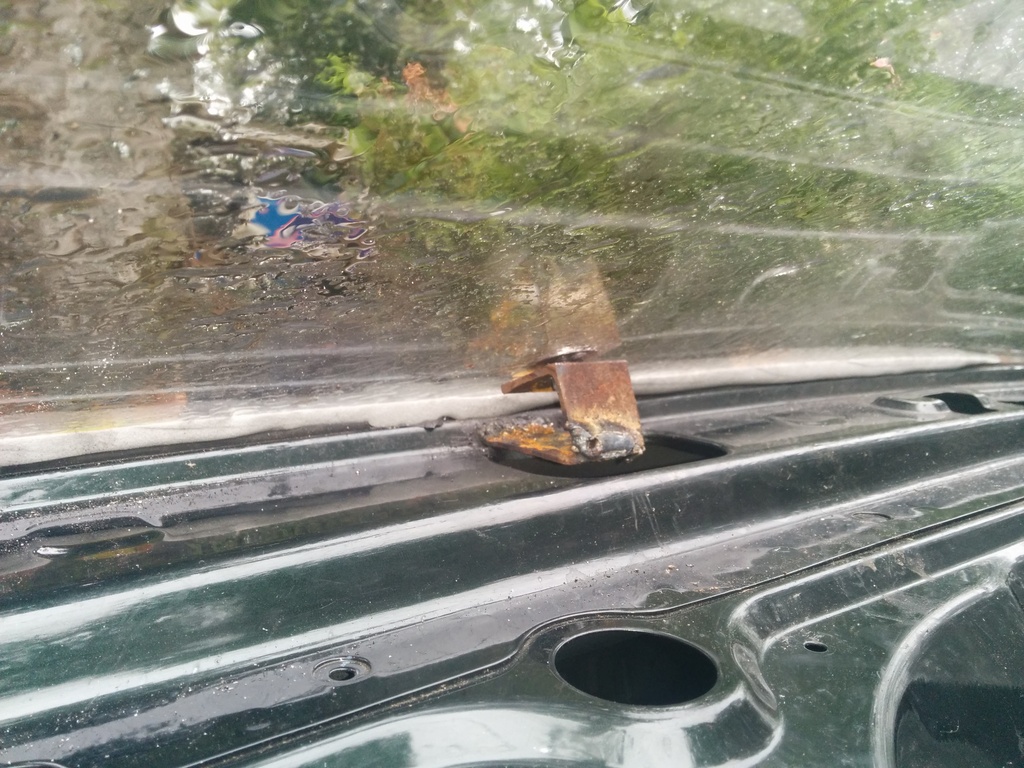 We're going to do a center brace on the front window.
Stampie wrote: We're going to do a center brace on the front window.
NEWS FLASH
Are you guys the Infiniti NASCAR Skunkworks?
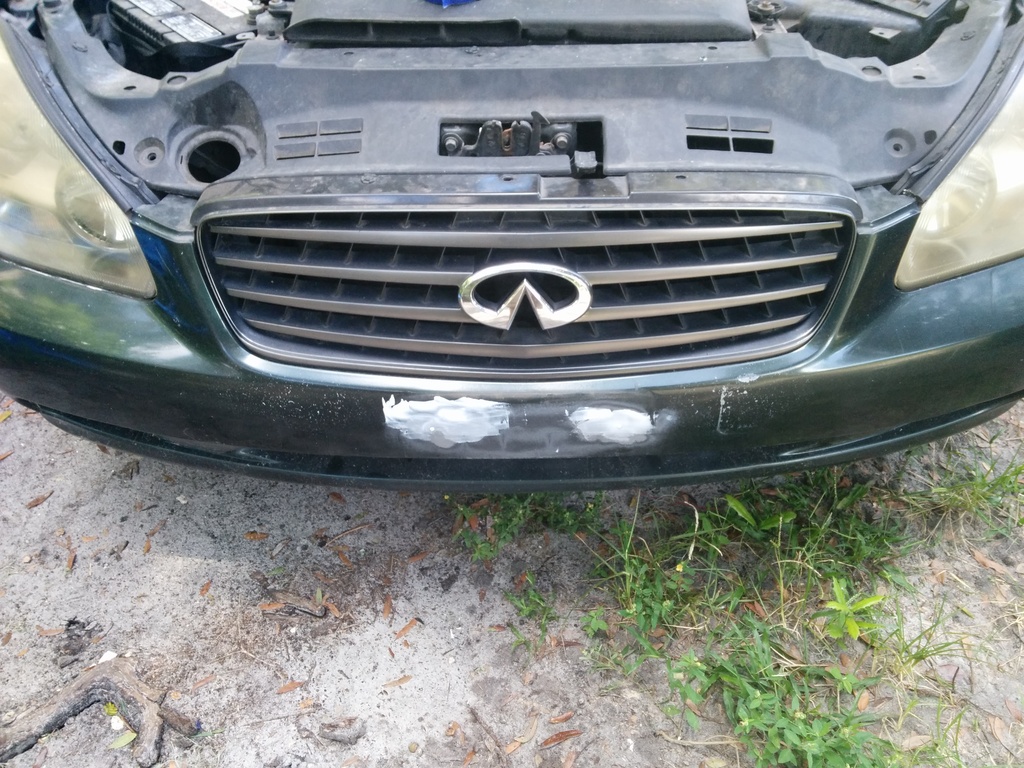
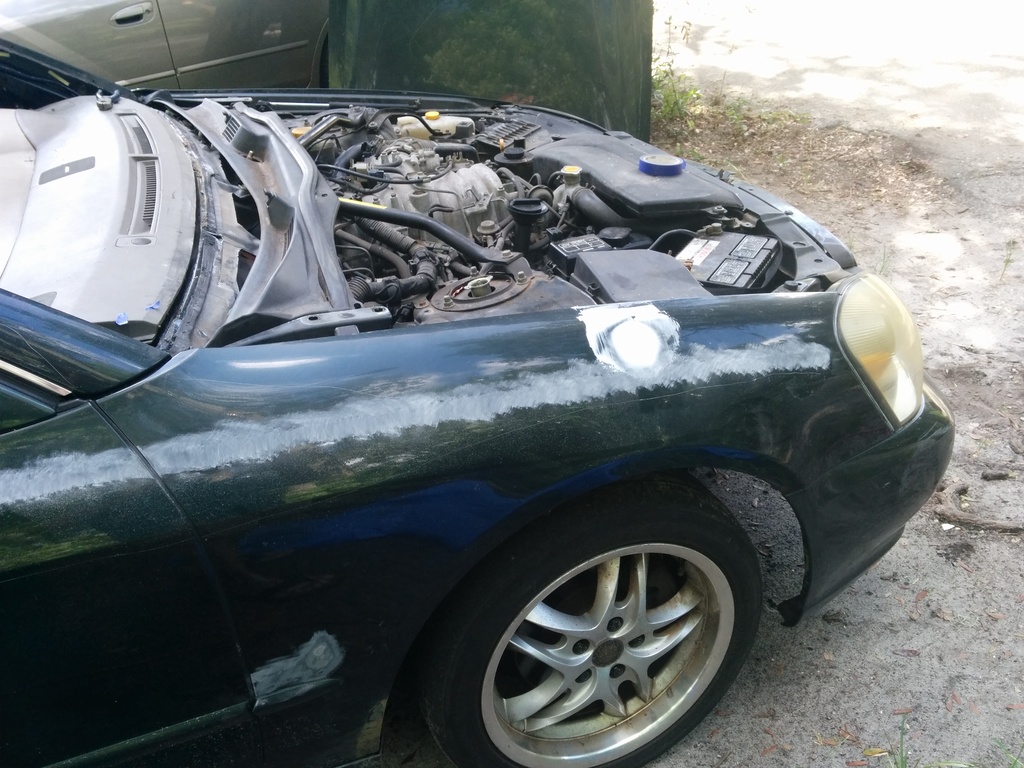
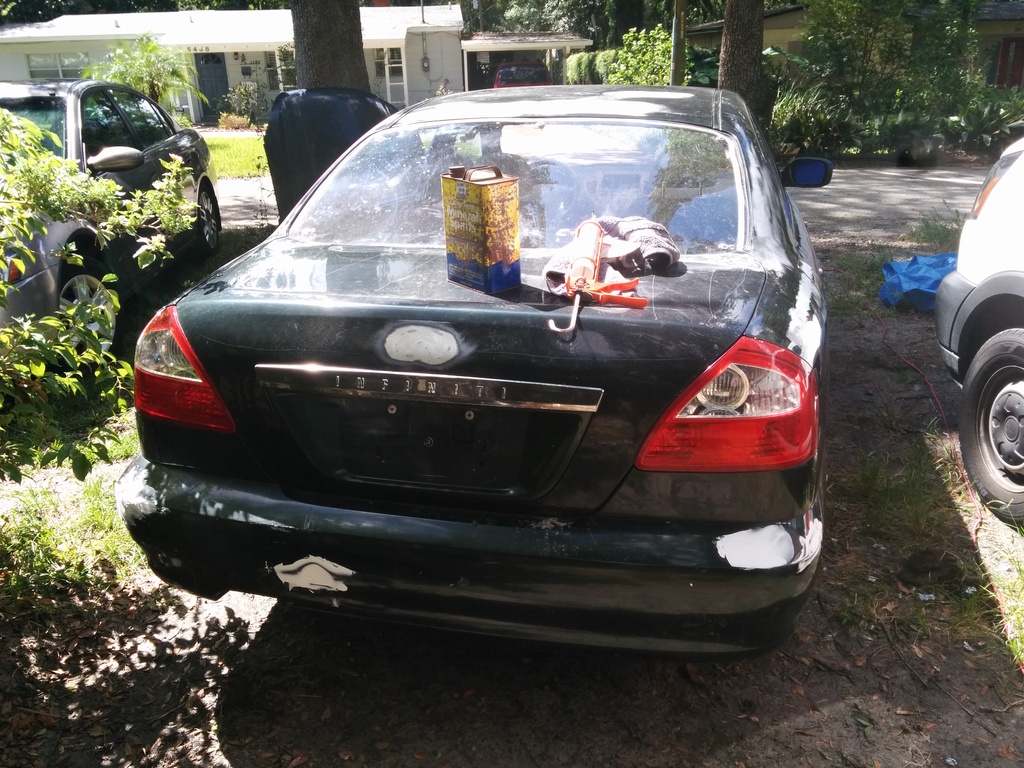
Better watch out because today we have three generations of Stampie's working on the car. 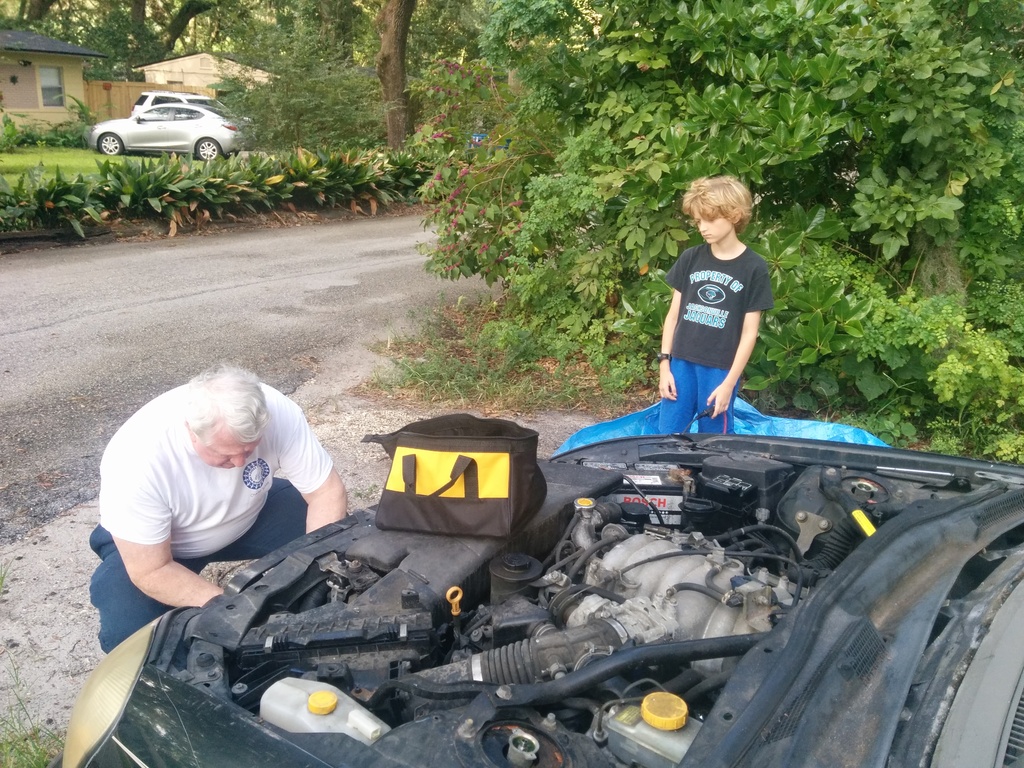 My dad came into town but the Challenge waits on no one so we put him to work on the body. The car is neither finished nor elegant but we decided to use this as a filter since it's sandable and paintable.
 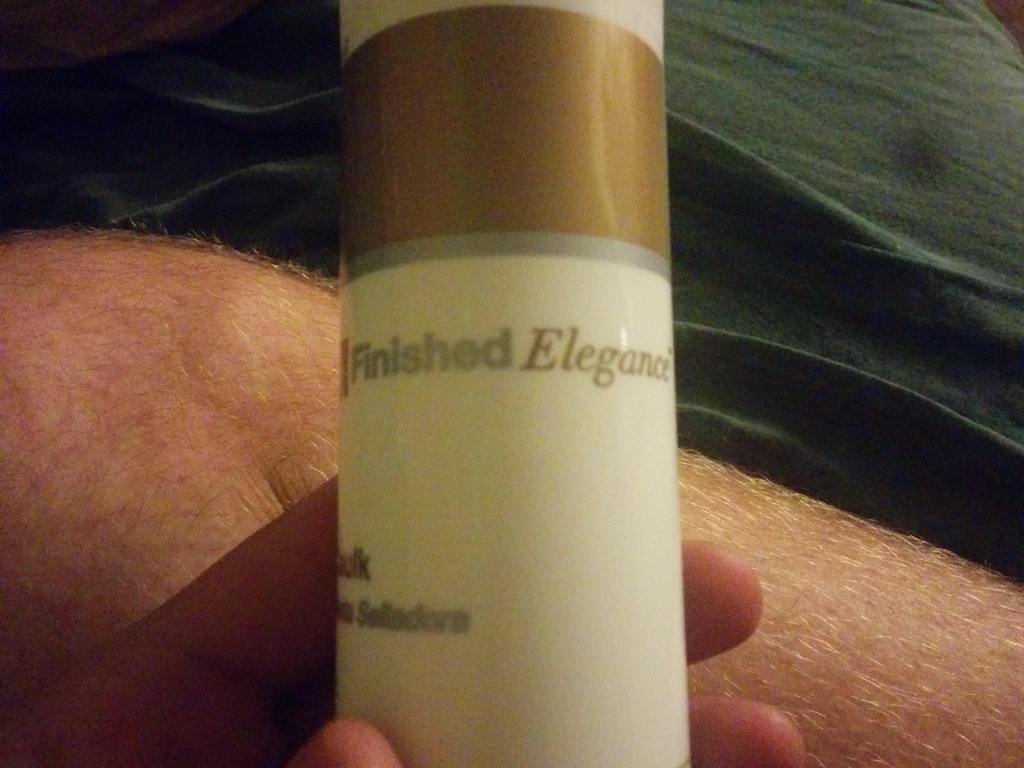 Bunch of sanding and scraping off of the plastic film the insurance company put on the rear window and we were ready to put in the caulk. Right now we're letting it dry before sanding.
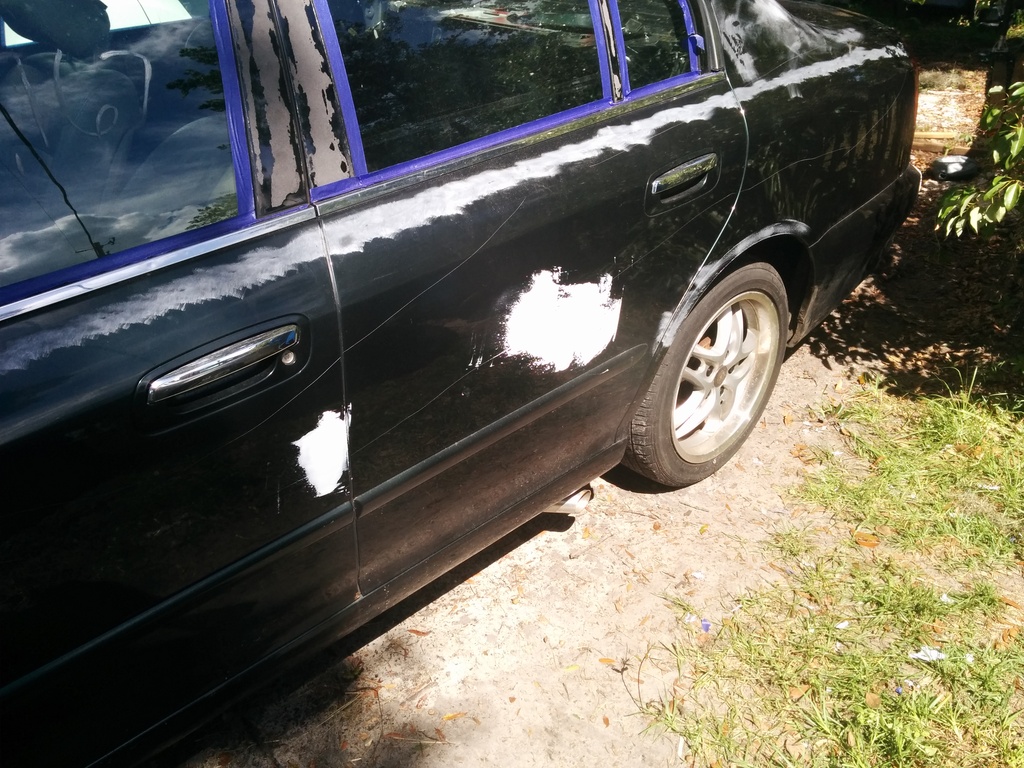
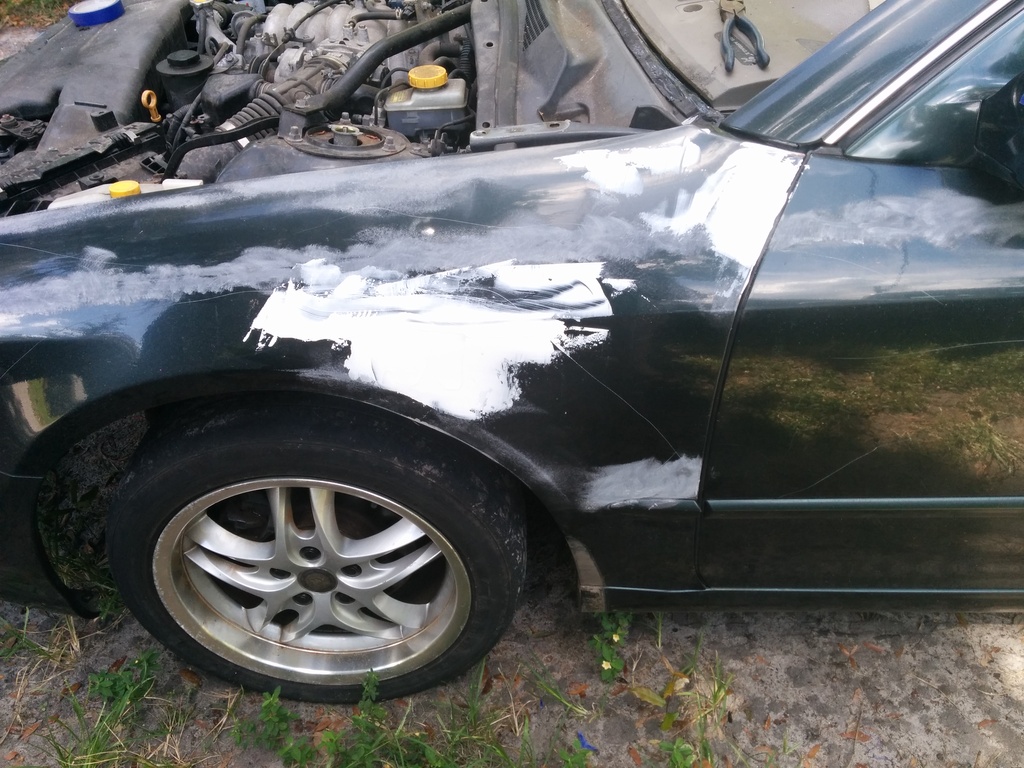
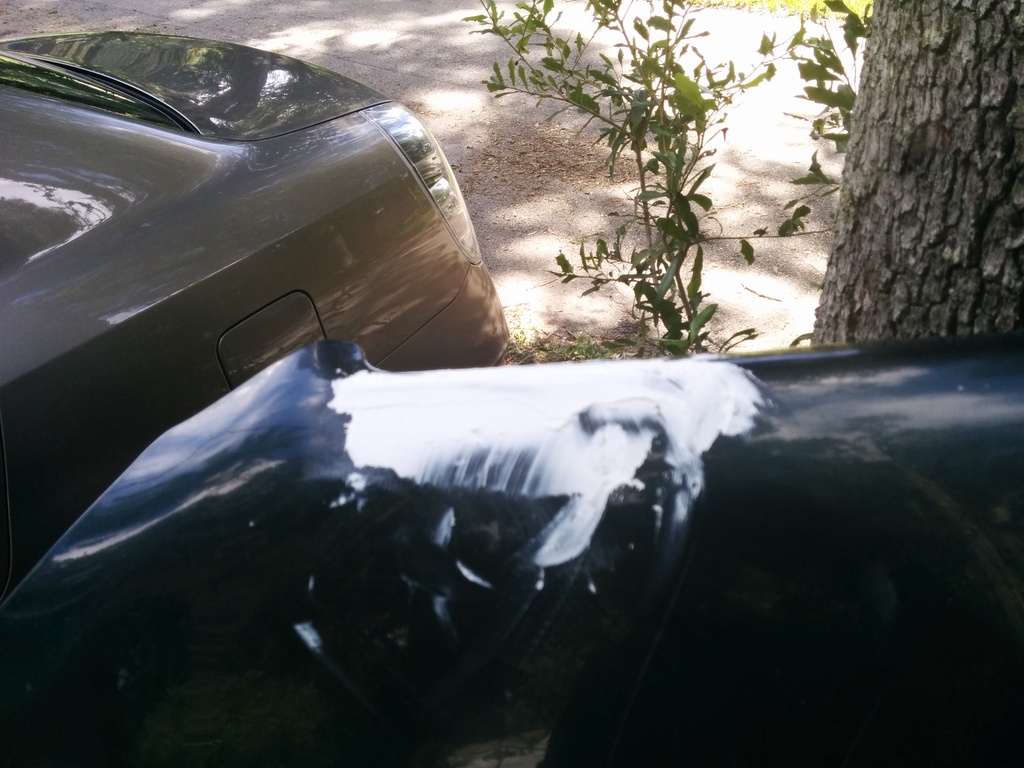
Wow. I didn't realize that you were putting down paint as well.
I had sort of figured the fast but ugly approach. This thing could look downright respectable!
Sorry no pics tonight but just a quick review of the caulking as a body filler. Actually not bad. It worked better on the body vs the bumper. That's exactly opposite of what I expected. I screwed up and laid it on too thick but I was in a rush. After sanding I did another skim coat over most of the spots. Hope to final sand tomorrow.
You'll need to log in to post.