Hey Azrael, thanks for the tip on the plastic chain guides. These are made of a black resin honeycomb structure with a (formerly white) nylon? HDPE? chain surface. IIRC, I read there are earlier versions that aren't as good, and there are chicomm whitebox parts to avoid. I'll get these degreased in solvent tank and poke them with a sharp tool to see if they are hard/ brittle.
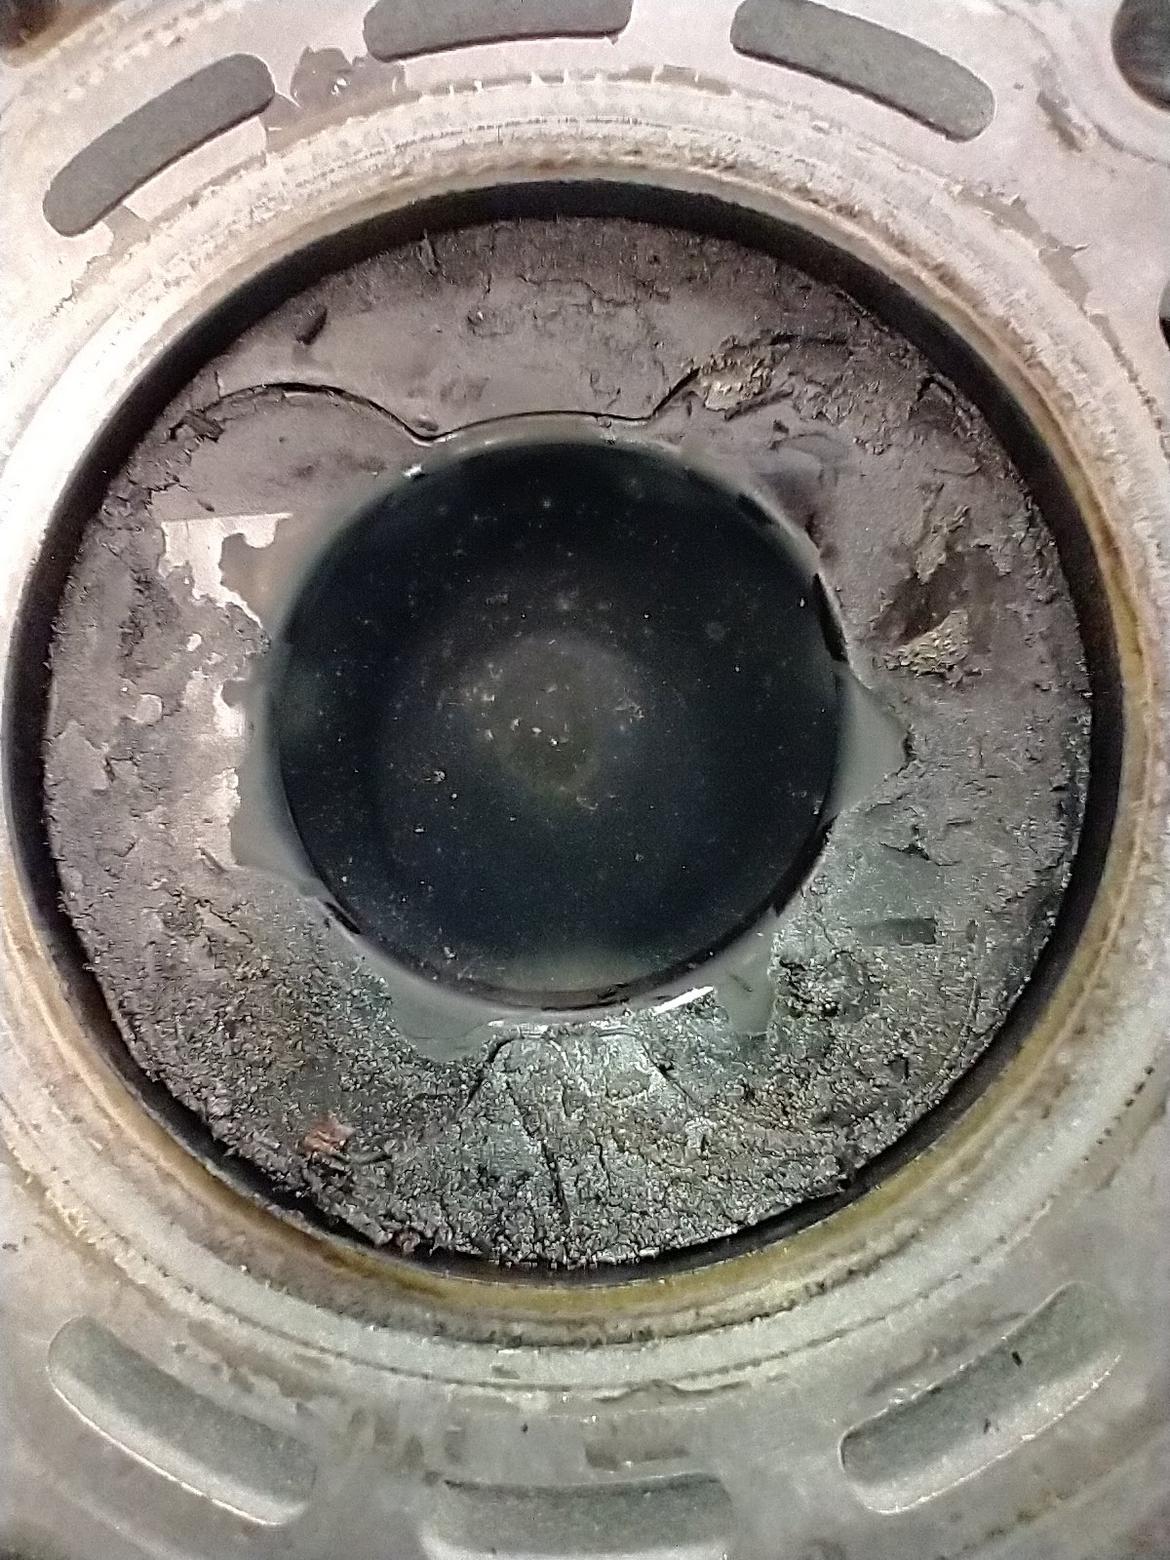
So we got everything off the outside of engine, time to pull off heads. The head deck looked good, but the pistons were crusty on top, no doubt due to burning engine oil.
Time to flip the engine back over and remove the alloy oil pan and pump to access conn rods. Again, bottom of engine is surprisingly clean inside.
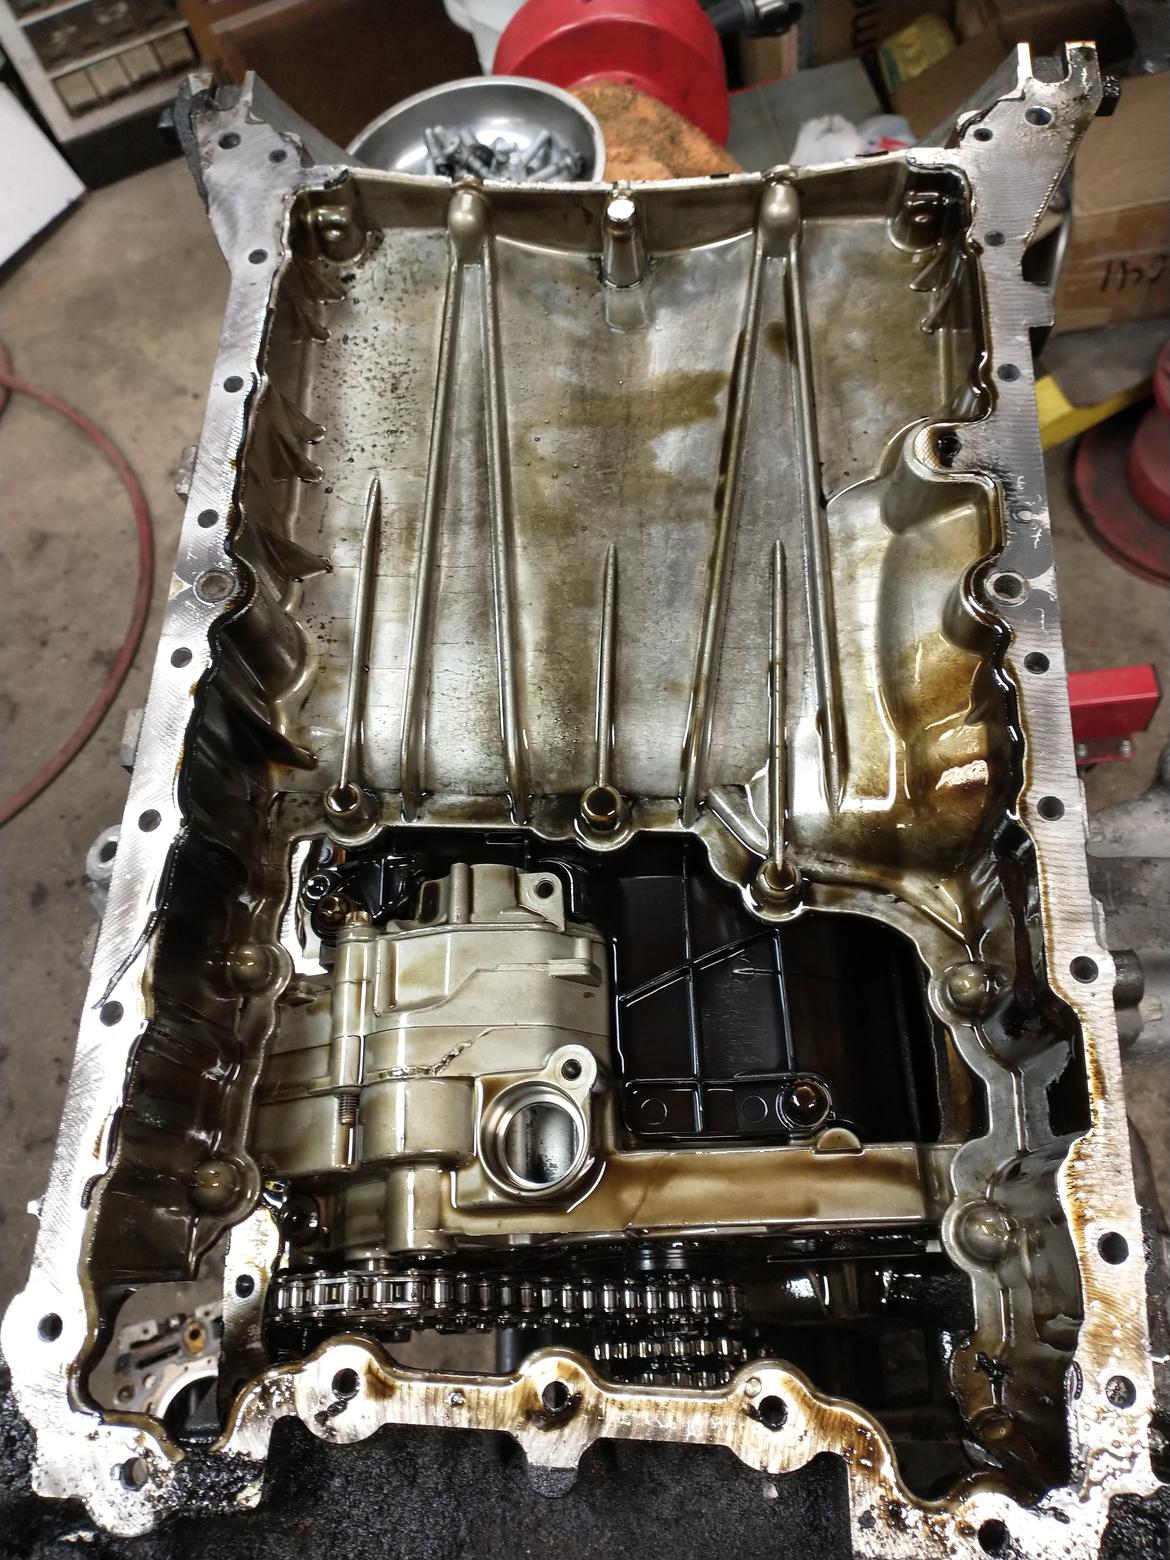
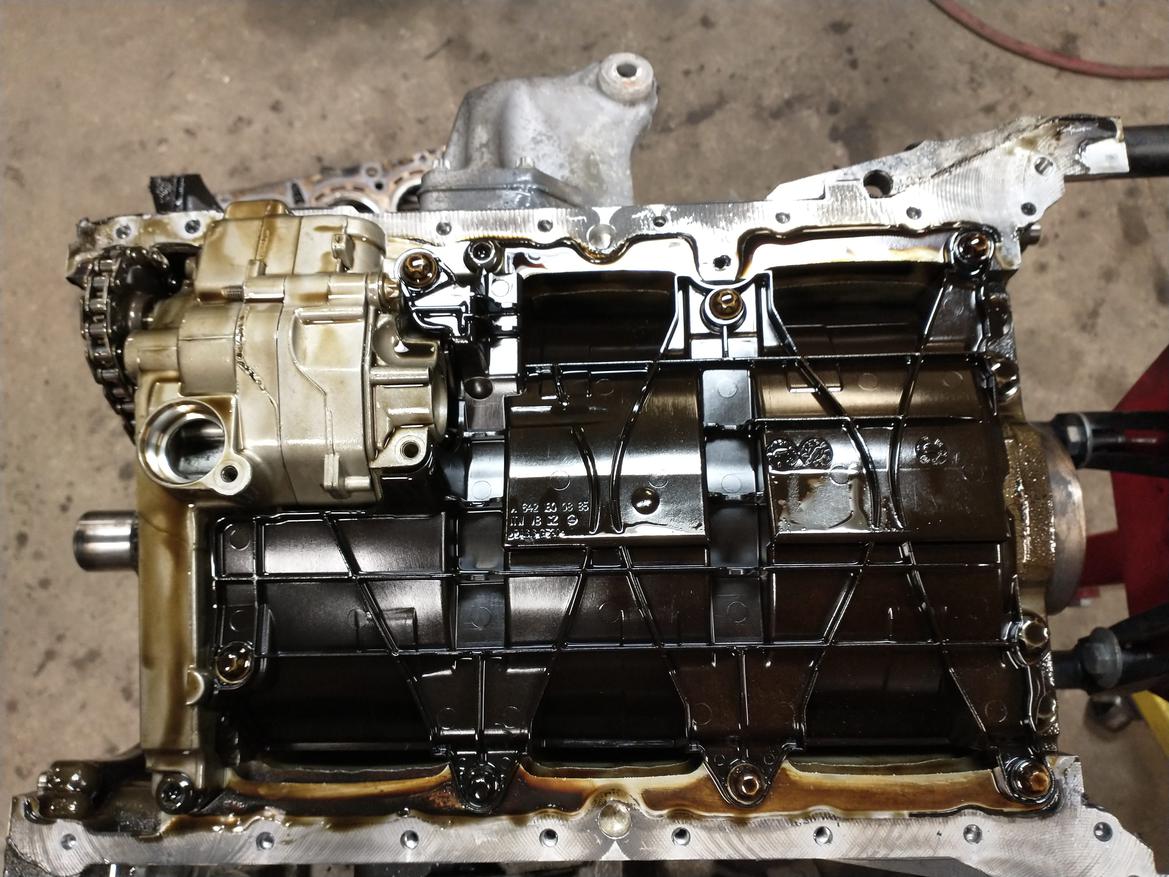
Note the nice windage tray to minimize oil sling from the 8qt pan.
Knocking out pistons shows the source of the oil burning. Severe carboning of all the rings, & stuck oil control rings.
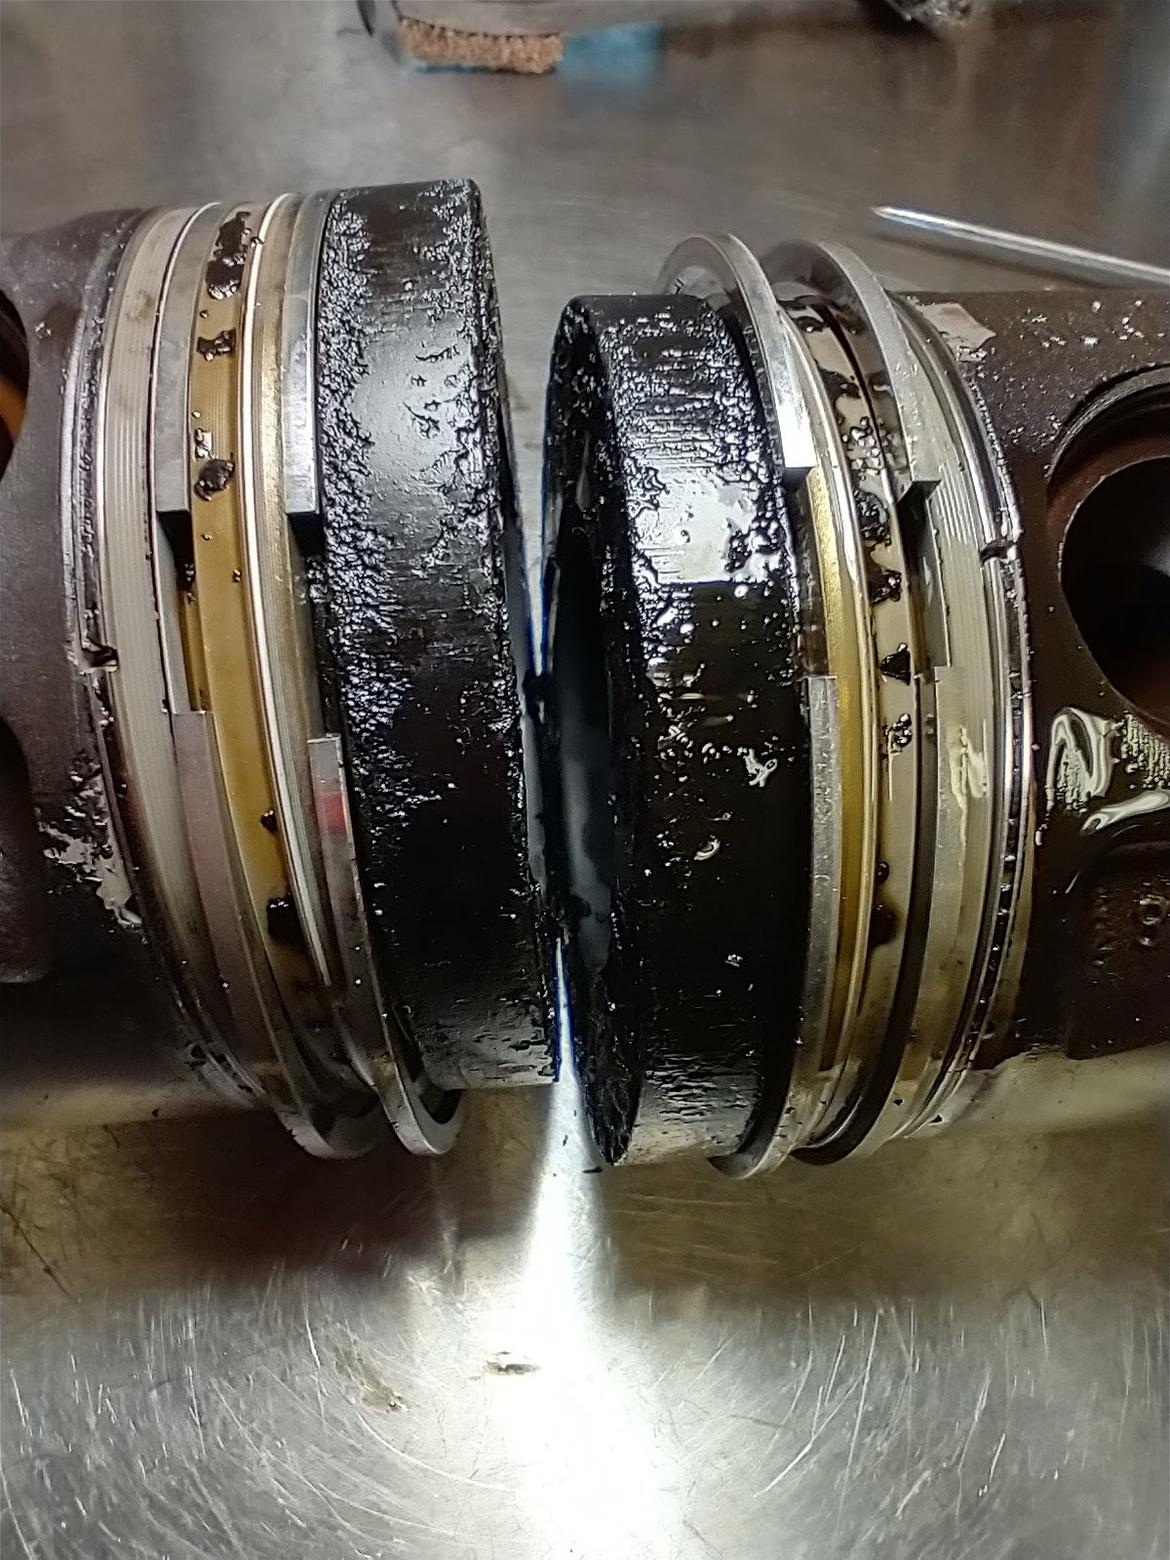
After soaking pistons in carb-dip and removing old rings, they look much better than I expected they would.
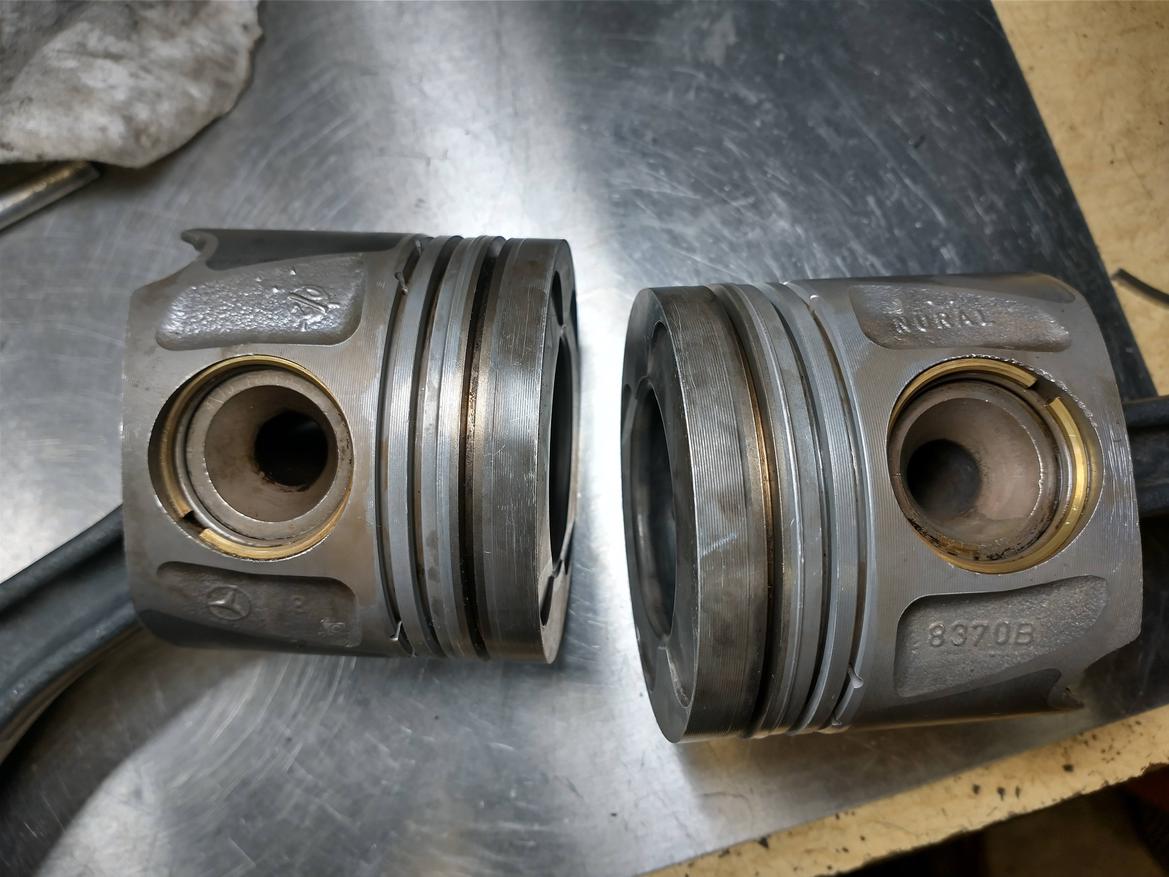
Piston & rod assemblies are washed in solvent tank, blown dry, new Hastings std. size rings installed. Block is tidied up, gaskets scraped, oil cooler removed to replace seals, mounts removed to scoop out remaining acoustic grease. acoustic grease seems to be a silicon based substance, because parts solvent has little effect on it. Mechanical removal is the only way to get it out, and that is difficult when it is cold as it becomes less like grease and more like silly putty. This is the inside of one mount after scraping & digging inside for a few minutes.
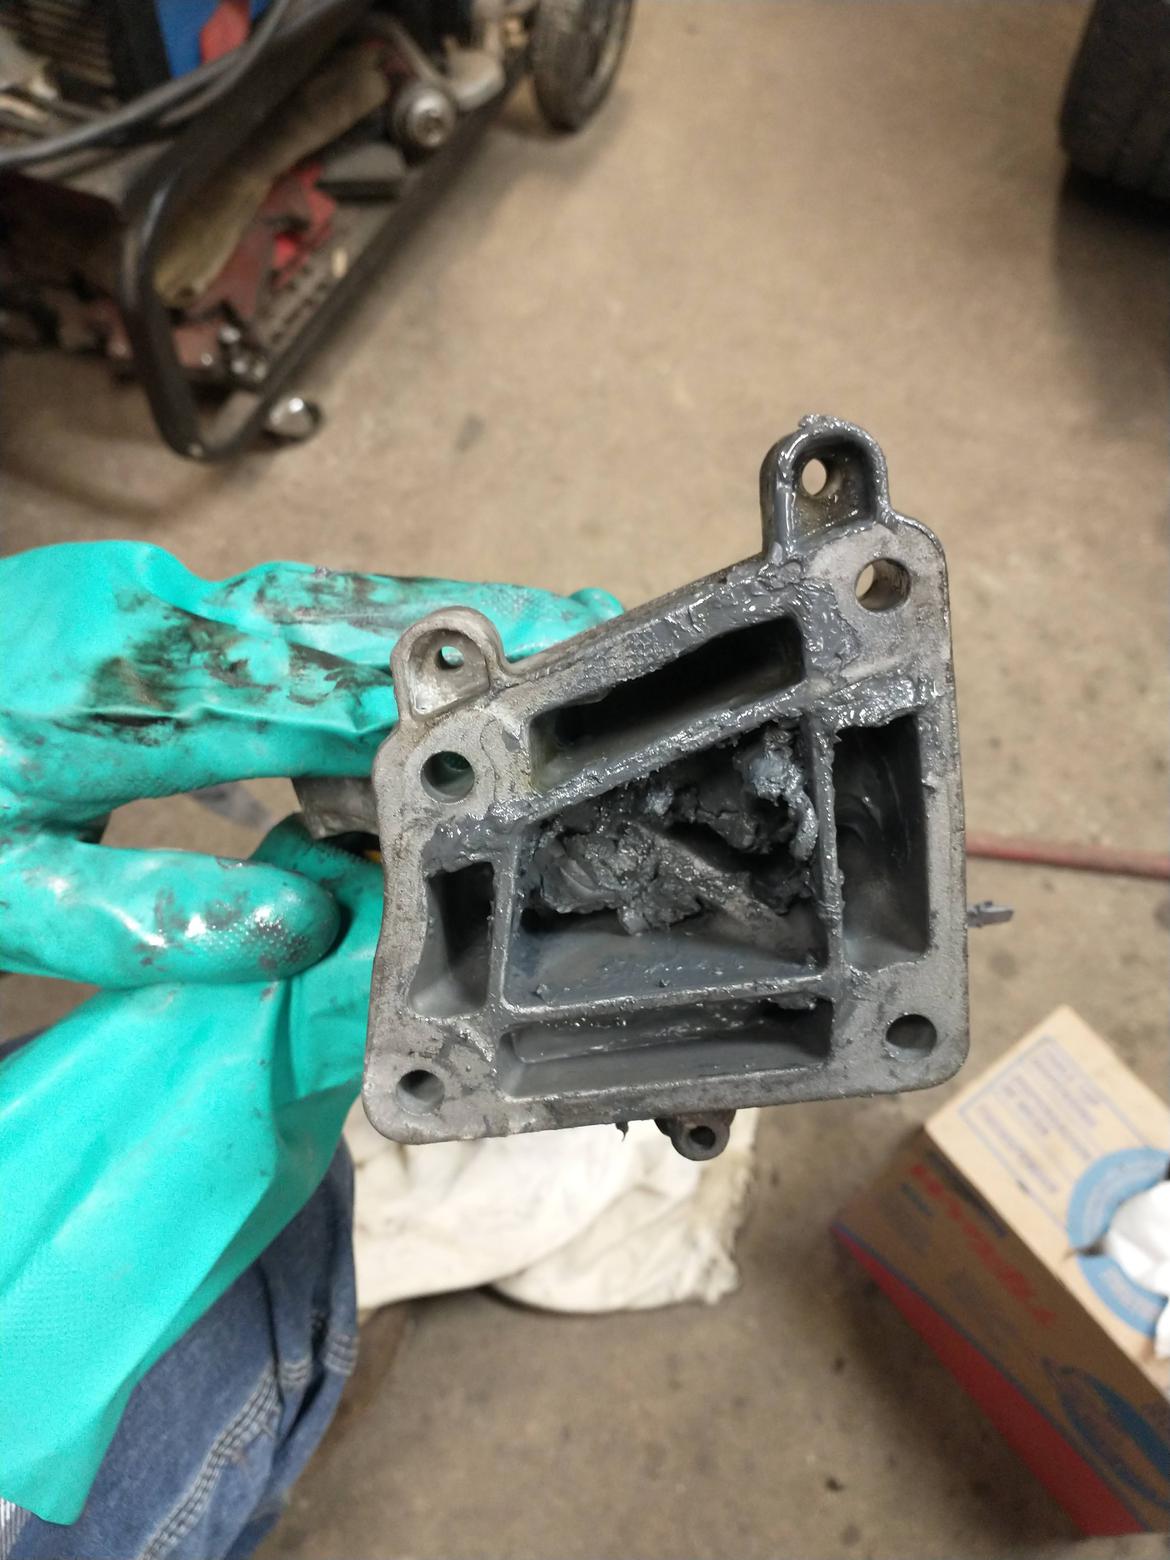
The mounts were reinstalled with hi-tork gray RTV sealing the cavity against the block to prevent anymore gray acoustic shmegma from oozing out & dripping on front frame.
Bores are lightly cleaned with green scotchbrite & WD40, then sprayed & wiped, sprayed, wiped until towel comes out white. Piston & rod bearing is lubed up, then piston is whacked into the hole. Rod bolts snugged up & crank turned thru a rotation to be sure nothing is stuck or interfering. Lather, rinse repeat 5 more times.
And here's where I screwed up. The tork spec for the rod bolt is 20, 30, 40 N*m, then 90º and another 90º. I got in a hurry and did bolt 1 90, bolt 2 90, bolt 1 90, bolt 2 90, bolt 1 90. As I finished the 3rd 90 on bolt 1, it got much easier, indicating the stretch bolt was stretched way too far and about to break. Thats when I realized I was back on bolt 1 for the 3rd time. 
So now I wait for a full set of OEM Assembly Locking Elements to come in the mail. Still plenty of parts to clean while waiting.
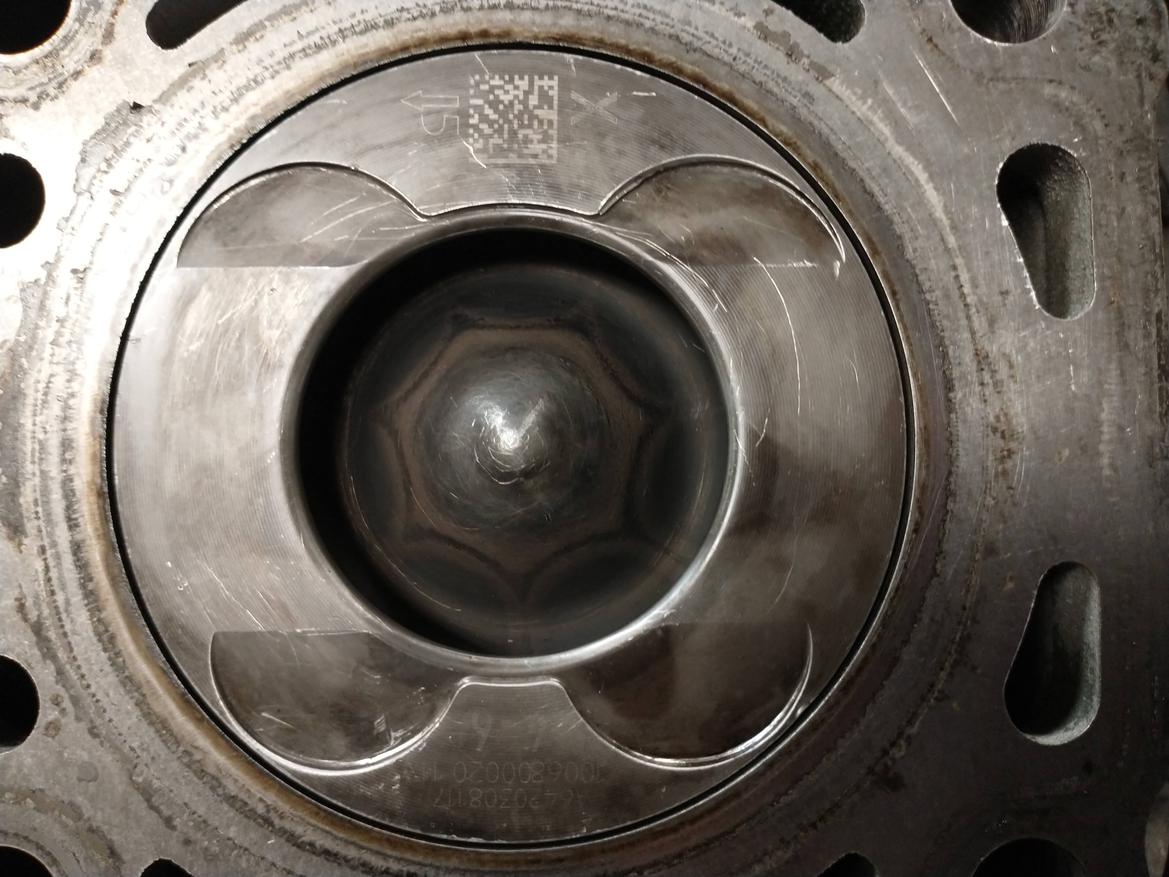
One last cool pic, note the excellent injector patterns still printing on the piston bowls. A bad injector will leave a lopsided pattern or even burn the piston.
Next project, attempting cyl head and manifold sludge removal.


