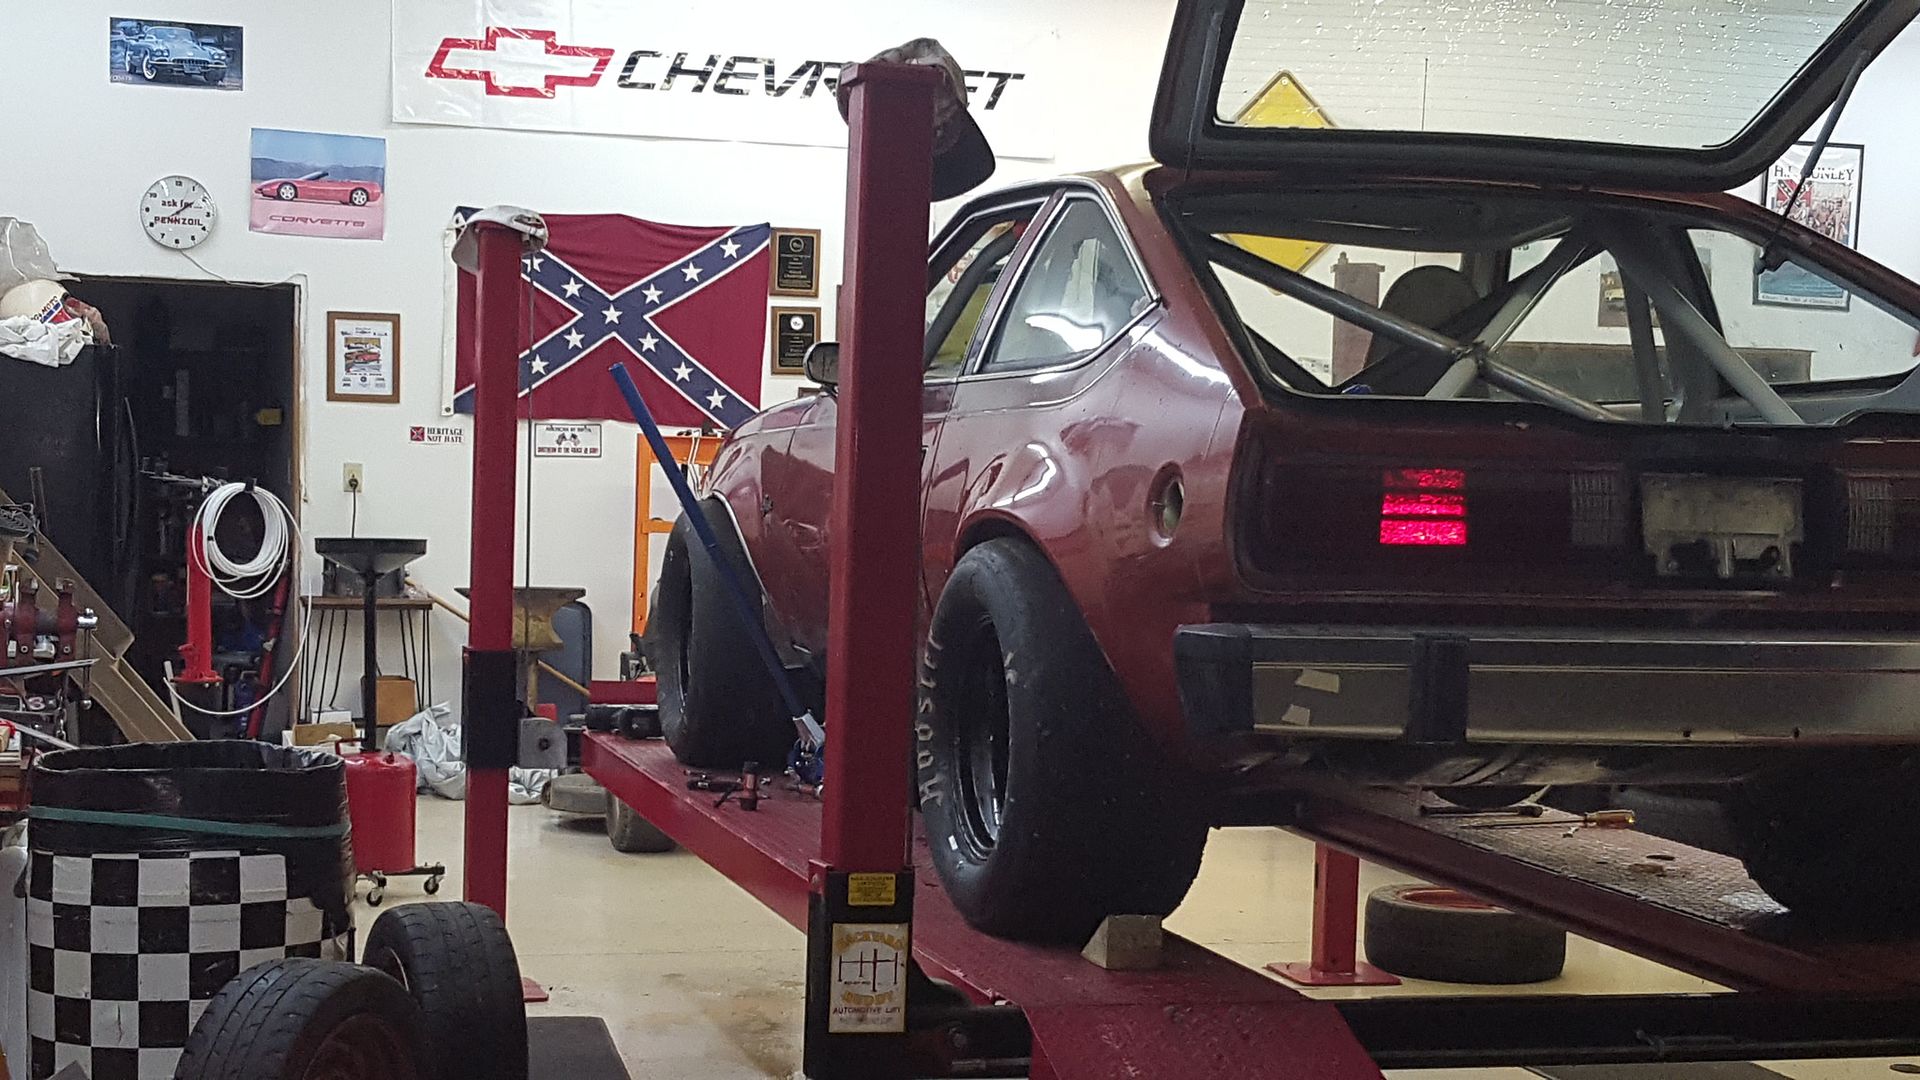
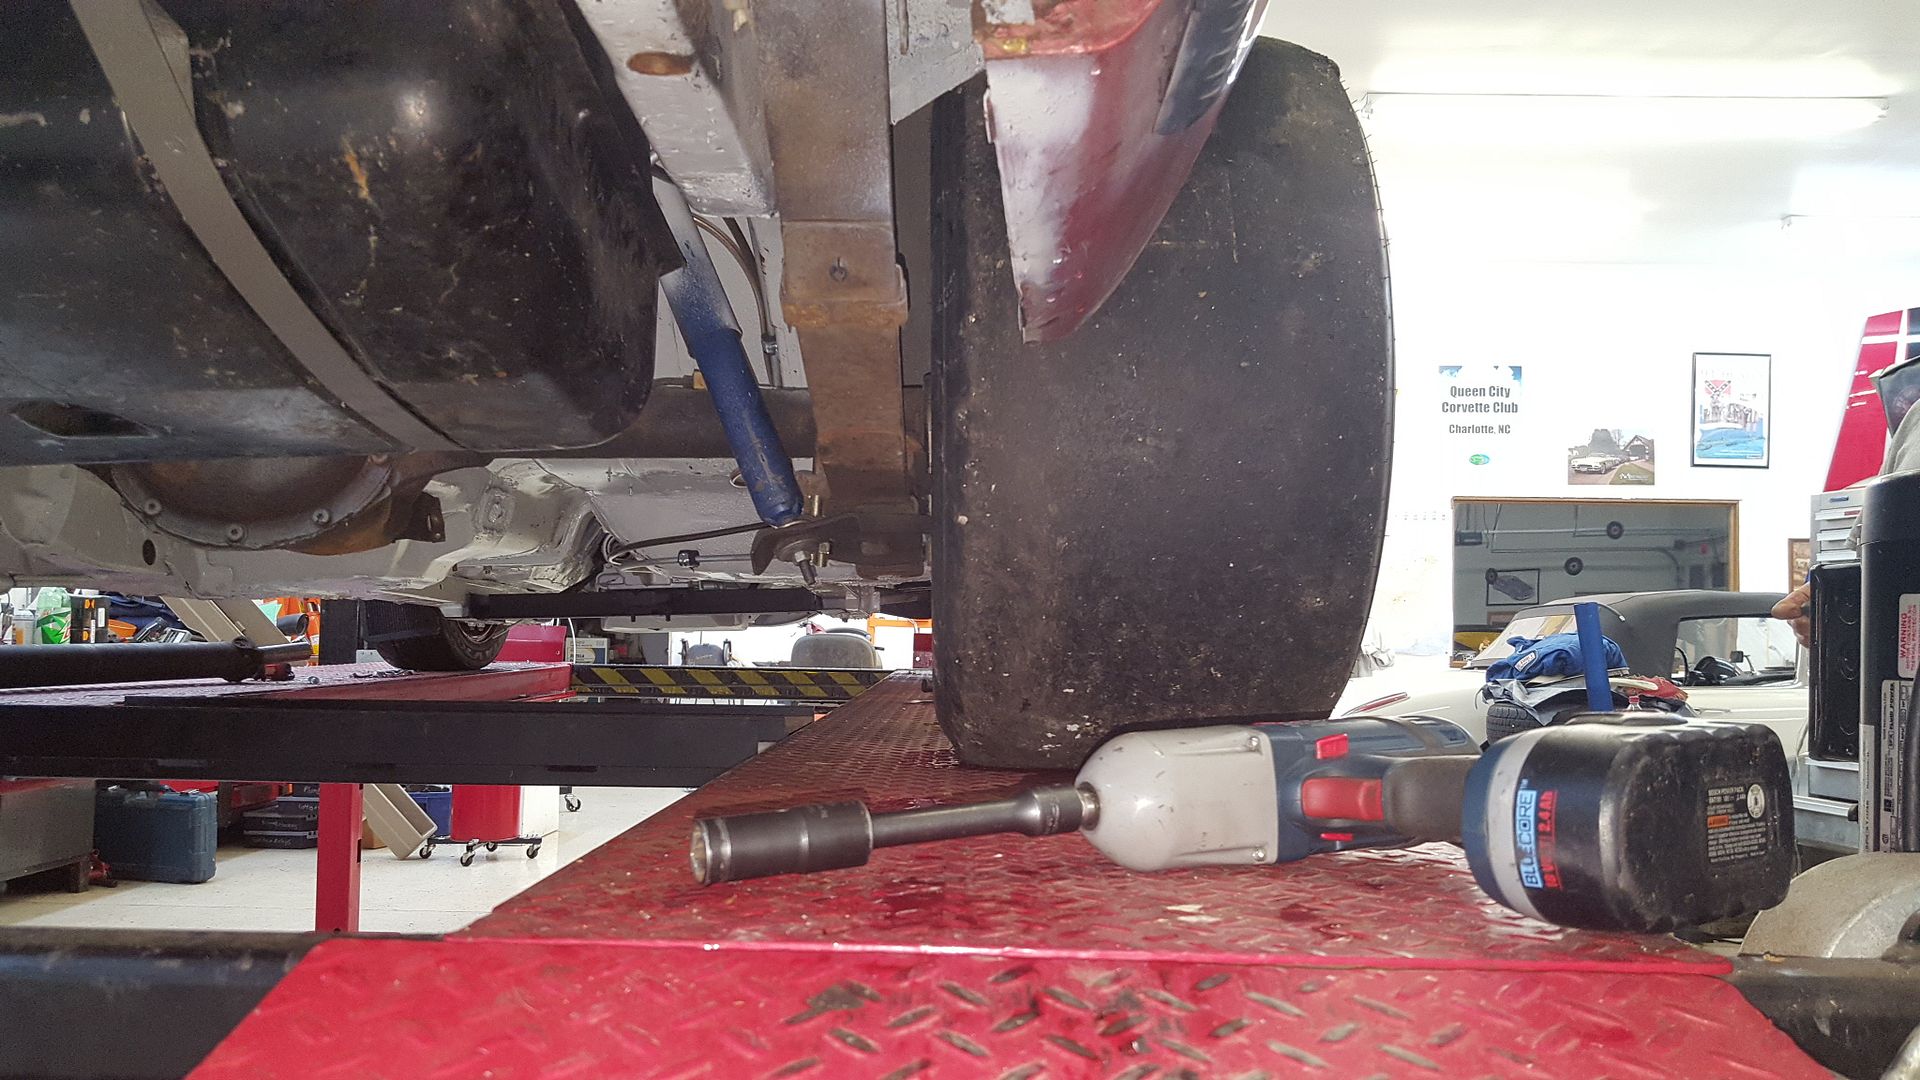
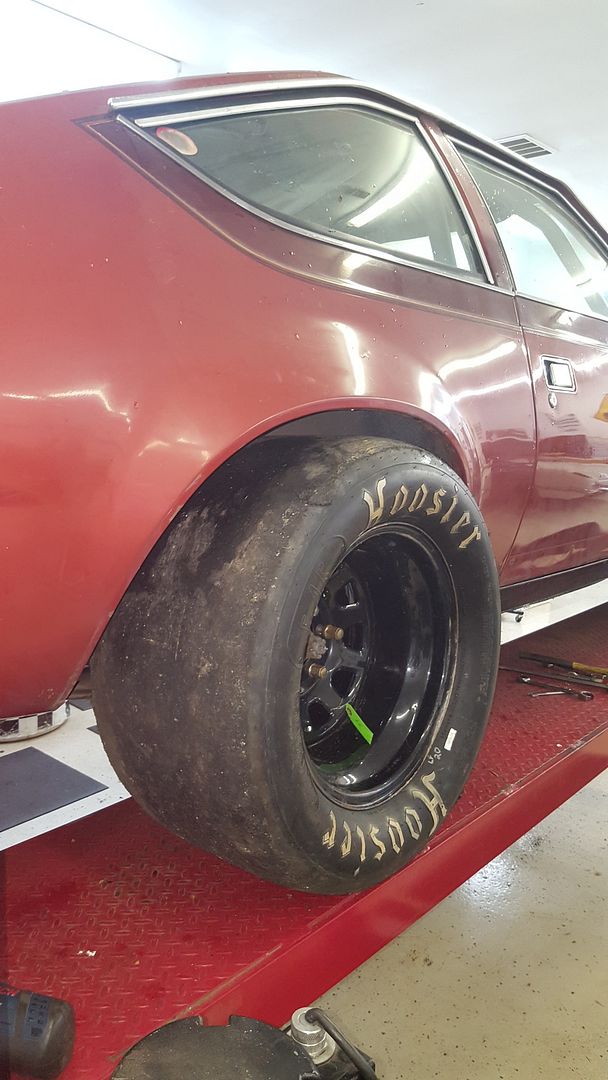
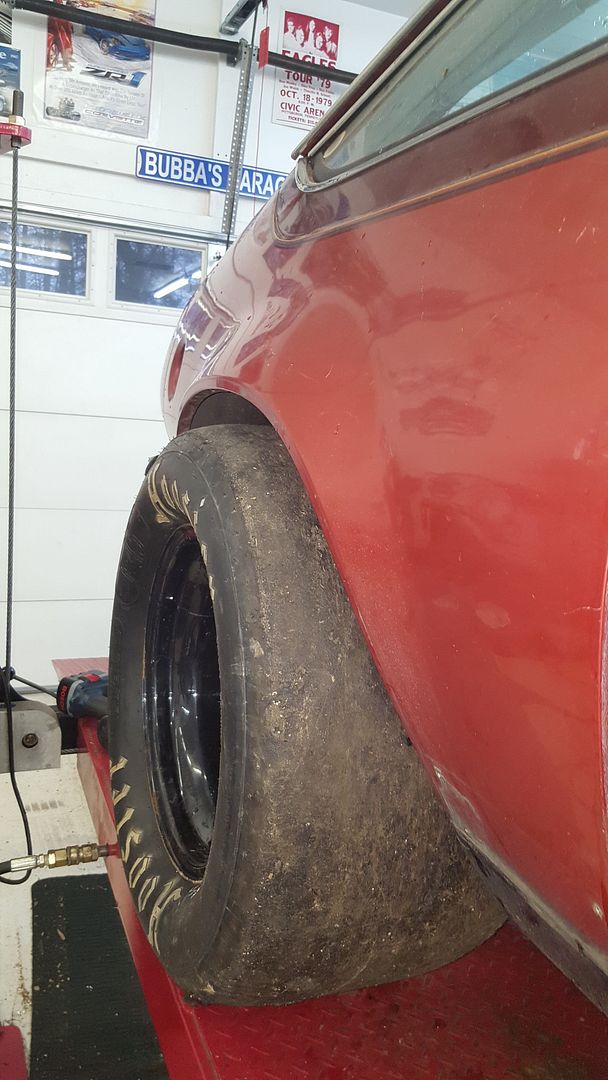
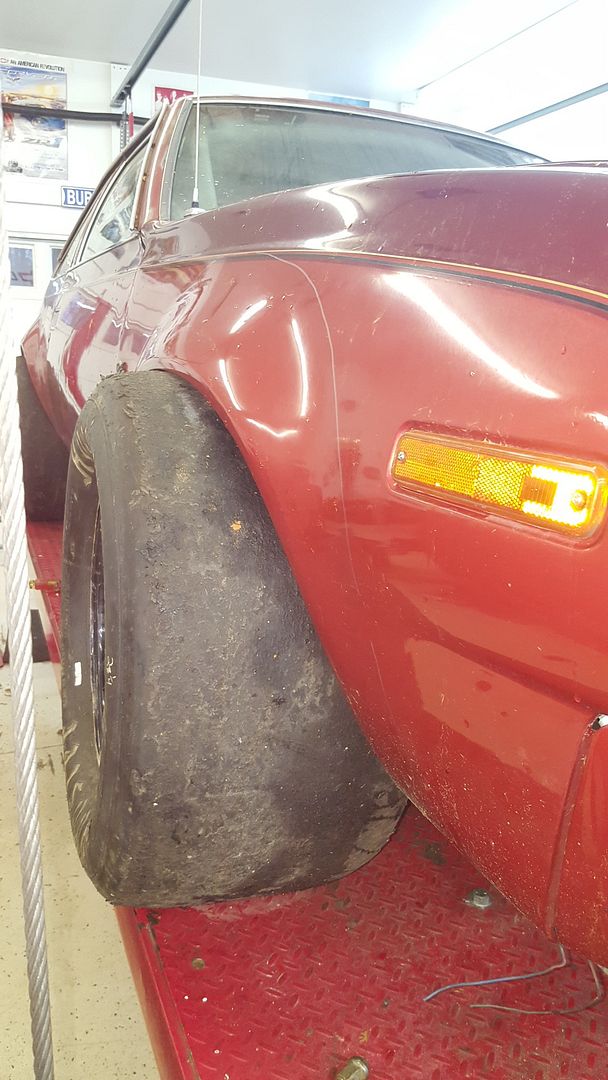
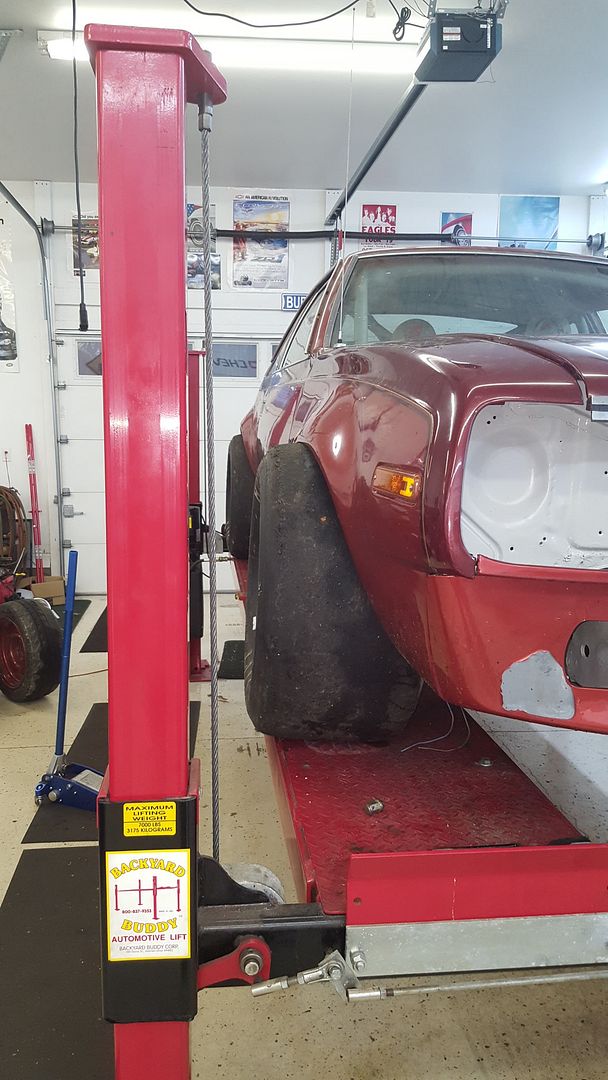
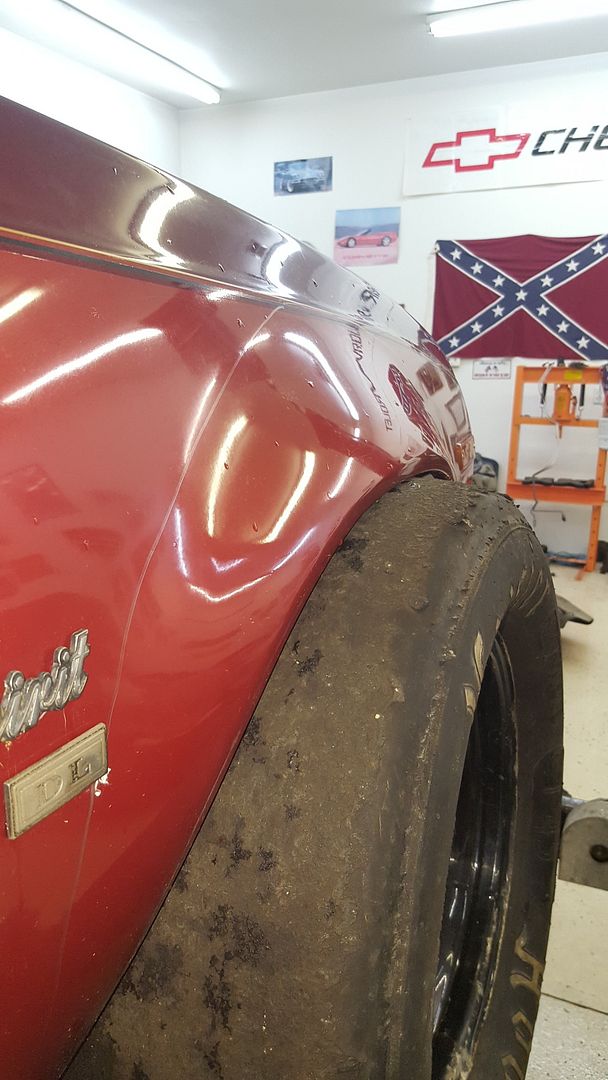
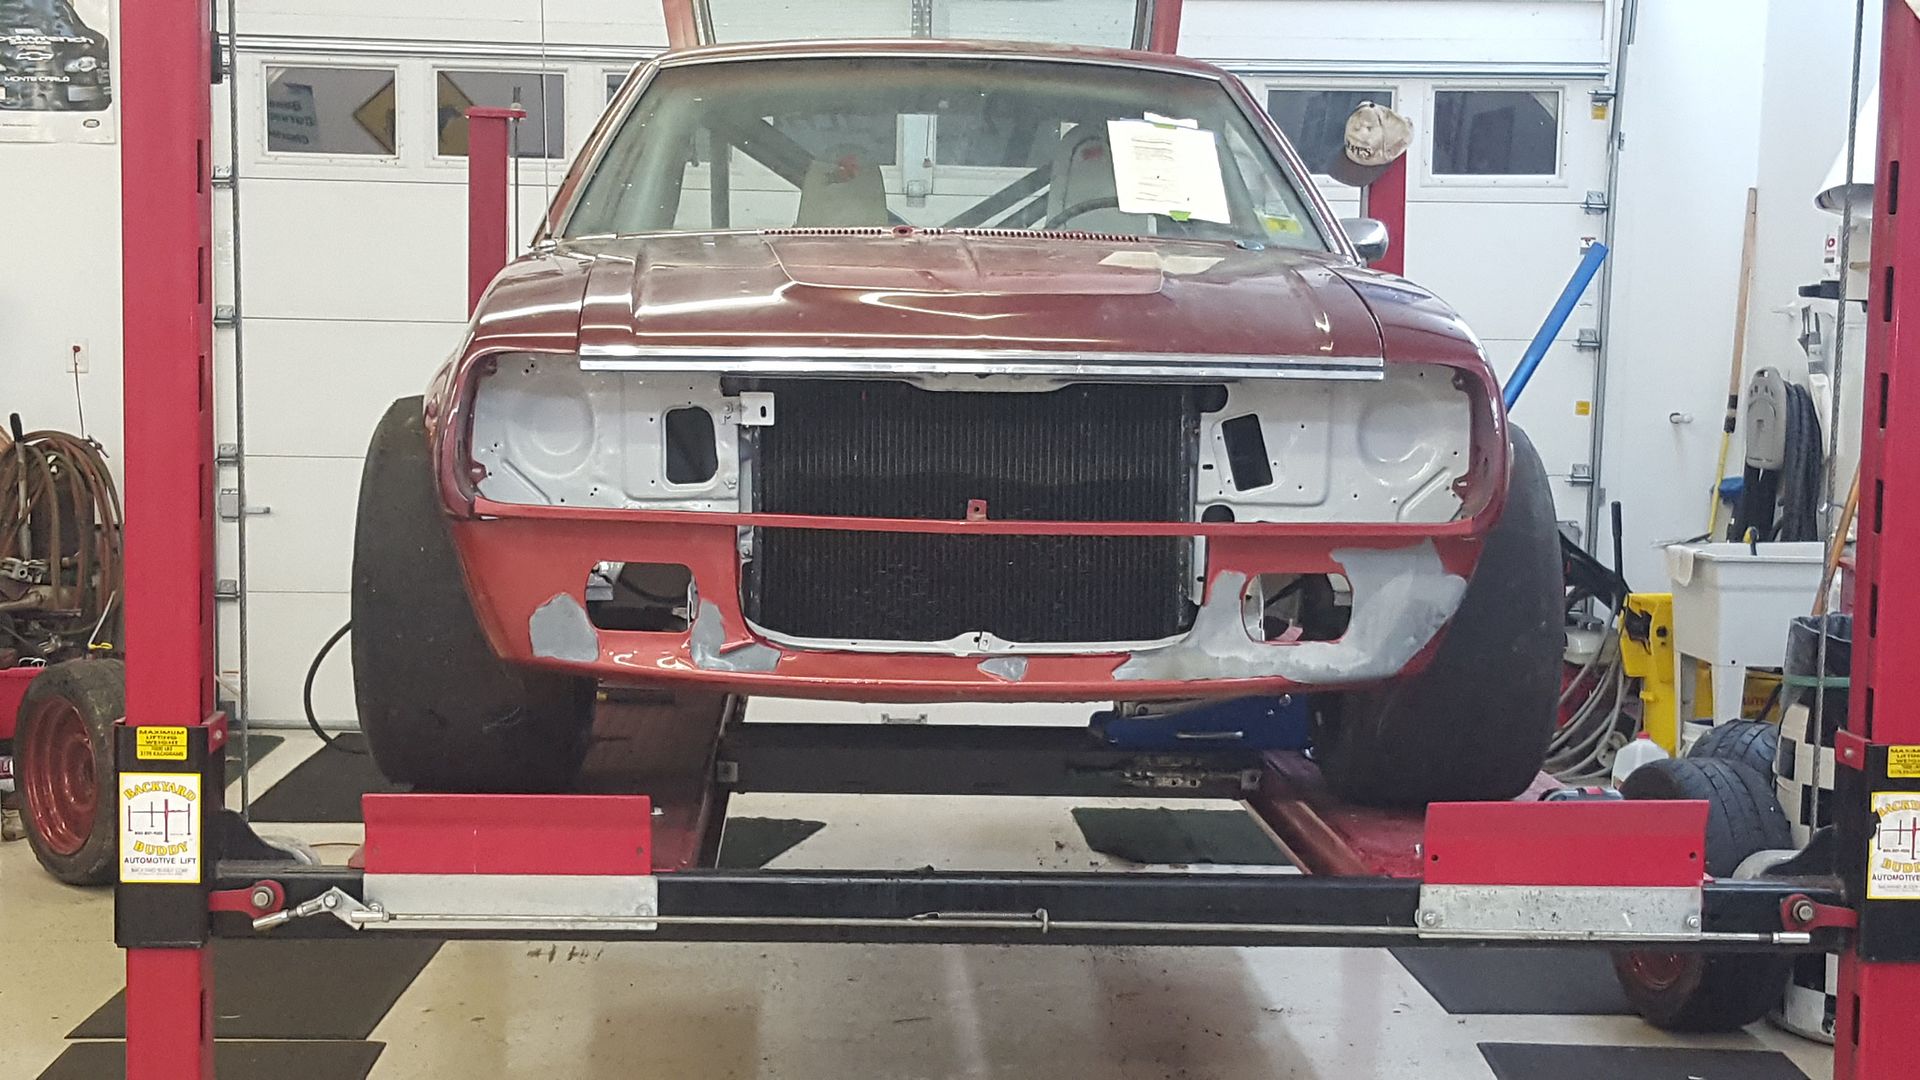
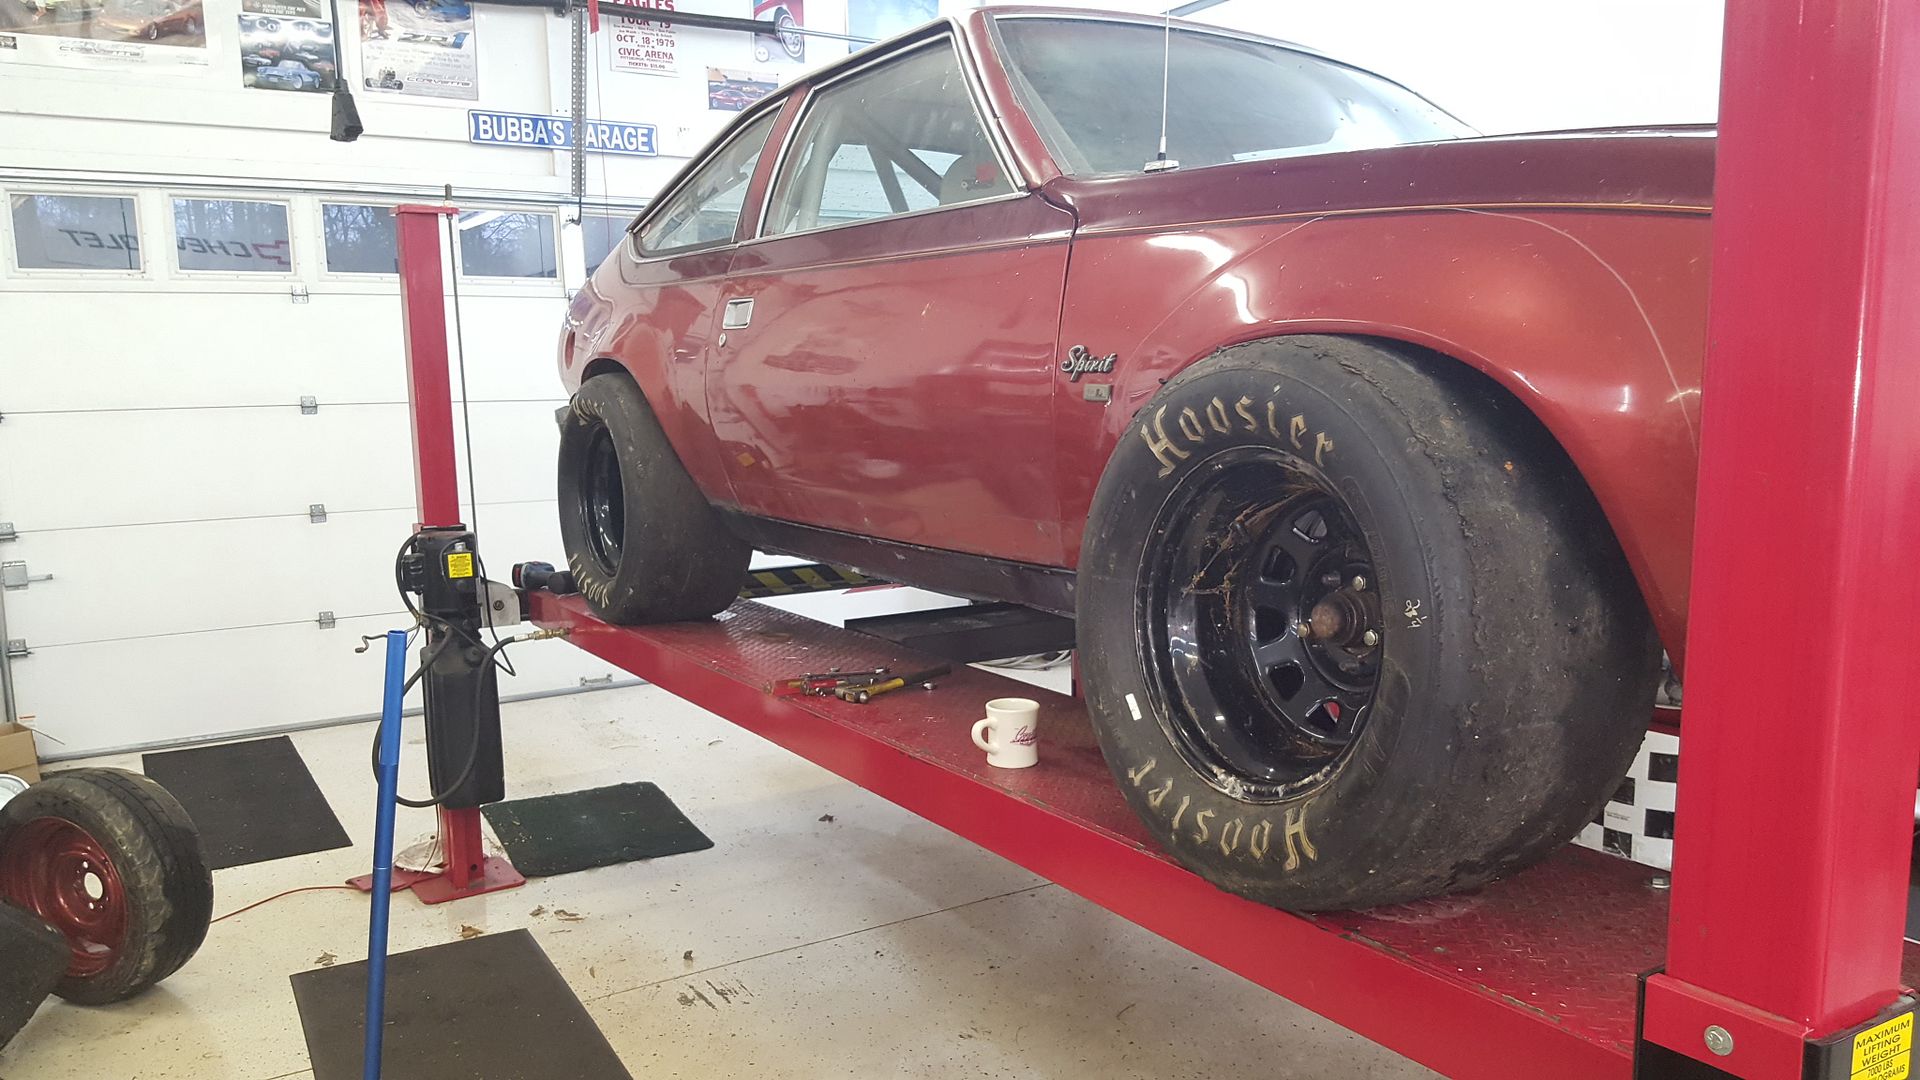
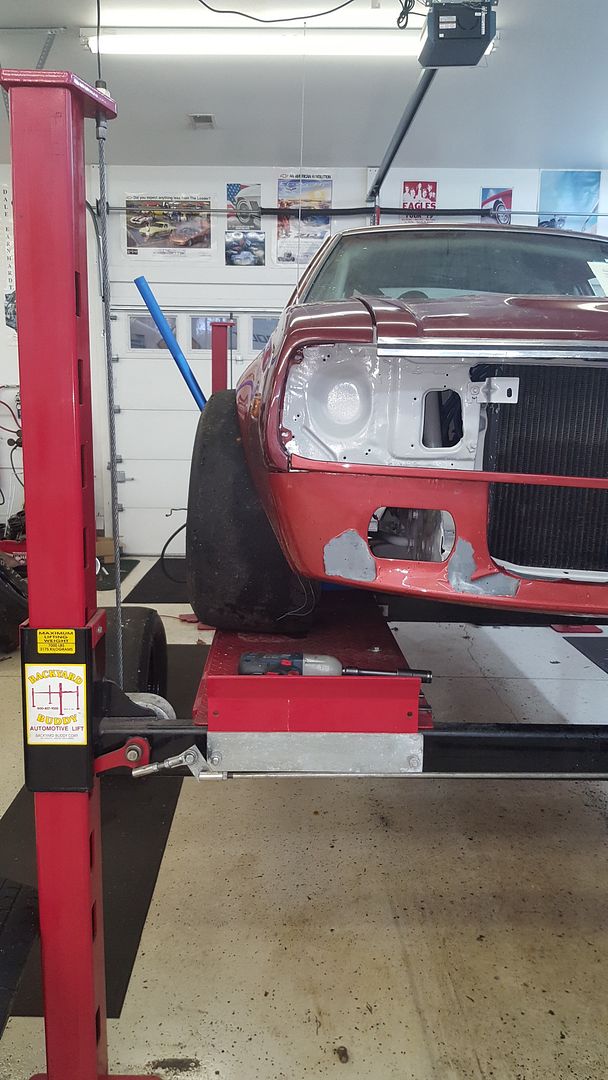
Pictures of what we are dealing with in next post.
Essentially, we need to make flares for the challenge car out of water heaters. With only a welder, cutting tools, a hammer, and grinder. They need to look decent, cover the tire, and provide clearance.
I know we need to cut a bit of the body before flares.
Having never done anything even remotely like this, how do we go about it? How do we know how much to cut? Where do we start?
Pretty much learn me monster tire clearance and covering.
1.) What you have there stock looks pretty damn good. Do your best to mimic it, only larger.
2.) Start with cardboard. Cut/fit until you get the look you want. Use that template to cut matching pieces for each side.
Says the guy who's never done this...
Shameless self promotion DIY thread
They may no be finished completely but here is how I did mine step by step.
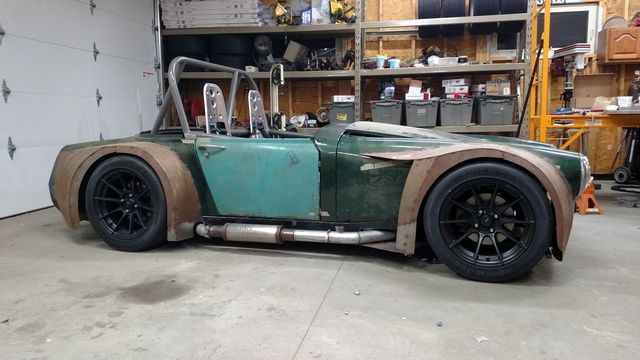
So i guess this begs the question: box flares or regular flares?
Also, if i can mimic the link, it would be awsome.
https://goo.gl/images/xWvTwt

Woody
MegaDork
4/6/17 8:36 a.m.
This is amusing to me because someone once offered me a free AMC Concord in the pre-Challenge days. I looked at it and decided that the only thing that I could possibly use it for was as a flare donor. Same flares.

NOHOME
PowerDork
4/6/17 8:48 a.m.
Go watch project binky, I think episode 14? They do exactly what you need to do.
Basically, I would cut off what you have, move it outboard the required distance, and weld in the water heater metal to fill the gap.
I'd buy cardboard and make a flat template complete with mounting tabs and duplicate that in metal. I'd probably tack them on and then 'glass them permanently or at least fiberglass impregnated filler.
In reply to NOHOME:
Will do. But those guys have real tools. Is it really going to be something that I can do?
Also, we still have to raise the wheel openingsfor clearance. Probably radically enlarge the front. Suggestions on how to go about it?
I'd probably pie cut the existing flares, and fold the remaining pieces up into "tabs" that would support the new flares. The tabs would also give you a rough idea of where the new flares would be, and let you adjust if needed, before final fitting/install.
This looks like a pretty good method for sectioning some flares from pieces of scrap.


From this site http://toyzjunkie.com/Tony.htm
Dusterbd13 wrote:
In reply to NOHOME:
Will do. But those guys have real tools. Is it really going to be something that I can do?
Also, we still have to raise the wheel openingsfor clearance. Probably radically enlarge the front. Suggestions on how to go about it?
Easy. Measure the OD of your tire. Remove the wheel and tire, and fully compress the suspension. Using high tech tools (a piece of string and a Sharpie), draw a circle that matches the radius of your tire. Cut.
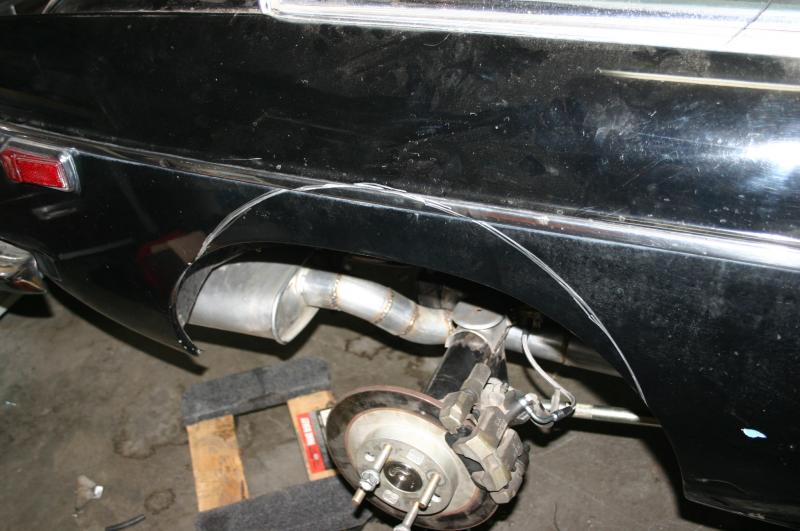
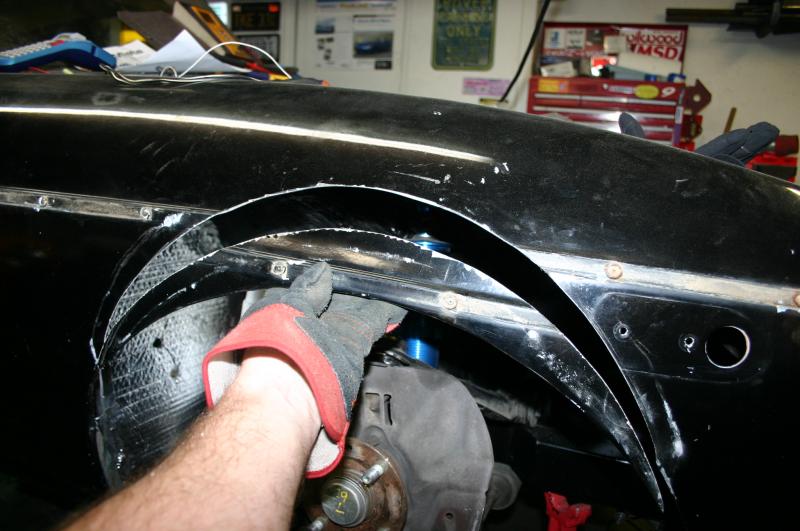
With as stiffly sprung as this is, im not sure i could compress the suspension much. Unless i remove the springs. Which may be the ticket.
Do you have a trick for the front as far as clearance for turning?
I didn't lay out every single step for you, you're right :) Pull the springs.
For the front, I'd do the initial cut for straight line, then reinstall the wheel. Compress the suspension fully and start turning the wheel. Deal with any interference and repeat. Alternately, turn the wheel all the way and start to lift it up. Deal with any interference and repeat. It'll be an iterative process.
Instead of flares why not just cut out any metal that interferes then leave the car looking like a roller skate? That should save a bunch of time and budget.
Michael, Get a piece of scrap wood and come up with a way to mount it to the hub with a 'T' at the radius of the tire plus half and inch (for clearance). After pulling the springs lower the car to max travel and trim until the radius tool clears everything. Then you can add the steering motion into the mix like Kieth mentioned.
Try to keep as much of the the existing wheel flares as possible and we can fill the gap with fresh metal and fair it in. I suspect with the front travel the flare will fair in at the top of the fender... We may have to fill some of the rear tubs too.
Awsome. I can do this. Wood and sharpie is language i speak.
Thanks for all the help so far guys. This build is REALLY pushing me to expand my skillset.
stafford1500 wrote:
Try to keep as much of the the existing wheel flares as possible and we can fill the gap with fresh metal and fair it in.
This was what I was going to recommend!
- Just cut the entire flared portion off of a single wheel, but in one cut, so the factory flare is in a single piece.
- Determine how far you need to stand it off from the fender to clear everything.
- Make up a cardboard template that would fill it in (possible in several pieces).
- Recreate those cardboard pieces in the water heater metal.
- Repeat for the other side, being careful to match the same cutline when removing the flare, and flip the cardboard over to mirror the patch from the other side, same end.
Please note, Ive never actually done this. I hope you choose my method so I can see if Im a genius or a fool 
I lack the words to describe what I would do, but the process would look a lot like they did with the red X1/9 above.
EXCEPT I'd make the cutout a large rectangular area around the existing wheel arch, so the result would be a box flare, not just an arch flare.
Kinda like the rear of this:

i like angrycorvair's idea, basically just box flare the existing fenders. look into what the Lemon's guys do for cheap widebody stuff
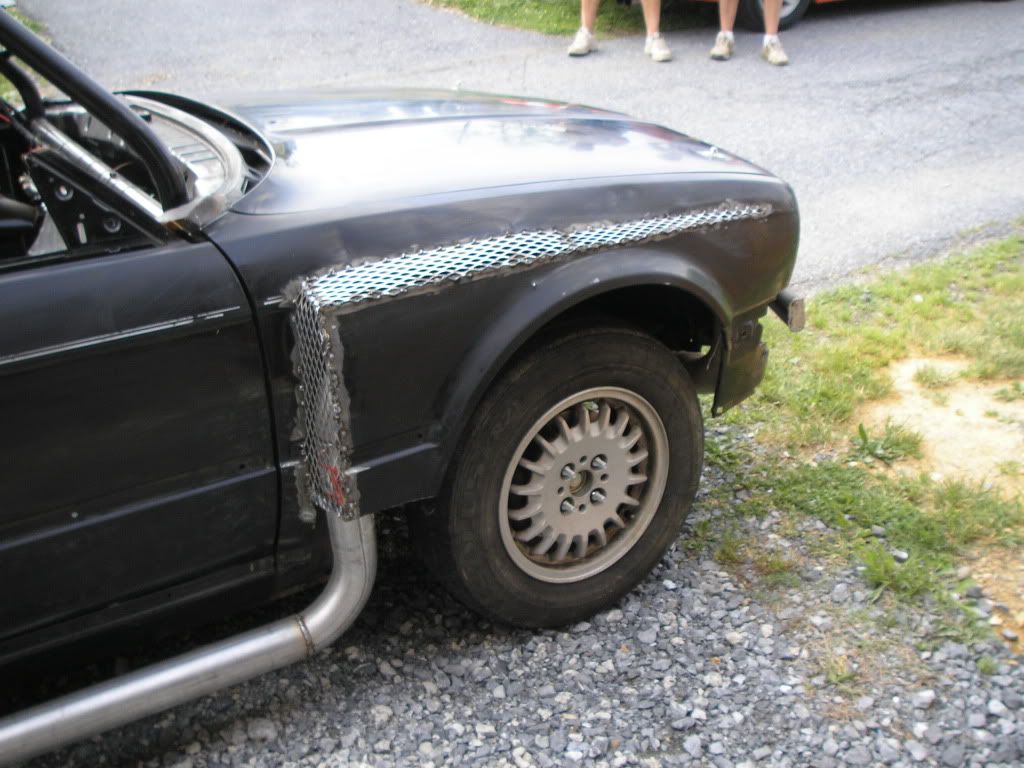

I cannot picture box flares on this. I have no idea how it would look.
https://goo.gl/images/1JMnYE
Maybe?
This may or may not help, but I've often wondered if Bushwacker or similar plastic fender extenders for 4x4s isn't the easy button here. Used and cheap of course.
Perhaps four rear factory flares from a wrangler?


 [/URL]
[URL=http://s54.photobucket.com/user/dusterbd13/media/amc/20170405_193208_zps2o81yzyg.jpg.html]
 [/URL]
[URL=http://s54.photobucket.com/user/dusterbd13/media/amc/20170405_193201_zpsfnxf8shn.jpg.html]
 [/URL]
[URL=http://s54.photobucket.com/user/dusterbd13/media/amc/20170405_193153_zpsny2mk1di.jpg.html]
 [/URL]
[URL=http://s54.photobucket.com/user/dusterbd13/media/amc/20170405_193146_zpswdtanwno.jpg.html]
 [/URL]
[URL=http://s54.photobucket.com/user/dusterbd13/media/amc/20170405_193004_zpszjywshjw.jpg.html]
 [/URL]
[URL=http://s54.photobucket.com/user/dusterbd13/media/amc/20170405_193138_zpsvhowsqv2.jpg.html]
 [/URL]
[URL=http://s54.photobucket.com/user/dusterbd13/media/amc/20170405_195313_zpsgfh3y4tu.jpg.html]
 [/URL]
[URL=http://s54.photobucket.com/user/dusterbd13/media/amc/20170405_192957_zpsxabkupz5.jpg.html]
 [/URL]
[URL=http://s54.photobucket.com/user/dusterbd13/media/amc/20170405_192403_zpslmeszw2g.jpg.html]
 [/URL]


