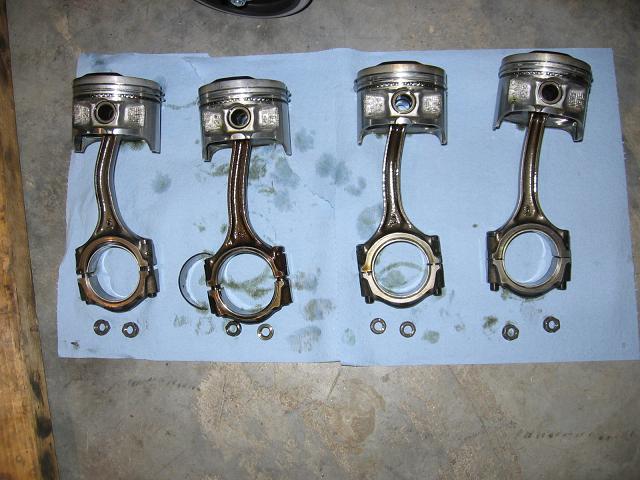
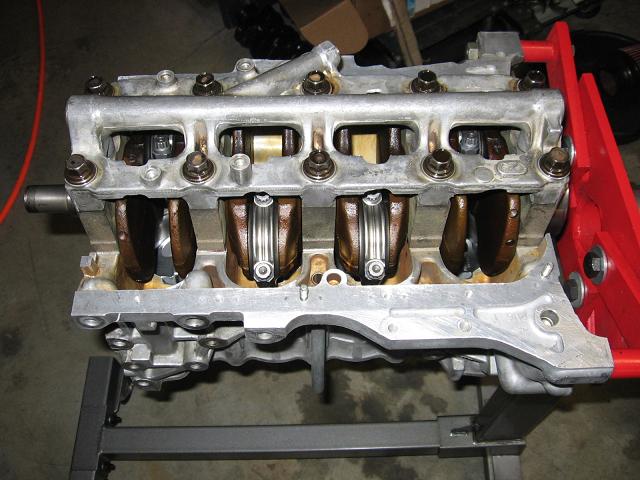
This is what happens to OE D16 Rods when you add compression (11:1) and boost (10 psi). Conventional wisdom says that they are good to 200 HP, but that's on typical builds. My build made a lot more torque than a typical build, so while I'm 25 HP short of conventional wisdom, I'm probably 50 ft-lbs stronger than those motors. Since torque and cylinder pressure are directly related, it makes sense that a torquey motor will bend rods at a lower HP. Note - this isn't due to detonation. The pistons look great. Just pushed the rods way past their happy point:
Anyway, the rods all doing their best impression of pretzels meant that it was time to build a "real" bottom end. Real = a Golden Eagle Block Guard welded in, Eagle Rods, SRP Pistons, and ACL Bearings. It should be good to ~500 HP, not that I'll ever approach that in an autox car.
So - the teardown...
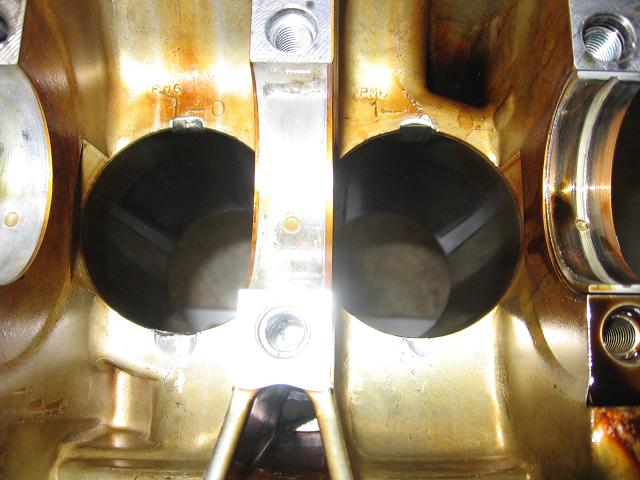
OE Rods self-clearancing:
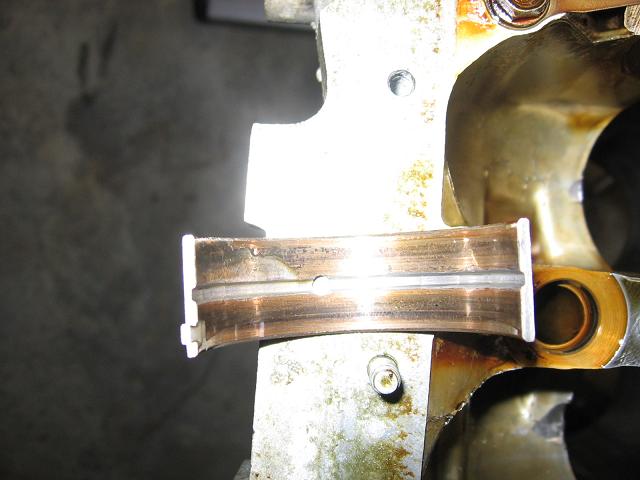
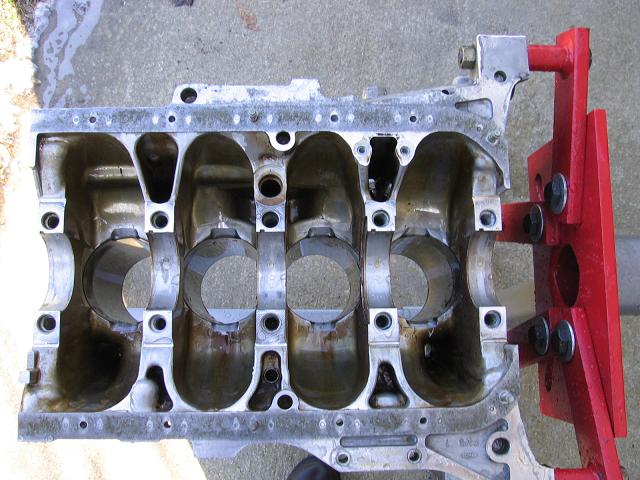
Main Bearings had seen better days. Of course, these are the original 200K mile bearings that have seen much abuse, so that's fair. This was the worst one:
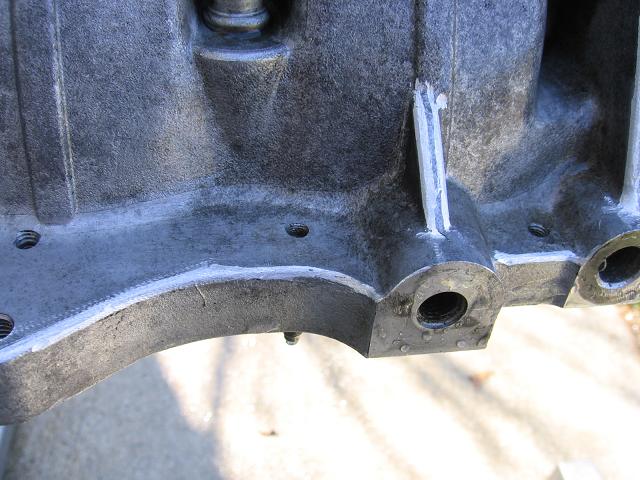
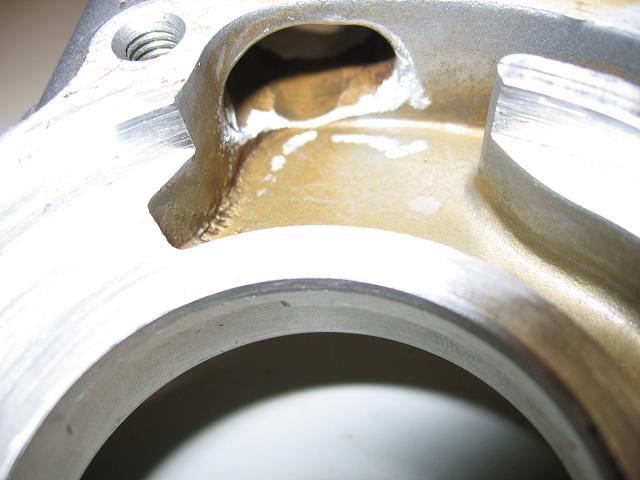
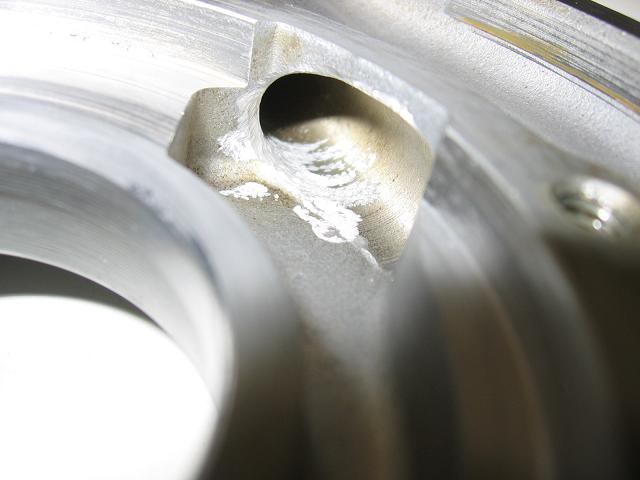
Clearancing for the Eagles:
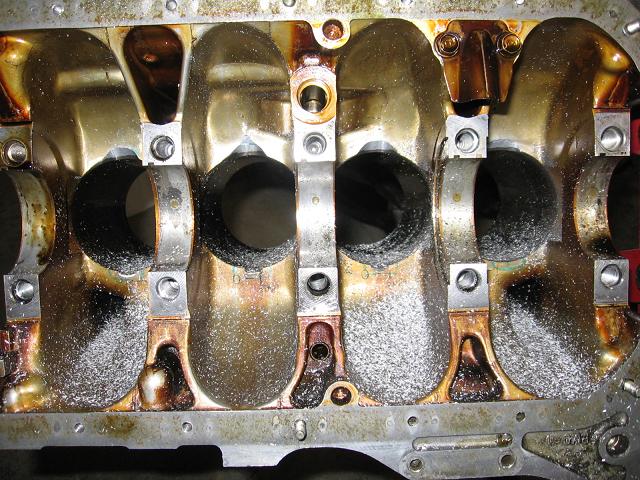
Clearanced and cleaned:
While I had a grinder in my hand and a bare block in front of me, I went ahead and removed all of the flashing that I could get to. Internally this means better oil drainback. Externally it means fewer busted knuckles when wrenching.
Golden Eagle Block Guard placed 1/4" below the deck and welded in:
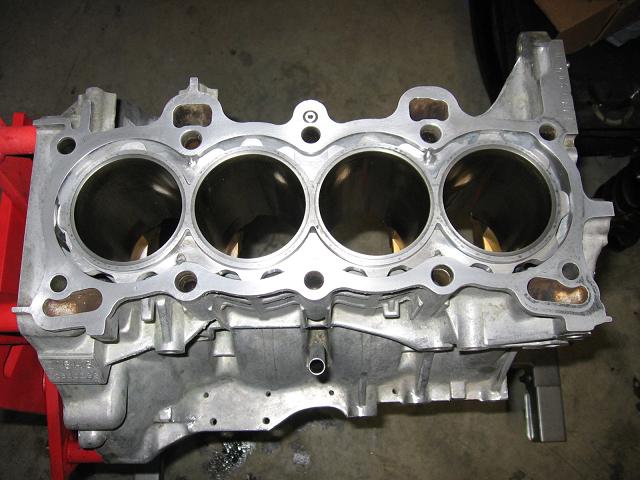
An then it was off to the machine shop to be bored and decked, since welding in the block guard can distort the cylinders. Local NAPA did a good job, and I got it back only a few days later.
The Build...
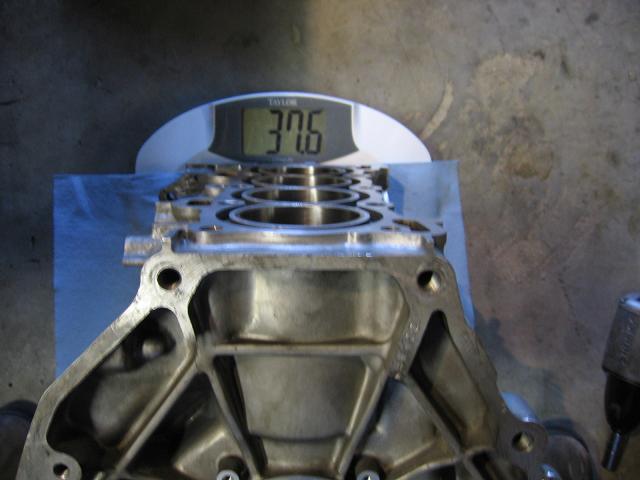
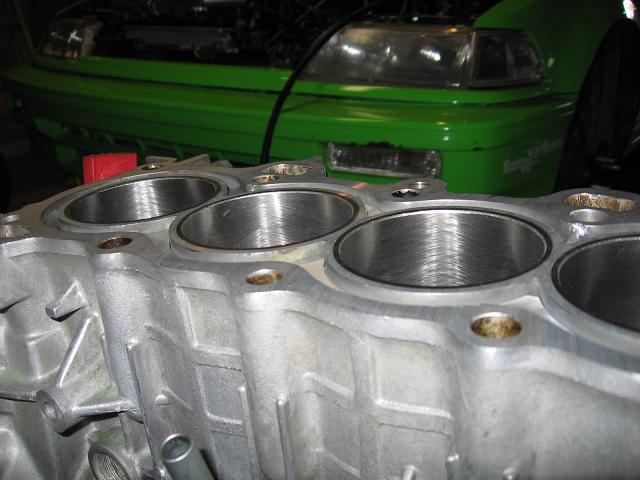
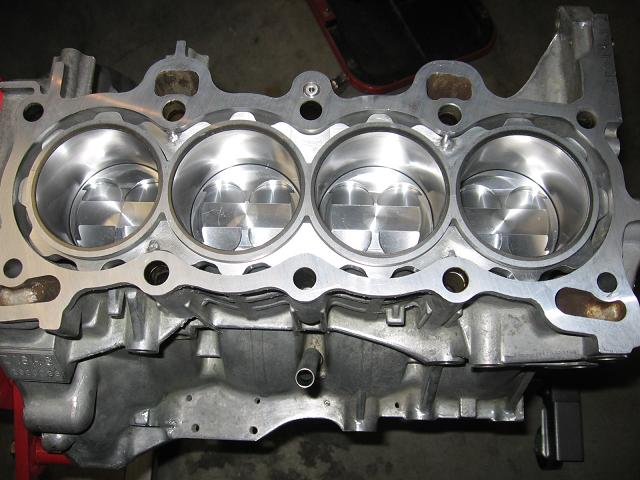
No wonder D motors weigh nothing. The block itself is only 37#. Note - this is a .5mm overbore.
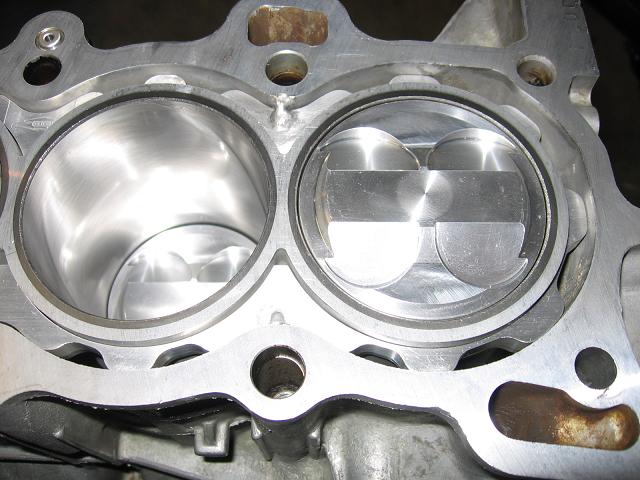
Shot of the Bore / Hone / Deck
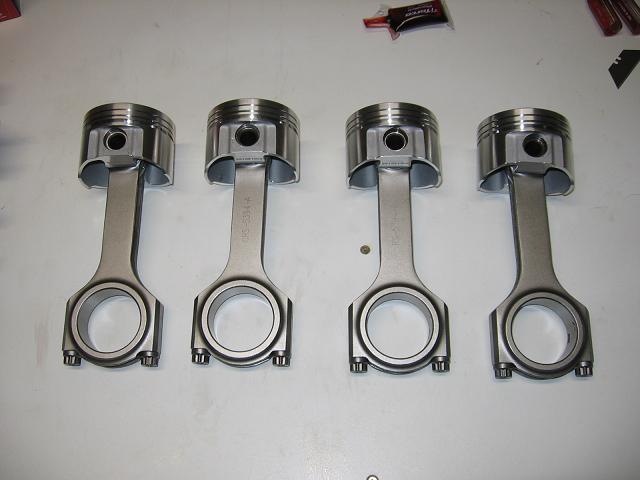
This is what $800 worth of sexy looks like. The Spiral Locks that hold these together are a BITCH to put in. It's easier if you follow the directions on the Keith Black website rather than trying to do it JE's way.
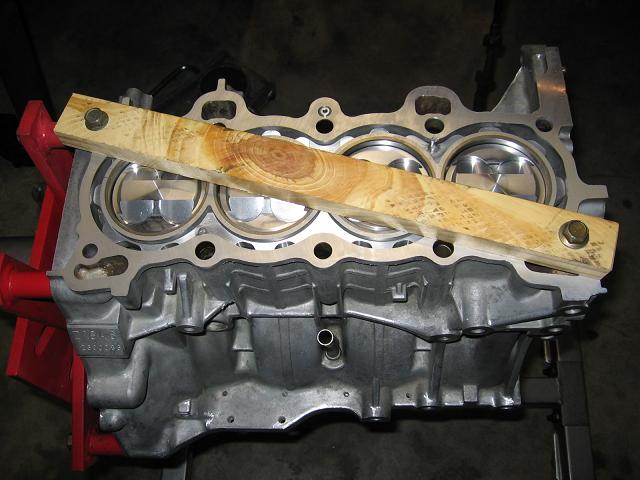
My newly invented, patent pending, "Don't-drop-the-pistons-when-you-flip-the-motor-tool"
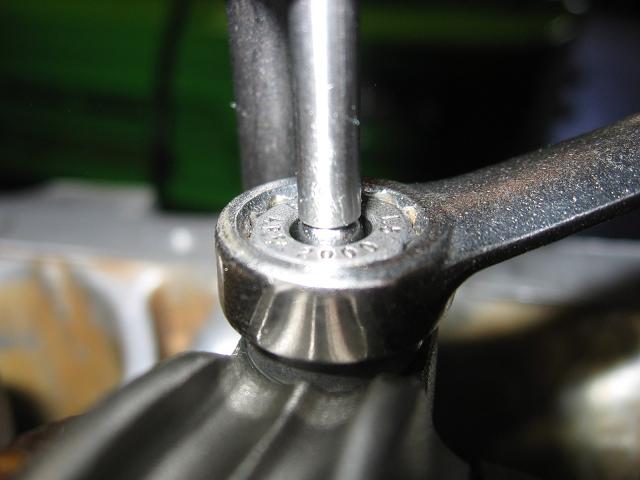
To get the most accurate clamping pressure, rather than torque the rod bolts it is preferable to measure them for stretch. This involves a stretch gauge, which is just a dial indicator, a little fixture, and a couple of centers that, in theory, sit in the divots in the ends of the bolts. Unfortunately, the Summit gauge I got was a POS. Rather than having a large sphere that would sit in the cone of the divots, it had small ones that sat at the bottom of it. This made it very inaccurate. The guy who designed this thing needed to spend another week in metrology class. Anywho, I decided that I could use it if I got some ~1/8" ball bearings to use as my datums. FYI, while Home Depot doesn't think they sell ball bearings, they do. They just house them inside swivel casters. $2.79 later and I've got precision centers for my stretch gauge on Easter morning...
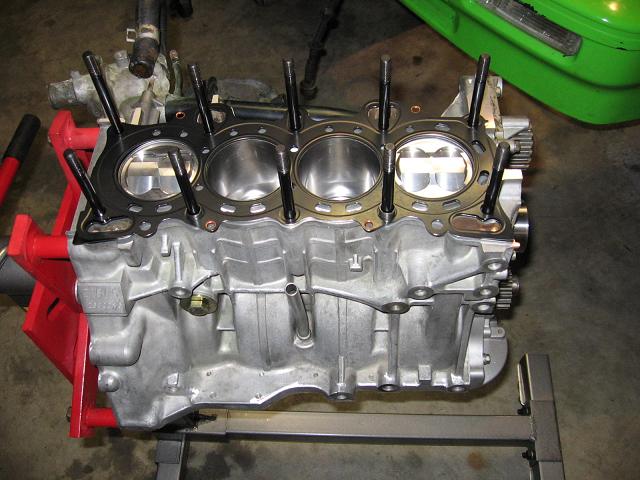
Bottom end getting buttoned up.
Sexy sexy.
TDC / BDC.
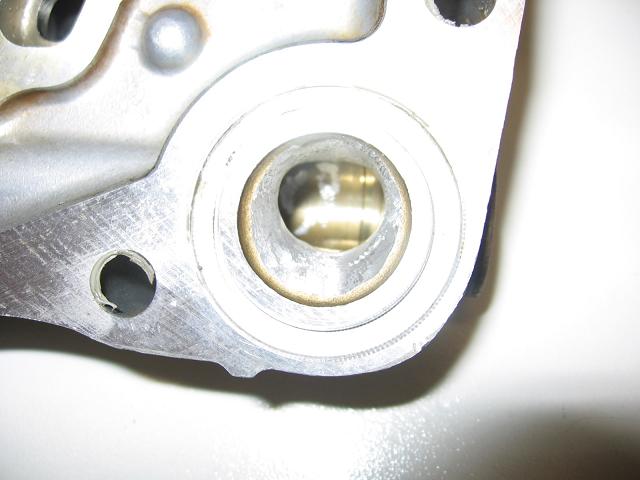
A few pics of porting the oil pump. Supposedly this cuts down on high RPM cavitation and helps the flow. It was pretty ugly, so the flow definitely improved through these areas. Whether it is needed or not, who knows. But it was free and it can't hurt.
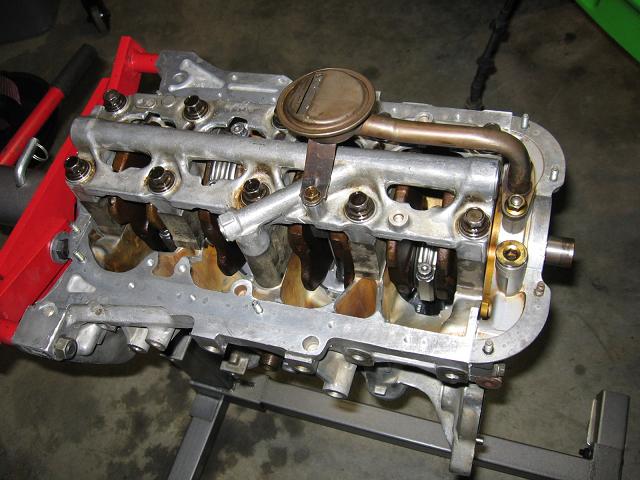
Bottom end all buttoned up.
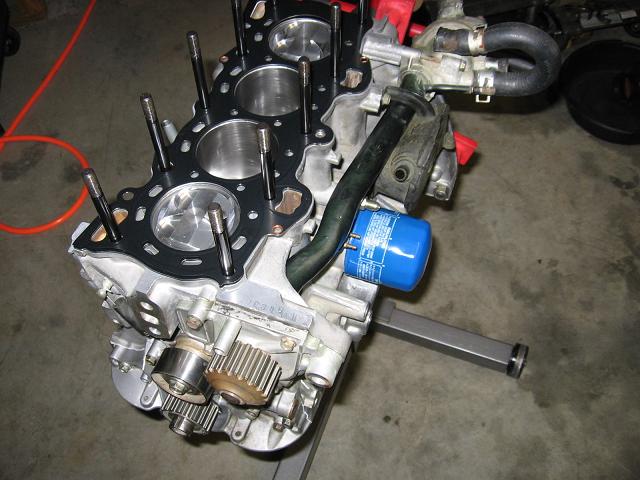
Transfer pipe, breather box, oil feed (BSPT to AN fitting that feeds a manifold mounted on the firewall), water temp sensor, and oil filter in place. Water pump, timing belt tensioner, lower timing pulley in place.
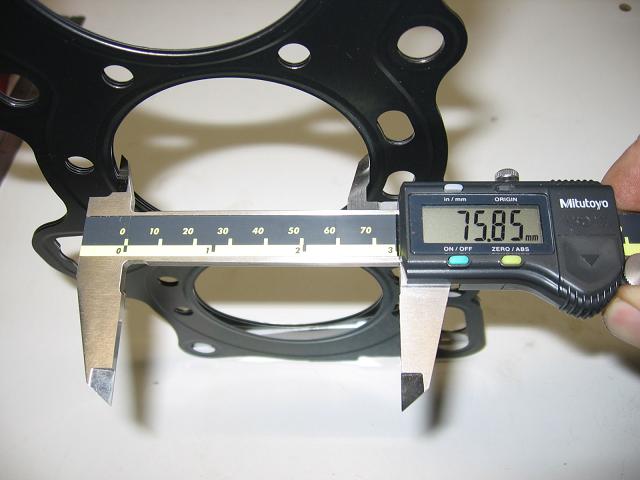
Earlier I had wondered if the OE head gasket would handle the overbore (.5mm). Here it is. 75.85mm. Standard is 75mm, I'm 75.5mm. This is the 5 layer TSB gasket BTW.
I got the head cleaned up and ready to go on. I think it's ready for the head, timing belt, etc. I'm tired though and didn't want to do something stupid / leave something out. I'll do the top end tomorrow night...


