
An unrequested update!
First, wiring. Remember when I swapped the combination switch and the wipers stopped self-parking? Fun fact, the airbagged Miatas have a headlight relay whilst the non-airbag cars do not. And the wire going from the combo to the headlight relay is blue with a yellow stripe. The wire for the intermittent wipers? Blue with a yellow stripe. Obviously, I tapped into the wrong one. Fix that and the wipers work just fine. In my defense, it is completely impossible to tell which of those wires is the one to use from the wiring diagram as they both go into the same monolithic connector. You just have to notice that there's more than one and then notice the gauge of the wire.
So I'm pretty sure I figured out the wiring to make the airbag wiper motor work with a non-airbag combo switch. I should be able to recreate it, anyhow - you're basically just changing from switched power to switched grounds. Yay.
Moving on....
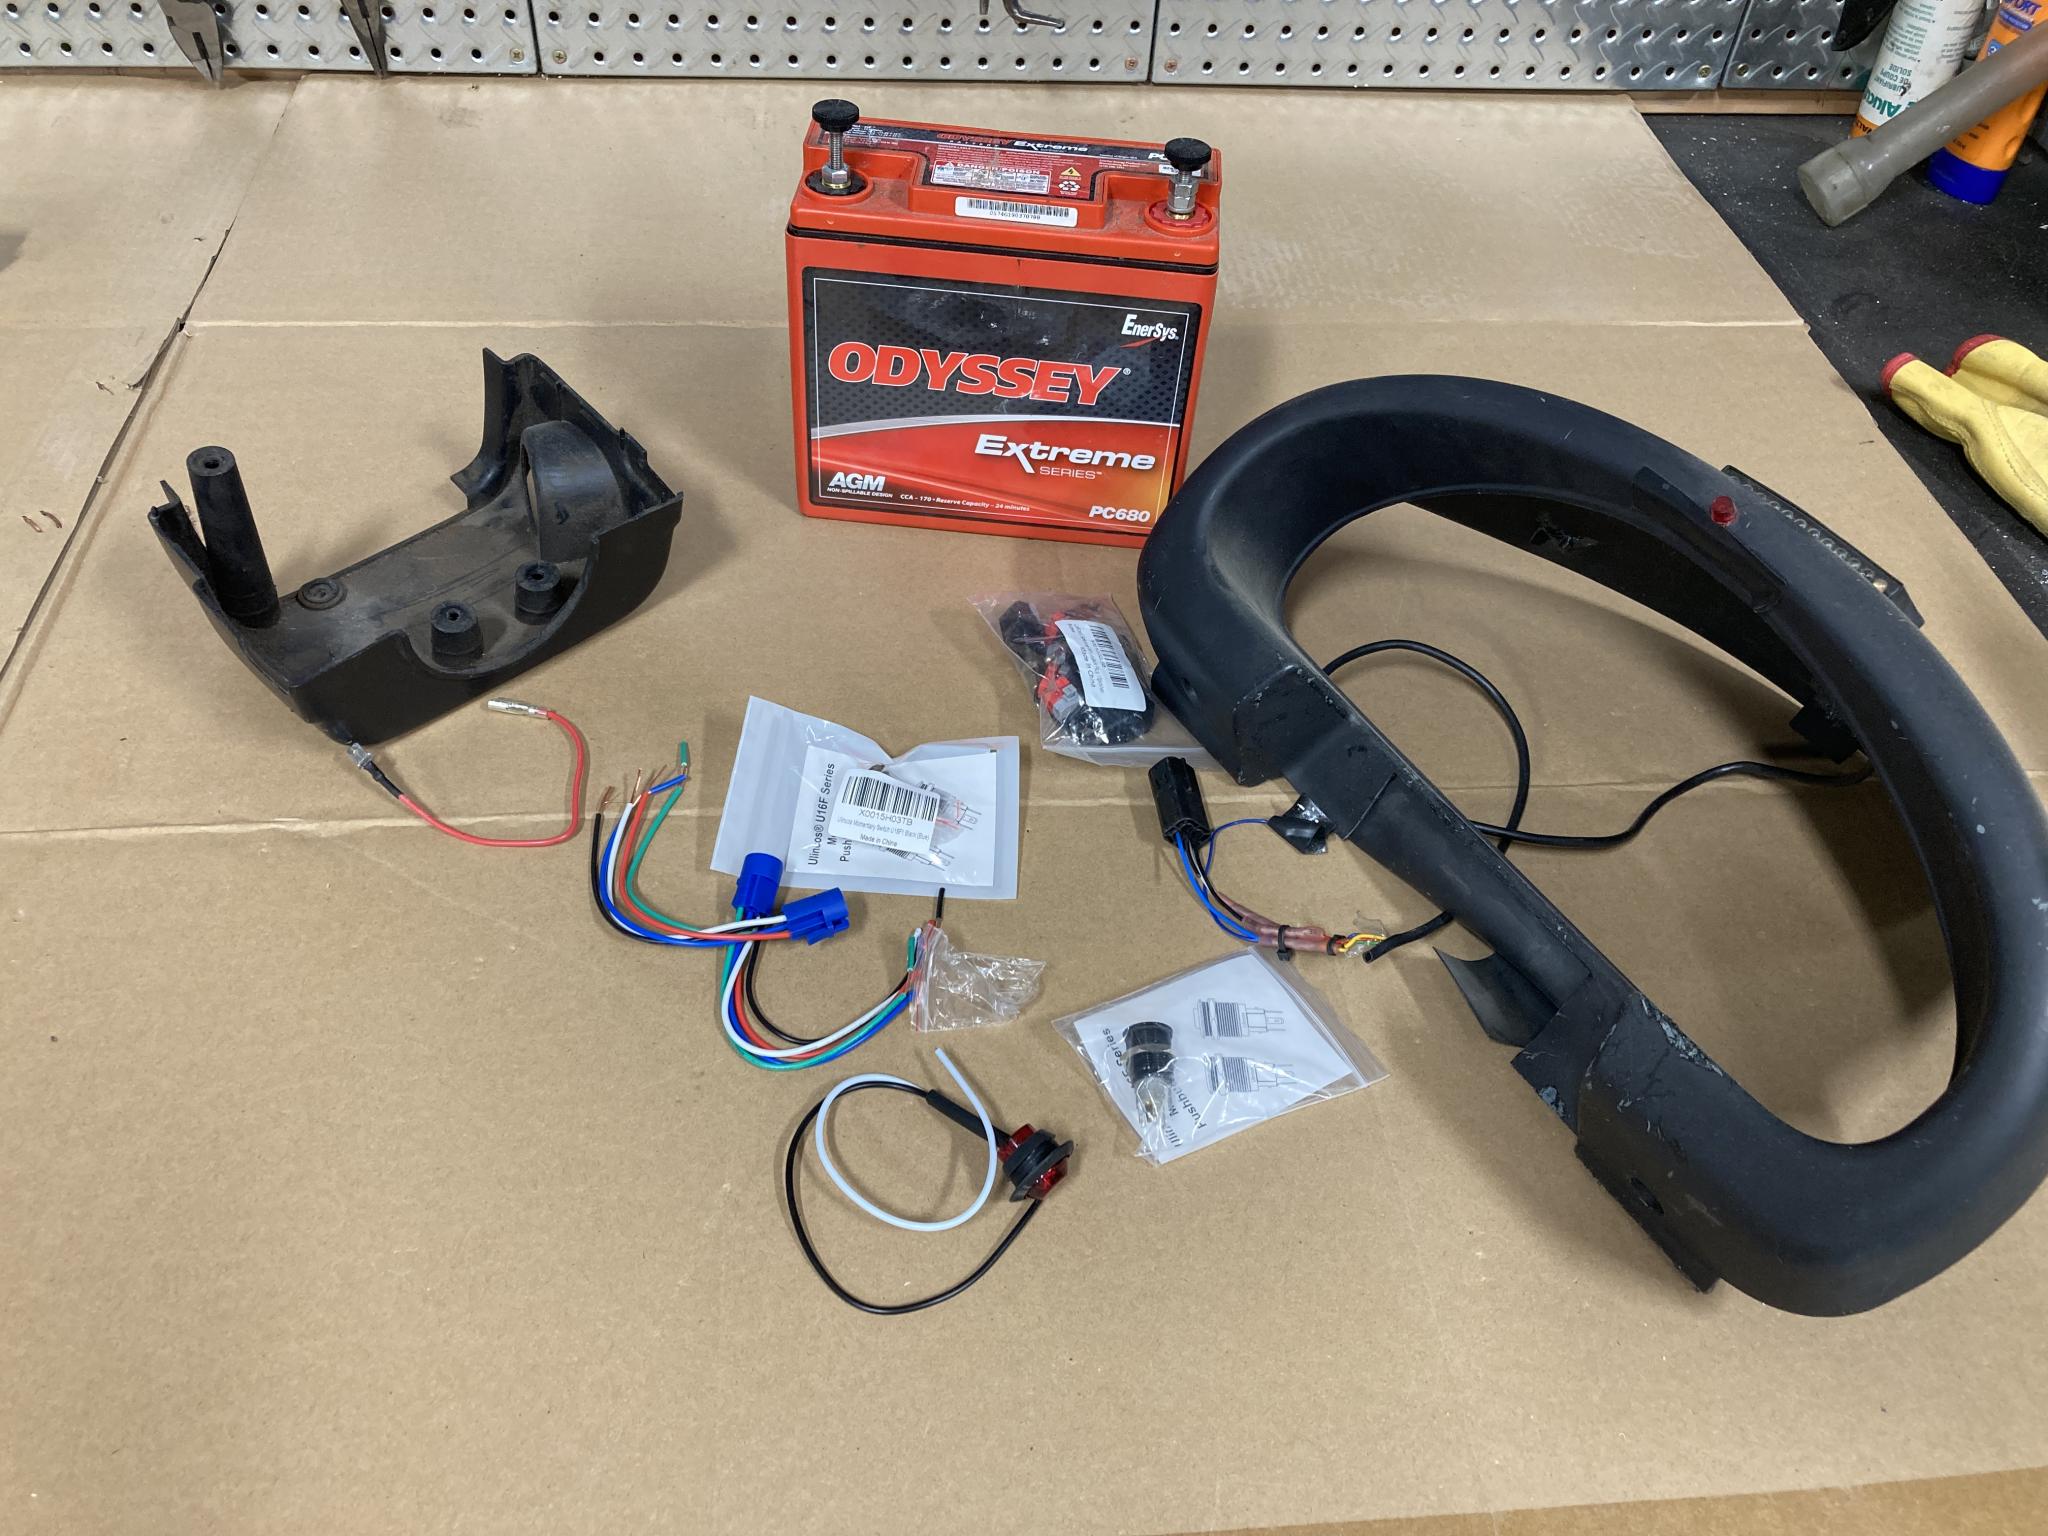 Oil light. I picked up a number of 3/4" LED marker lights. They're fairly low profile and OMG BRIGHT. Perfect. Poked around for a good place and decided on the inner surface of the cluster cover. You can see in the picture that I originally had one in the top of the cover, but it wasn't bright enough. Picked that up at Radio Shack at the mall, which tells you a lot.
Better. It's wired in to a spare pin on the Revlight LED tach connector, which is actually a repurposed O2 sensor plug. Makes it easy to pull the cluster cover if needed.
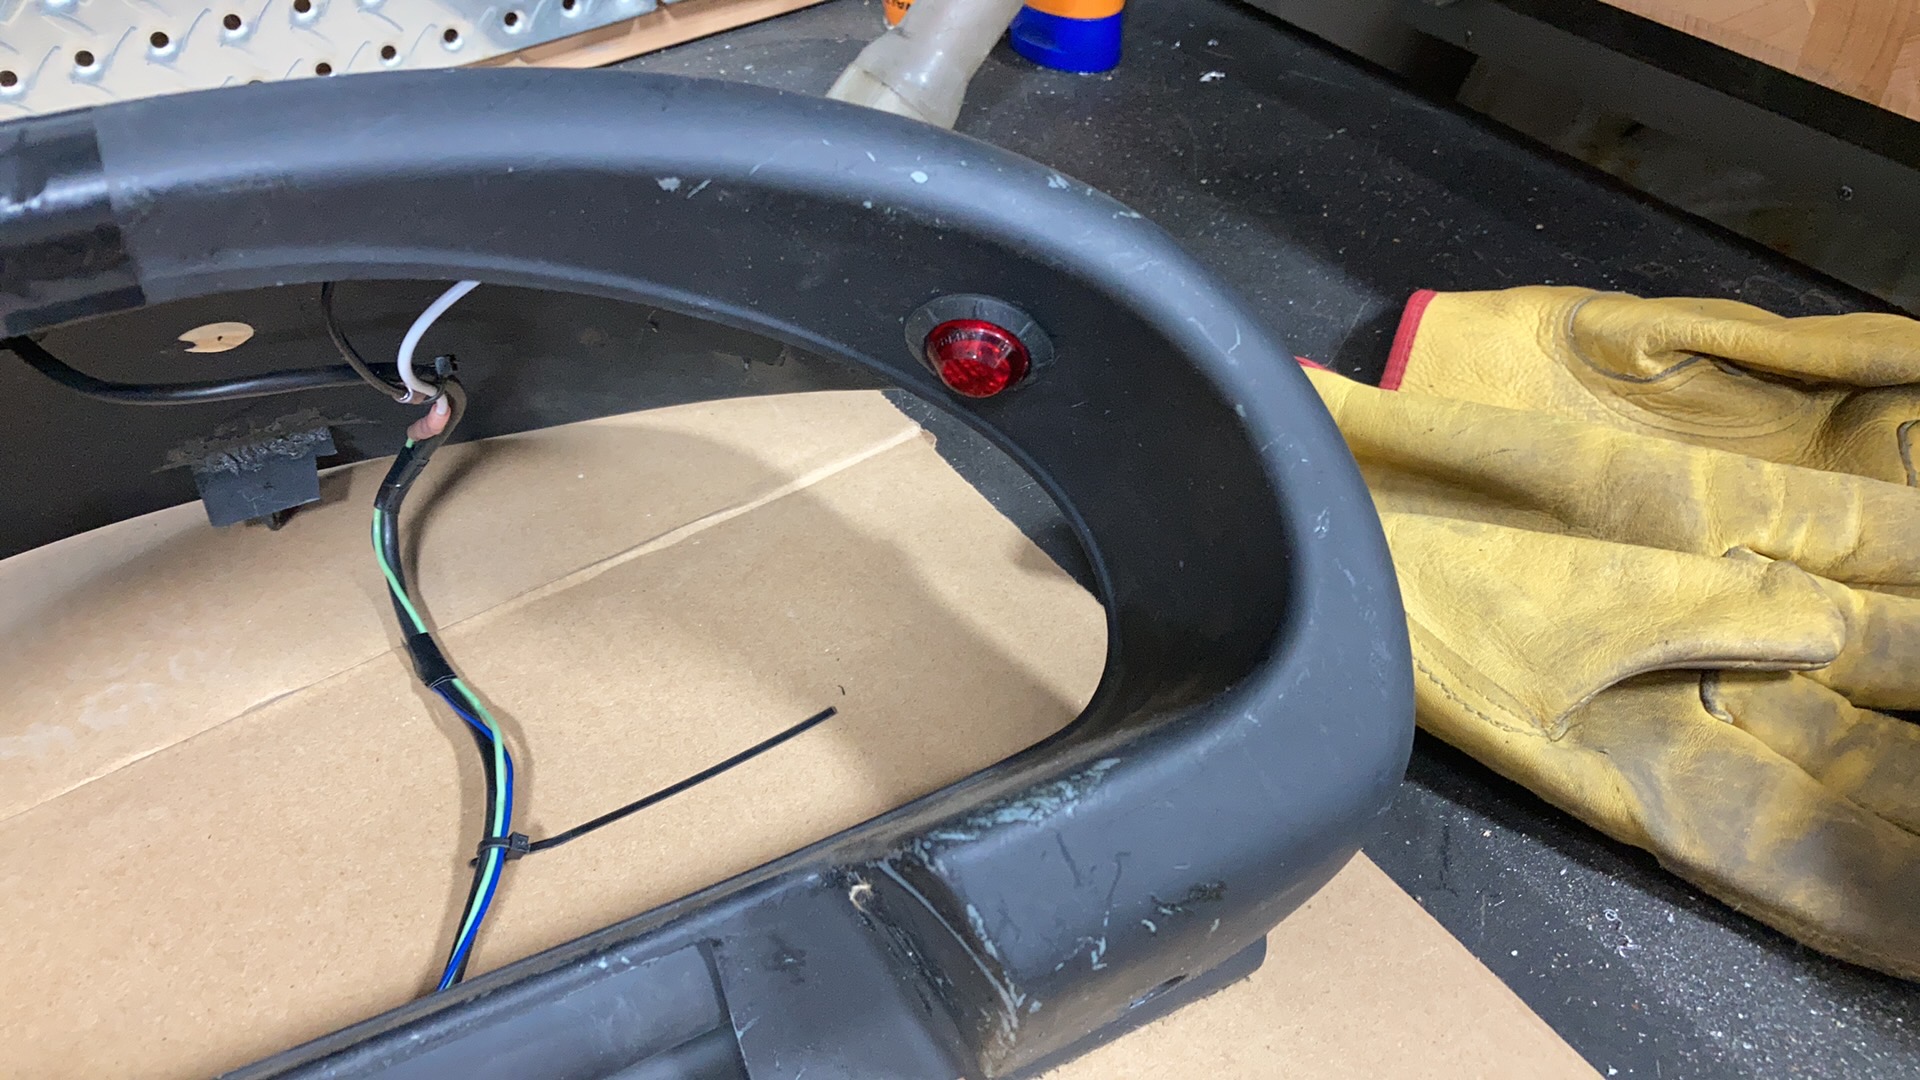
But it was still a little obtrusive. I smoked it with black paint. It's still bright enough to show up well but nice and subtle. Perfect. The grommet is just folded over, I didn't notice until I saw the picture. And speaking of black paint, it's time to touch up that cover.
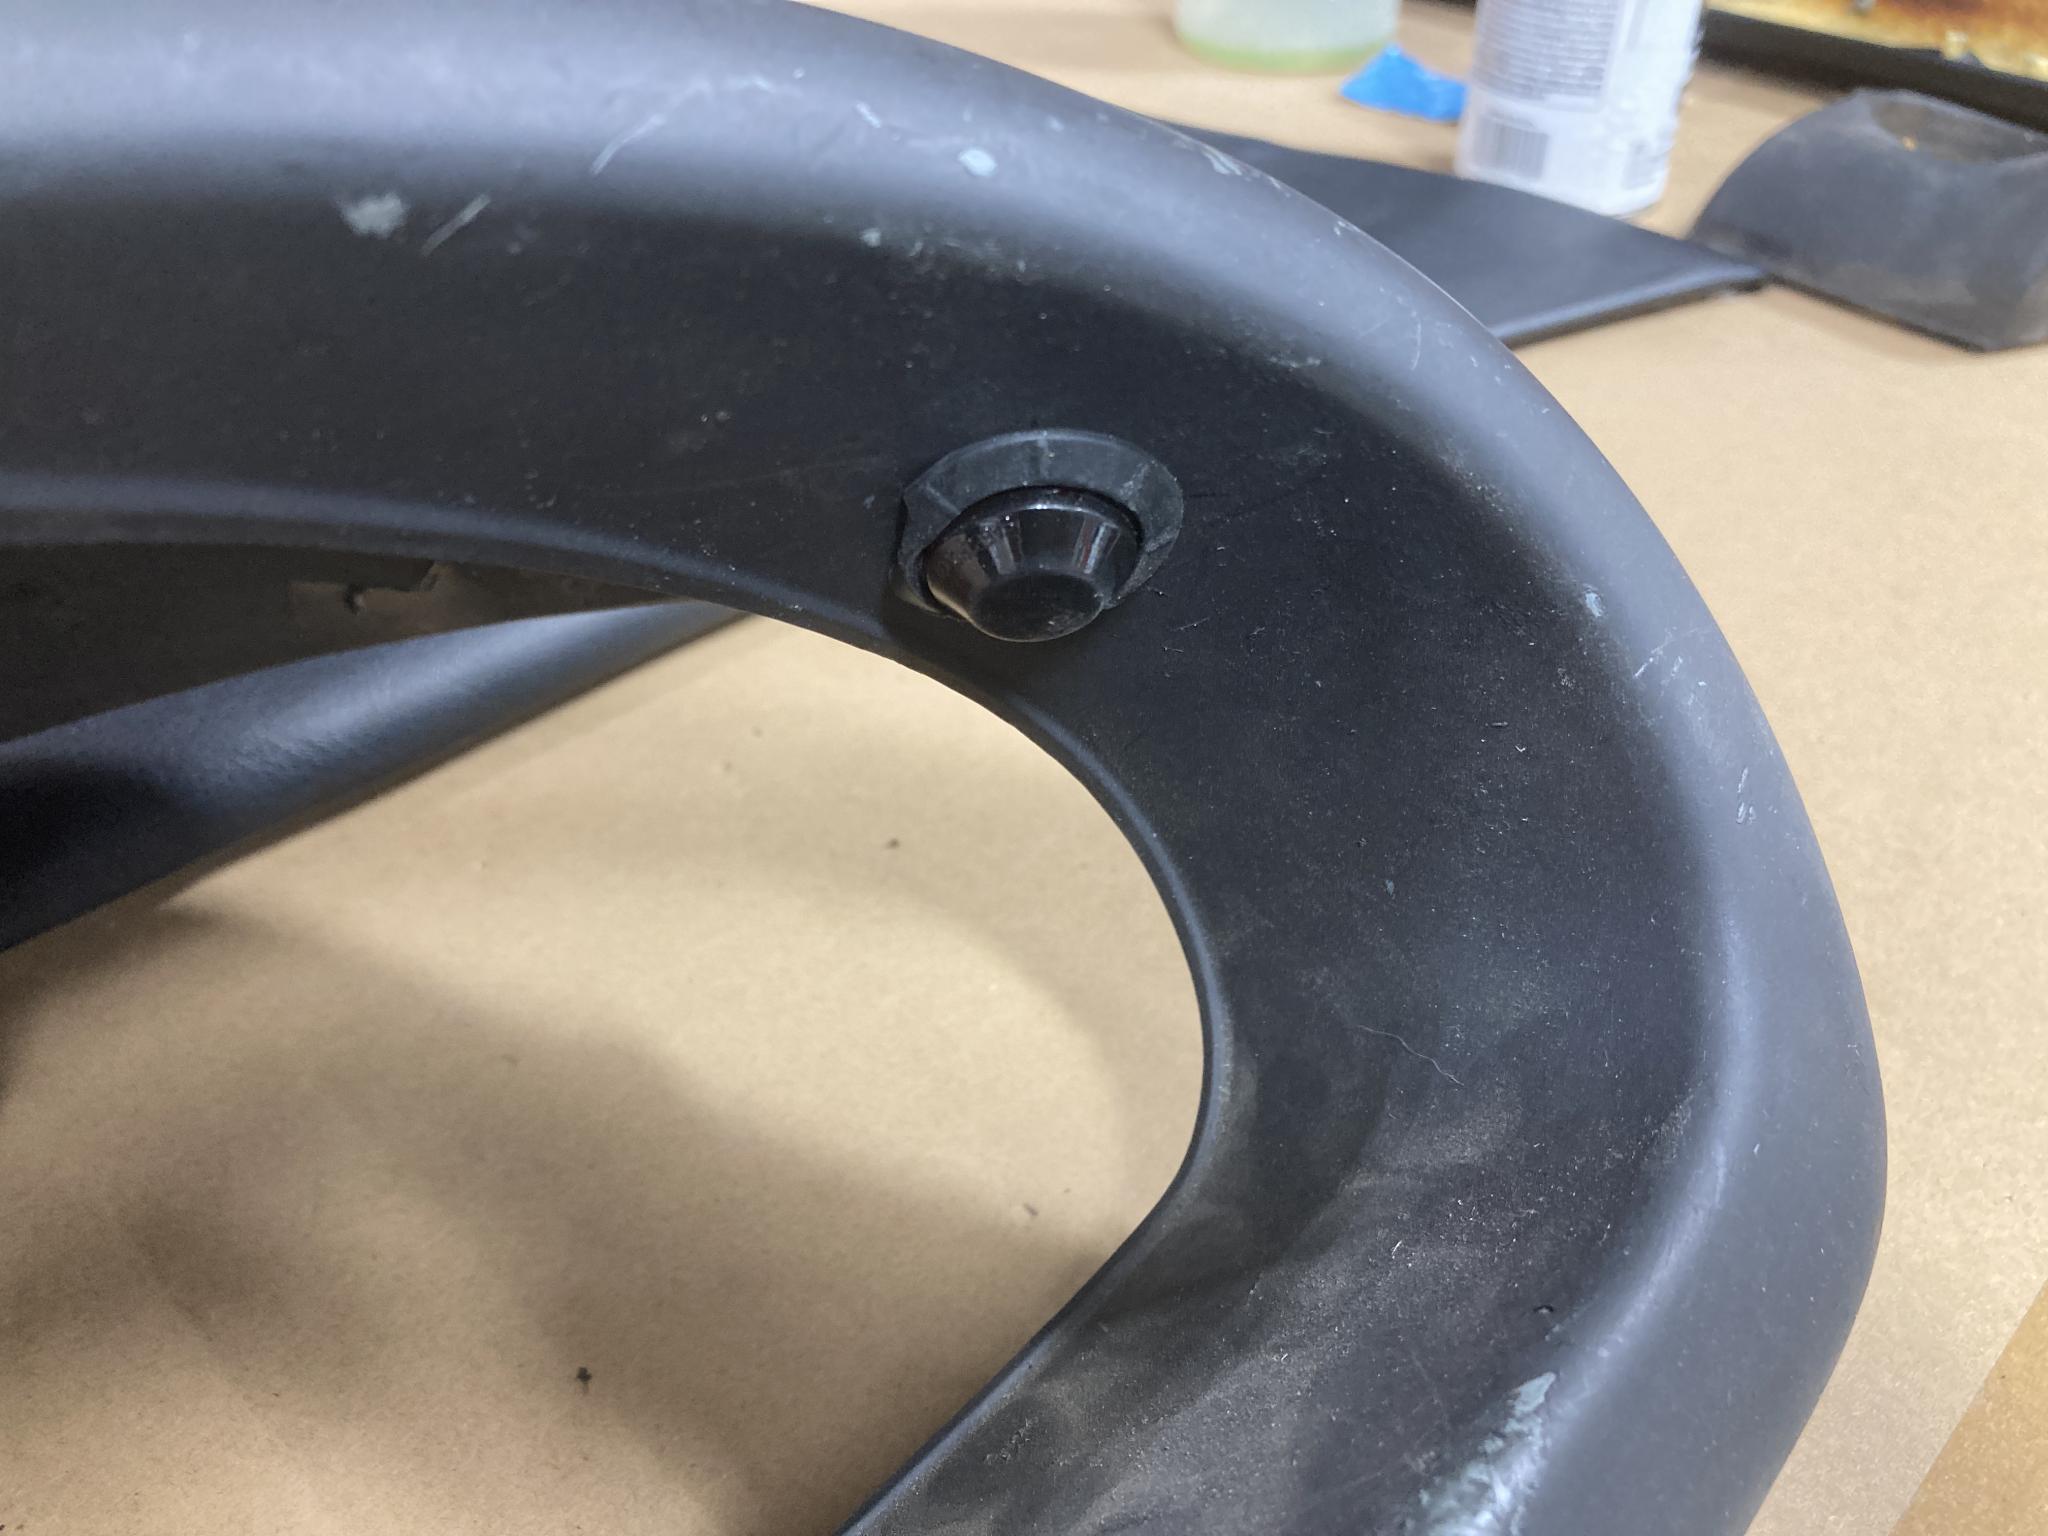
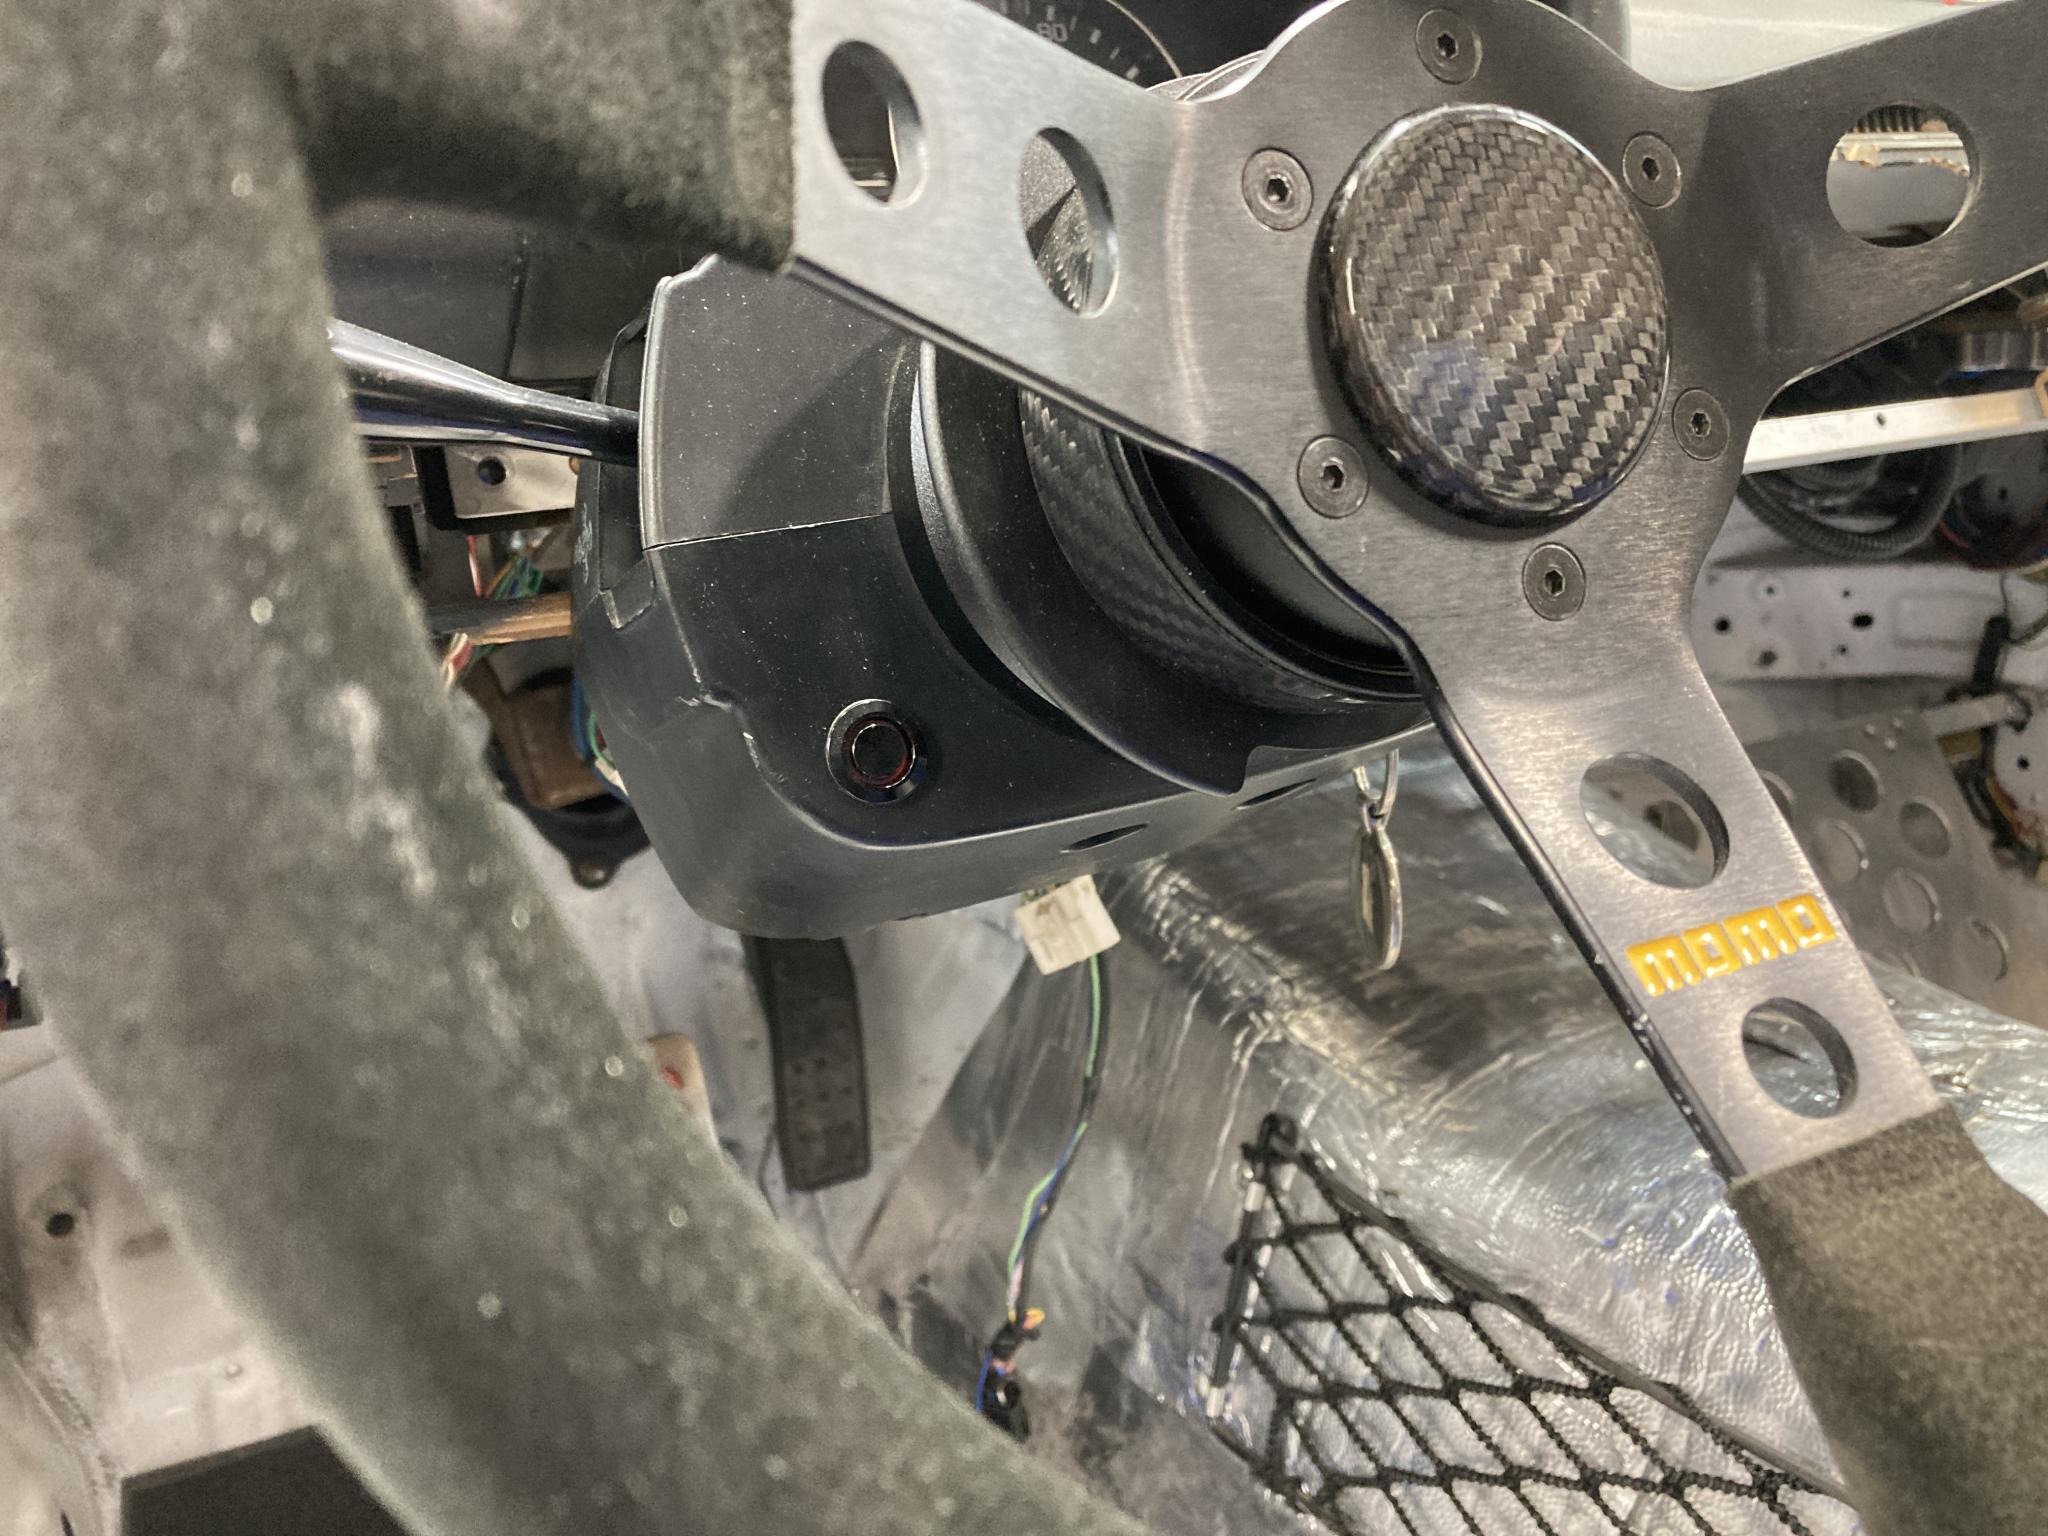
Now, one last control. The hazard light switch. This doesn't need to be very visible, just easily accessible. Spent some time poking around and came up with the lower corner of the shroud for the combo switch. This looks fantastic but I am a doofus and didn't realize it was a momentary switch until it was in place. So I'm waiting for a latching version to show. Still, it looks nice.
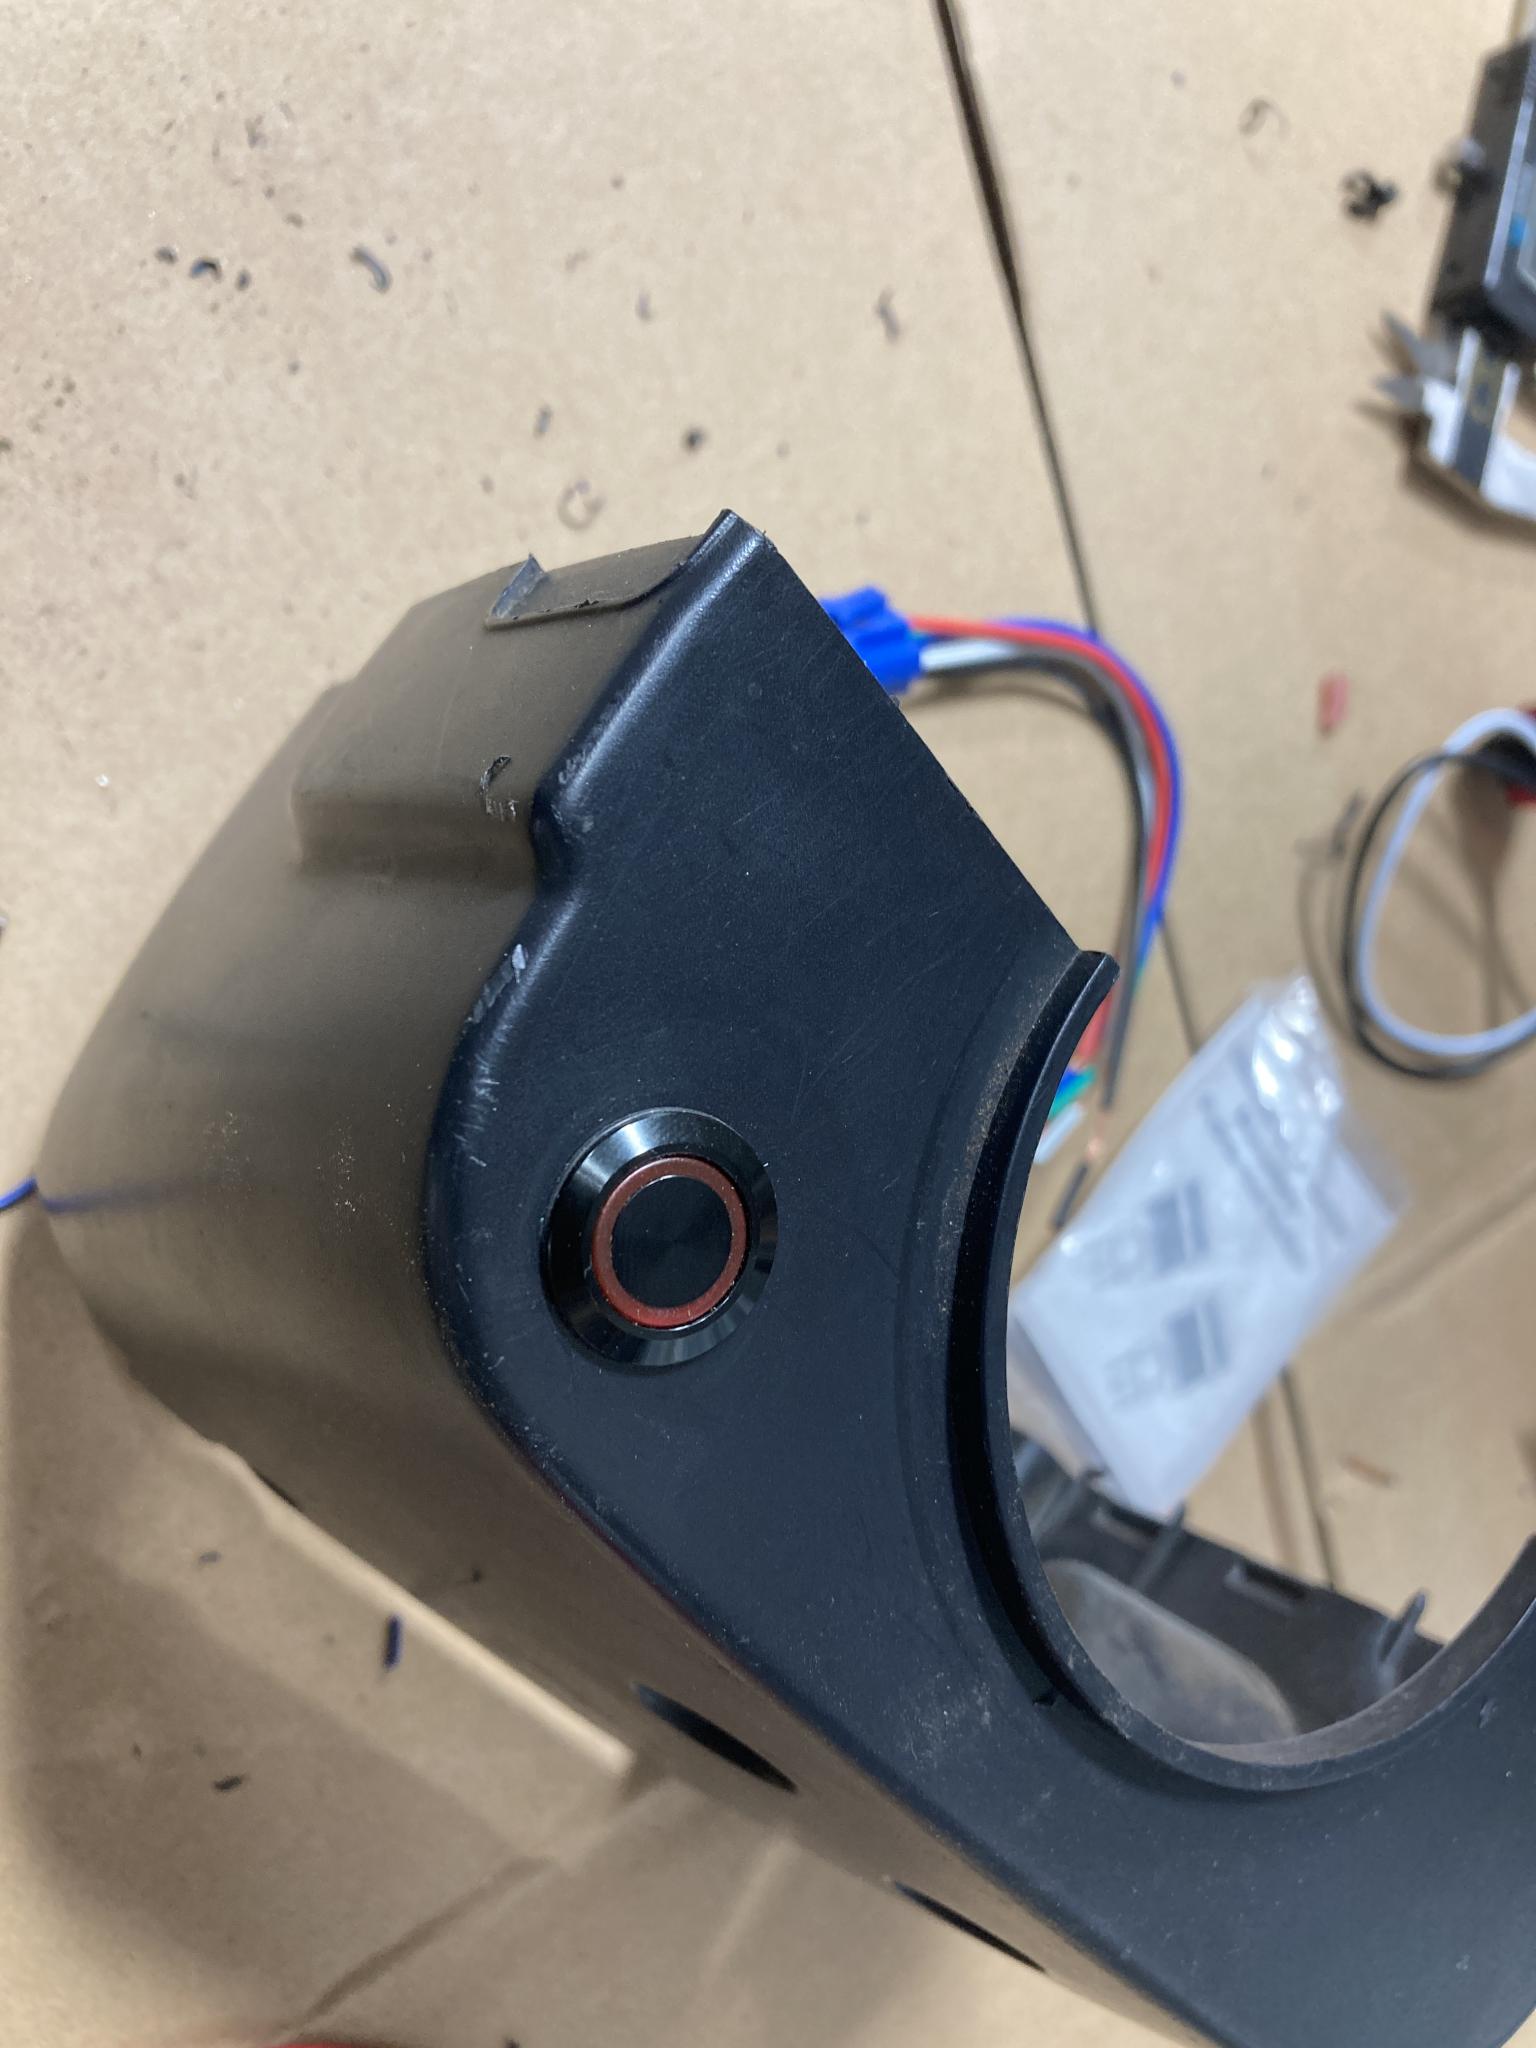
With that done, I kept working on cleaning up the footwells. The navigator side is looking good. Now I just have to figure out if I put grip tape right on that lumpy floor or if I put a flat plate on. If I do the latter, it's going to have to sit high enough to be on top of the bolts for the undercar frame reinforcements, which means a bunch of little leveling legs. Sigh.

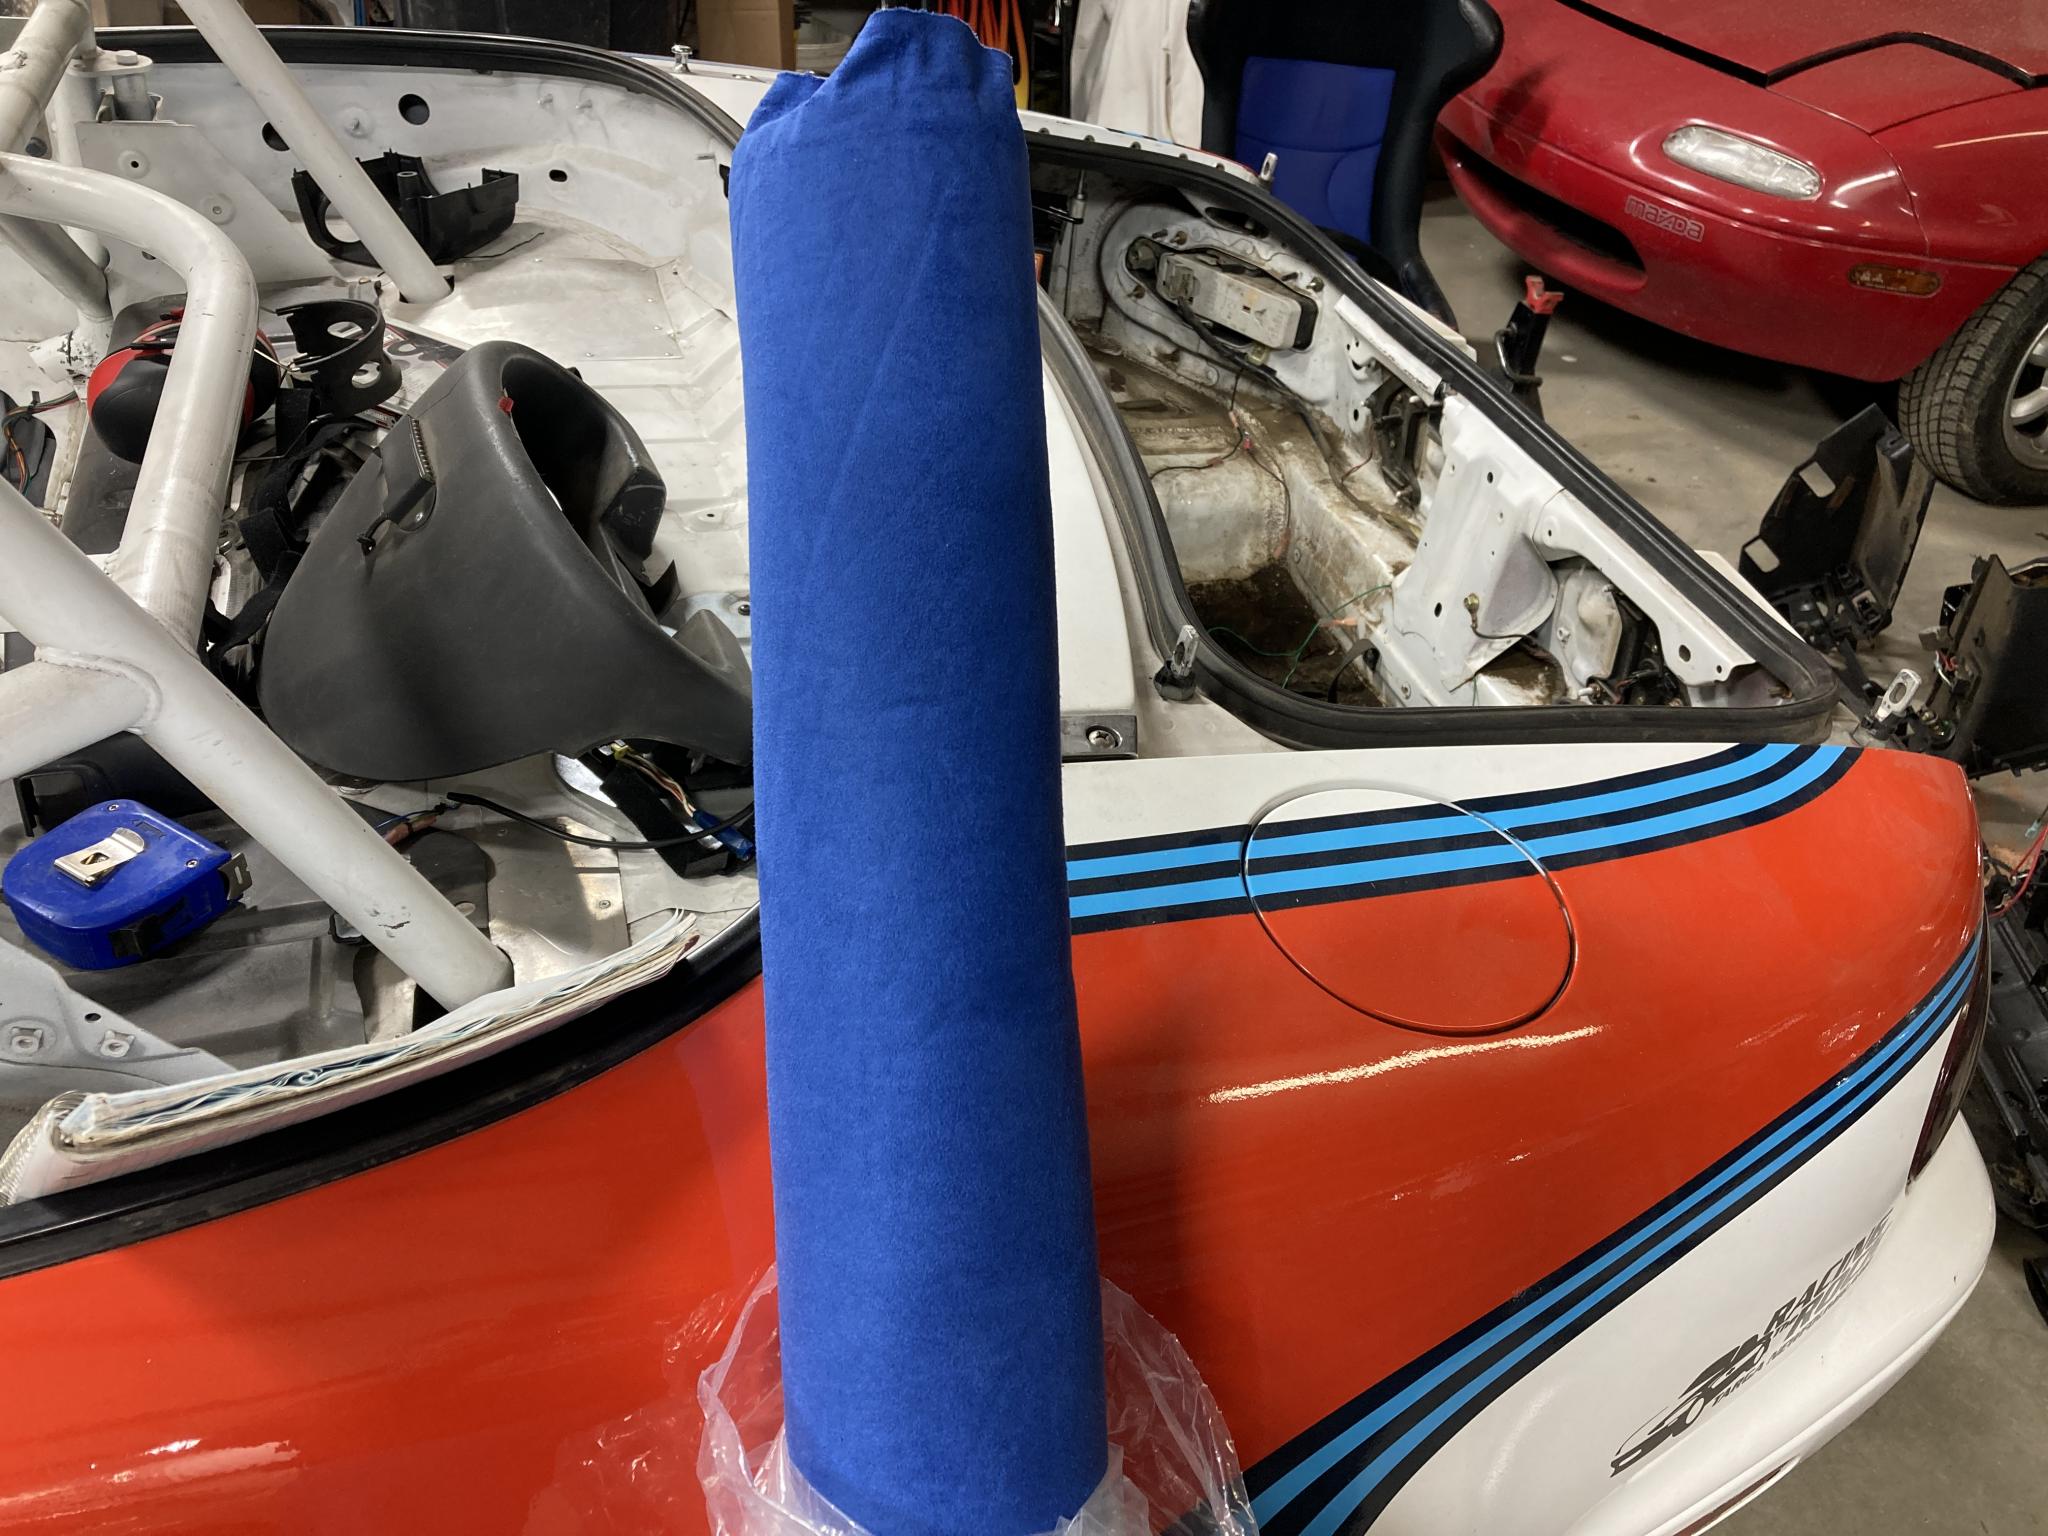
I teased this last week or so - but the fabric for the crash pad is here! I forgot that it was 60'" wide and a second yard wasn't really very expensive, so I have 30 square feet of the stuff. Enough for do-overs. It has 1/8" of foam on the back, so I'm hoping that will hide some sins.
I'm quite happy with the color. It's not found in the livery, but it also doesn't fight with it. It does match the seats.
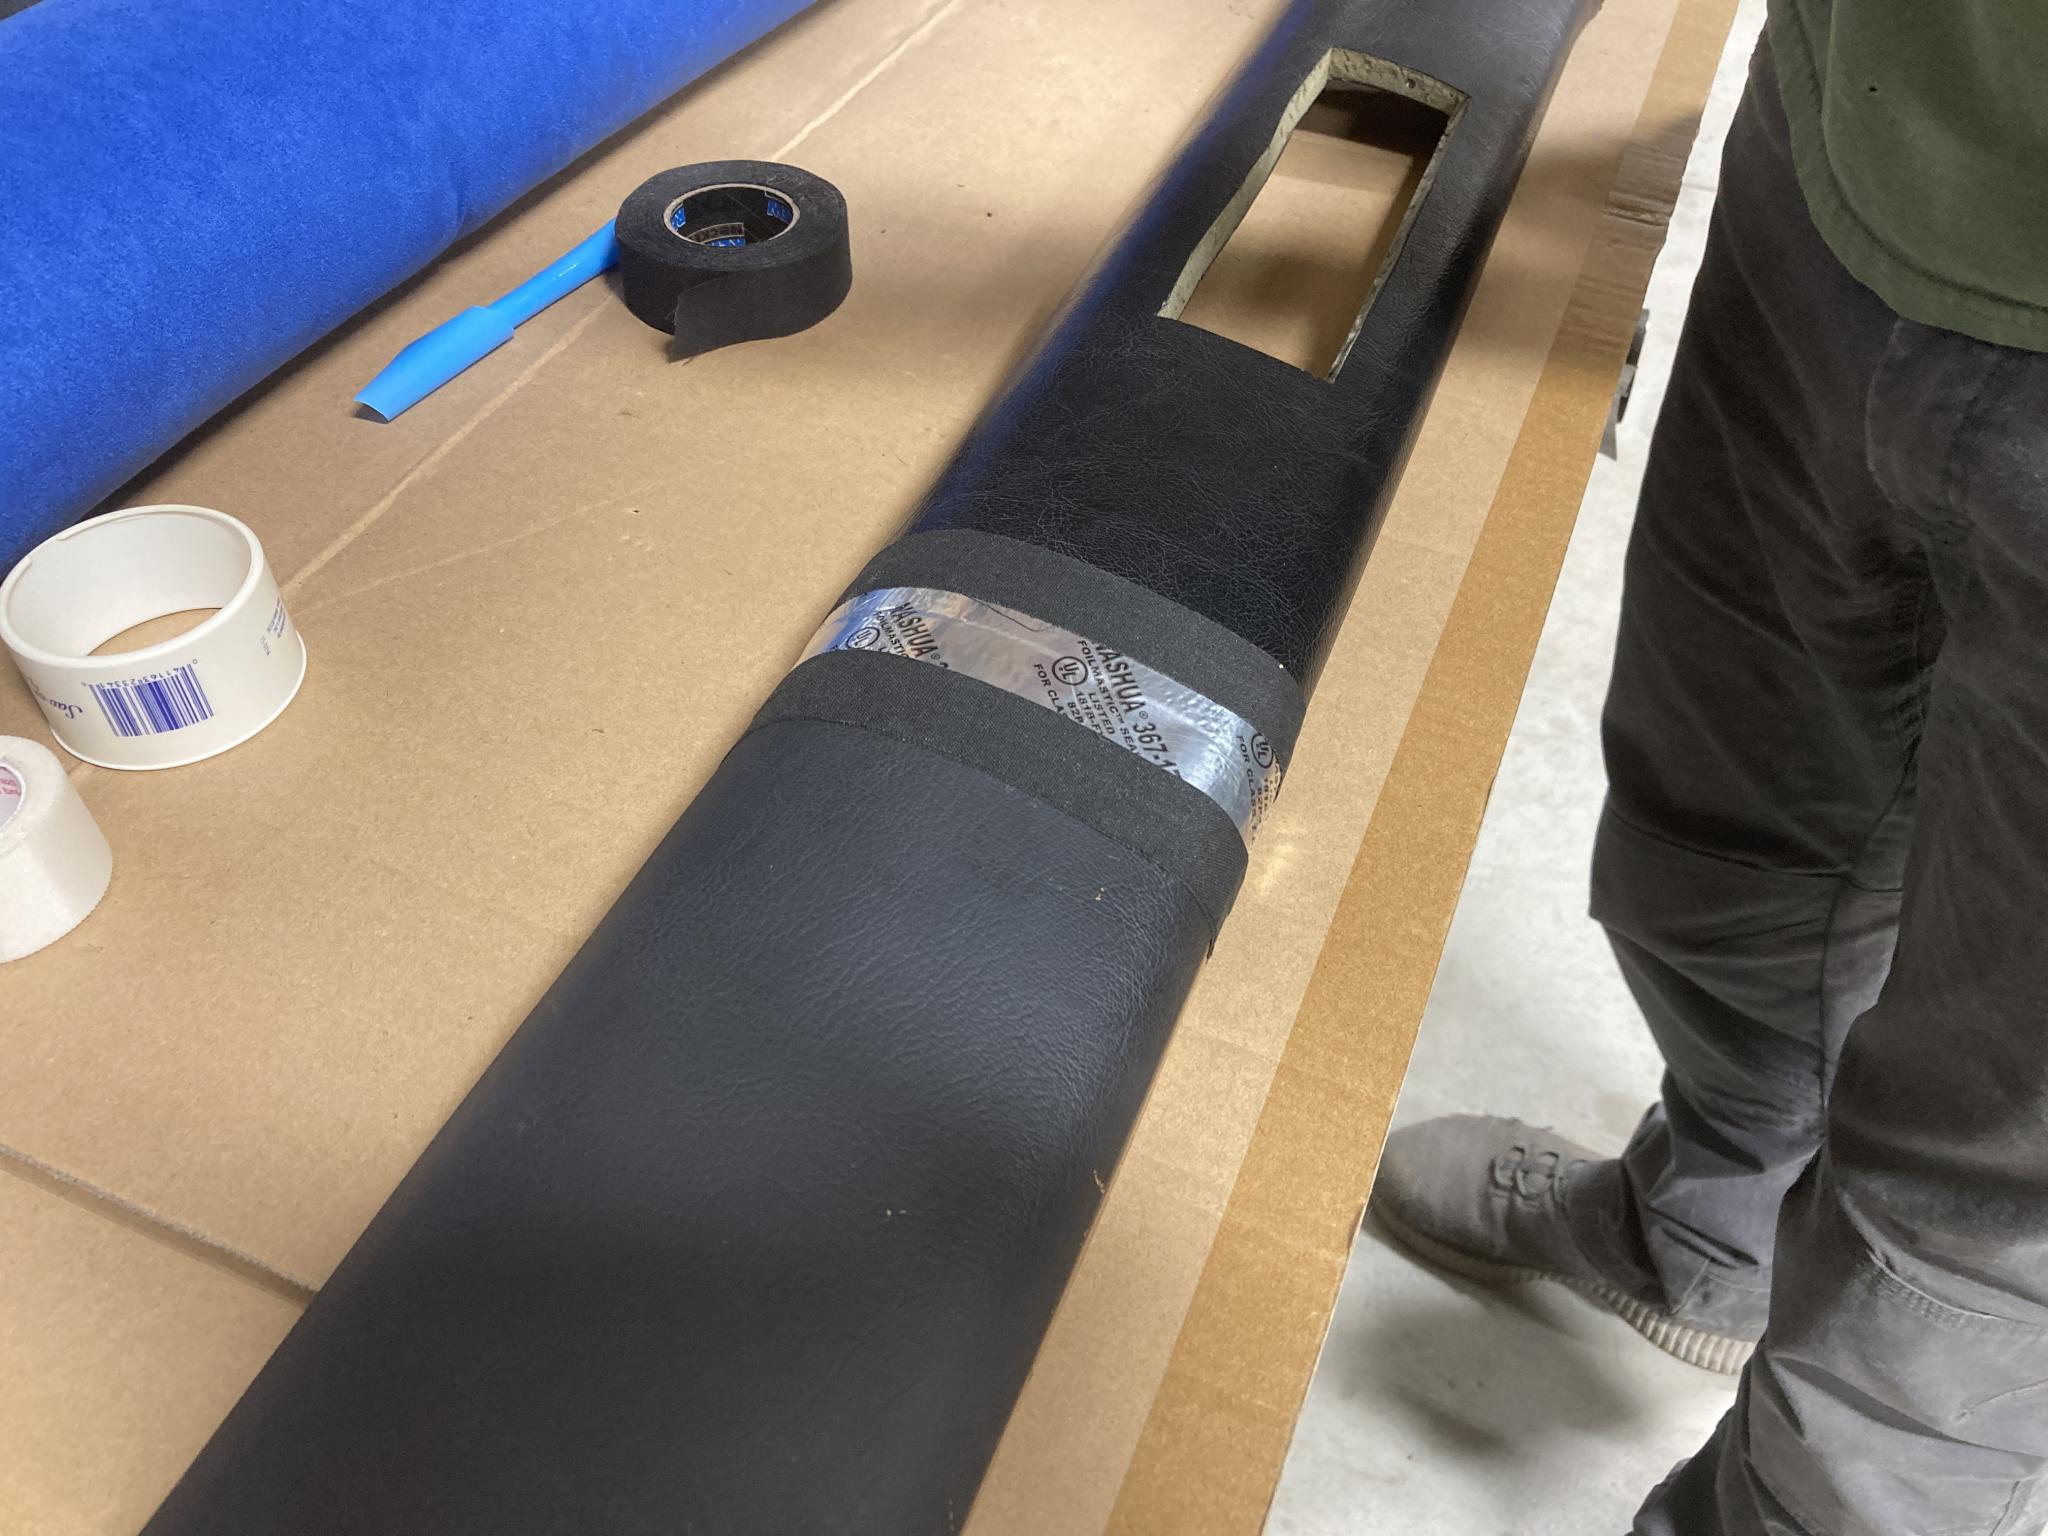
My coworker Mike stopped by to help put this on, because he knows what he is doing while I do not. Instead of hosing everything down with contact cement and hoping, we started with preparing the patched-together parts.
The biggest problem was a gap between two pieces. It was probably 1.5mm at the top and flush at the bottom. It MIGHT have been okay, but that's not how Mike rolls. We talked about a number of possible options and decided to try covering it with tape and using that to smooth it out. Various tapes were discussed, and we ended up with all-weather foil tape covered in hockey tape. The foil tape spans the gap and is surprisingly strong (seriously, the all-weather stuff is a different breed) while the hockey tape is very stretchy and does a nice job of covering seams. It will also take the adhesive nicely.
I am quite entertained by the fact that we are using hockey tape for this. And not just ANY hockey tape, this roll has provenance! During Targa 2011, the front edge of my hood was lifting quite alarmingly at 100 mph and the stewards were concerned. So we taped down the leading edge every morning with tape from this very roll. Now that is racing heritage.
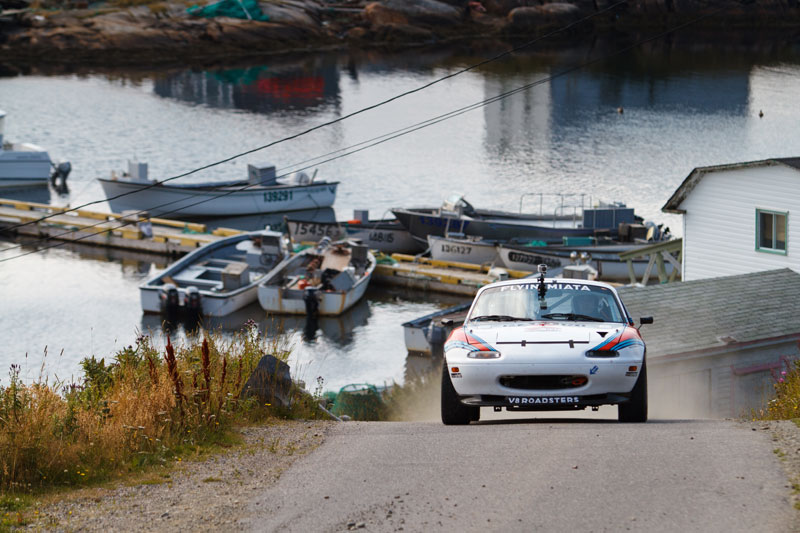
I did add a second pair of hood pins later, so no adhesives are necessary to hold major body panels on the car these days.
Anyhow - we got all the prep work done and Mike decided that he was going to have to sew a couple of seams at the ends of the dash. So he took the two parts with him along with the roll of material so he can do some clever things before we get all happy with the glue. More to come...

Mike had inlaws and outlaws visiting over the holidays and couldn't get anything done on the two little bits of sewing he needed to do. But we're good to go now, he's going to swing by on Sunday and we'll stick blue stuff on everything.
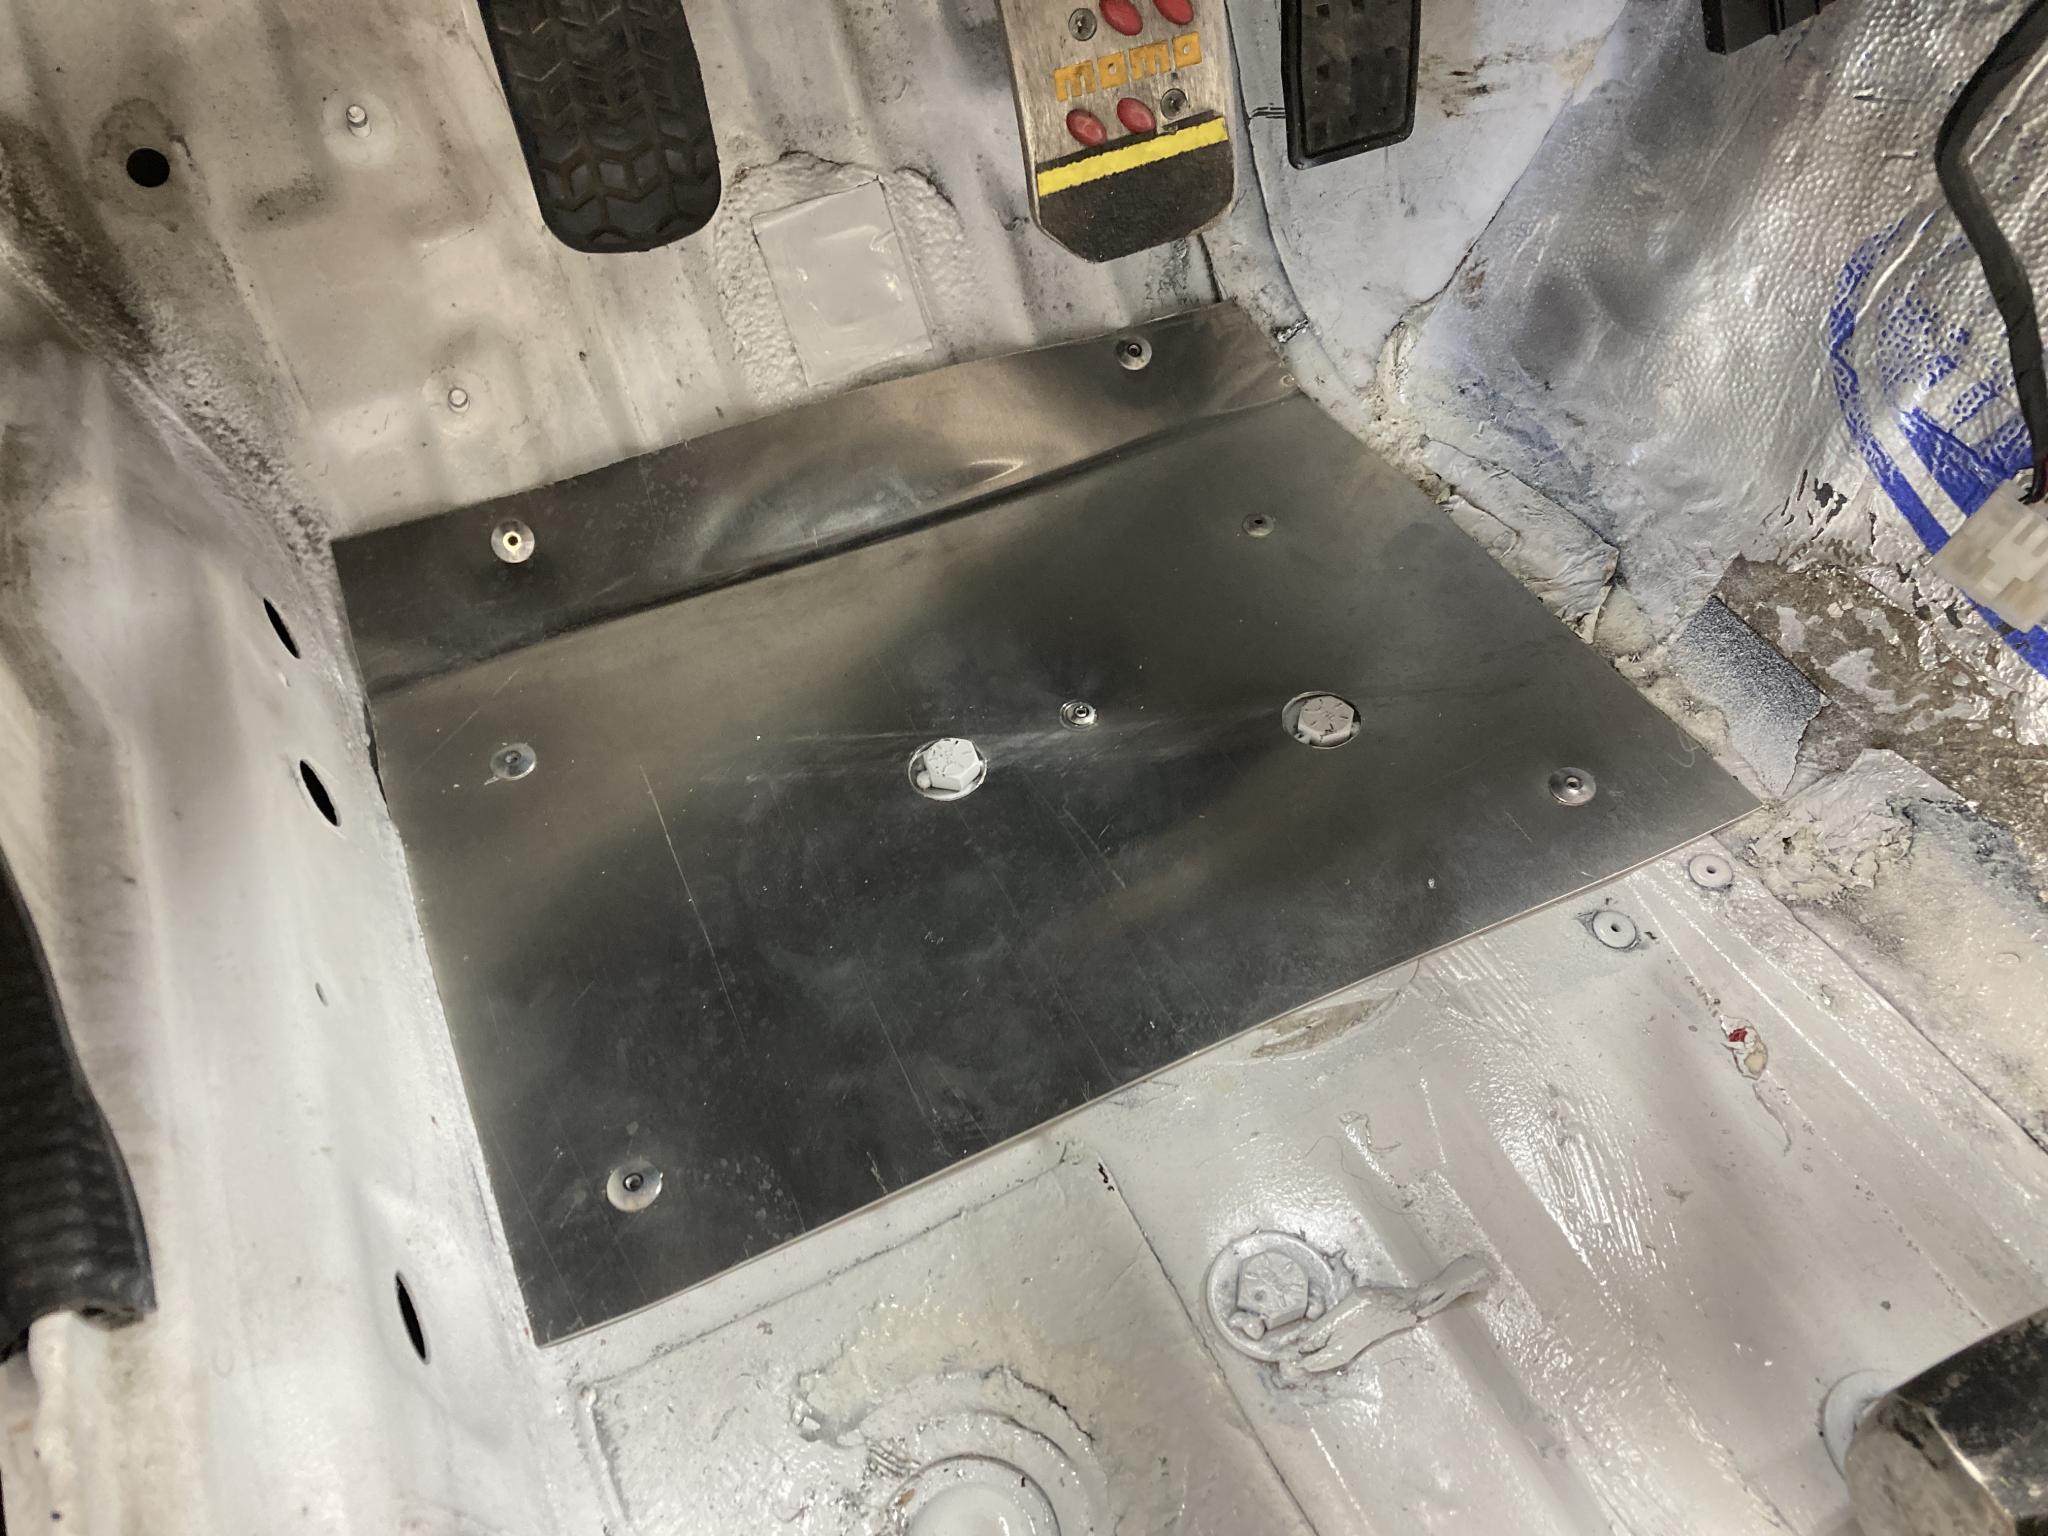
In the meantime, I've been slowly prepping the interior. 0.042" aluminum sheet riveted to the floor for a flat-ish foot rest. The two holes are for bolt heads that attach the frame rail reinforcements to the car. Skateboard grip tape goes on top and voila.
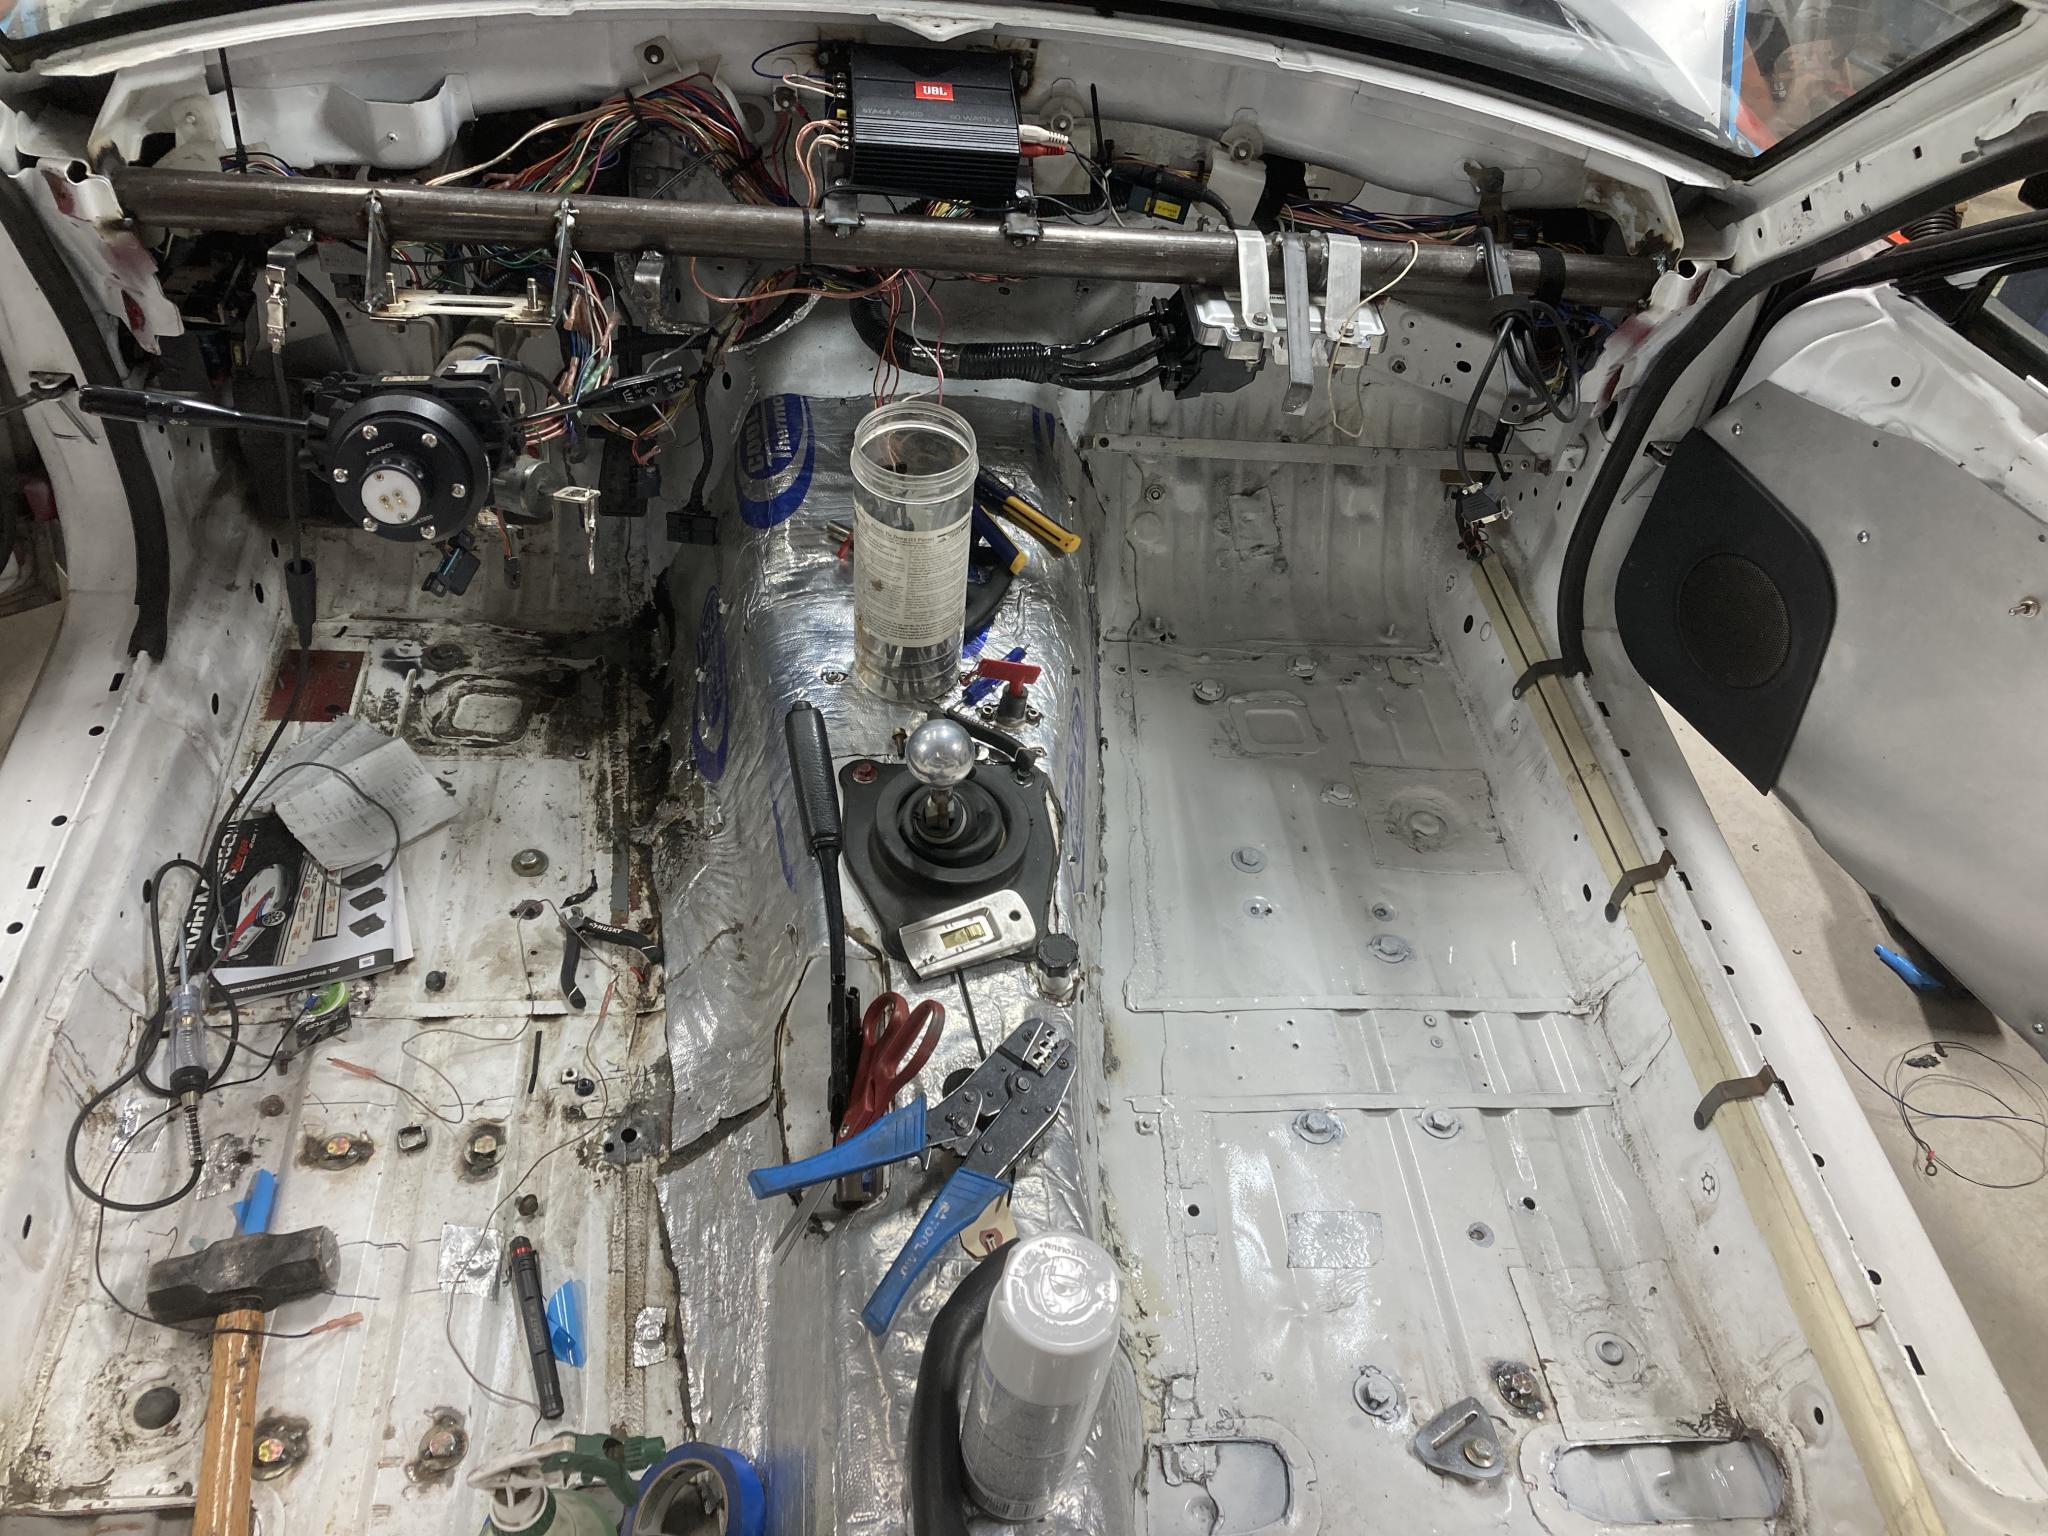
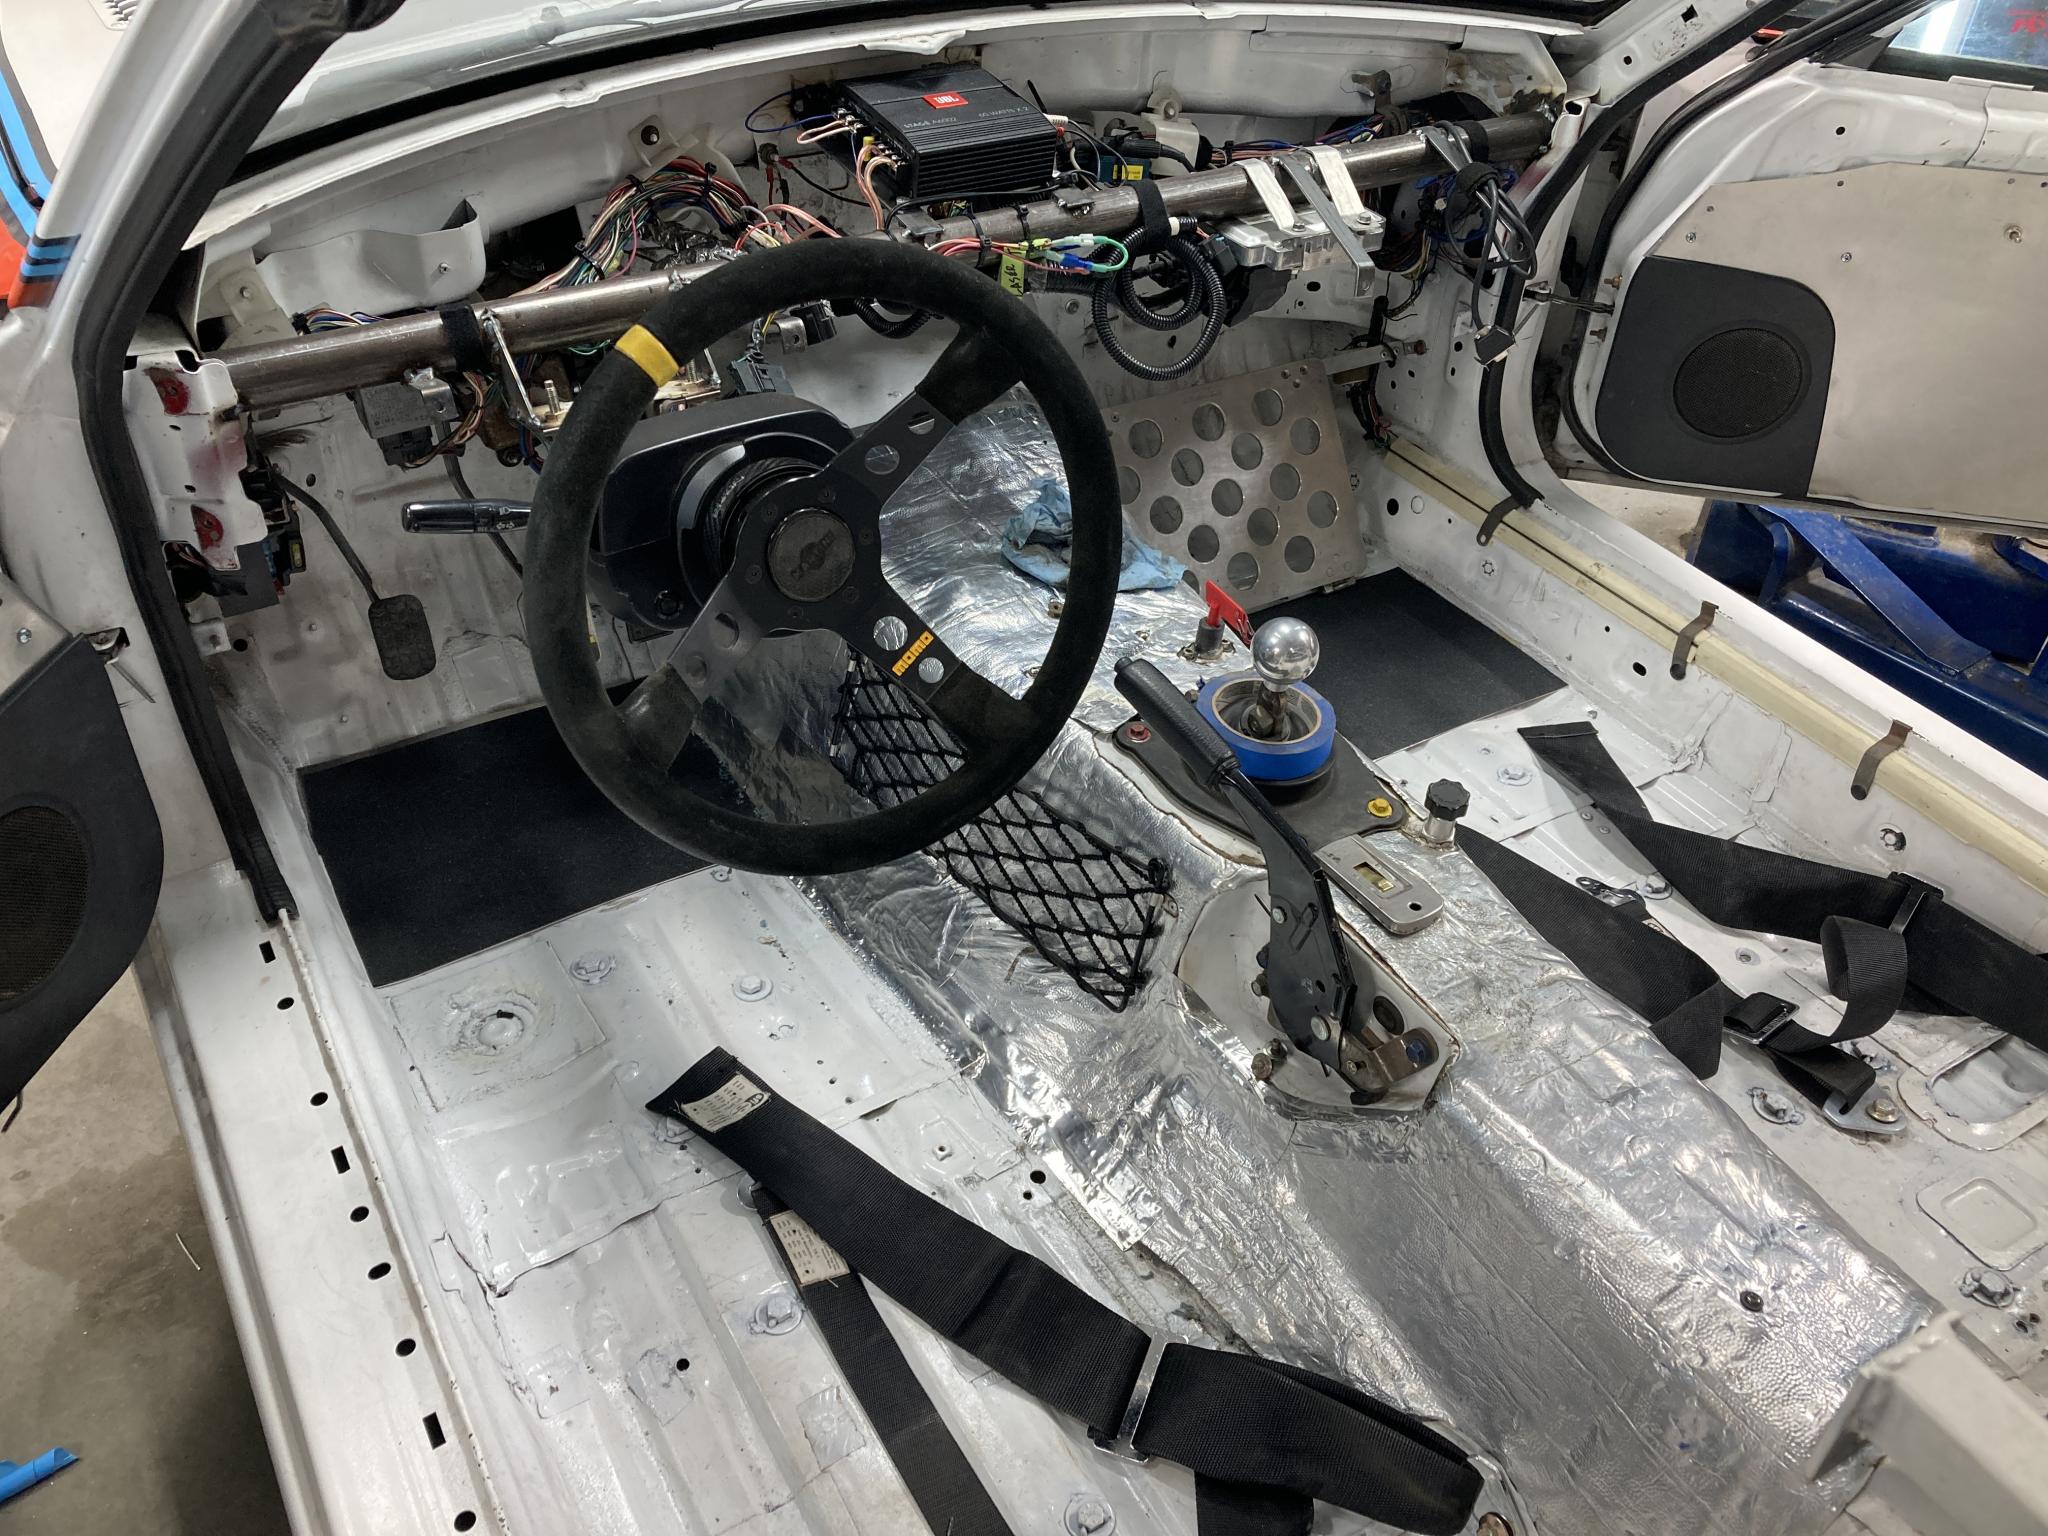
A bunch of wiring cleanup and it's looking better. I also cleaned the blue logos off the transmission tunnel heat shield (rag and brake clean) and added foil tape to the edges to tidy it up.
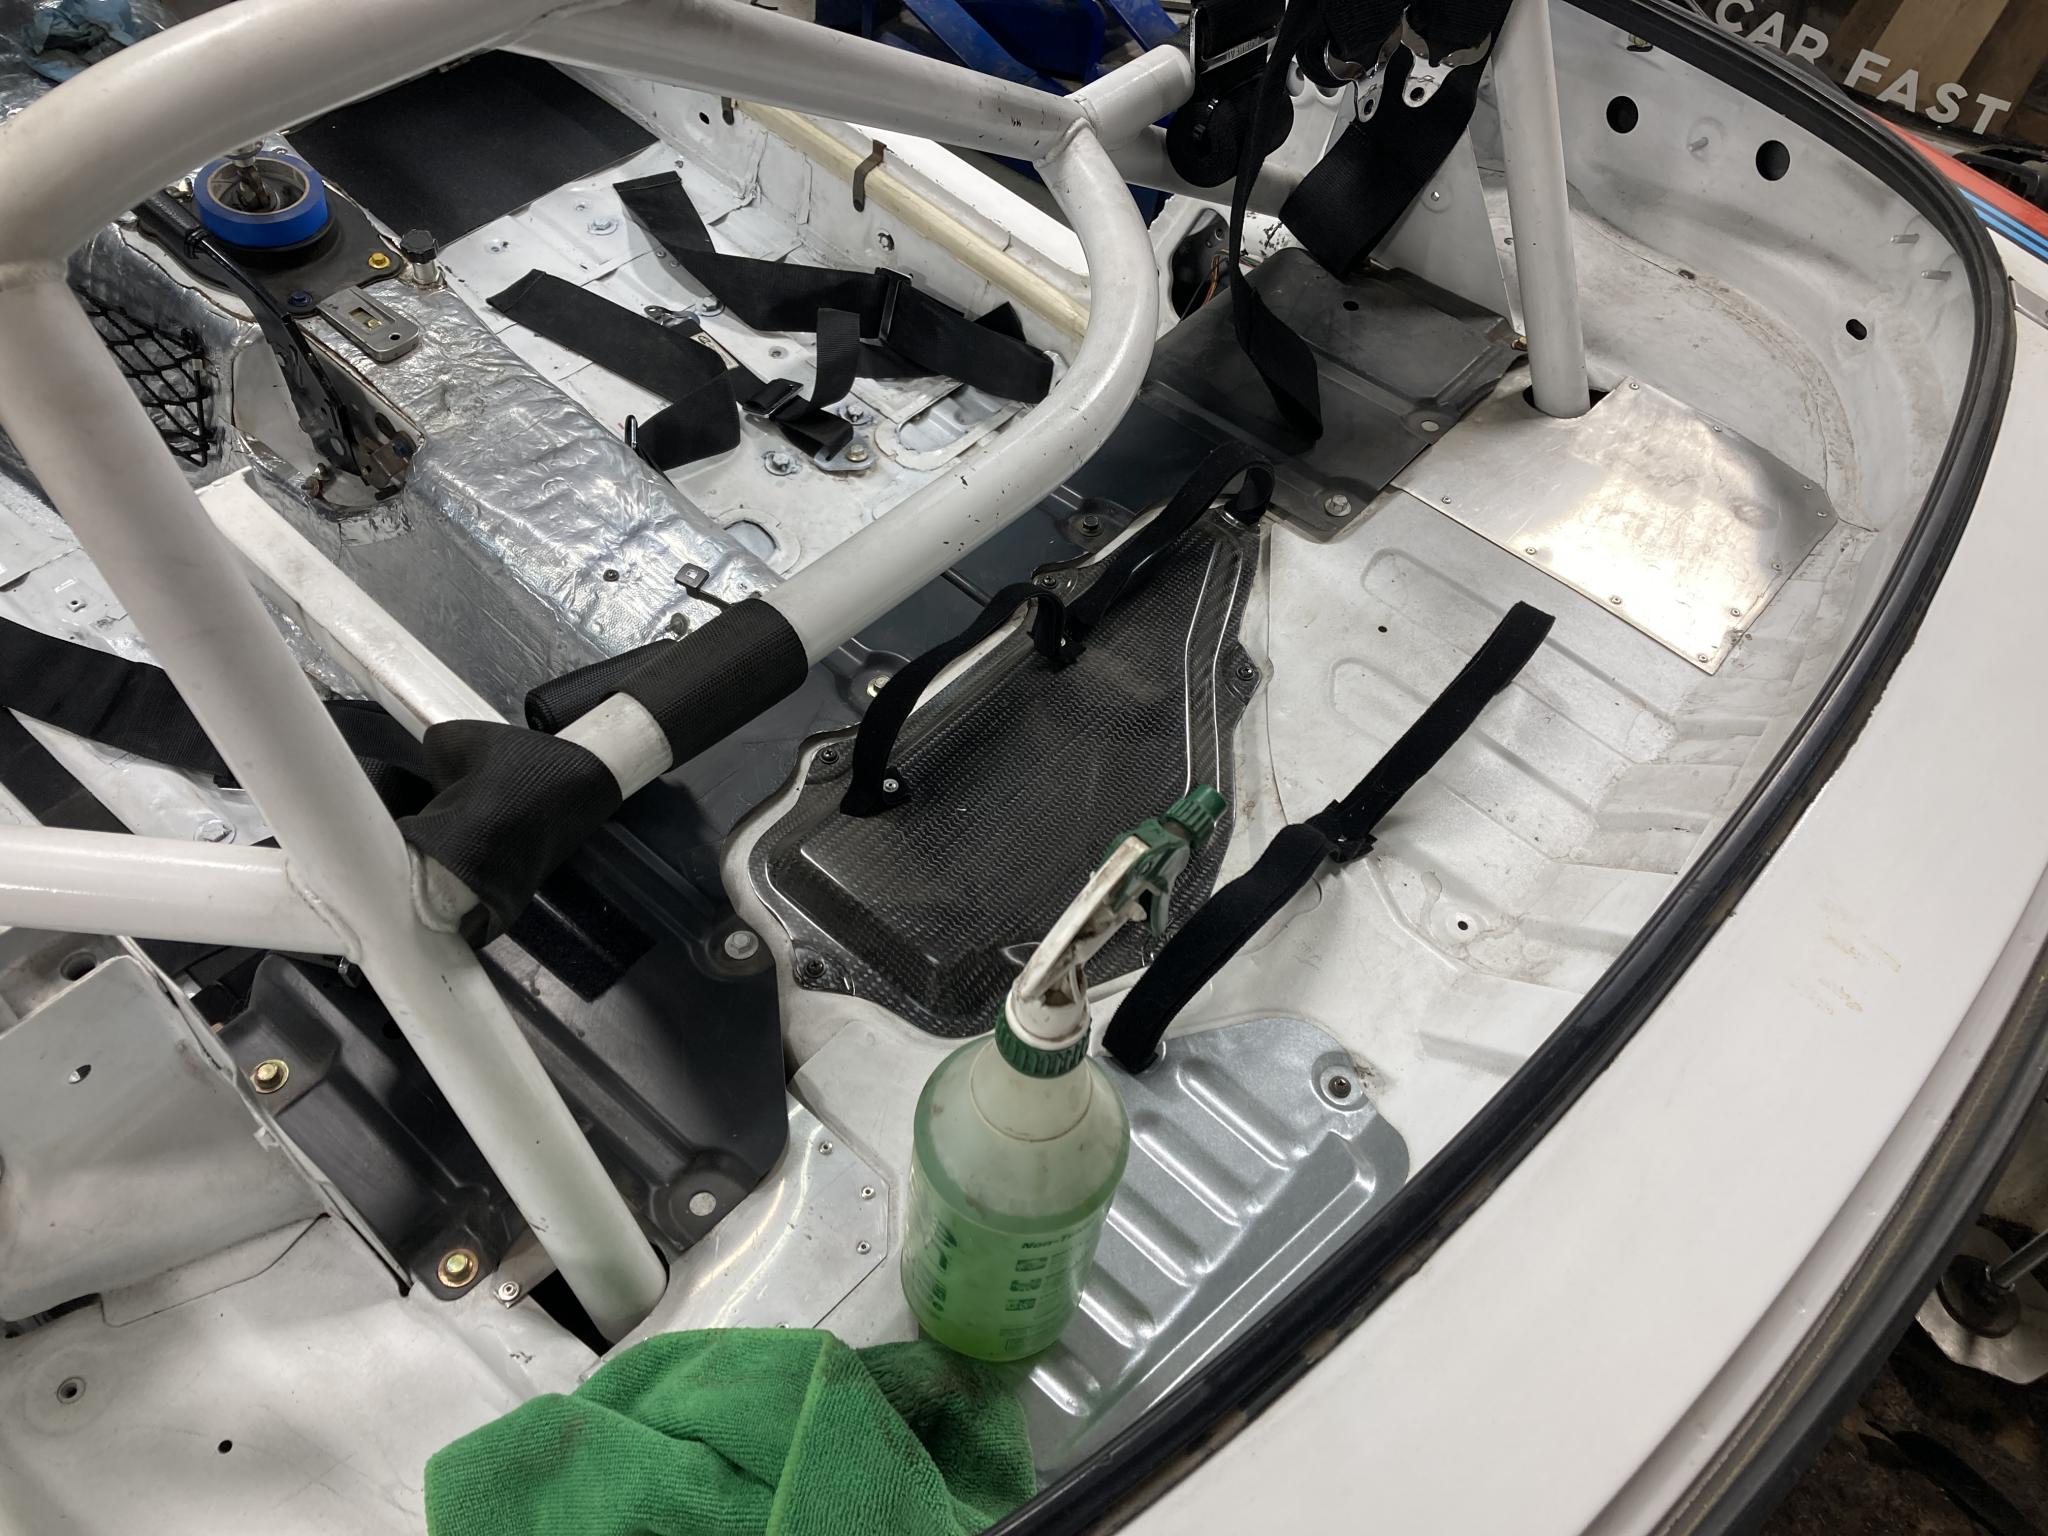
Scrub scrub scrub. This poor car has been a working race/track car for a long time, it needed some attention. The driver (near the camera) side has been cleaned, the navigator side has not. Those straps on the rear deck hold a couple of Camelbak "unbottles" for occupant hydration. I may or may not reinstall them for street car use.
Here's a peek at what the hazard light switch (with the correct button) looks like in place. When the lights are engaged, the button protrudes and a red ring lights up.
Dropped the seats in - mostly to get them out of the way - and installed the harnesses. Basically, I've just been doing some cleanup to kill time until Mike is ready. I can't wait to see what it looks like all blue.
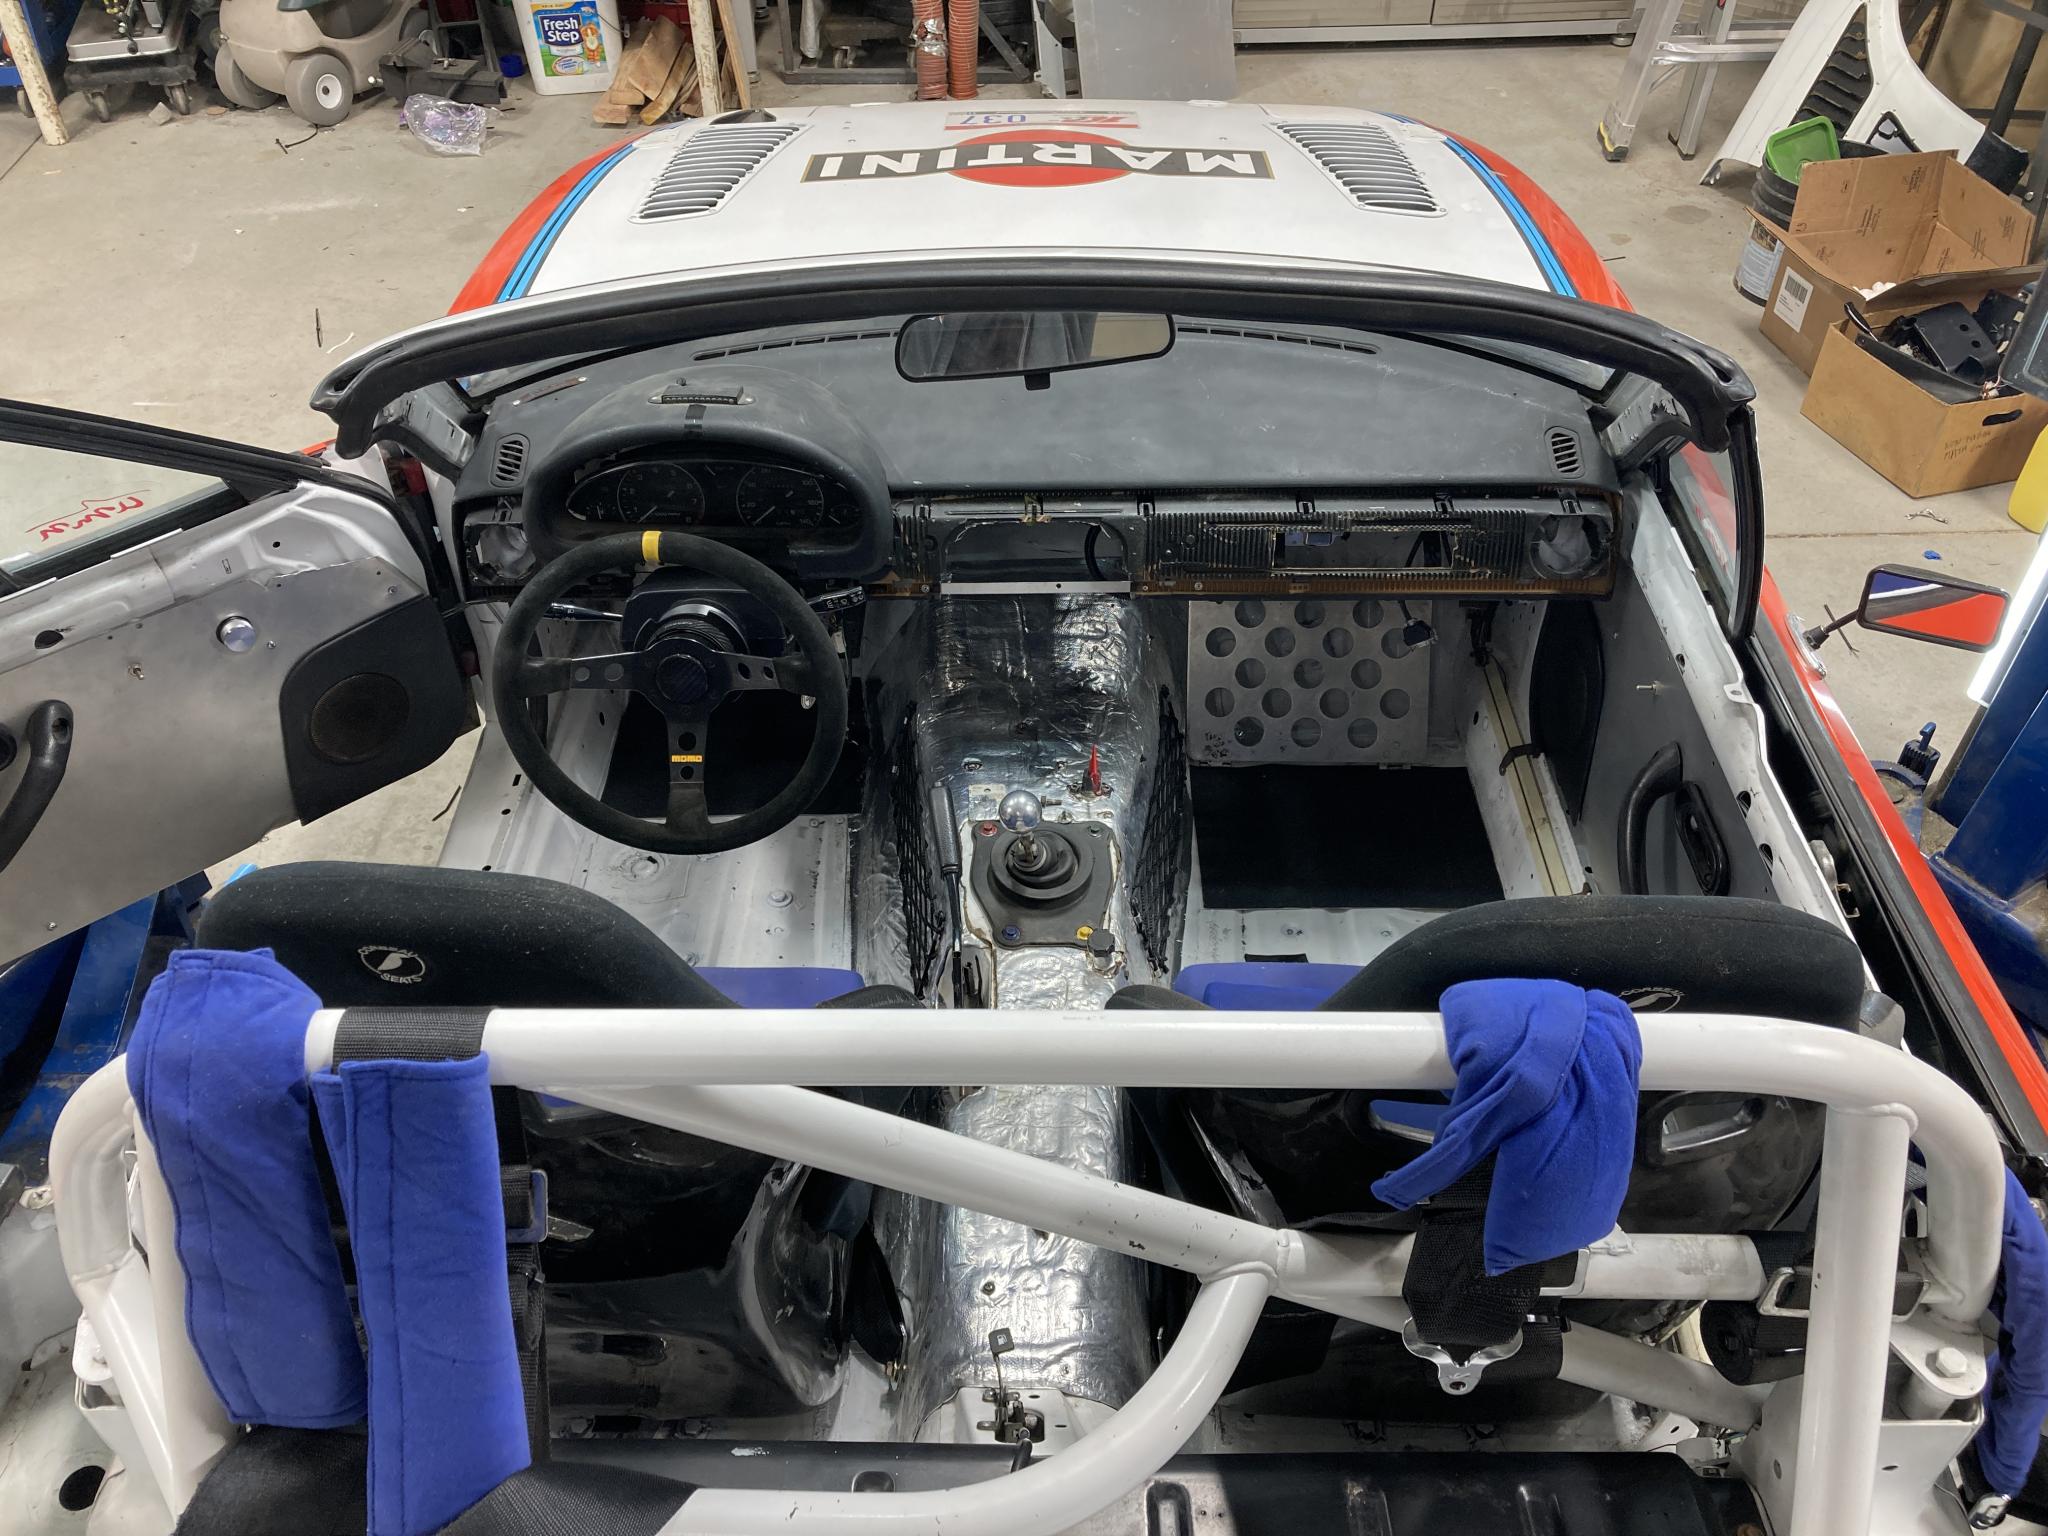

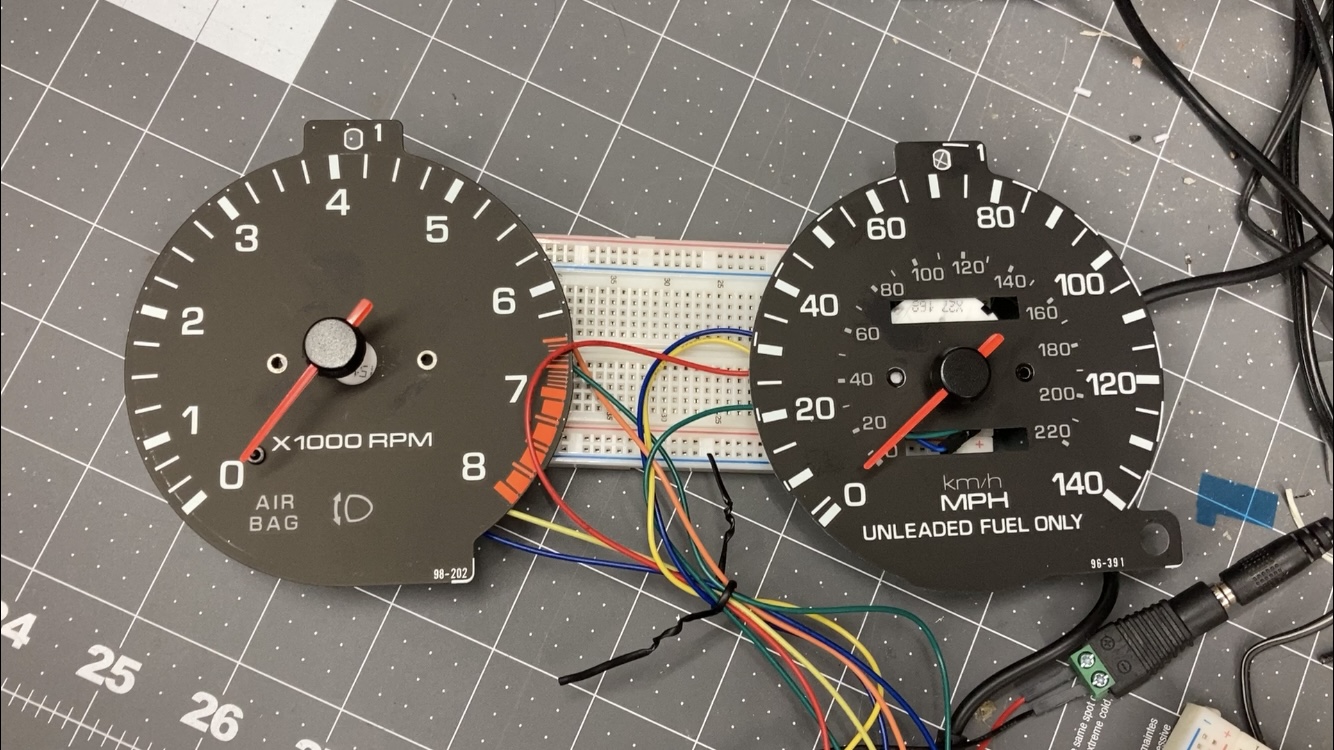
Another project that's tangentially related to this build - computer controlled gauges. The speedo in this car hasn't worked for years because I never bothered with the parts to make the mechanical NA speedometer work with the T56 transmission. Hey, it had a rally computer for the important speed measurements, and usually that speed requirement was "go faster". But that's less than ideal for a car with supercar power/weight being driven around the street.
I could retrofit an NB gauge cluster, but some side project discussion got turned into some extra tach control and that turned into this. I'm working on something goofy that will entertain me, but it also means this is basically the start of an analog race dash. I have some LED rings to go behind the gauge faces that can be used as a sequental LED tach and/or a variable redline indicator and/or a malfunction indicator or whatever else. Right now I'm working on programming, going into some areas I haven't explored before. Learning is fun!
This thread is a fun read. I like your thinking process on a lot of these things. Also agree the SuperMiata front airdam is too butt ugly for a street car. 
I'm interested in what you are doing with the gauges, some sort of Arduino maybe? Its stuff I've never played with before. I'm invisioning a tach similar to some BMWs with a moving redline based on your description.
I'm running this off a Pi because they're little Linux boxes so I'm comfortable with them. An Arduino could certainly handle at least some of it. The Pi gives me a lot of flexibility - heck, it could have a few gigs of music for streaming on board as well. I'm still working on reading the ignition pulses and running the stepper motor for the tach. It's forcing me to learn some new programming techniques.
My E39 has the variable redline, so you can imagine where that idea came from :) There's a specific tach trick I want to play but first I need control of it.
Keith Tanner said:
I'm running this off a Pi because they're little Linux boxes so I'm comfortable with them. An Arduino could certainly handle at least some of it. The Pi gives me a lot of flexibility - heck, it could have a few gigs of music for streaming on board as well. I'm still working on reading the ignition pulses and running the stepper motor for the tach. It's forcing me to learn some new programming techniques.
Arduino should have no problems reading the pulses or driving the motor (probably easier than doing it with the Pi, actually). It won't be doing any music streaming though. :)
But I am familiar with the platform, I have a bunch of them and things I learn on the Pi are more useful to me in the rest of my life. So it's going to be a Pi. There are a bunch of ways it could be done, but this is the way I will do it. It's not just going to be the tach positioning.
I can drive the motor. I can read the pulses. Steppers are a bit of a PITA though, you don't just say "go to 37 degrees". You say "move one step". Then "move one step". Then "move one step". And meanwhile you're waiting for the next pulse which has to take priority. It's a different sort of programming than I've done before. Not all that difficult really but it's a new area for me. Anyhow, the goal is to learn stuff in order to do something cool. That's working.

Mike stopped by! He brought a bucket of tools and a sprayer for contact cement and most importantly, experience.
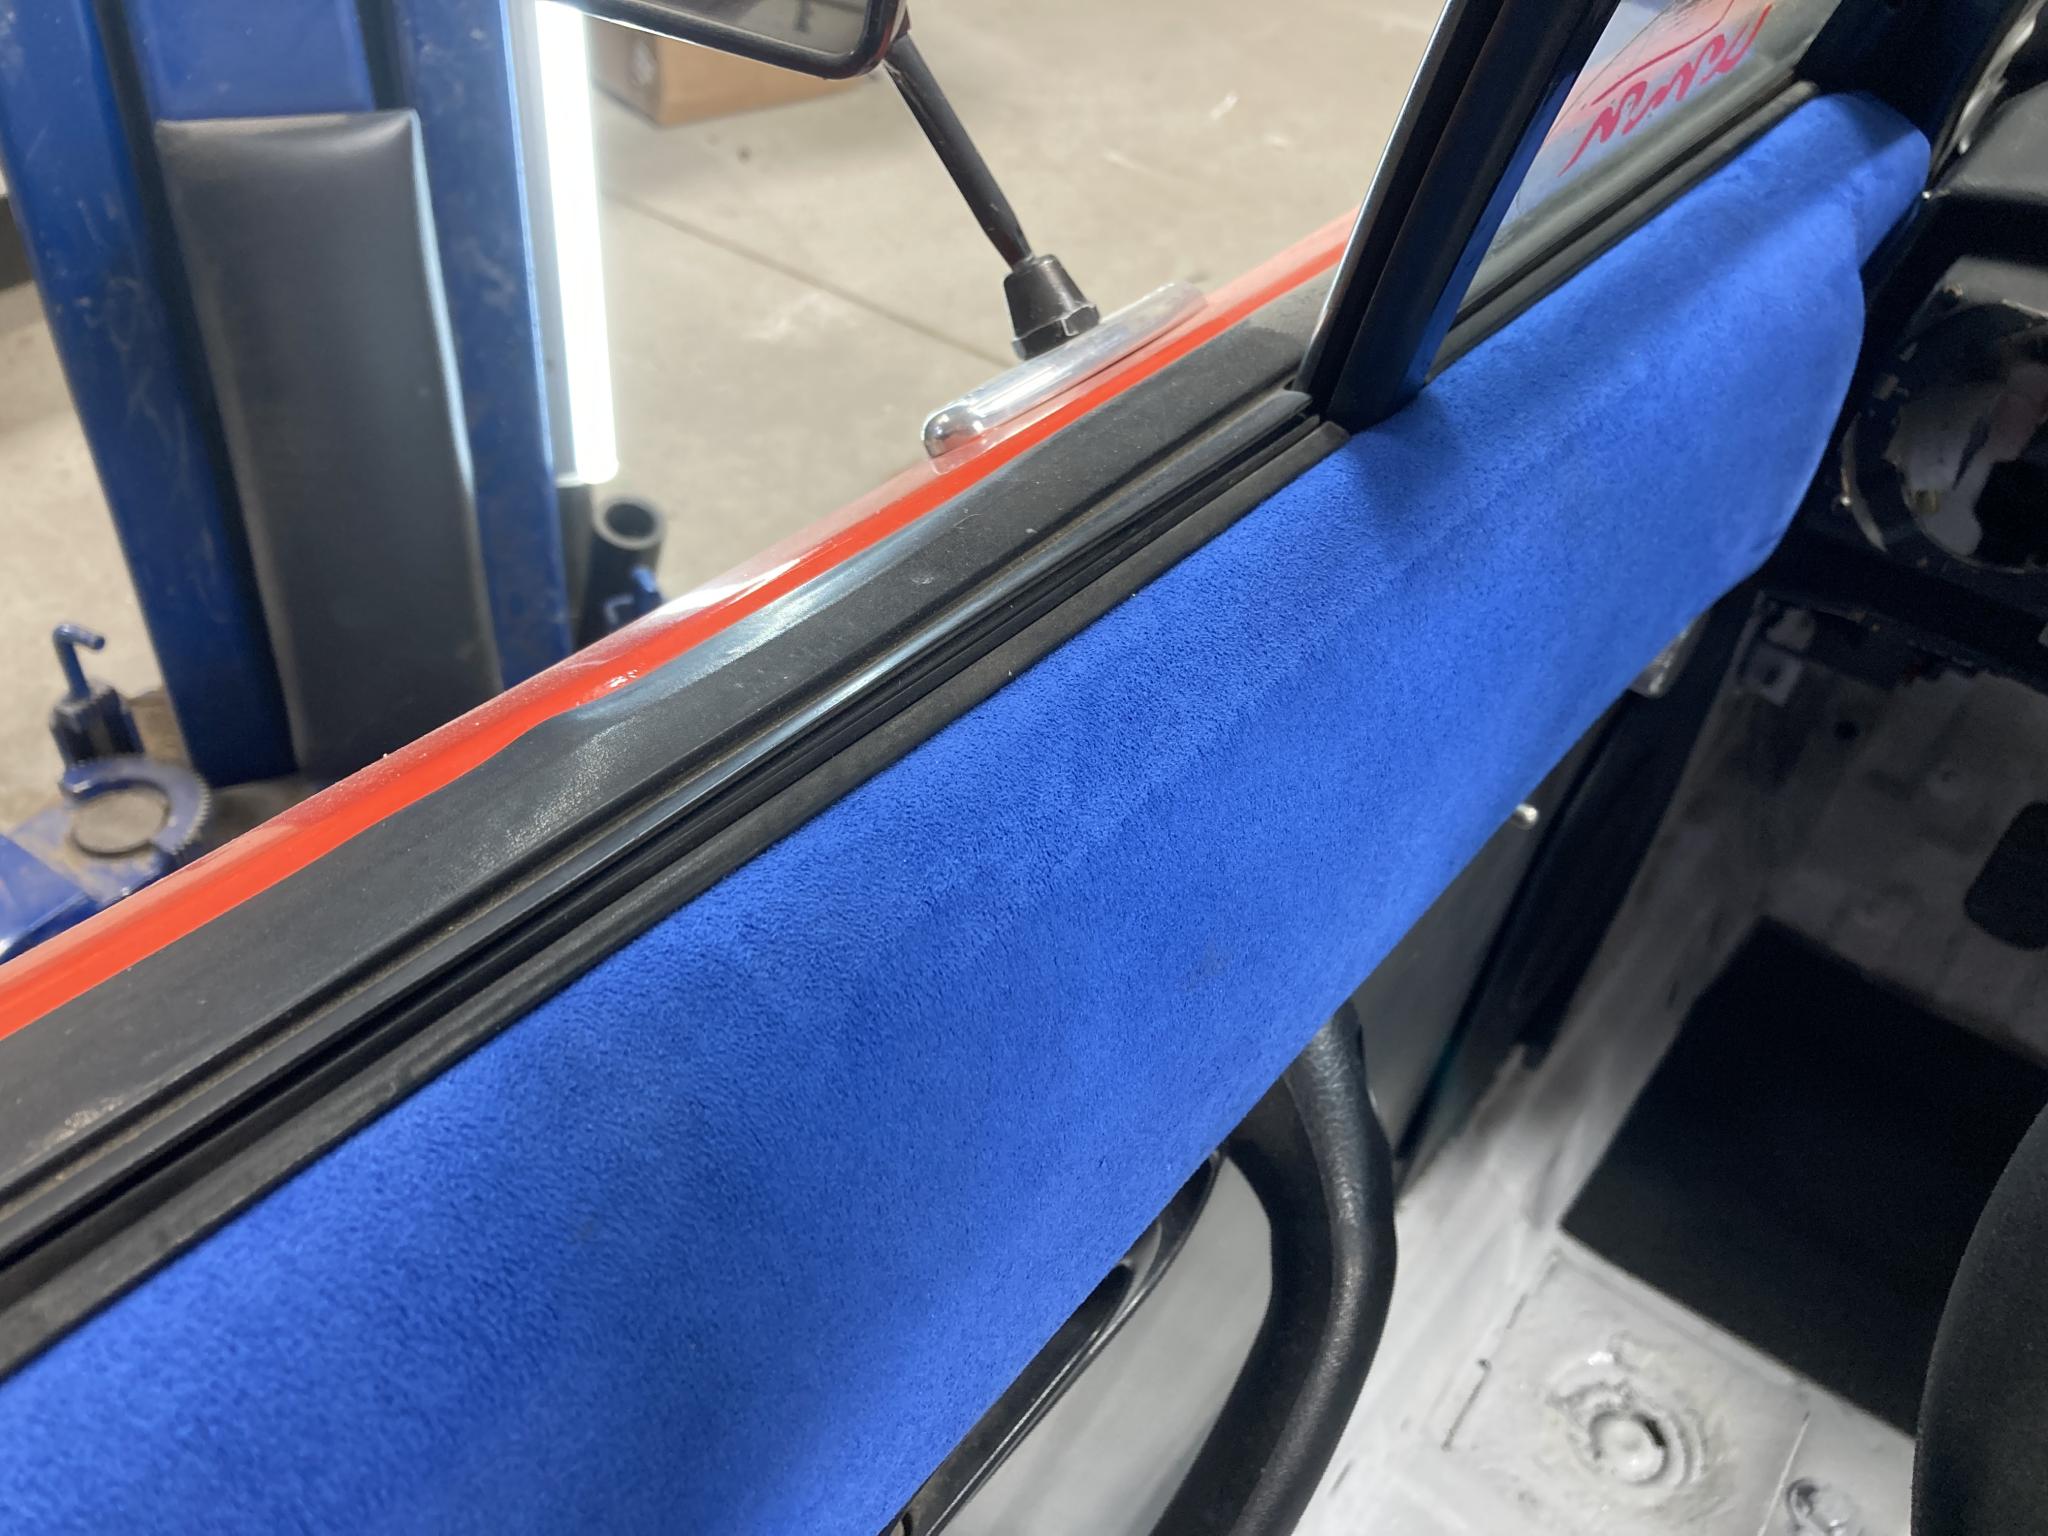
Door tops are fairly easy other than one compound curve.
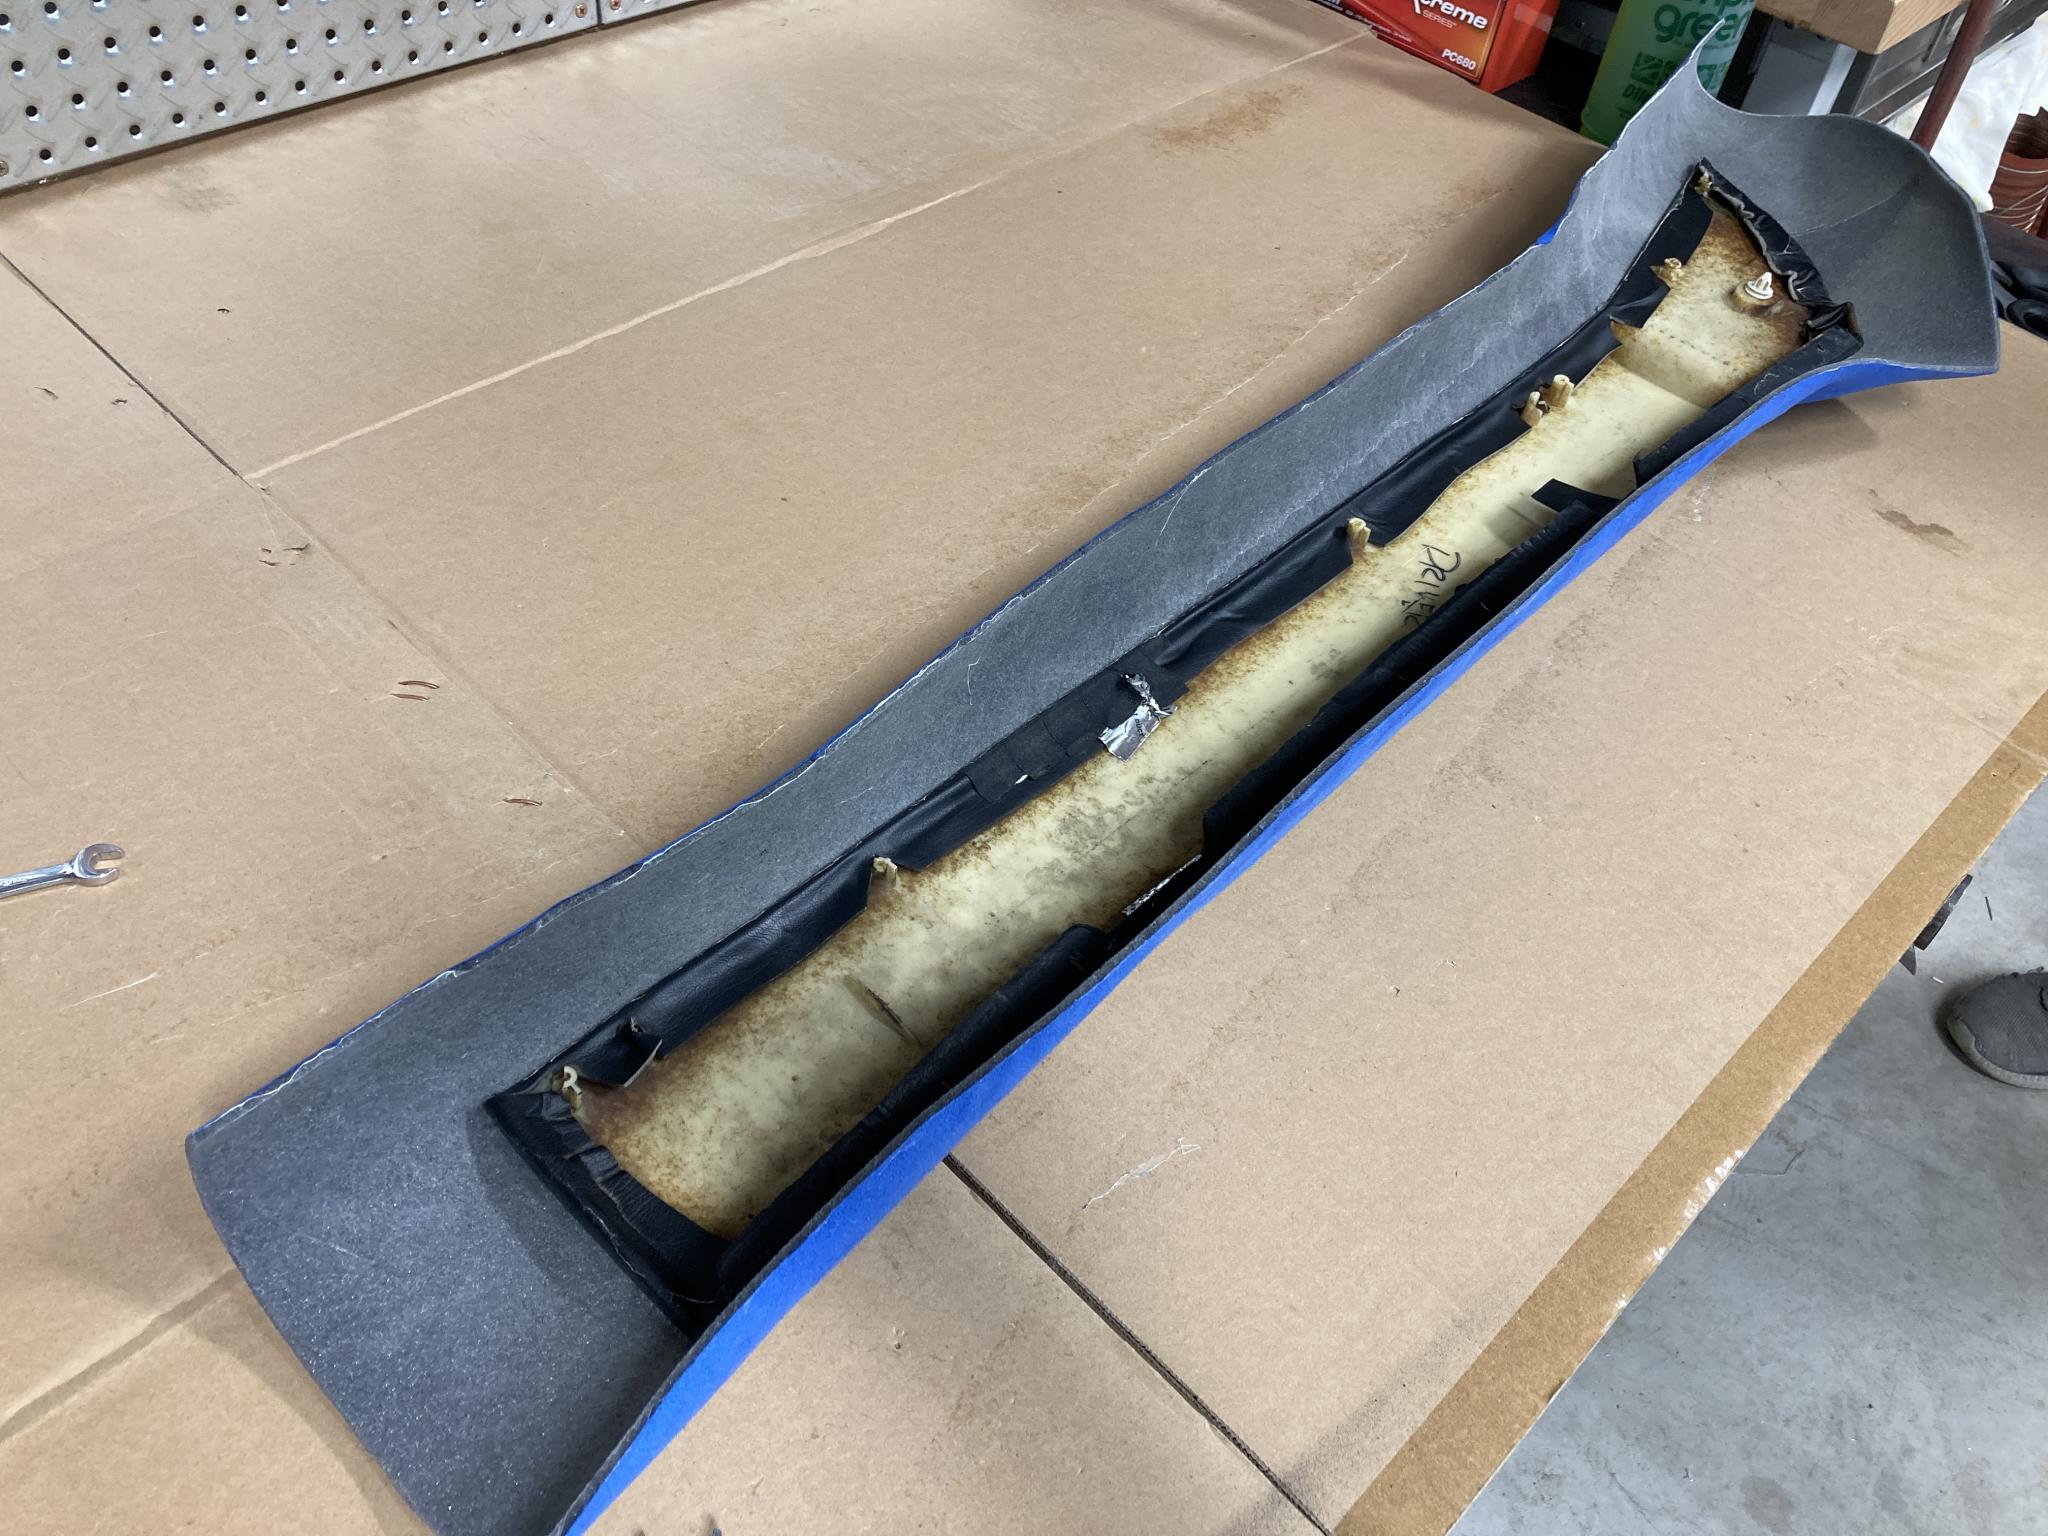
I added the seals at the top of the door opening.
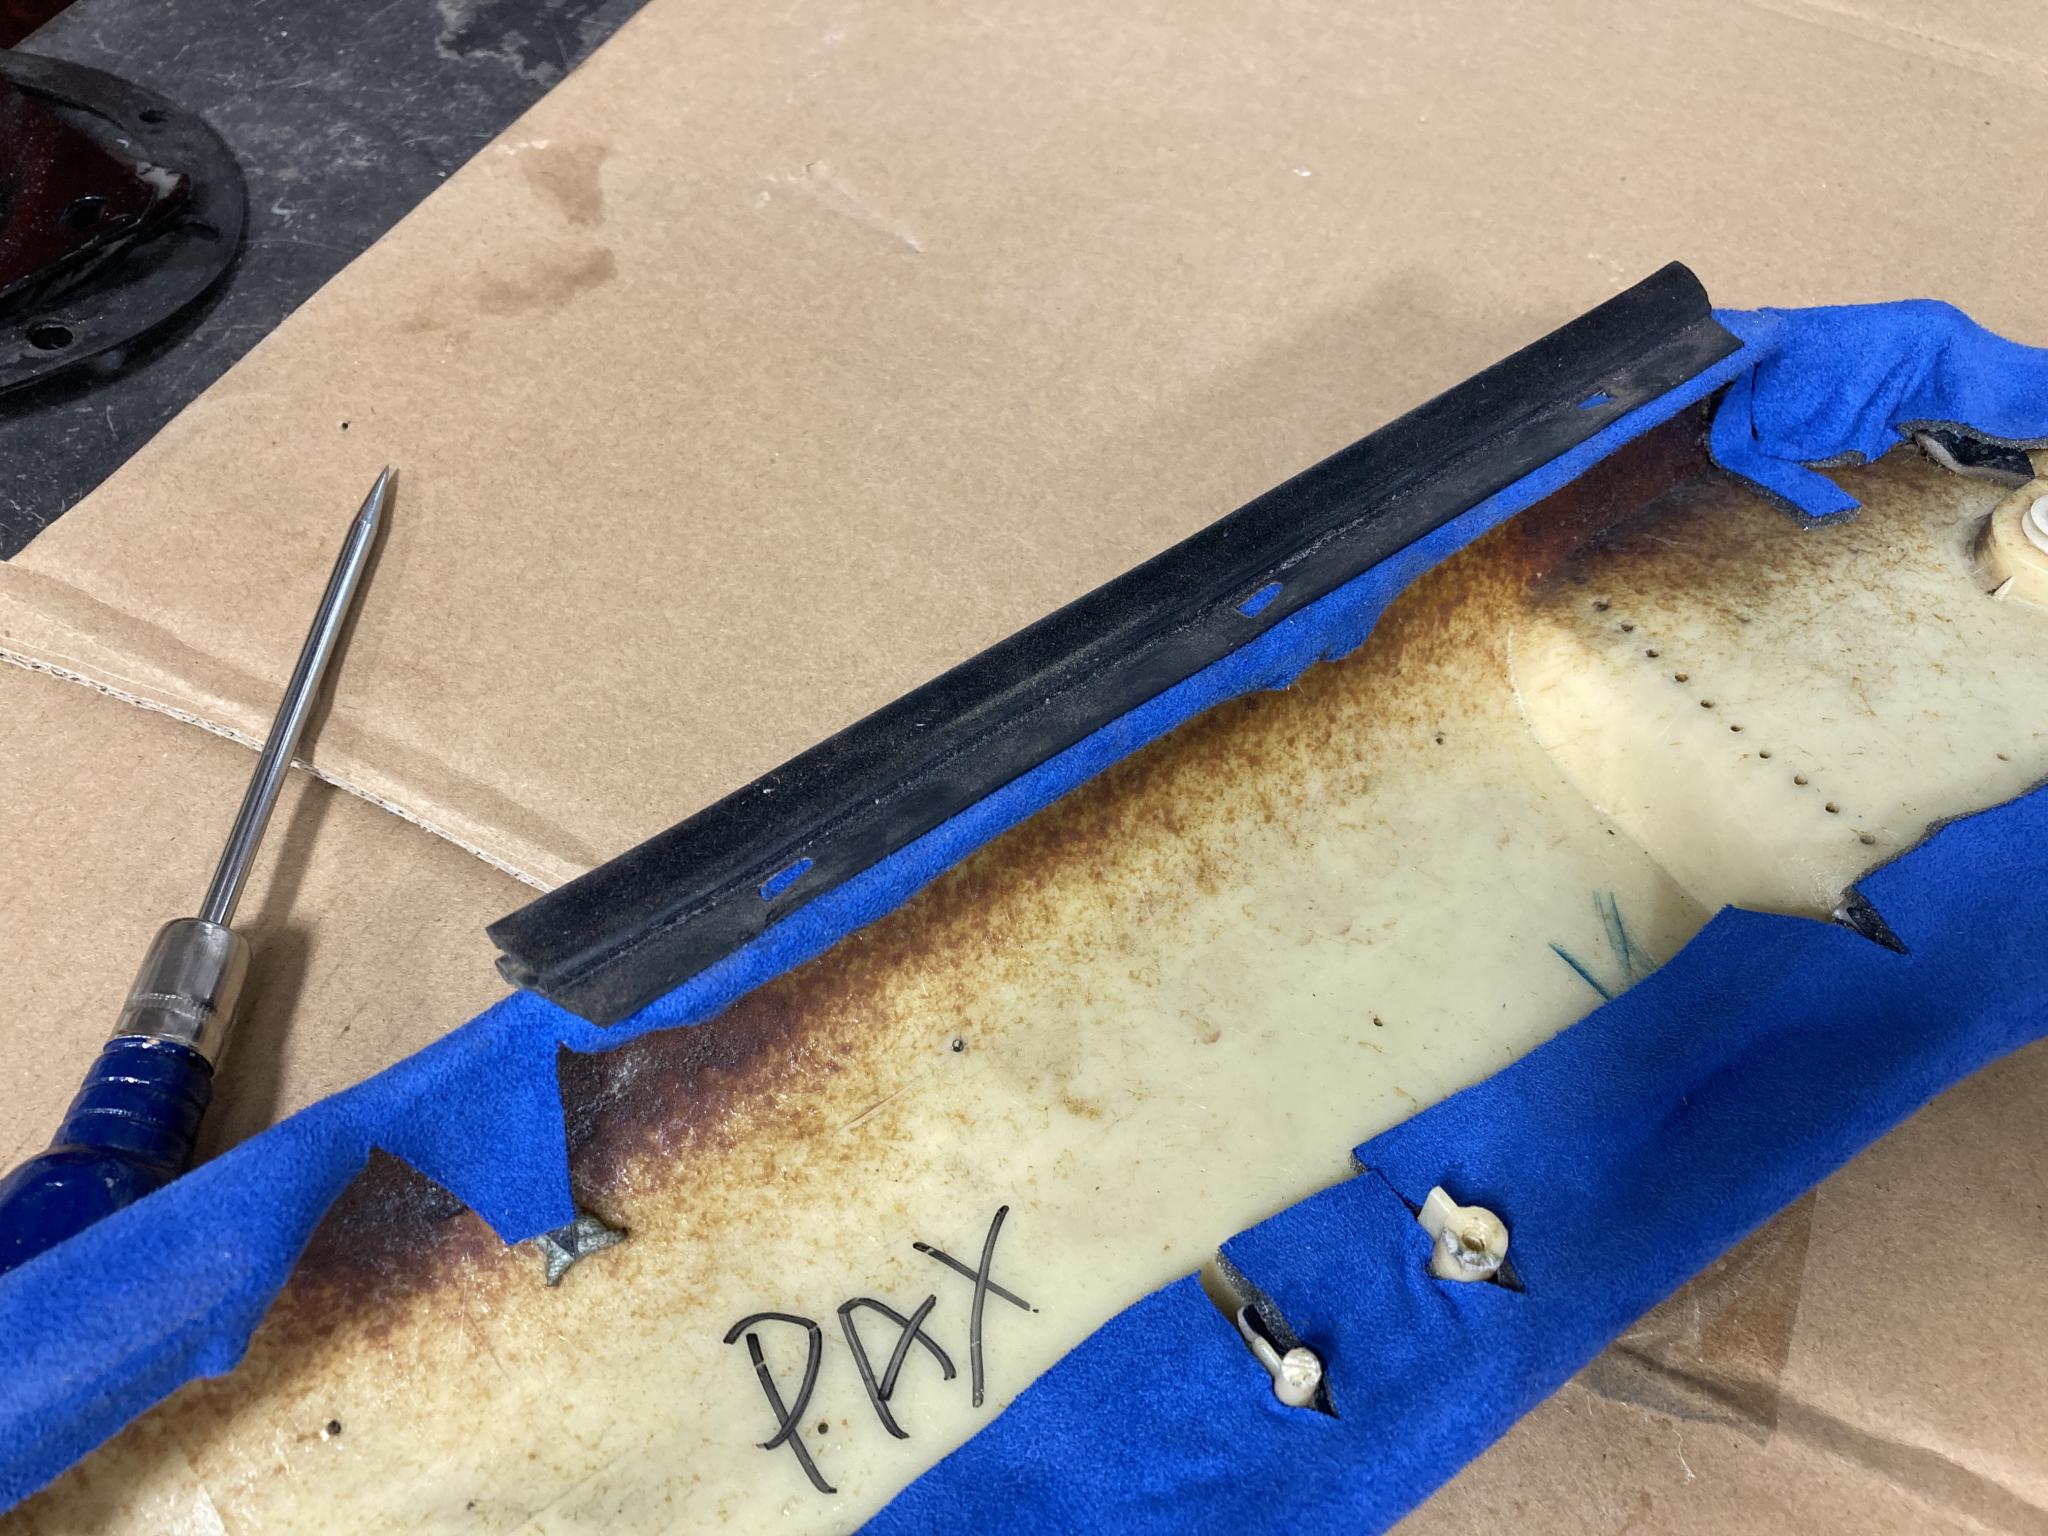
In place, it looks good.
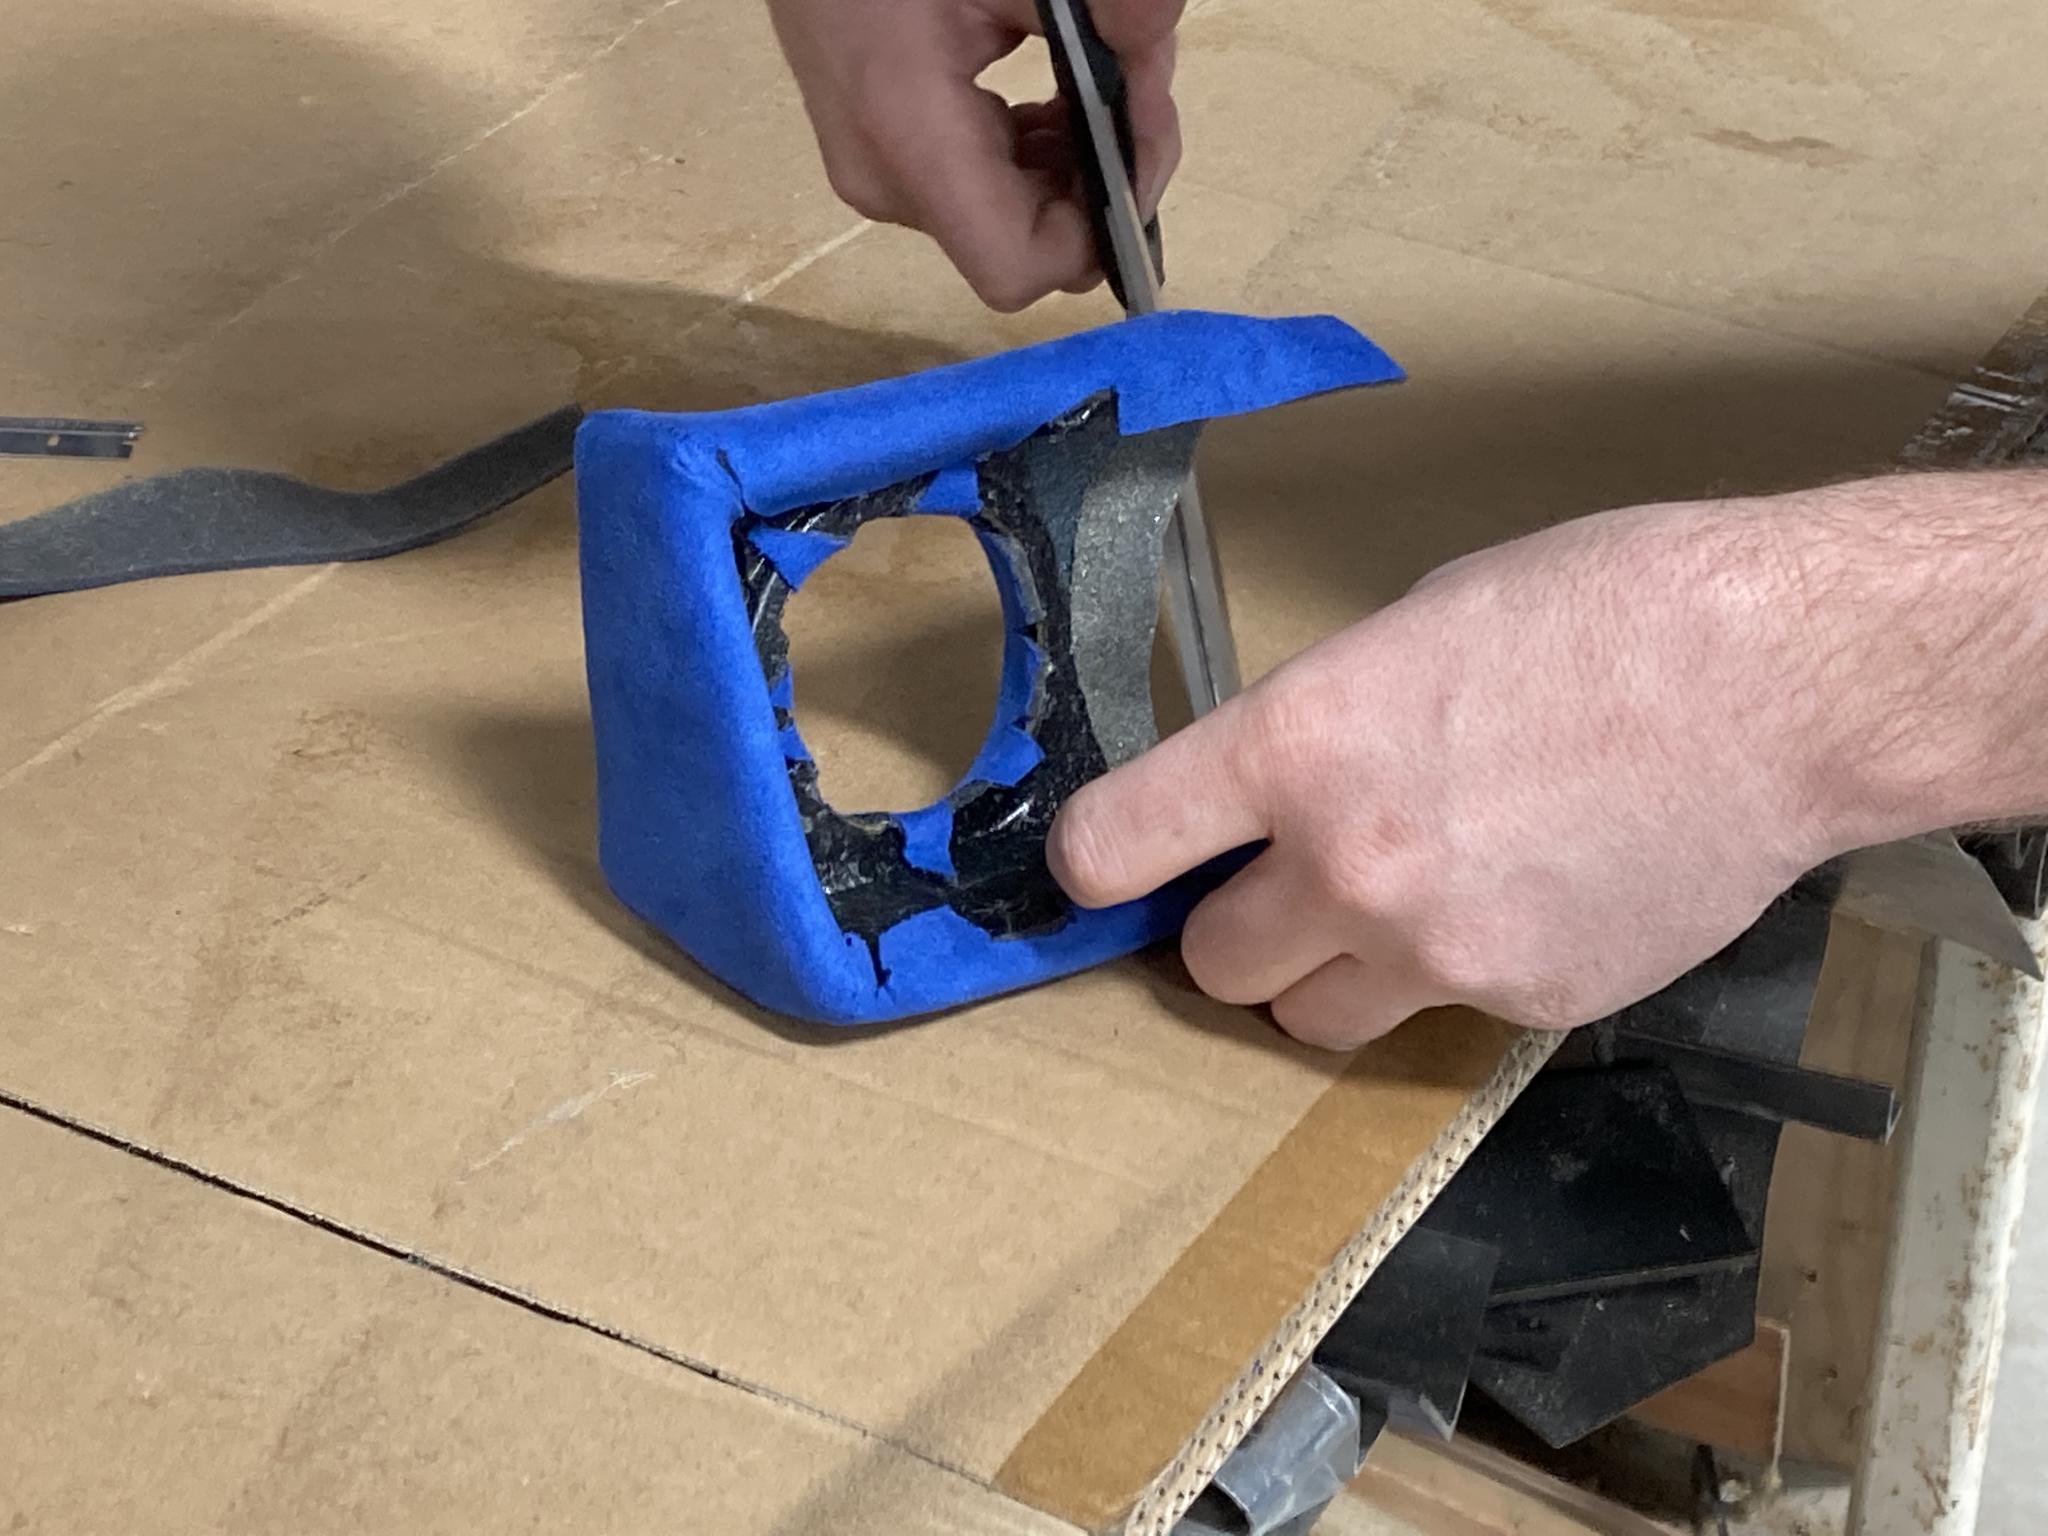
With the door tops done, it was time for the dash. This was harder - sharper curves, holes, more clips, etc. Mike was teaching as he was doing but it's quite clear that this is the sort of skill you pick up by doing and feeling how the fabric moves. You're not just going to watch a YouTube video and pull this off. I did a bit of the work with Mike's tuition and failed to screw up TOO badly.
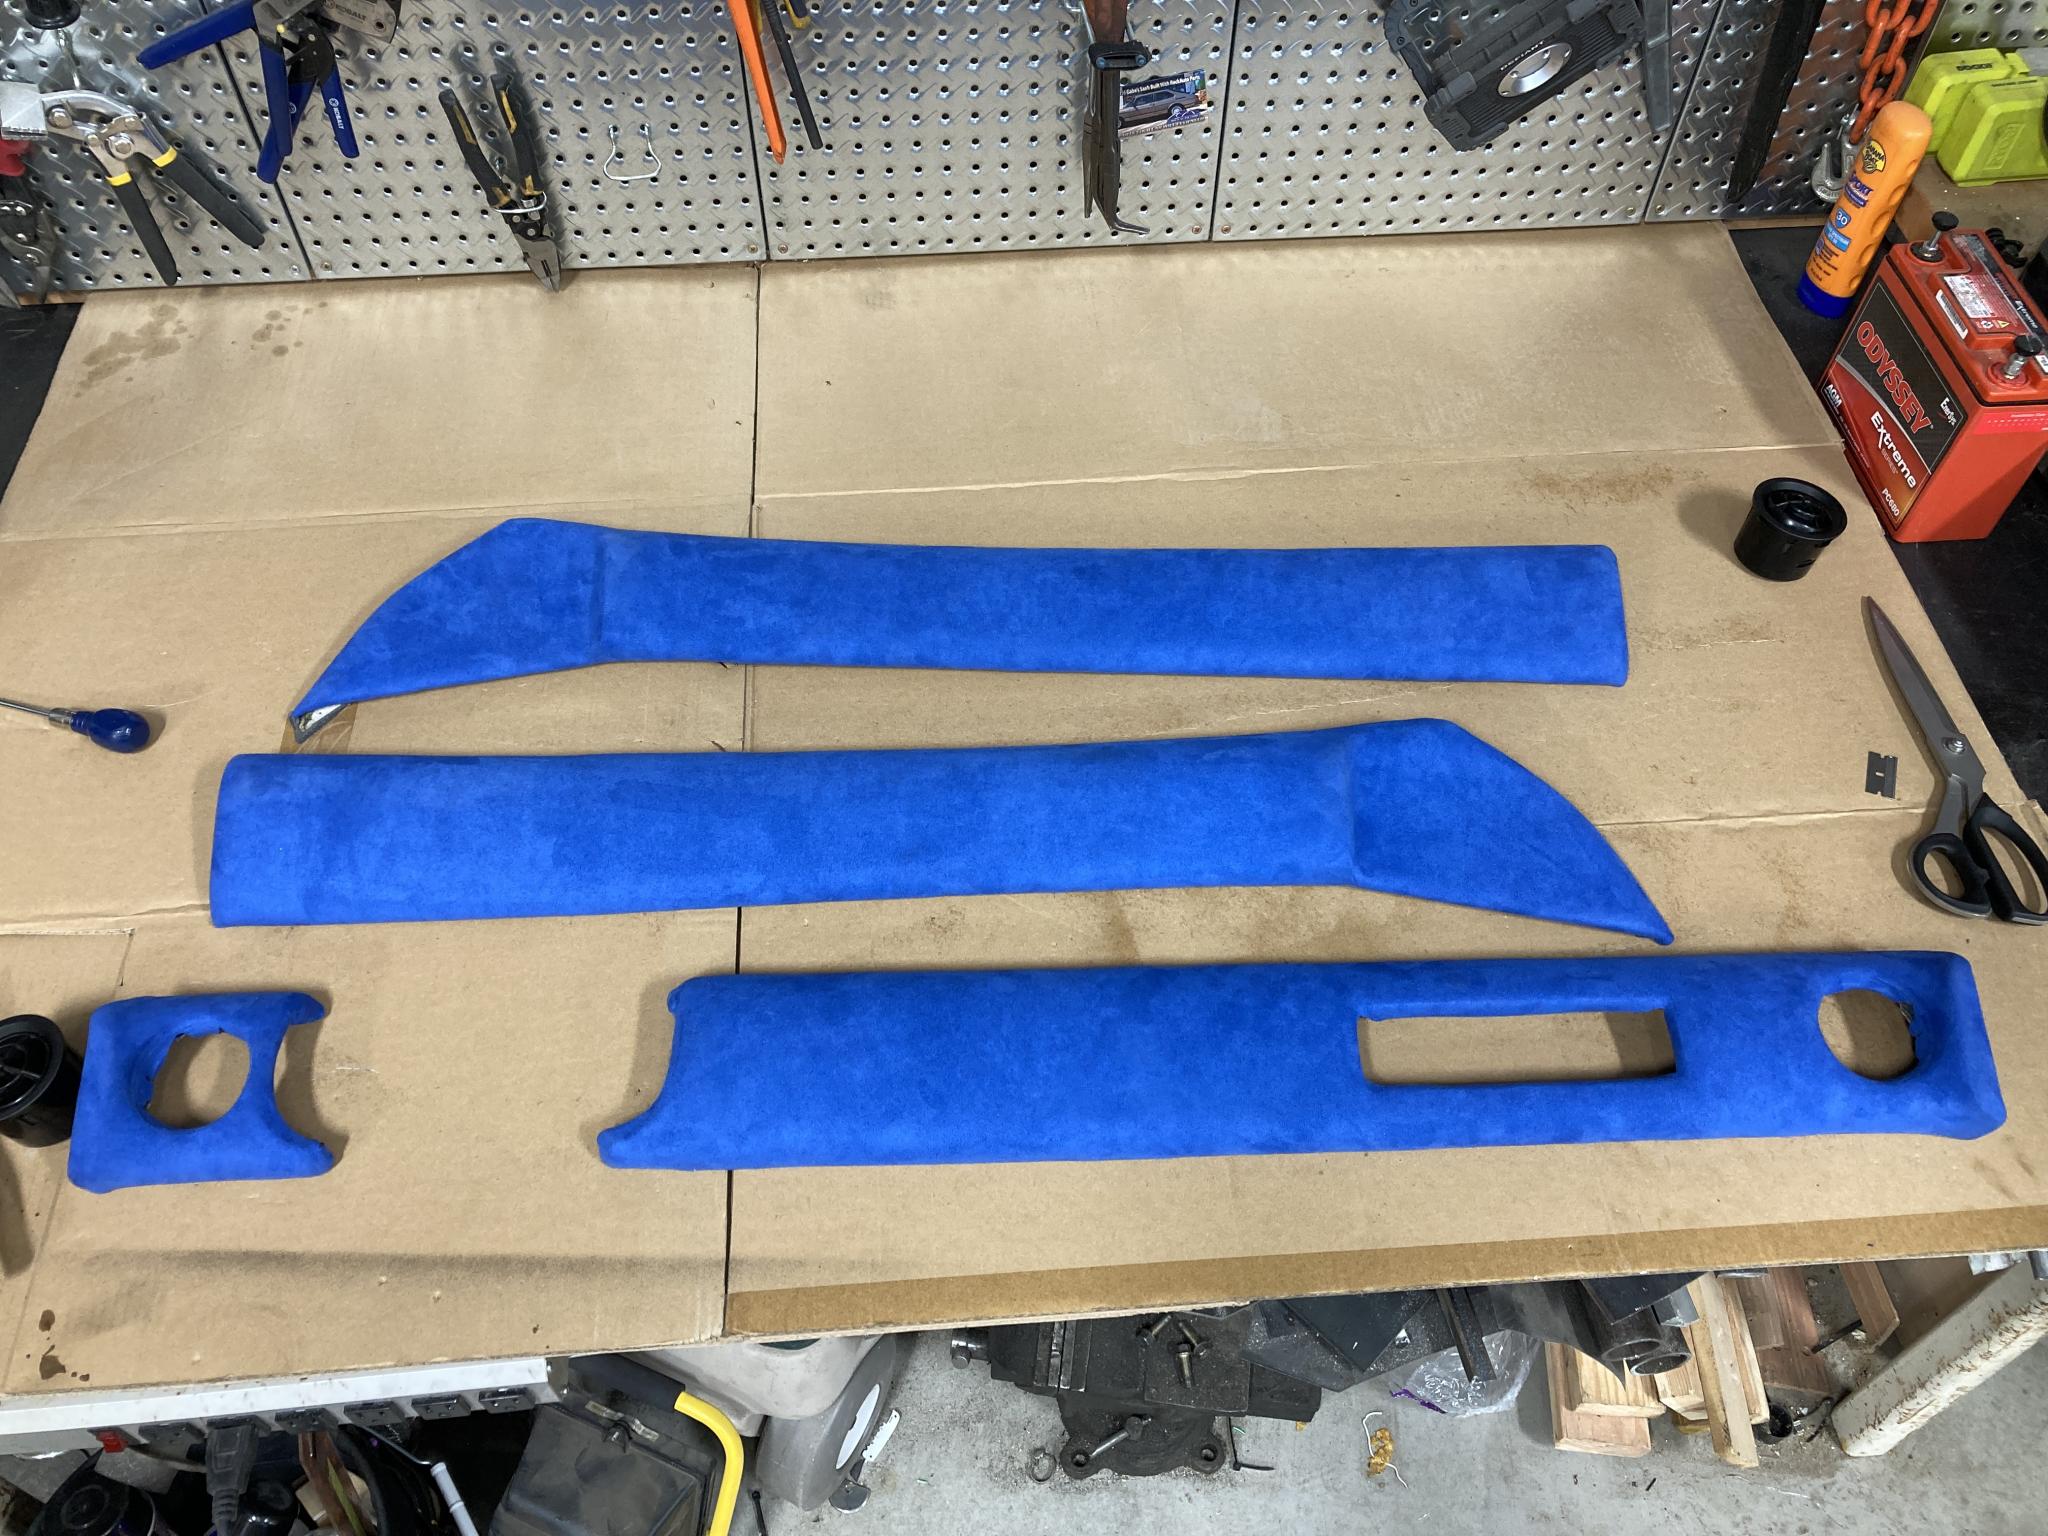
Finally!
In place!
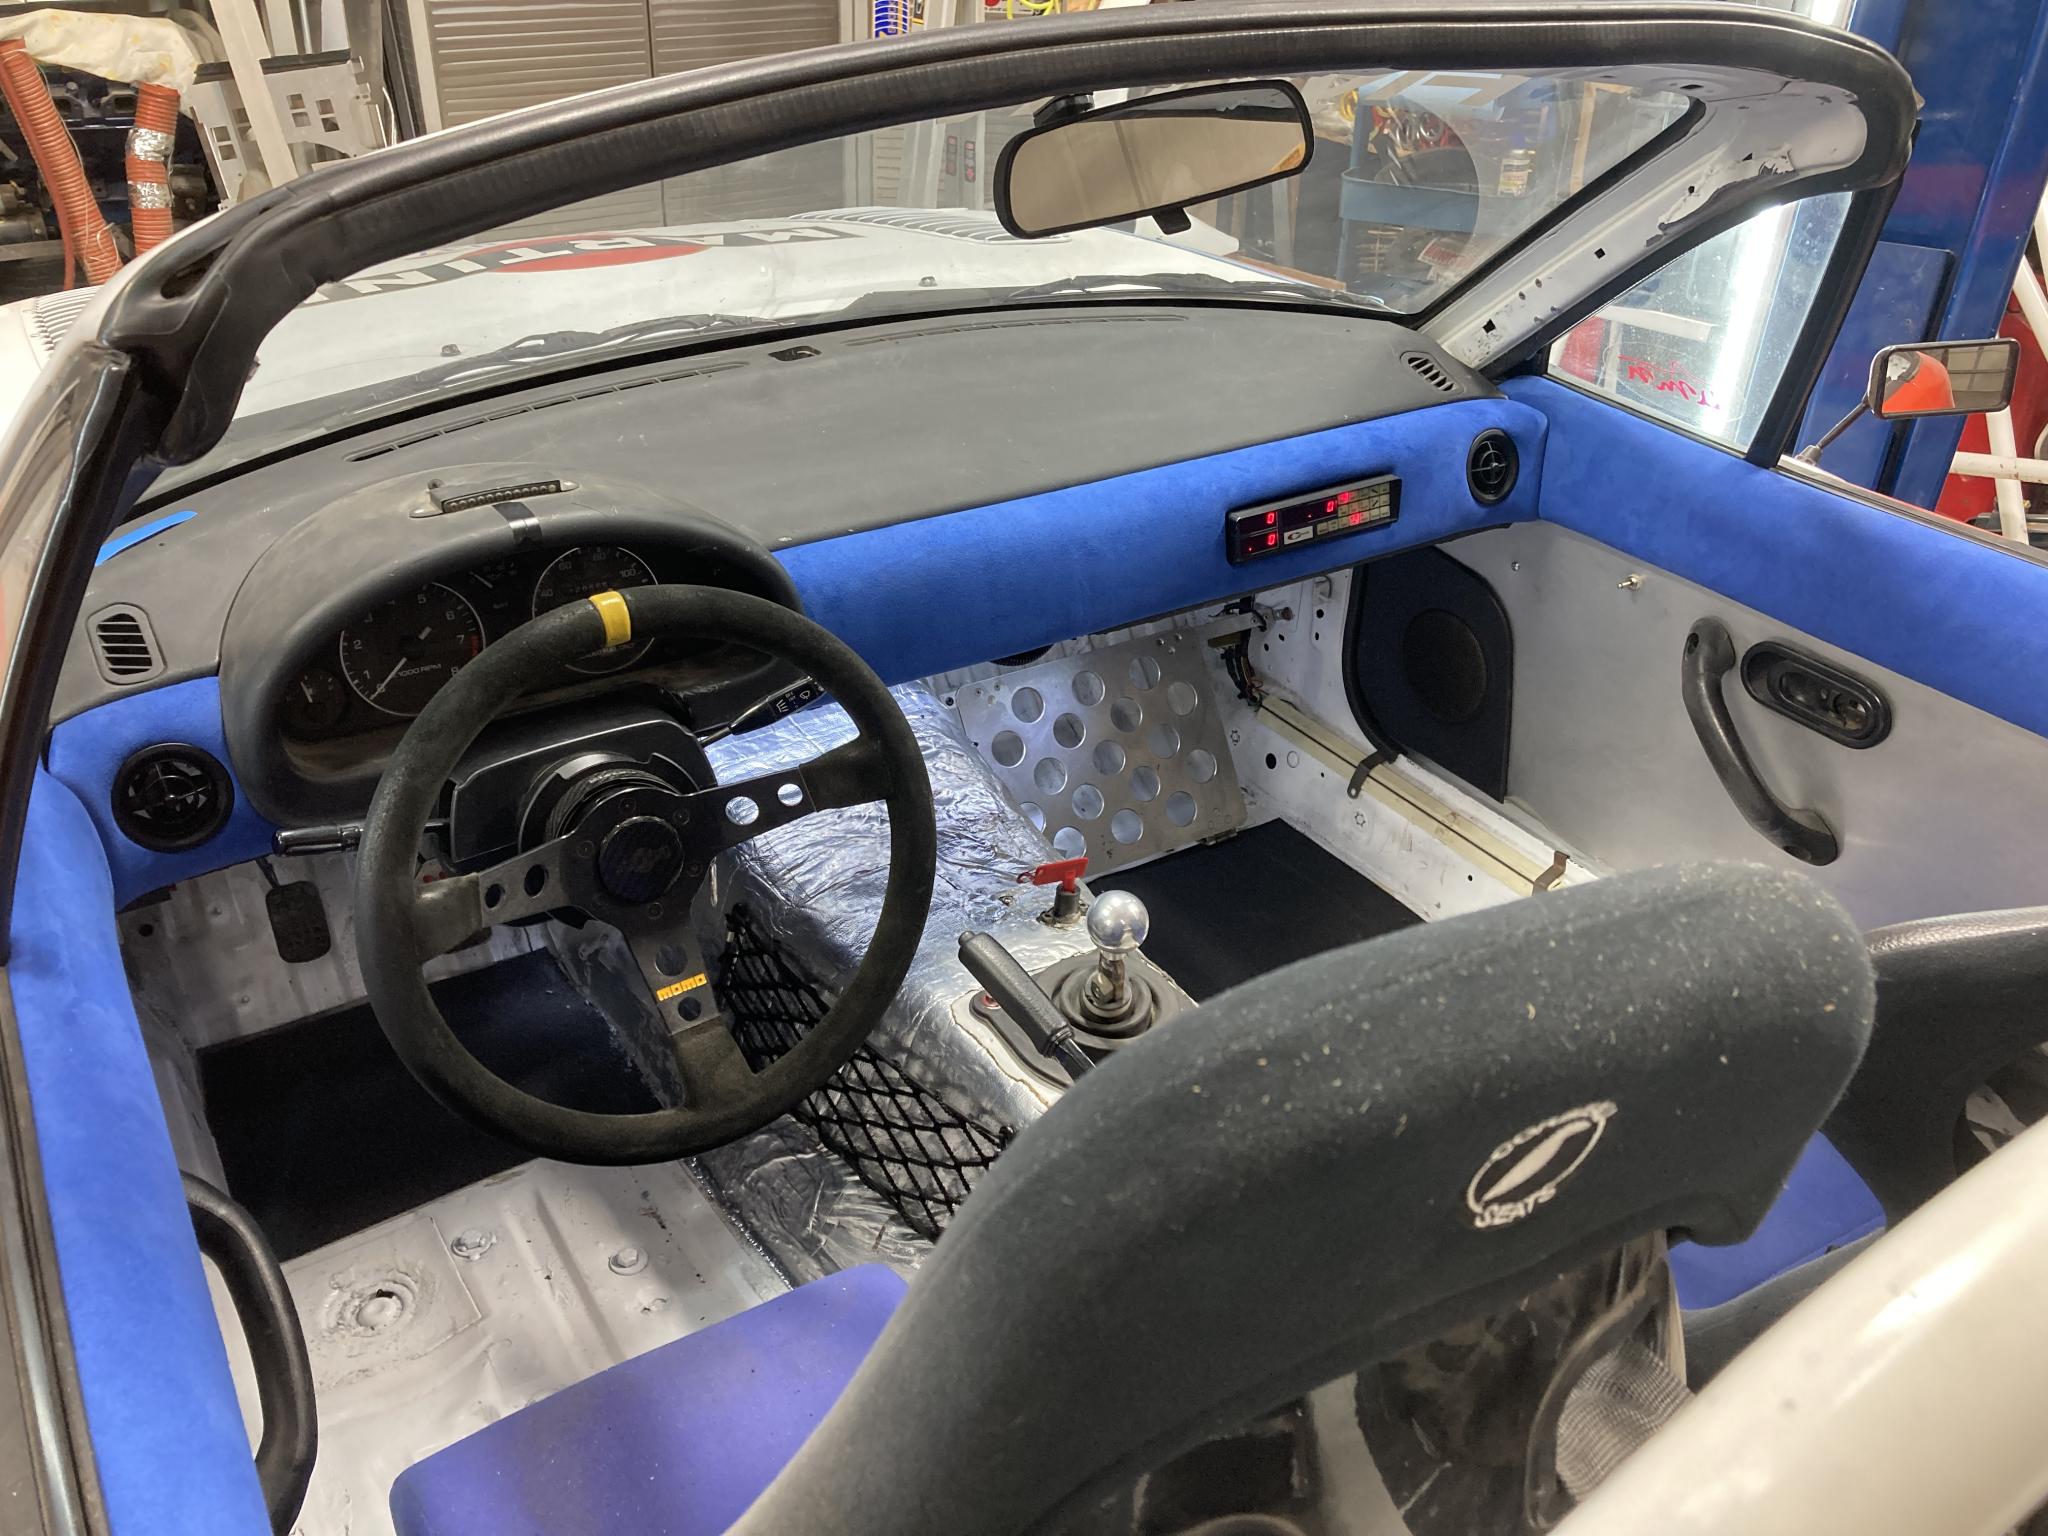
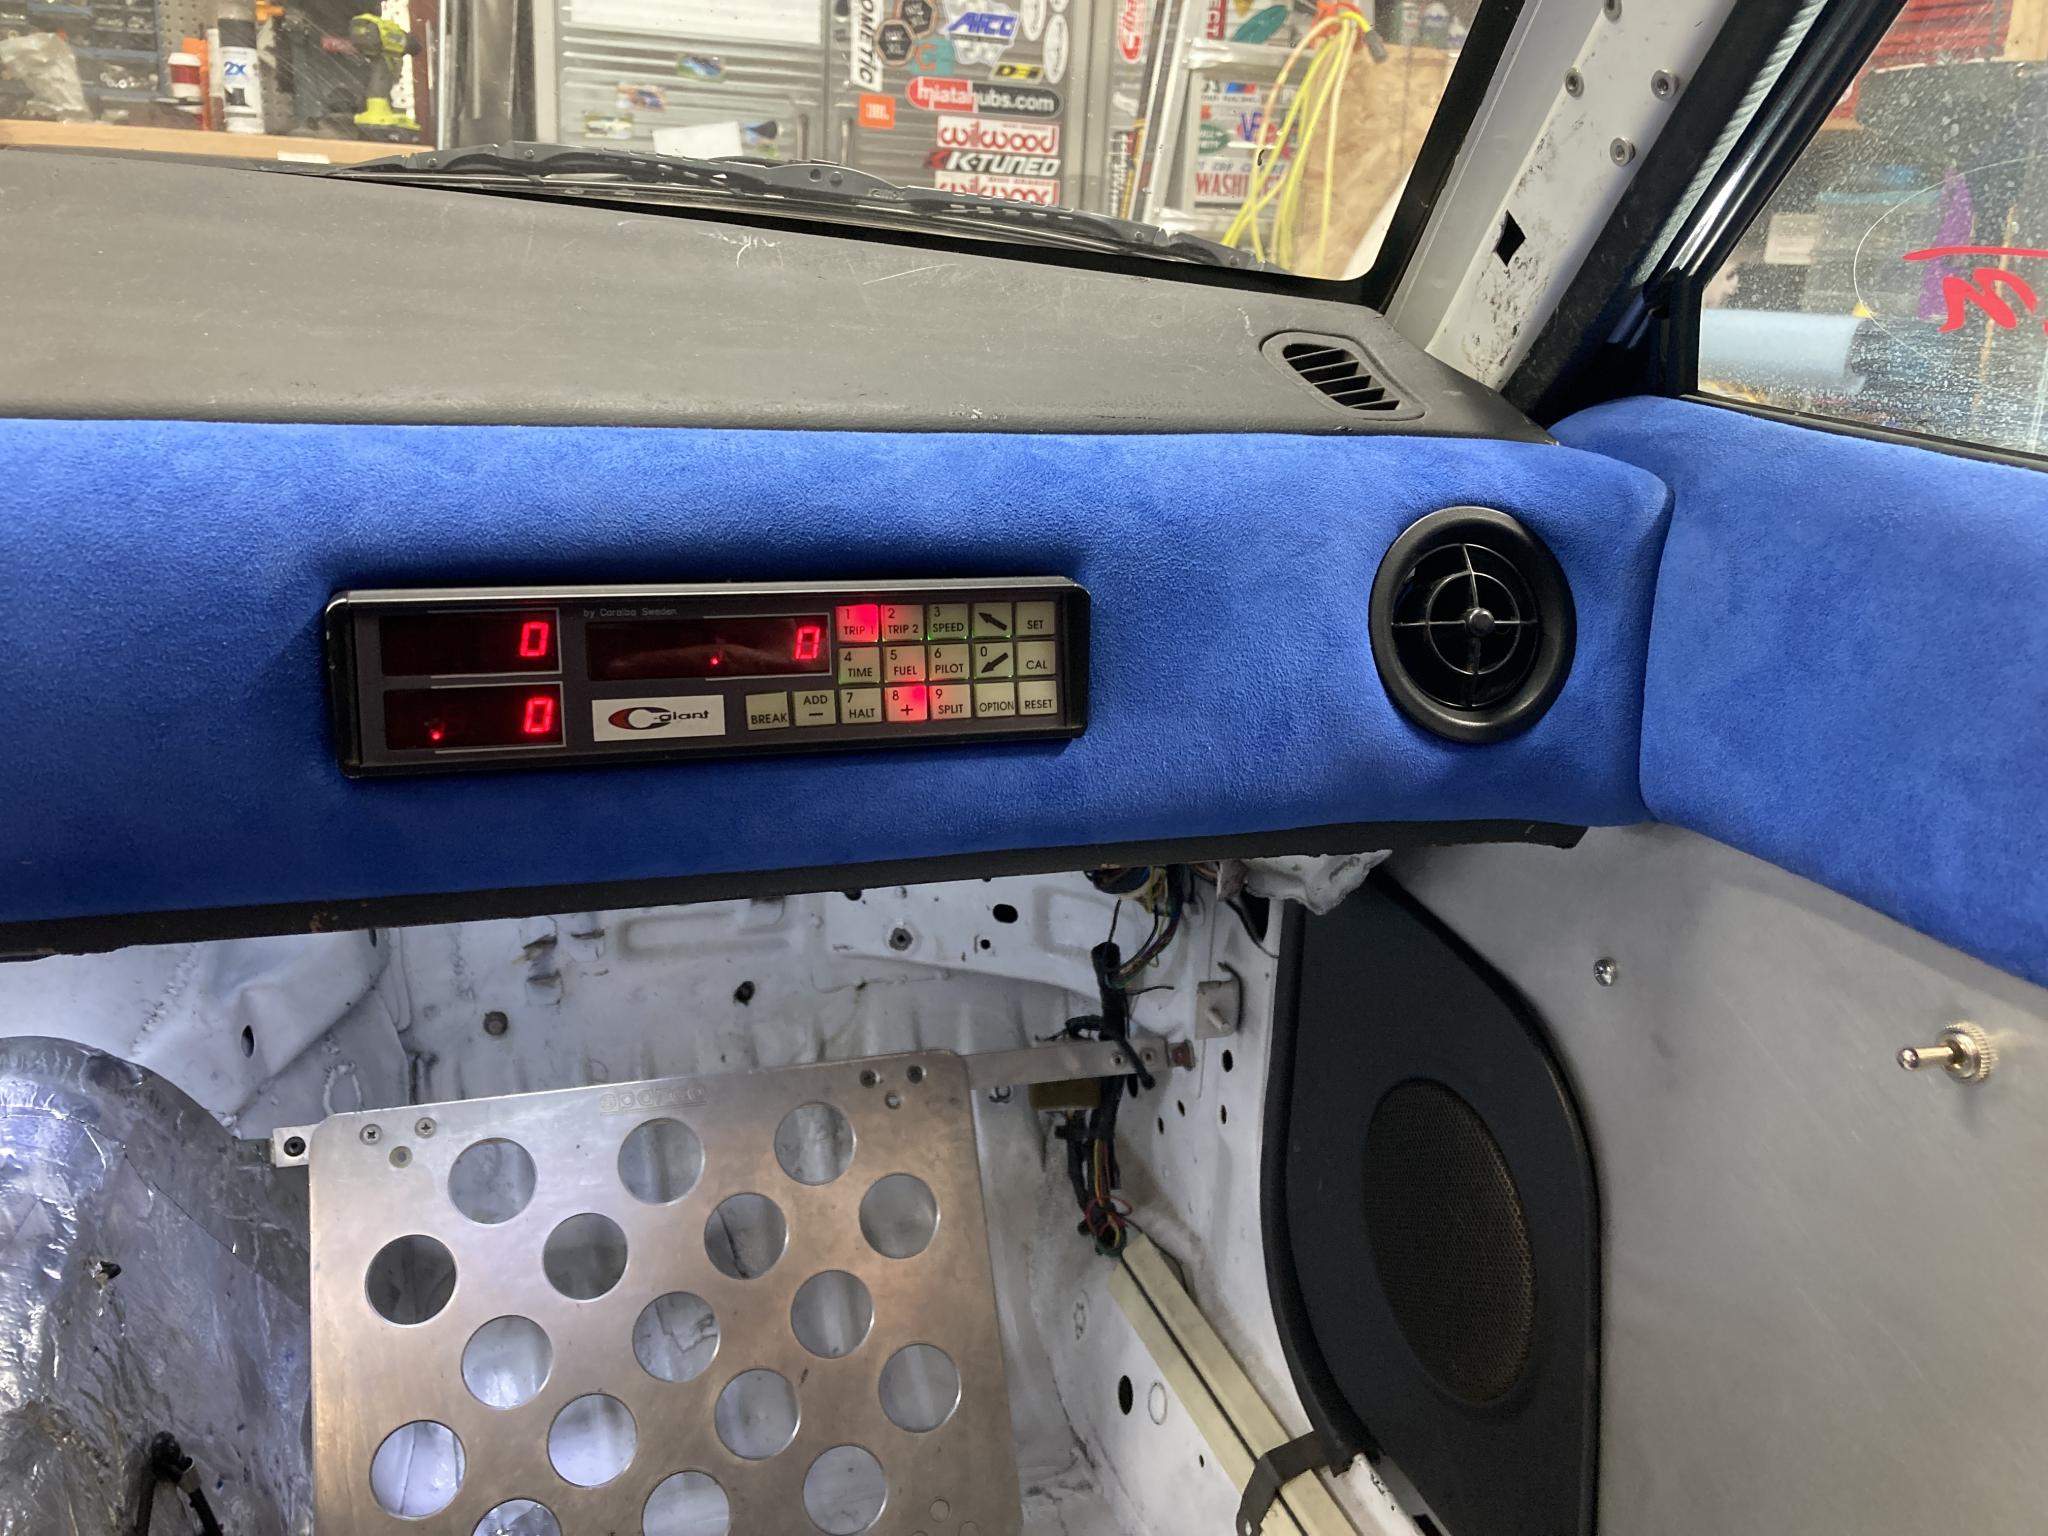
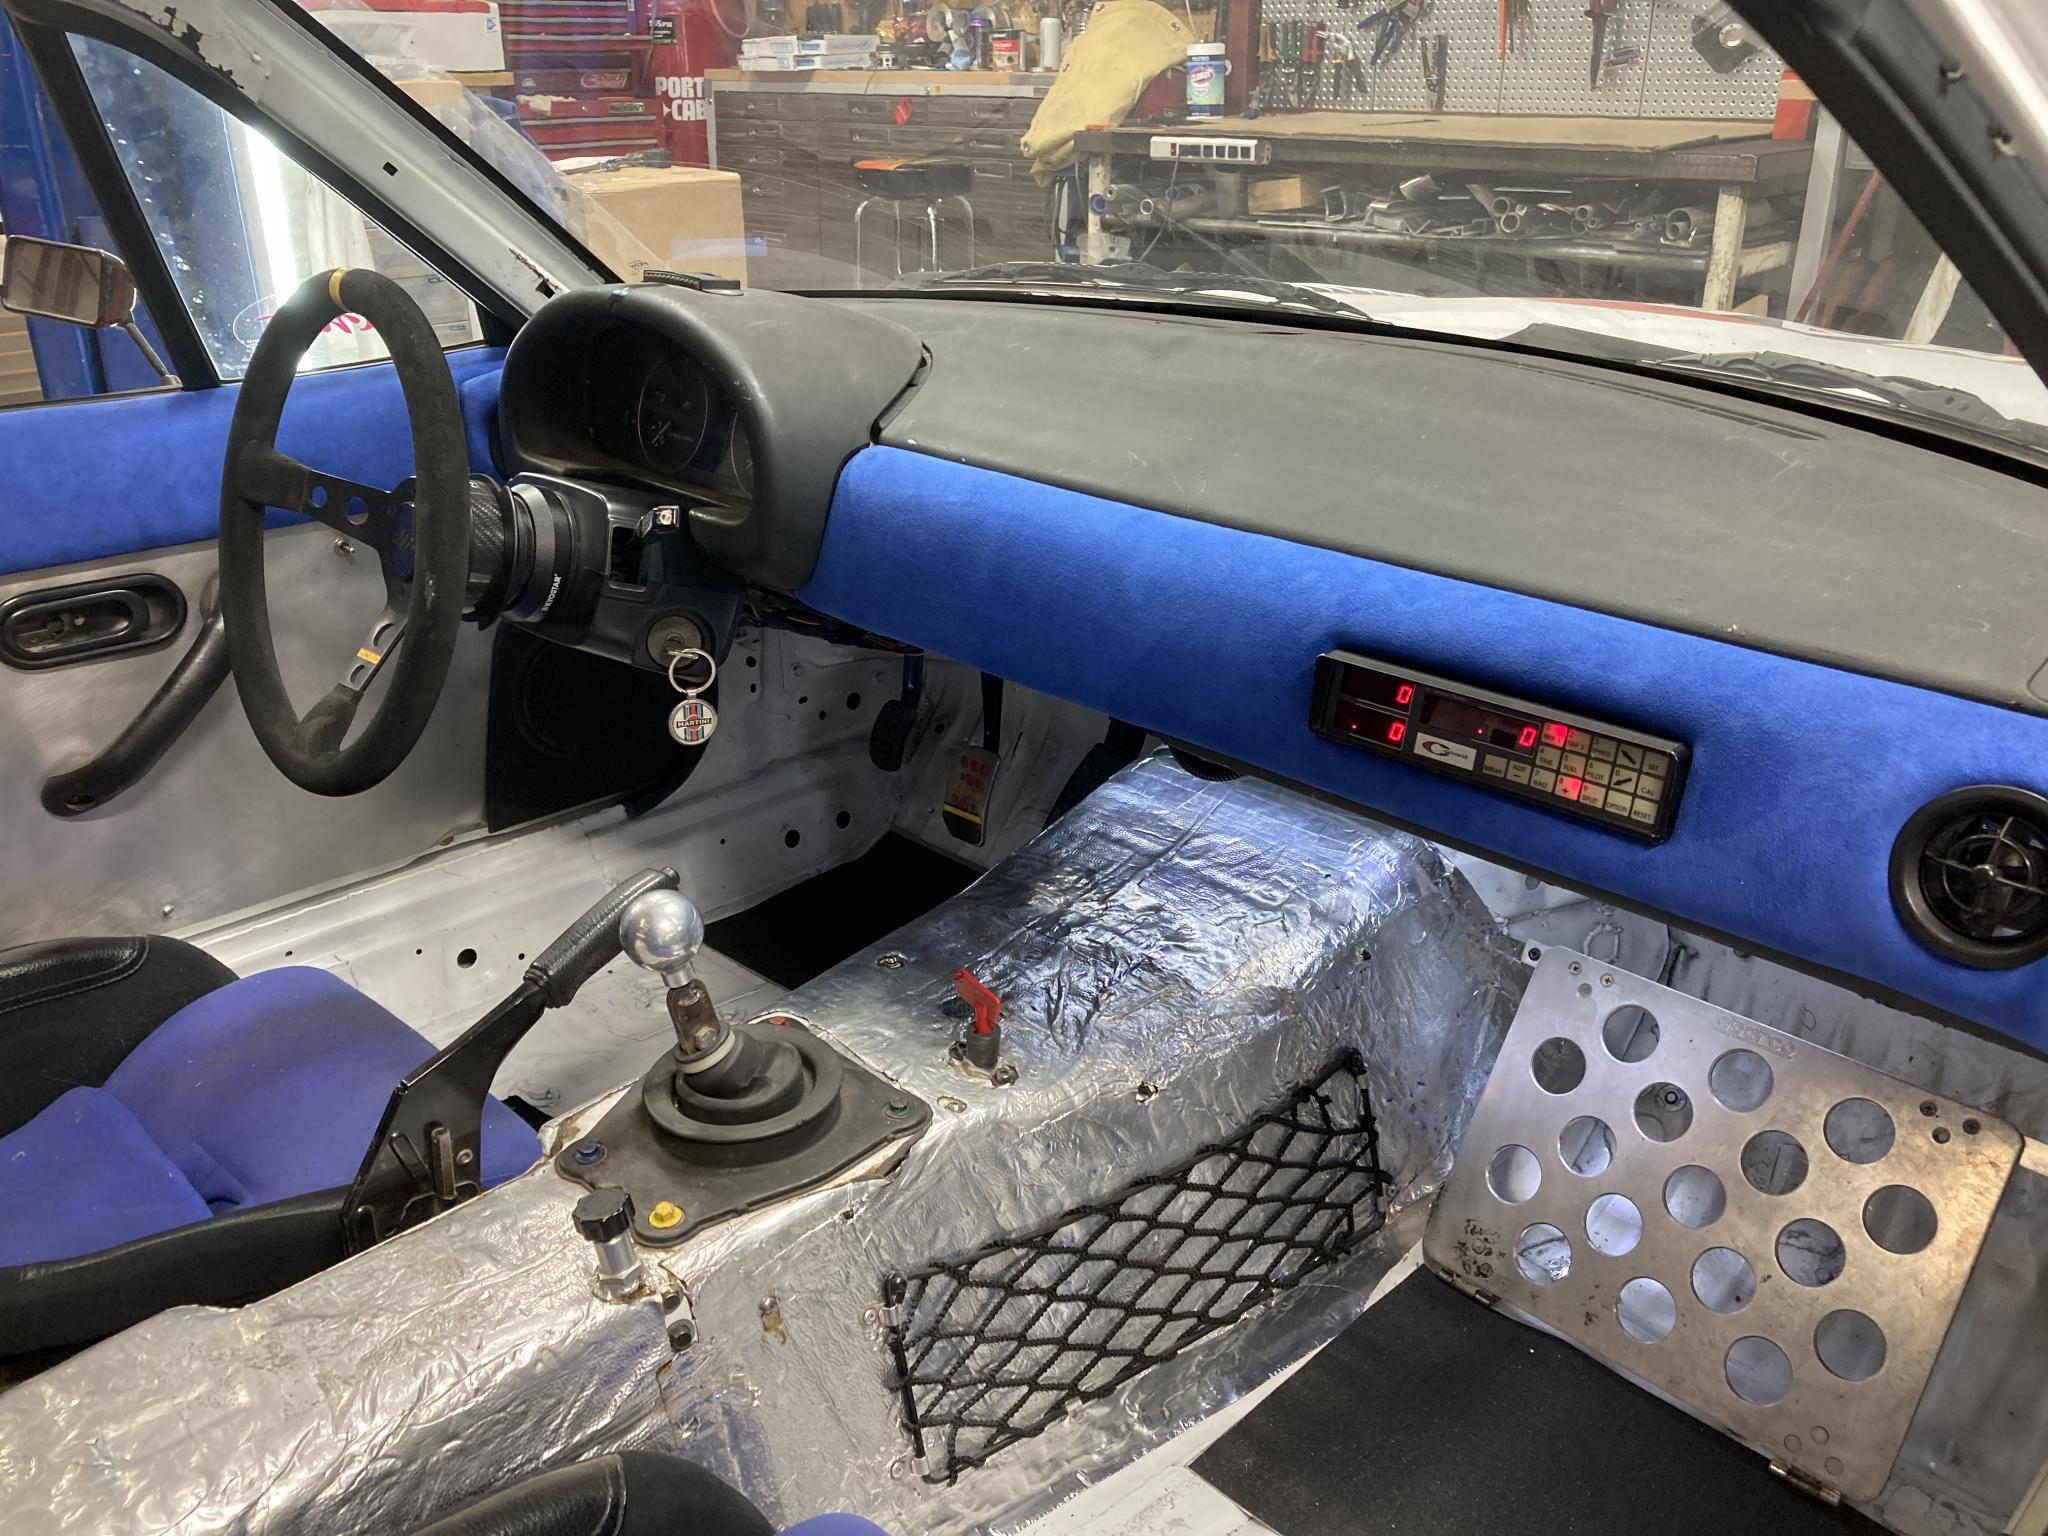
Yes, I stuck an LED light bar under the dash for the pictures. The color difference between the dash and the seats is not so dramatic in person, but after 13 years (wow) it's probably worth recovering those cushions anyhow.
In person, it looks good. Can't complain about implementation at all, but it also brings some real interest to the interior. It's a heck of a statement but it pulls the eye so you don't notice the fact that the floor was literally banged back in to shape with a hammer or all the various random things that have happened to that interior over the years. All of a sudden, it looks much cleaner.
I still have work to do - the dash needs another coat of paint and that very hammered gauge cluster cover needs to be replaced. I've decided the door panels definitely need to be white as well. But the end is in sight!
The blue work looks great. What is that material? What are you going to do about HVAC controls (unless I missed something in the thread)?
The material is Synergy II headliner material. The headliner part means it's got a bit of padding on the backside.
https://www.amazon.com/gp/product/B0721FTJHP
At the moment, the car has no HVAC at all. That may be something I add into the car at a later point, but it was going to be a complex enough job that I decided it would be better tackled in the future. If I do HVAC, I'll do auto HVAC (run by that Pi) with some very low-key controls that basically consist of temp up/down and a display of the target. The goal for this car is to make it as minimal as possible. The exception is that rally computer but that's a nod to the car's history.
Looks great! How do you expect it will hold up in relatively high touch spots like the door panel?
In reply to cmcgregor (Forum Supporter) :
I guess we'll find out! This car isn't likely to see tens of thousands of miles per year. The suede steering wheel still looks good after 13+ years, so that's a good sign. I'm not sure it would be a good interior choice for a minivan.
Just a note on the oil light, I know this car isn't really destined for serious competition anymore, but I find that I like a flashing oil light. It's easy to ignore a solid LED when you're in combat, even it's bright. Well, unless it's night time I guess :)
Noted for potential future behavior. When (if) the analog race dash gets implemented, I would integrate some sort of freakout behavior for a loss of oil pressure. The car also has an analog oil pressure gauge.
The car will never see wheel to wheel, so the driver does have a little more processing time that can be devoted to caring for the car and doing regular gauge checks.
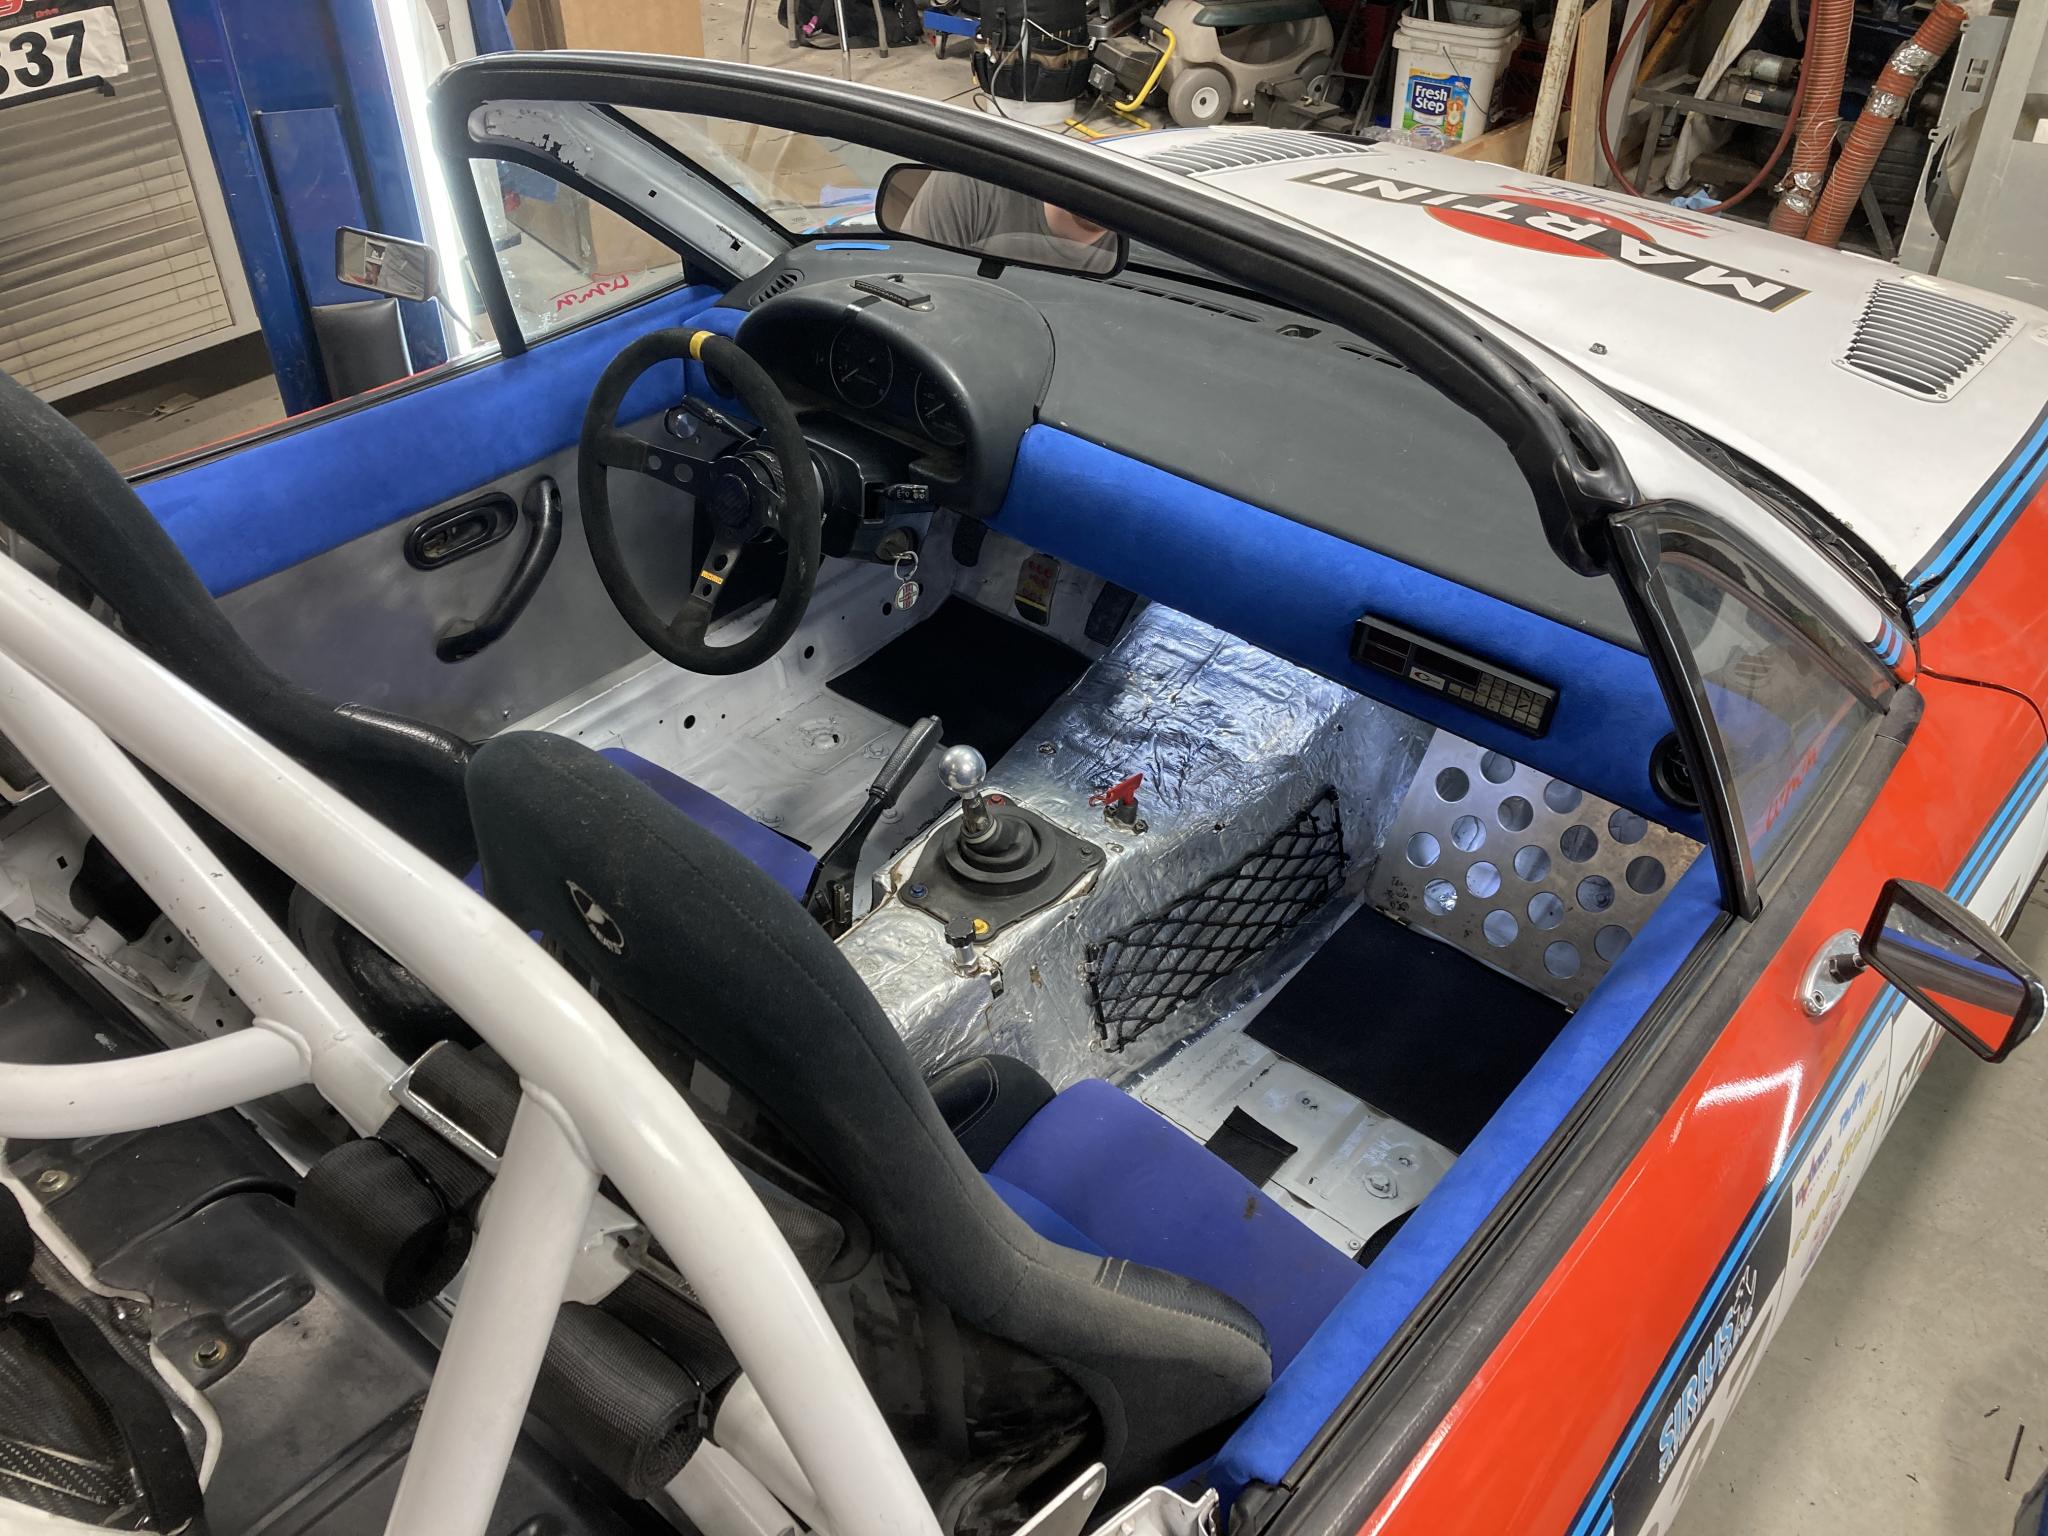
Just realized I didn't post the picture that best shows off the way the car looks in person.
In reply to Keith Tanner :
Love it!
Wow, that blue really works in the interior. I usually don't like that color at all, but I guess I'm a changed man.
I'm not sure I'd do this to a normal DD car. It's a little loud. But the whole car is loud (in multiple ways) and it draws your eyes away from the condition of the rest of the interior. So it's the "one strong accent" method of distraction from all the myriad flaws :)
My friend Ottawa pointed out that it's not that different from what you might see in a legit homologation special, such as the Ferrari 288 GTO.

About the durability question earlier, this fabric is rated at "30,000 Double Rubs Wyzenbeek". So, uhh, there you have it. As long as that Wyzenbeek individual doesn't double rub the car more than 30,000 times, we're good. The googles say that this sort of rating is very heavy duty, although it doesn't take the "gross sweaty arm on the windowsill" factor into account.
It means about diddly as that method uses cotton as the abradant. It probably best simulates how your track suit will get abraded by your tighty-whities rather than anything useful.
Keith Tanner said:
< .. snip ...> this fabric is rated at "30,000 Double Rubs Wyzenbeek". So, uhh, there you have it. As long as that Wyzenbeek individual doesn't double rub the car more than 30,000 times, we're good. <... snip ...>
I lol'd. This is my new favorite arbitrary system of measurement.
 Oil light. I picked up a number of 3/4" LED marker lights. They're fairly low profile and OMG BRIGHT. Perfect. Poked around for a good place and decided on the inner surface of the cluster cover. You can see in the picture that I originally had one in the top of the cover, but it wasn't bright enough. Picked that up at Radio Shack at the mall, which tells you a lot.


