Flight Service wrote:
TimeWarpF100 wrote:
Because I needed to have all the electronics from the late model truck in order to even get it to run I chose the new chassis. Its a 2013 126" WB frame, firewall, floor and all electronics, suspension, steering brakes etc. Using only 1966 Sheet metal so I can title as a 1966. No emissions etc needed here then.
The new chassis was purchased new from my local ford dealer.
That is epic-ly cool but how much was it? Did you use the metric, butt, or metric butt ton measurement for the $100 bills.
If I recall correctly the cost of the new frame is mentioned somewhere in the middle of that discussion thread, and it was surprisingly reasonable.

Vigo
PowerDork
1/5/15 9:10 p.m.
Frame replacements are a fairly common thing at body shops. I've never bothered to look into pricing but i'd be surprised if a typical truck frame cost more than 3-4k from a dealership. Maybe less.
$3250 for the complete truck (wrecked I am assuming) not a frame from a dealer listed.
Vigo wrote:
Frame replacements are a fairly common thing at body shops.
No E36 M3? Thy do that? wow. never knew that....
In reply to Flight Service:
Not only is the frame mentioned numerous times but there are quite a few photo's of it. Price paid was around 2500.00 from dealer.
Very early in the build I mentioned the frame. See post #18
also see post #26
Post #135 talks about and shows frame being picked up at dealer and that I was not happy with the finish.
I am sure somewhere buried in posts is price I paid for the frame.
i love seeing stalled builds get un-stalled. looking forward to watching the progress on this one!

Vigo
PowerDork
1/6/15 9:36 p.m.
No E36 M3? Thy do that? wow. never knew that....
Neither did i until one of my best friends started working at a major dealership body shop years back. You have to consider how much money 65-80% of the value of a new truck is before it is 'totalled'. If it's a 60k pickup you are talking about repairing it right up to the ~40k mark. 

06HHR
Reader
1/6/15 9:46 p.m.
I've been following the thread on garage journal for a year or two now, very happy to see that he's doing better. What I really love about his thread is that he cuts through all the BS and shows you the nuts and bolts of the process. makes me feel better to know that i'm not the only guy that doesn't quite get things right the first time sometimes, and that you can still get an excellent result if you are willing to put in the work, you don't have to be the foose, or have a gassed monkey garage to put something awesome together. Timewarp, i'm a fan..
Thanks to All!
Yesterday was 15yrs of ownership of the Orange/White 427 Project truck.
This is pretty much where its at right now. A lot of other stuff going on.
Just so many parts taking up space in shop. Really need to get things together to make room again.
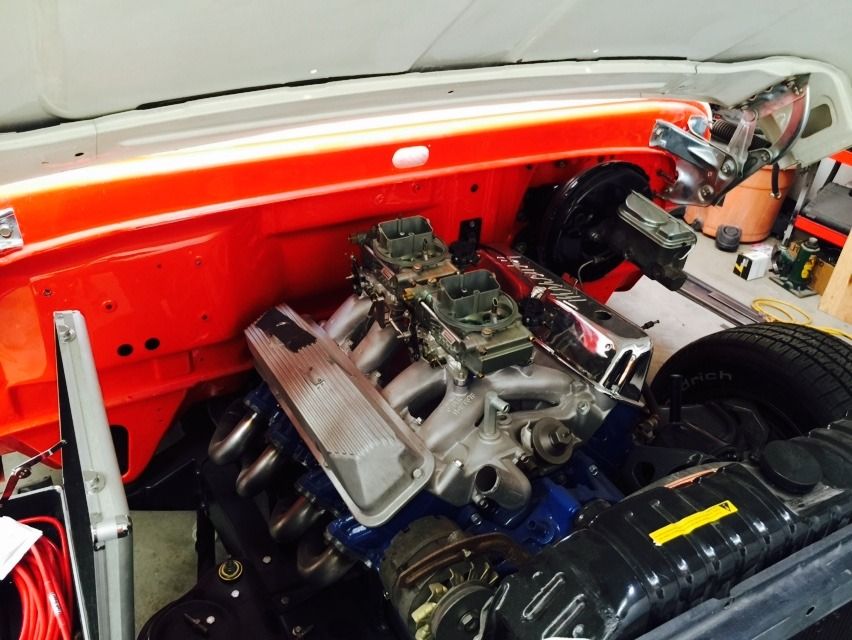

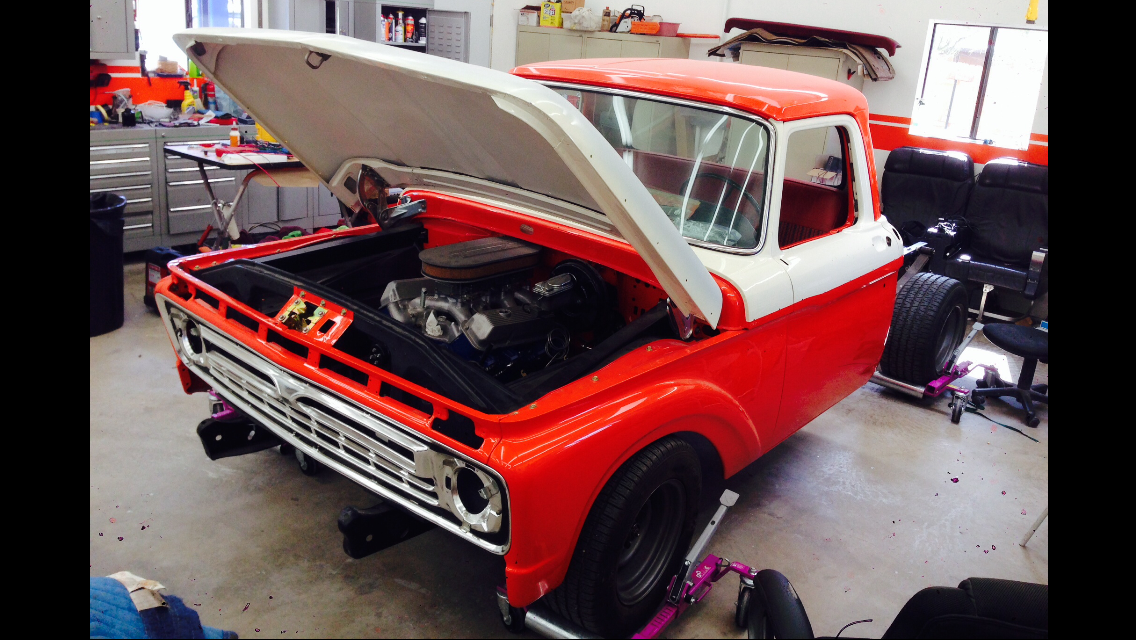
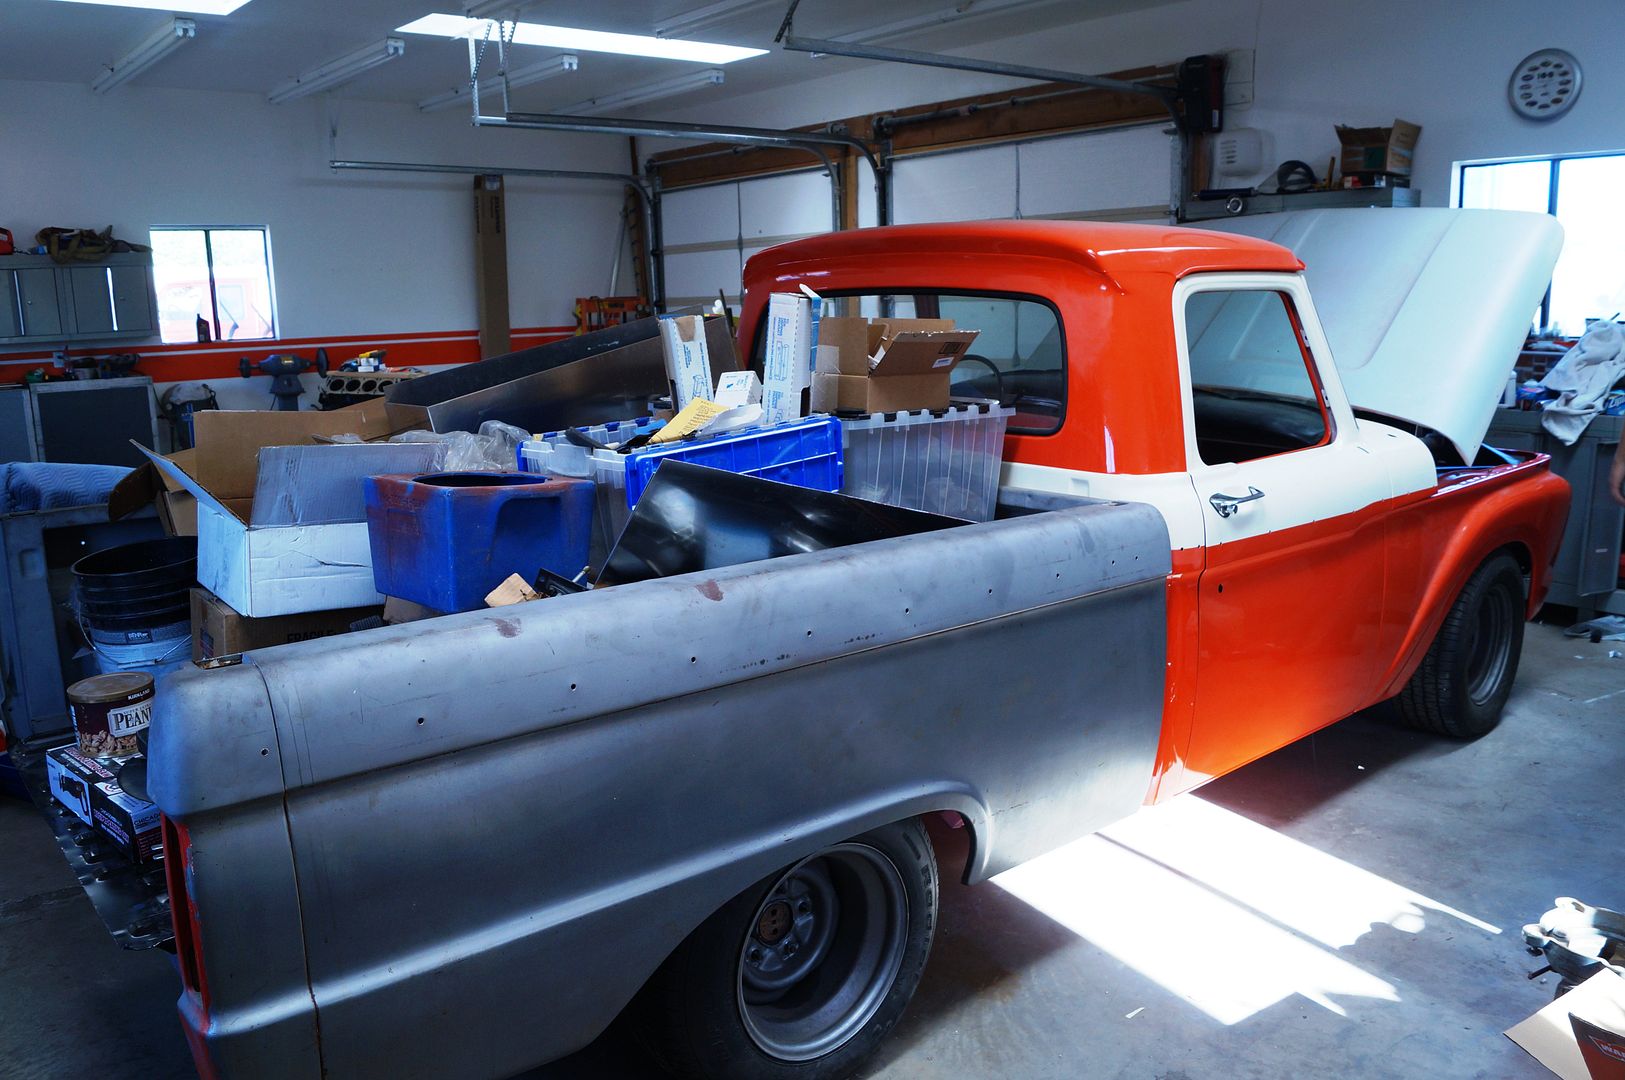
This is where EcoProject is now.
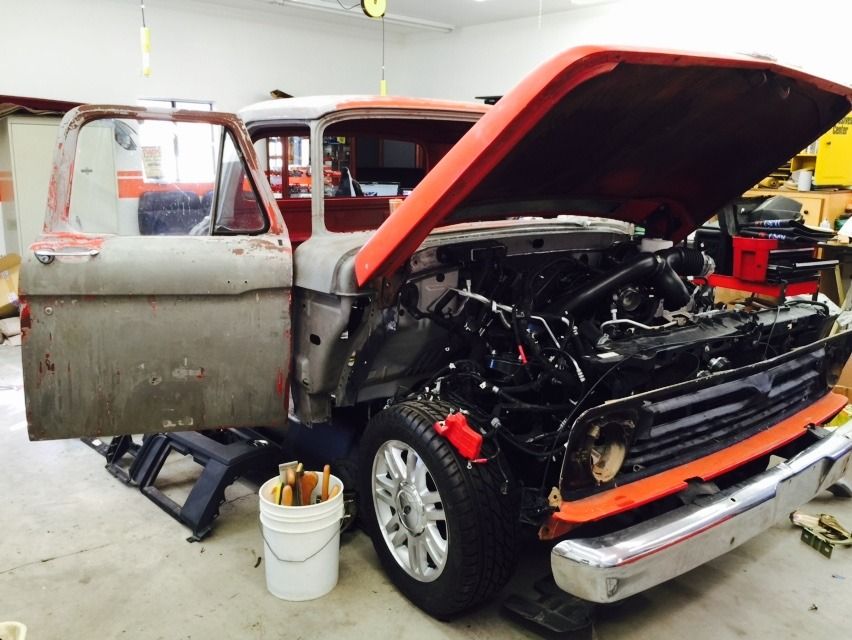
Cab is mounted for first time, spent a lot of time trying to figure out best position. Turns out there was only one spot it would really fit. Very pleased how the firewall ended up blending in like it belongs there.
Another issue has cropped up now as some how when I had things cut apart the door opening on left side opened 3/8". Not sure how to go about fixing it but will find a way.
Once I figure out exactly how to mount the front clip (doors need to be fitted first) then I think the project will move along much faster. Health just not what it was years ago. Things do not happen very fast around here . .


Cotton
UltraDork
2/2/15 8:56 a.m.
TimeWarpF100 wrote:
Thanks to All!
Yesterday was 15yrs of ownership of the Orange/White 427 Project truck.
This is pretty much where its at right now. A lot of other stuff going on.
Just so many parts taking up space in shop. Really need to get things together to make room again.
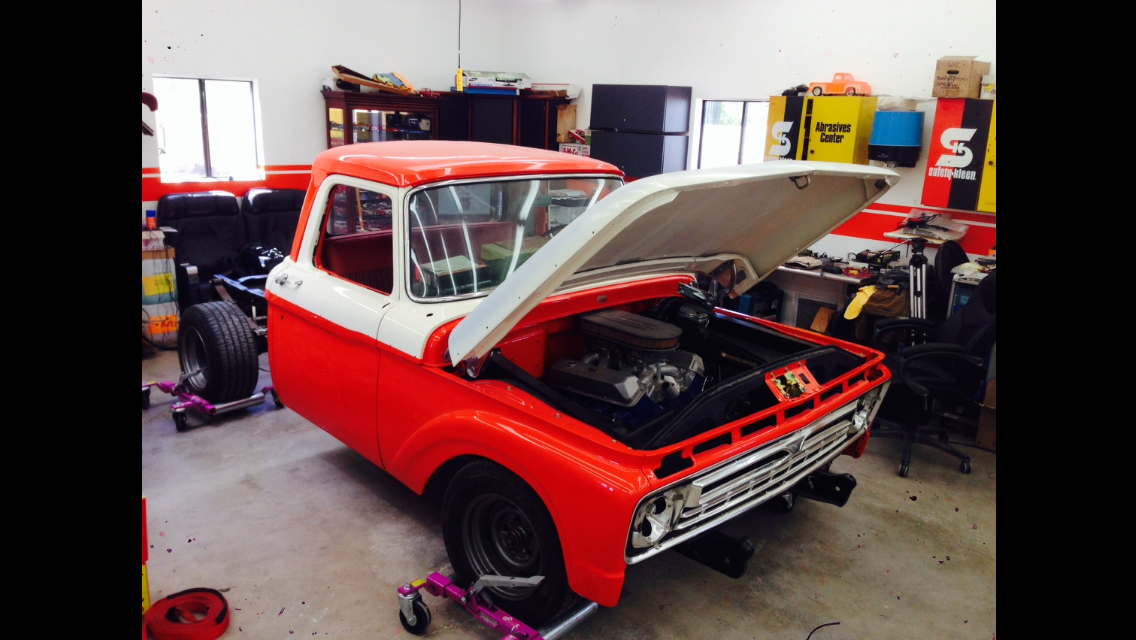

Are those factory wheels in these pictures or were they widened? I'd love to find some wider steel wheels for my 72 LTD.
I'm so glad you're posting on here, every now and then I get reminded of that build and have to go check it out again.
A quick update:
Late yesterday the EcoBoost fired up for first time! Still a ton of work to do but at least I know it fires and runs great. Now its time to bleed brakes using the laptop, hook up steering, mount front clip, build and install a IC then its time for a testdrive!
A quick video of first startup.
It will not allow me to add the video.

bgkast
UltraDork
3/25/15 11:21 a.m.
Fantastic! I was just thinking about this project the other day.
TimeWarpF100 wrote:
A quick update:
Late yesterday the EcoBoost fired up for first time! Still a ton of work to do but at least I know it fires and runs great. Now its time to bleed brakes using the laptop, hook up steering, mount front clip, build and install a IC then its time for a testdrive!
A quick video of first startup.
It will not allow me to add the video.
Did I catch that correctly?
singleslammer wrote:
TimeWarpF100 wrote:
A quick update:
Late yesterday the EcoBoost fired up for first time! Still a ton of work to do but at least I know it fires and runs great. Now its time to bleed brakes using the laptop, hook up steering, mount front clip, build and install a IC then its time for a testdrive!
A quick video of first startup.
It will not allow me to add the video.
Did I catch that correctly?
Yes, Hooking up laptop to the OBD II port it will take me to Brake Bleed. Starts with left front, left rear, right rear and then right front. Software program. I manually have to crack the bleeder when it tells me to but it cycles the ABS pump as needed. Takes about 1 minute per wheel.
Done now and nice pedal feel.
Plan is to get it up and driving, hoping in next week or so but need to build a custom IC. So it will depend on if I can get the proper pieces to build the IC.
That's actually kind of cool. What software do you have to use to interface with the truck?
unevolved wrote:
That's actually kind of cool. What software do you have to use to interface with the truck?
Ford IDS Software
I was actually able to reprogram the PCM with the latest update's also.
Enabled me to quickly find what was causing a few codes in the Instrument Panel Module along with ABS.
Never had a check engine light but now all codes are clear with exception of the left steering wheel "OK" button and of course the Restraint system which is not plugged in at this time. Still need to study the wiring and try to find a way to have it clear. One issue is this EcoTruck is a Regular cab and the parts truck was a super cab. Kind of hard
to "close rear doors" LOL
Hoping I can find that circuit within the door and make the computer think the doors are closed.

amg_rx7
SuperDork
3/25/15 10:28 p.m.
Awesome progress! Awesome project!
I look forward to more updates
Years later. still my hero.

44Dwarf
UltraDork
3/26/15 3:51 p.m.
Cool build. At some point in time my 65 F100 had a 4cyl out of a fork truck or a wood chipper in it. It was that way a few years and made it from California to Mass and then some local stuff before we put a 6 back in. Man I miss that truck...I even miss holding the shifter in 2nd while towing down a big hill. Even my wife make the noise of the trans whining when we go down that hill years later.
Quick Update:
A few more snags but finally making good progress on the build.
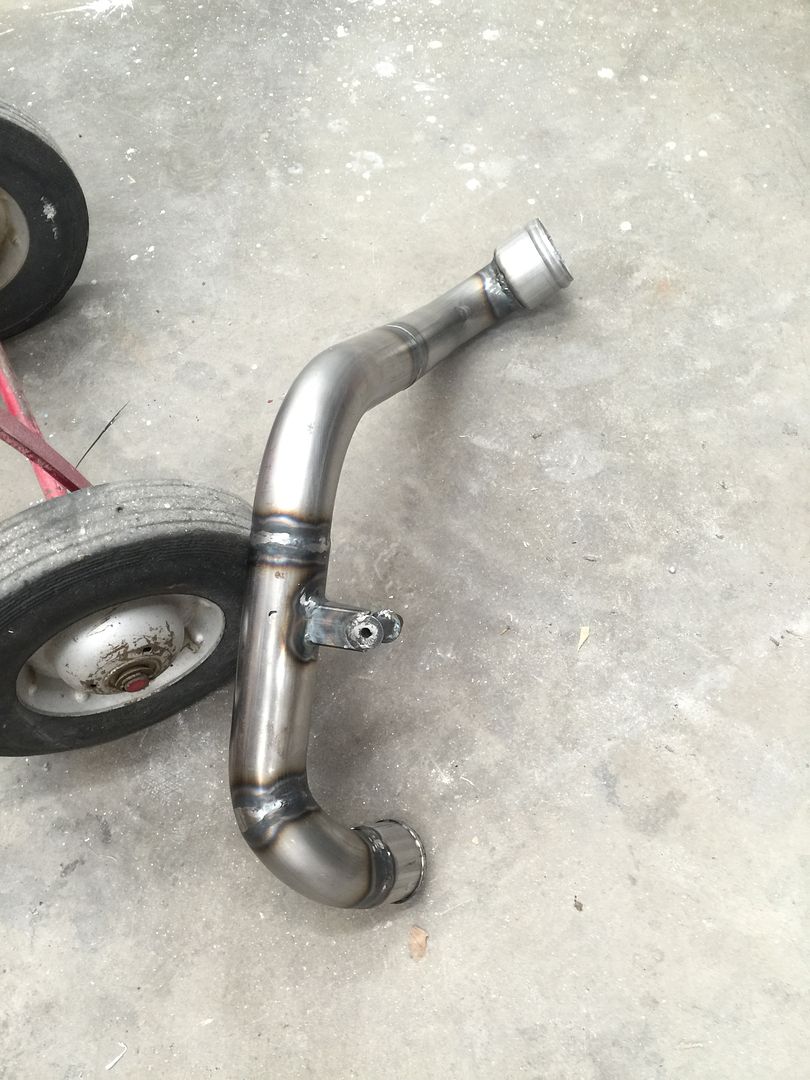
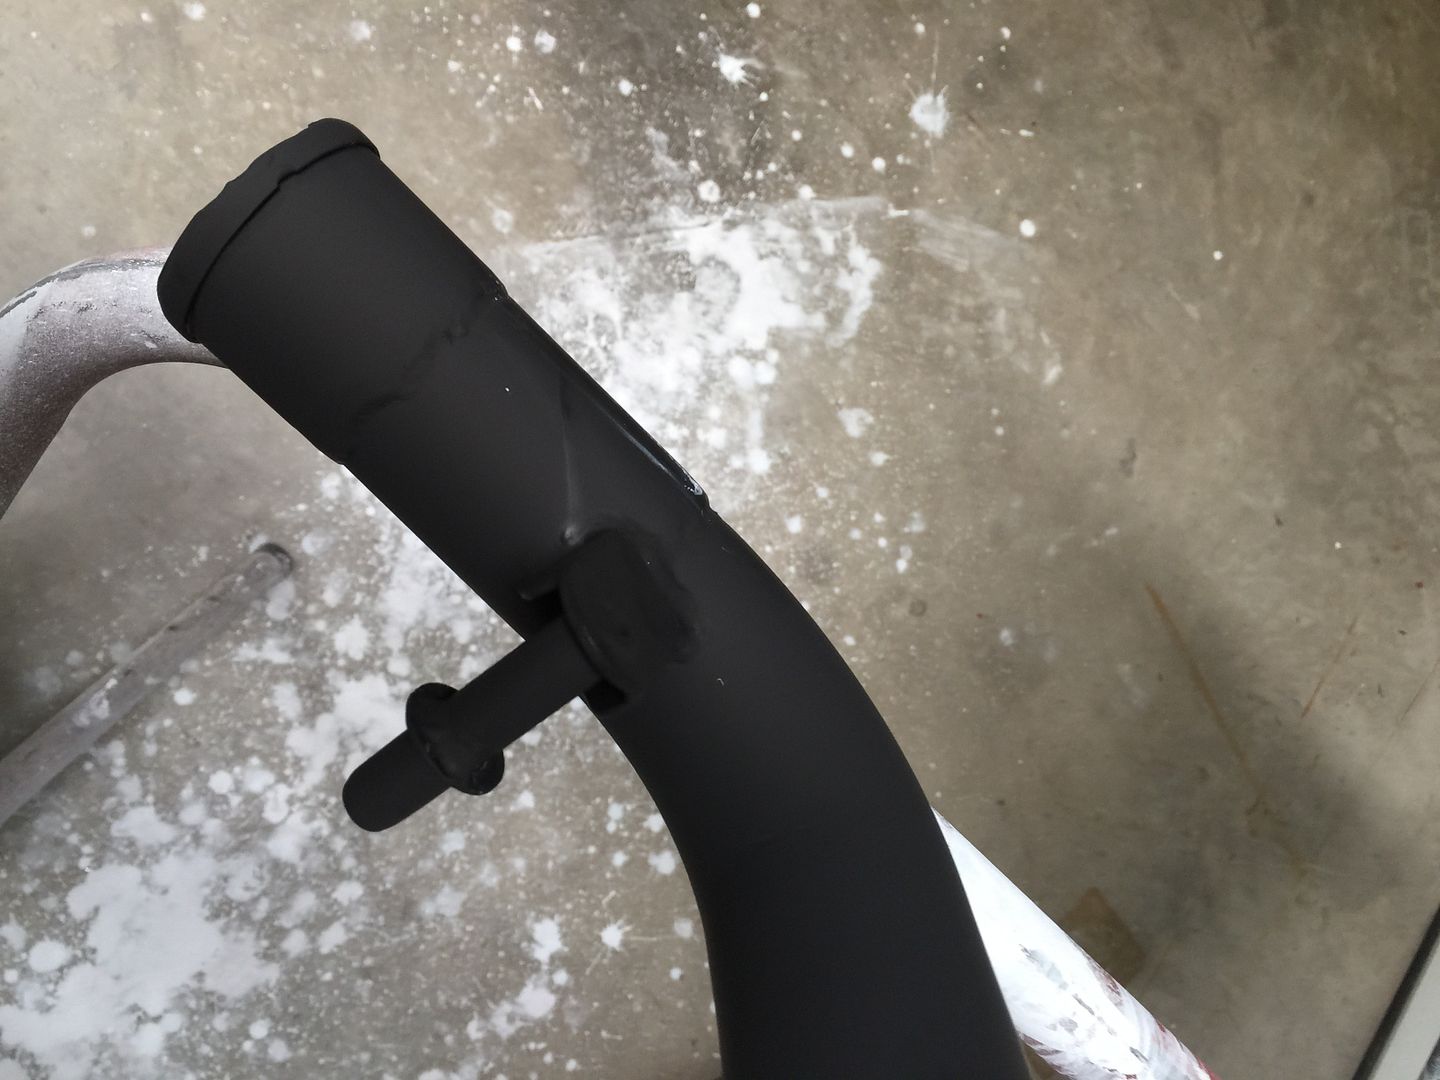
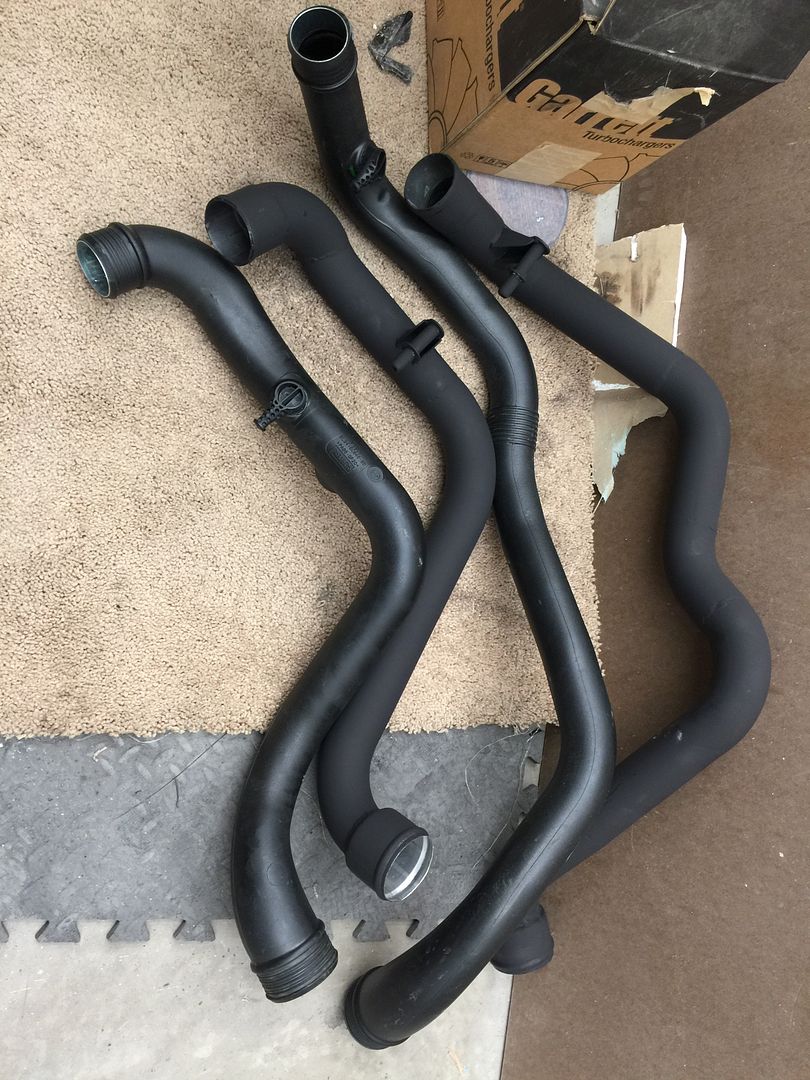
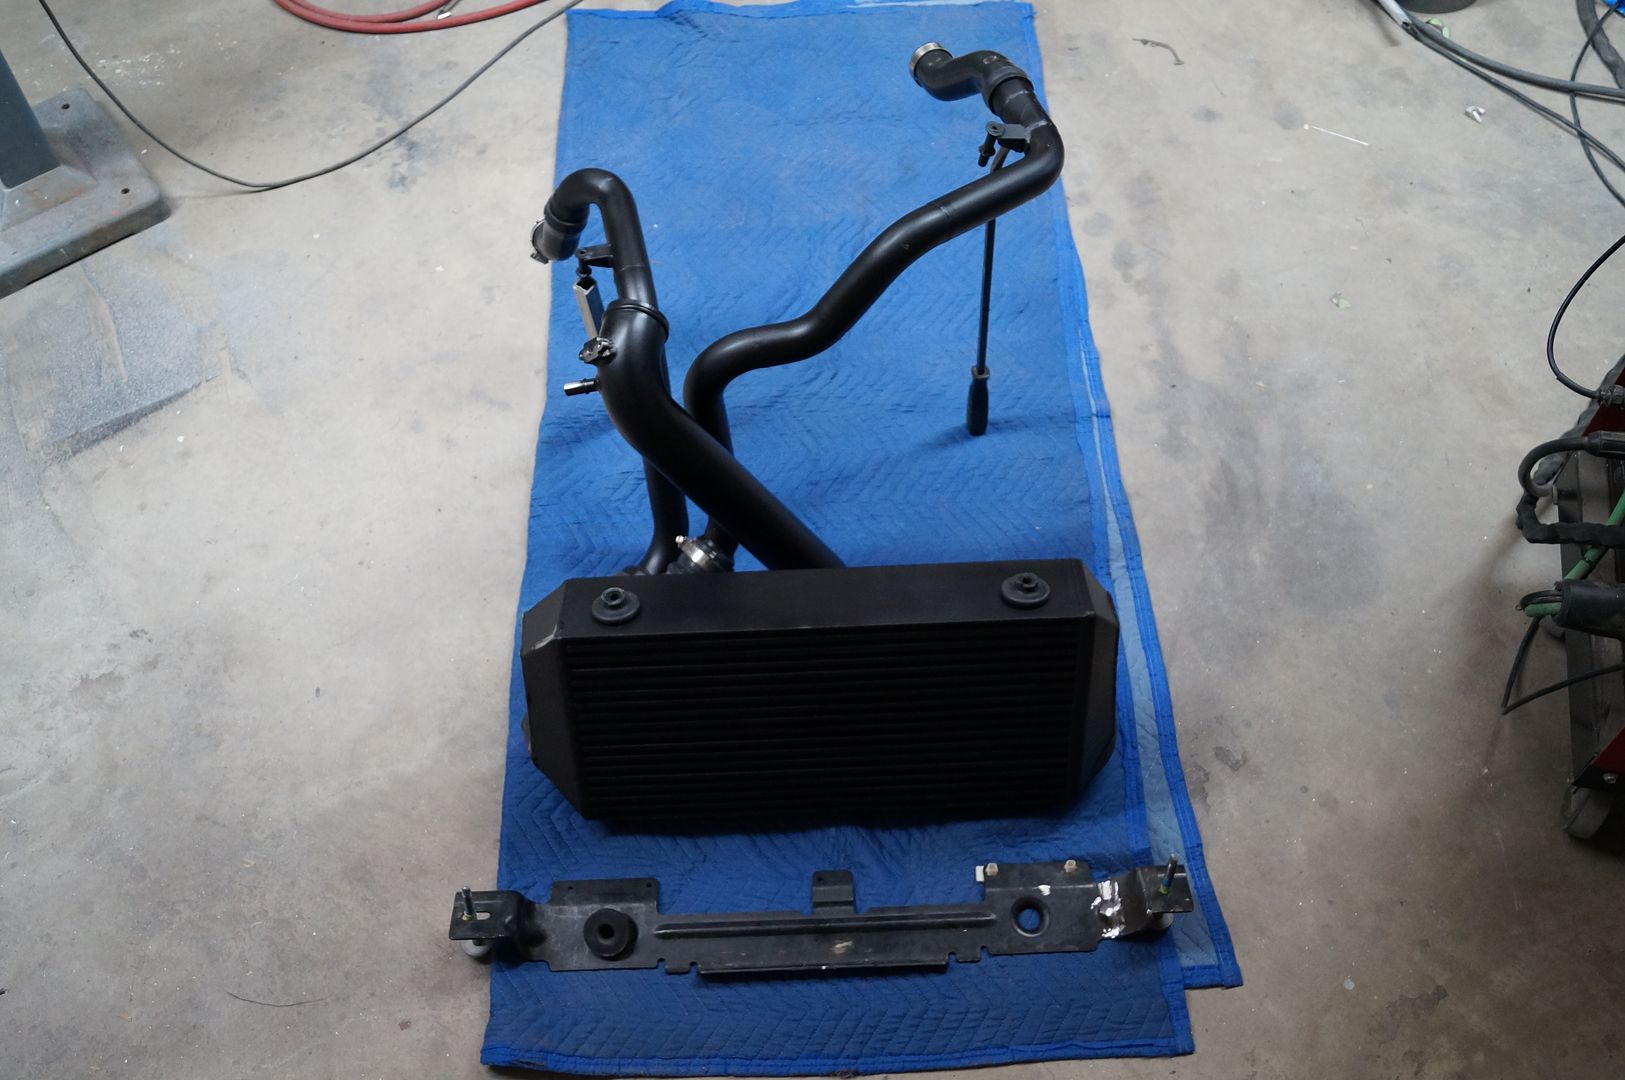
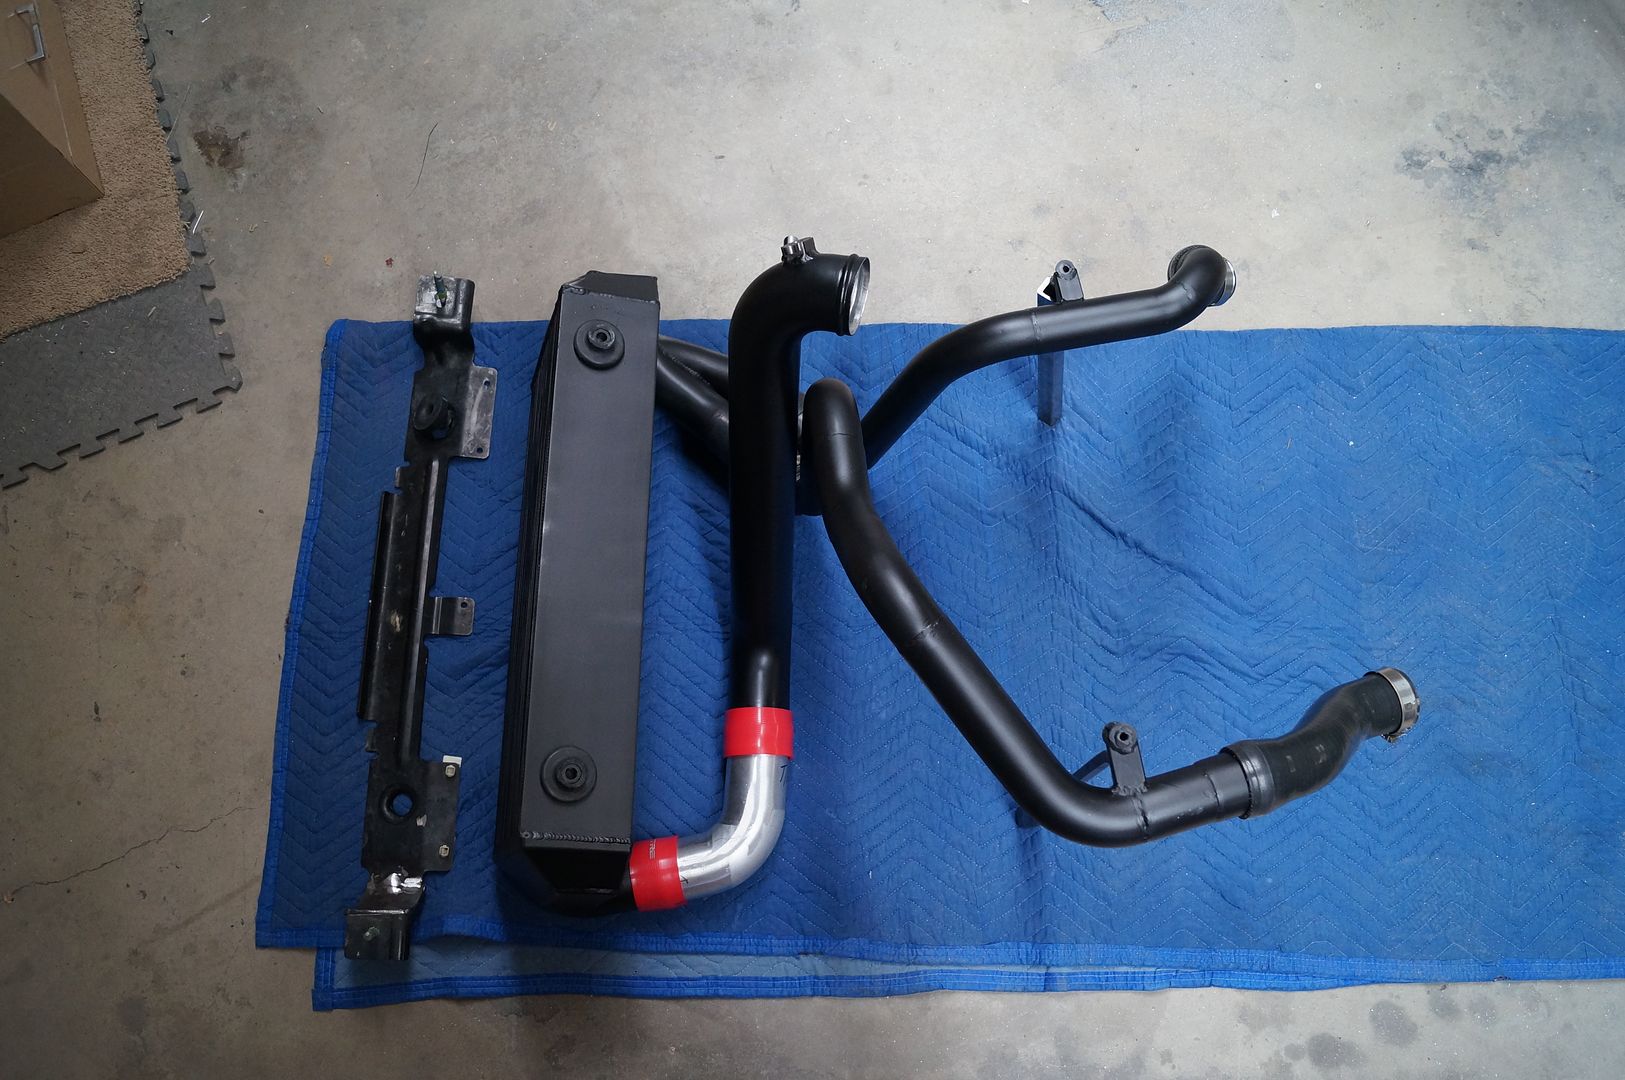
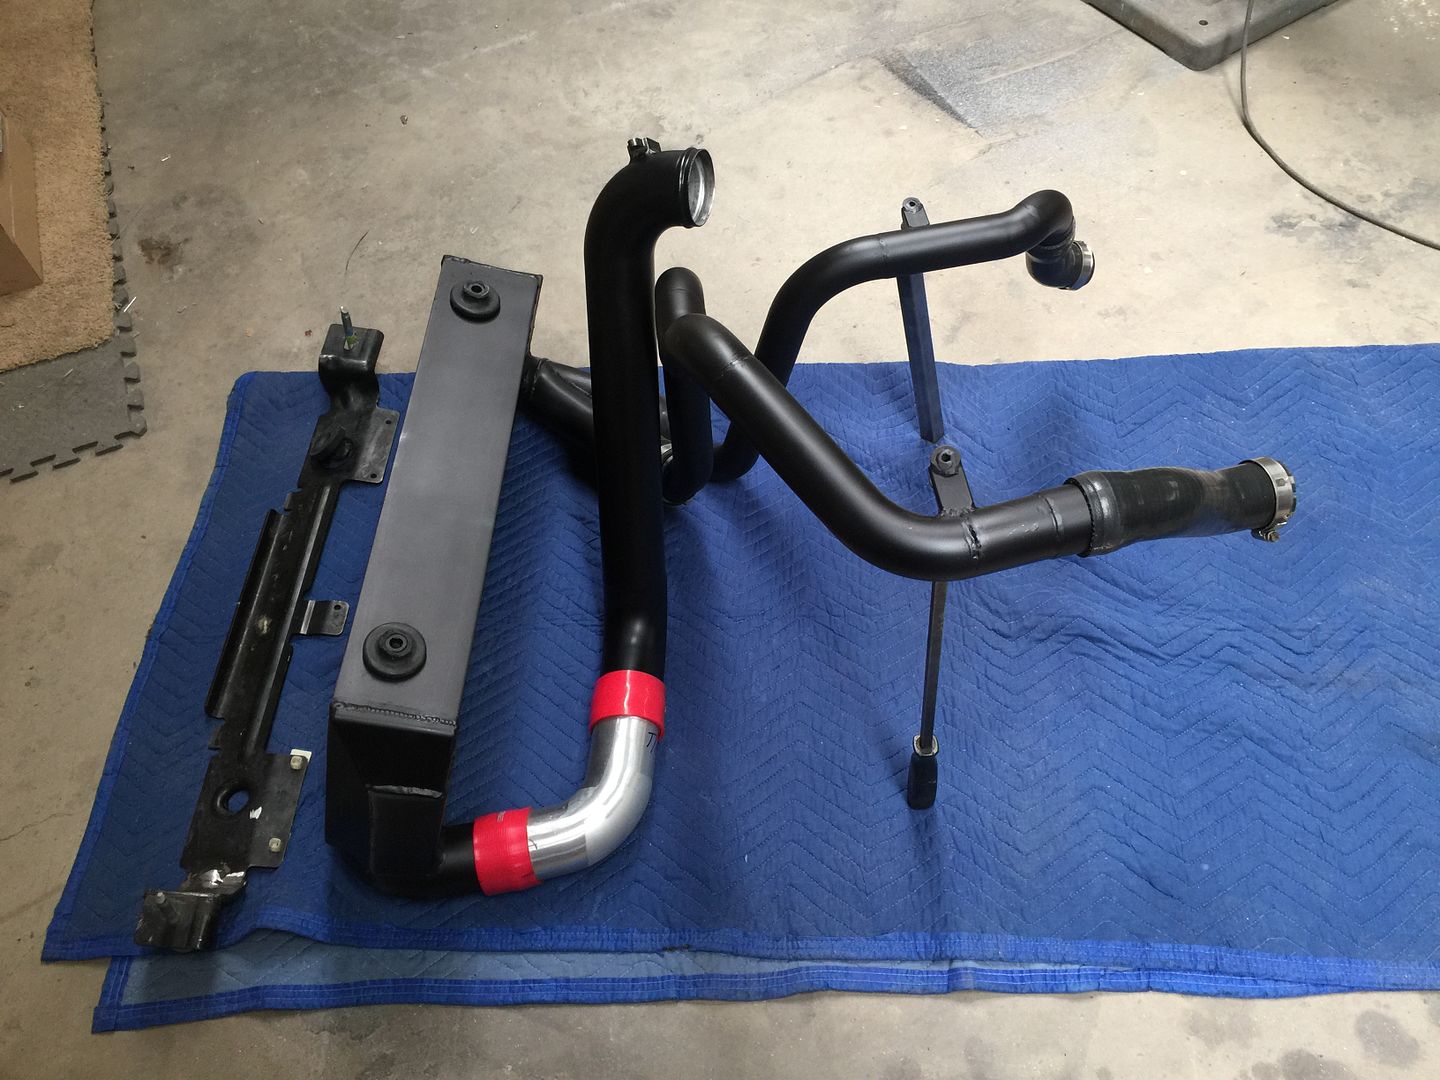
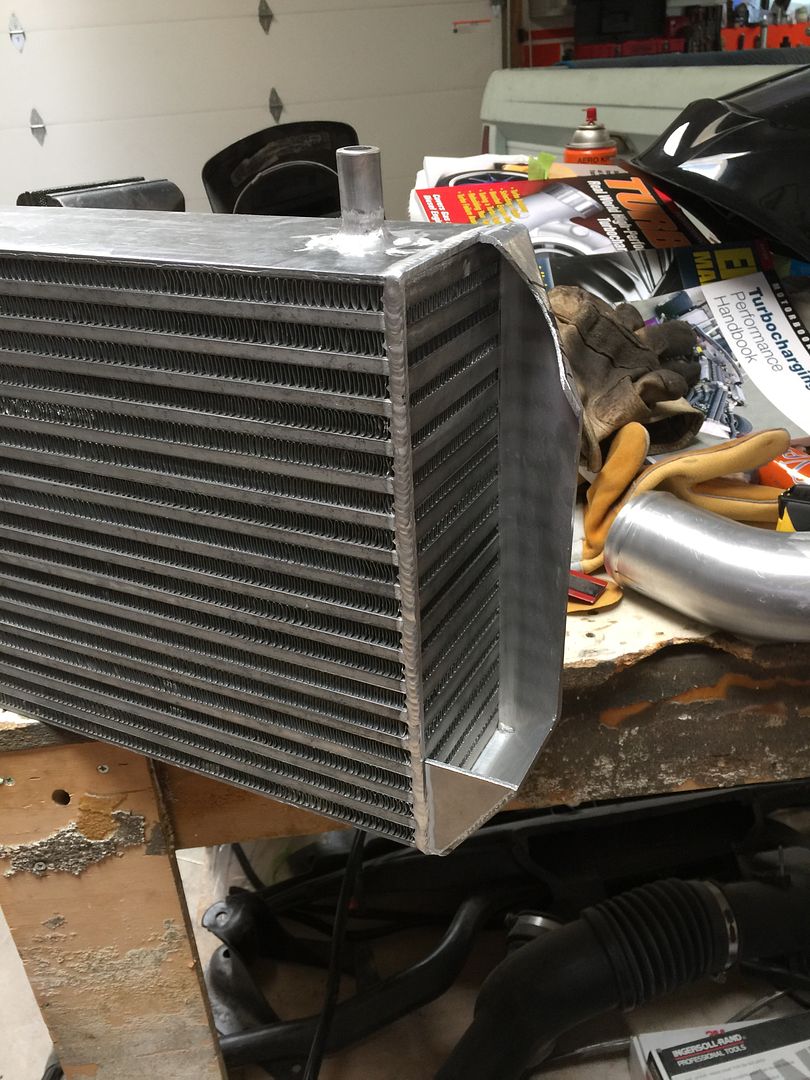
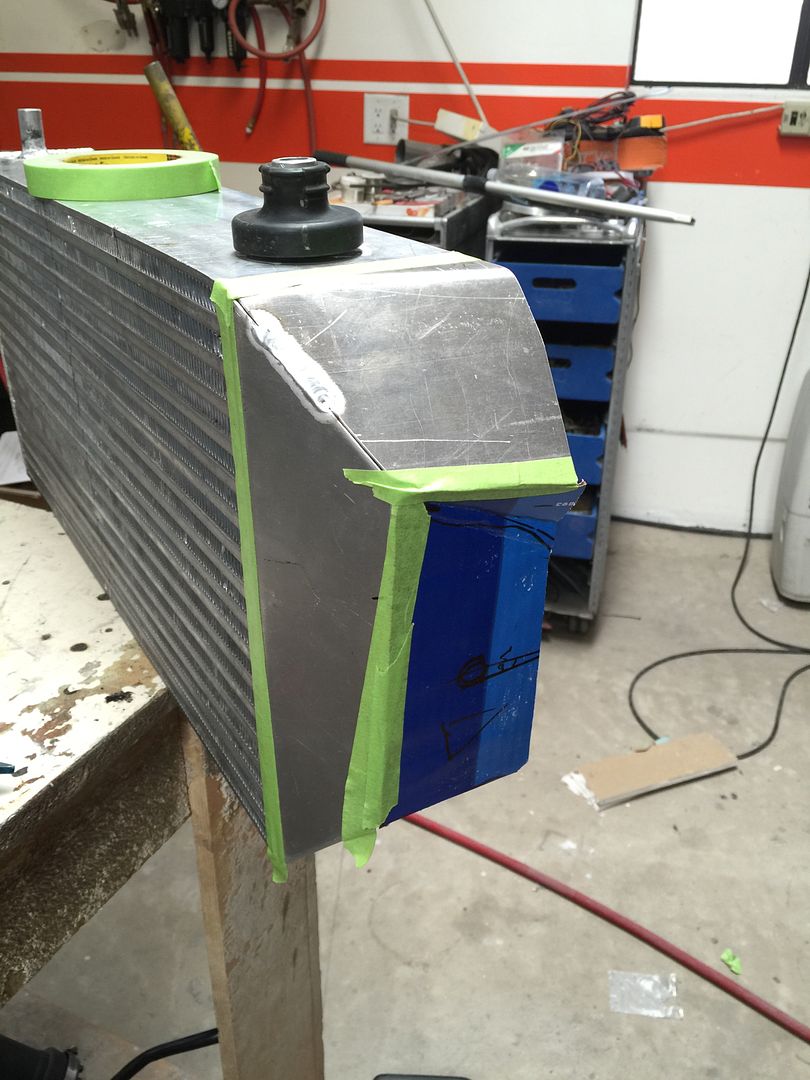
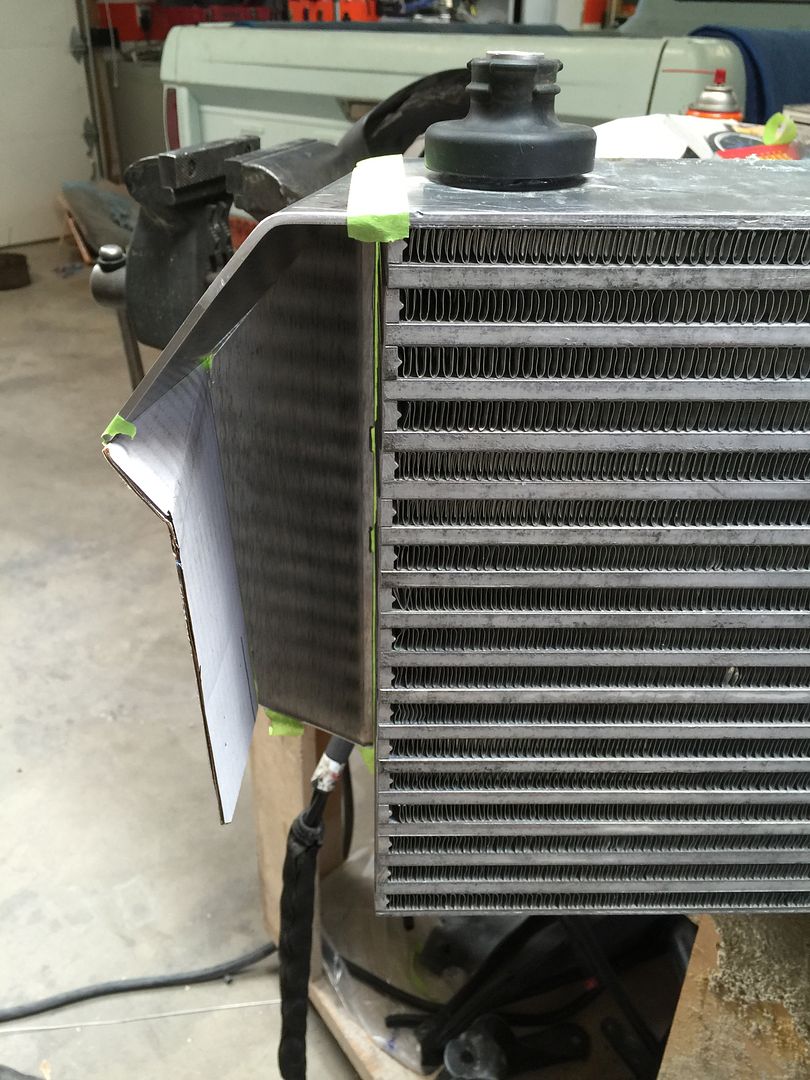
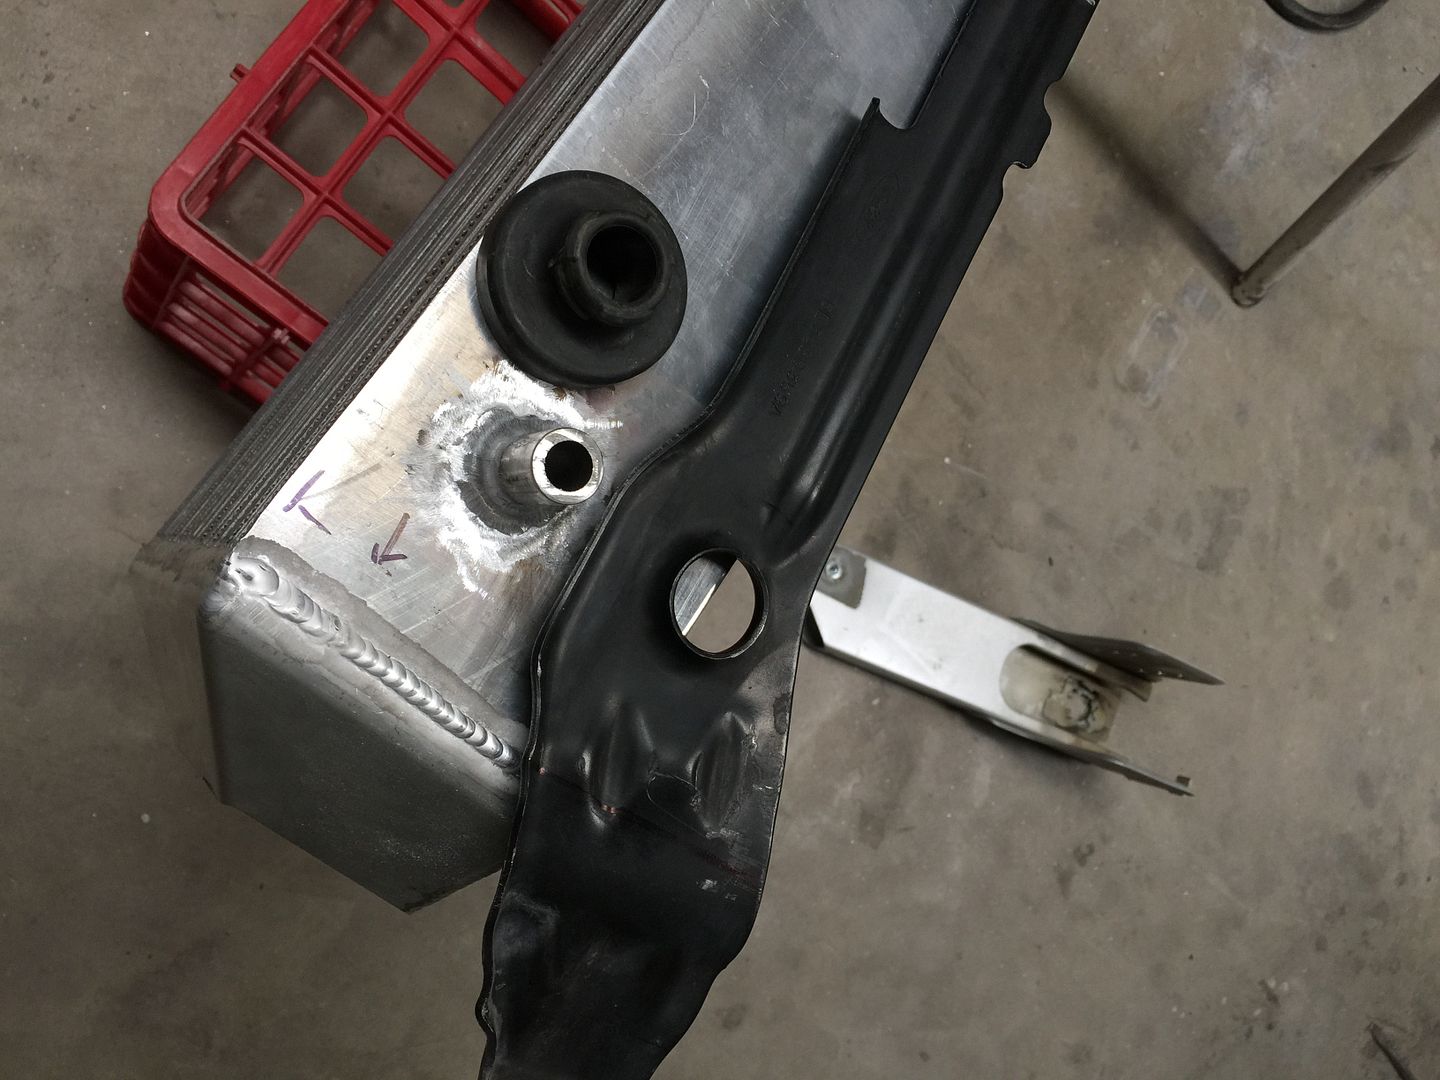
Ended up building my own complete new CAC~IC system. Started with a pile of left over pipe from another build.
Ended up with this . .
http://www.f150ecoboost.net/forum/10-f150-ecoboost-builds/1097-ecoboosted-1966-f100-250-a.html
Steering was another thing I thought would be a bit difficult.
It turned out to be pretty simple (once the idea popped into my head)
Brain just not wired like an engineer. Designing and drawing is not something I can do. Its mostly what do I have on hand and what can I do with it . .
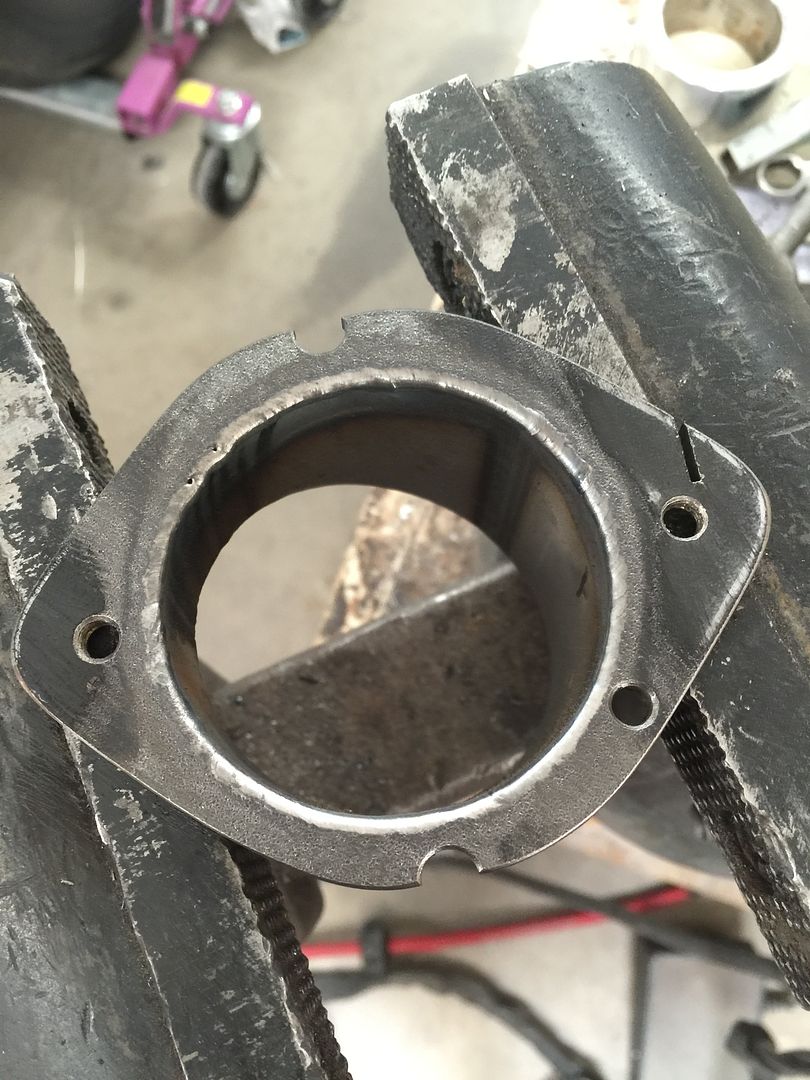
Using all stock '11 steering components with no mods other than moving the plastic sleeve down on shaft approx 3". Piece of pipe and a large oval hole in firewall so I could get steering in perfect spot.
I even used the OEM bearing.
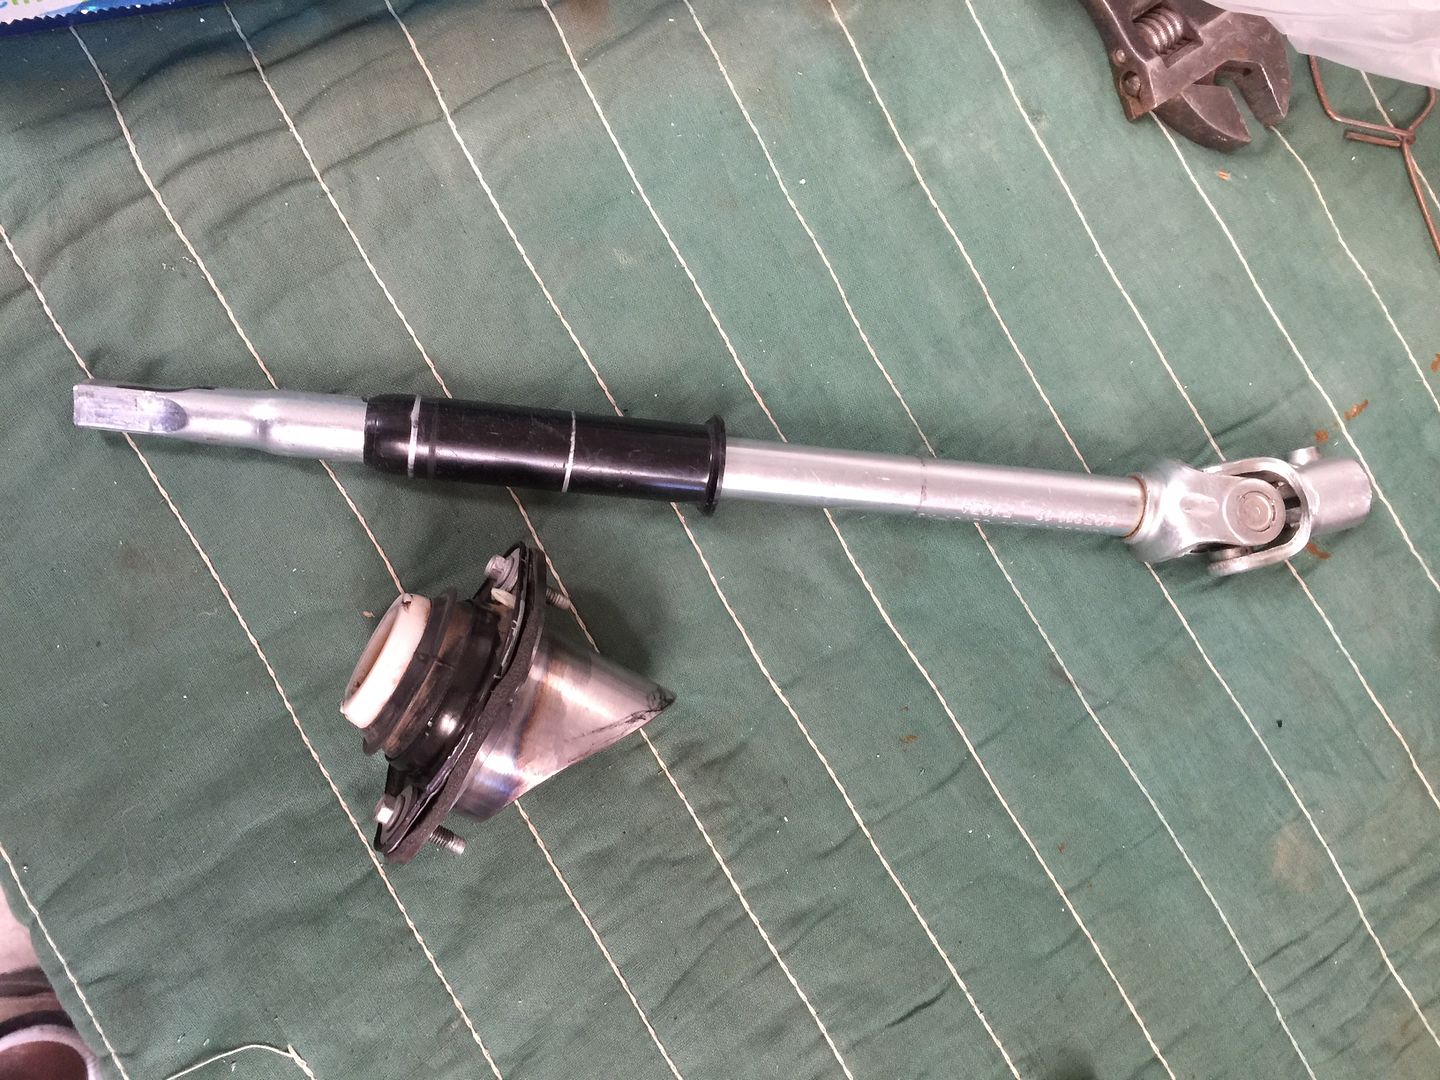
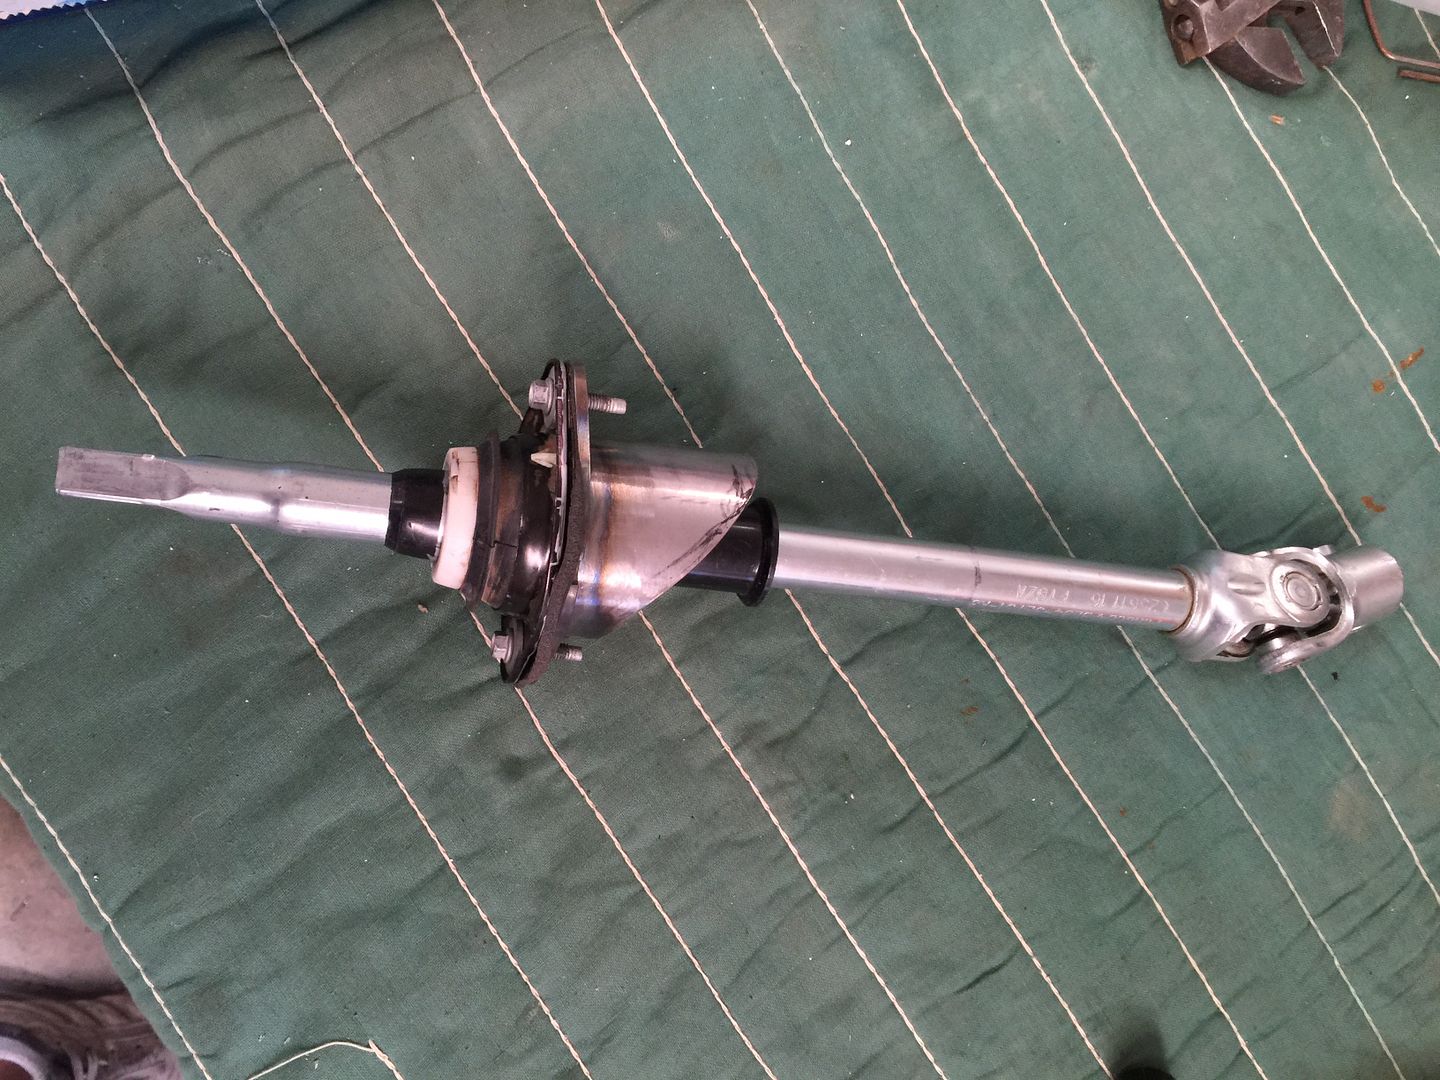
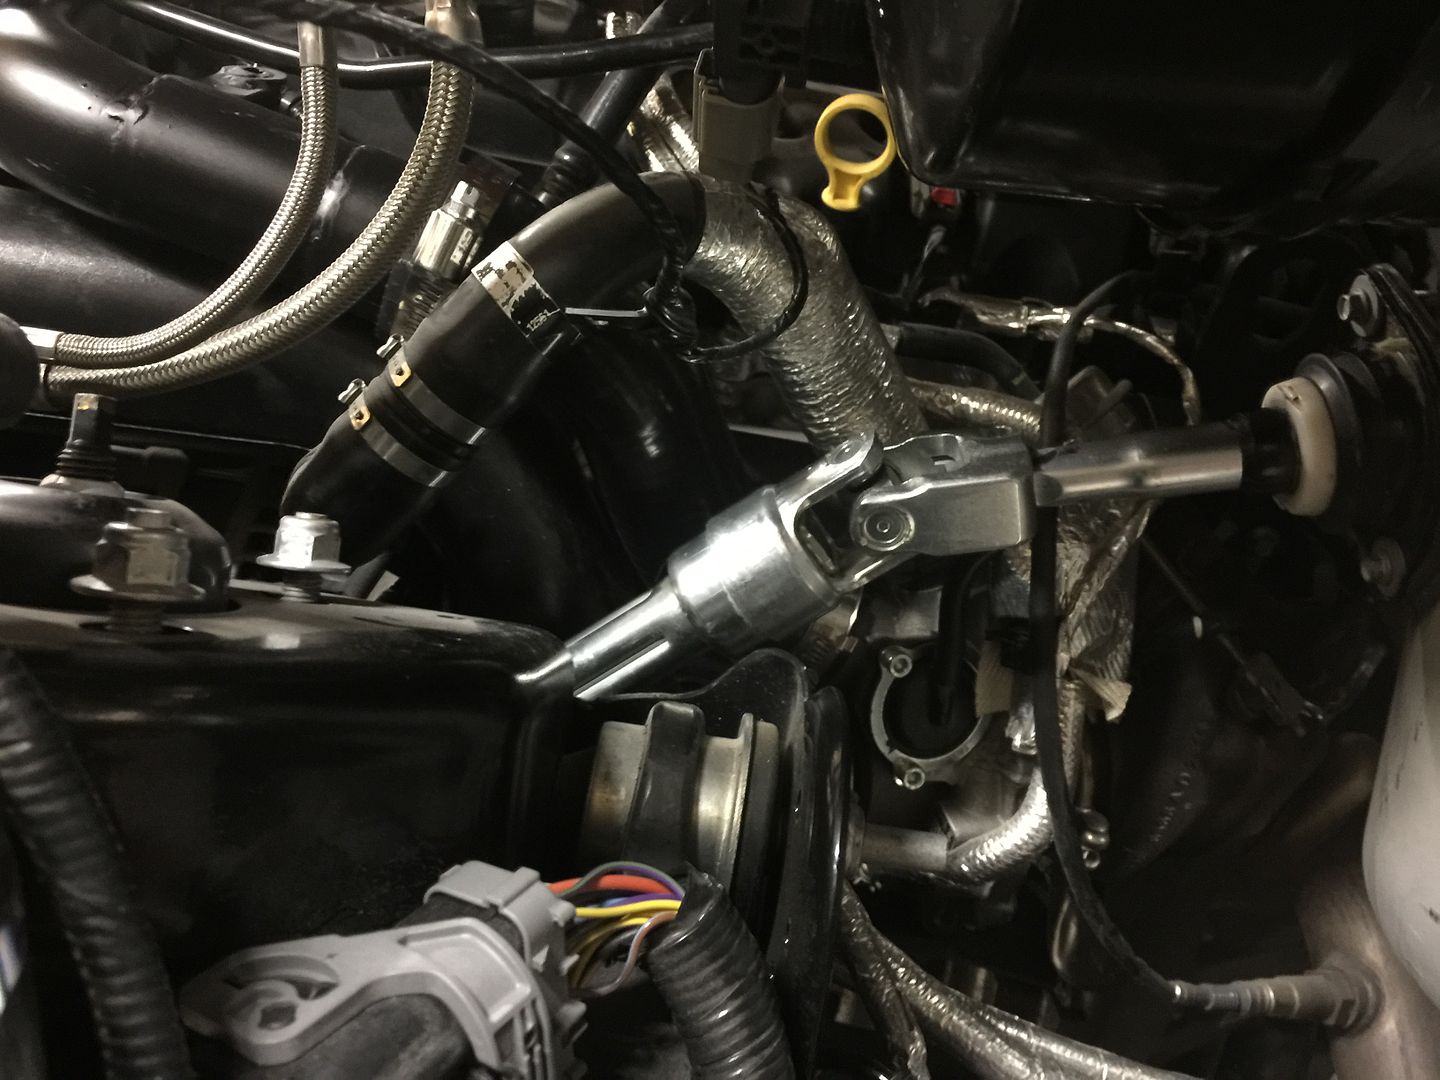
Since these pics I now also have the front clip mounting figured out.
Adding a stock new core support crossmember was a huge help for getting it all in proper place.
Should not be long before initial test drive!


