SkinnyG
SkinnyG PowerDork
11/26/24 10:12 p.m.

First, I purchased these plans: JD Garage Plans
Plans ordered from JD Garage, both version 1.0 and 2.0

Plastic parts 3D printed in PET-G, 100% fill:
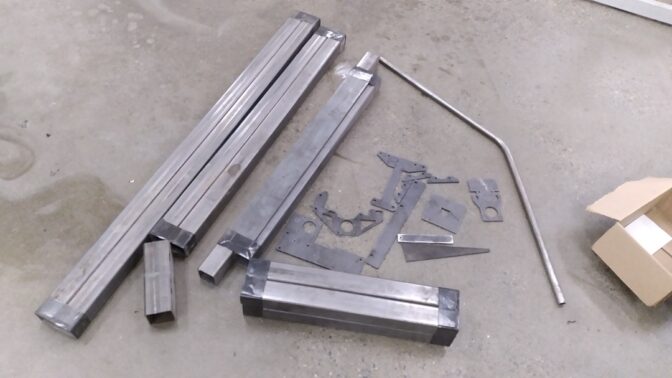
"Kit," ordered from some lengths of tubing, and some parts plasma cut on the machine at work:
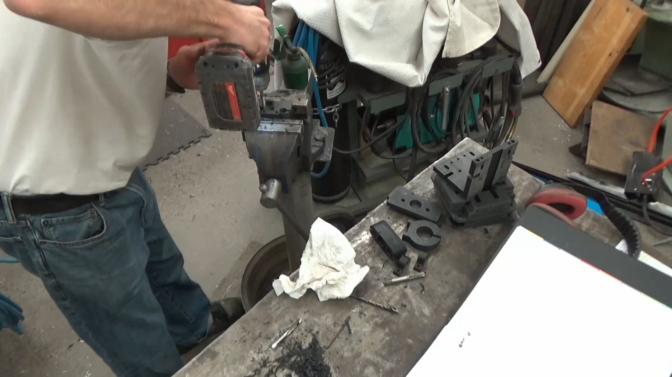
Crush sleeves welded at fastener locations:
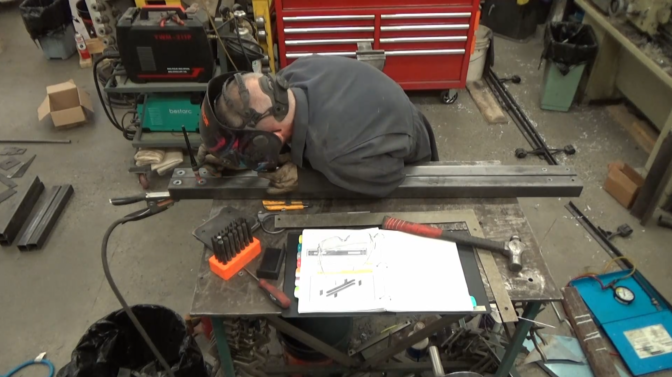
Painting:
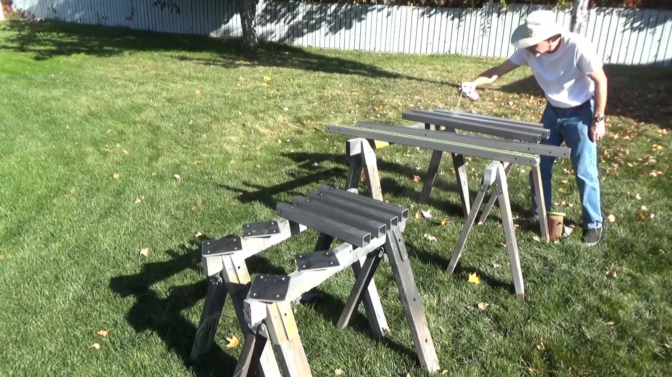
Assembling:
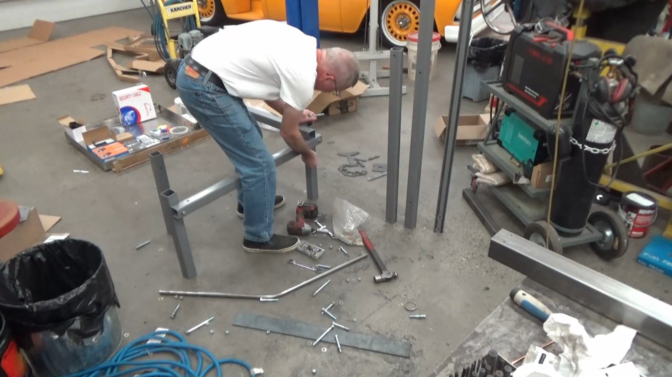
Assembling the Gantry:
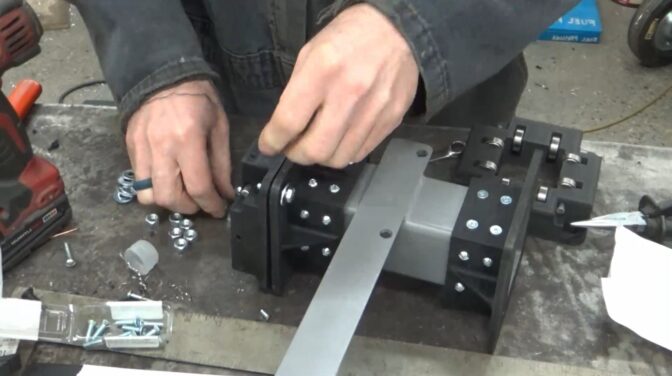
Everything else from Amazon:
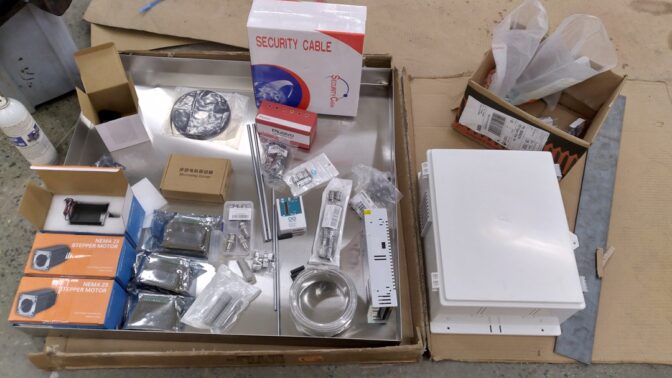
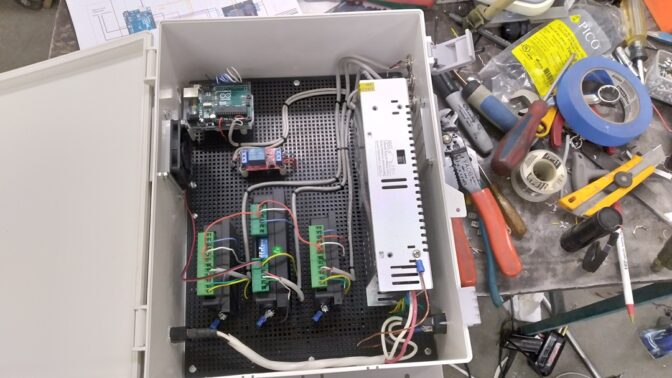
Bought v1.0 plans months before, but could not flash the Arduino. And ultimately smoked the Arduino.

Box with power supply, relay, and stepper controllers, and soon-to-die Arduino:
V2.0 plans use an ESP32 board, so I bought the upgraded plans, and two  ESP32-WROOM-32D boards and completely re-wired the box. V2.0 also uses bigger wiring, which I bought locally.
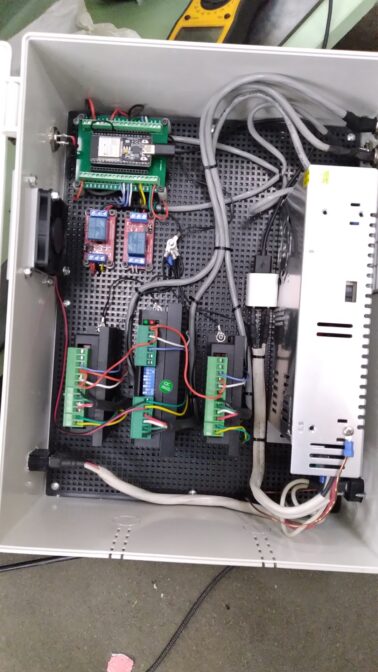
I somehow I smoked Pin20 (GND) on both my ESP32 boards.  I ended up just jumpering it to a good ground and got it to work fine. All except for connecting via Bluetooth. Apparently the WROOM-32U boards are actually the recommended ones, so I ordered two, only to discover that I bought "wide" boards, not "narrow" boards (won't fit the narrow Breakout Boards I have).  And I still cannot connect to them via Bluetooth.

Running OpenBuilds CONTROL.
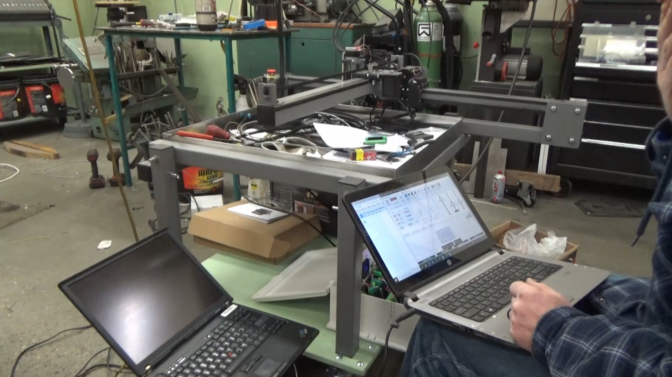
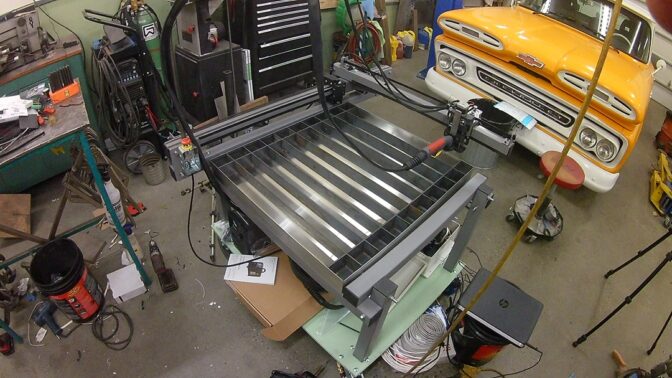
Fabricating the metal grate - 2" slots in 2.5" angle iron, and 2" flat bar supports:
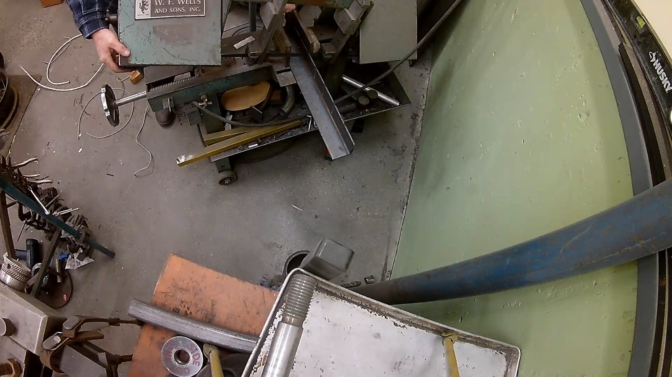
The first cut I did not have water in the stainless tray.  That got real exciting when the foam rubber on the underside caught fire.
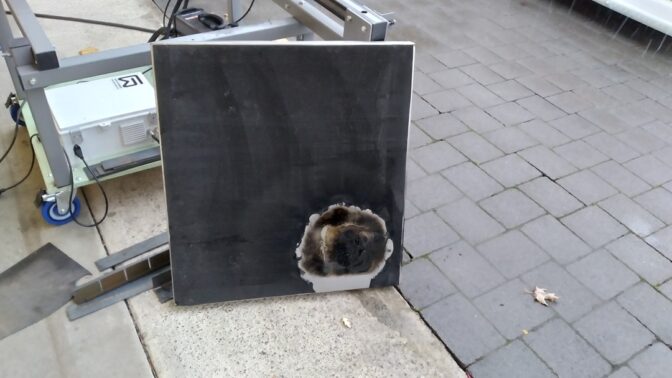
There was also some significant electrical interference somewhere that made circles into mini-saw blades.  I suspected carelessly routed wiring?

I had placed the machine on a rolling sheet of plywood (shown above, in machine green), with the intent that the electrical box would stay under the machine.  I ran an externally-placed E-Stop, but did not adequately ground the shielding.  The machine would start the arc, and then just sit there and the E-Stop would flicker the machine between Play and Pause.  After properly grounding the sheathing, it worked fine.

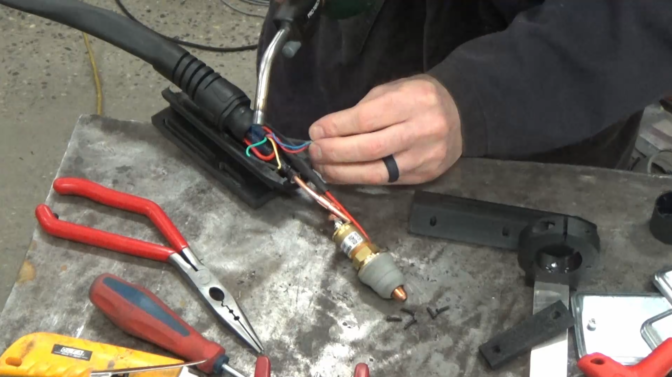
OMG - and you need this: 3D Print your hand torch to a machine torch


WonkoTheSane
WonkoTheSane UltraDork
11/27/24 1:10 p.m.

What have you cut out with it so far?  This looks like an awesome project!

SkinnyG
SkinnyG PowerDork
11/27/24 11:48 p.m.

Just a few small test cuts, plus the sign at the end of the video.  I only just got it going this weekend.

Oh yes - I will be using it more!

Somebeach (Forum Supporter)
Somebeach (Forum Supporter) Dork
12/2/24 10:02 p.m.

Thank you for the video. I bought the plans a while ago, but after looking at them was intimidated and so I haven't done anything with them since.
 

The video you posted helps me see the process at lot better. 
 

How many hours do you think it took you to put it all together? 

Kendall Frederick
Kendall Frederick Reader
12/2/24 10:19 p.m.

I have been looking at the videos for the new XL version of this, and plan on building one next year sometime.  I have a friend who cuts stuff for me right now, but it'd be nice to have my own..  I enjoyed your video and pics of the work!

SkinnyG
SkinnyG PowerDork
12/3/24 1:01 a.m.

I'd say it can be done in a comfortable month's worth of weekends.  The documents make it seem like 3-5 days, if I remember correctly.  You can certainly knock it together quick, or take a bit more time and a slower pace like I did.  I was not hard at all.

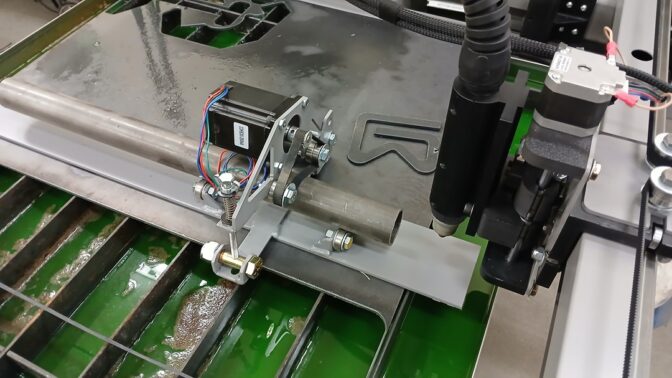
With this device below, I should be able to cnc-cut tubing, like for fish-mouths and stuff. I cut the parts on the CNC itself, and had the thing assembled in a day.  Still have to wire it, but it's like 3 wires and a plug:

Mr_Asa
Mr_Asa MegaDork
12/3/24 7:17 a.m.

When you get a chance, any possibility of a price breakdown?

SkinnyG
SkinnyG PowerDork
12/3/24 10:35 a.m.

$2100 Canadian, including, the Z-probe option, tube roller option, and the water tray option. This also includes a "blow back" CNC-controlled plasma cutter. So, about $1500US.

SkinnyG
SkinnyG PowerDork
1/12/25 10:03 p.m.

Initially I had issues where the machine would probe Z for zero, light the torch and then just sit there.

I moved some wiring around, and properly grounded the shielding to the E-Stop which fixed that.  My E-Stop is external, the plans have it on the electrical box - I didn't think to ground the shielding.

Then I had issues that once in a while when it would probe Z for zero, it would just stop moving and just sit there.  OpenBuilds software would have paused, and I'd have to hit PLAY to keep the program going.

I added some Ferrite rings to the E-Stop wiring as well as the Z-Probe switch wiring.  This reduced it, but it still happened.  Recently JD Garage released a wiring update to add an opto-isolator on the probe switch circuit which I just completed, but have not tested it yet.

I've been having fun with it, though.  Definitely one of my top 10 projects.

To celebrate, I bought a 1-hp 10" bench grinder.

You'll need to log in to post.

Our Preferred Partners
iPnYAcnC2Fn9OYXAeZBXr95eX1IFPyzeprF5aONBWYQOLaJ1RIBSobLalaZJ0r6B