
drmike
Reader
2/23/12 5:30 p.m.
Last weekend I found the time to run some rearsets through the CNC mill, and to make a few other parts. I had designed these parts about a month ago, and I thought I'd share here.
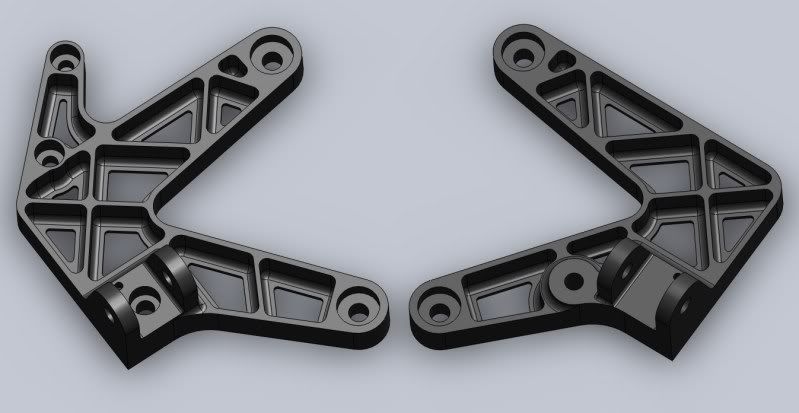
The CAD models:
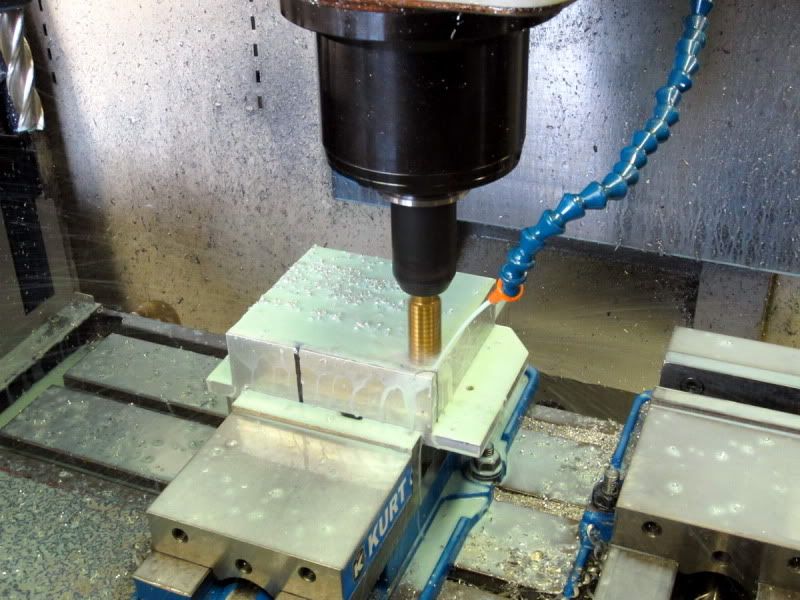
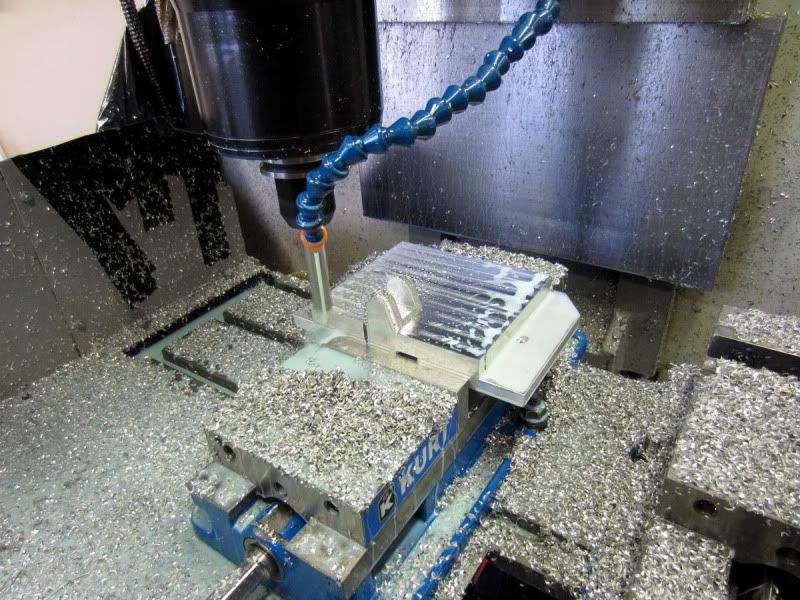
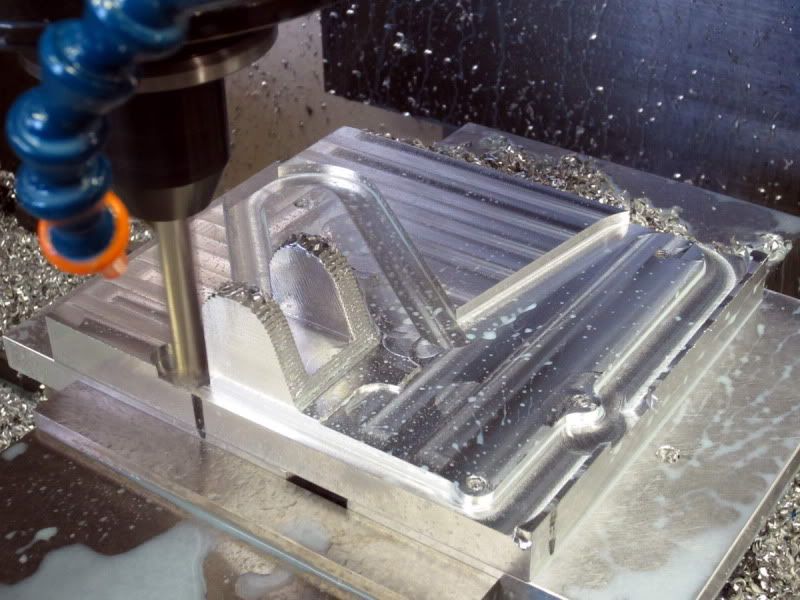
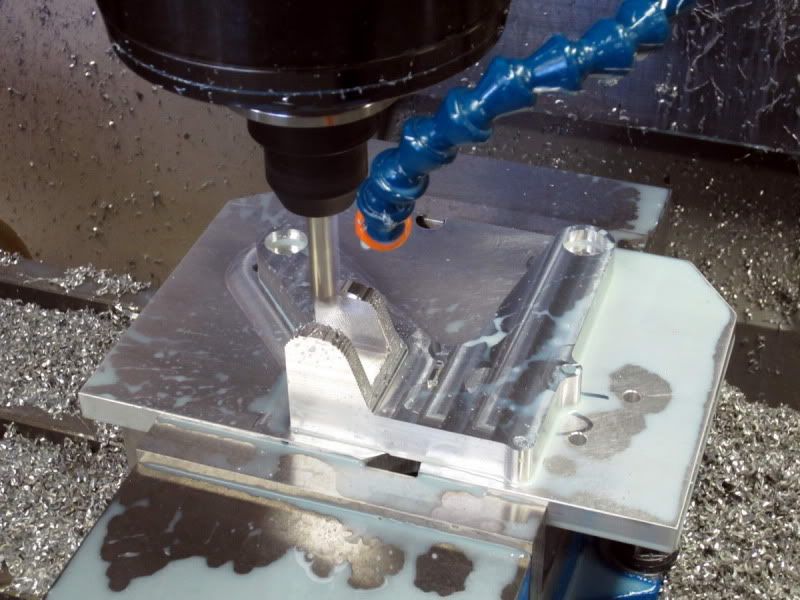
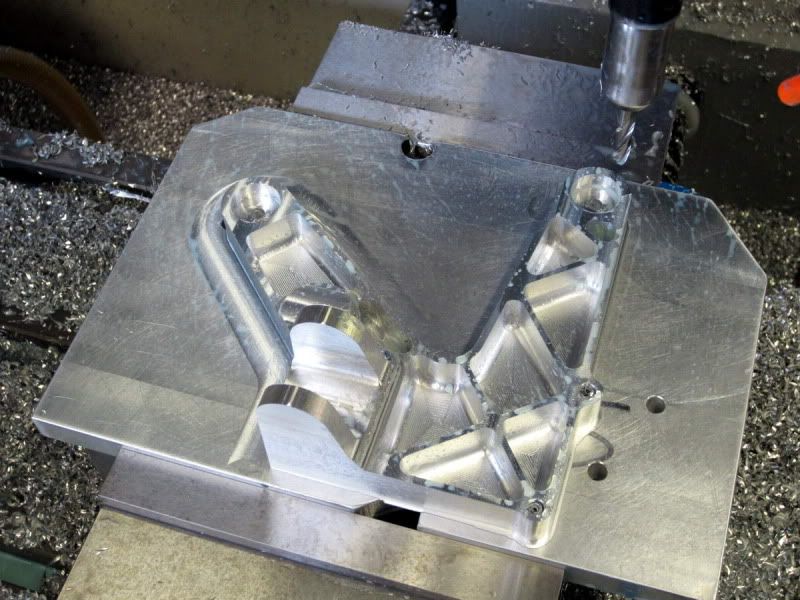
Here are some pictures of the CNC mill carving out the shapes (this took about seven different cutters, not including the drills and taps):
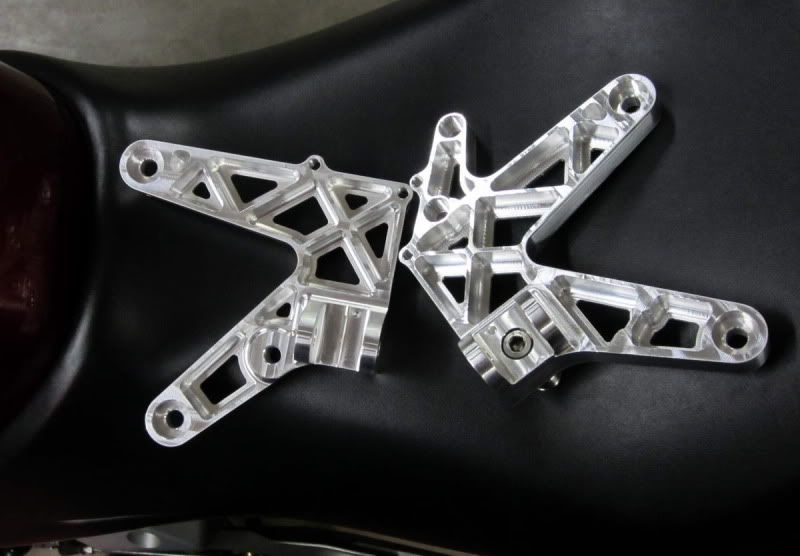
Here are the finished parts:
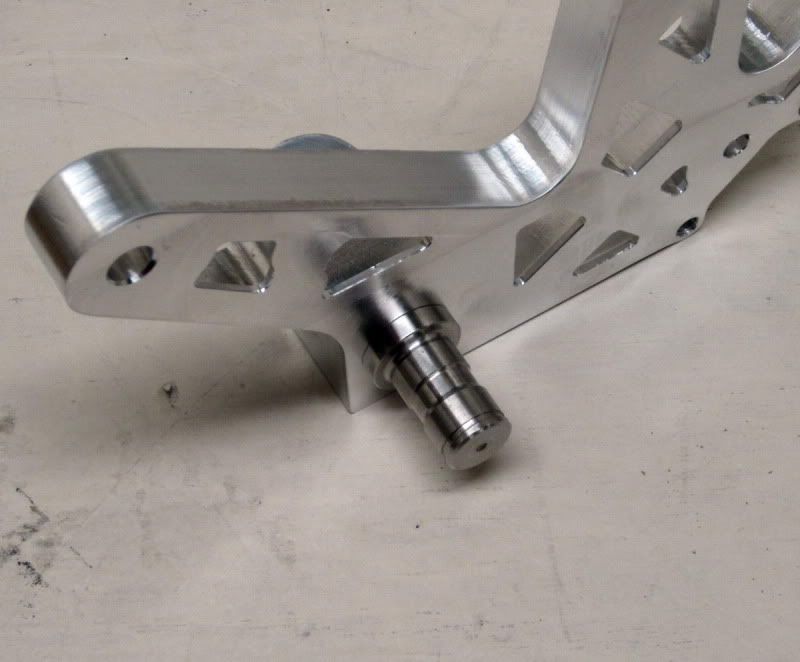
The right side has a pin on the back side for the brake lever:
I made up some stock, flat, 3-ply carbon to make the left side heel guard:
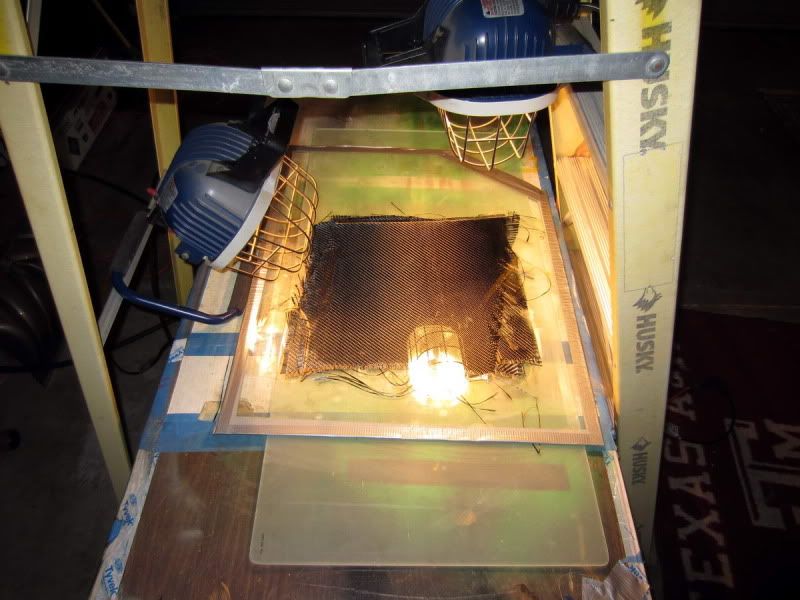
I also had to make a little T-bracket for the brake light switch, since I didn't have any suitable metal. Gee, darn.
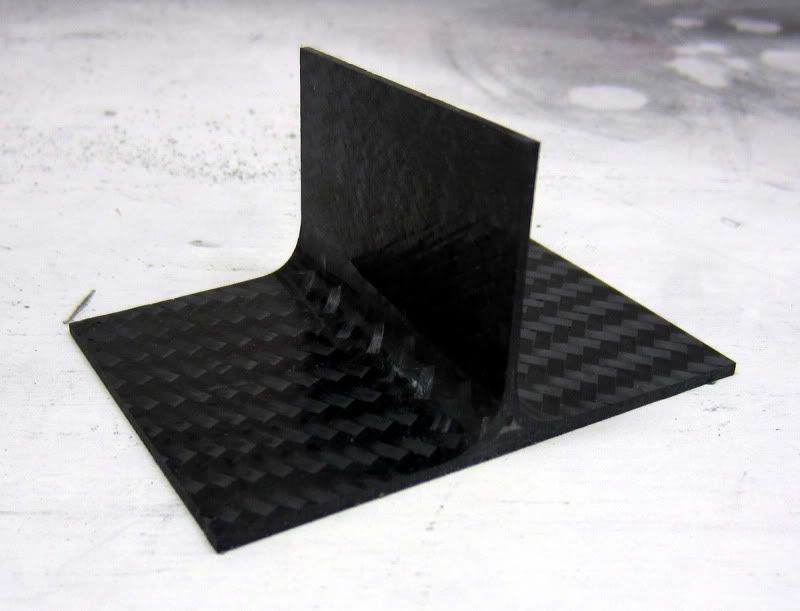
This is the final piece:
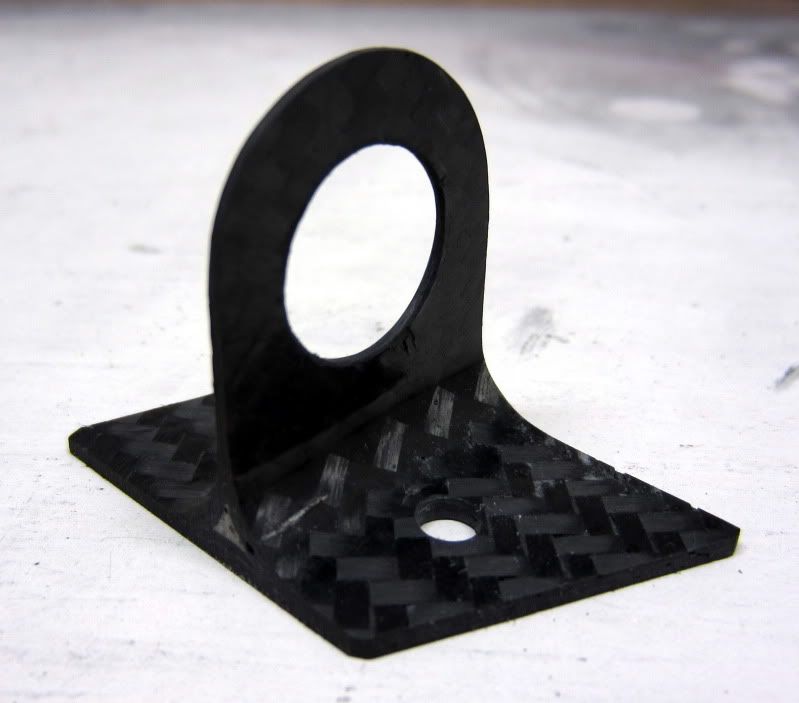
And this is the assembly:
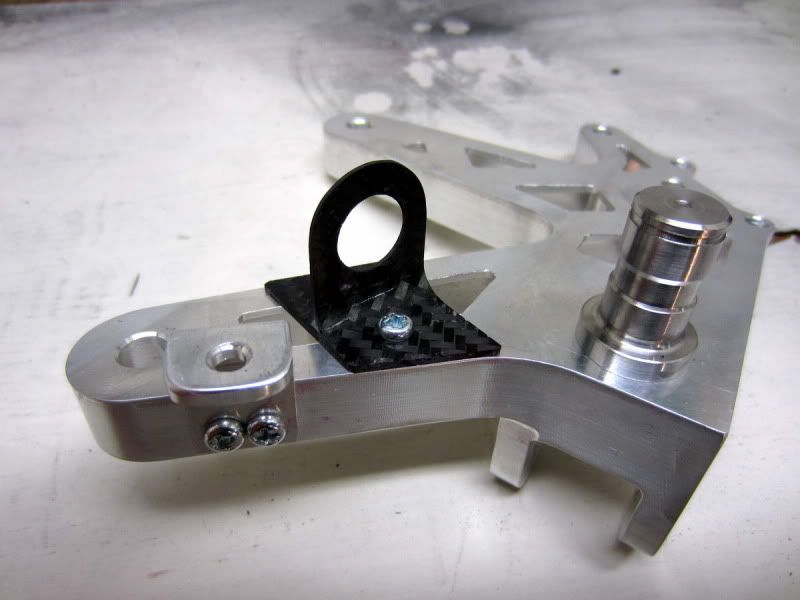
And finally, I mounted everything up to check fitment!
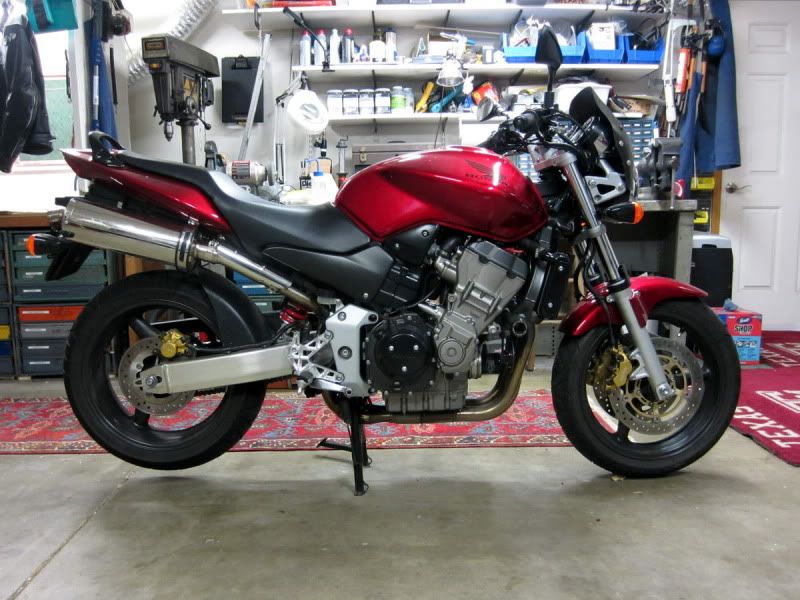
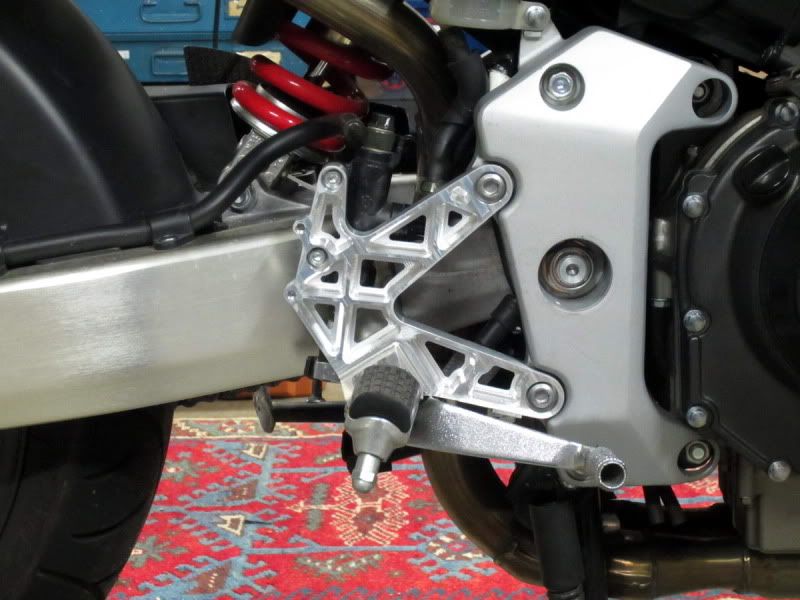
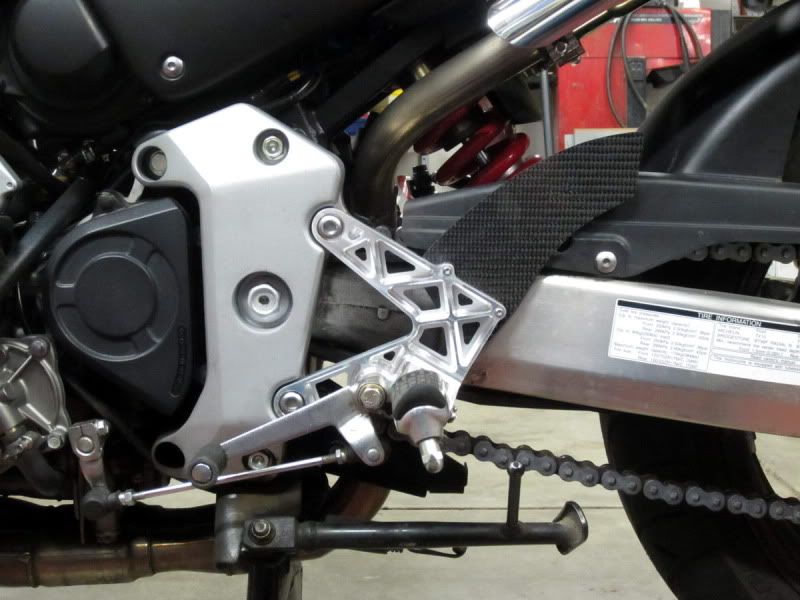
Then I had to go out of town on business, so I have not had a chance to try these out. Hopefully tomorrow!
FUN little project for the old Honda 919.
Nice. Are you leaving them natural? What kind of machine? Software?
I would like to make camber plates for my car.

drmike
Reader
2/23/12 7:05 p.m.
I have a powder-coating set-up at home, so I'll get around to coating them later, after they've been tested. (Attention trolls and troll-like objects: I am well aware of the potential for overageing aluminum during powder coat, and I will take the necessary precautions.)
The CNC was a small HAAS vertical machine (TM-1) but just about anything would work for these little parts.
I programmed these parts in Mastercam X3 - I have experience with that one. I have some long-past experience with some other CAM software, but no access to those.
you could home-anodize them, too. Gold would look nice. Those are damned sexy. If you can do those you could be making some serious coin doing one-off machining...
Thats pretty sweet!
On the rearset, why do you have a round on the bottom edge by the ribs?
How did you make the tshape for the carbon fiber bracket?

drmike
Reader
2/23/12 9:00 p.m.
stroker wrote:
you could home-anodize them, too. Gold would look nice. Those are damned sexy. If you can do those you could be making some serious coin doing one-off machining...
Yeah, but my employer would look dimly on the use of their machines for moonlighting! :-)
Now, if I only had a little CNC machine shop at home... 

drmike
Reader
2/23/12 9:07 p.m.
fritzsch wrote:
Thats pretty sweet!
On the rearset, why do you have a round on the bottom edge by the ribs?
Not sure yet what you mean.
fritzsch wrote:
How did you make the tshape for the carbon fiber bracket?
Ah, that was a bit of creativity. I grabbed a piece of scrap, thick-walled 1 1/2" square tubing that had a nice corner radius, and I cut off two pieces. Those two pieces, plus a nice flat plate, I covered in "release tape", basically high-temperature, smooth plastic tape that epoxy won't stick to. I then laid up three plies of carbon on the flat plate, and three plies on two adjacent surfaces of the square tubing. Set the square tubing and plies right onto the flat plies, and then wipe in a bit of "dry micro", that is, epoxy mixed with micro-balloons, right in the corner where the plies wrap up (the place where the intersection of the three legs of the Tee will be). Put three plies on the other piece of square tubing, then push that against the first, so that the plies touch to make the vertical part of the tee. Finally, c-clamp everything together, and put it in the curing oven for about 8 hours. Pop off the metal forms, trim to shape, and voila!
Well right at the mounting surface, near the base of the rib is wider than the width of the rib. You have removed material between the ribs but Im curious why its not straight through, the geometry of the hole changes right near the mounting surface. Like the geometry of the cutotts is offset by some amount right near that surface

drmike
Reader
2/23/12 9:59 p.m.
Oh, I get it now. The material at the bottom acts as shear webs, so that the whole part is a lot stiffer for only a small increase in mass. Those shear webs are only .075 inch thick. Without them, there is a greater tendency for the part to twist under load, and for the open sections that are not purely triangular to "pantograph", or distort like a diamond shape that is squeezed on two opposing corners. Finally, the shear webs protect against buckling failure of any of the cross ties that are put in compression. Think of it as a set of fancy gussets.
Wow very nice.
Wish i had a copy of mastercam. We use it here at work it would be nice to program up a few parts and pop them out on the CNC rather then one by one at home.
Very nice work sir!
Me I'd anodize them dark red to match the tank. If you didn't like it you can powder coat over the anodize with out problems fact it might help give the coating some bite.
WOW! What a nice job AND a decent little under the table income.
I wish I had some marketable skill, all the things I enjoy no one wants to pay me for. 
Dan

drmike
Reader
2/24/12 6:27 p.m.
44Dwarf wrote:
Wow very nice.
Wish i had a copy of mastercam. We use it here at work it would be nice to program up a few parts and pop them out on the CNC rather then one by one at home.
Very nice work sir!
Me I'd anodize them dark red to match the tank. If you didn't like it you can powder coat over the anodize with out problems fact it might help give the coating some bite.
Really good idea - I'll have to see if I can throw them in with an anodize batch shipped out at work.
those look like poop, you should take them off and mail them to me.
I hate You. 
Mine will look close to the slabs of aluminum they came from.


