
Part 5 of the magazine series.
We had successfully turned three wrecked frames into one perfect chassis. Now we had to hang the suspension parts.
The Lotus Elan’s suspension system is at once simple and totally unorthodox. While it’s mostly composed of common Ford and Triumph pieces, they were arranged by Lotus founder Colin Chapman and his crew in some decidedly uncommon ways.
Up front, Triumph Spitfire hubs, spindles, ball joints, trunnions and disc brakes are mated to two-piece A-arms unique to the Elan. The front suspension is capped off with a Lotus-designed coil-over setup that mounts the anti-roll bar to the bottoms of the shock absorbers—presumably to shed weight, but more likely to save money. The steering rack and column also look strangely familiar to those of us who have restored Triumph Spitfires.
For a car with such a reputation for great handling, there is surprisingly little adjustability up front. Only toe is readily adjustable. Apparently Lotus decided that the other measurements were right where they needed to be.
The rear suspension is also by coil-over, but with a Chapman-designed strut holding an insert. At the top, each strut is located with a unique Lotocone-type bushing. Lower wishbones sporting very wide attachment points are matched with bespoke alloy uprights fitted with Ford bearings. Disc brakes can be found at the rear, too, with each assembly featuring a second disc brake for parking.
A mix of suppliers contributed to the aft section of the driveline: Rotoflex couplings and half shafts (à la Triumph GT6) transmit power from the Lotus-designed differential housing. Inside that housing are standard English Ford gears.

Step 1: We needed to completely disassemble the suspension, and we started up front. We used a homemade spring compressor to strip down the front coil-overs, labeling everything as we went along.

Step 2: We carefully media-blasted and painted our coil springs and dust shields before reassembling with Koni dampers we bought used on eBay and had checked out by an authorized rebuilder. The Elan suspension features many parts sourced from other models, but the lower shock mounts are unique to the car; bottom tabs mount to the anti-roll bar.
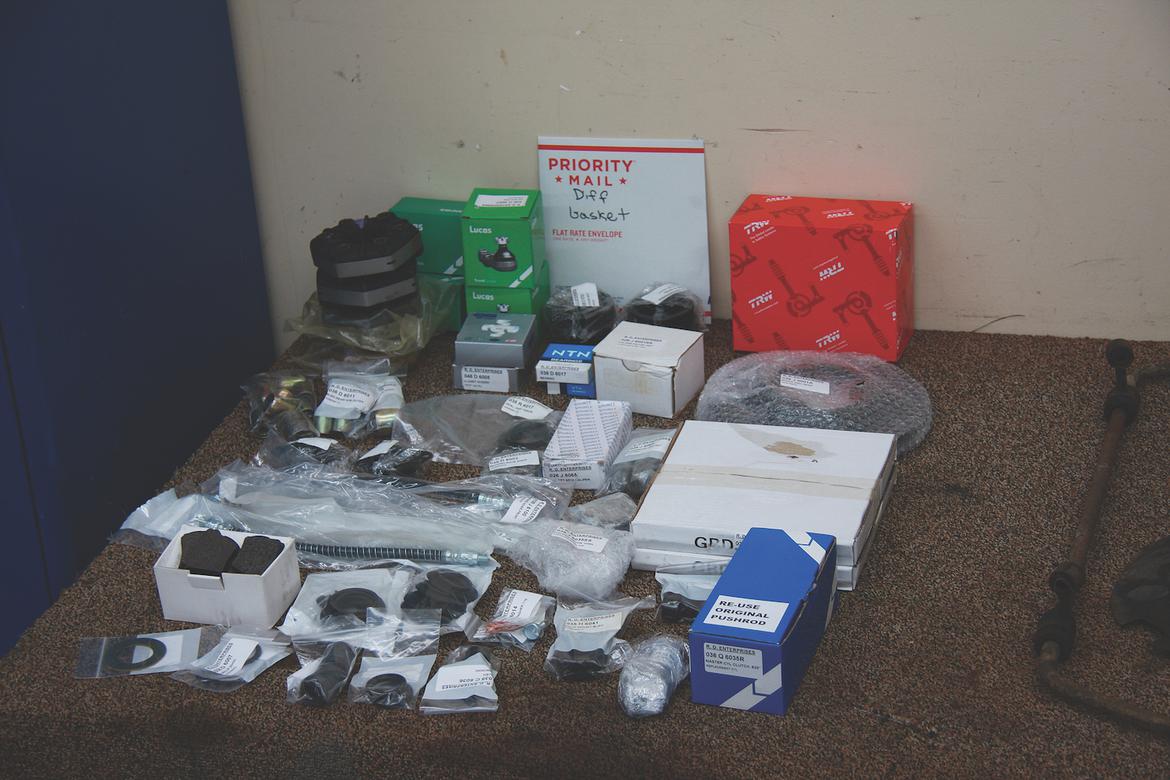
Step 3: Lotus parts house R.D. Enterprises had all of the new items we needed to refurbish our suspension and brakes—in stock and at reasonable prices. The service was topnotch, too, with quick shipping and friendly, knowledgeable help.

Step 4: Our front end came together nicely, and the new parts looked great on our rejuvenated frame.

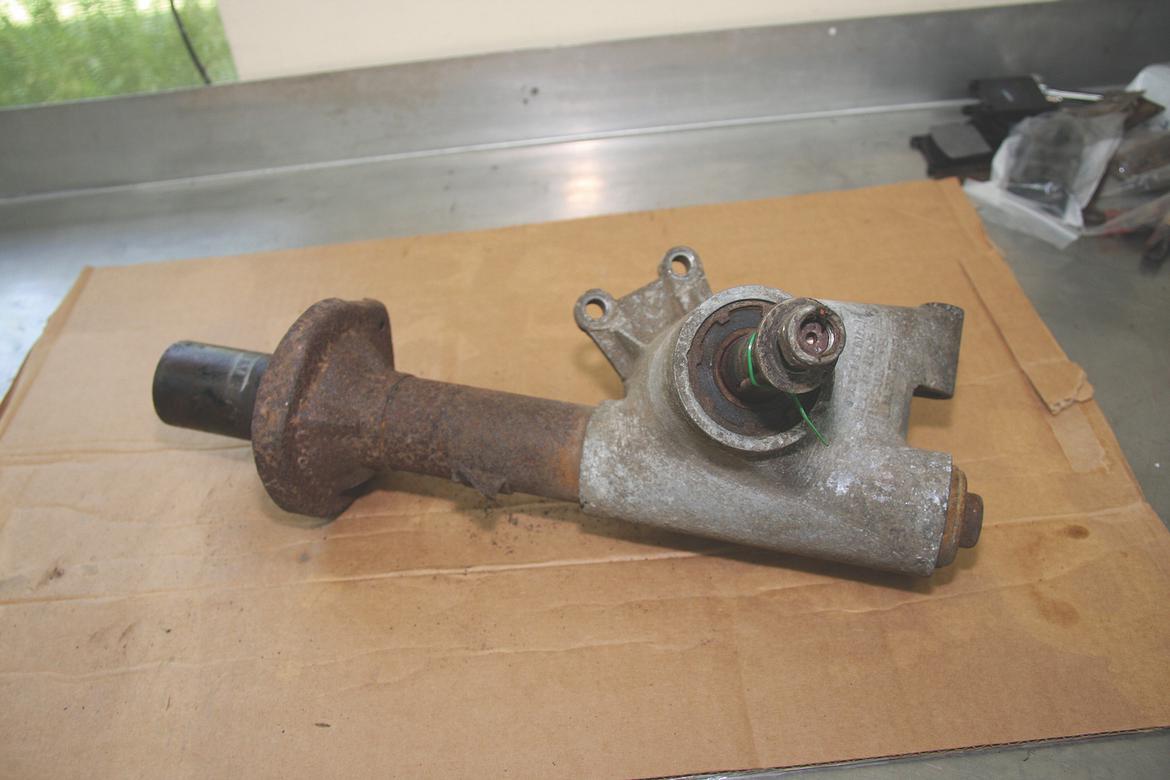
Step 5: This is what we started with out back: mangled, rusty parts. We added that looped tab to the top of the strut so we could pull the bent frame away from the equally bent body.

Step 6: We stripped the entire rear suspension before media blasting them. Before reassembling the suspension, we’d also crack check, clean and paint each piece.
Step 7: Early Elans came with smaller outer strut bearings that were prone to failure, so we upgraded our car to the larger bearings used on the Series 3 and 4 Elan.

Step 8: We put all of the rotating assemblies into our lathe and then checked each piece with a dial indicator—good advice for any restoration, especially one where the car has been in a crash.


Step 9 and 10: Magnaflux offers nondestructive test kits that reveal any cracks or defects. The kit we used is easy to operate: Clean the piece to be tested, spray it with two different solutions, and then wipe down to reveal any cracks.

Step 11: Once we had all of our suspension components tested, media blasted and cleaned, we hung them on a line and painted them with Eastwood Chassis Black. While we have powder coated chassis parts in the past, we have become big fans of this aerosol product. It costs less than powder coating yet also delivers a tough finish. And unlike powder coating, painted parts are better at revealing any future cracks.

Step 12: We used Eastwood’s Aluma Blast paint to duplicate our strut housings’ original aluminum finish. After spraying the upper portions of the housings with high-fill PPG primer, we’ll paint them black.

Step 13: Our rear suspension parts looked brand-new once cleaned and painted. Here’s a tip: Banding the Rotoflex couplings makes them easier to install, as it tightens the units just enough for them to line up with the bolt holes. Once installed, simply cut the bands. A large hose clamp makes an even better band since its diameter can be adjusted.

Step 14: To drive the new bushings into the rear A-arms, we used a homemade tool built from some nuts and washers on a threaded rod. This system worked well, but it required carefully lining up the bushings so they went in straight.


Steps 15 and 16: We found this set of Koni rear inserts on eBay. Not only do Konis deliver excellent handling, but they are rebuildable, too. Koni’s authorized rebuild centers are TrueChoice in Hilliard, Ohio; Pro Parts West in Canoga Park, California; and Performance Shock Inc. in Sonoma, California. Another reason we like Konis: They’re an appropriate, period-correct upgrade. As the insert goes back into the strut housing, it’s given an oil bath to aid cooling.

Step 17: The Lotus Elan uses a bespoke rear housing mounted to a common English Ford differential. We cleaned and serviced the rear end with new bearings and fresh seals. Our early Elan came with a 3.9:1 final drive, but for more comfortable cruising we installed a 3.7:1 final drive from an Elan S4 parts car.

Step 18: The brakes also needed a full rebuild. Caliper pistons don’t tend to come out easily after sitting in a field for four decades, but we devised a solution. We welded a bolt to the piston, then ran it through the hole in that heavy piece of scrap steel pictured in the background. We then ran a nut down that bolt. A couple turns of the nut pulled the bolt—and the stuck piston—from the caliper.
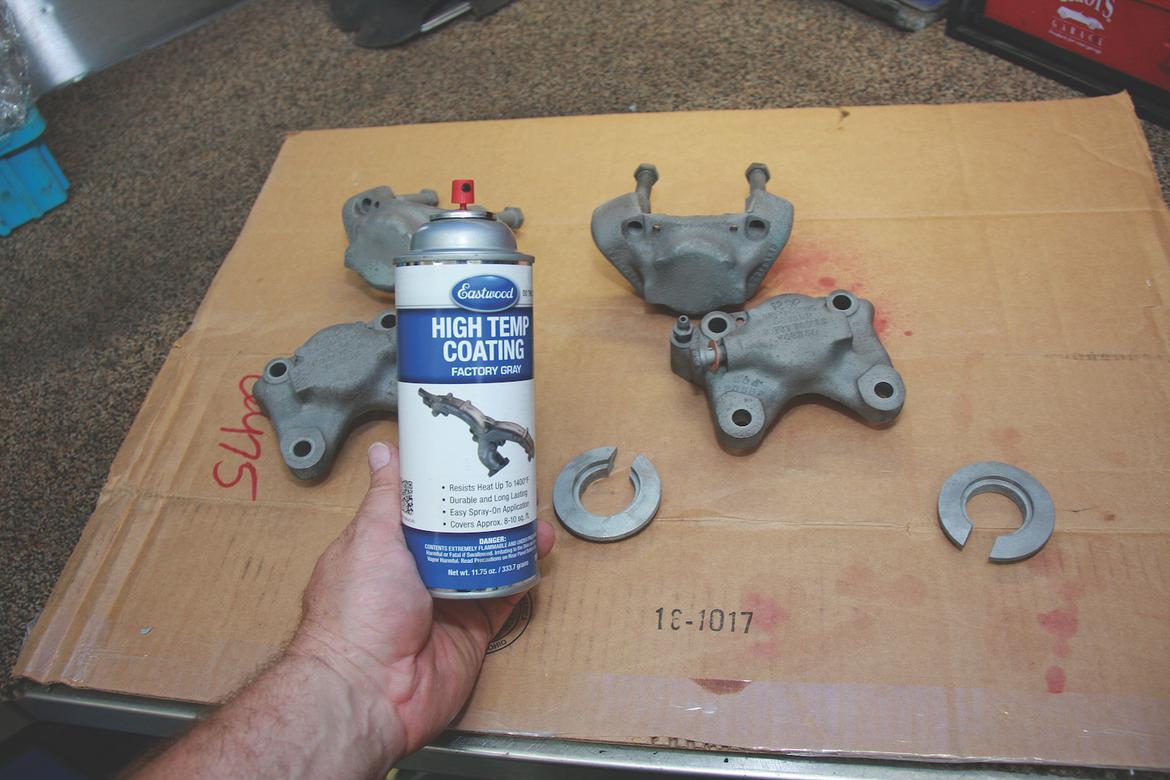
Step 19: Back in the day, parts like calipers were either cadmium-plated or, in many cases, left as bare metal. Before rebuilding our brakes to stock specs, we refinished them. Brakes produce a lot of heat, so we reached for Eastwood’s High Temp Coating. It’s easy to apply, it’s durable, and it nicely replicates the color and texture of unpainted cast iron.

Step 20: Our result was worth the effort, as the suspension looked new—maybe even better than new. Thankfully, an upcoming step will be a simpler exercise: mating our Lotus Elan’s nearly finished monocoque body to its now-complete chassis.
Now we had to rebuild this suspension. And since the left-rear corner of our car had been hit quite badly, we also needed to replace at least one of the rear uprights. We had work to do.
View all comments on the CMS forums
You'll need to log in to post.


