
Our Lotus Elan was a jumbled mess when we found it. Not only was the body trashed, the interior was literally a moss-growing terrarium. So it’s hardly surprising that the wooden dashboard, like the rest of the car, had seen better days.
While replacement dashboard faces are readily available for later Lotus Elans, that’s not the case for early Series 1 cars like ours. So we would have to make our own–or, rather, learn how to make our own from an expert.
Craig Seabrook of the Whitworth Shop specializes in these projects, having spent much of his life building wood dashboards for early MGs. (He can also deliver all of the wood needed to restore an MG T-series body.) So we gathered up the remains of our battered and broken dashboard face and took them to his shop in Novelty, Ohio. Even though Craig had never made a dashboard just like ours, he was confident that he could recreate it and show us how the process is done. So he did.

Step 1: Craig Seabrook specializes in wooden dashboard faces, and he volunteered to show us how to recreate ours. The process is begun by making a very accurate pattern of the original dash on a piece of Crescent board, which is kind of like the mat board used for photo framing. During this step Craig also accurately measures every single gauge hole.

Step 2: Craig’s new pattern mimics our original dashboard face. He also made a pattern for the inside of the glovebox door.

Step 3: Now it’s time to use that pattern to rough cut a new piece of wood. Craig started with a piece of 3/8-inch Baltic birch from Russia because that’s the type of wood originally used for many British car dashboard faces.
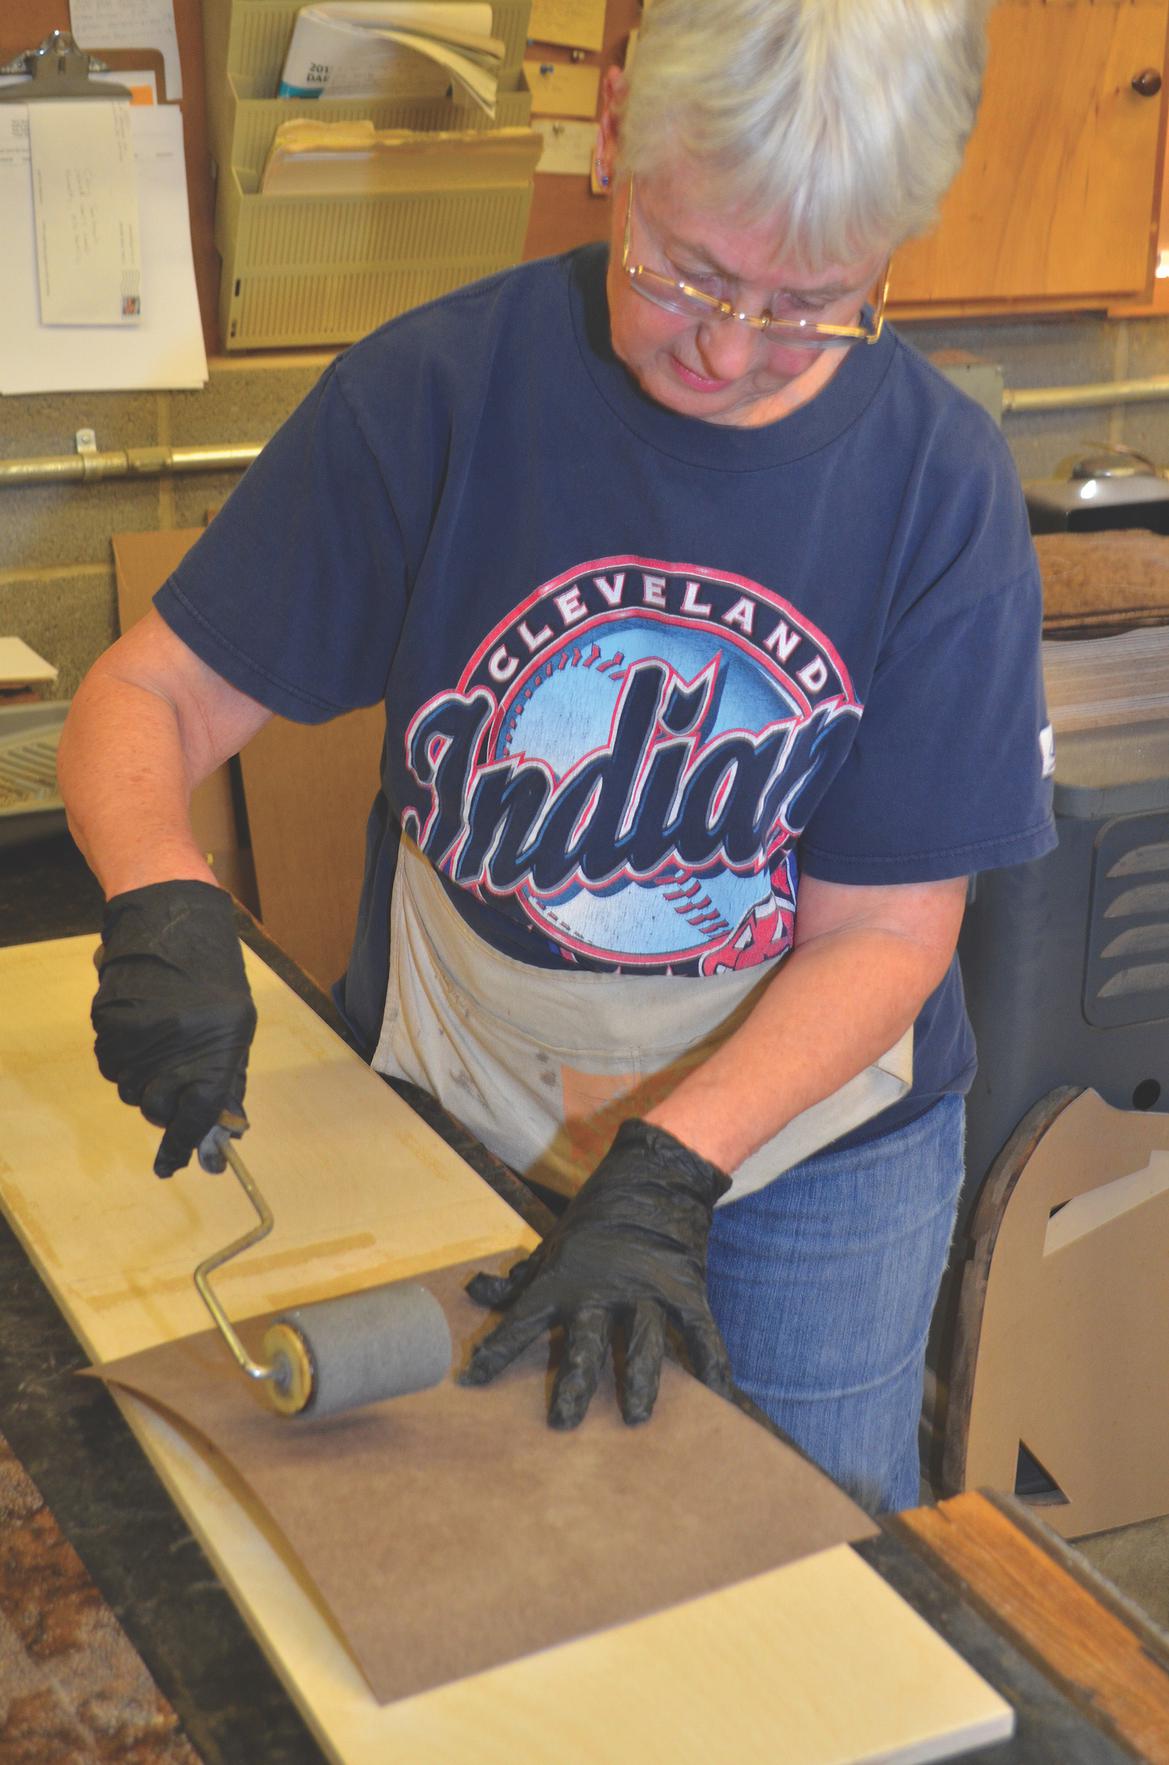
Step 4: Before the wood can be cut to the exact shape, the proper veneer–which in our Lotus’s case is a walnut veneer–needs to be glued on. Linda Sedivy, who does the veneers for Craig, first inspects the veneer’s grain patterns so that she can select the most attractive part. Then she glues the veneer in place using West System epoxy resin and hardener.
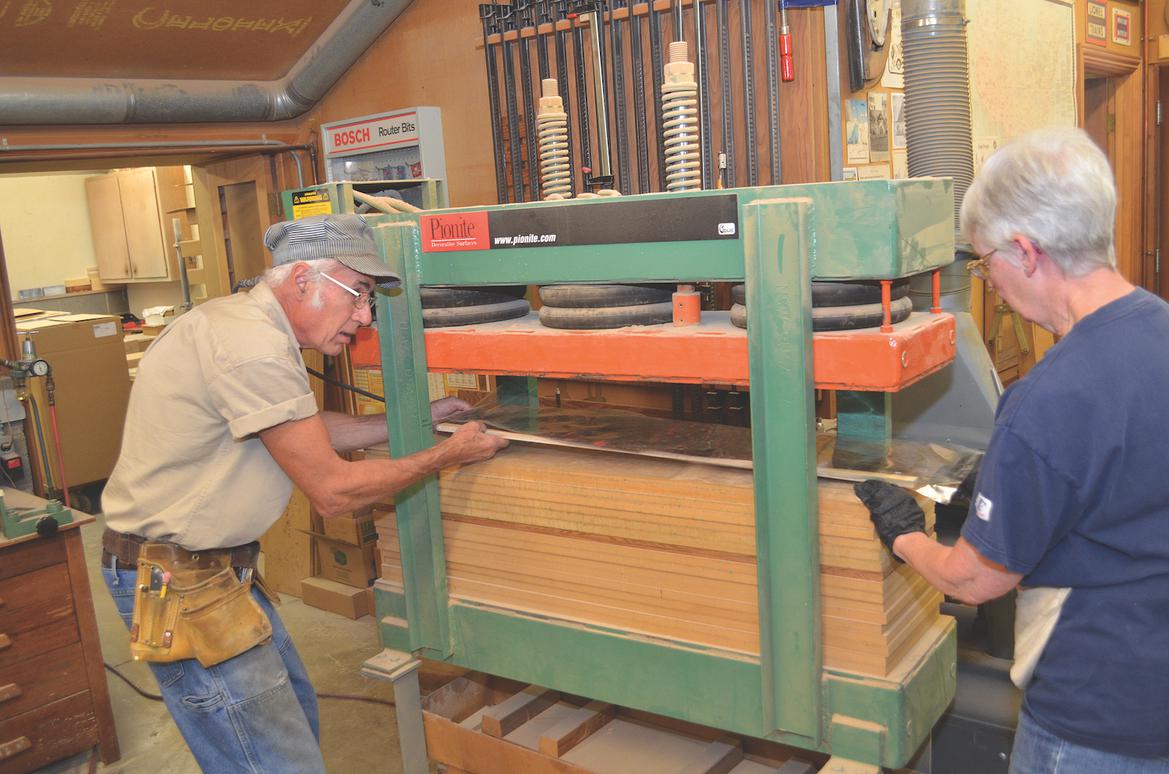
Step 5: Once the veneer is glued in place, the dashboard face is covered in clear plastic and put into a press. Here it sits overnight under several hundred pounds of pressure.

Step 6: Once the epoxy holding the veneer in place is hardened, Craig traces the pattern he made onto the rough-cut wood.

Step 7: Time to cut holes for the gauges and switches. Craig uses an old-fashioned wood punch to mark the exact center point of each hole. A mistake at this point would require going back to the first step. To minimize such errors, Craig always works from the largest holes to the smallest ones, using chalk marks to help track things along the way.
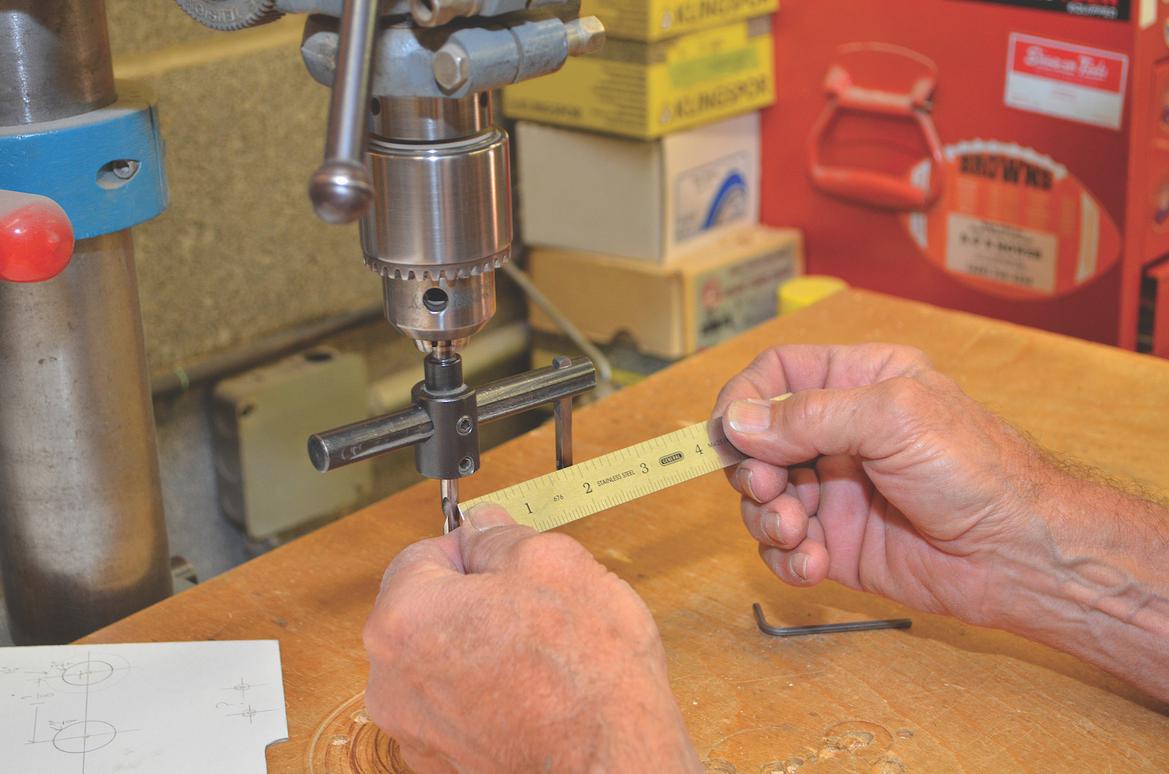
Step 8: For the large holes–like the ones for gauges–Craig uses a General Tool circle cutter, a $15 to $20 purchase. After measuring the needed hole, he’ll first cut it in a piece of scrap. Once he has confirmed that the measurement is spot-on, he’ll cut the hole through the actual dashboard face. He always starts drilling through the front; after cutting halfway through, he’ll flip the piece of wood and continue drilling from the backside. Craig says that this technique yields the best results.
For holes that are 1 inch and less in diameter, Craig switches to a very sharp spade bit. At this point he has yet to cut out the outline of the dashboard face. He’ll do that last, so that he has places to grab and clamp the workpiece.

Step 9: Once the holes have all been cut, it starts to look like a dashboard.

Step 10: Now comes the tough part: Duplicating the cutouts needed to accommodate the backs of the switches.
Craig, of course, has tricks for duplicating these cuts. First he holds things in place with a heavy piece of iron; then he uses templates to guide his router.

Step 11: These templates are made from 1/4-inch Masonite, with openings that are a little larger than the actual holes needed in the dashboard face to allow for the router bit’s 1/8-inch guide. The cuts needed for these various switches and controls aren’t all the same depth, either, so the original dash is again used as a guide.
For the oblong and square cutouts, Craig has appropriate templates as well. Each template is clamped in place before any routing takes place.

Step 12: At this point Craig’s router work has customized our dashboard back to accept all of the original lights, switches and gauges.

Step 13: Now that the gluing, drilling and routing have been completed, Craig uses a bandsaw to cut the dashboard face to its final shape.

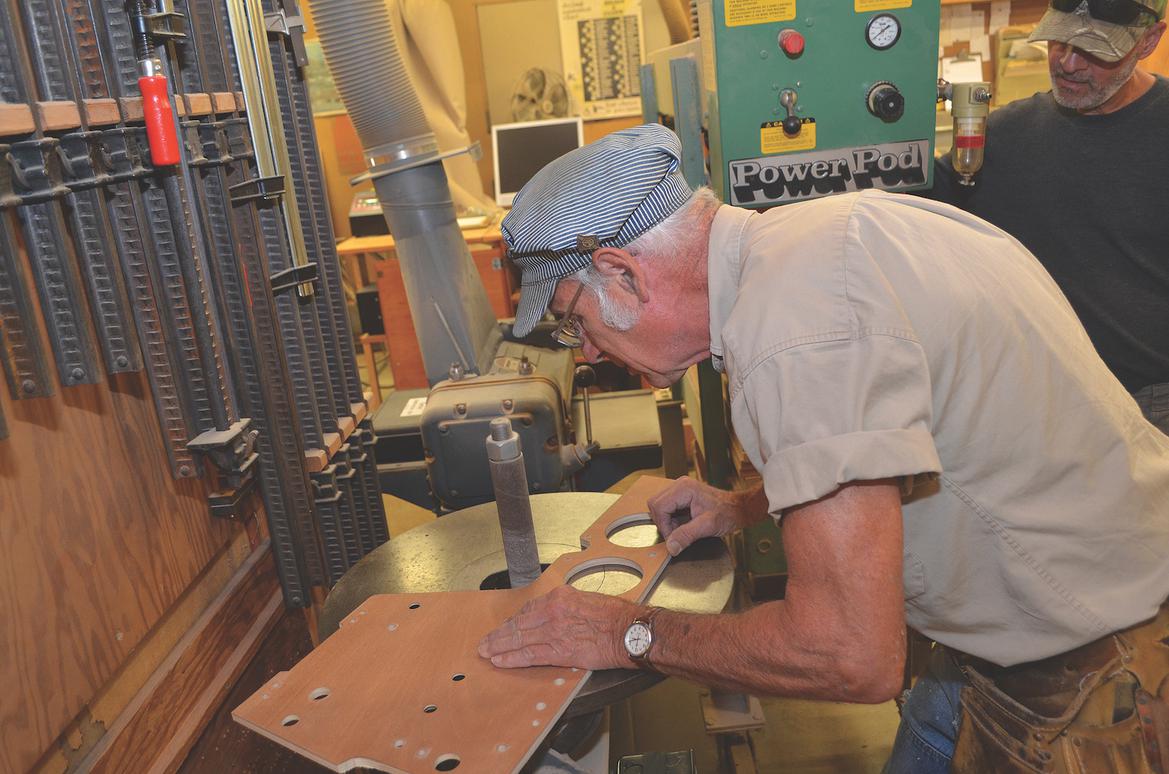
Step 14: He finishes the edges with a drum sander as well as the biggest belt sander that we have ever seen. These two tools allow him to perfectly trim the wood to the correct size and shape. Once his original outline is gone, then he knows that the dashboard face will exactly duplicate the original.

Step 15: Our Elan’s glove box door featured contoured edges; to perfectly duplicate those cuts, Craig drew patterns on both sides of the wood. The door’s straight edges featured a 15-degree cut, so Craig duplicated those with his bandsaw. He’ll go back over it with his belt sander to blend in the corners.

Step 16: The glove box door mounts to an angled hinge; to duplicate this feature, Craig first made a guide for his table saw, then repeatedly made small cuts until the angle was perfectly duplicated.

Step 17: Our new dashboard face looks stunning, but still awaits one last detail: the finish. Lotus originally oiled the Elan dashboard faces, but we have found that to be a cheap look that’s difficult to maintain. Instead Craig had Cor Industries spray on a matte finish.
We’re getting close: In the next installment, we start reassembling our Elan.
View all comments on the CMS forums
You'll need to log in to post.


