We didn't spare on the ThermoTec.

Rebuilding the window mechanism

ThermoTec on the floors

Clever windshield adjustment mechanism
The devil is in the details, so there is nothing worse than doing a complete, ground-up restoration and cheating the little things.
With the car now running, it was time to finish the odds and ends. Although we had built our interior, we hadn’t glued everything down yet. We also had a lot of work to do to resurrect the original three-piece metal tonneau cover system that goes around the convertible top.
To prepare for our new insulation, we reinstalled every rubber plug to make sure no water would creep into our interior form underneath the car. We also had to replace the weather stripping and—with the car now wired—put the dash permanently into place. Next, we painstakingly cut out Thermo Tec insulation for every nook and cranny of the car’s interior. We glued on the rocker panel carpet, then worked our way from top to bottom.
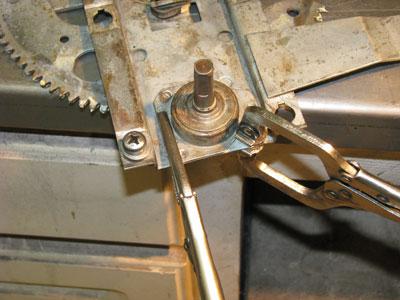
At the same time, we had to turn our attention to the doors. While we were not quite ready to bolt on the doors, we sprayed the bottom seams with Eastwood rustproofing and then began the labor-intensive of rebuilding all the window and door lock mechanisms. We used new chrome handles for the doors, inside and out, and rebuilt the worn-out window winder mechanism.
All new felt channels, scraper seals and chrome or stainless hardware were installed. The devil is in the details, so there is nothing worse than doing a complete, ground-up restoration and cheating the little things: the windows need to go up and down with ease; all the door locks and latches need to look and work like new; and perhaps most importantly, felt has to be reinstalled in strategic locations to keep the windows from rattling as you drive down the road.
One of the last steps was to install the windshield. While putting the Tiger windshield back into its frame was relatively straightforward, installing the entire assembly to the body was a bit trickier.
Originally, Sunbeam used some shims to adjust the height of the windshield. While we could reuse these shims, or something similar, the Sunbeam aftermarket has come up with some clever adjustable nut kits to raise the windshield up or down to achieve perfect adjustment. This made installing our windshield much easier.
View all comments on the CMS forums
You'll need to log in to post.