Mezzanine wrote:
One general comment on this thread that I've found interesting. It seems to draw the lurkers and new readers out of the woodwork. I'm not sure what that means, but I'd be well chuffed if it was my thread. Keep up the awesome work.
I've noticed that, too. The same thing happened with the Coupe's thread. Not sure if it's the work I'm doing or the Fiat subject matter, but it makes me happy when somebody takes the time to go out of their way to chime in.
Oddly enough, it was a build thread that made me join the site, well, along with Ditchdigger. I just kind of stuck around afterwards. Hopefully these guys do the same.
You write in a pretty engaging and open way, and you don't seem too smart for some friendly advice. 
Also the pictures are awesome and everyone can always comment on "shiny thing is pretty," not so much on "fast thing go faster?"
Well, I'm glad it's working, because I'm kinda phoning this update in.
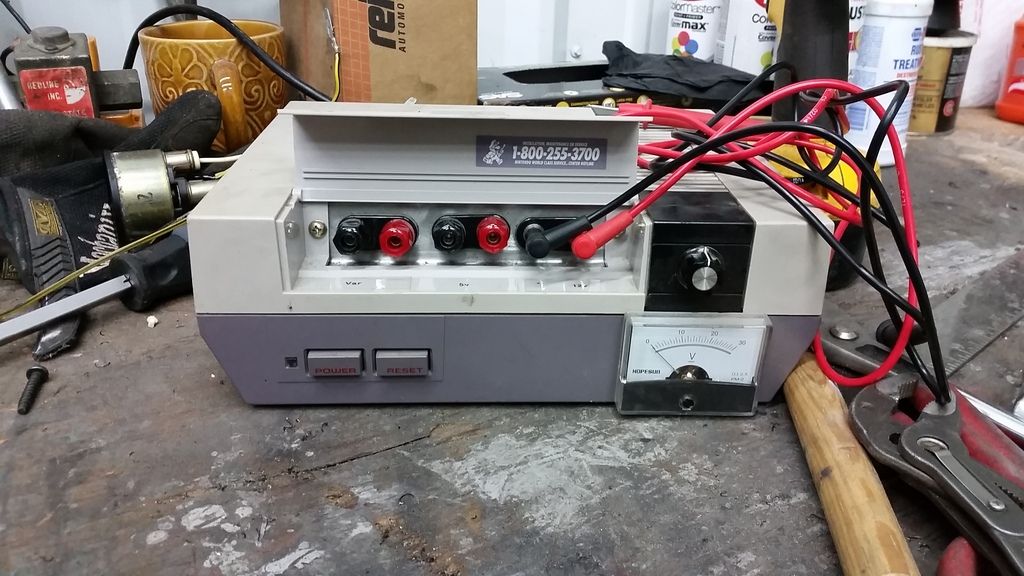
I pulled out the old PNES that I built in my short-lived community college days to help me figure out the pinout on the stock cluster.
After a few hours of scribbling out poorly drawn schematics and robbing both wire and connectors from the Spider harness, I had a working harness.
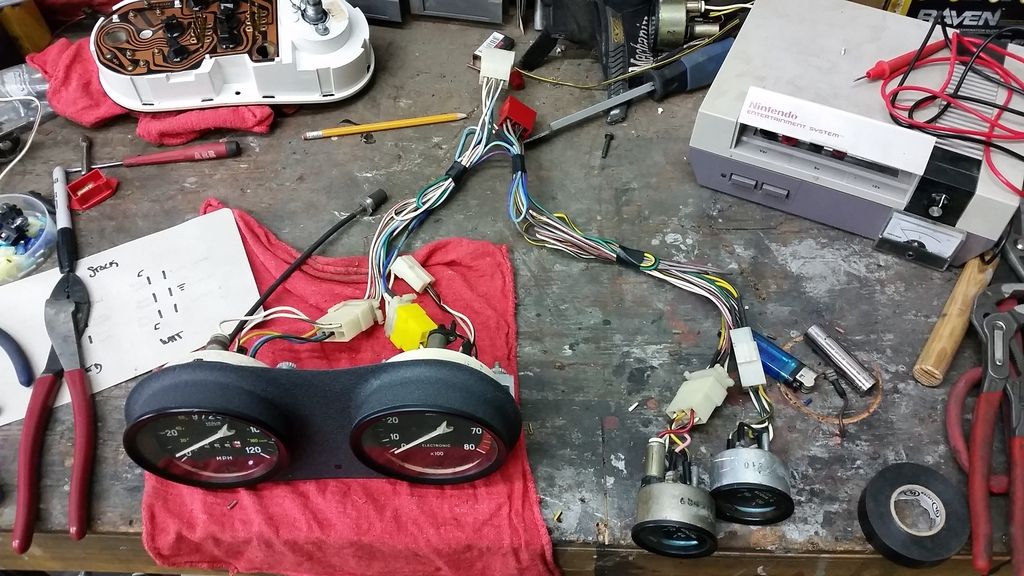
I used factory wore colors wherever possible. It's all debugged and ready for installation. Everything works except for the fuel gauge, but that didn't work before... so, no worries there.
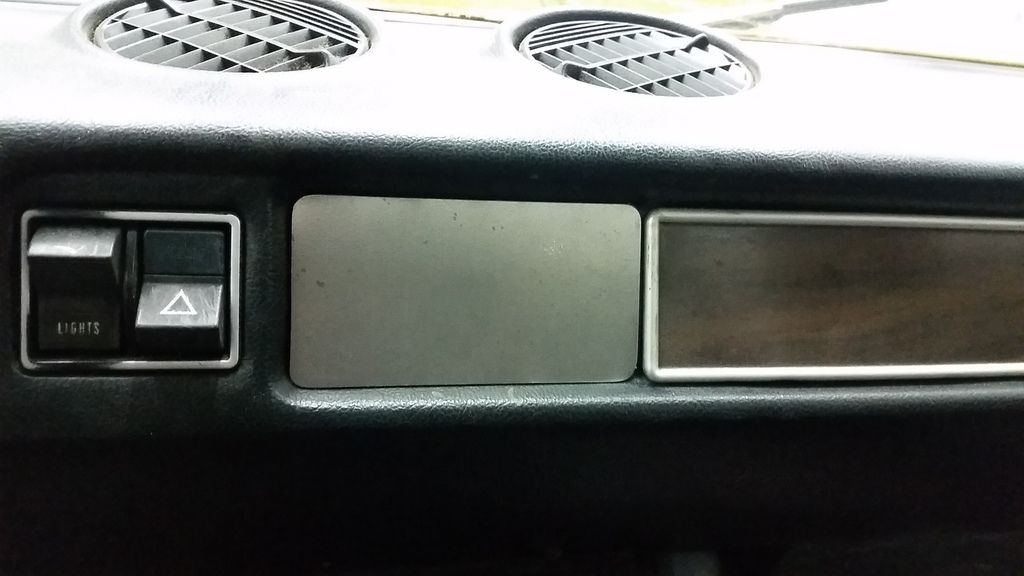
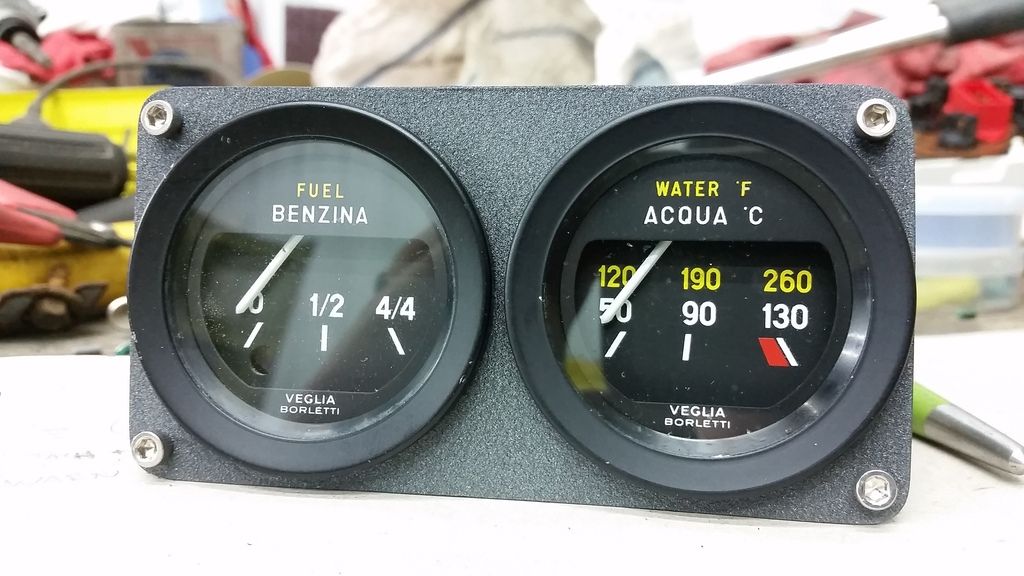
Last thing to do is make a bezel for the fuel and temp gauge.
From there it was just a simplified version of the other panel.
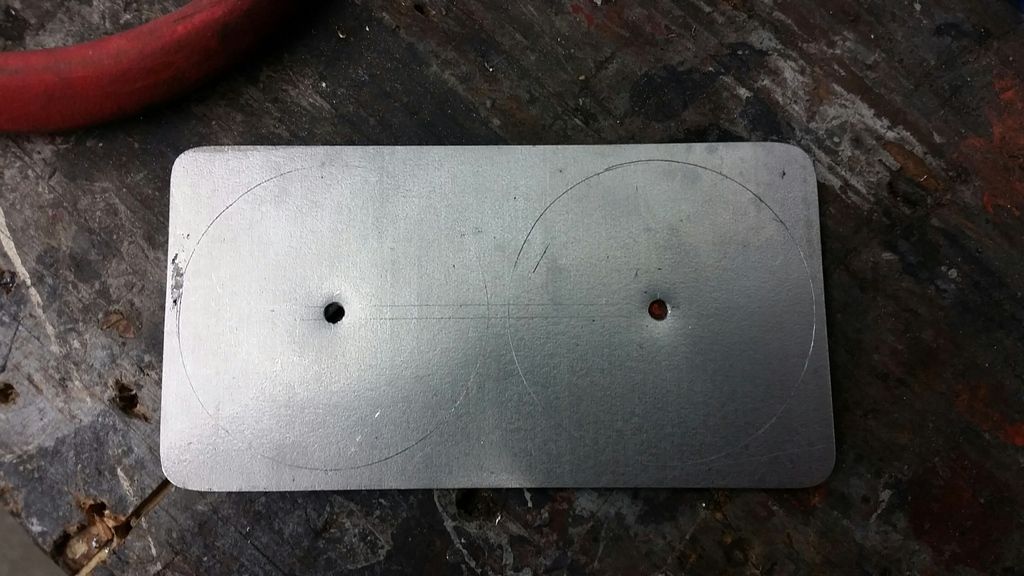
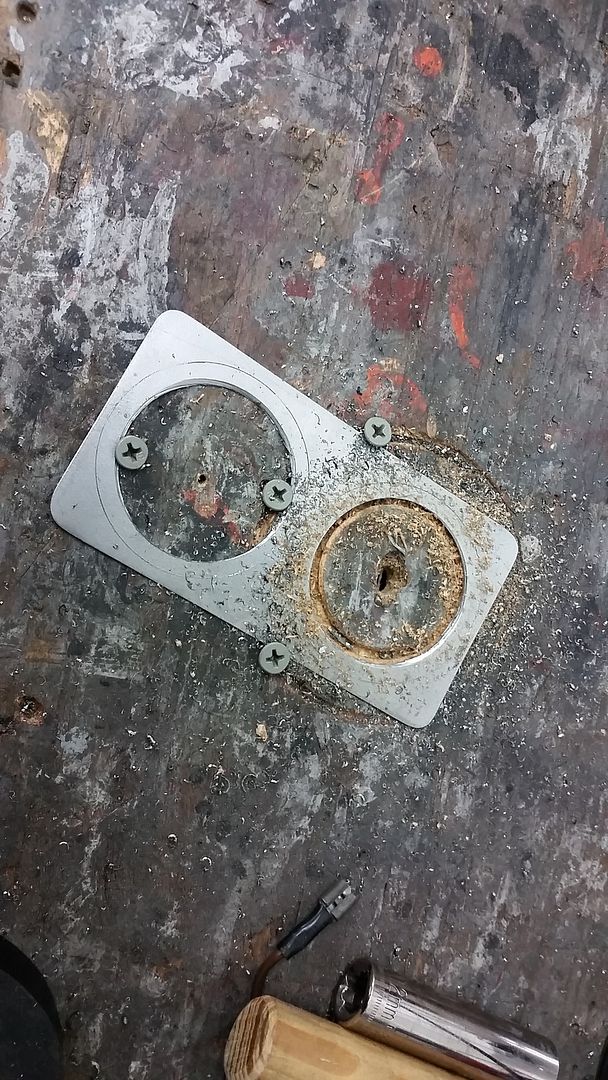
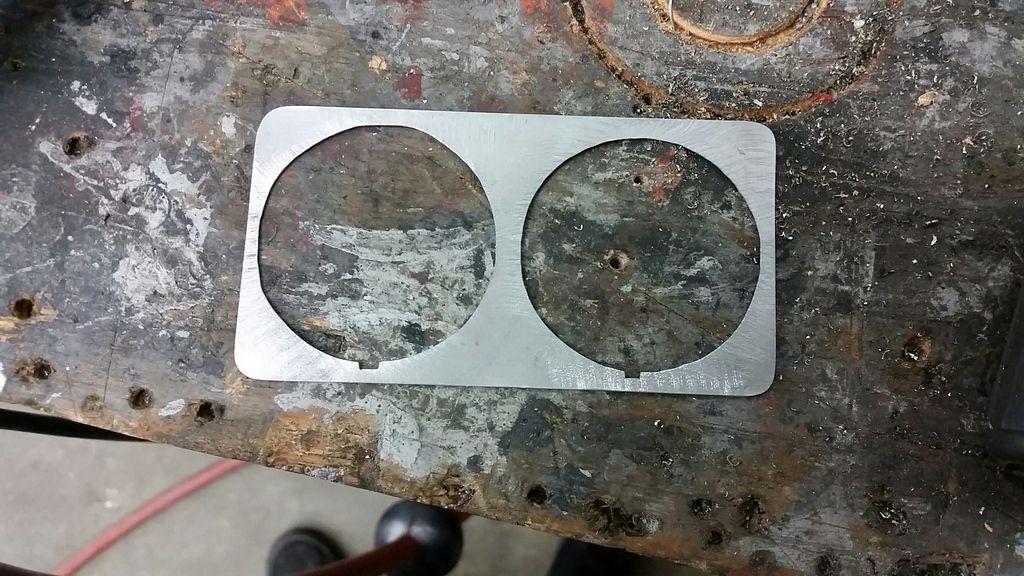
The holes are, uhh, round-ish. Good enough.
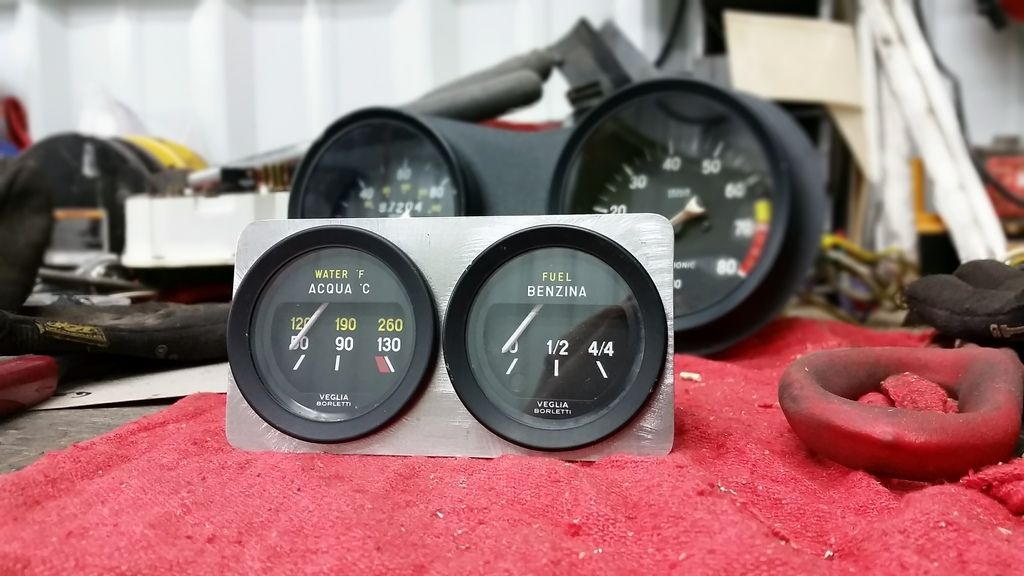
Tomorrow night I will come up with a way to mount it before powder coating it. I also need to pull in a wire from the ignition module to run the tach before calling everything "done".
Did you...turn a NES into a multimeter?

Woody
MegaDork
9/22/15 7:42 a.m.
Burrito wrote:
Tomorrow night I will come up with a way to mount it before powder coating it.
I like black socket head bolts for mounting stuff like that. It gives it an airplane cockpit kind of a look.

Not a multimeter, no. It's a power supply with fixed 5v, fixed 12v, and a variable 0-15v setting. It doesn't have much headroom in terms of amperage, but it's absolutely awesome for bench testing and troubleshooting small components.
Someday I will rebuild it with more iron and beefier components, but probably not until one of the voltage regulators departs this world in a spectacular way.
Link to building my own? I need something like this on my bench.

myte128
New Reader
9/22/15 4:44 p.m.
Hi there, I am one of those newby lurkers and thought I'd pipe up with my 128 dash. I used 124 gauges and also Uno Turbo small gauges to supplement too. I used the original besel and butchered the backing to take the 124 gauges. I use small Led's to light the little gauges too. And yes that is a boost gauge in the middle of my main gauges 
In reply to myte128:
Looks excellent! I recognize your username from t124; you've put together a heck of a car and have helped me more than you know.
Great minds think alike: your gauge package looks excellent! I'm particularly jealous of your need for a boost gauge.
myte128
New Reader
9/22/15 5:03 p.m.
Cheers! That boost gauge is my favourite part of the car, I also like to give the gauge a damn good work out.  Are you a member of T124?
I think I registered over there 4 or 5 years ago when I was looking for some information pertaining to 850s. I've been lurking there lately, though, and might be about ready to mirror my build thread there.
Dusterbd13 wrote:
Link to building my own? I need something like this on my bench.
I don't have any build info on it, really. It was the final project for an electronics class I took nearly a decade ago. It was fun to build, though. They gave us a very vague schematic (it may have even been ladder logic) and let us go nuts. We had to do pretty much everything including designing and etching the printed circuit board and speccing/selecting the semiconductors. Some people went crazy and spent way too much money, but ended up with 10 or 15 amp units, but as a broke 18 year old I spent as little money as possible.
A good place to start might be re-purposing an old ATX computer power supply. Something along the lines of this.
Burrito wrote:
...Mrs. Burrito is a big fan of all the brightwork on the car. Almost anything and everything that can be polished up will be. Thanks for photoshopping that, though. It looks killer to me.
If Mrs. Burrito wants the shiny stuff then she should get it! It will look killer like that too.
Photoshopping car pix is kinda a hobby of mine, may I should post up all the unlikely cars to wear the old Gulf livery...
Loving how you did the gauges, superb craftsmanship.
I love the pnes power supply. I built one out of a ps2 lol
I need to get it out and set it up again!
myte128
New Reader
9/22/15 11:41 p.m.
In reply to Burrito:
Do it! We have a lot of love for the 128. The more the merrier.
Cheers!

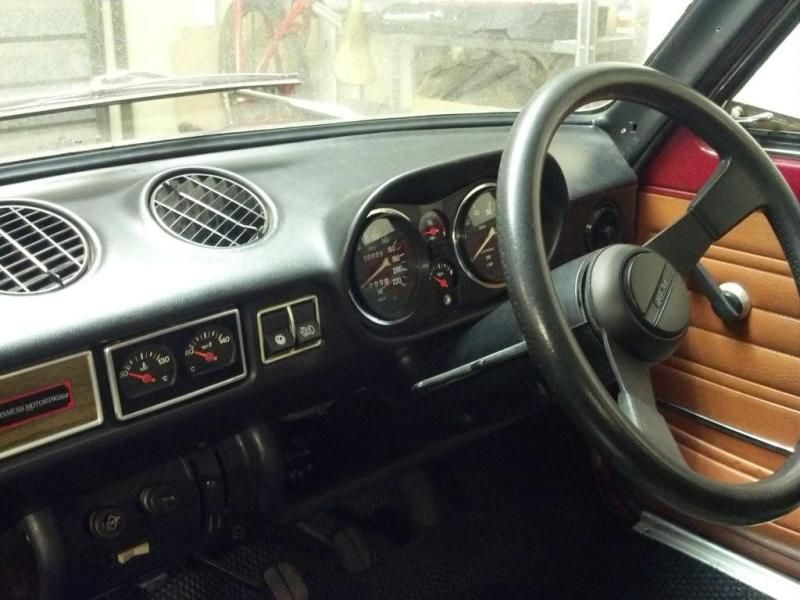
I halfway took Woody's advice and picked up some stainless 6-32 socket head caps for the ancillary gauge cluster and a stainless 10-32 for the main cluster. Powder coat turned out pretty ok; there's one small section on the lower right hand corner that didn't get great coverage, but you have to get right up close to see it so I'm already over it.
After that it was just plugging in the totally awesome harness, tightening up the speedometer cable, and spinning the five little screws up tight.
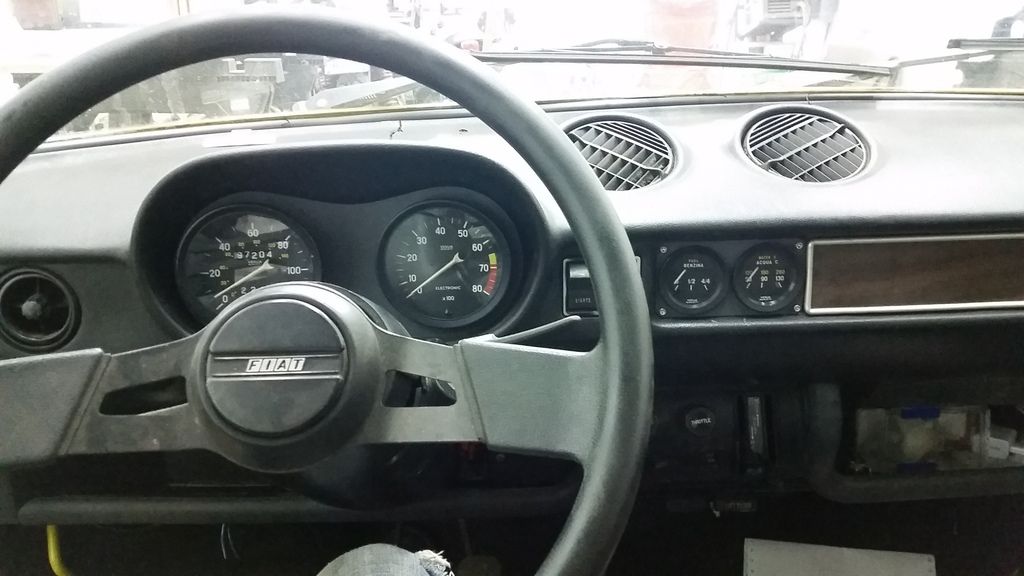
I need to secure the top of the main cluster somehow. It kinda wants to cantilever forward since it's only secured on the bottom. I'll make up a quick hook and scab it in with another stainless SHCS.
Other than that, I just have to run the tach wire out to the ignition module. It's already terminated on the cluster side and penetrate into the engine bay, so it should be a fairly quick task.
Thank you all for the kind words and encouragement. This thread has been very active lately with lots of great ideas and chit-chat coming from many different sources. You guys are what make this worth my while, so thanks! It would be incredibly boring if it were just me rambling along in bold font page after page.

bgkast
UberDork
9/23/15 1:03 a.m.
The stainless screws really look the business.

NOHOME
UberDork
9/23/15 5:43 a.m.
Burrito wrote:
Mezzanine wrote:
One general comment on this thread that I've found interesting. It seems to draw the lurkers and new readers out of the woodwork. I'm not sure what that means, but I'd be well chuffed if it was my thread. Keep up the awesome work.
I've noticed that, too. The same thing happened with the Coupe's thread. Not sure if it's the work I'm doing or the Fiat subject matter, but it makes me happy when somebody takes the time to go out of their way to chime in.
Oddly enough, it was a build thread that made me join the site, well, along with Ditchdigger. I just kind of stuck around afterwards. Hopefully these guys do the same.
Your builds are very relatable. The cars and the individual task are things that most readers can see themselves doing. Your narrative makes it seem even more attainable for even the Walter Mittys amongst us.
That looks fantastic! Gotta do that wood panel in matching PC now
Burrito wrote:
A) Even if I do find a 5 speed for the car, there will be some fitment issues with the transmission and swaybar wanting to occupy the same space.
B) NVH be damned.
I'm not a math expert, but wouldn't statement A plus statement B imply chucking the swaybar in the trash and keeping your 325 lb springs up front and not worrying about fitment for the 5 speed?
DaewooOfDeath wrote:
Burrito wrote:
A) Even if I do find a 5 speed for the car, there will be some fitment issues with the transmission and swaybar wanting to occupy the same space.
B) NVH be damned.
I'm not a math expert, but wouldn't statement A plus statement B imply chucking the swaybar in the trash and keeping your 325 lb springs up front and not worrying about fitment for the 5 speed?
Unfortunately, no. The missing part of that equation is that the Sedans (and wagons?) got different suspension than the 2 door and 3p models. Instead of getting a radius rod AND a front sway bar, the sedans front sway bar effectively IS the radius rod. In other words, the sway bar is a locating member of the front suspension.
You can kind of see it here:

And here:

I have learned that a 5 speed sedan front sway bar exists in the wild, though, purportedly from some late model Zastava.
Actually, now that I think about it, it's pretty much exactly like an E21 BMW.


RossD
PowerDork
9/23/15 7:00 p.m.
The euro capri has a smilar setup using the sway bar to locate the lower control arm.
This is one of my favorite threads. It looks great, keep up the good work

Burrito wrote:
DaewooOfDeath wrote:
Burrito wrote:
A) Even if I do find a 5 speed for the car, there will be some fitment issues with the transmission and swaybar wanting to occupy the same space.
B) NVH be damned.
I'm not a math expert, but wouldn't statement A plus statement B imply chucking the swaybar in the trash and keeping your 325 lb springs up front and not worrying about fitment for the 5 speed?
Unfortunately, no. The missing part of that equation is that the Sedans (and wagons?) got different suspension than the 2 door and 3p models. Instead of getting a radius rod AND a front sway bar, the sedans front sway bar effectively IS the radius rod. In other words, the sway bar is a locating member of the front suspension.
You can kind of see it here:
And here:
I have learned that a 5 speed sedan front sway bar exists in the wild, though, purportedly from some late model Zastava.
Actually, now that I think about it, it's pretty much exactly like an E21 BMW.
Ah, I see. Looks a lot like early Tercel stuff. Bummer.


