java230 wrote: Yeah we really should!! it was pretty
that is art
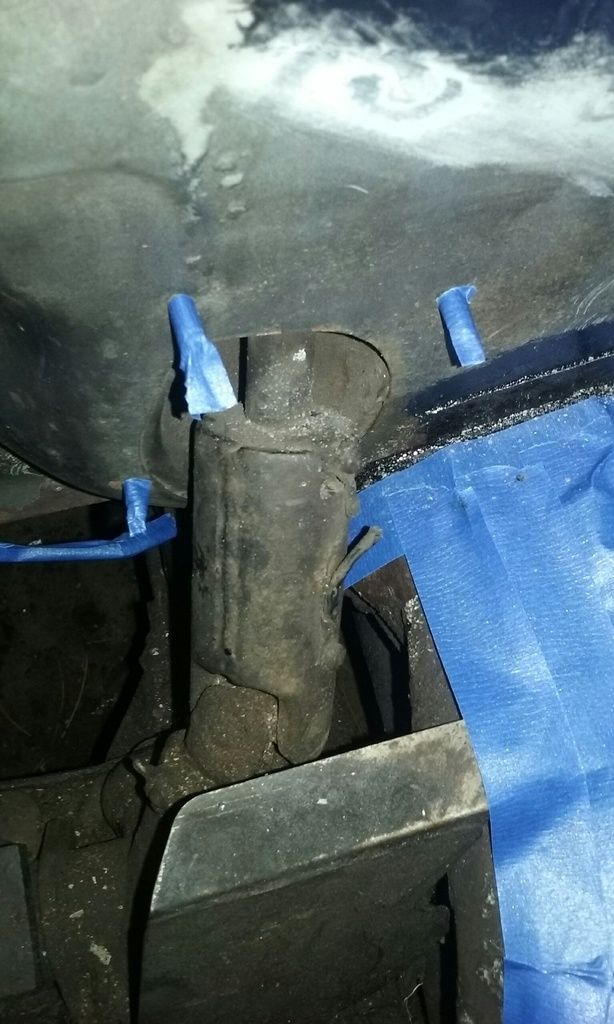
Also on the list is the welding of the steering damper:
Alfa engineering (in all their infinite wisdom) decided that a normal steering column was just too durned sturdy dang it. In an effort to correct something that worked the way it should, they put in a rubber joint (shrouded in the picture below by the metal sleeve, you may be able to see the gap at the top). Now they're sleeping at ease every night knowing that years down the road these rubber joints are a "common known failure item" that causes a complete loss of steering when it inevitably goes.
(you could read this as: reason #571 I'm surprised I made that drive alive back when I bought it)
Honestly, how was this EVER put in a vehicle?
Anyhoo, I plan on welding this beast together to solve that issue and it should have the added benefit of repairing that broken ground path you see there (or at least rendering that wire unnecessary) which probably explains why my horn wasn't working and why there was a "horn button" installed just above the driver's left knee.
Good times ![]()
In reply to Happy Carmore:
You have to get those glamor shots while they're out and pretty. When you put them back in all the oil tends to make them ugly again fast ![]()
Speaking of which: We're hosting a get together in about 3-weeks (you're all invited!) and I'm REALLY hoping to have the engine set in the bay with all that new pretty paint so I can have a little something to show off for all this effort.
Good times
Java:
Something about that crank pulley is bugging me. Doesn't it seem "long"?
Mine facilitates two belts: Timing belt and alternator/water pump belt. That one facilitates FOUR.
I figure: Timing, alt/water pump, air conditioning, aaaaand... power steering? Supercharger?
Please say supercharger ![]()
In reply to Hungary Bill:
Ill ask.... I will tell you there is very likely no power steering or AC on this car. ![]() He said he was aiming for 300hp if that helps.
He said he was aiming for 300hp if that helps.
Supercharger ![]()
Late edit: I are the slow. I just NOW noticed the adjustable cam timing mod he's got going on. Tell me this guy has a build thread somewhere I can follow. I'm dying to see what he's doing and how it works out.
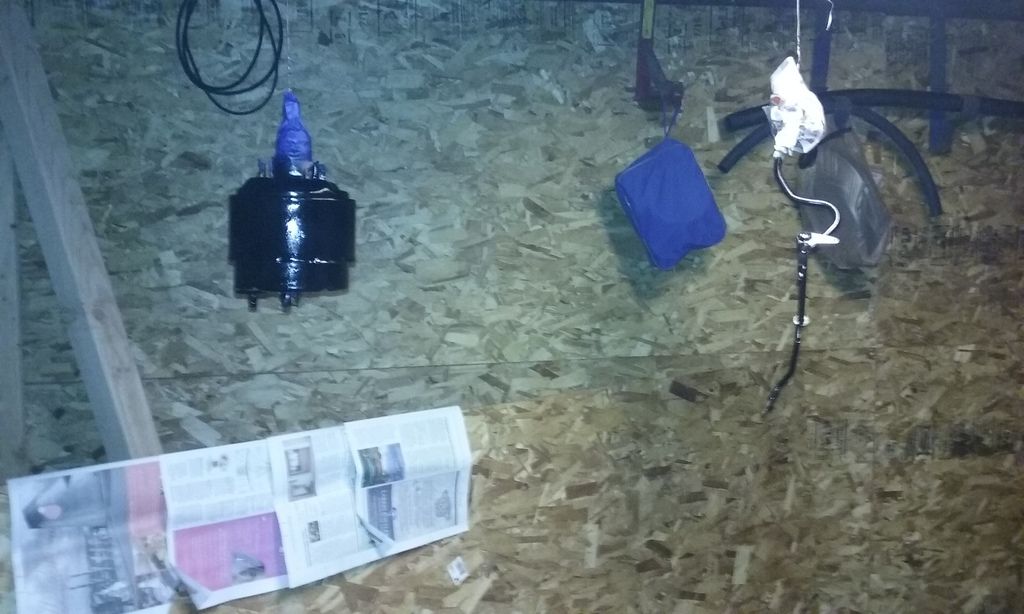
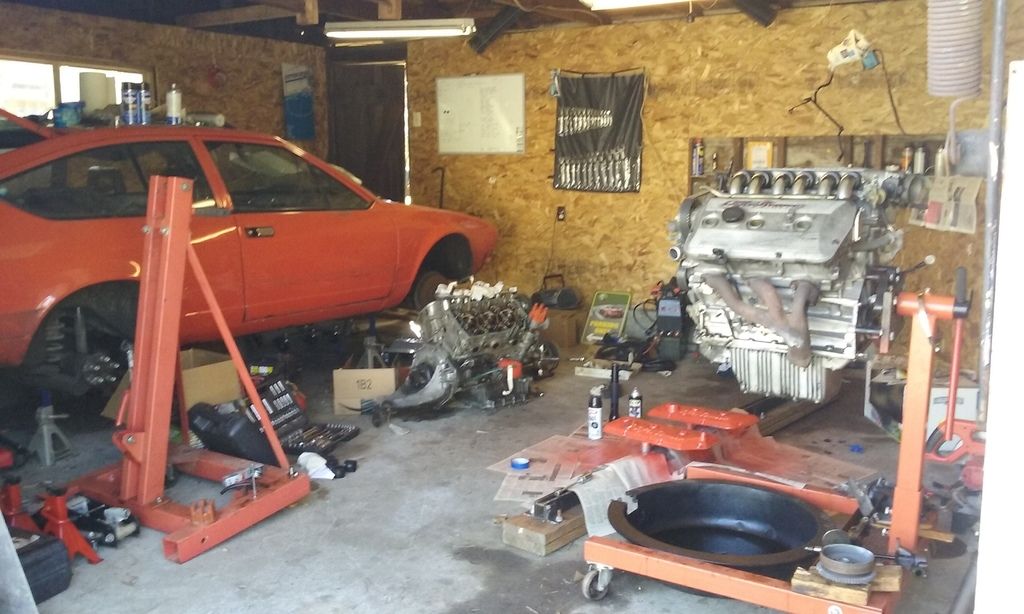
Painting day!
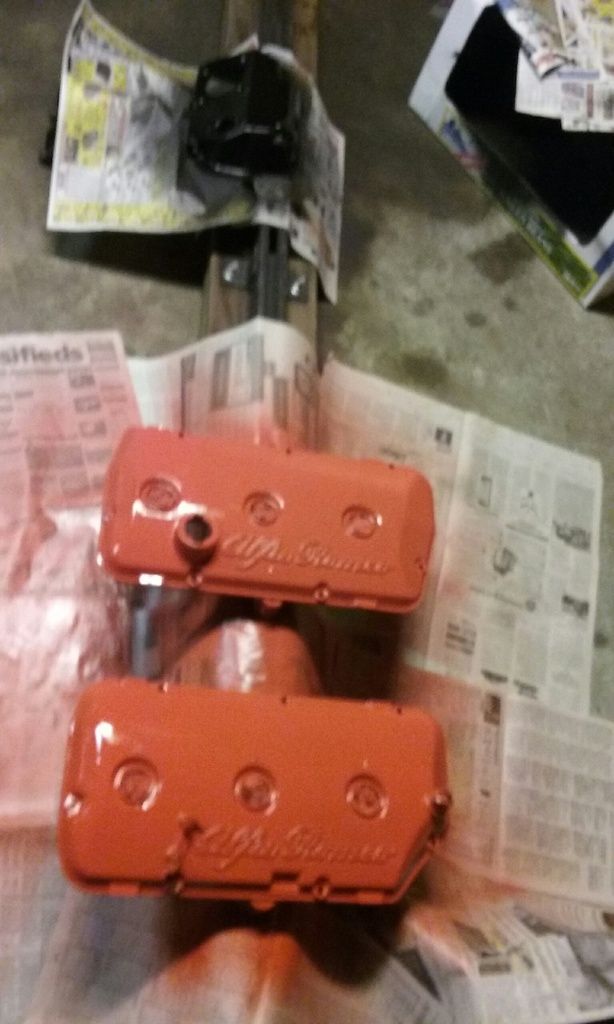
I'm having a string of "bleh" today. I was able to get out and paint the brake booster, pedal box, valve covers, and the gas pedal assembly (hanging just right of the blue bag) but nothing really turned out as good as I hoped.
There are a lot of imperfections in the metal on the booster and pedal box and that black paint is REALLY bringing it out. I'm probably just being anal about something no one's going to notice, but still ![]()
I think I'll just hit it with another coat for giggles and call it macaroni.
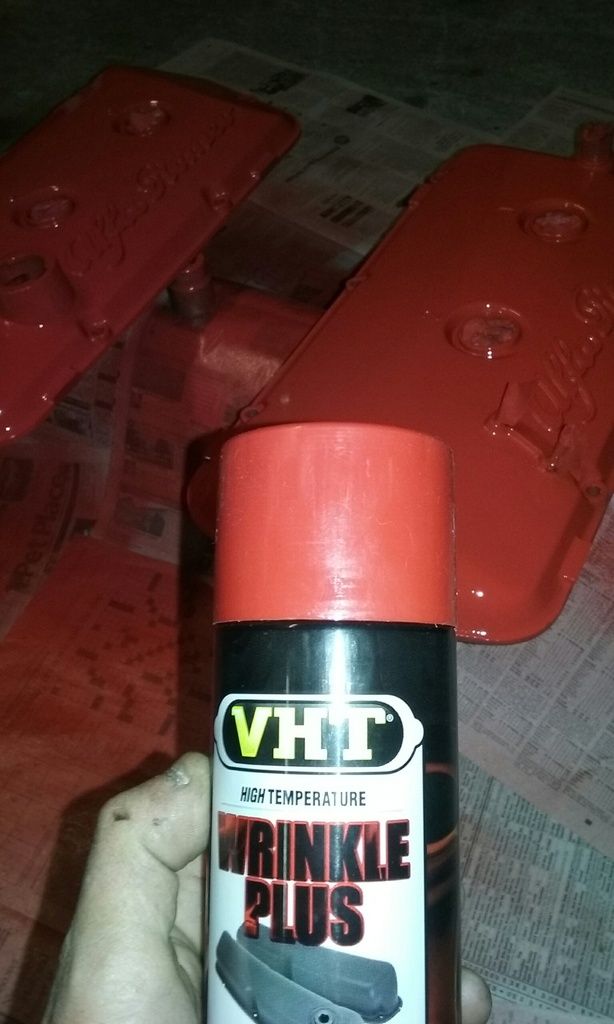
The valve covers didn't come out as dark as I hoped. They seem more "orange" than red. Perspective is a killer on that one: The cap seems "red" until you lay out a lot of paint. Then you really notice the orange (kind of a darker "Chevy orange" really). I'm going to swing by O-vanced zone today and see if they have a darker wrinkle finish red engine paint for sale. I bought this can on the interwebz, if I cant find anything locally I'll just have to take another stab at an online order.
On the bright side, it's nice to have these small items to work. That way I can test whether or not I'm having a "bleh" day and stay away from anything REALLY important ![]()
Still good times though ![]()
Speaking of paint:
I'm tossing around the idea of doing the paint on this car myself. Eastwood has the concourse LT paint guns on sale for about $70 bucks and at 5cfm (40psi) I don't need much of a compressor to run the beast (a home depot 20gal special could be enough, I think). Doing the maths I think I can get the equipment for around $400.
List is:
Husky 20gal compressor $167
Eastwood gun with 1.3mm needle: $67
1.5 and 1.7 needle sets for above gun: $40
Dekups kit (lots of plastic ware for mixing etc really) $80
My hope is to clean and use one gun with different needle sets for all my spraying needs. I probably wont be spraying much primer, so I could probably skip the 1.7mm needle set...
That in mind, I did ask about "Alfa Red" paint when I was at Wesco to get the POR-15. The guy at the counter gave me an "off the cuff" estimate of $1300 in liquid consumables (going 2-stage here. Base and clear) for 3-quarts of red paint + the mixes and clear coat citing that "red" was the most expensive color etc...
I thought that was a bit high, so I hit up Jumper K Balls (Ditchdigger) here on the forums and he pointed me in a good direction as far as brand recommendations go (ie: I'm not looking to take this thing to Barret Jackson but I want to be happy with the job long enough that I don't have to do it again) and I now have an online estimate from TCP Global of about $500 using their "Restoration Shop Paint" mixed to Alfa Red code 530.
That is:
1gal Alfa Red base coat: $250
Med Urethane reducer: $70
Low VOC 1gal clear coat kit (with hardener) $109
Shipping/handling $70
This of course doesn't include the urethane bare metal primer, or any filling primer, tack cloth, DA sander, paper, masking materials etc. that I may need but it puts me in the ballpark. I plan on swinging by LDI Automotive Paints today after work (it'll be a short day) to see if I can't source the products locally, and maybe pick the counter guy's brain a bit.
This all comes about because I've paid for two paint jobs on project cars in the past and have been way less than satisfied with either. Add in that if I can save a couple grand on not paying someone else to do work for me, I can spend that money on go-fast goodies. ![]()
Just thinking out loud at the moment, but the more I think about it, the more I think this is going to happen. Lots of things to work on and think about first though...
Good times ![]()
Info edit: According to the records department the original color of this car was "Grigio nube metallizzato"

In reply to Dusterbd13:
Thanks for the heads up!
I'll put it on the watch list. This is my first try with VHT and wrinkle paint, so I'm not sure what to expect. You can imagine my surprise when the stuff sprayed smooth, "where are the wrinkles!?!" ![]()
I'm anxiously awaiting an update on the color of the wrinkle red. Did it dry down to a red? [fingers crossed]
When I did valve covers I put them in the oven at 200 for 45 minutes or so. Best done while wife or snitch children are not home ![]()
I also found that I needed pretty heavy coats to get better wrinkle effect.
well.... I may give the valve covers another go. The paint got a little darker (passable, really) but the wrinkles don't seem to be coming in. I'm going to give it a little more time but I thought what I would do is hit it in the morning and let the afternoon sun bake it a bit, but I'm liking that heat gun idea... I also noticed 3 very small dots (oil spots maybe?) that no one would ever notice, but they'll drive me crazy if I leave them ![]() Can you just toss on another coat with wrinkle paint, or do I need to scrape it all off first?
Can you just toss on another coat with wrinkle paint, or do I need to scrape it all off first?
I brought the plenum and some other goodies in with me today for some cleaning (another down day). Of course the plenum is going to be painted to match the valve covers, but the rest of stuff just needs the previous owner paint removed and it should be good.
Lets see, what else?
The pedal box is back in (yay). I got home from work a little early yesterday and everyone was still napping ![]() I could have got a bit more done, but when the garage doors are open the neighbors like to stop by (good people).
I could have got a bit more done, but when the garage doors are open the neighbors like to stop by (good people).
Yesterday was a damn good day
On the subject of car paint:
I stopped by LDI here in Tacoma and I am glad I did!
First the guy there was super helpful (and I mean SUPER helpful). I came in with a printout of my online paint estimate and color code. With that he crunched some numbers on his computer and gave me an estimate of $370 out the door for all liquid consumables using "PPG Omni" as a base.
I've read mixed reviews about PPG Omni paint online, but it was one that Jumper K brought up as a recommendation. In contrast, the "Restoration Shop Paint" from the online quote seems to be a big "unknown". Add in the fact that the PPG is cheaper, and I'm sold.
The guy at LDI also printed out the data sheets for the paint (Mix ratios, etc), recommended a clear coat he thought would work best (data sheet for that as well) wrote out the price breakdown (to include tax) and printed out the mix sheet for my paint code (with the chip number etc.) I left there feeling pretty darned good about everything.
I think today I'm going to start spending money on paint stuff...
Good god, I might be painting my own car! ![]()
Paint has gotten expensive. The last time I sprayed a car it was about $100 in consumables.
Although the equipment has gone down.
Yeah, I don't know what paint used to cost but not having to shell out the cash for a compressor that kicks out 15cfm is nice ![]()
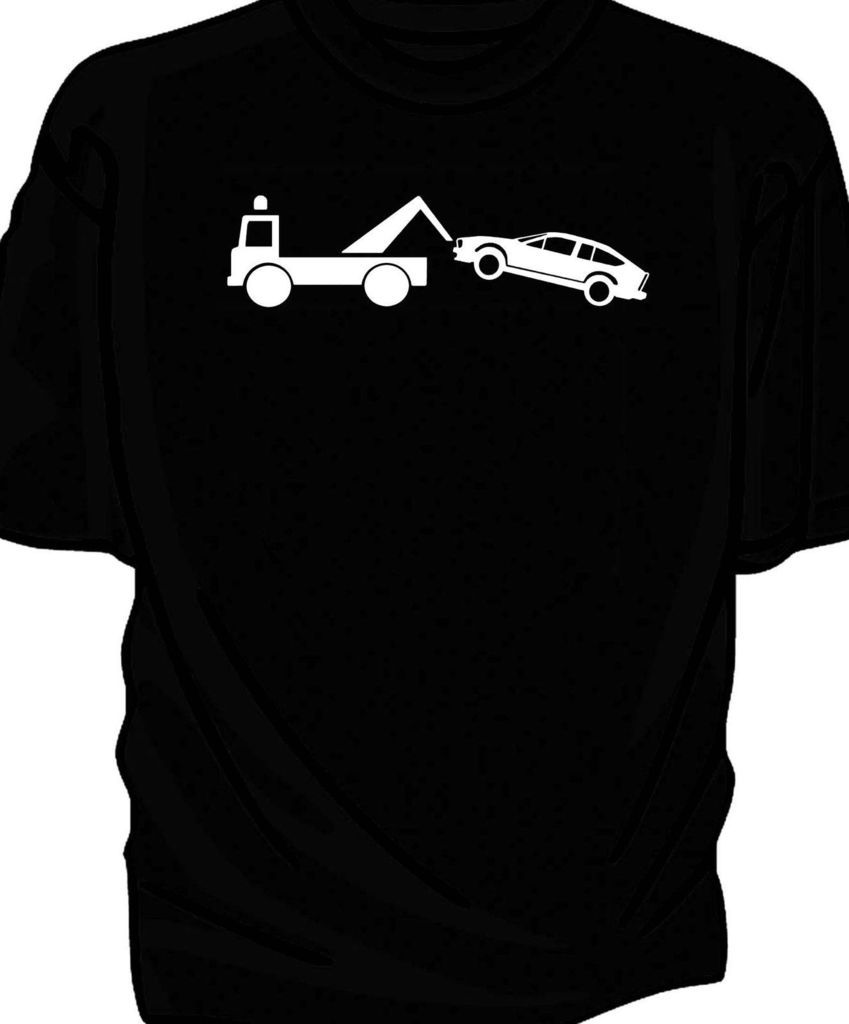
Started spending money today. Ordered a compressor through Home Depot, I've got my eastwood shopping cart ready (I'm waiting 'till after a meeting to call about some accessories) aaaaaaand oh, I bought a GTV6 t-shirt off of fleabay
Good times
Bill,
When you paint the car, measure carefully, the mix ratios are fairly critical. Also, allow sufficient flash time. If you don't, the solvent sinks into the previous coats and can create problems. I would recommend mixing a small amount and spraying a test panel to get a good feel for how the paint lays out. The base coats don't need to be fully wet, but rather should have an almost blotchy appearance as soon as you spray them. When the base coat dries it will be even. I can't stress enough not to rush, flash time is essential to allow the solvents to evaporate between coats. I can give you a lot more info if you would like. I am a former factory paint rep for Sherwin Williams and a bodyman/painter for more than 40 years. You can email me at don49 at aol dot com.
In reply to Don49:
Man, at this point it really is a case of "I don't know what I don't know". I've been piecing together as much info as I can between youtube and searching other forums in my free time. Right now I've got a spiral notebook with a TON of notes but a lot of the opinions online are conflicting (ie: epoxy primer used as a sealer). In short: I'd love to take you up on your offer! Mind if I hit you up late next week?
At the moment I've got time on my side. With the amount of body work this thing needs before paint, I should be able to get a bachelors degree in body work before it comes time to spray ![]()
Good times
Bill,
email me your phone # and a good time to call (EST) and I'll be glad to go over prep and technique with you. I'll be at VIR racing 4/15,16,17, but can call when I have free time.
So, while Mrs. Hungary and the kids napped on Saturday I took advantage of the down time and hit those valve covers with paint again. As they were they didn't really wrinkle, and they were a bit "orange"...
Based on the advice you guys gave, I hit those thing until drip marks were an imminent risk and left them out in the sun to bake. and SMOKES did it ever make a difference! Now they have nice wrinkles AND they're a proper shade of red (think Lightning McQueen red).
Thanks a ton for the advice on that one.
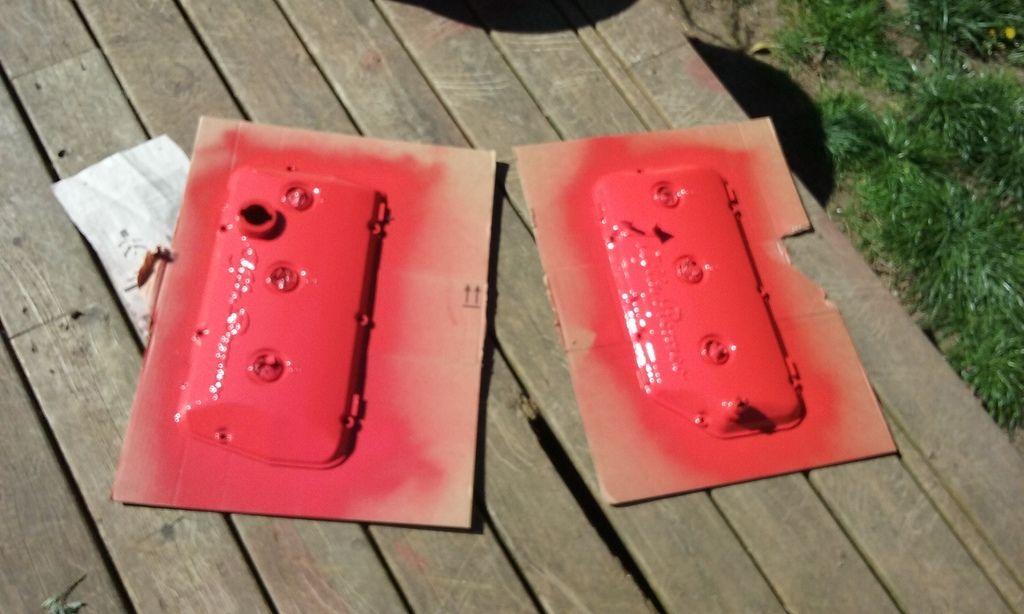
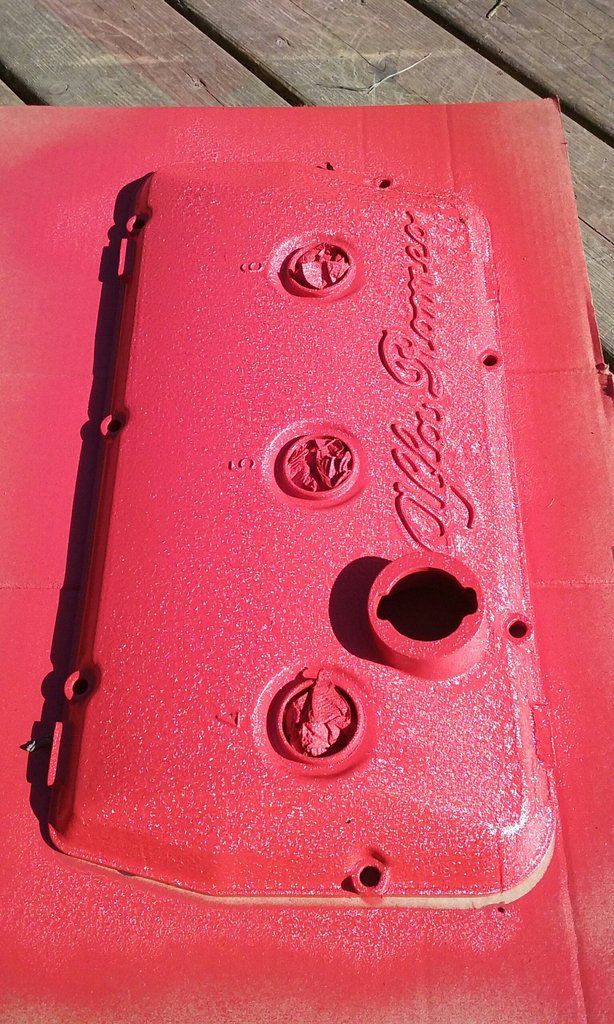
(that last picture was taken before it was completely dry, but damn if it doesn't look better already)
Good times
Monday is welding day.
Ugh. Never weld on a Monday... I decided I've procrastinated enough and today was the day I was going to finally weld that steering dampener. I've been putting it off because my confidence level when it comes to welding is "in work", it takes a lot of precious morning time to set up the tig, AND I knew I'd be sucking on burnt rubber fumes which never really tops my "want to do list" on any day.
Sooooo blame it on the coffee, or lack there of, but after wire whipping the weld area I reached for my trusty can of brake cleaner and sprayed the bejeesus out of the cleaned area. I was really happy with the cleanliness of the soon to be rubber contaminated weld area until....
(you know where this is going, don't you?)
... a rather groggy voice in my head started screaming "what the berkeley have you done!?! you can't use that to clean a weld! you're going to kill yourself!!!!" (thanks internet for that one. I don't even remember how I came across that warning, but had it not been there then this would have been my cleaning method...)
Lots of re-cleaning ensued. Wire whip again, wire brush with water and then alcohol, tooth brush with alcohol. Second cup of coffee.
Then weld. Oops. I have two left gloves.
Search for gloves. Cant find gloves ANYWHERE. Put left hand glove on right hand.
Then weld. Oops. How am I going to get an arc with no ground?
Attach ground.
Then WELD! burn baby burn.
The process goes like this: Melt metal until you cant see because of the rubber smoke coming off. Keep your argon going to keep the rubber fire out. Then melt more metal when you can see again.
I'm kind of sad to say, this isn't even the ugliest weld I've ever done...
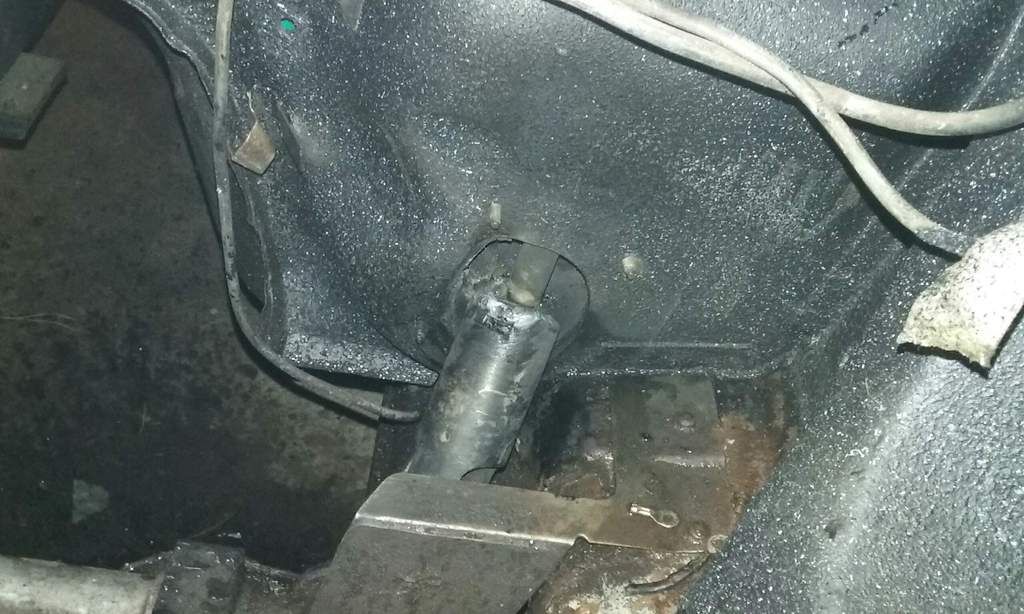
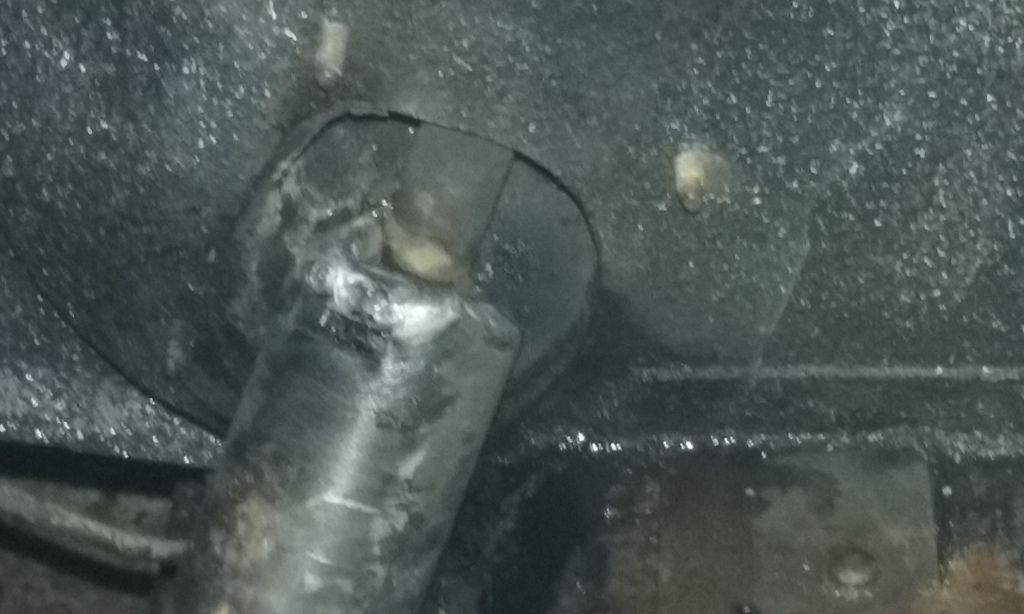
Not the ugliest I've done either. It's hard to tell from the photo just how that thing was made and how it was welded, but we can take your word for it.
Those valve covers though. Mmmm. ![]()
Mezzanine wrote: Not the ugliest I've done either. It's hard to tell from the photo just how that thing was made and how it was welded, but we can take your word for it.
That's because this is the interwebz, we only show successes and take photos from flattering angles/distances. Here's 180 out:
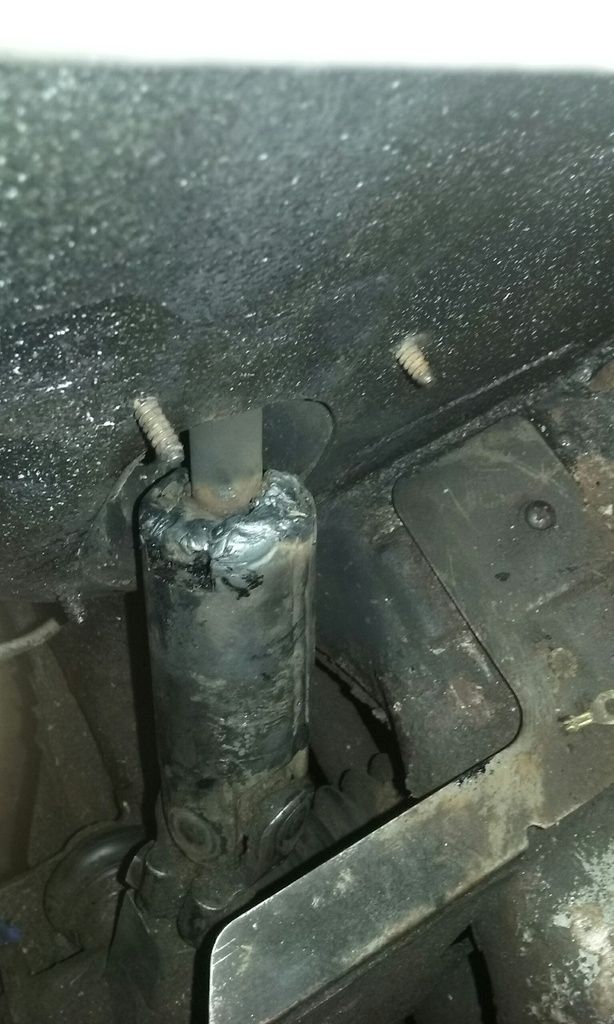
Looking at it again this morning, I wasn't happy with the weld so I turned up the amperage a bit (was 120, now 135) and laid a bead that looked like it penetrated way better than my initial attempt (not saying my welding teacher would be proud...) The eastwood welder keeps the gas going for like 10 minutes after you let off the trigger so what I started doing was clicking the trigger to get the gas going, lining up the shot, then firing away. (where before it was just click and drag).
I thought to myself "Hey, this is working lots better!"
then my weld started to get ugly again... what happened? oh... out of gas ![]()
gute zeiten
You'll need to log in to post.