1 2 3 4 5
Slippery
Slippery Reader
7/31/13 9:48 p.m.
Ian F wrote: Looks good! Yep - 16mm... the VW's and MINI's I've wrenched on a full of them. more than a few 18mm as well.

This really threw me off. I used to have an A2 GTI and dont remember seeing so many of them. I dont think I have encountered them in the e30 either. I need to buy a deep socket in that size.

Mr_Estrotica wrote: Swoon. MOMO Prototipos really are the best looking wheel ever.
ValuePack Good God, that Momo is sex on a stick!

Thanks!

I always seen them being used on 911s but never on an e36, I think it looks really good. Plus I think its the cheapest Momo wheel out there at around $170

Slippery
Slippery Reader
7/31/13 9:52 p.m.

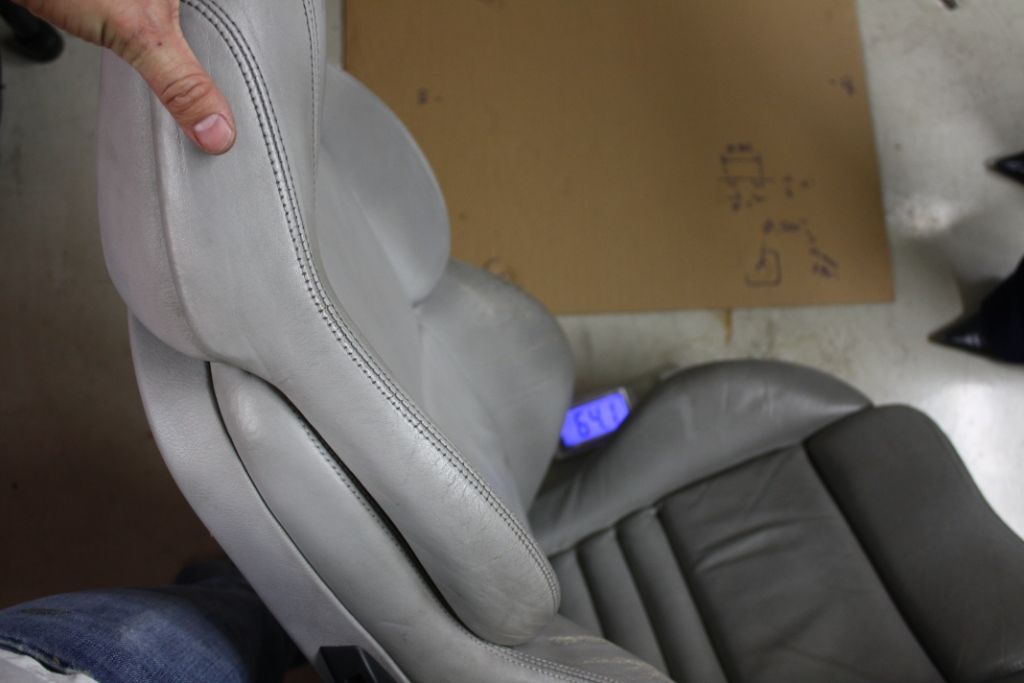
The point of no return ... when you start cutting, breaking and selling parts which will make the car pretty much unsellable. The day came and the first thing to go where the seats, those beautiful manual Vader seats ...

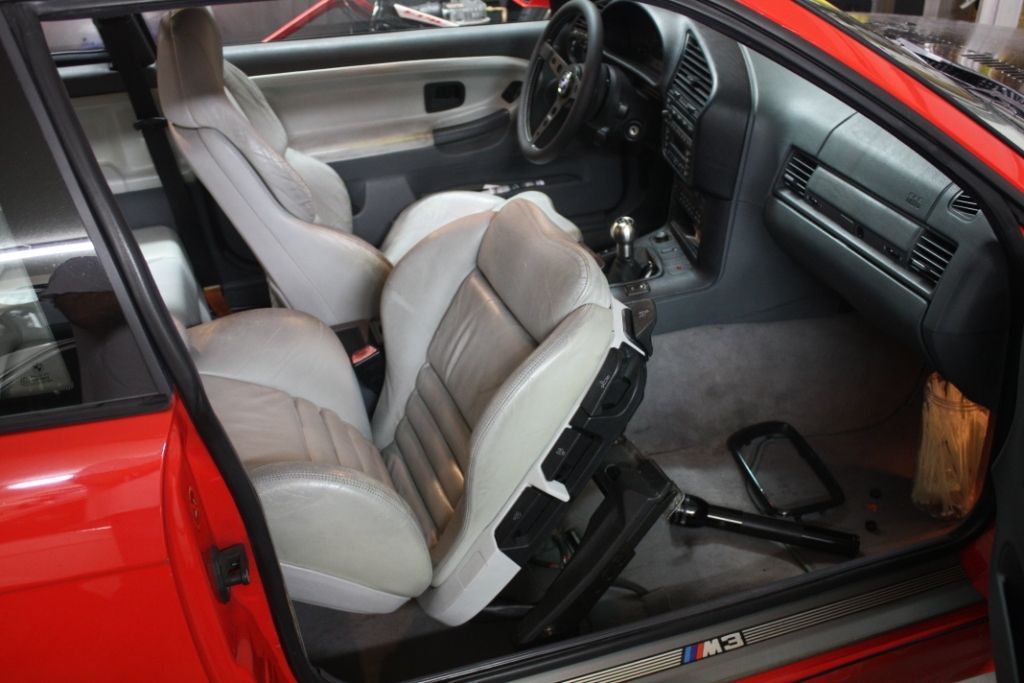
Removing them was cake, 4x 16mm (again that weird size) bolts/nuts and a couple of plugs and off they came

Just for the hell of it, I grabbed the bathroom scale and gently balanced one of them on it. Believe it or not, all 64lbs of it:

There it goes, 128 lbs just with the two front seats.

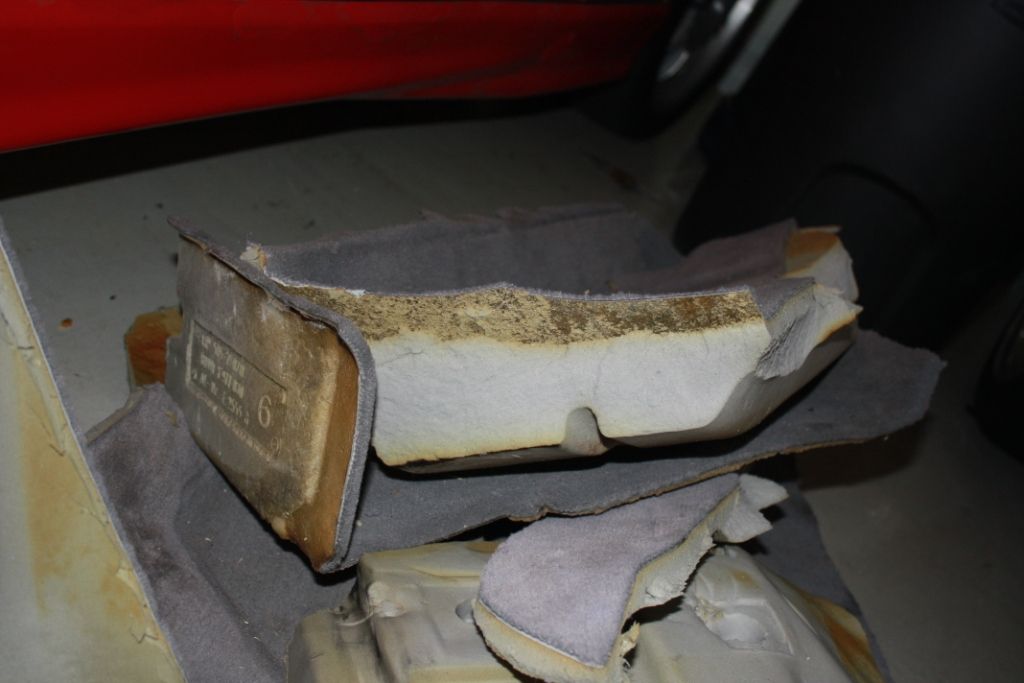
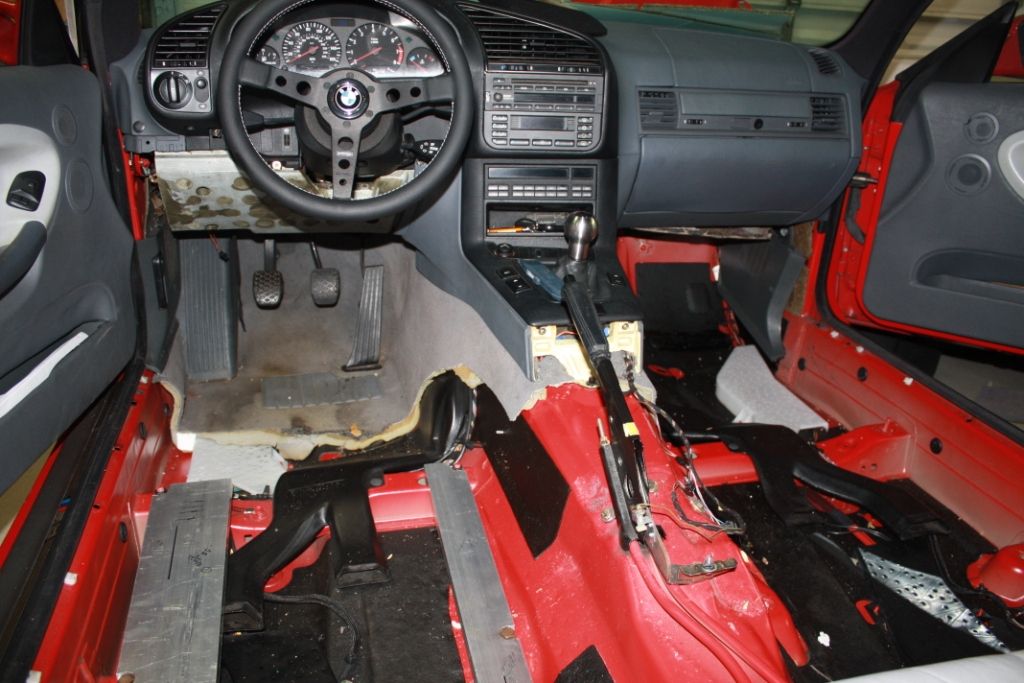
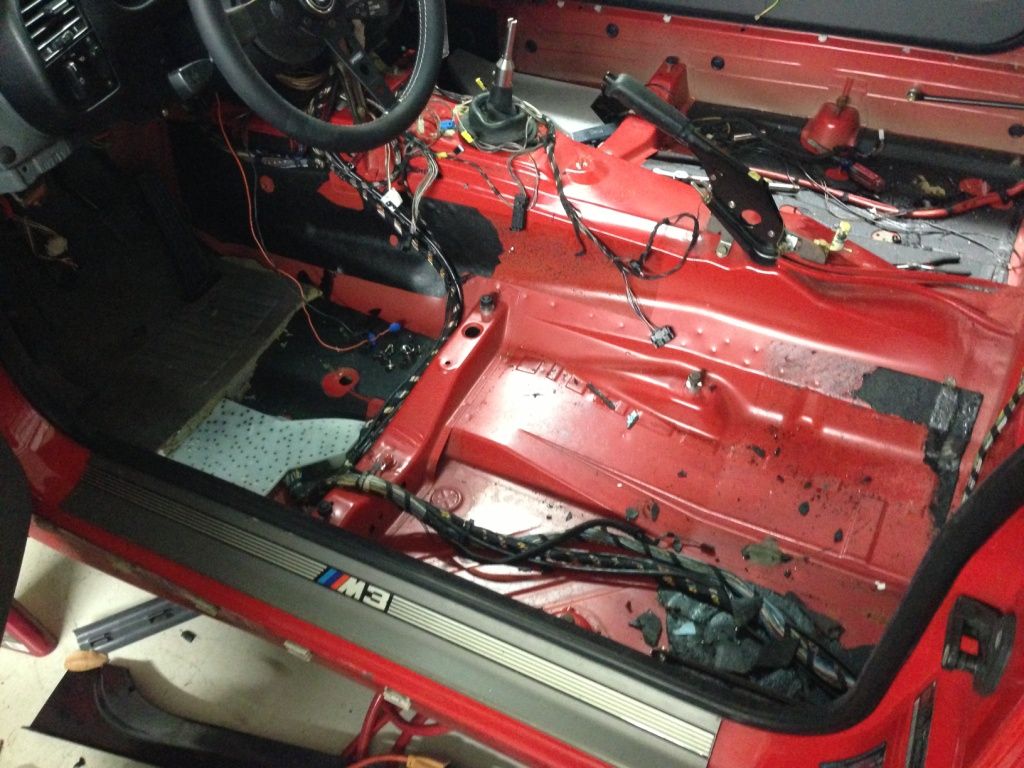
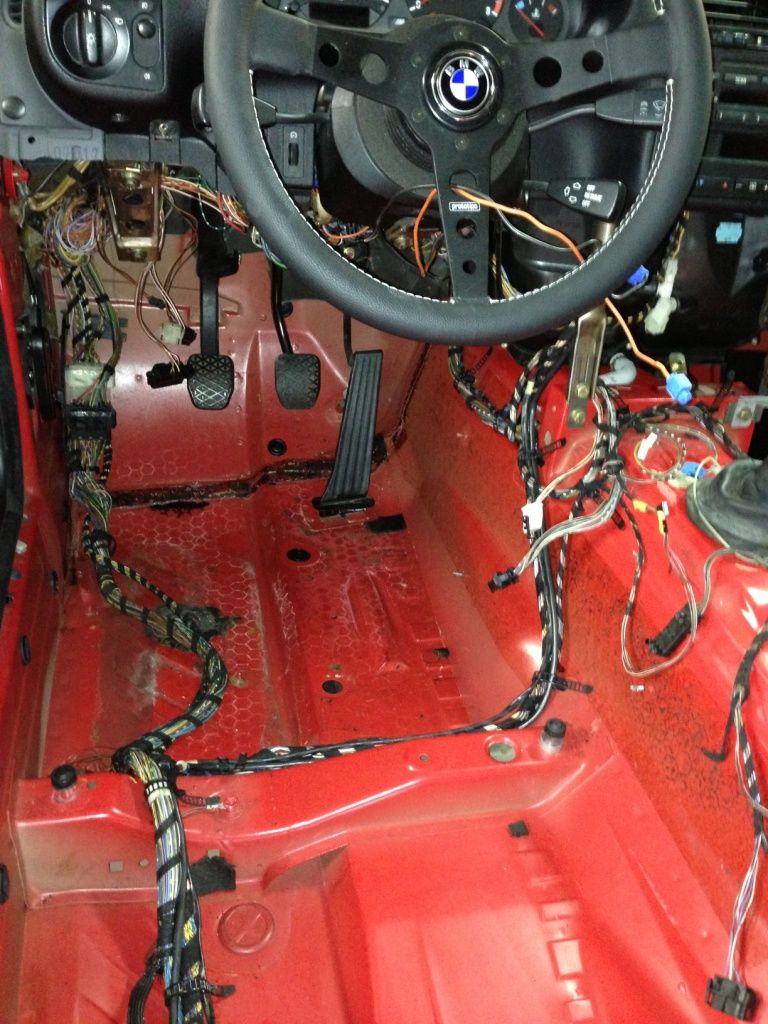
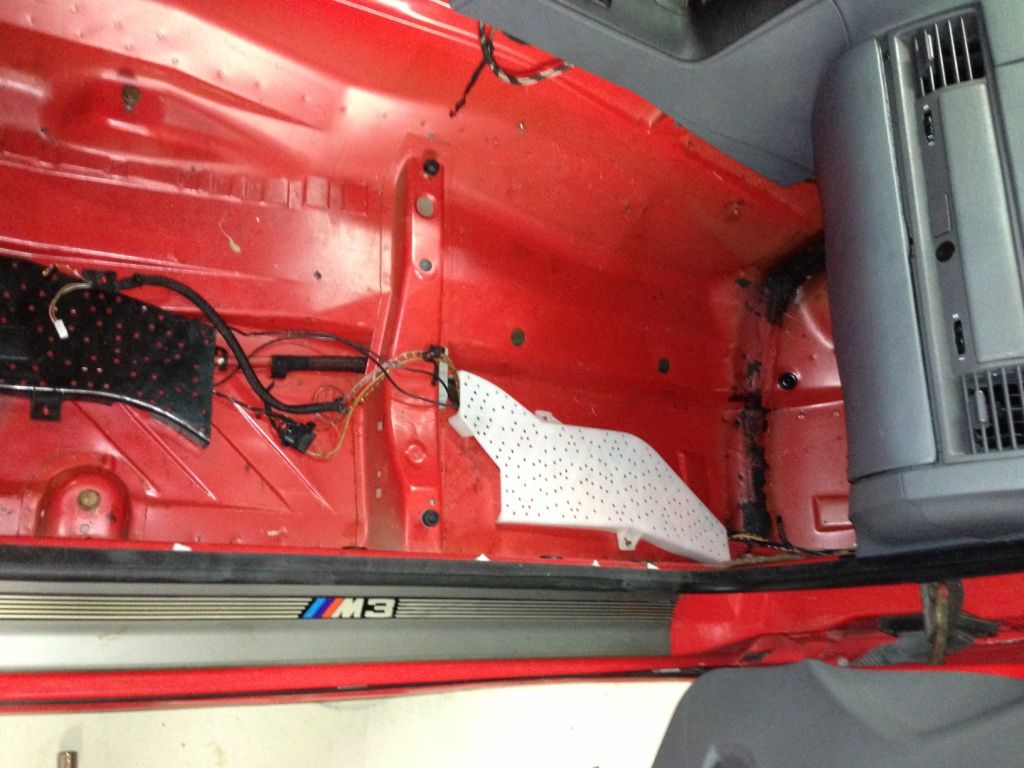
After those came off, I started to go to town on the carpet. This was tricky, and it goes everywhere ... so I just cut away

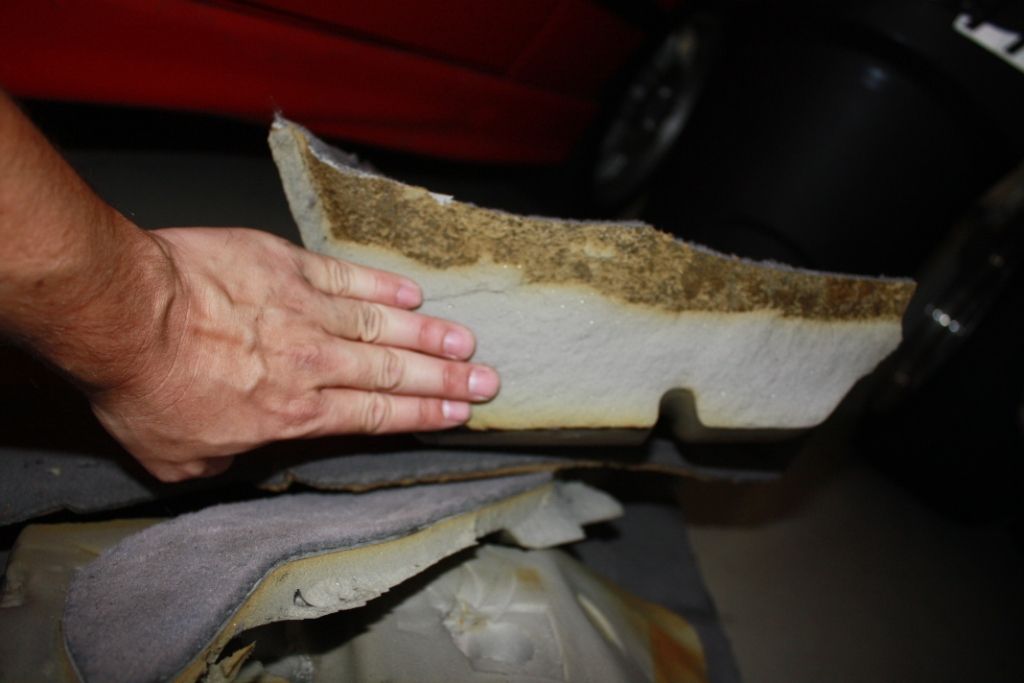
Did you see how thick that carpet is????? !!!, A picture with my hand there for comparison

Its over 4" thick in certain parts ... probably closer to 6".

My oldest son was helping me at first ... but little by little he started giving directions, I guess he is going to be a manager

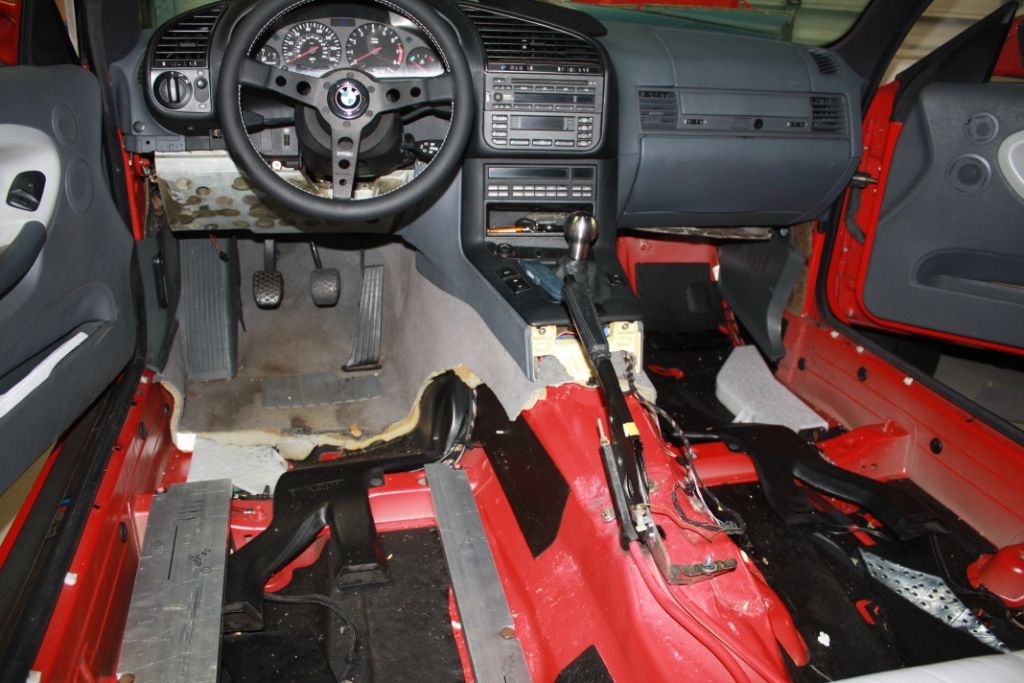
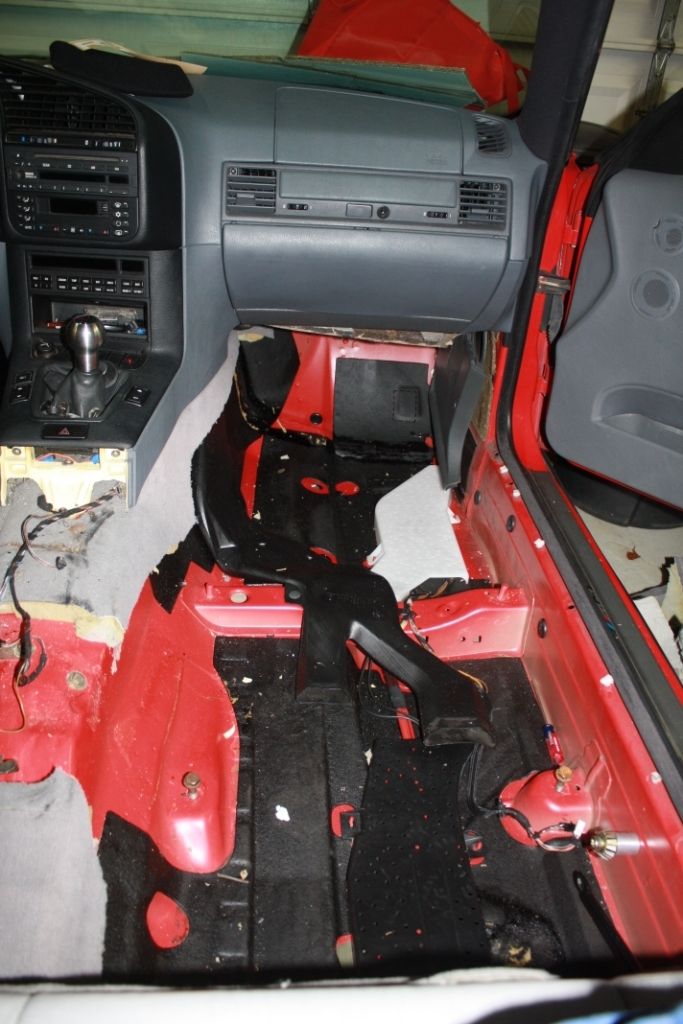
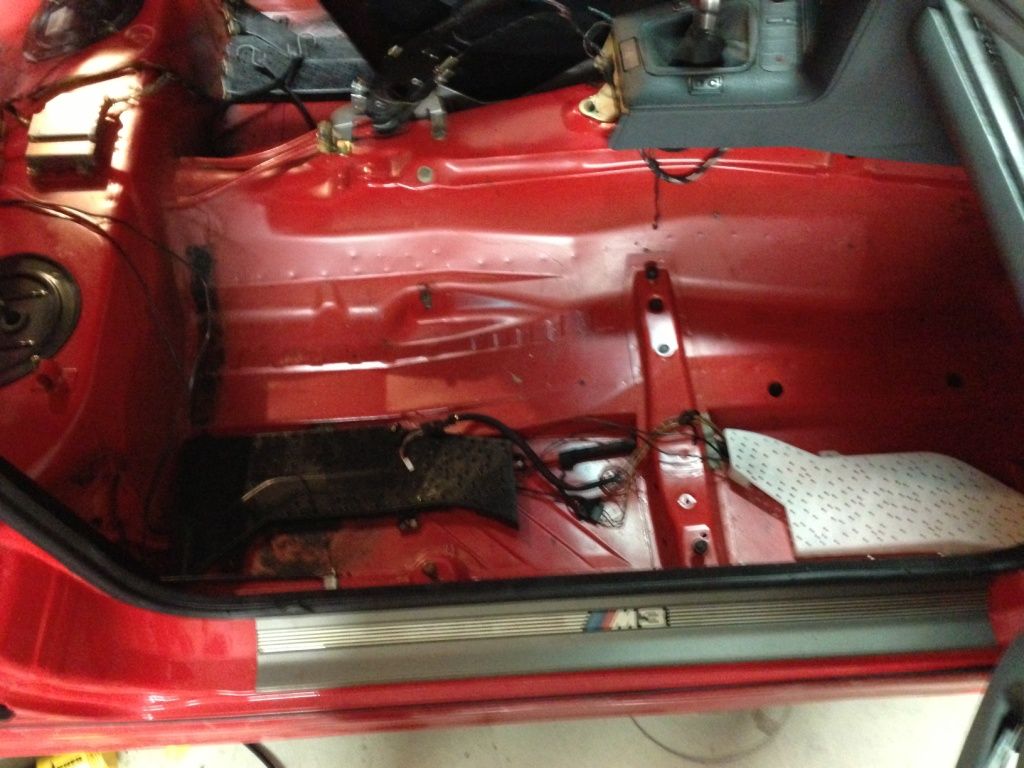
Passenger side pretty much done, and most of the driver's side as well

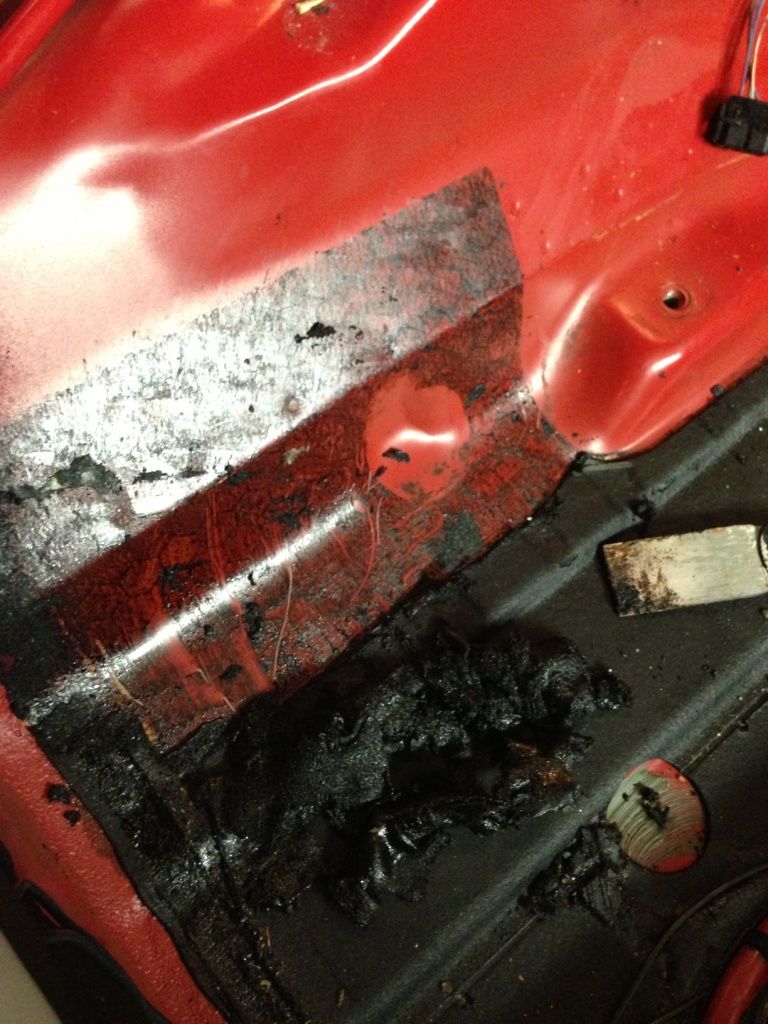
All that black tar will eventually be removed ... lots and lots of patience, plus heat gun, putty knife and mineral spirits will be used ... as well as a fan to help with the smell. This is what you end up

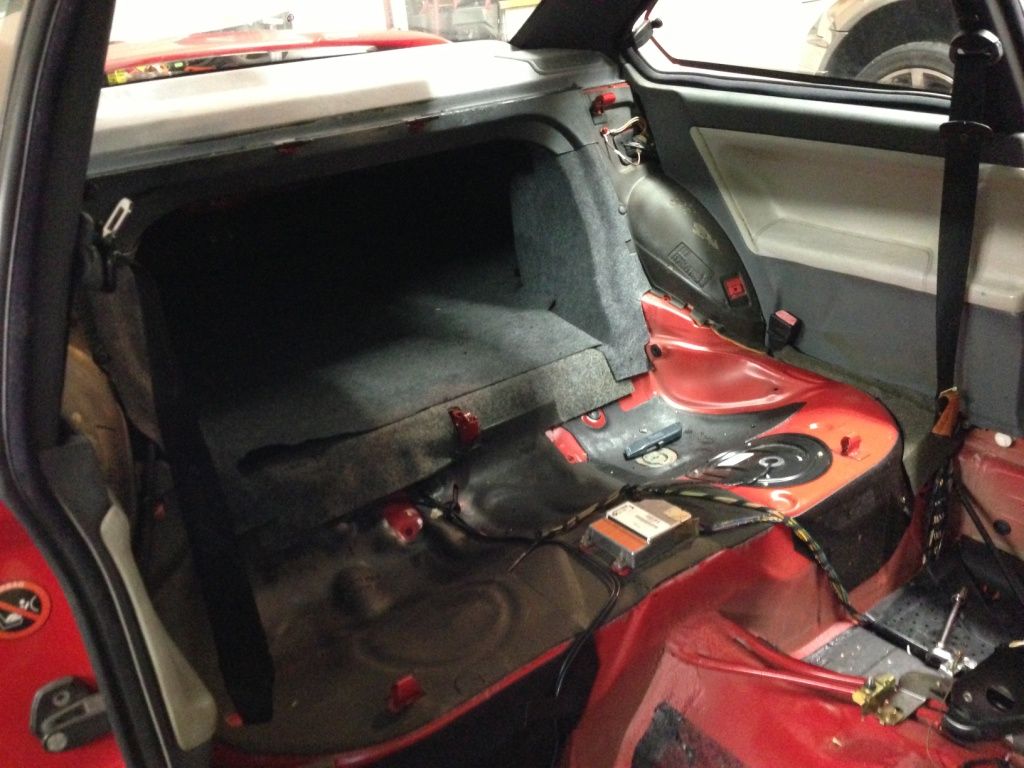
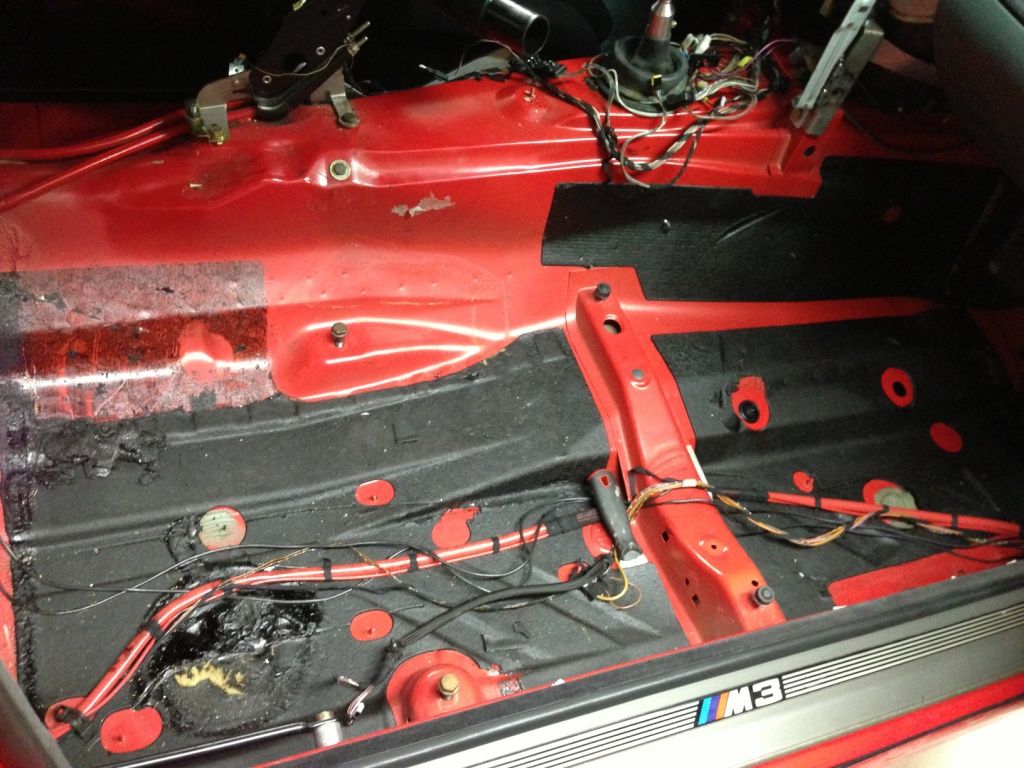
The rear part was very easy once I figured out how to remove the seat backs. I was ready to cut them into small little pieces and light them up on fire until I figured out there is a latch in between the seats that releases them. The side bolsters just pulled off quite easily. I did not take many pics as I was quite pissed at the car by now

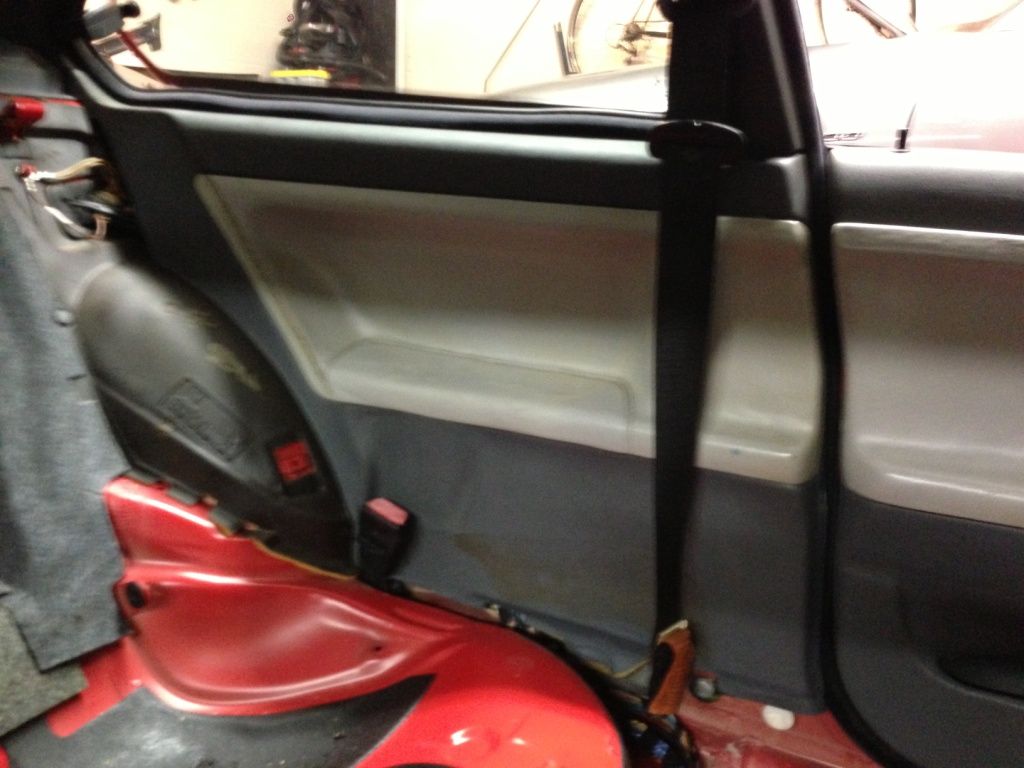
The front door panels will stay for now, but the rears come off

Behind the rear side panels, there was more of this rubber stuff. It has the density of mercury ... the stuff is so heavy, its no wonder the car is so quiet stock.

At this point, I am quite amazed at the quality of this car. You always hear how e36 interiors are crappy, but they are very well put together and the car is pretty much a tank.

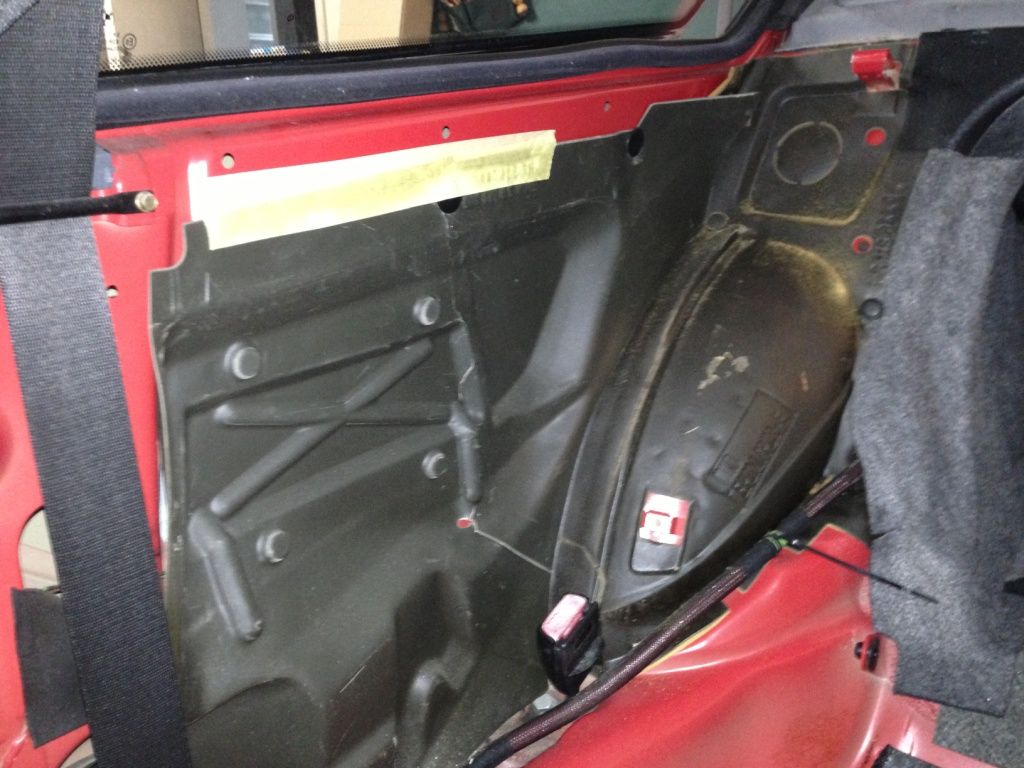
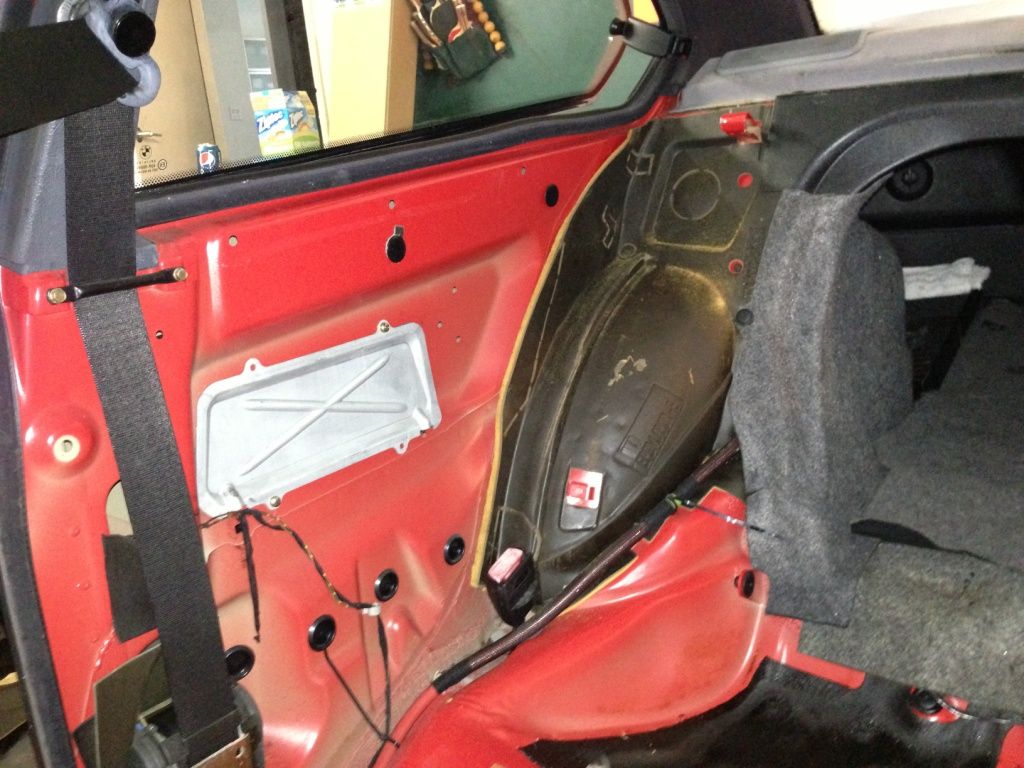
Side panel off, rubber off ... now a little metal door, what the hell for?

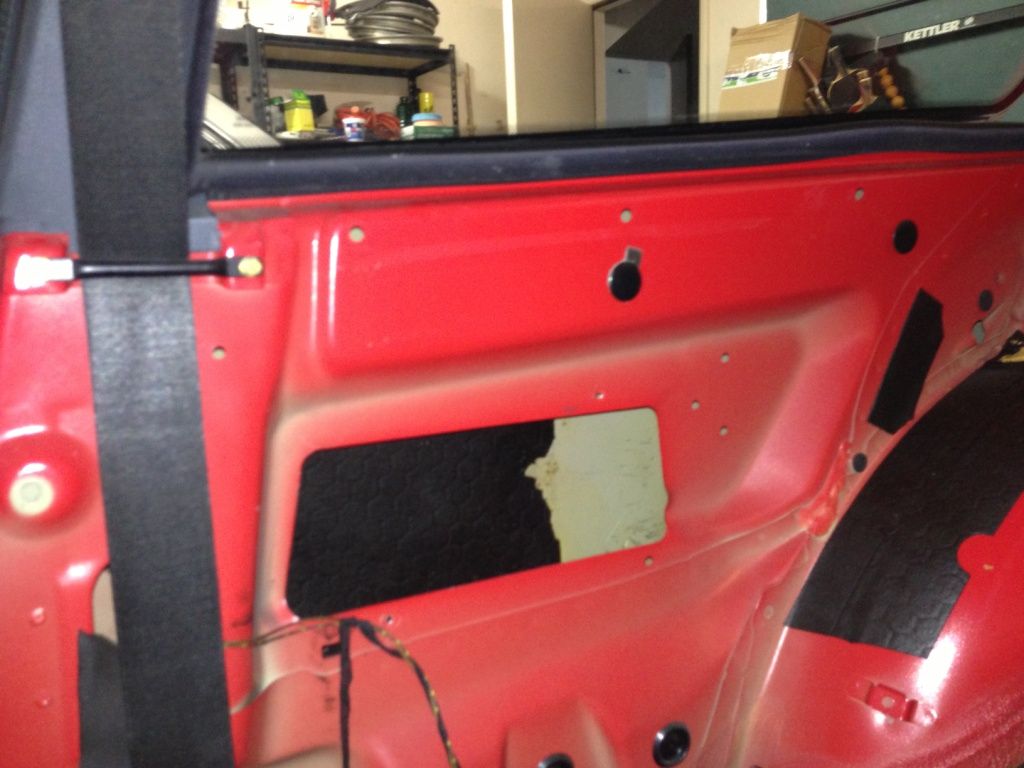
off it comes ... and more tar behind it

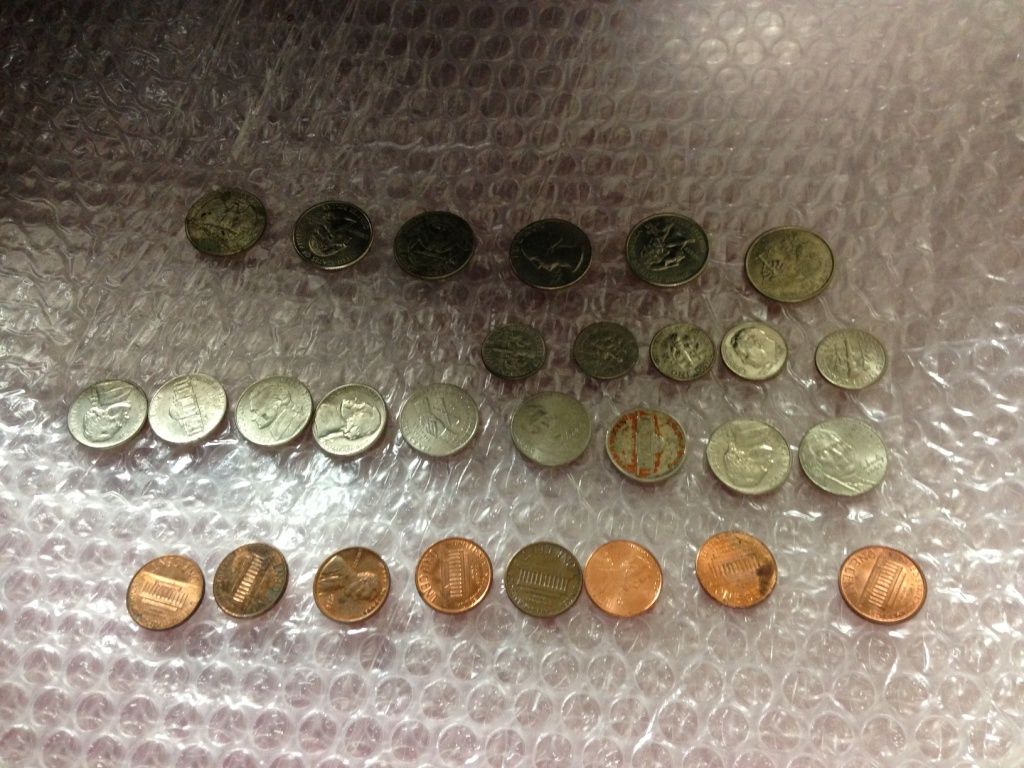
Along the way I found a some money, which I thought was going to go into the go fast parts fund ... but my manager stole it from me.

Most of the interior is now gone, I just need to start working on that black tar now and clean it up real good.

I manage to sell the seats locally and recoup about $400. The rest of the trim, most of it went in the garbage and some was in such good shape that I kept as I felt bad throwing it away. If anyone here is looking for trim pieces and I have them, just pay for the shipping and they are yours.

I have to download/upload more pictures of the finished interior. I will post those tomorrow and I will start fabbing some brackets to mount the seats.

CGLockRacer
CGLockRacer Dork
8/1/13 6:14 a.m.

I've heard of dry ice being used for removing the black tar. Haven't tried it myself though. Get it really cold and it becomes brittle, and you chip it off.

z31maniac
z31maniac PowerDork
8/1/13 7:39 a.m.
CGLockRacer wrote: I've heard of dry ice being used for removing the black tar. Haven't tried it myself though. Get it really cold and it becomes brittle, and you chip it off.

This what the E30 guys do with the trunk tar.

Harvey
Harvey New Reader
8/1/13 9:58 a.m.

I feel kinda bad watching it get taken down to nothing. I somehow feel less bad seeing a regular E36 get torn down than the M3.

DILYSI Dave
DILYSI Dave MegaDork
8/1/13 10:09 a.m.

On Hondas, dry ice is magic for getting the tar out. On the Mustang, it's useless. I would try it on the BMW though, just in case, as if it does work it cuts the effort down to about 5% of the way you are doing it, with better results to boot.

93EXCivic
93EXCivic MegaDork
8/1/13 10:32 a.m.
DILYSI Dave wrote: On Hondas, dry ice is magic for getting the tar out.

It works well on Yugos too.

Ian F
Ian F PowerDork
8/1/13 10:40 a.m.
Slippery wrote: This really threw me off. I used to have an A2 GTI and dont remember seeing so many of them. I dont think I have encountered them in the e30 either. I need to buy a deep socket in that size.

Deep... medium... shallow... 6 pt... 12 pt... impact... off-set box... ratcheting... x-long ratcheting...

Fortunately, most "pro-oriented" socket & wrench sets come with a 16mm these days... with Craftsman it can be a crap-shoot... some sets do, some don't. I have a bunch of odd-ball 16mm sockets I had to buy after I started wrenching on BMW's and MINI's.

Slippery
Slippery Reader
8/1/13 11:46 a.m.

All these posts about dry ice ... I knew I should have asked here before I tackled the job. Its done now :D

In all honesty, only the passenger side was difficult to work with. The driver's side, rear seat and trunk chipped right off without the need to use the heat gun.

Slippery
Slippery Reader
8/1/13 11:48 a.m.
Harvey wrote: I feel kinda bad watching it get taken down to nothing. I somehow feel less bad seeing a regular E36 get torn down than the M3.

One of these days I will lost up how much I paid for the car and what all came with it. Might make you feel better.

The fact that I wrecked the front end, made it ok with me.

Slippery
Slippery HalfDork
8/5/13 10:27 p.m.

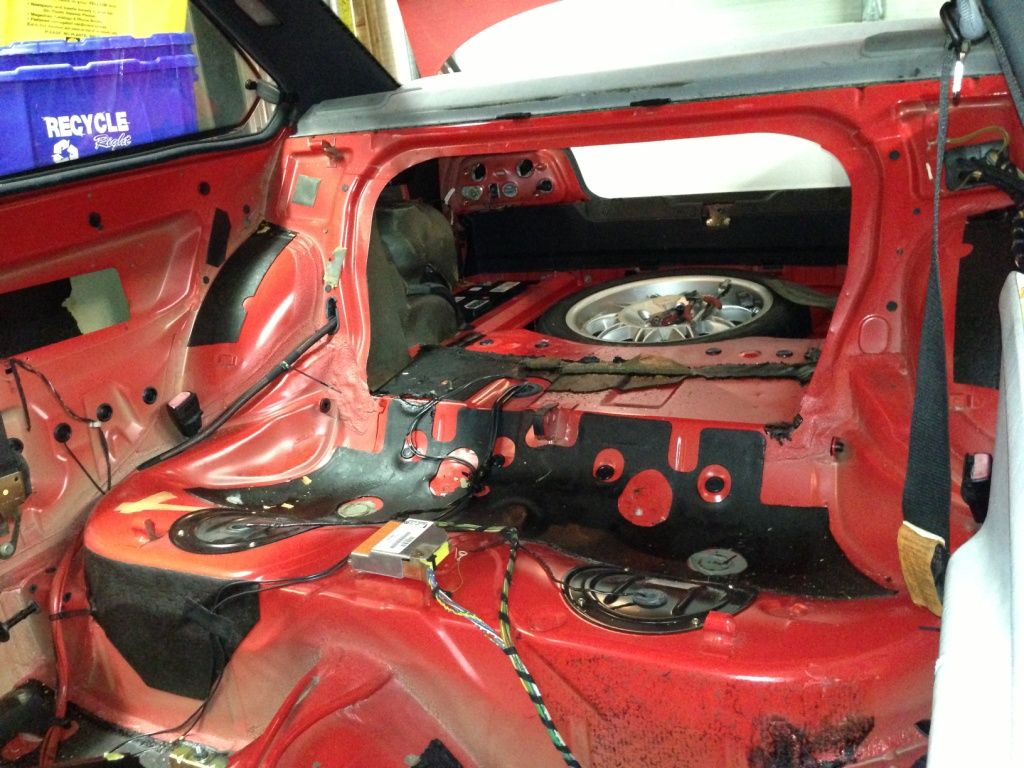
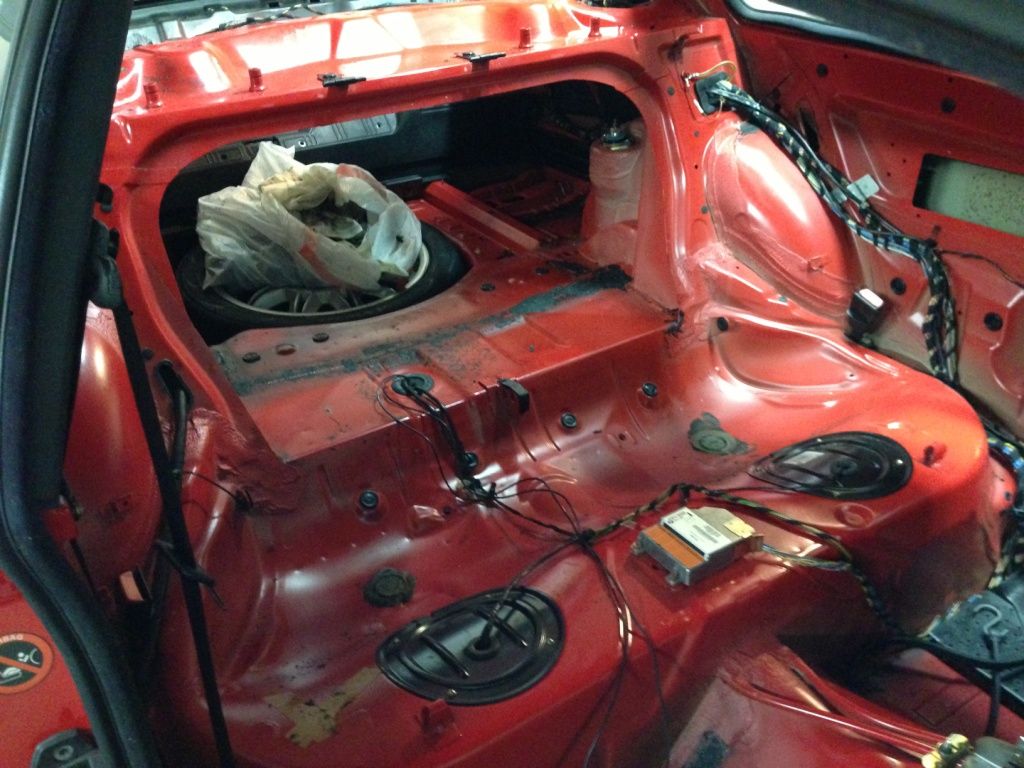
As I mentioned earlier, removing the stupid tar/sound deadning was a chore. I spent a few nights chipping at the stuff. At first, I almost gave up ... but I kept at it and after a while got a good system going to remove it.

Drivers side. Tar under the seat removed

Drivers side mostly complete. It still needs to be cleaner up with mineral spirits

Passenger side before

and after

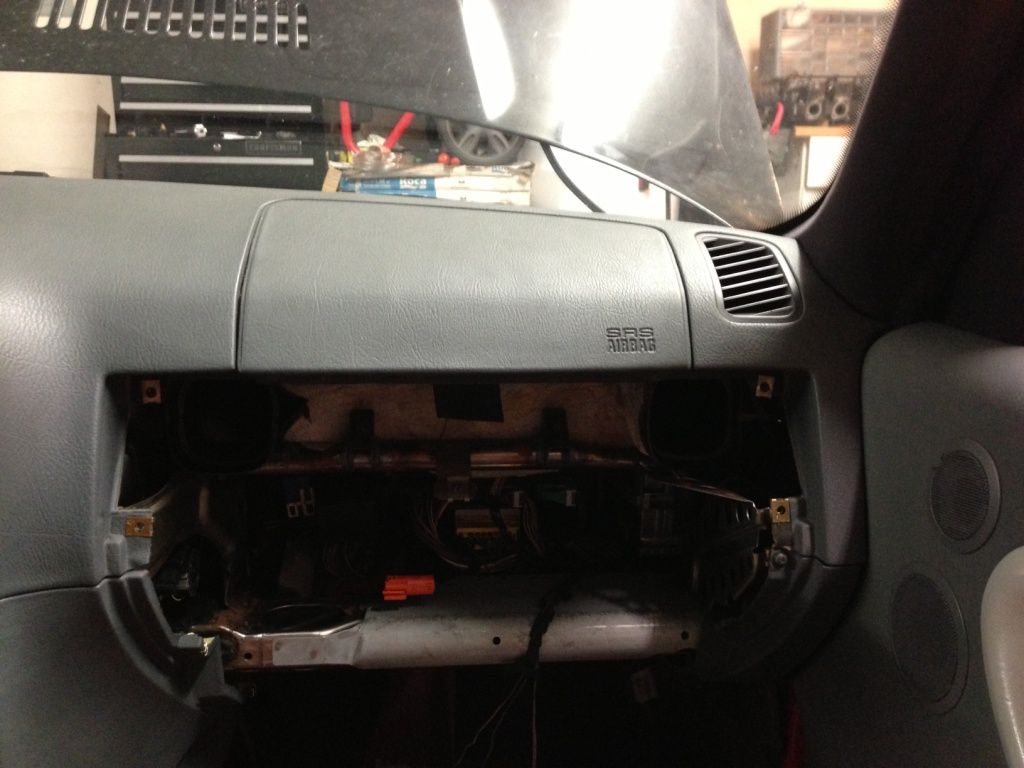
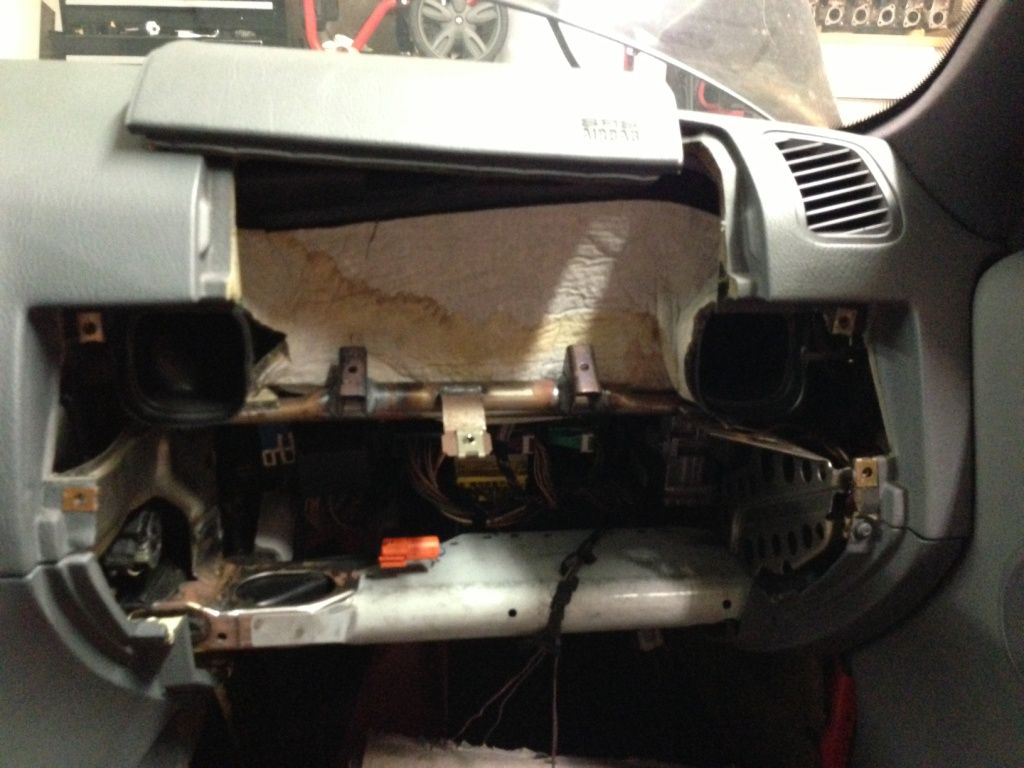
While I was removing the tar, I would take breaks and do other stuff to mix it up and not get bored. One of the things that I did was removing the passenger airbag. Good god that thing is heavy, that was another 20lbs at least that came off the car.

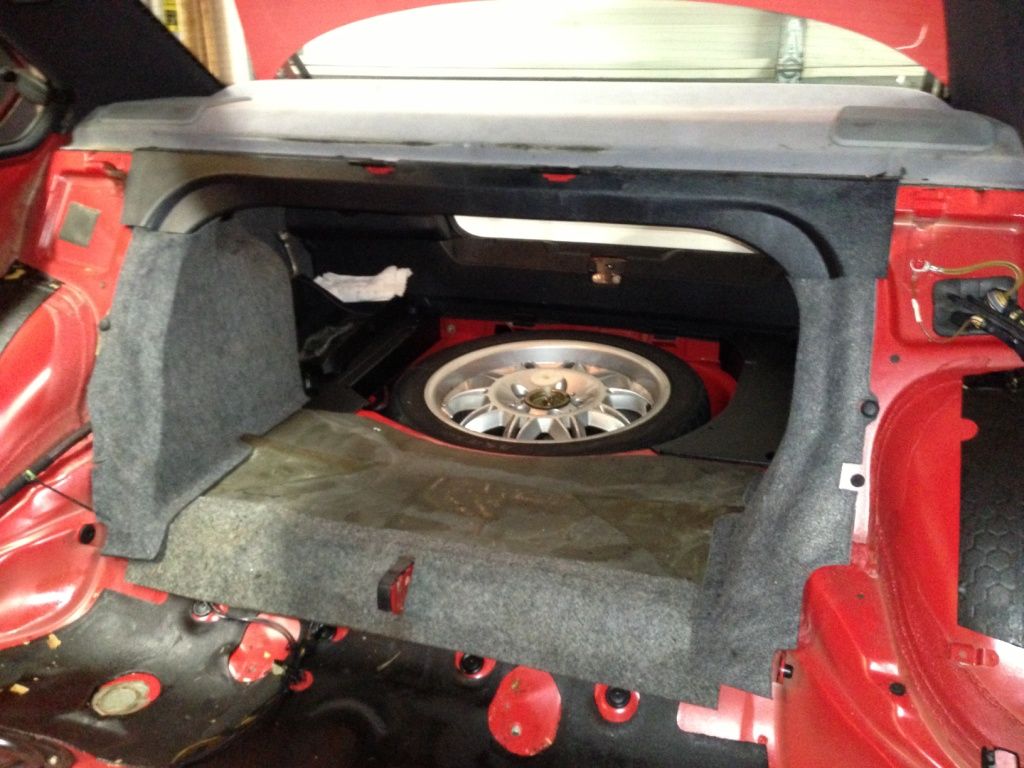
I then started working some more on the rear of the car, at this point it looked like this:

which quickly became this

and then this

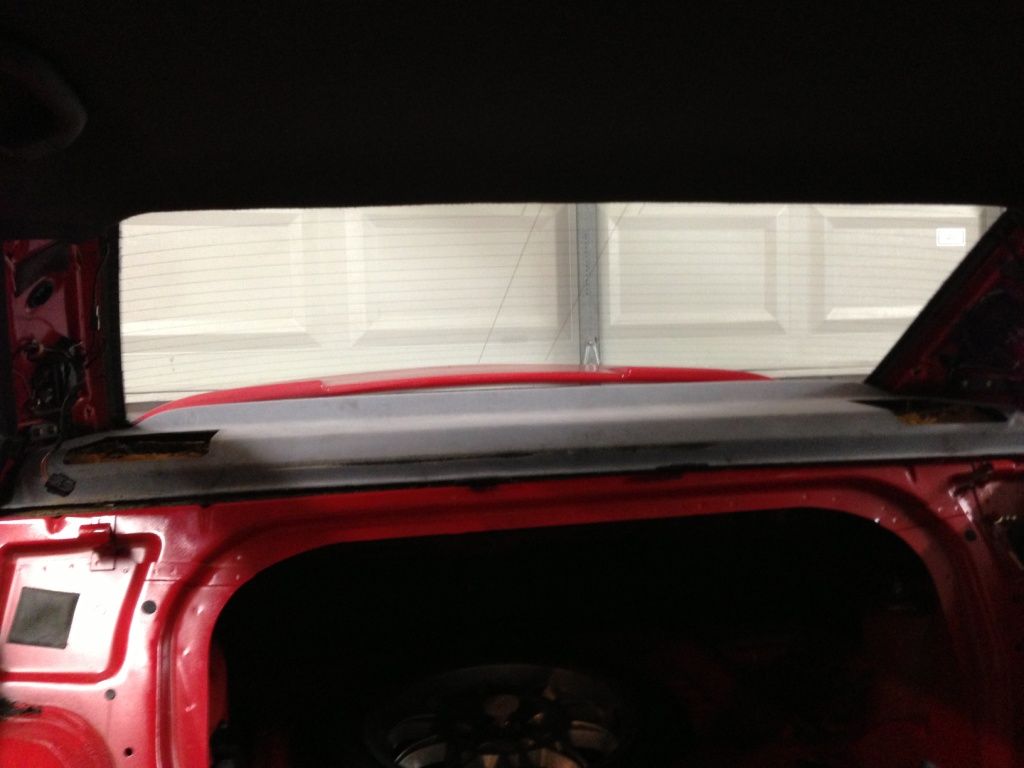
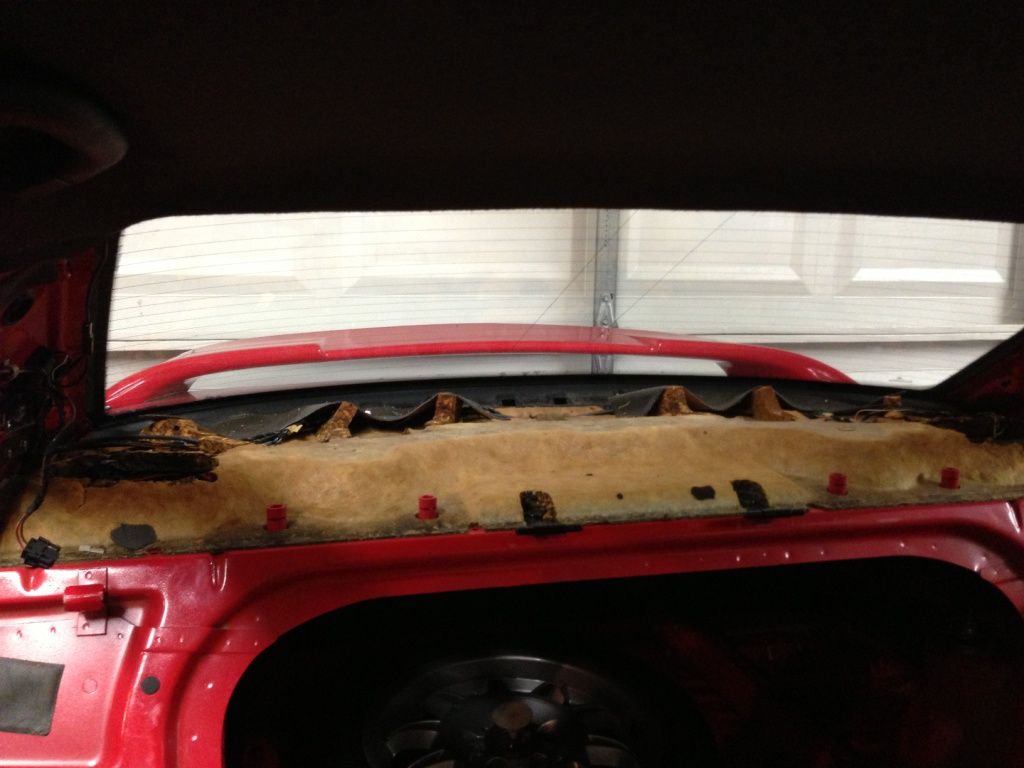
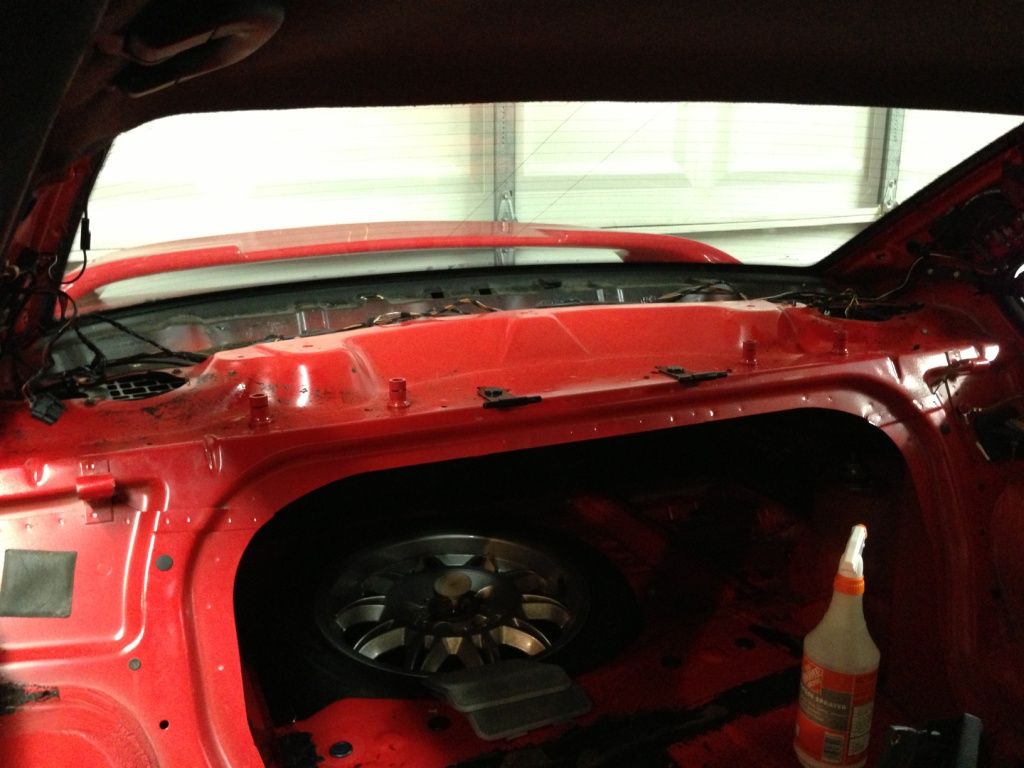
Somewhere along the way I took the rear parcel shelf off. Another 30 lbs there. There are layers upon layers of crap, some really dense and heavy.

More stuff underneath

and then after the tar was removed, it looked like this

Most of this was accomplished at night after work. I would work on it after my kids went to bed, for a couple of hours or so at a time. I slowly started making good progress.

Ian F
Ian F PowerDork
8/6/13 6:28 a.m.

I'm guessing the next big task will be splitting the harness to remove non-essential stuff? That may drop another 10 lbs or so.

Slippery
Slippery HalfDork
8/6/13 10:14 p.m.
Ian F wrote: I'm guessing the next big task will be splitting the harness to remove non-essential stuff? That may drop another 10 lbs or so.

From what I read ... you can remove almost 20lbs of wiring ... but I am leaving the sound system in there for now. I usually drive to either Homestead, Sebring or Palm Beach raceway ... the shortest drive is 45 minutes and I need to listen to something :D. I'd love to install a system like, I think, Keith Tanner has on one of his Miatas ... no headunit and just his ipod powers it.

Anyways, long story short ... I am not ballsy enough to mess with wiring. With my luck, I will cut a stupid wire and the car will never run again.

Slippery
Slippery HalfDork
8/6/13 10:21 p.m.

This car was full of surprises from day one. The previous owner did not really know much about the car and therefore did not mention many of the upgrades, good or bad.

I purchased the car in Maryland. Even though it spent all its life in south Florida until 2011 and was not driven that winter, I still had fears of finding rust. This was one of the reason I was hesitant to check the rear strut towers under the carpets or anything other than the undercarriage. Needless to say, there is not a spec of rust on the whole car. I did find some surprises along the way.

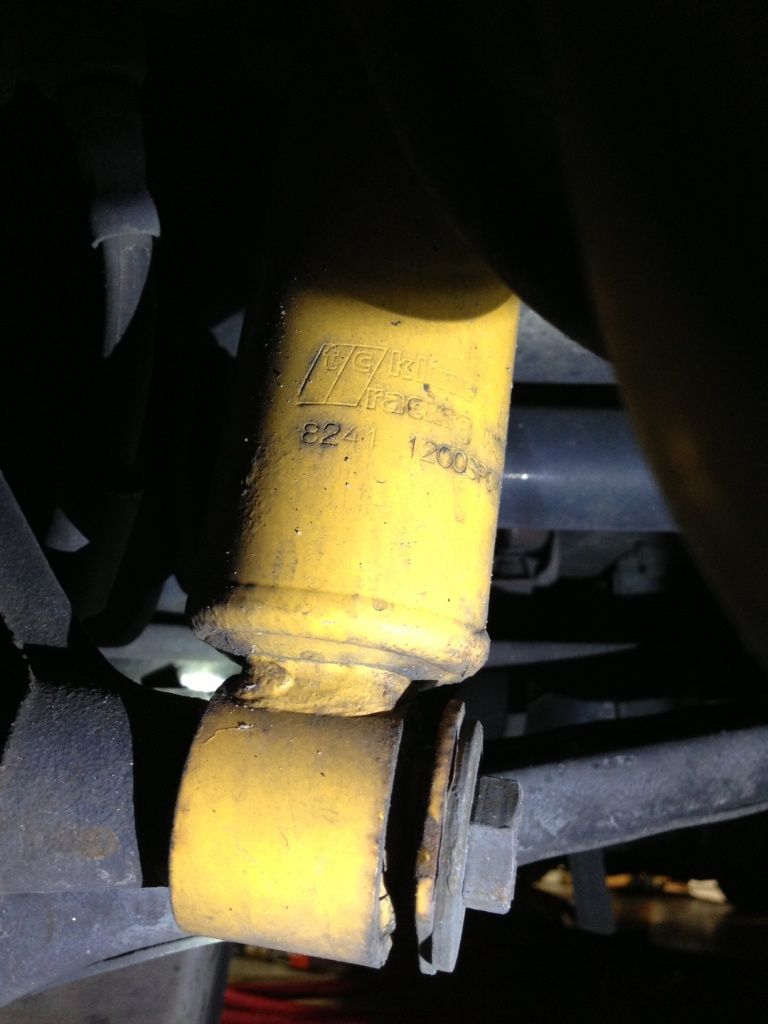
One of the surprises was this:
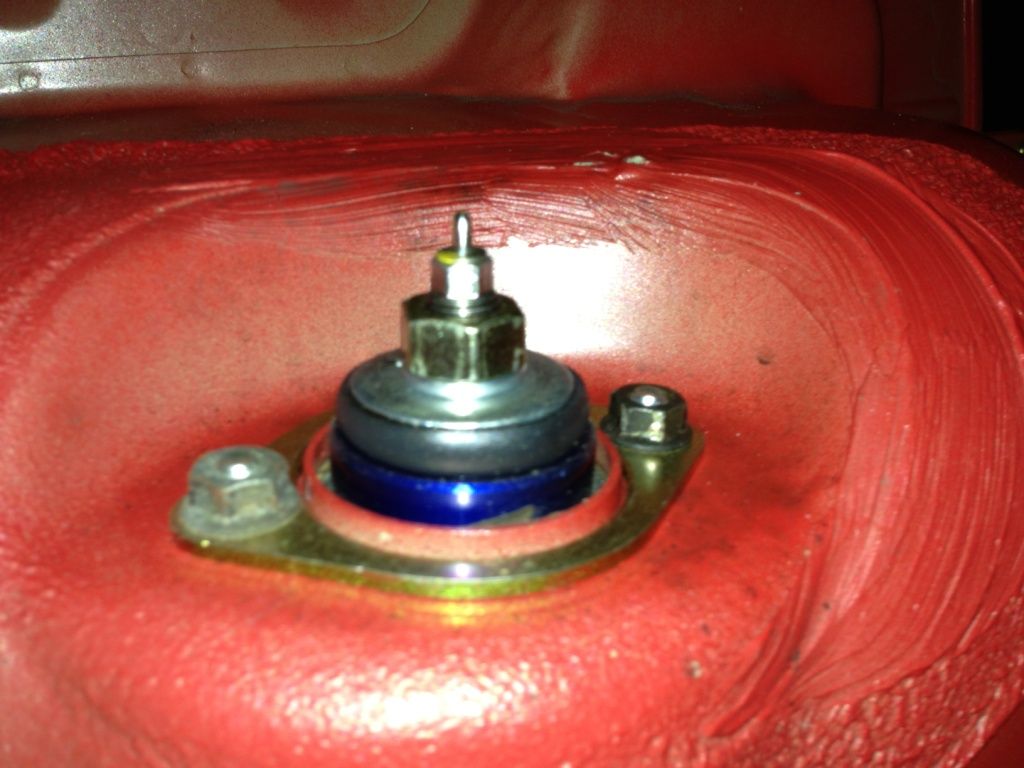
Adjustable TC Kline shocks with H&R sport springs and aluminum top rear mounts. Not bad and one less thing I have to spend money on, for now. These are basically adjustable Konis revalved to TCK specs.

Another surpise was when dissasembling the front end for repair. The radiator was stamped 2010, so it looks like the cooling system was taken care of not long ago. The thermostat housing was changed to the aluminum one too. This is great, but I had already ordered the Z3M factory radiator (3 rows). Oh well, I guess I can take my time on that now.

Next on the list was to get these guys in their place
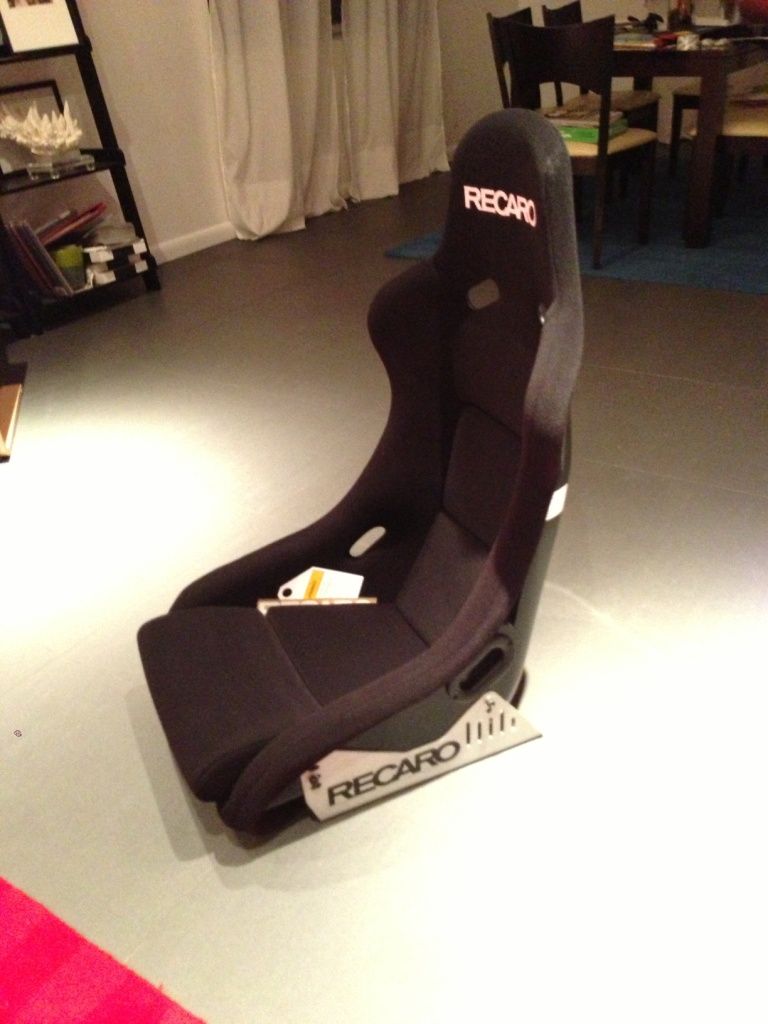
I am a pro at lurking in forums, going through ebay/craigslist looking for deals. I finally came upon some Recaro side brackets for cheap, to top it off they were the lighter aluminum version. I still needed the interface with the floor ... and no way was I going to pay what those things sell for.

Before getting rid of the stock seats, I sat them on a piece of cardboard and made a template of their footprint. It was not all that good, but it was good enough to give me a rough idea of what I had to come up with.
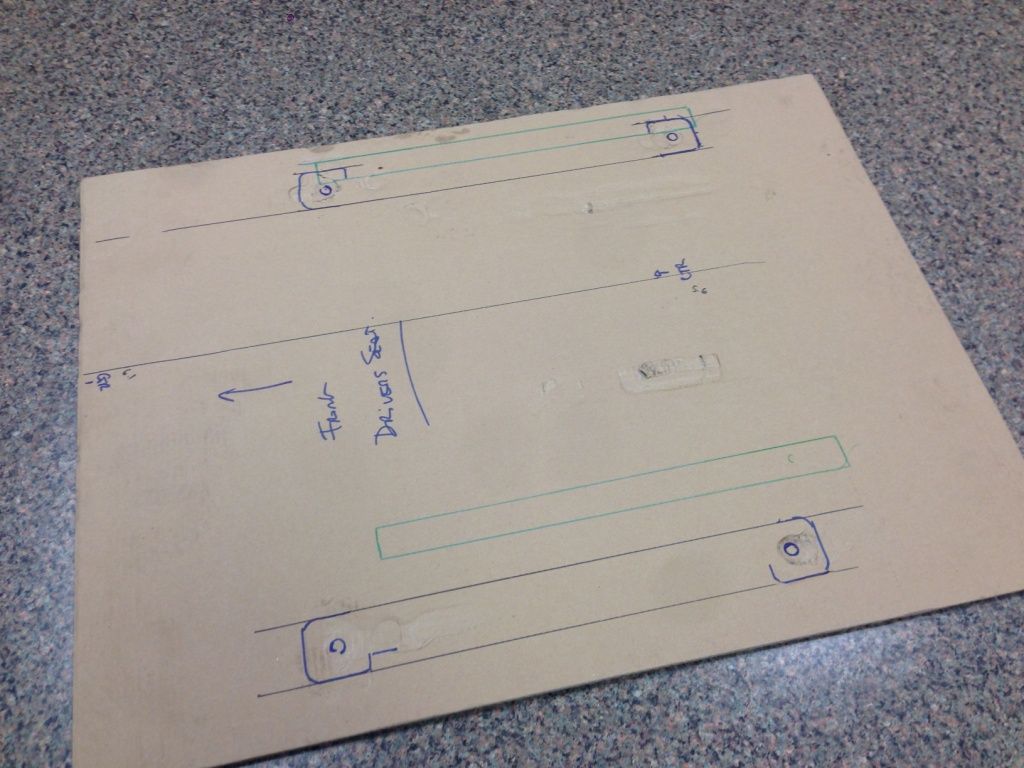
I then took measurements and compared to the floorpan and made some prototypes to check for fitment.
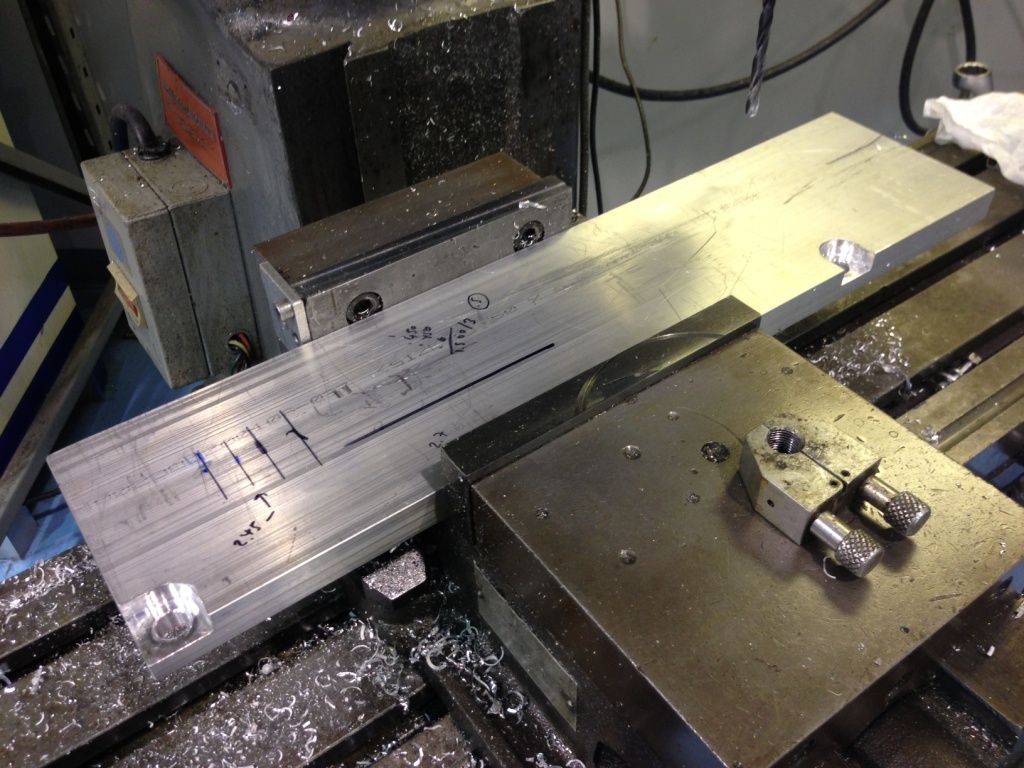
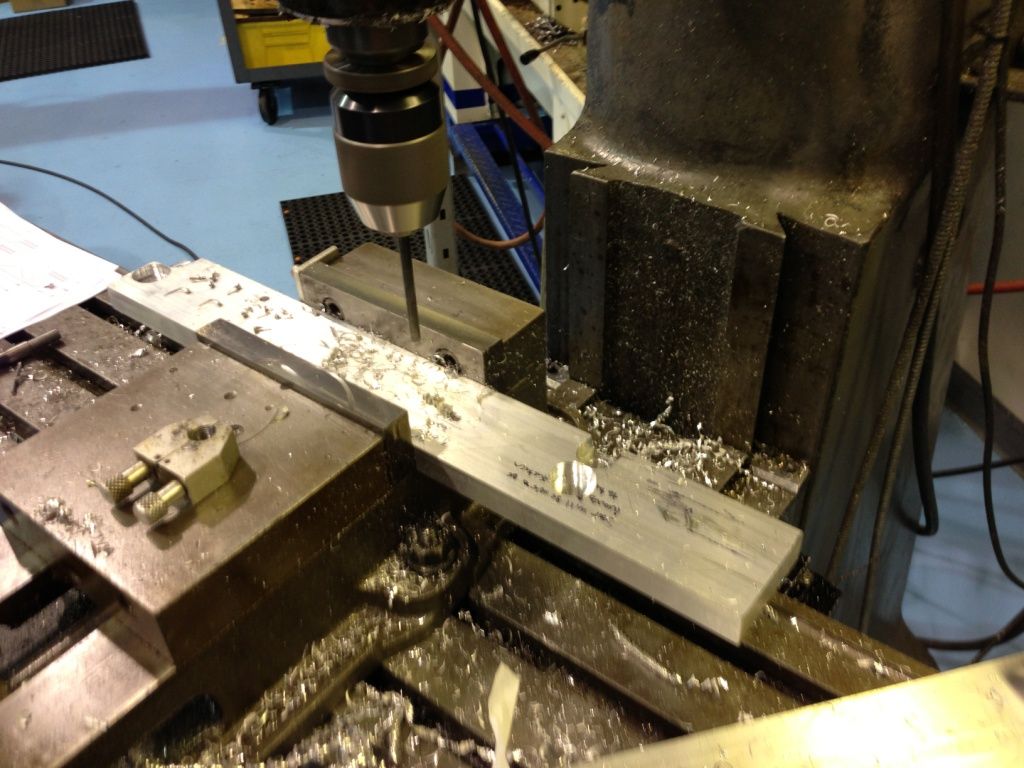
The one I realized, is that the e36 seats are offset from the steering wheel, you are sitting closer to the door. Once I removed the carpet, that gave me room to better center the seat to the steering wheel. I cut a few different holes in the bracket and tested a few different seating positions before I made the final piece.

Installed
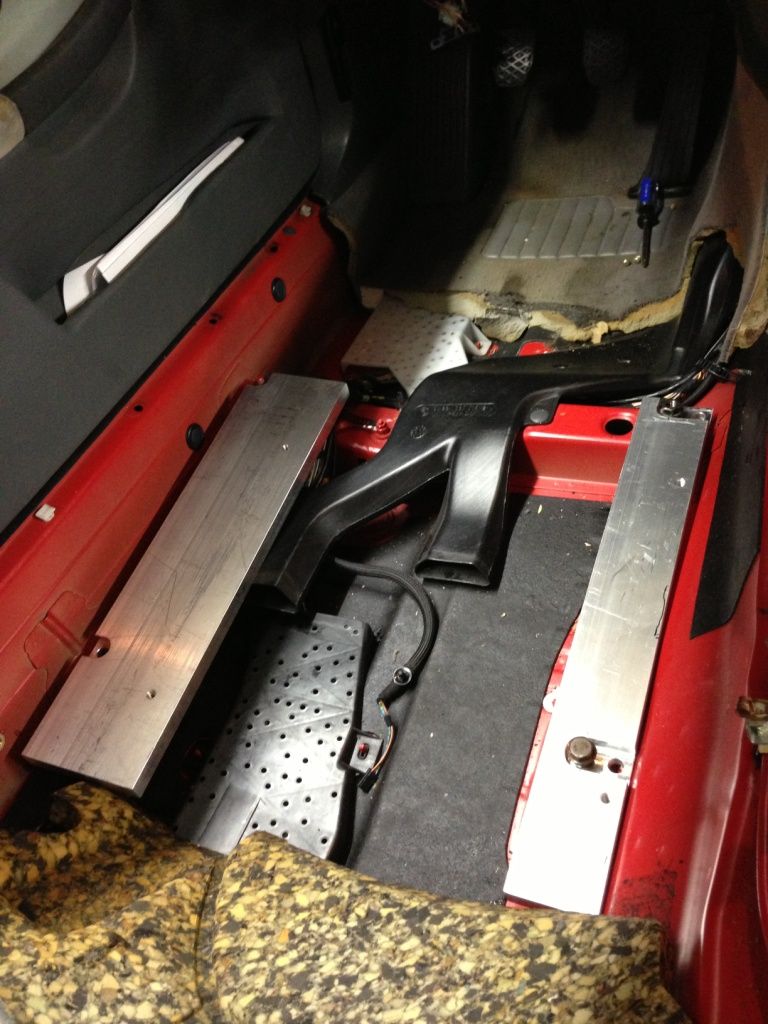
And with the seat, crappy picture but the seat is pretty centered now
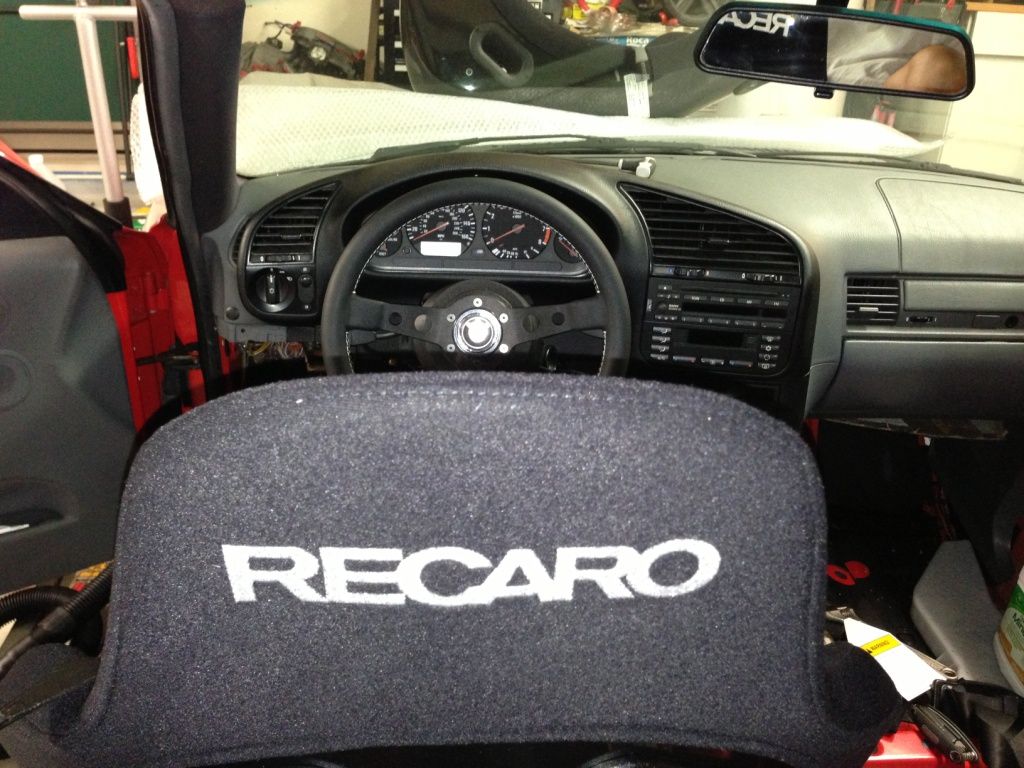
Once I dialed that in, then I had my brother come over and check to see whether he fit alright as he might codrive the car with me. Once that was done, I made the final floor mounts

Simplified the process, but started with a fixture in case I wanted to make another
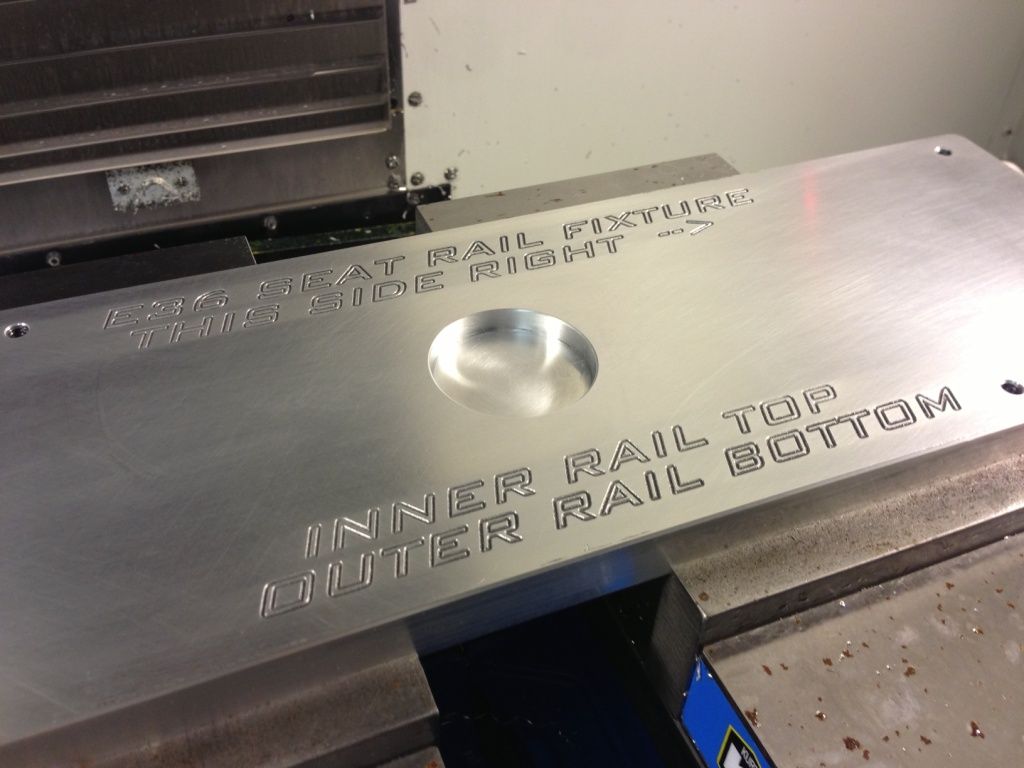
I then used some aluminum that I had laying around and split it into two, inner and outer rail
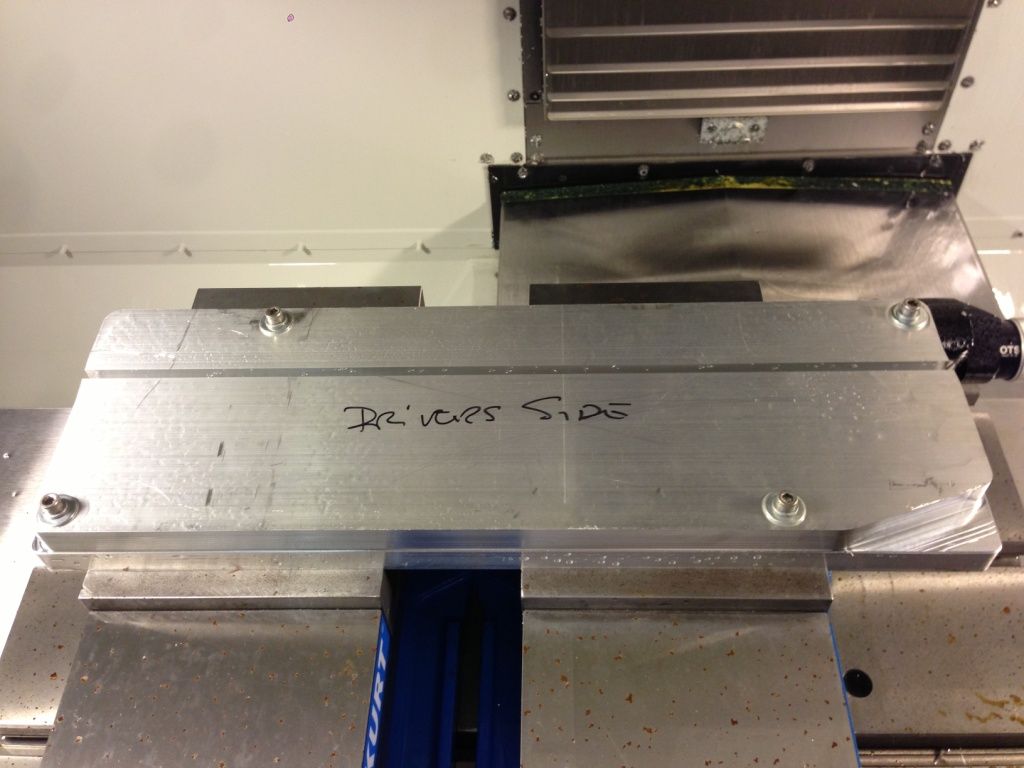
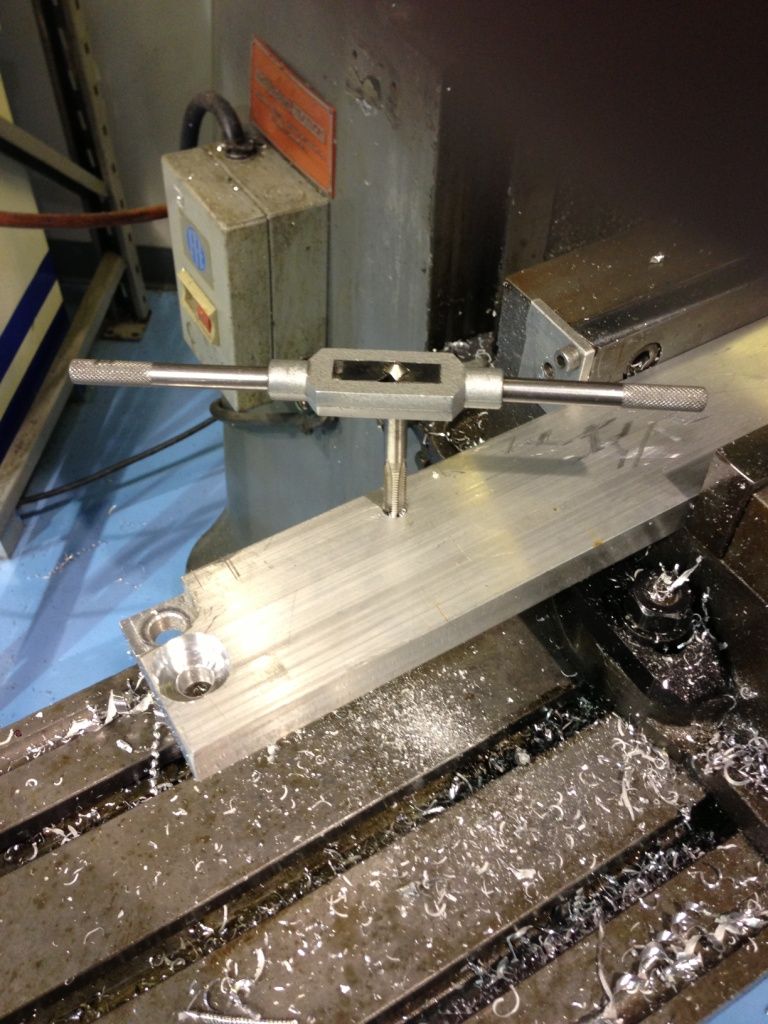
Machining the first side on the inner mount
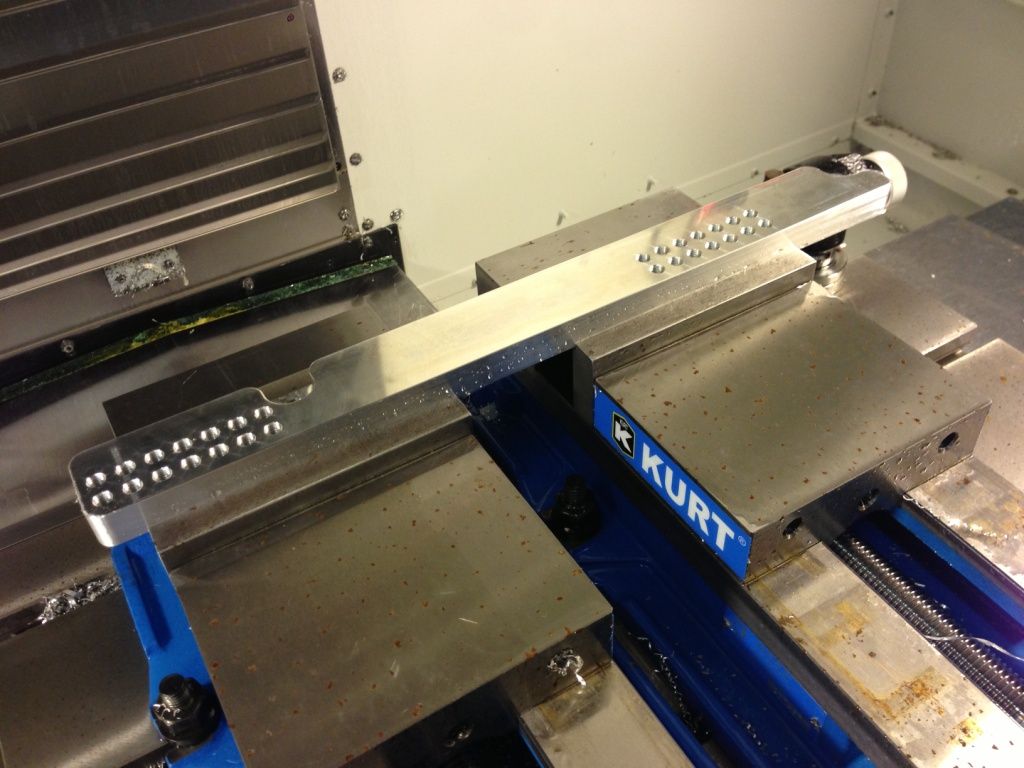
second side of same mount
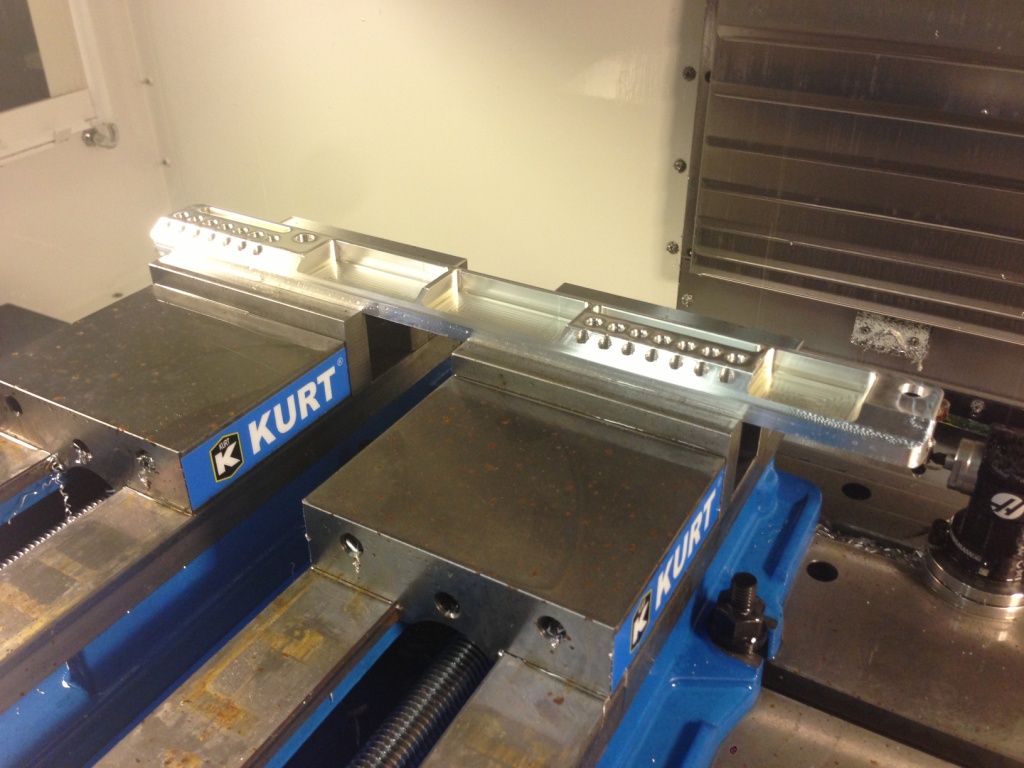
Outer ones, both passenger and driver, finished ... I tried to make them as light as I could without compromising the strength
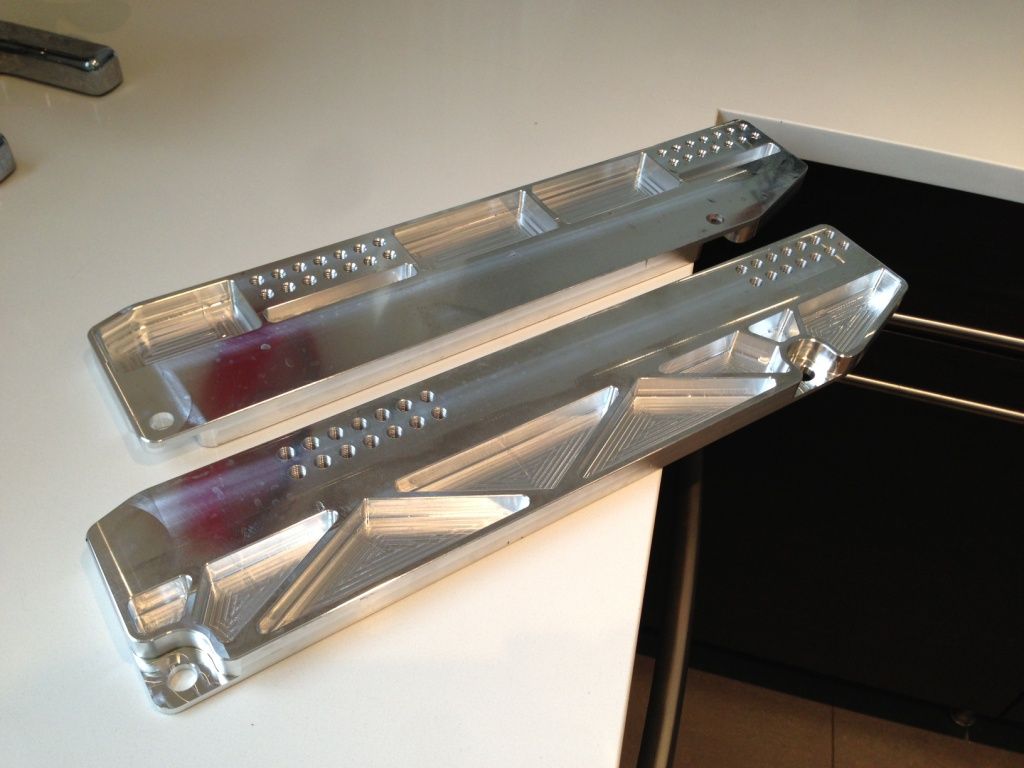
Inner
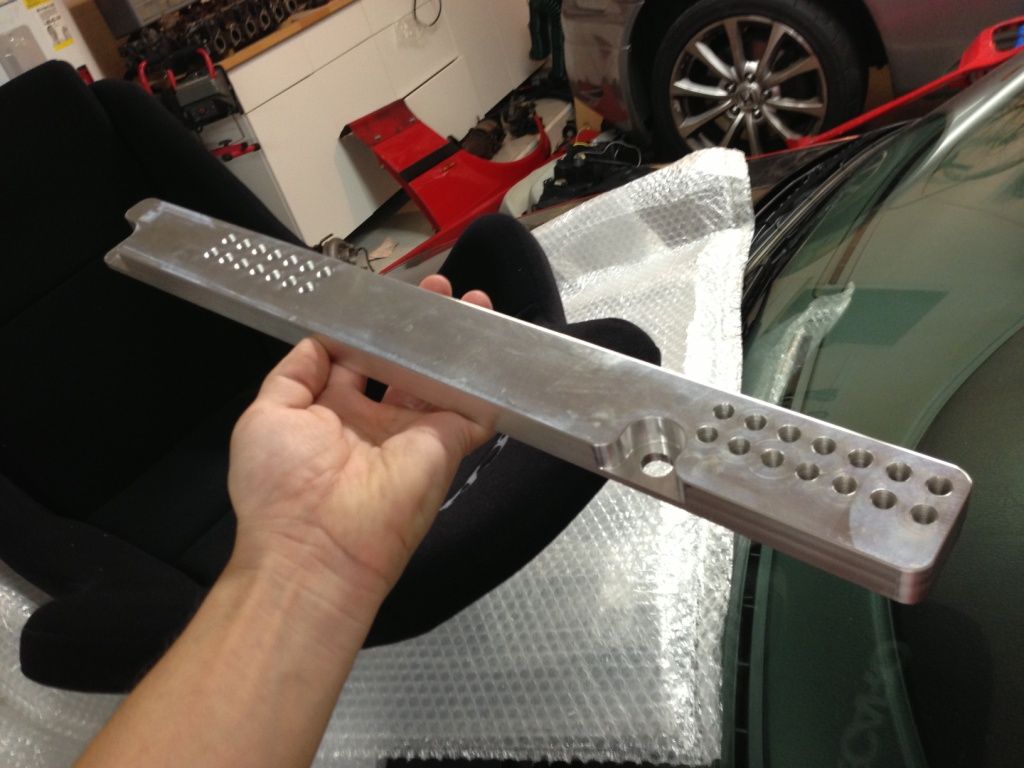
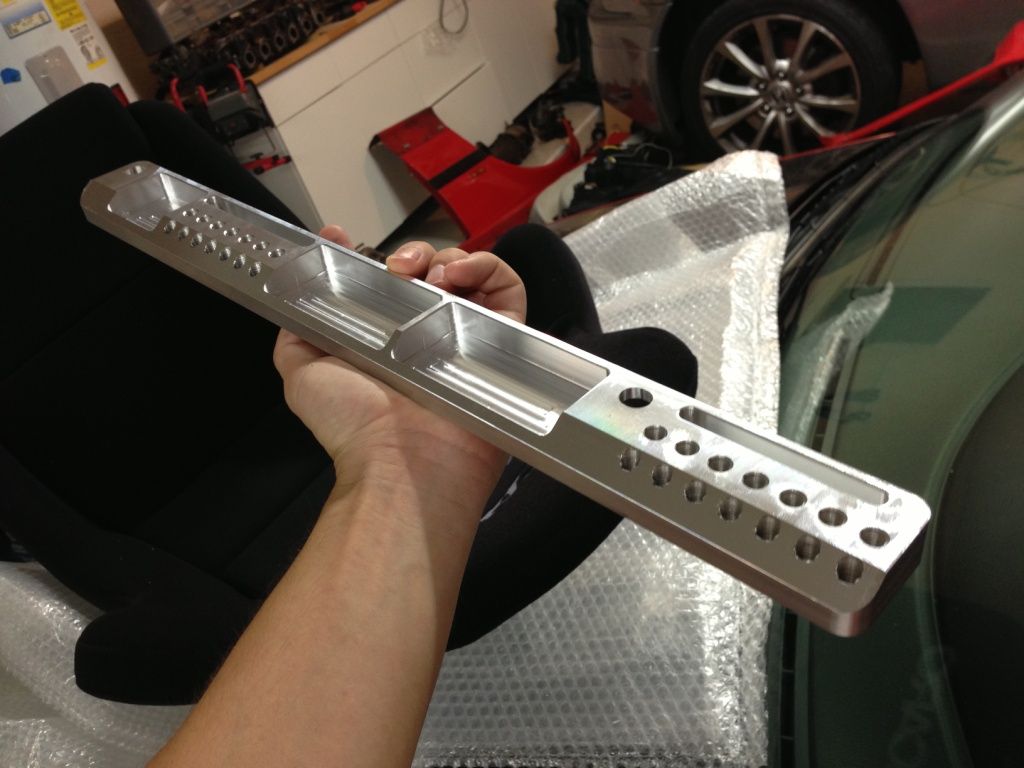
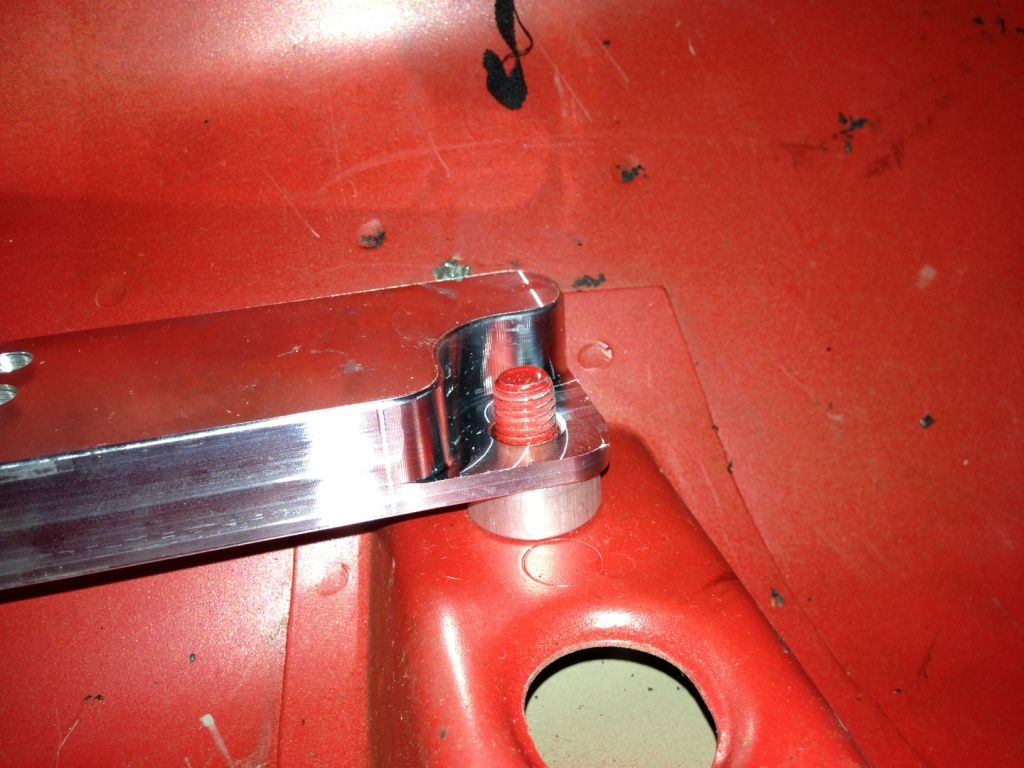
I had to make some spacers as they were too low at first, 3/8" made all the difference
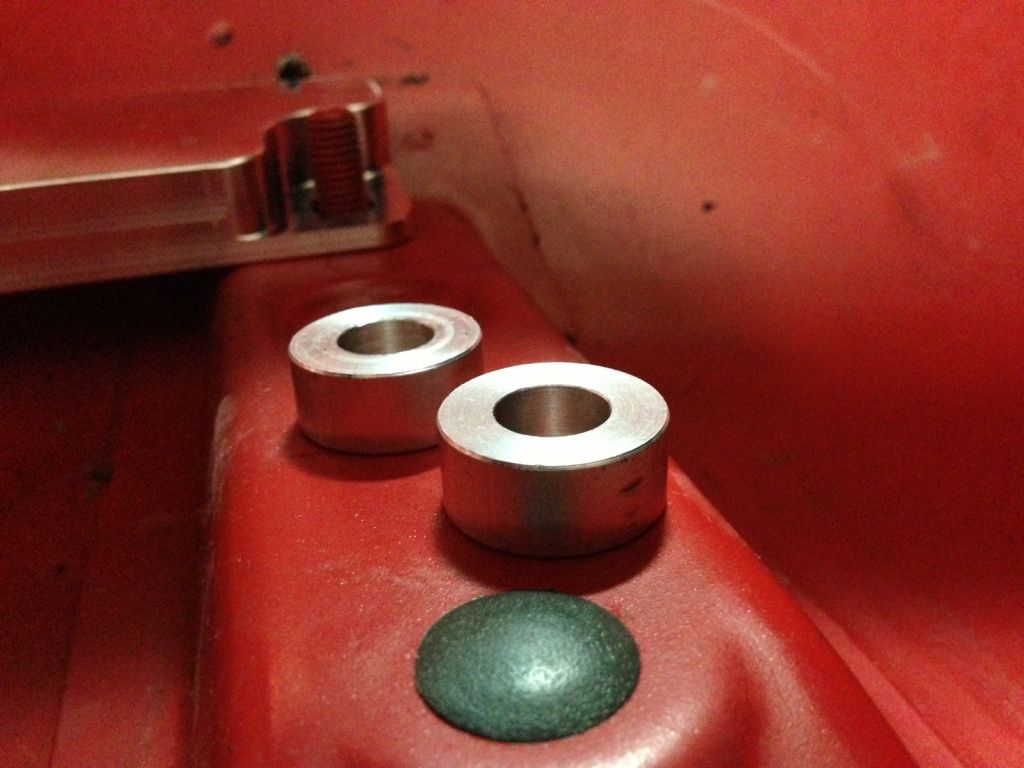
Driver's side all bolted down (the tar was still there as I was mocking these up while removing it)
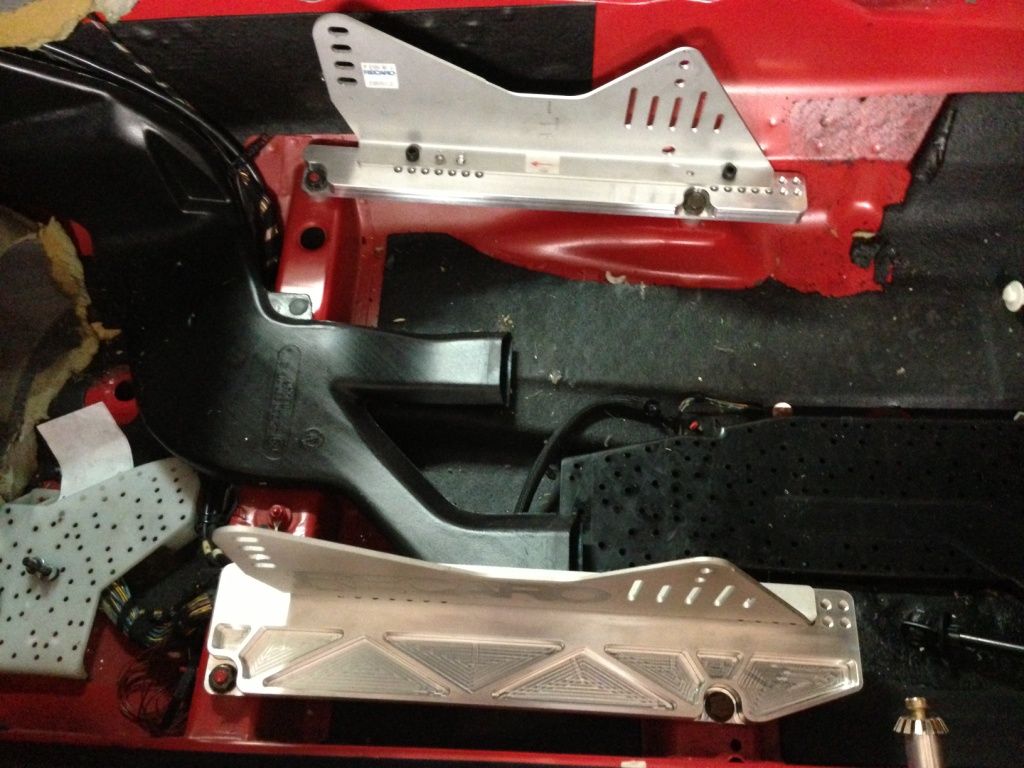
Passenger side ... no tar
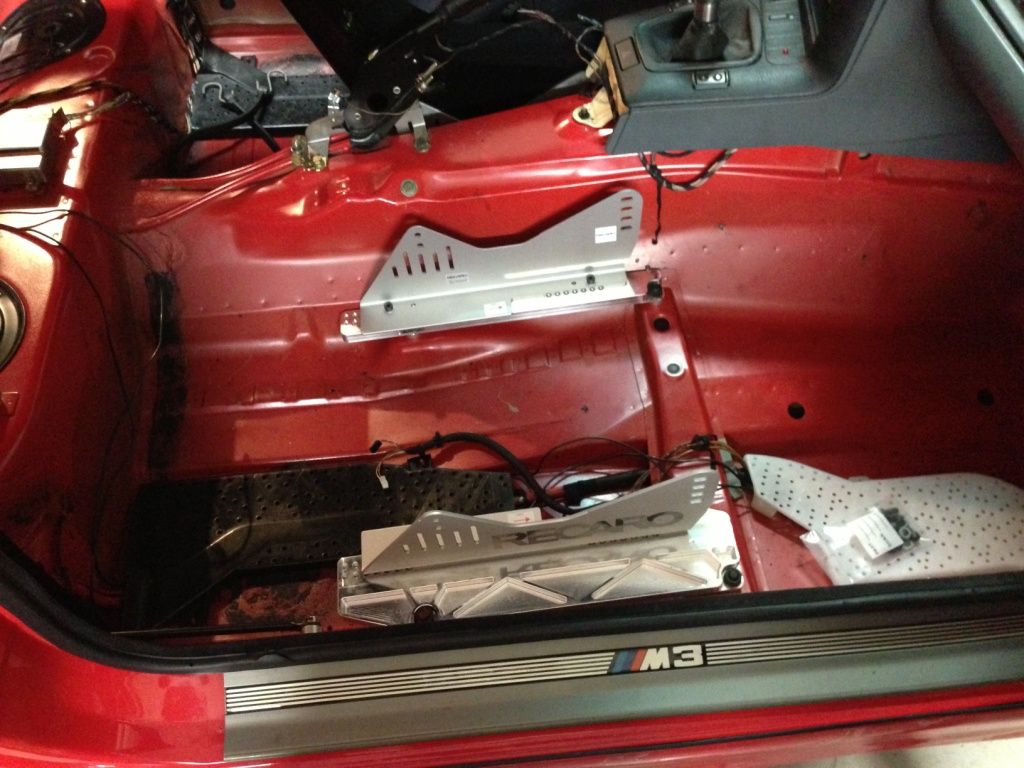
Driver's side done
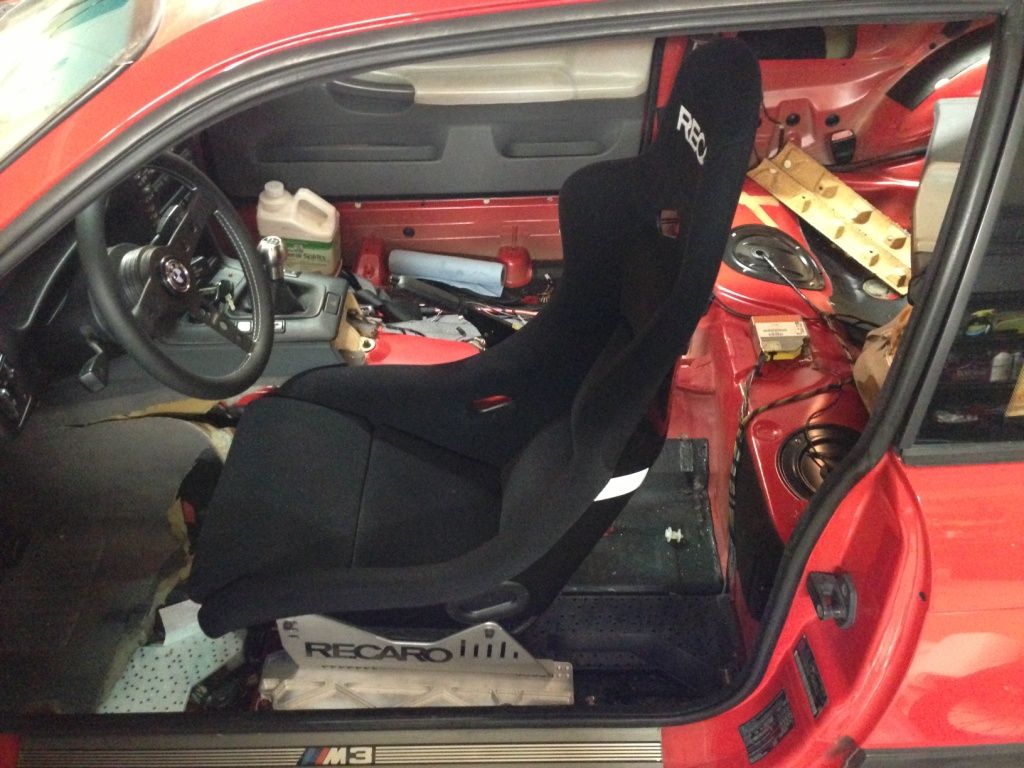
and finished product
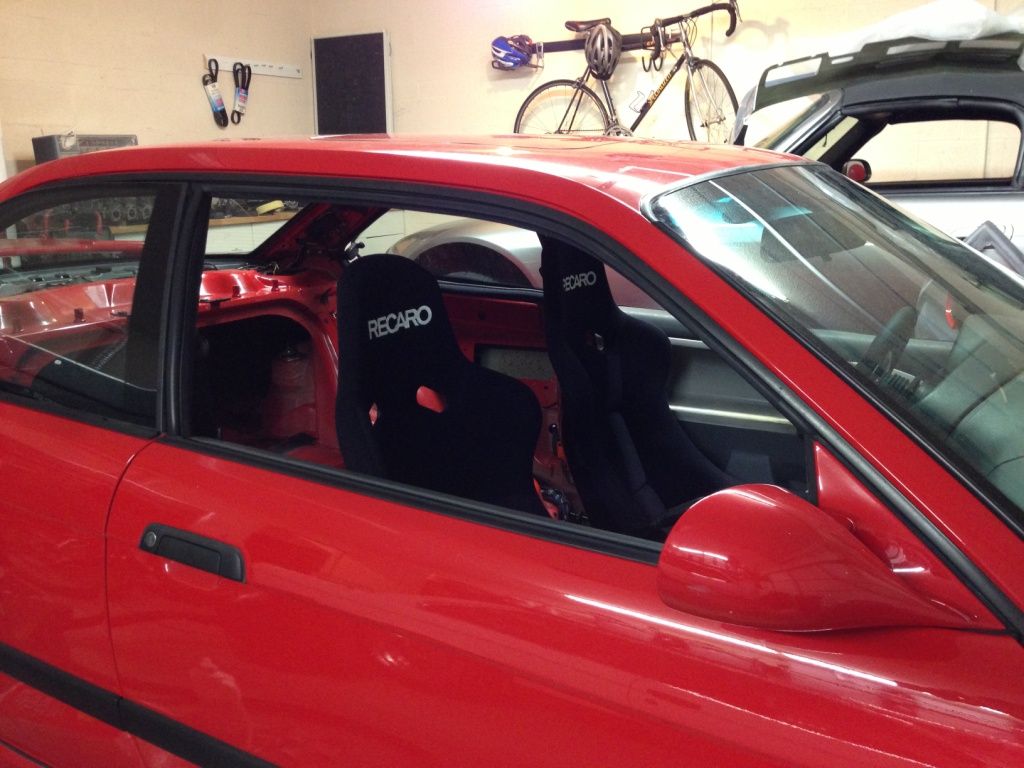
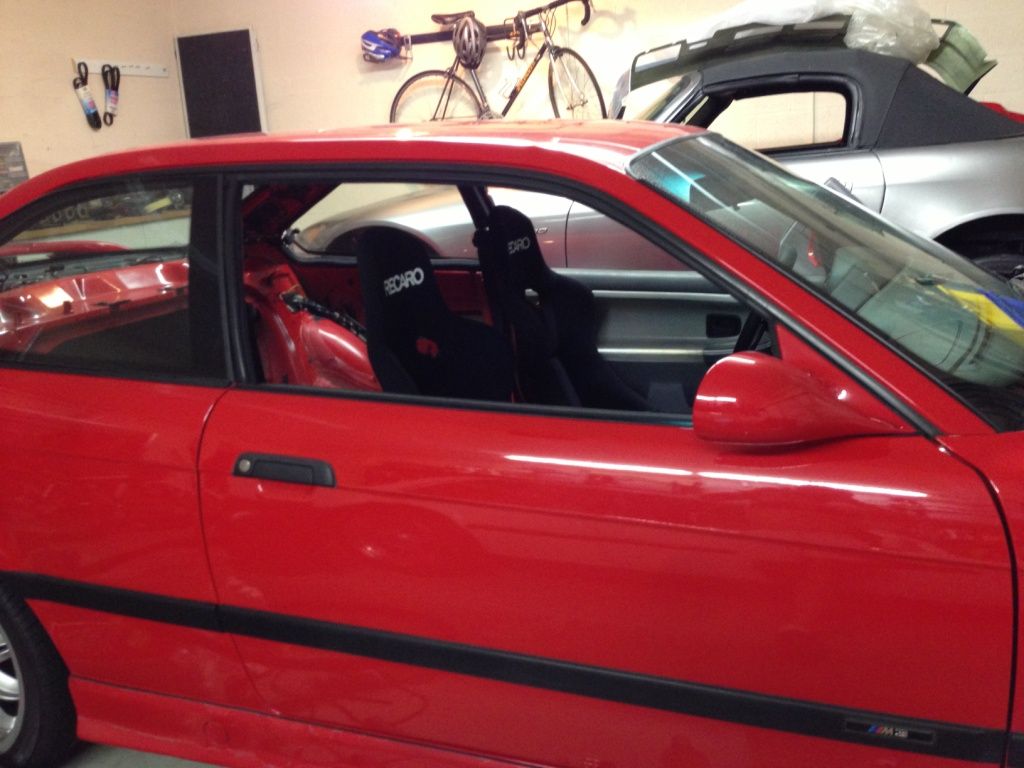
Took the car for a short drive ... it feels perfect. Done for the day :)

dyintorace
dyintorace UberDork
8/7/13 7:51 a.m.

Very cool! If I end up finding an e36 M3 for track duty, I might hit you up!

Slippery
Slippery HalfDork
8/8/13 6:49 p.m.
dyintorace wrote: Very cool! If I end up finding an e36 M3 for track duty, I might hit you up!

Sure thing. I am not expert on the cars but learned quite a bit about them in the last 8 months

Slippery
Slippery HalfDork
8/8/13 6:49 p.m.

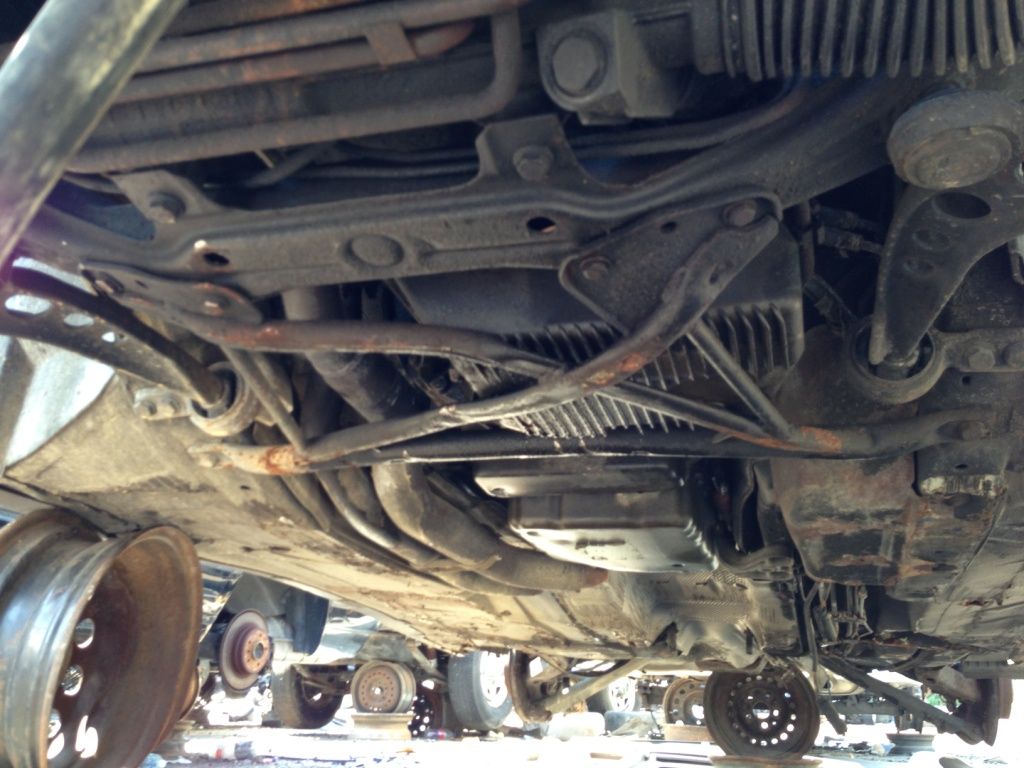
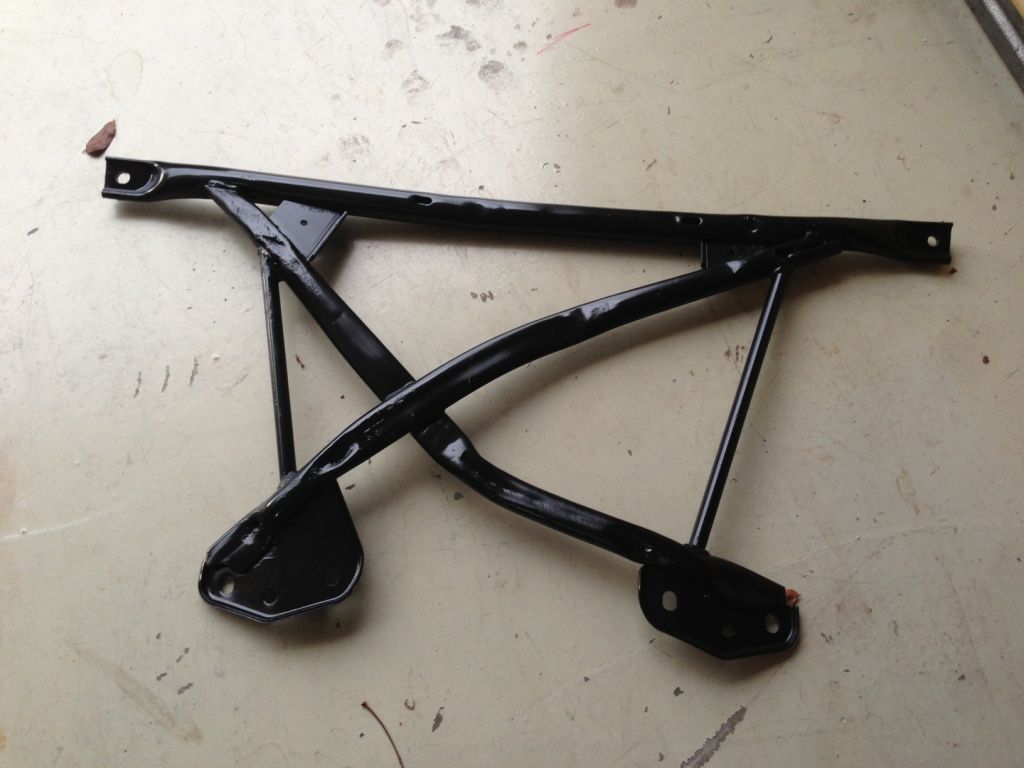
I might be one of the few people that enjoys going to the junkyard. I woke up this past Saturday at 7am, picked a few tools and headed for the closes pick and pull yard. I was not looking for anything in particular, but came accross a convertible e36 ... so I thought I check to see if the lower crossbrace was still there. Jackpot

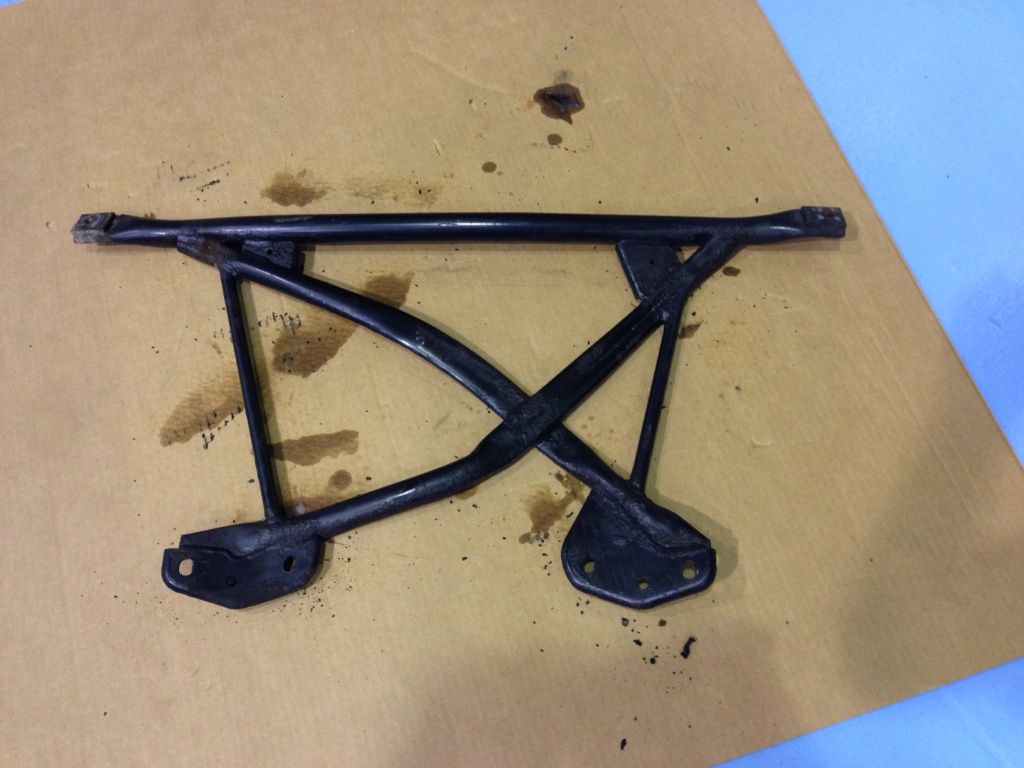
It was a little bit banged up, but at $15 vs. $200 new I thought what the hell. So I removed it along with all the hardware.

I am not an expert on the crossbrace but I believe these only came on convertibles and the rare lightweight M3s. People always comment on how much of an improvement on feel and rigidity the crossbrace provides. If your car is a '97 or newer, this is bolt in as all the threads are already there on the underside of the car. If on the other hand your car is a '96 or older e36, then there is a kit that you can buy that has the proper nutserts. My car is a '97, I should be all set.

I was more beat up than I thought, but oh well

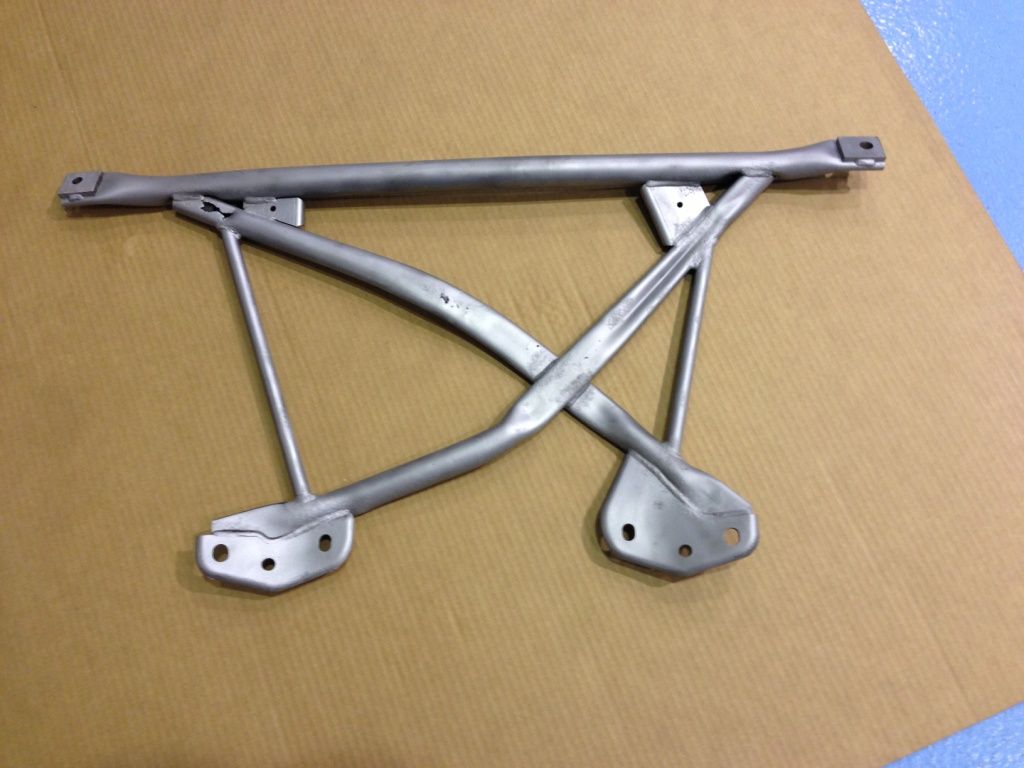
I sandblasted it and removed all the rust from it

and then painted it with Rustoleum spraypaint

I'll leave the install pics for the next update

crankwalk
crankwalk Dork
2/26/16 5:38 p.m.

Any updates on this thing?

Slippery
Slippery Dork
2/26/16 5:52 p.m.
crankwalk wrote: Any updates on this thing?

Yep, I'll update tonight along the othe thread in adventures.

wheelsmithy
wheelsmithy Dork
2/27/16 9:41 a.m.

WOW! Those are pretty much the best looking seat mounts I have ever seen.

Slippery (Forum Supporter)
Slippery (Forum Supporter) UltraDork
8/15/20 5:26 p.m.

Reserved

Slippery (Forum Supporter)
Slippery (Forum Supporter) UltraDork
8/15/20 5:32 p.m.

Tempted to pick back up where I left on this one. What do you guys think?

I had some set backs that really pissed me off. That coupled with the Miata running quite well kept me from putting anytime on this car. 

Last Thursday I got home and pulled it out of the garage since I had to get in the attic ... washed it, shuffled some cars and moved it to the middle bay.


Middle bay is were I work on cars since I can move the cars next to it and leave me the most space. Have not started yet, but I am tempted. 

Slippery (Forum Supporter)
Slippery (Forum Supporter) UltraDork
8/15/20 5:34 p.m.

This morning I woke up and got this far


My wife promptly interrupted me with a task, has to take me youngest to the eye doctor.

crankwalk (Forum Supporter)
crankwalk (Forum Supporter) SuperDork
8/18/20 8:40 a.m.

What all does the e36 need for you to enjoy it again? Whatever the bare minimum is, you could give it a little love and see how you feel afterwards. It looks great in the garage with that fleet.

TylerCYR
TylerCYR New Reader
8/18/20 12:37 p.m.

I came in here just to hopefully find some machine work due to finding the R63 thread and the wrench that was made with a napkin and miles between two people.  I am glad I did because I was able to see some beautifully machined mounts.  

Have you taken this car on track yet?

1 2 3 4 5

You'll need to log in to post.

Our Preferred Partners
c1liMqvO4k2G4bHQwJKyCHdjMPq3OwU3m4mQwsAppWGoOMKEvYBRP3zfo2kl57t0