Ok minor update. I felt like removing the grill and cleaning around it. Turns out there's only 1 screw top and center, and 4 plastic clips that are easily reachable and releasable by hand. I like whoever designed that.
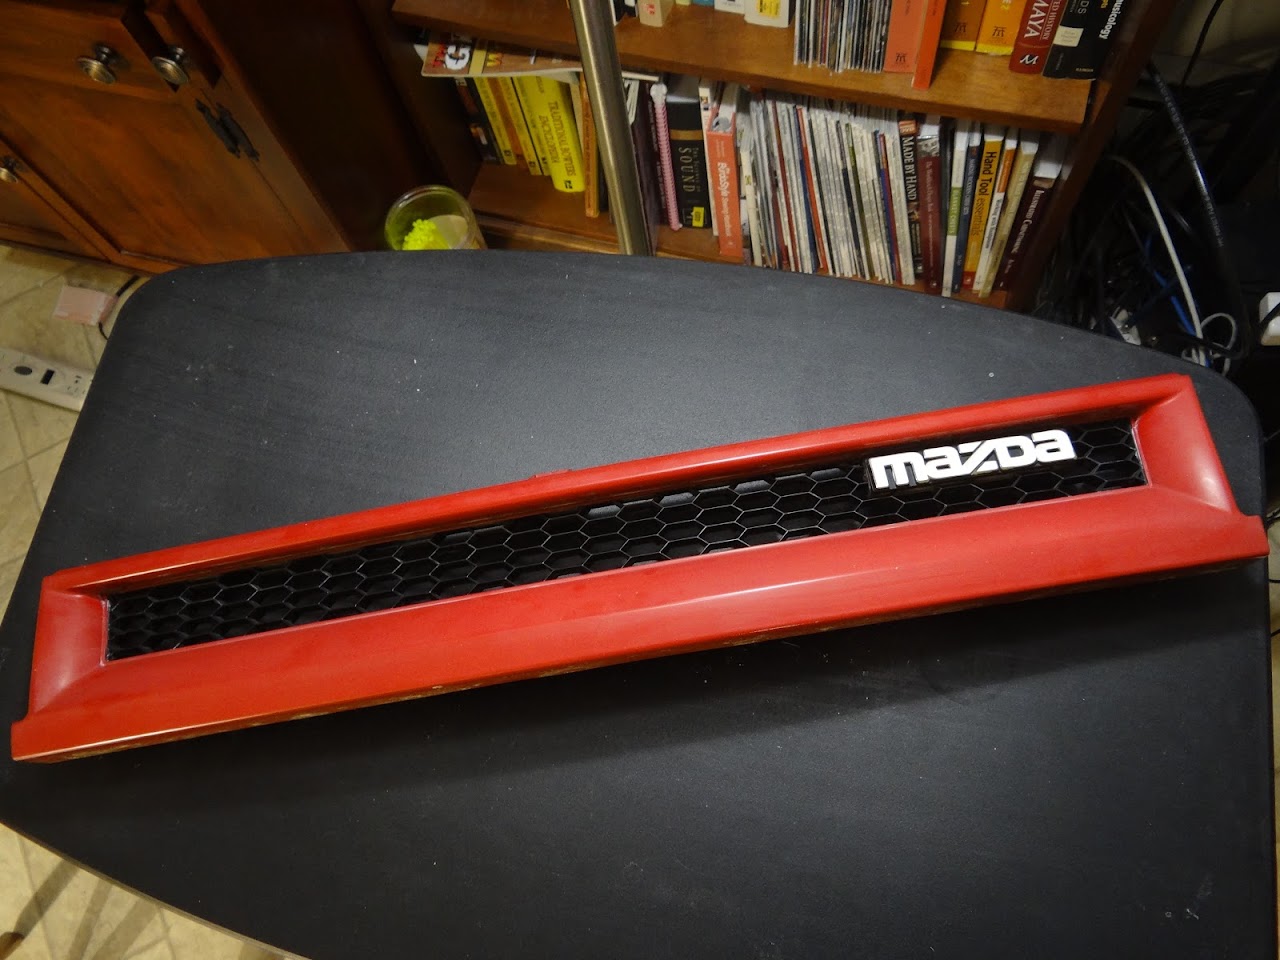
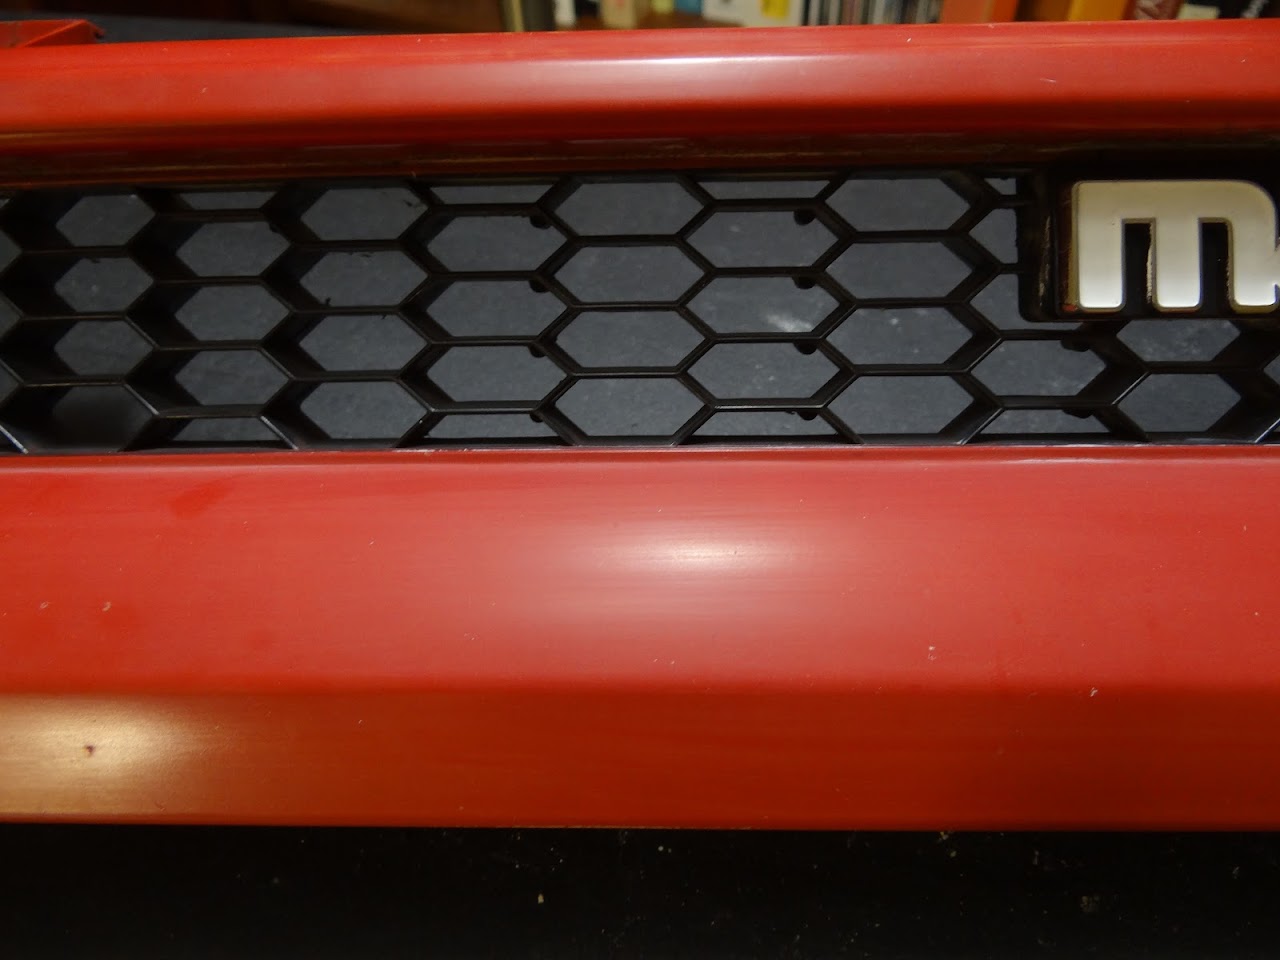
Here's a look at the stuff that isn't easy to clean:
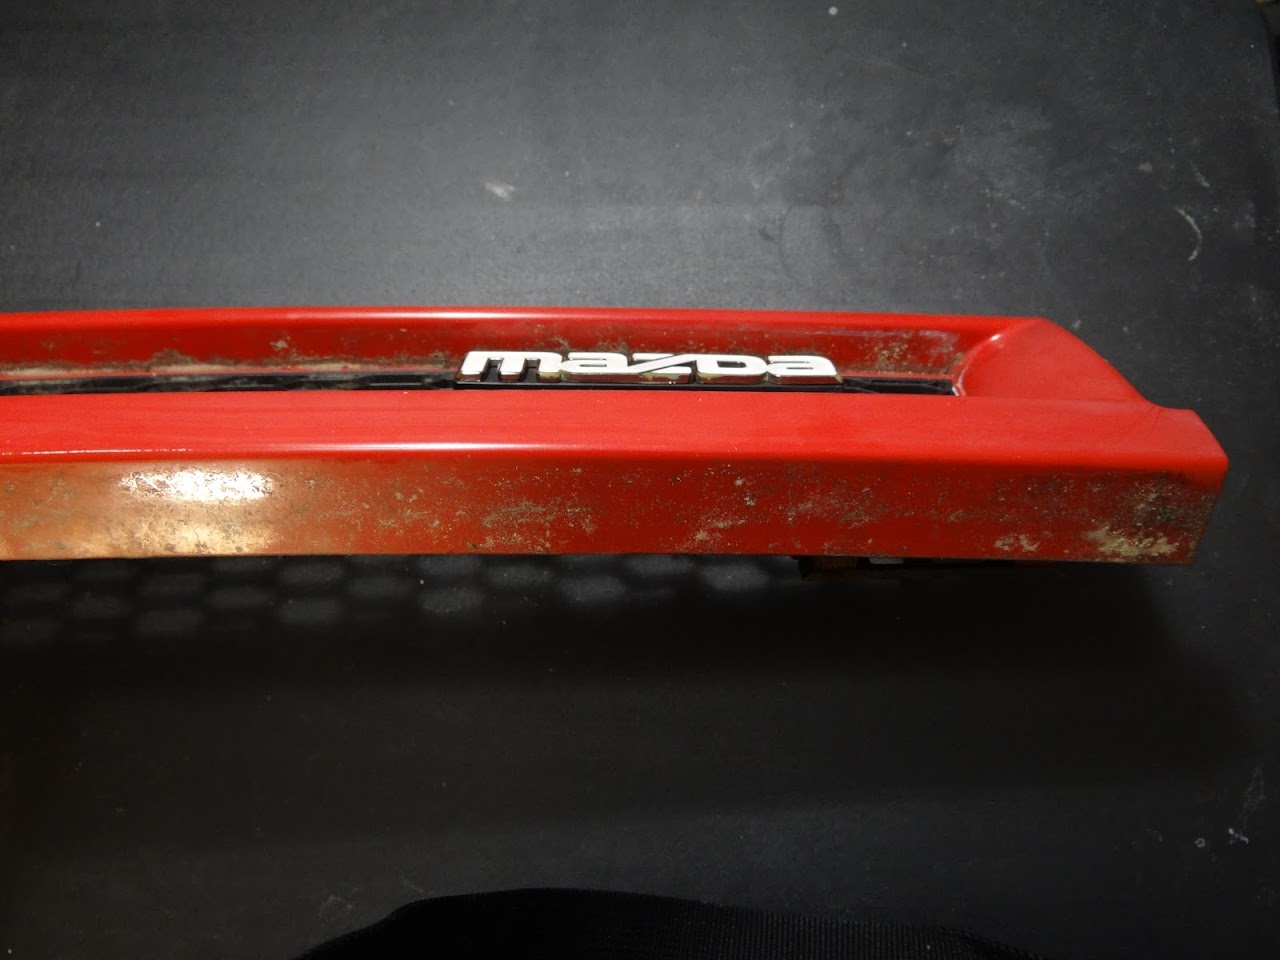
Pretty gross, and it's also pretty dull:
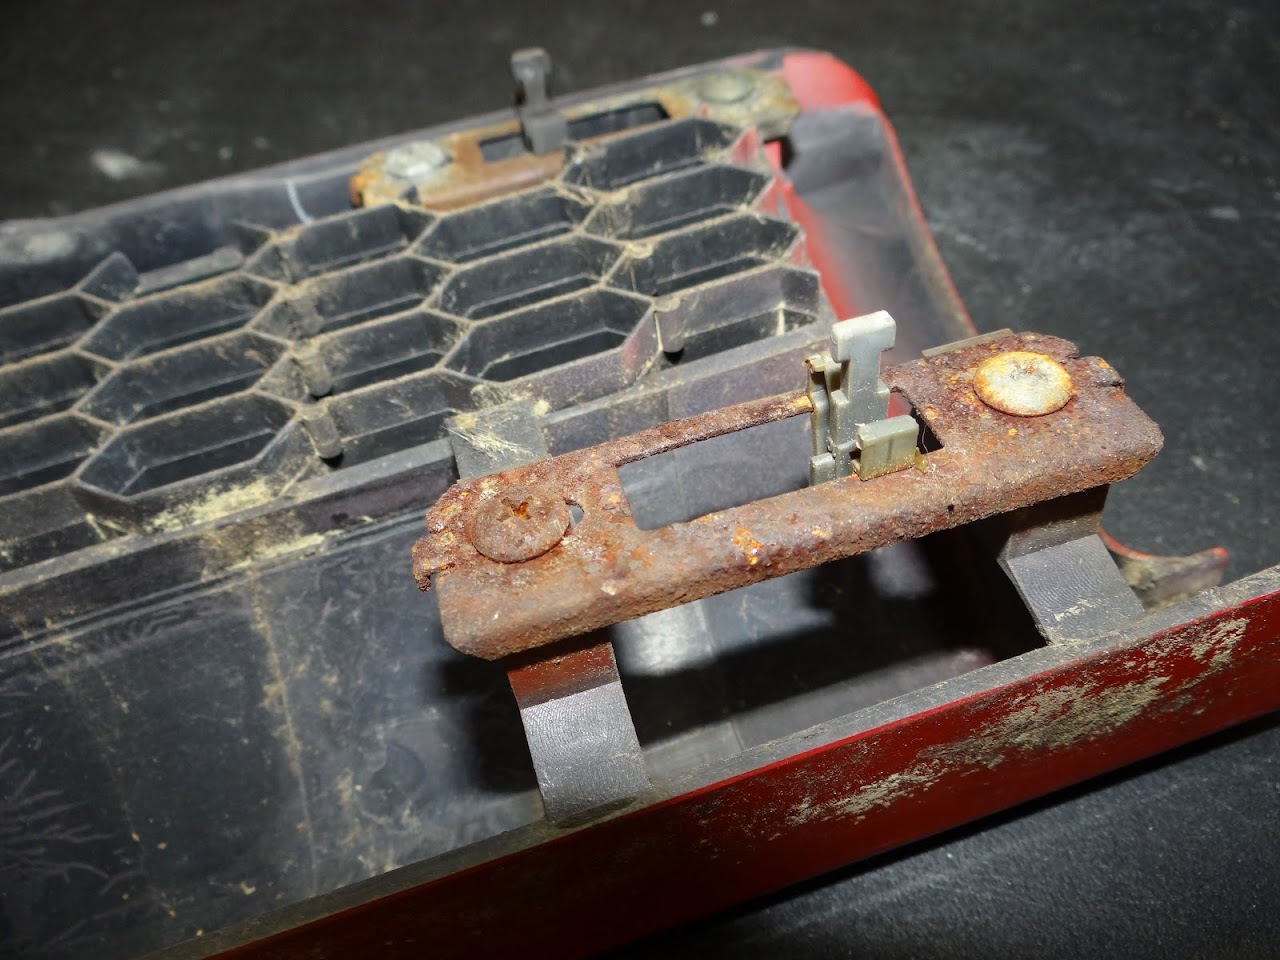
What's worse, the plastic clips attach to metal brackets that screw into the grill. The worst one looks like this:
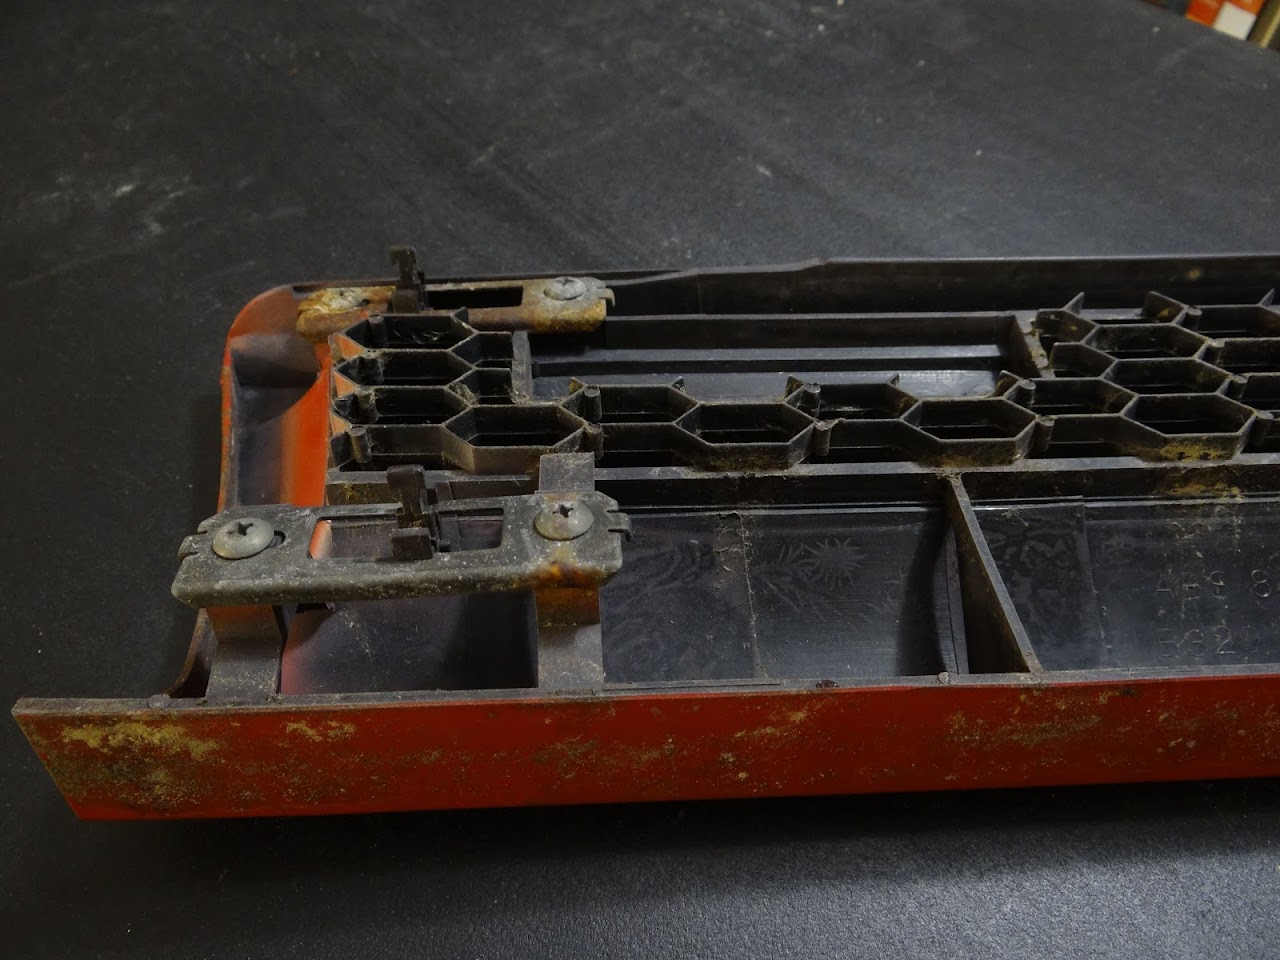
They don't all look like that, in fact that was the only one with anything beyond surface rust. By looking at this one i can tell they originally had a black oxide protective coating:
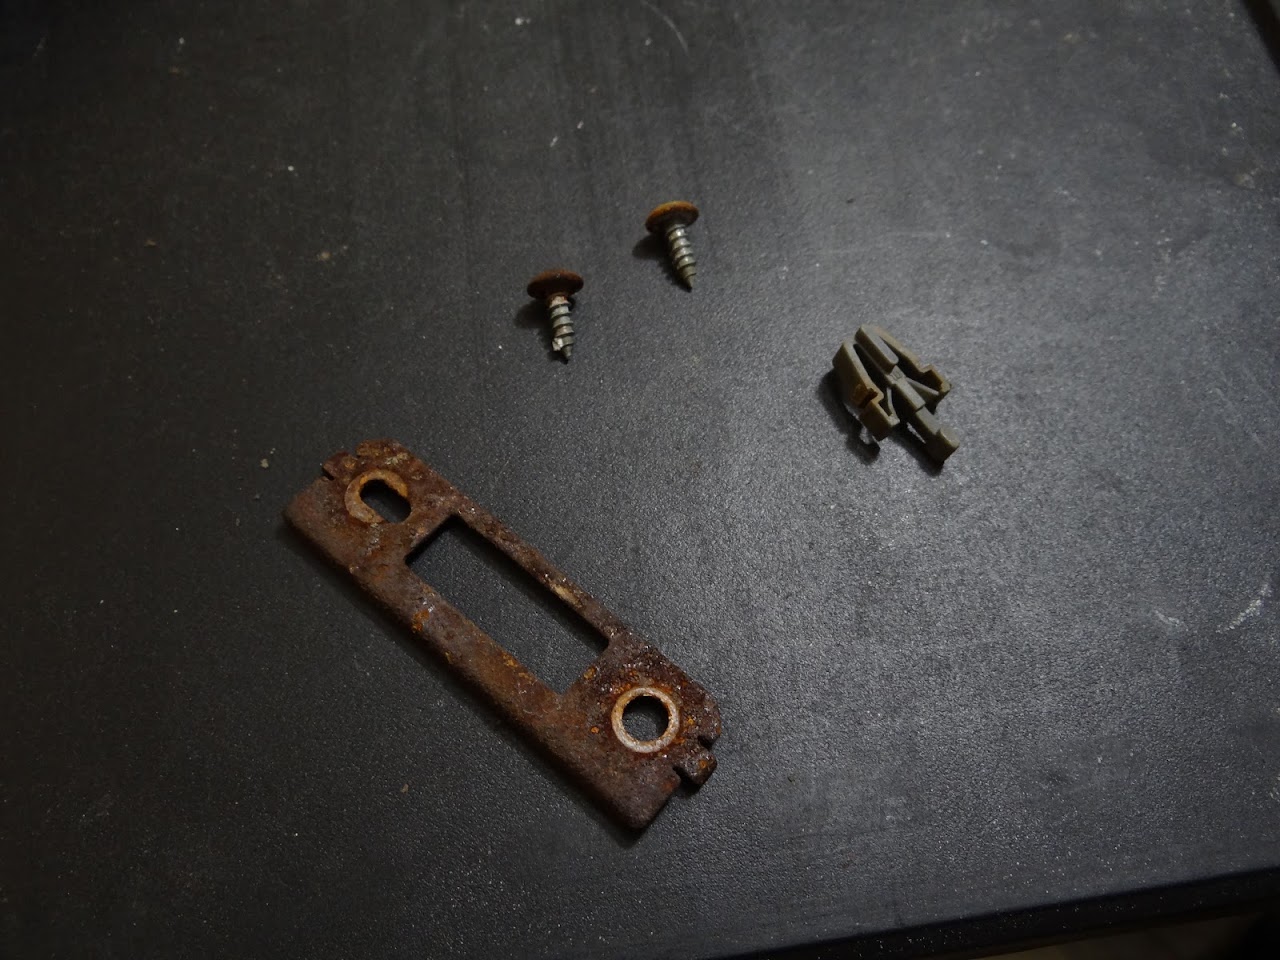
Removal of the hardware was easy, and it seems even the worse one is still structurally sound. The screws looked fine, too, other than the screw heads. I was pretty happy the bracket thing didn't just break it half the instant i unscrewed it:
The previous Evapo-Rust discussion convinced me to buy a jug of the stuff and try it out:
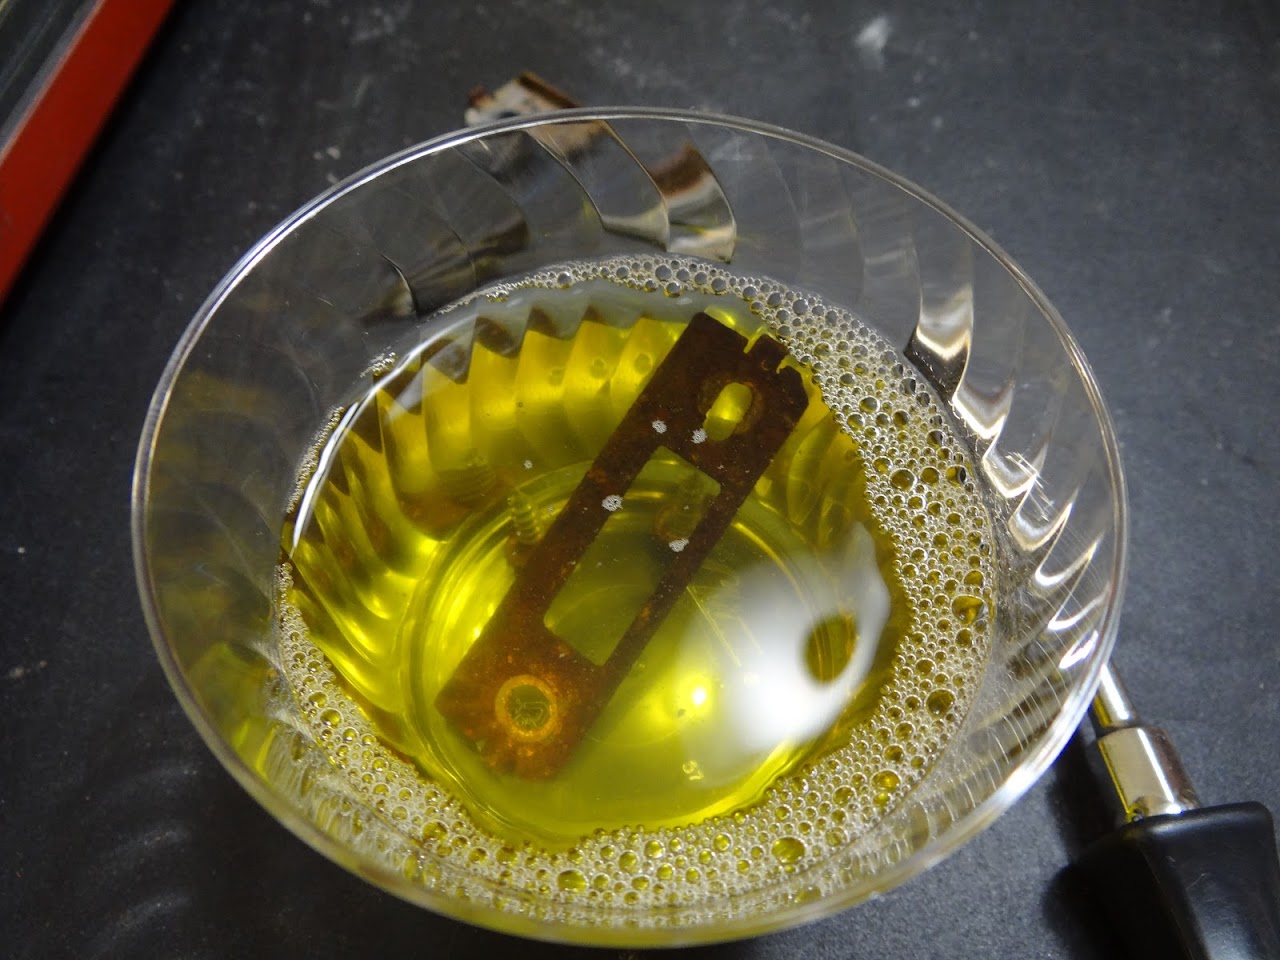
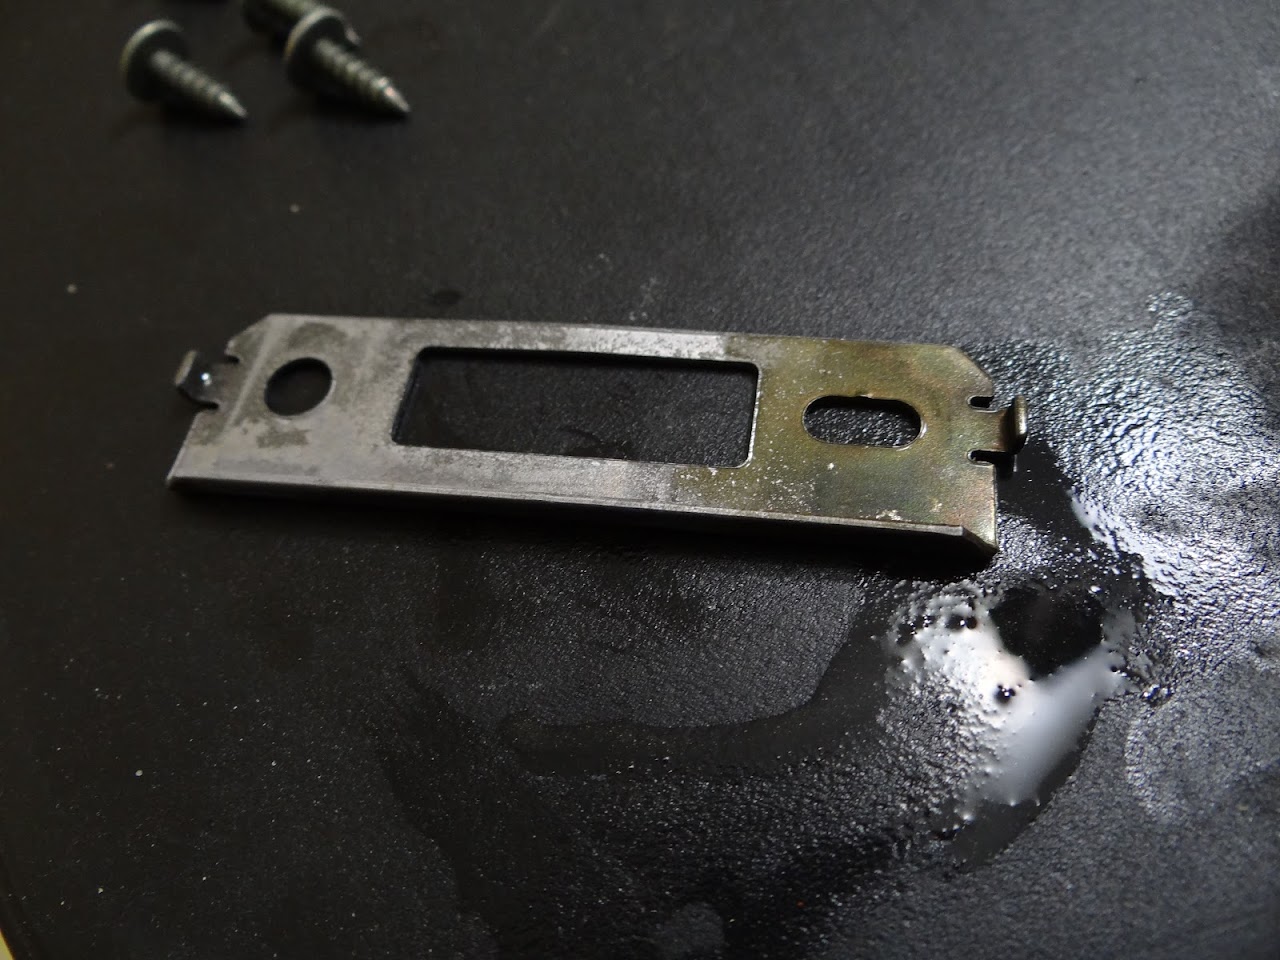
I ended up throwing all of them in there. It pours out looking like Mt. Dew, but it turns black over time. It seems to work less well when it's black. The cool thing about Evaporust is that it isn't acidic, so you can leave the parts in there as long as you want without worry. According to their marketing, it contains a chemical that only bonds with iron. It bonds with iron more strongly than iron oxide (rust) bonds with iron, but not as strongly as iron bonds with other iron/steel, so it makes the rust fall off, but leaves all the unrusted stuff alone. It also doesn't leave a coating (doens't turn 'rust to primer') and ends up not eating away any of the non-rusted metal like acid might. It does, however, eat away protective oxide coatings which don't bond to iron as strongly. You can see it on this piece that i put in halfway:
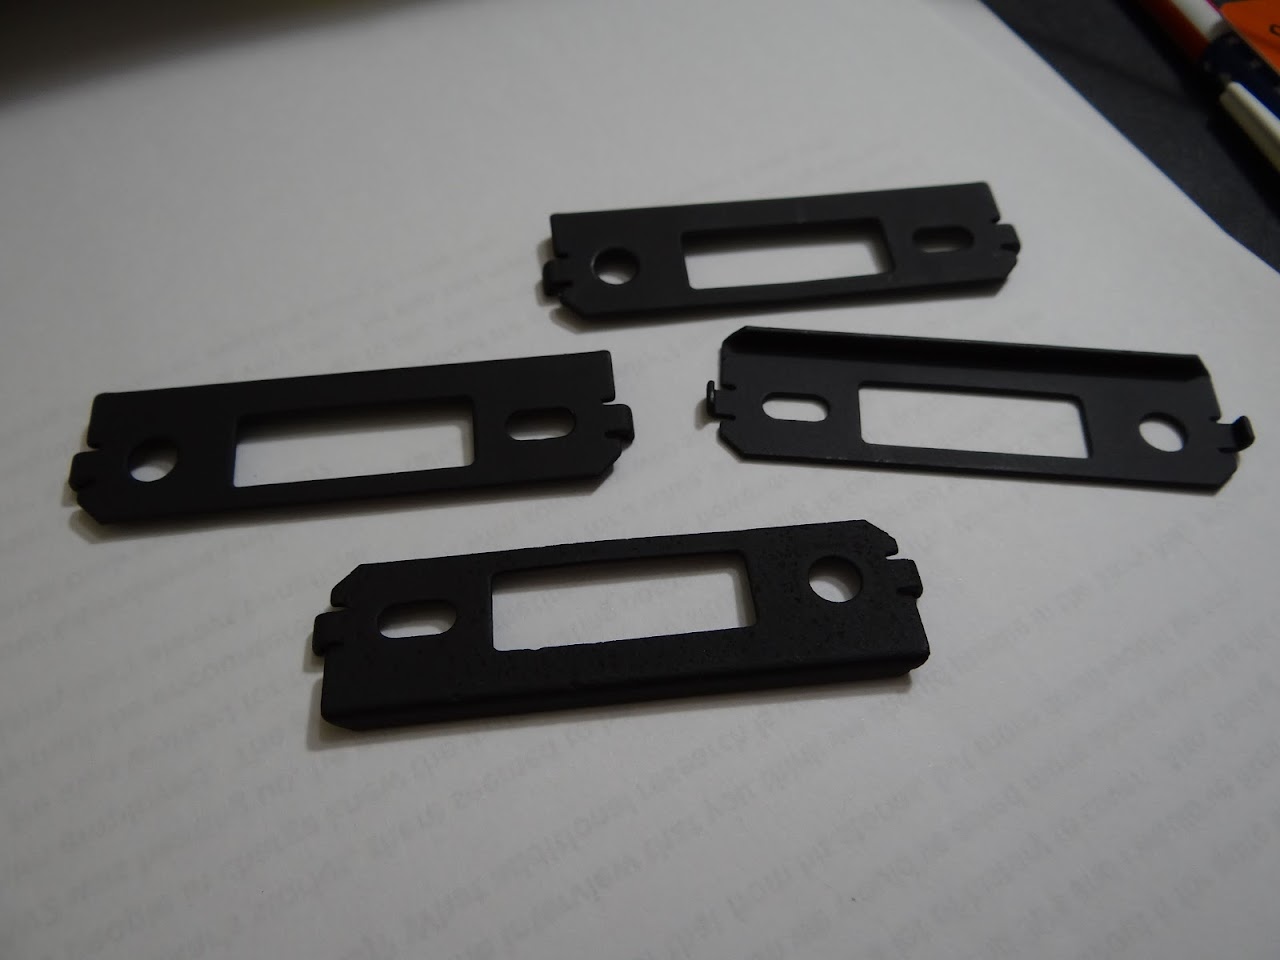
I ended up putting all 4 parts in evaporust because all 4 had rust forming. Oxide coatings all failed on some level. Here's a shot of the 2 worst pieces after evapo-rust but before some clean up:
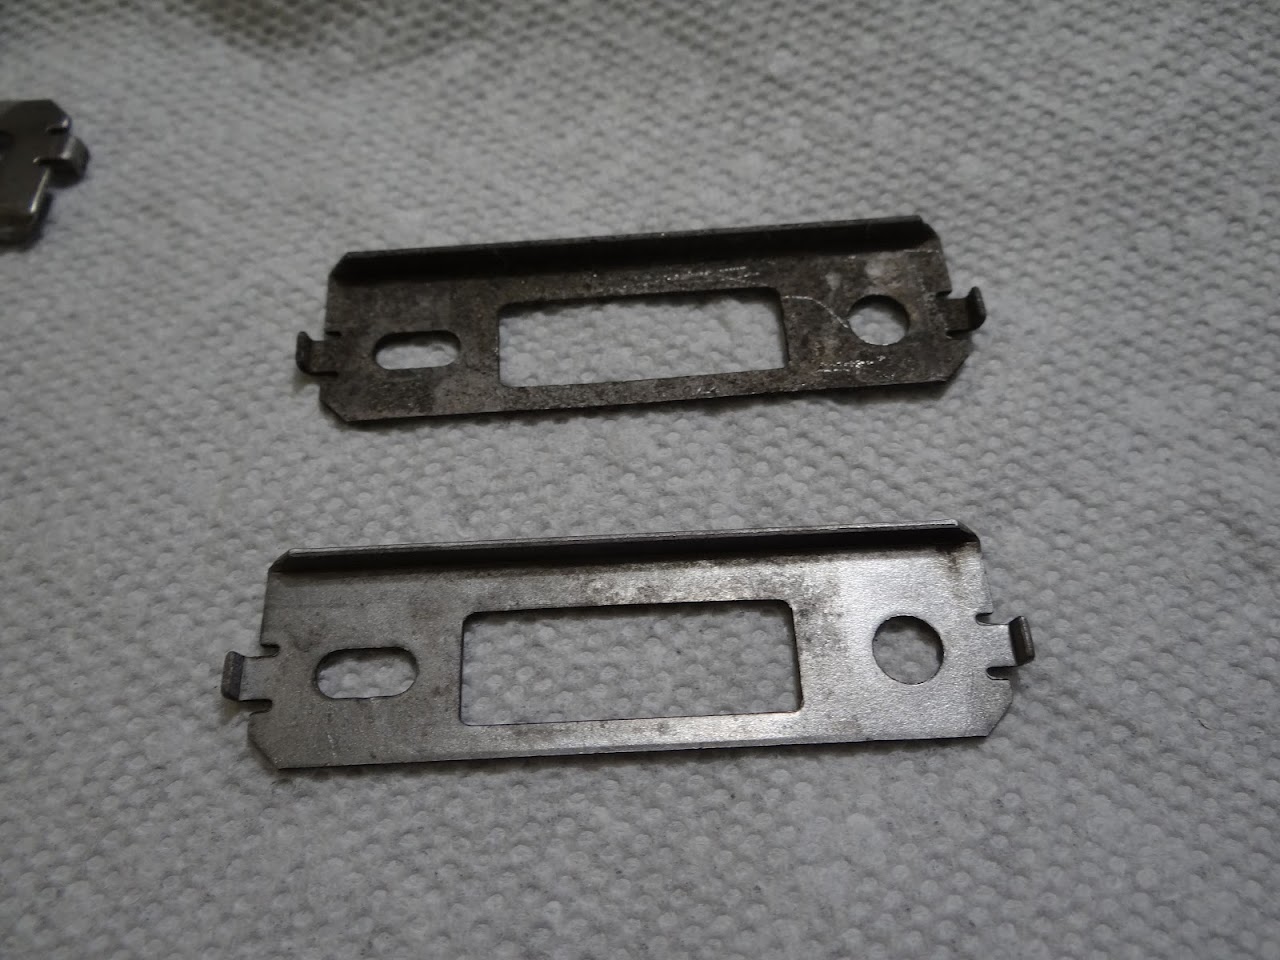
(the one on top got a cleanup and re-immersion after that photo to make sure i got everything)
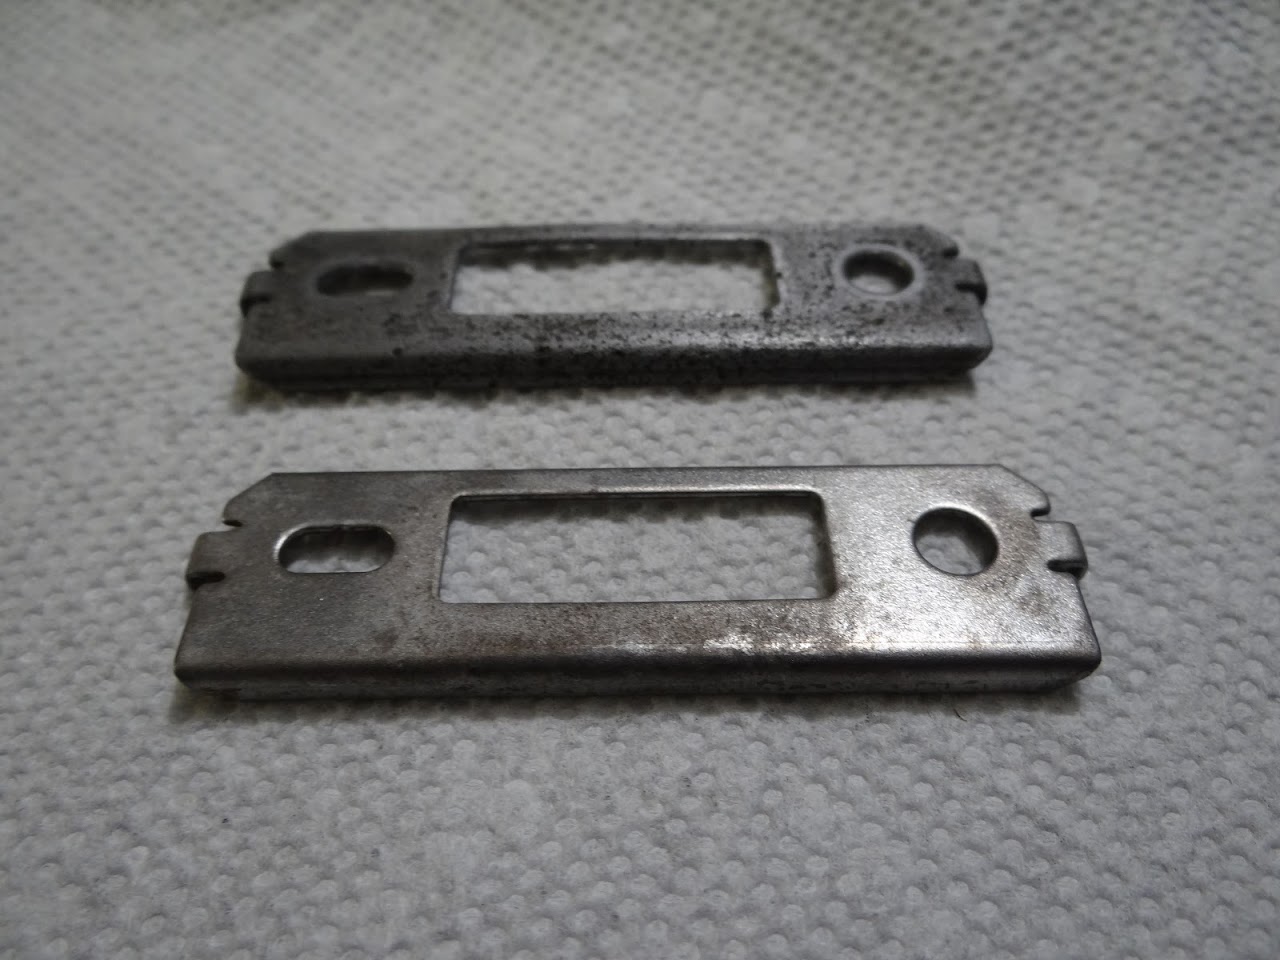
The one on top was the hella bad looking one, now pitted but no longer crumbly. The one on the bottom was covered i surface rust, and is now lightly pitted and blackened. Following evaporust, i cleaned/sanded in preparation for painting. First a few coats of stops-rust primer:

Then a couple coats of flat black 'stops-rust' enamel:
Installed with the now cleaned screws:
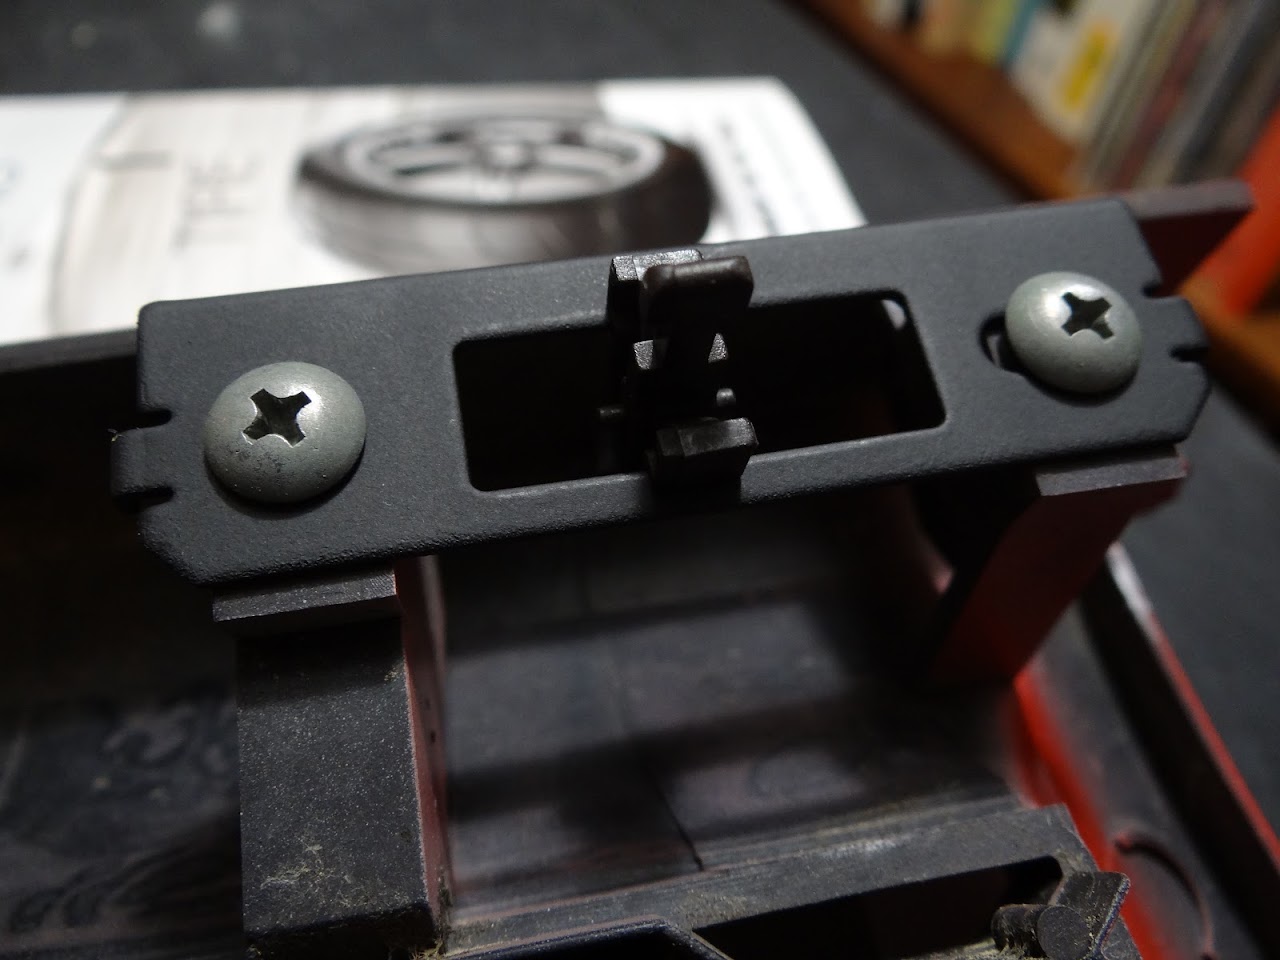
You can see how the screw heads have some rust pitting as well, but now they look pretty good. I went with flat black because it's about as close to the original black oxide look as i could get using paint. Besides, these are parts you can't see, so it really doesn't matter. The deep pitting wasn't fully filled, however:
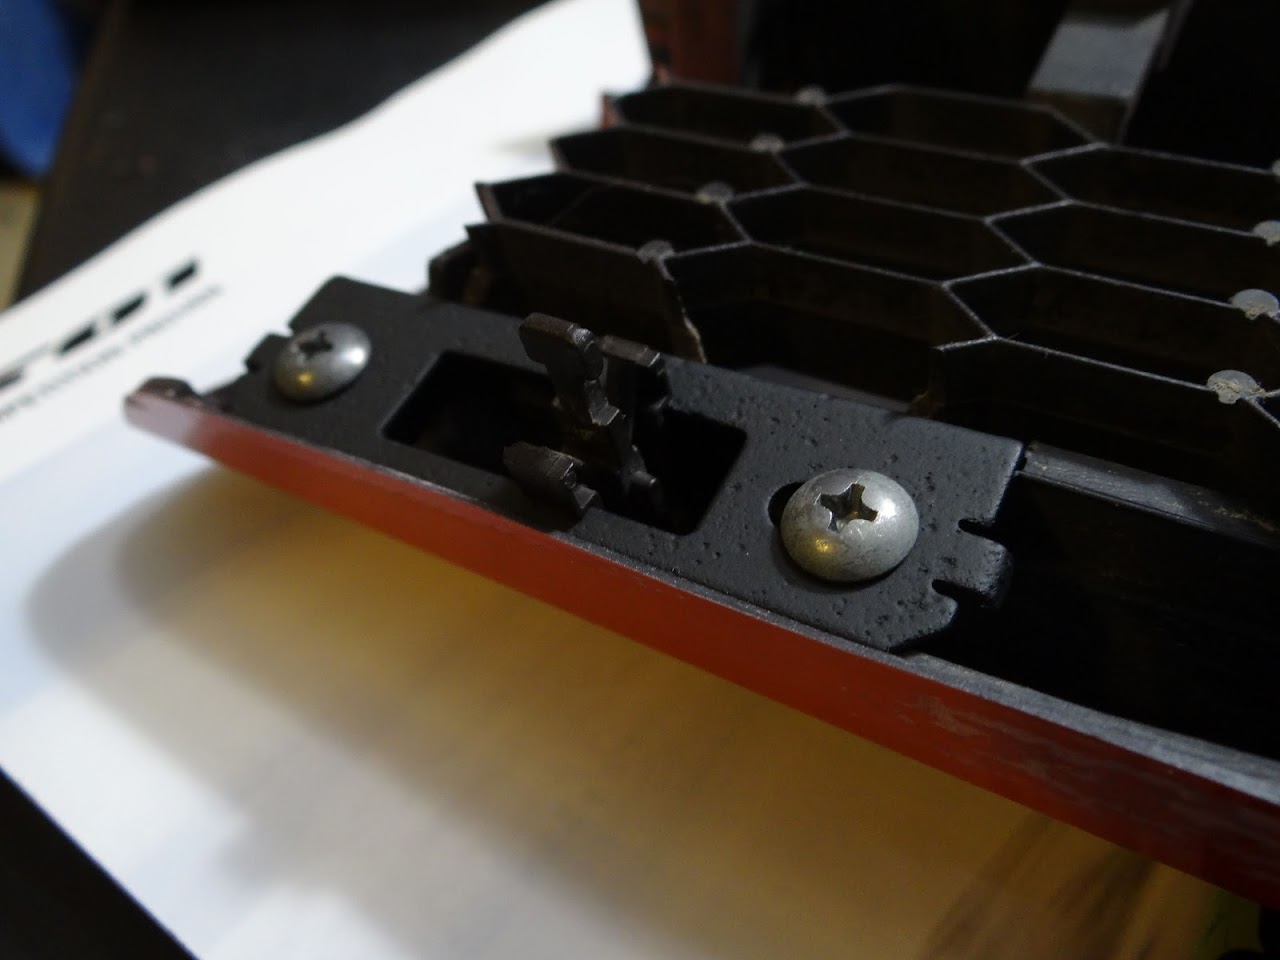
Again, waaaay better than it was, and these parts aren't visible. I don't plan on driving this thing in the winter (or even the rain, really) so it doesn't matter if it's perfect.
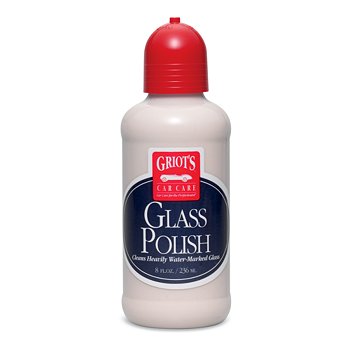
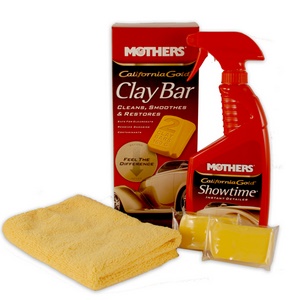
I also did some more cleanup and polishing, seen here:
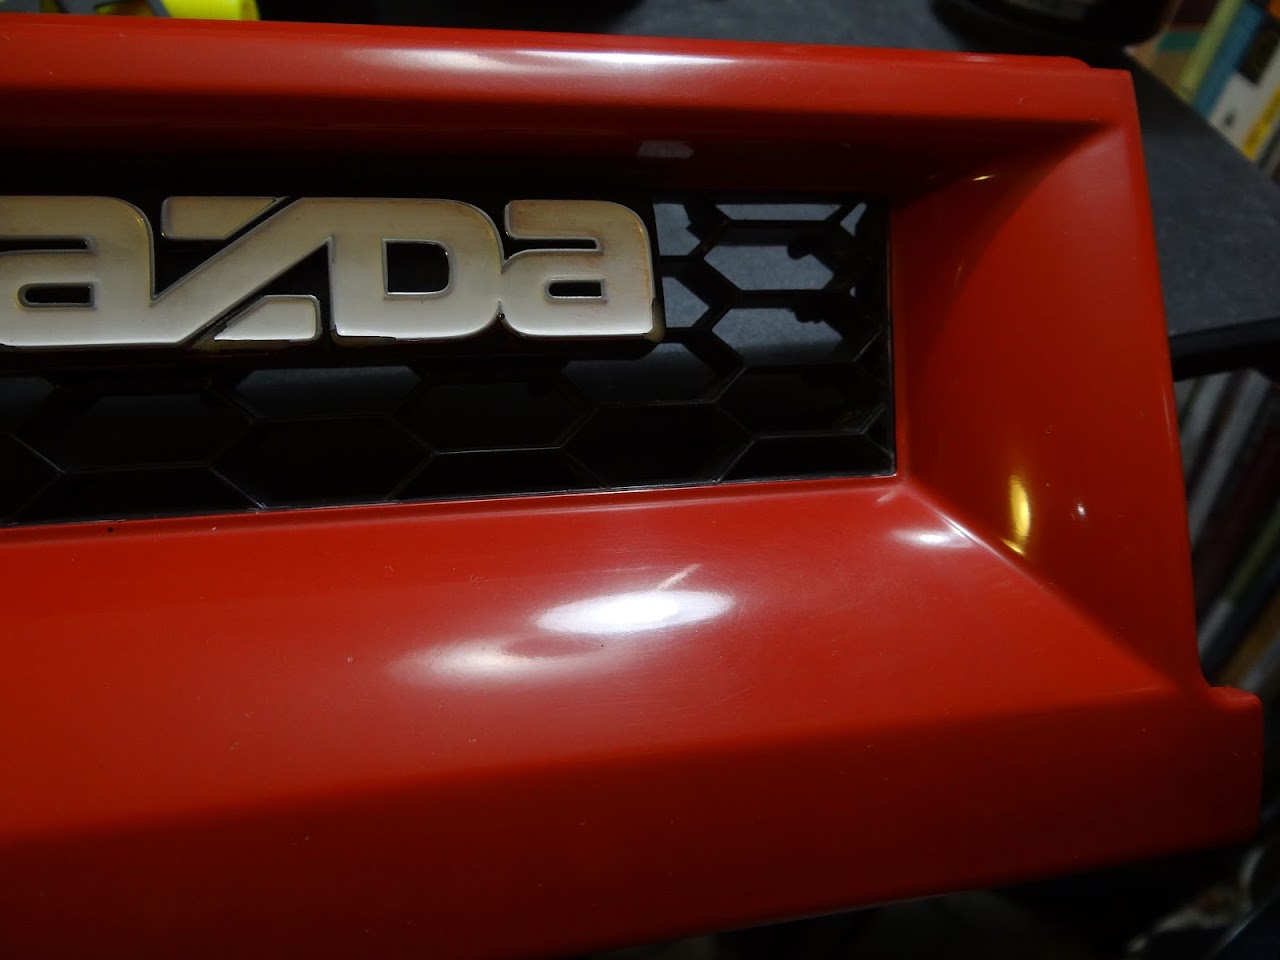
I didn't take pictures, but it was basically the same process as before. I think that pic was taken before waxing, though. Just a simple cleanup and polish really revitalized this piece, but not as effectively as some of the other painted parts of the car. Still, it's WAY better.
Now i'm going to have to start checking other hardware all over this thing... I have a lot of evaporust to put to good use...


