5 6 7
ae86andkp61 (Forum Supporter)
ae86andkp61 (Forum Supporter) SuperDork
3/17/24 1:15 a.m.

The finish on the front wheel has seen better days. Here it is after a quick wash in the solvent tank.


I took some parts to work to take advantage of the pressure washer, and the added array of cleaning products doesn't hurt! The calipers took a bit of work to free the pistons once I had the outside cleaned. The pistons didn't look too bad, which was a nice surprise. The calipers will require painting as the thin factory paint is flaking, and there are many areas with that white powdery aluminum corrosion bubbling underneath the paint. I'm planning on replacing all the brake lines as they also look to be original, and the rubber is quite stiff.

Here's the wheel after an intense wheel cleaner application, scrub, and pressure wash. Cleaner than before, and the paint is definitely chipped/flaking, so this will get a repaint as well.


ae86andkp61 (Forum Supporter)
ae86andkp61 (Forum Supporter) SuperDork
3/17/24 11:46 p.m.

With the front wheel and brakes removed, the full extent of the leaky fork seal became apparent. I can't wait to clean these up!


I found a broken speedo cable clip; another small part to add to the shopping list.


I got the forks draining, and plan to clean them in the solvent tank once most of the oil is drained, and then I can assess the uppers to see how they look...I can see some rust pimples in the chrome...🫤

With the fork legs out, I figured I'd strip back the clip-ons and see what I can do about the nasty corrosion under the clearcoat on the aluminum clip-on clamps and the upper triple clamp.

I got the fork legs cleaned, and it is hard to see/photograph, but there are some concerning small rough rust spots right around where the seal is when the fork is mostly compressed. You might be able to see a darker 4-5 inch portion of the chrome fork slider on the left side of the exposed chrome portion, and the rough spots are just to the left of where the color of the chrome lightens towards the right where the fork isn't worn. I'll keep working on it with 000 steel wool. I might need to get some ultra fine emery cloth as well. I can probably make these serviceable for now, but my perfectionism might not let that stand for long. New fork tubes are NLA, but the forks/brakes are shared with the 80's RG500, so I'll dive into the Gamma 500 restoration communities online and see what I can find.


ae86andkp61 (Forum Supporter)
ae86andkp61 (Forum Supporter) SuperDork
3/18/24 12:05 a.m.

I hit the front wheel with some Scotchbrite, and took advantage of the warm spring weekend weather to get a few coats of paint on the front wheel.

While the paint dried, I hopped over to the Husaberg for a minute and installed the new starter that arrived, and got the oil feed for the head reinstalled.

With the new starter installed. It turns over every time, but too slowly to start. I'm suspicious of a double failure: auto-decompression wasn't working, which made it hard to start, and lead to a worn-out starter. I'm not looking forward to tearing it back apart to dive into the head and check. 😰

Back over to the baby Gixxer, I couldn't help but realize that I'm most of the way into the disassembly needed to replace the crazed, yellowed, scratched windshield, and the dusty/rusty fairing stay, both of which I have replacements for!

That was very gratifying for a couple minute's worth of work! I'll put the bodywork and screen back on later; gotta check out some suspect radiator hoses while I'm in there.


white_averson
white_averson Reader
3/18/24 8:50 a.m.

Nothing helpful to add, just stoked to see some 250 content. I want to hear that engine wound all the way out

ae86andkp61 (Forum Supporter)
ae86andkp61 (Forum Supporter) SuperDork
3/19/24 12:13 a.m.

In reply to white_averson :

Thanks! I can't wait to wring it out myself! Nothing quite like the sound and response of a 180hp/liter inline four with flyweight internals in the upper rev range! I'll definitely get some video when the time comes.

ae86andkp61 (Forum Supporter)
ae86andkp61 (Forum Supporter) SuperDork
3/23/24 12:53 a.m.

The horn is mounted underneath the lower triple clamp, stacked with the front brake line splitter, and as a result is a little rusty. After a quick cleanup, I'm optimistic about the potential for a dab of POR15 and reinstall.


The front master cylinder rebuild parts showed up. Since GJ72A information in English is super-scarce on the internet, I ordered parts for an 80's RG500 (I think...) which shares fork/brake parts with the Gixxer. Looks like it will work. Used parts in the left column, new in the right column. I also scraped all the white powdery corrosion I could out of the aluminum master cylinder reservoir.

Here's the master reassembled with new reservoir cap screws. I also cleaned up the lever blade with 000 steel wool.


The fork sliders still had some nasty rust pimples, so I bought out the wet n' dry sandpaper. I used water plus dish soap, and hit the sliders with 600 grit, then 1500 grit to knock down the high spots, followed by 000 steel wool again. Certainly not perfect, but hopefully an acceptable stopgap to get it rolling without tearing the new seals to the point of major leaks. I'll probably pursue a better repair once I have bike running and riding. Here it is with new oil and dust seals installed.

I started installing the new tire on the freshly-painted front wheel. I got hot and sweaty. I got frustrated. I started scratching my new paint. I might have aggravated my already-tweaked knee (damn you aging middle-aged body!) I questioned why I didn't take it somewhere and pay someone to do this. I got to here, then temporarily gave up and went in search of a beer. 😂

docwyte
docwyte UltimaDork
3/23/24 11:16 a.m.

I always pay someone to mount my tires.  Totally worth the $25 to not have to worry about pinching tubes, plus they balance them.  If I get a flat out on the trail, then I'll handle it myself.

ae86andkp61 (Forum Supporter)
ae86andkp61 (Forum Supporter) SuperDork
3/24/24 12:13 a.m.

The GSXR250 progress inches along slowly. I spent forever and a day trying to find information on fork oil weight and volume with no luck. (Is it just me, or is Google way worse than it used to be for searching for technical information for enthusiasts?) I finally found something by searching in Japanese, doing some translation, and cross-referencing a few different sites. I'll post here for posterity in case some other poor sod needs the information for their own GJ72A project in the future:

15 weight fork oil

417 ml for oil volume

84mm fork oil height

297mm minimum allowable spring length


There was a slight delay while I searched the shop high and low...er, ahem...did some tidying up 🤣 before installing the second leg's top cap. The fact that the top cap fell down and rolled under something didn't help any, but things are a bit tidier now.

I also got the tire on, but wasn't able to get the bead seated (since we're moving out of the shop, we sold the big compressor.) My little portable compressor didn't have the oomph.

I packed the wheel/tire with me and headed home. It was evening and weekend, so no tire stores open. One gas station looked at me like I was a freak when I asked if they had air before replying, "No, why?" when I said to inflate a tire, the employee just laughed. A second gas station had a compressor, but only coin-op, and wouldn't make change, and I didn't have a pocket full of quarters on me, and didn't need gas. When I was young, I would marvel imagining all the amazing wonders of convenience life in the future would hold; now that we're here, where's the app that inflates your tires? 🤣 Guess I'll just have to haul it to work during the week to get the bead set. 

Rodan
Rodan UltraDork
3/24/24 9:57 a.m.

In reply to ae86andkp61 (Forum Supporter) :

I recently had to put air in a tire while out of town, on a Sunday.  What a E36 M3show!  Took three "gas stations" (convenience stores) to find a working air station, had to use a credit card to pay for it, and the stupid thing put out about 40psi...

I'm old enough to remember when corner gas stations actually had mechanics...  how far we have fallen in our pursuit of "progress". cheeky

mfennell
mfennell HalfDork
3/24/24 10:56 a.m.
ae86andkp61 (Forum Supporter) said:

The GSXR250 progress inches along slowly. I spent forever and a day trying to find information on fork oil weight and volume with no luck. (Is it just me, or is Google way worse than it used to be for searching for technical information for enthusiasts?) 

Definitely not just you.  

ae86andkp61 (Forum Supporter)
ae86andkp61 (Forum Supporter) SuperDork
3/26/24 10:21 p.m.

I took the wheel/tire to work and used the compressor and lots of soapy water to get it seated. It took multiple applications of 75-80psi with the valve core removed, plus hammering/prying on the tire before finally popping into place with a "PING!" It was still holding air as of this morning. A relief and a pain in the rear!

ae86andkp61 (Forum Supporter)
ae86andkp61 (Forum Supporter) SuperDork
4/1/24 1:14 a.m.

I took the front wheel back to the shop and did a little paint touch-up.

I pulled out the new rotors, hit them with some brake cleaner, and installed them with new hardware and loctite.

I tried the wheel on my balance stand, but the bike is so old, it has too tiny of a spindly front axle, and the wheel won't fit my balance stand! 🤣

I switched gears, and got the fork legs installed in the triple clamp, then installed the front wheel. I figured I'd try balancing it on the front stand. I taped multiple little 0.25oz adhesive weights on with painter's tape until I got close, noted the location and weight, and will try to order one single of the correct crimp-on weight for the final balance.

The Venhill braided brake line kit I ordered arrived. I went out on a limb a bit and ordered a kit for a different model of bike that shares a similar chassis and a variant of the same fork. In case anyone else restoring a GJ72A GSXR250 is following along, a 1986 Suzuki RG500 Gamma 3-line kit works! The lower lines are a little longer, but also are designed so you don't run the factory swivel/thread adapter part into the calipers, which is an inch or so long, so the extra length should be just about perfect.

ae86andkp61 (Forum Supporter)
ae86andkp61 (Forum Supporter) SuperDork
4/10/24 12:12 a.m.

Work on the bikes is probably going to slow for a bit, and then hopefully pick up again later this spring.

Through serendipitous circumstances, the end of our time at the old shop (have to be out by April 30) has coincided with some settlement money from my broken wrist arriving, plus a realization that my current house might be worth more than I thought, plus my dream house with big garage coming back on the market at a lower price than it was last fall before being pulled from the market. 😄

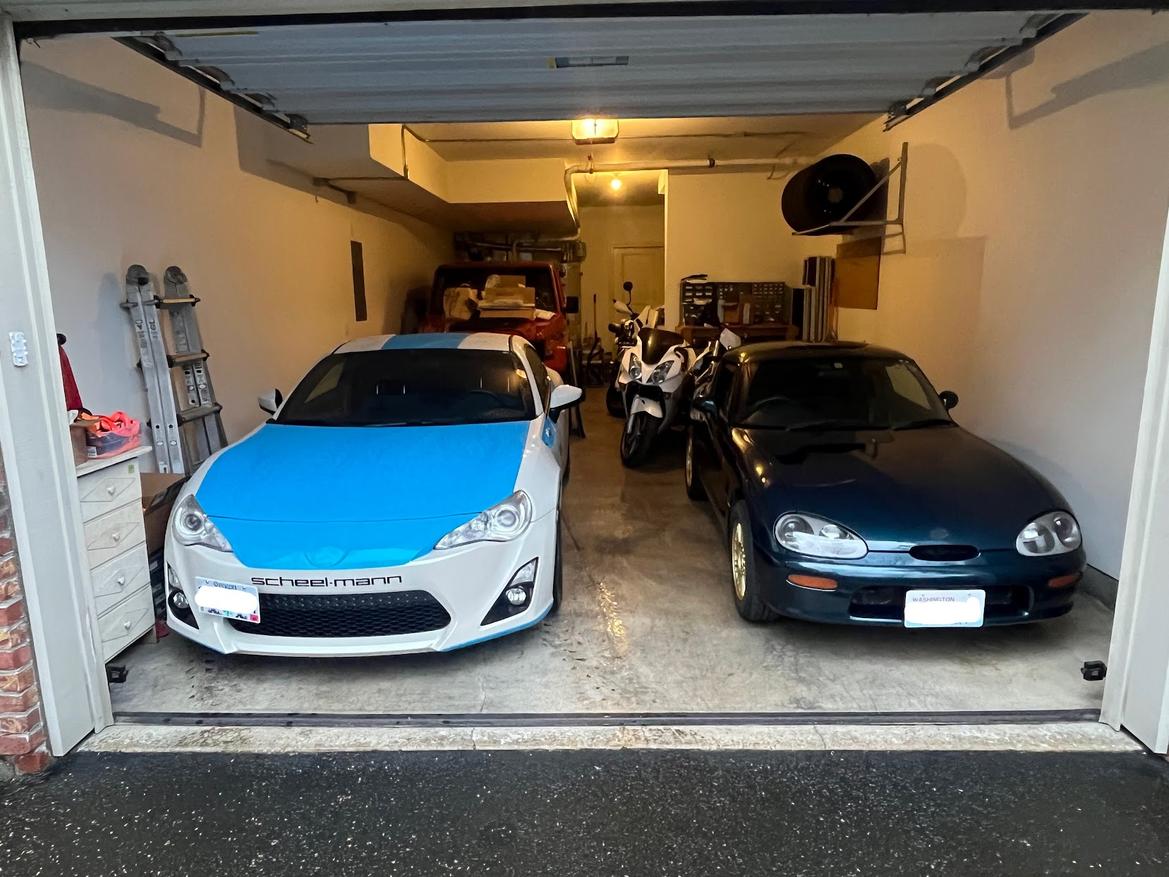
Long story short, I'm pulling out all the stops to buy/sell/move locally. I'm not excited to step back into debt in my mid-40's, but I'm super-thrilled to have a gorgeous 2-bedroom bachelor pad house upgrade in an ideal location in the center of the city, including a 15x38 attached garage!! So tough to find a big garage without a huge house I don't need/want. With careful planning and layout, the garage should hold my two sports cars, five motorcycles, storage shelves, lathe, milling machine, toolbox, bicycles, and a little room to work. After a decade plus of one deeded space in shared parking garage with no work allowed, and paying to rent shop/parking space elsewhere, I can't wait to have all my vehicles at home, and be able get up on Saturday, brew a cup of coffee, and walk into the garage to tinker. I never thought this would be possible without moving to the sticks a long ways from work, family, friends, fun stuff to do, and all my usual haunts. 😁

I will absolutely be starting a garage build thread once I've closed.

With these new plans, my focus has shifted from doing as much work as possible (thinking the bike projects might be shuttered in storage for months while house hunting) to doing the essential for a quick move out of the shop, followed by a quick move into the new garage in May.

I got the GSXR back on the ground. The Husaberg is right next to it, sitting on a battery tender.

I put the upper fairing back on, figuring that doing so wouldn't increase the risk of damage in moving, and might help. At the very least, it will keep the fasteners together. 😁 I left the nice windshield and the side view mirrors off to keep them protected. I didn't get a close-up, but did capture it in the background of the rapidly-emptying shop.

mfennell
mfennell HalfDork
4/10/24 11:03 a.m.

That's fantastic.  Working on your stuff at home will be a game-changer.  It's not just Saturday morning - if I'm not riding a bike, I wander out to my garage every morning for 20 minutes or so before breakfast and get something - anything, done.  Trivial stuff but it adds up.  This morning I reconnected the sidestand switch on my Ducati after locking it as 'up' (I pulled the side stand for track duty), sorted the Dzus situation with my track lowers, put a little wax on the new-to-me bodywork, and reinstalled the tail section.  Almost ready to take a neigborhood spin!

I think I'm going to get some space at my friends' shop, which is 20ish minutes away.  I don't know how big it is but the last time I counted, there were 63 motorcycles and one car in there.  The smallest user - 5 bikes - is moving out.  I'm psyched for the room but I don't think I'll be working there like they do, just rotating bikes in/out depending on my mood.  

ae86andkp61 (Forum Supporter)
ae86andkp61 (Forum Supporter) SuperDork
4/12/24 11:55 p.m.

In reply to mfennell :

Thanks! I'm hoping the "20 minutes a day in the shop" routine will result in good progress.

That shared bike storage/workspace sounds awesome! In my experience those types of places/opportunities are really few and far between, so gotta grab them while you can! The camaraderie alone is great, not to mention the extra space for *more vehicles* 😅 The past decade plus at my shared shop space has been awesome! We saw/did everything from ridiculous engine swaps to Challenge cars, restomods to adult soapbox derby builds, motos, bicycles, e-bikes, EVs, microcars, trucks, welding, powdercoating, machining, wiring, engine rebuilds, stupid barbecues, stupid burnouts, and more!

I got the baby Gixxer safely to work as a temporary step. With no functional brakes, loading/unloading took a little extra care/planning, but thankfully the bike is quite lightweight.

ae86andkp61 (Forum Supporter)
ae86andkp61 (Forum Supporter) SuperDork
4/14/24 9:39 p.m.

I carved out a little time for some Husaberg work today. I didn't really want to loosen the radiators, remove the subframe brace, and pull the tank yet again, but I needed to in order to install throttle cables and to check the auto-decompression.

Once I got the tank off (some struggling and swearing involved) I started on getting the rocker cover off. One bolt in particular is very tough to access and remove, even with the radiator loose. It is behind the radiator and right up near the frame downtube. A bit hard to see here as it is in shadow, but you can see the bolt against the black rocker cover.


I realized that the rocker cover would be easier to remove with the throttle cables off, so I switched gears and started working on pulling the old cables. Here's my old setup, missing the throttle cable guide that the previous owner removed and threw away (and of course is now discontinued) so previously I zip tied the throttle cables and wiring harness together and tried to hang the whole shebang off the fuel tank vent, with limited success. It was a little better than before for keeping the cables from slumping down and tangling in the front fender, but the guide should really help!

I bought a used throttle tube, cables, and guide off eBay (from Australia!) and the cables were shot, but here's the guide, with my brand-new throttle cables snapped into place.

Here's the cam gear, with auto decompression mechanism. It didn't show any obvious signs of an issue. I pulled off the spring and tried to twist it a little bit tighter. Maybe it will help??? Interesting to note that this top end is nearly identical to the Husky 701.


New throttle cables installed with the guide bolted to the frame!

I got the routing at the handlebar looking better as well.

I got the tank back on, got everything buttoned up, and got it running. It seems to be cranking a little bit faster, maybe? The starter definitely doesn't grind to a halt as often as it used to, so perhaps the auto-decomp spring relaxed a bit, and bending it helped. I'll probably order a spare or two for next time I'm in there.

Unfortunately, I now have an oil leak at the external oil pipe I had to remove to change the starter! 😩 I torqued the banjo bolt when I installed it. It is threaded into a thin aluminum casting, so I cautiously gave it a smidge more just in case, and started it again...the drip is slower, but still weeping. That will be an issue for another day.

ae86andkp61 (Forum Supporter)
ae86andkp61 (Forum Supporter) SuperDork
4/18/24 1:36 a.m.

berkeley yeah! It’s not done-done, but should be done enough to ride it to somewhere else to finish the last details. 😁

Professor_Brap (Forum Supporter)
Professor_Brap (Forum Supporter) UberDork
11/11/24 3:31 p.m.

In reply to ae86andkp61 (Forum Supporter) :

What rear lift spools/sliders are on your 701?

ae86andkp61 (Forum Supporter)
ae86andkp61 (Forum Supporter) SuperDork
11/12/24 12:39 a.m.

In reply to Professor_Brap (Forum Supporter) :

It's been a while since I bought them, but I'm pretty sure they are Pitbull 10mm. I seem to remember something about the thread pitch being non-standard. Hope this helps!

docwyte
docwyte UltimaDork
11/12/24 9:27 a.m.

Did you ever get the front brake master cylinder nubbins I sent you?

ae86andkp61 (Forum Supporter)
ae86andkp61 (Forum Supporter) SuperDork
11/12/24 11:31 p.m.
docwyte said:

Did you ever get the front brake master cylinder nubbins I sent you?

👍 Thanks!

5 6 7

You'll need to log in to post.

Our Preferred Partners
5a1qUEfyH11pT1OK81Tv0eH5HGEPFBq9SLCEyk8vTUDVOl1QdeEbeyqfr0zBpChn