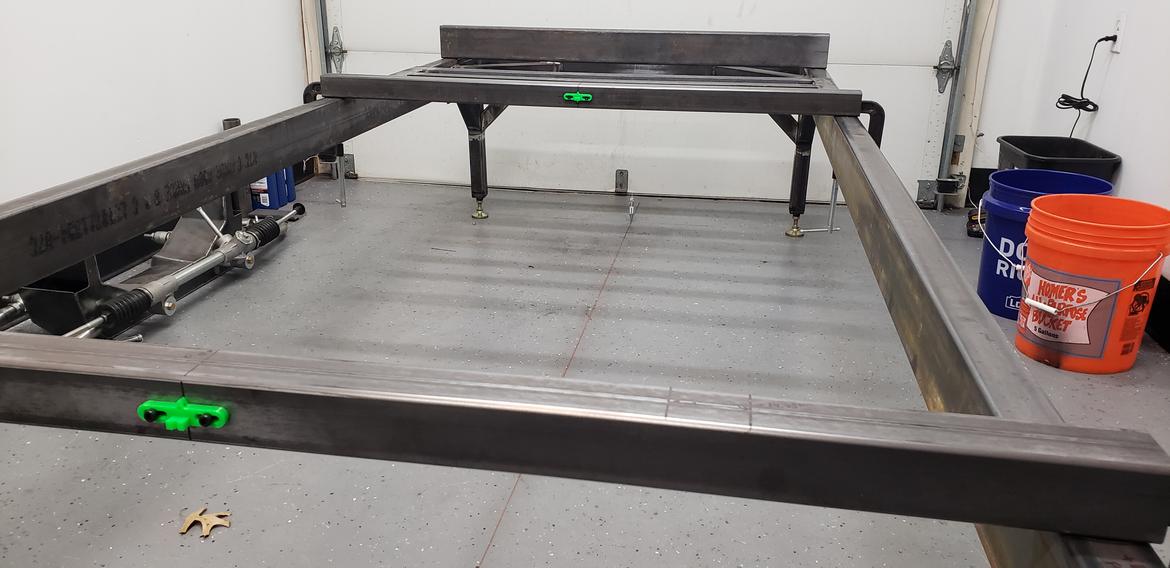
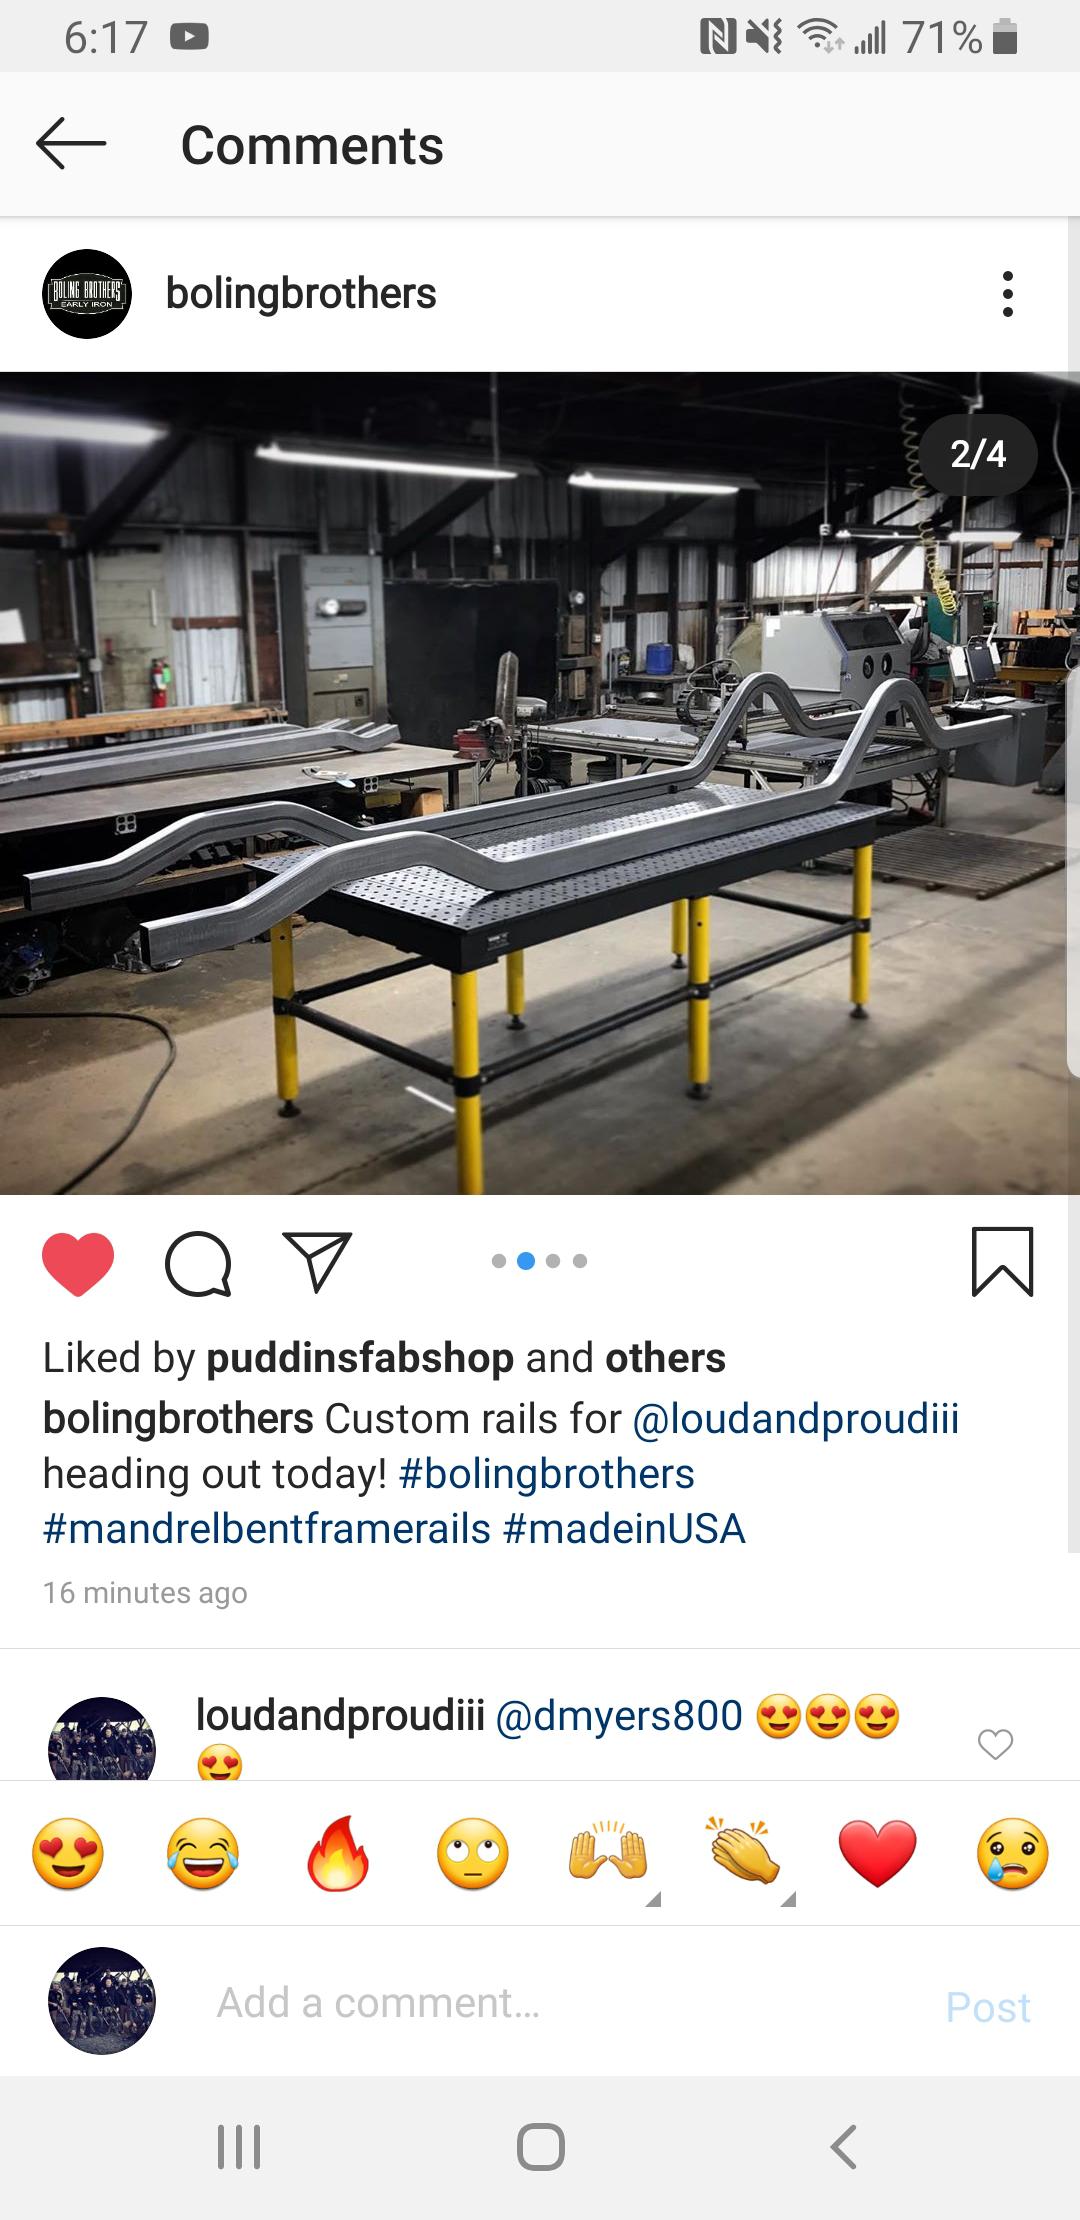
My frame rails are inbound from Boling brothers. They are due in on Wednesday. Super pumped. I started to lay out my frame table crossmembers in a little more detail and got them placed accurately.
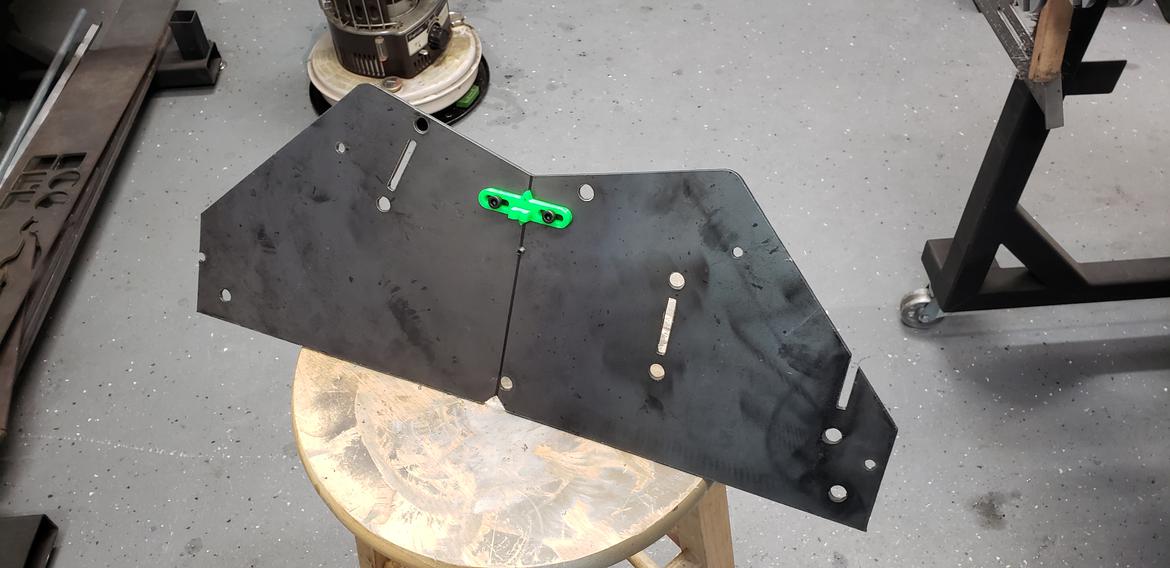
When the frame rails come in, they are cut a little long on both ends (intentionally). In order to locate the rails properly I need a way to accurately measure the locations of the bends. The bends with the best surfaces for measurement are the rear frame rise. I made a little gage out of scrap plate. Should help out alot.

Mr_Asa
New Reader
1/9/20 9:52 p.m.
Are you starting from scratch with the CAD stuff, or importing/taking measurements yourself?
I'd love to scan my car or truck and be able to go crazy with the CAD stuff but I don't have any reliable method of getting measurements right now.
In case you're looking for some more inspiration, 3D Magic Mike on Instagram has been a huge source of ideas for 3D printed projects to do with my vehicles.
In reply to Mr_Asa :
I follow Magic Mike on there non stop. He is legit as it gets. He has inspired me to get a router and take on my own carbon work when the time comes.
As far as CAD. Some is from scratch, some is from the GM outfitters manual, and some of the std components (the coilover and rear) are from grabcad.

Mr_Asa
New Reader
1/9/20 10:10 p.m.
I should check grabcad more often. You'd think there would be a model for a '67 Mustang or a '93 F150 there or somewhere (not that I've looked recently)
I'm lucky when it comes to tools such as routers and the like. Made friends with the Art Dept folks when I got my Mech Engineering degree, full fab shop at my disposal that virtually no students in the Dept use, including a full sized CNC router, CNC plasma cutter, and all sorts of other goodies.
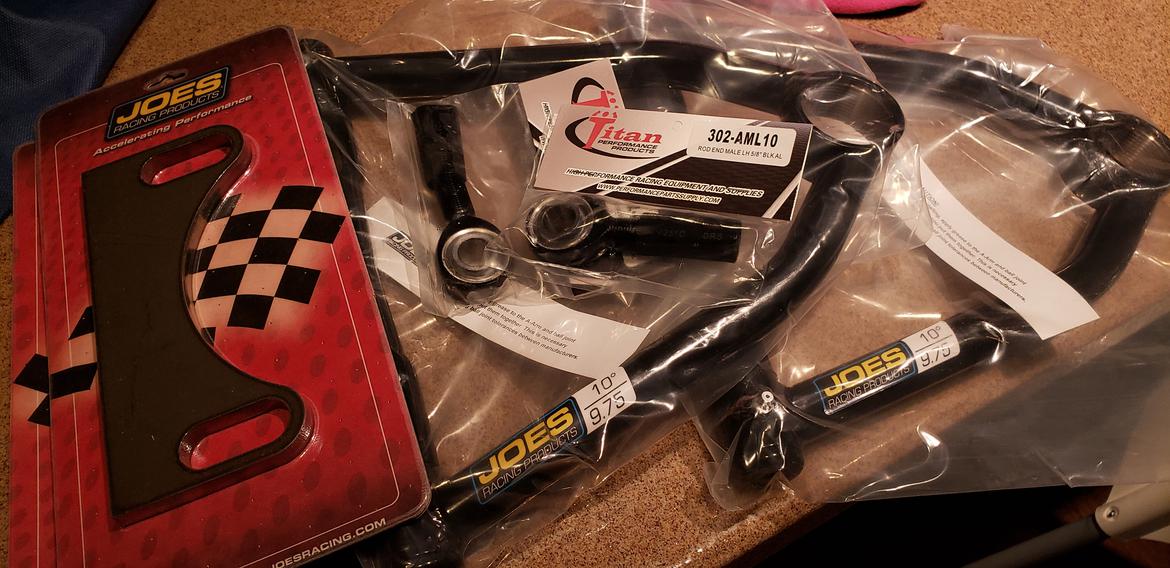
Got some parts in from Speedway.
I got the plasma ripping tonight. Made removable adjustment slugs for the upper control arm mount and the control arm slots. The mount slugs can raise or lower roll center and change antidive percentage. The slugs in the slots are for caster adjustment. One piece shims will be cut for chamber adjustment. The LCAs are also adjustable length (over 1" of adjustment) for additional camber gain and chamber adjustment.
The plasma is alot cheaper than the $13 a piece slugs they sell.
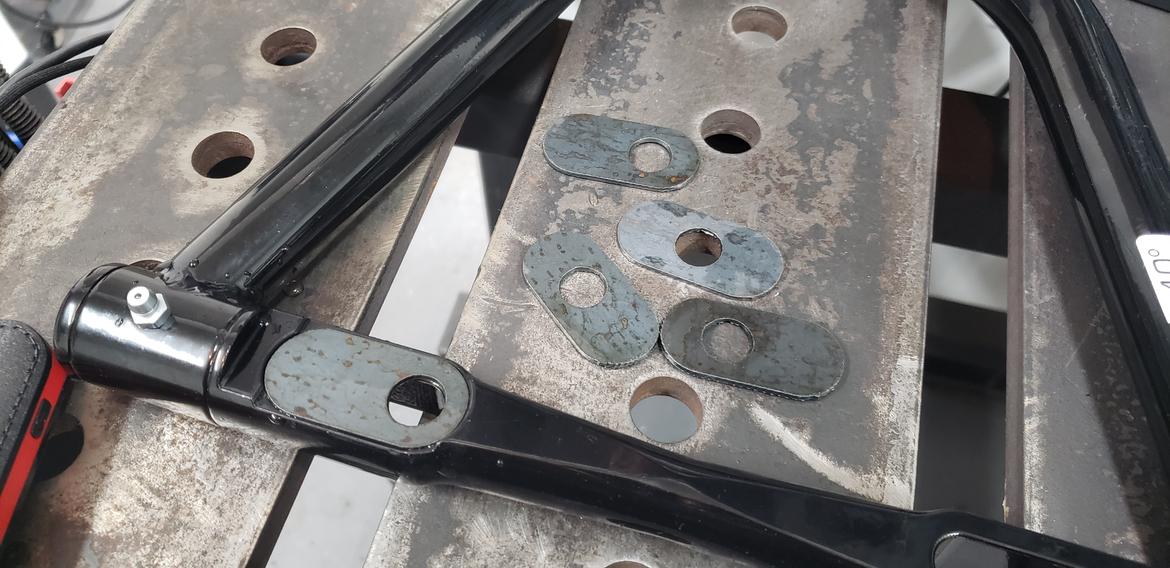
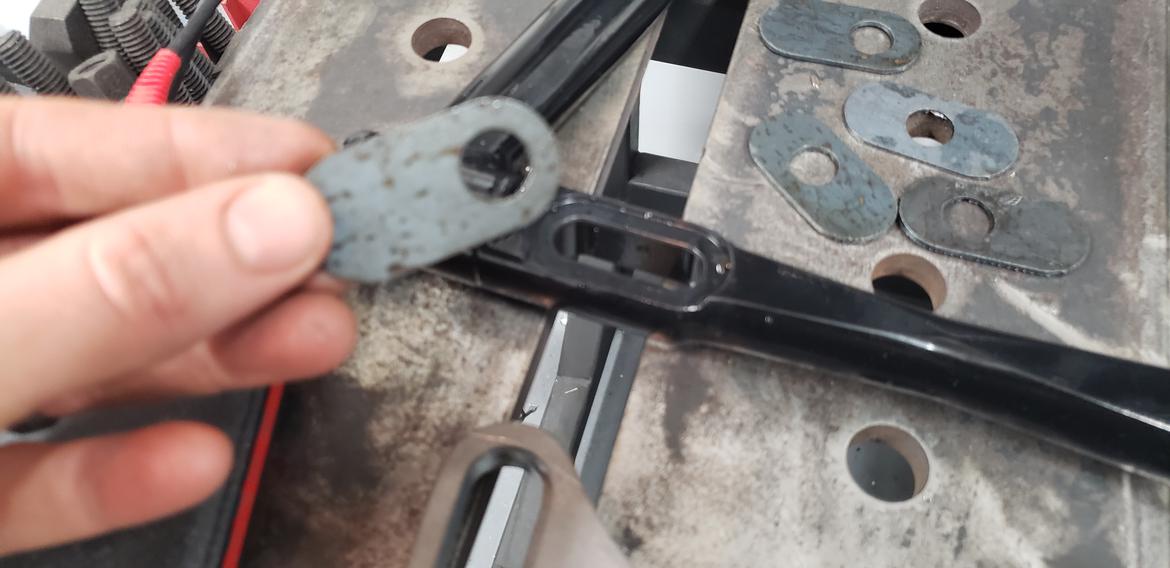
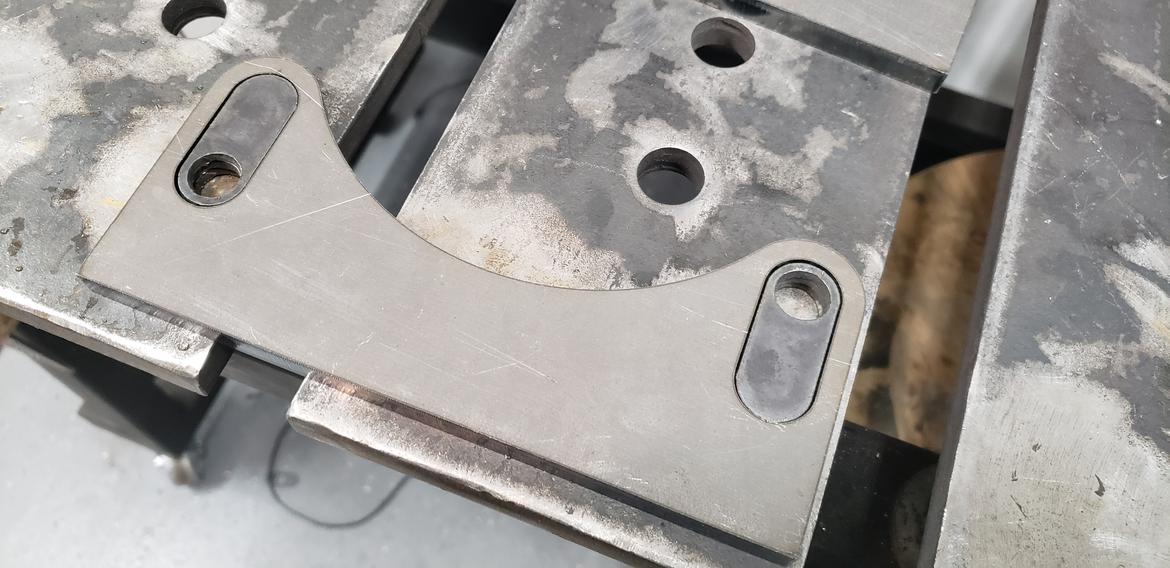
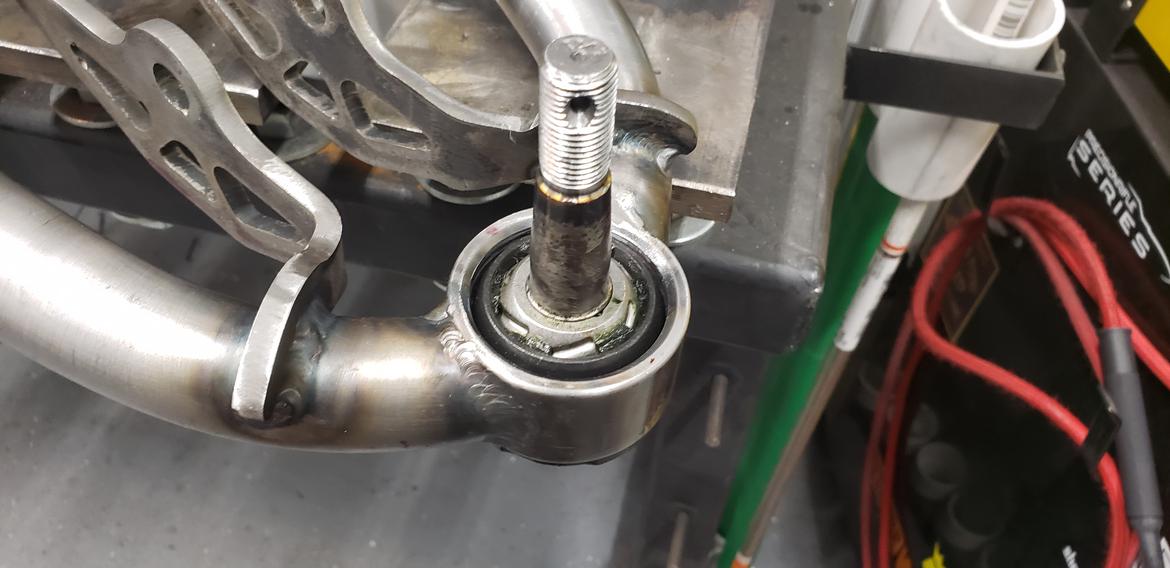
I also ran into a little snafu bundy. The driver side ball joint sleeve got a little tweeked in the welding process. I ended up ordering a ball joint sleeve tap from Left Hander chassis.
Lucking it saved the day.
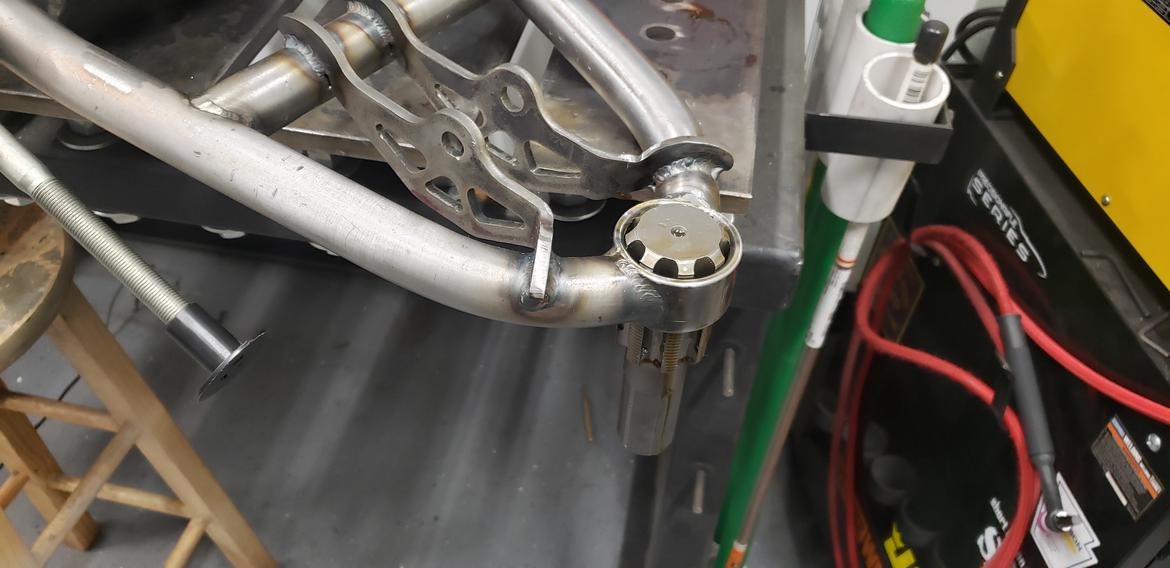

Mr_Asa
Reader
1/16/20 8:43 p.m.
Those slug setups are pretty slick.
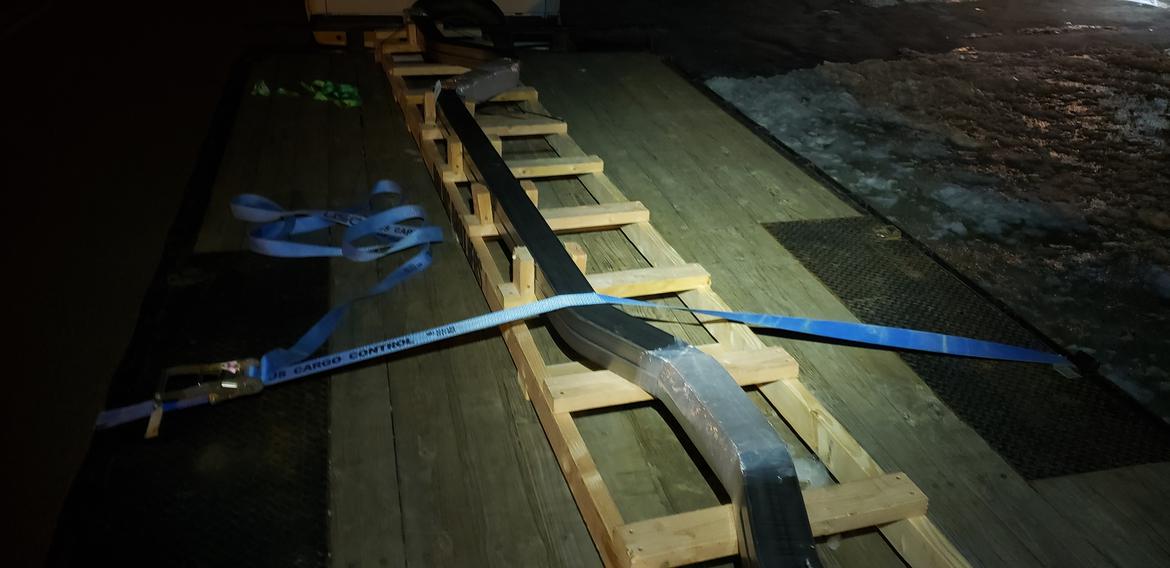
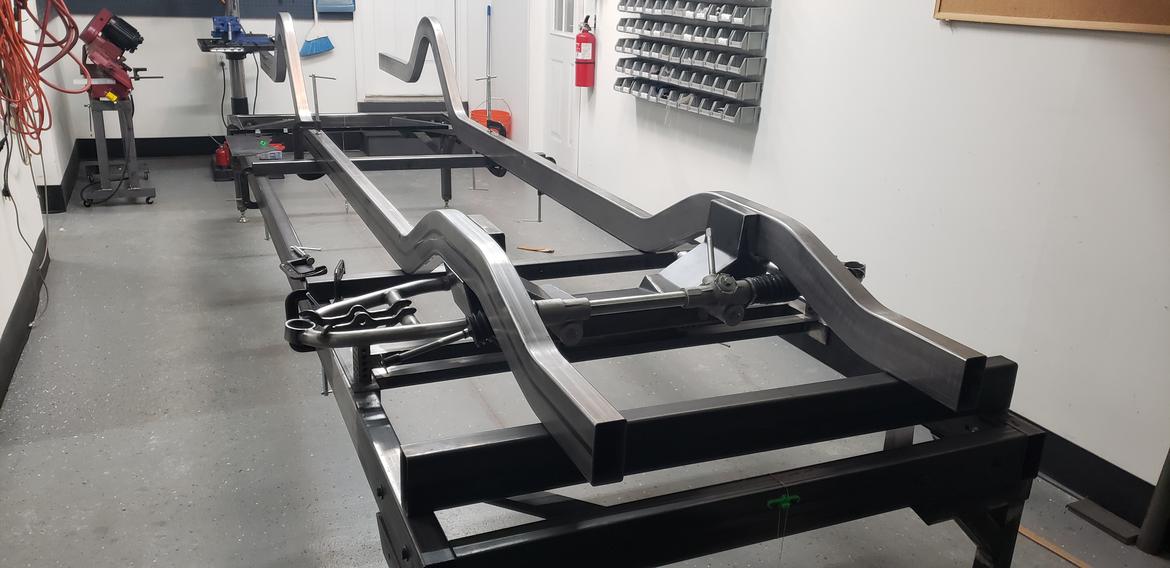
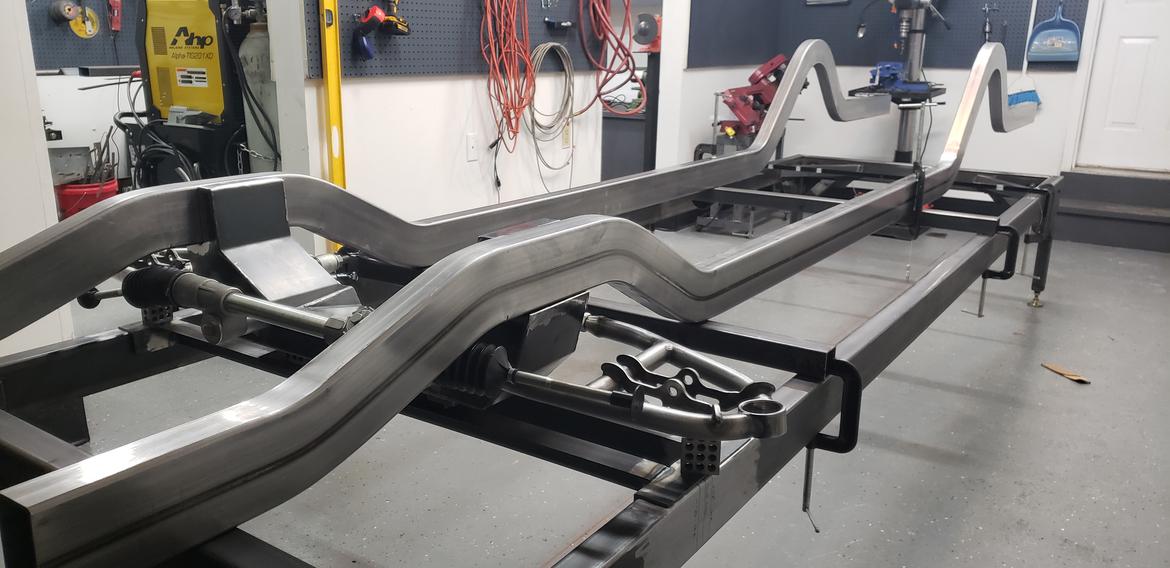
Well look what the cat dragged in. The frame rails showed up. Super pleased with Boling Bros world on bending them up. Couldnt wait to get them sat up in the table and see how they look. I'll get em dialed in this weekend and burn em in
This looks awesome! I feel like I'm under-utilizing my engineering skills on my cars now.
In reply to AnthonyGS :
I feel you. I am in a constant struggle of "Do I make this stupid optimized for weight/performance to the nth degree... or do i just go easy and pick a simple design".
This build is more something to build my skills with. After this I hope to build an entire car.
loudandproud said:
In reply to AnthonyGS :
I feel you. I am in a constant struggle of "Do I make this stupid optimized for weight/performance to the nth degree... or do i just go easy and pick a simple design".
This build is more something to build my skills with. After this I hope to build an entire car.
I worked in the auto industry designing and redesigning parts for a while. I also took machining classes in college and the Navy. I'm learning to weld late in life. I never thought of putting it all together and going all in though. This project is beyond cool.
I usually just go the easy bolt on route.
Episode 6 is up. Check it out fellas.
Incredible! Nice looking shop, too.

Mr_Asa
Reader
1/29/20 9:03 p.m.
That's a gorgeous crossmember. Almost be a shame to bury it under the engine.
In reply to Mr_Asa :
Thank you! When I designed it I was shooting for the tightest tuck on an LS/LT motor I could get. A dry sump oil pan will let the motor sit LOW. Like LOW LOW. With the motor set back, the harmonic balancer will be right at the front edge.
first time I've seen 1-2-3 blocks used as a fence!!
In reply to 03Panther :
They're a chinesesium blocks. No fear friend
Quality work! And moving along quickly too! I'm excited to watch your progress.
Wasn’t a bad comment, I was impressed! They are so inexpensive these days, I thought it is a good use for accuracy and adjustability ! I’ve cot a saw I’ve always planed on building a better fence for...
Can y'all point out the 1-2-3 blocks? Much like those annoying sailboat pictures at the mall, i ain't seeing them.

Mr_Asa
Reader
1/30/20 3:45 p.m.
In reply to Dusterbd13-michael :
See the clamp in the middle of this picture? The blocks are being used as the fence in the saw and the tube is clamped to them.

I like how in some shots it looks like you're welding in an operating room. Nice setup.
While I still lived in VA, a friend kept his shop about that clean. I try, but never make it! He would let me work over there though, so it proves I CAN, just am too lazy. I didn't want to get kicked out, either (or get my azz whooped) shows what motivation can make a person do! Unfortunately, It's 600 miles away now. I am proud I have kept tool box privileges at Red's for 37 years now.


