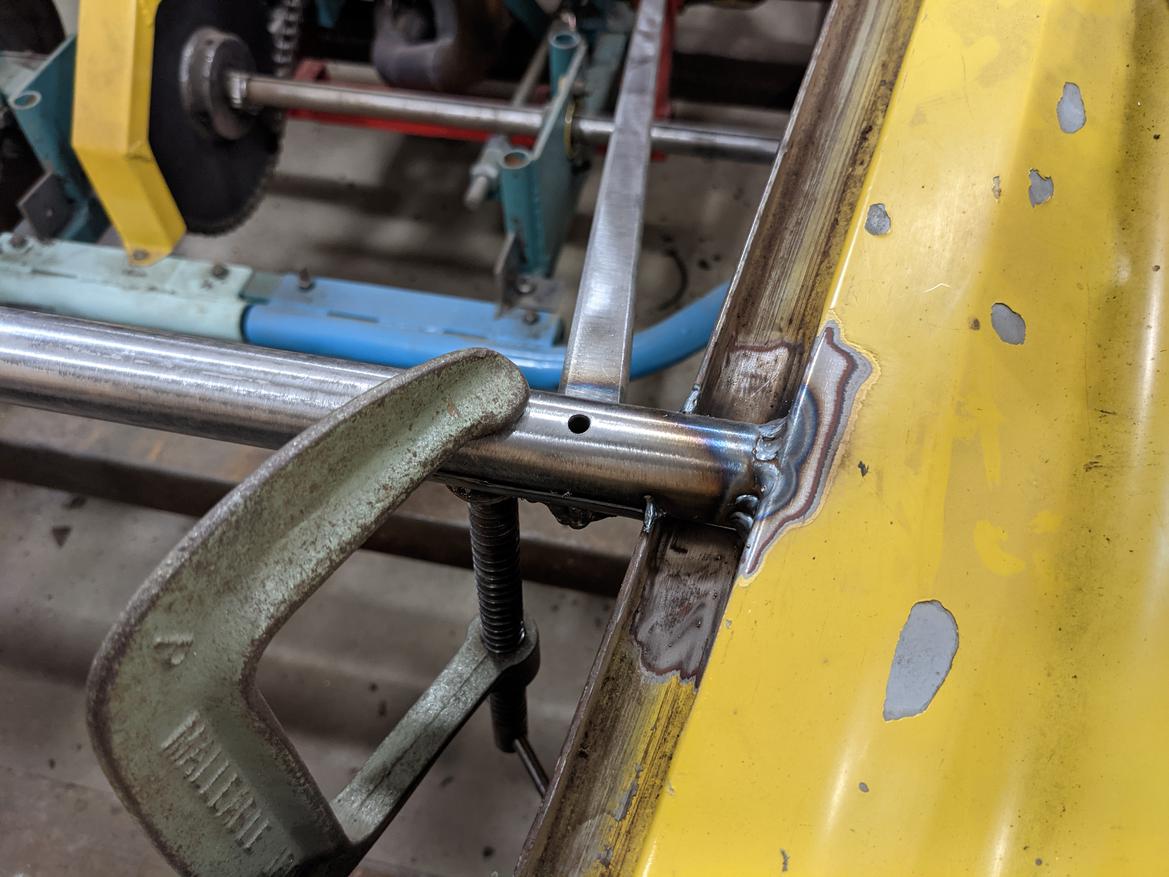
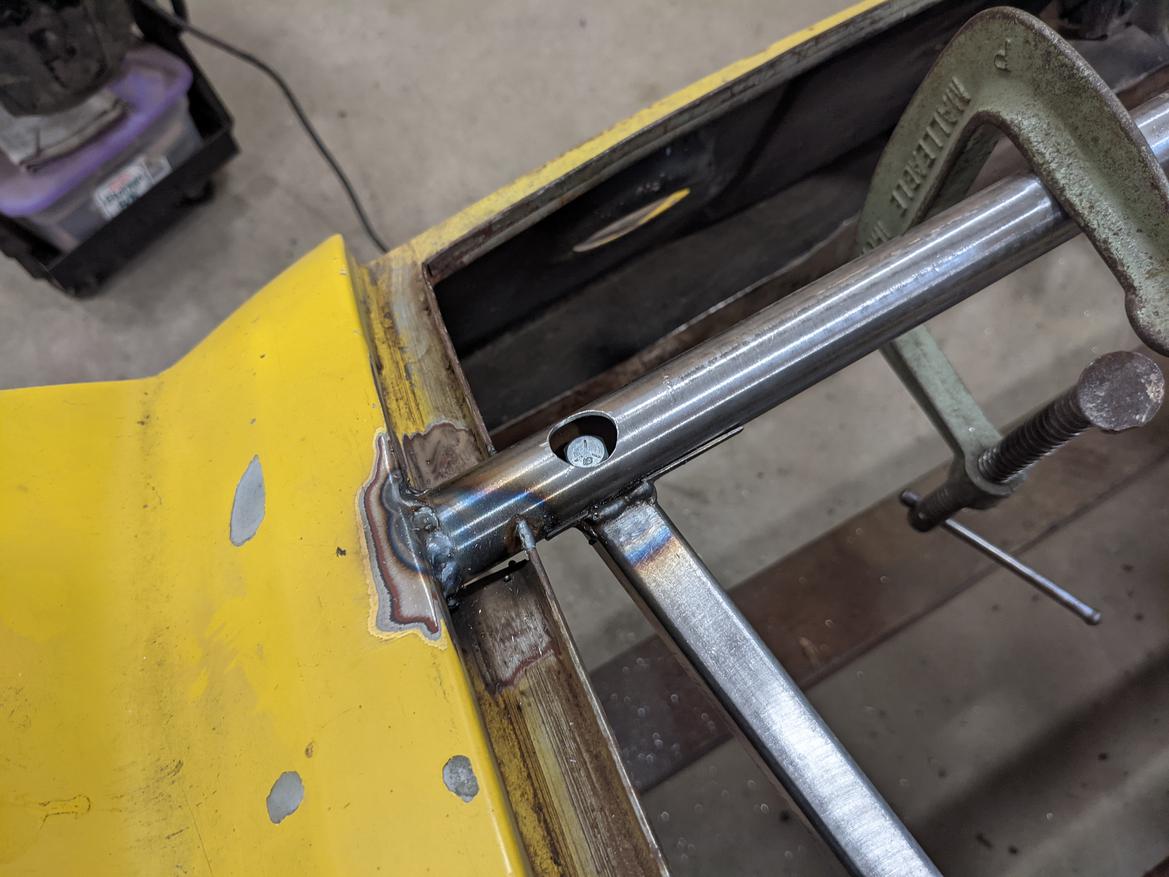
This image of the Palatov D4 has given me a good idea for connecting the body to the rocker.

But first, I need to A - figure out if rear body mounts are necessary (I assume they will be), and B - implement them if they are.
Then I'd have body mounts at the front, cowl, door handle, rear, and along the rockers. That should be plenty. Hold my beer.
In reply to Robbie (Forum Supporter) :
I was thinking about Palatov when I saw your post yesterday. I think they also have some strategically located "stand-off pinned connections" that lock the body to the tube frame. I'm not certain that the "undertray" connects directly to "overtray"... so to speak?
May I suggest that you weld your body to the frame? It will add a lot of chassis stiffness. If it were Fiberglass yes make it easily removable. Use the strength ( and depth ) of steel rather than have it like a cosmetic afterthought.
Well, there's not much strength left in this steel body at all.

We really are down to just the outer sheet metal surface.
You can also see I hacked up the roll bar more. I did this as I spent literally hours staring at the rear (hur hur hur) and trying to decide the best path forward for building some body supports. I think I finally made a decision.
2.75 hours worth of thinking and about 15 minutes of building left me with this:


This bar will be welded to the body, and it will provide landing spots for the supports.
488 hours.
Hmmm whole post just disappeared?
apparently i'm having issues posting from my phone?

tuna55
MegaDork
8/11/21 10:15 a.m.
Not you, and not just the phone. I'll bet you won't even see this. I hope just seeing that I commented without seeing my post will clue you in, in that case.
I don't really know how this would work with the Datsun body, if at all, but could you section the body? Have the center section that doesn't have a lot or stuff that needs to be accessible welded on, and then the front and back sections removable, possible in multiple parts each. Maybe held on with dzus fasteners?
Thanks for the heads up post tuna! Also awsx, I've thought about that a lot too. I thought about reusing the door hinges and hinging the rear up or the front clip or something. Unfortunately at the end of the day a setup like that means I need more body supports to the frame. So while cool, I don't think it's worth the weight.
Today I continued on by rear body mounts - first take an errant piece of the body sheet metal I recently removed, and cut it.

Next, place in vice and start hammering.

Make a few more cuts, and BAM.

This will be welded to the body side support to provide location assistance at the interface.

489 hours.

Some time Friday, couple hours over the weekend, and then more this morning.
One for each side (nice that they ended up the same length, haha).

Then some welding followed by drilling.

And tapping - at a slightly weird angle. Not optimal but it worked.

More drilling, and then making the hole even bigger with die grinder.

One thing I really like to do when building (especially over long distances) is to use sight lines. Your eyes are incredible tools, and when you use them to sight specific things you can get more accurate and faster than trying to use levels and rulers. Here's an example:
If I know my horizontal bar (the one in the picture foreground) is straight and level, then I can look straight past it and as long as the far ends of the bars are the same relative to my bar then they are straight and level too. Look to where the far ends of the bar connect to my red roll bar tubes.

And here's where I ended for now.

And you might be able to see my final plan for the rear mounts now.

493 hours.

nocones
UberDork
8/16/21 12:09 p.m.
Looking Good. Did you use coarse thread bolts so they are "speed bolts" for body removal?
In reply to nocones :
speed bolts, haha. No actually I made them 1/4-28 because I have a cup of door hinge bolts from the datsun door hinges, and they are all 1/4-28 interestingly enough. But then after trying to assemble, I realized they aren't long enough - they would be perfect length once installed, but they are too short such that you can't hold them and get them down into the hole to start the threads. They are also somehow not magnetic (aluminum??? that seems nuts) so even using a magnet and a socket didn't help.
So yeah, I used a silly thread that very few things will fit and ended up having to get some bolts out of my scrap buckets anyway.

Mr_Asa
PowerDork
8/16/21 12:38 p.m.
In reply to Robbie (Forum Supporter) :
You could have had the bolts thread in from the bottom and not worried about them being too short or whatnot.
Mr_Asa said:
In reply to Robbie (Forum Supporter) :
You could have had the bolts thread in from the bottom and not worried about them being too short or whatnot.
Yes but then the opposite part needs to be threaded (the round tube not the square support tubes below), and I had already drilled that part too large (because I wanted the bolt to go through that hole into the threaded part). Also, the round tube is very thin wall so it wouldn't have held any threads really anyway. I would have had to try and weld a nut in there or something. It could still be done of course, but this works for now. Plus it's always easier to install from the top down.

Mr_Asa
PowerDork
8/16/21 1:09 p.m.
Fair. I was thinking a riv-nut insert instead of threading or welding, but whatever.
They might be stainless! It would make more sense than aluminum. Still seems quite odd to me.
Regardless, I got the rear supports fully tacked it. Super strong now. I will lift the body up to complete the welding, which probably answers my other question...

495 hours
And now after final welding the rear mounts the body hangs by itself again. Woohoo!
All in (I'll have to weigh the car soon), I'll bet this body cutting and reconnecting saved me on the order of 130 lbs. Can't argue with that.

That's the body fully supported by the frame again. It's already way more solid and less jiggly, and I haven't even fastened the rockers to the body or the shoulder mounts.
And I still think I'll build some cowl mounts too.
496 hours.
I temporarily clamped the body to any existing and not bolted yet supports.

And, the body is super solid to the frame. I don't think I need the cowl supports after all. Weight savings!
After all the work at the back, I turned my attention to the front. Cut out more metal I won't need, and also used some vice grips to straighten out the front bumper area a bit. It's not perfect of course but a heck of a lot better than it was. I wish I had taken a before picture.

497 hours.
I need to get the wheels back on to do the next steps of building floors.
But, as some might remember, getting the rear wheels on and off with the body not moving is a chore!
Part of the issue is this axle sticking almost 3 inches out of the hub.

I could cut it off BUT I also was damaging the keyway during the challenge last year. Here you can see "daylight" on both sides of the key. Not great. The lash was getting worse as I made each drag pass.

And, I can't just flip the axle, because, well someone's already done that. See the damaged keyway?

Anyway, my idea is to shift the axle to one side about 2.5 inches, and then cut 5 inches off the end. I think that will get all of my keys into a "fresh" spot on the axle - and it will help the wheel installation problem, oh, and yeah it will also reduce rotating unsprung weight. Triple threat.
So I got the chain off and everything loosened up on the axle. My notes are already saving serious time!

498 hours.

Mr_Asa
PowerDork
8/23/21 10:55 a.m.
I wonder if you could harden the shaft in order to prevent the key way from getting damaged like that. Ideally its the key itself that should shear and be done, not the keyway.
Know any bladesmiths? They'd probably have the long furnace needed to harden it.
Mr_Asa said:
I wonder if you could harden the shaft in order to prevent the key way from getting damaged like that. Ideally its the key itself that should shear and be done, not the keyway.
Know any bladesmiths? They'd probably have the long furnace needed to harden it.
Harder means more brittle, I wouldn't go there.
You need collars to support the key, not pipe clamps.
The hose clamps aren't actually doing anything. We had them on there because there was known slop in that keyed joint and I knew it was just going to get worse. I was worried about the allen set screw loosening because of the movement and then actually throwing the key at a high rate of speed in a random direction. The hose clamps were just to prevent the key from moving out from underneath the sprocket if everything came loose.
Yes collars might be a bit more professional but the hose clamps were last minute and just for backup.
The collars actually help distribute load over more keyway and keep the key shear loaded rather than allowed to twist. Night help it survive a bit longer once you move to fresh keyway.
hmm, interesting. The collars I have do not have a keyway in them, they just are a circle-shaped inner diameter with a set screw. Is that the kind of collar you are referencing?


