In reply to GTXVette:
Its not aircraft grade, that's way more expensive, like 4x the cost. You can get it cut to order and don't need to be a business to order. ![]()
In reply to GTXVette:
Its not aircraft grade, that's way more expensive, like 4x the cost. You can get it cut to order and don't need to be a business to order. ![]()
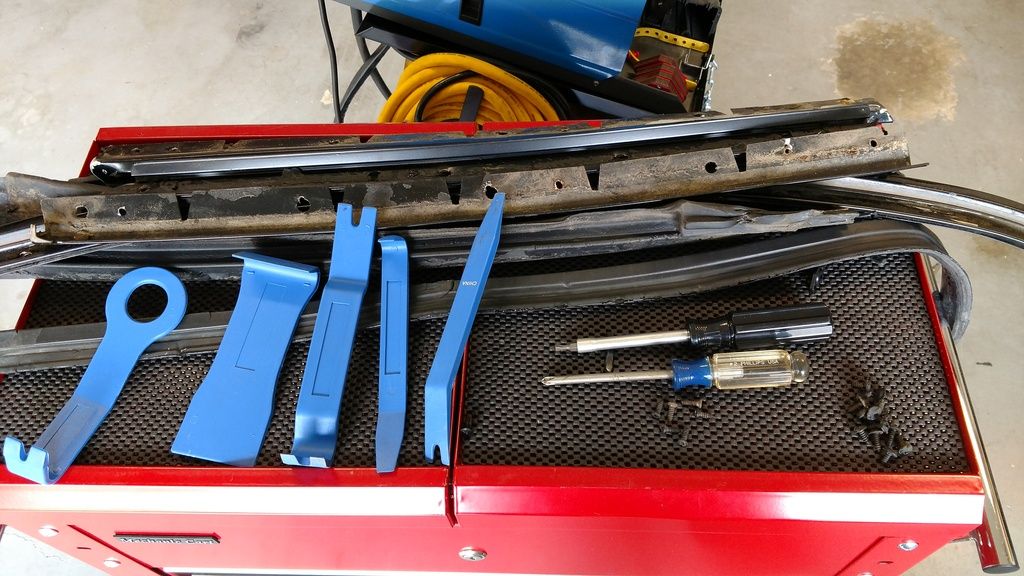
So I've done windshields before, the C4 windshield was the worst bar none. I think I'd rather sand fibreglass. Anyway, took 2 hours and a lot of swearing and a very long, strong thin knife as my windshield cutters did not work. FYI the design is horrible and while the sides were slowly cuttable, the top glue was over an inch wide and harder than asphalt, the top took an hour by itself, my hands hurt. The bottom you can't cut past the corners without piano wire, luckily its a quarter inch thick so I just folded it up and slowly separated it.
Here's the beginning
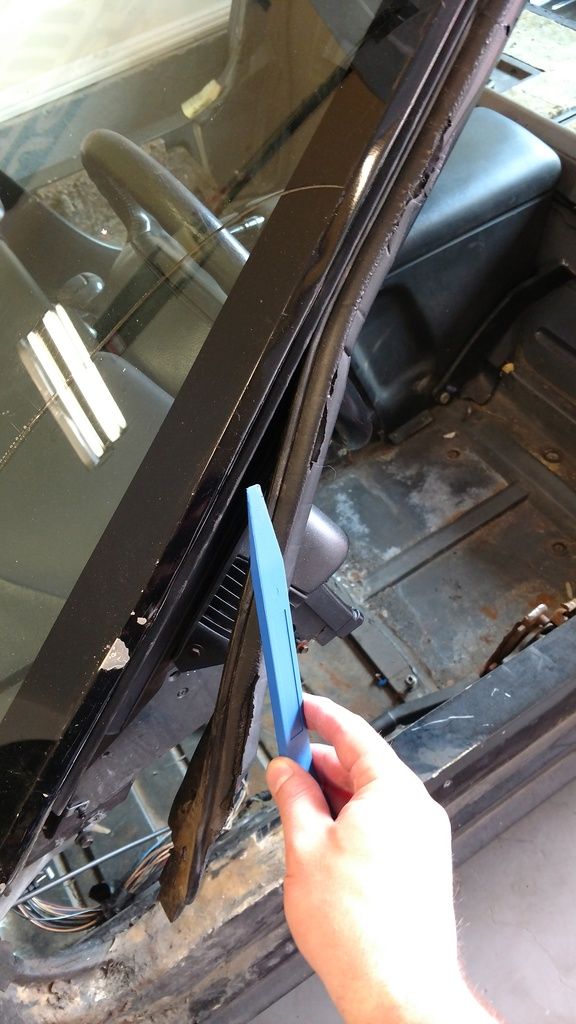
Peel very slowly with removal tool and you can separate without damaging the gasket which runs around $200
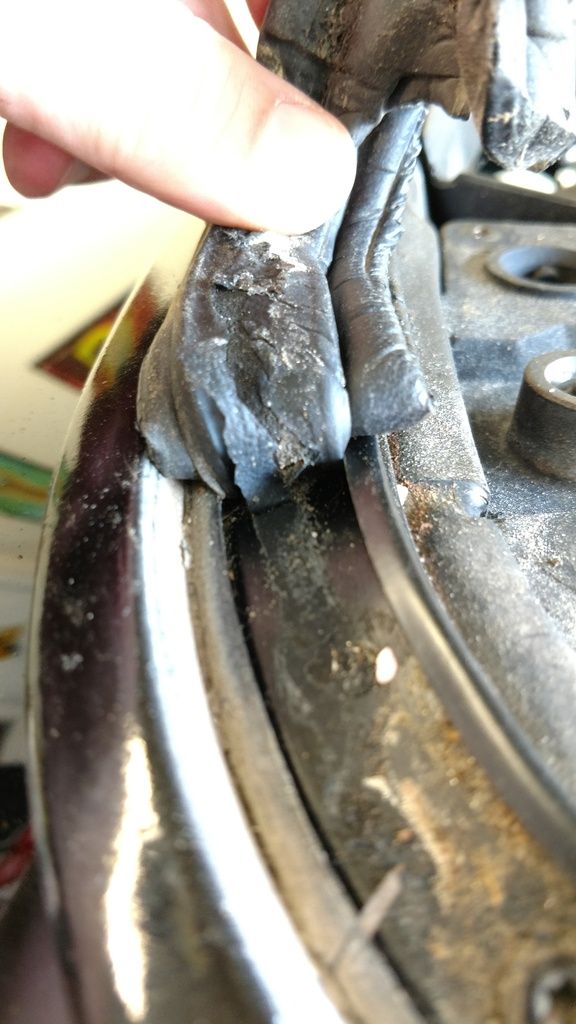
Next, torx and screws to disassemble the gasket channel and window trim
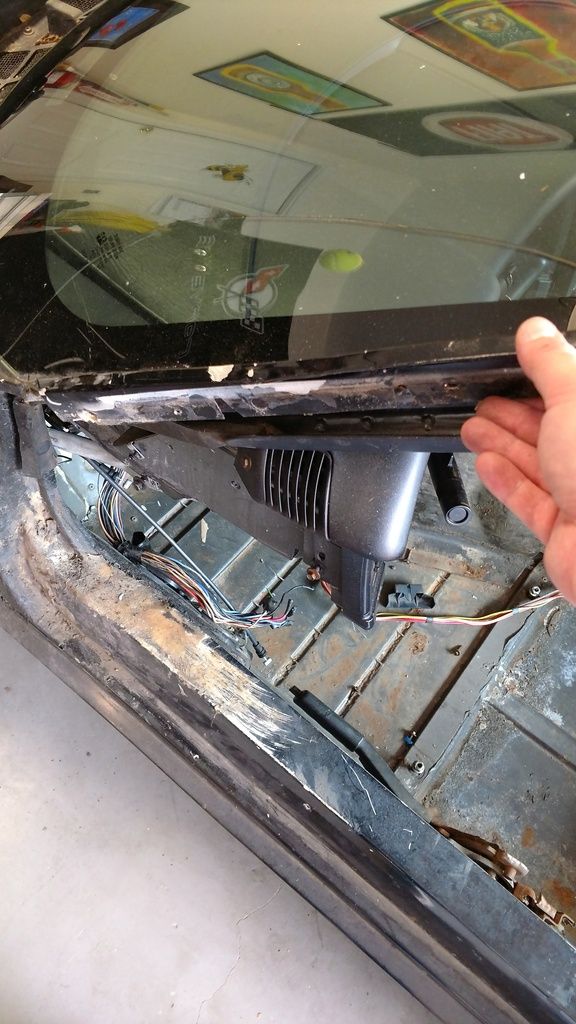
Sides fell away without effort, top needed light pry as some of the glue from the glass stuck to the top channel
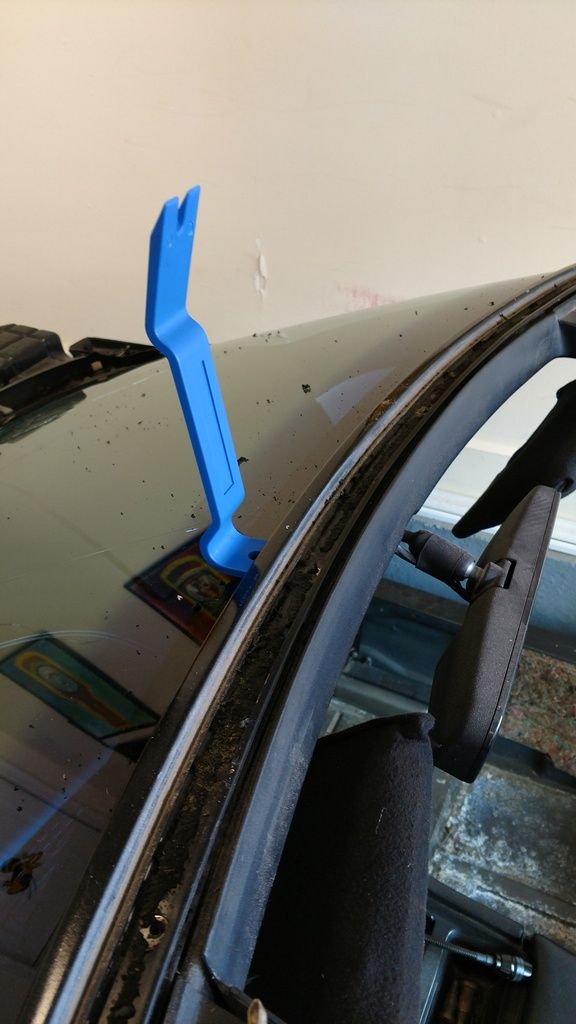
This was the easy part but rewarding, little did I know..
People say you can't get C4 windshield out without breaking it, if they can, they have the patience of a Saint or have tools I can't even imagine...out finally
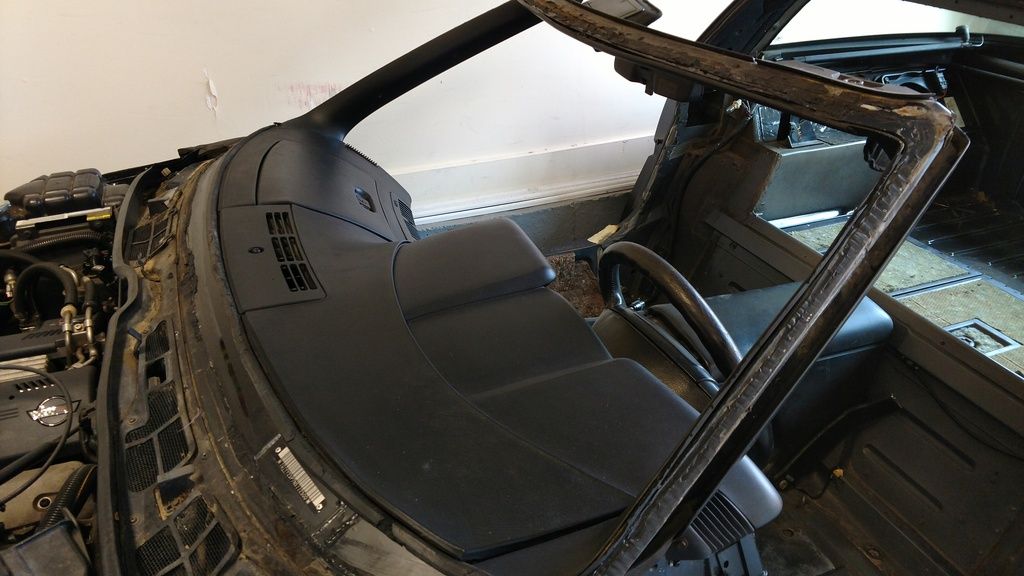
Aftermath
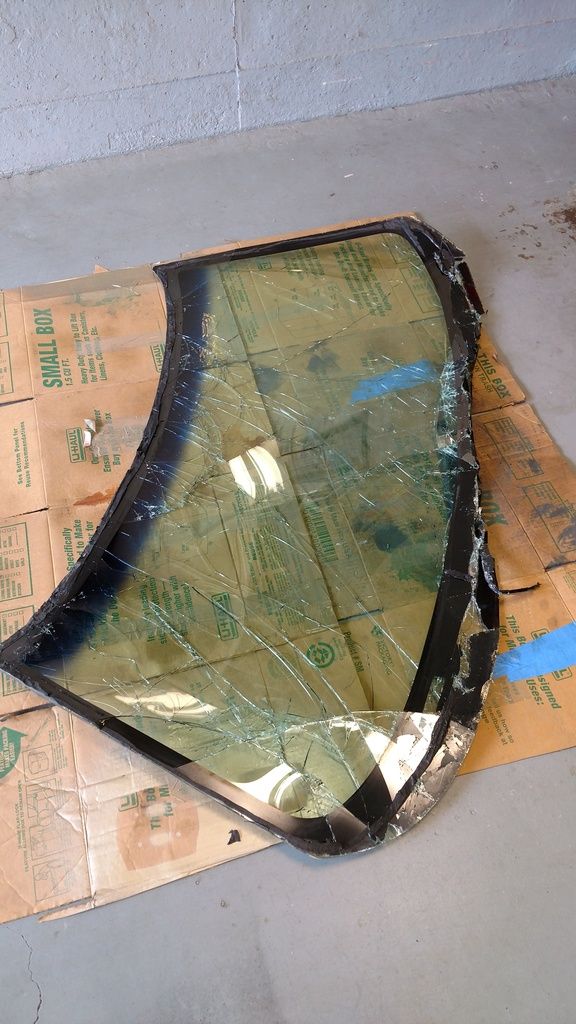
I need a beer
Oh and since I'm going with 18 inch wagons I'm selling the staggered 17x9.5 and 17x11s, I might be a bit cheeky on price but if I'm going to give a really good price it needs to be to a GRMer:

Look something like this on car:

This is so cool. My post grad school gift to myself is going to be v8 and sporty and this sort of thread is verrrry enabling.
And after some trimming, measuring the black mask, roughing up and painting, here is the result ready to install:
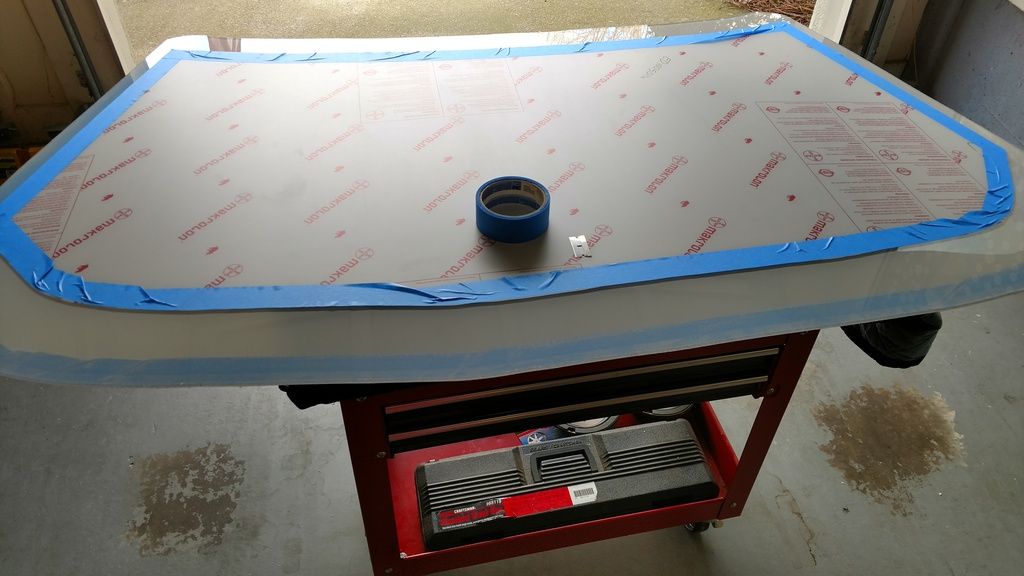
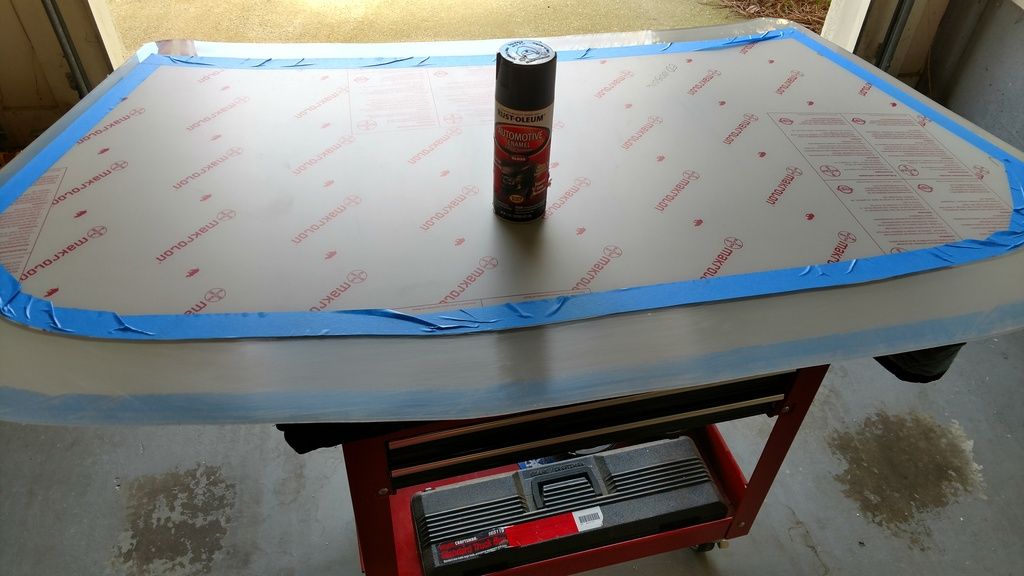
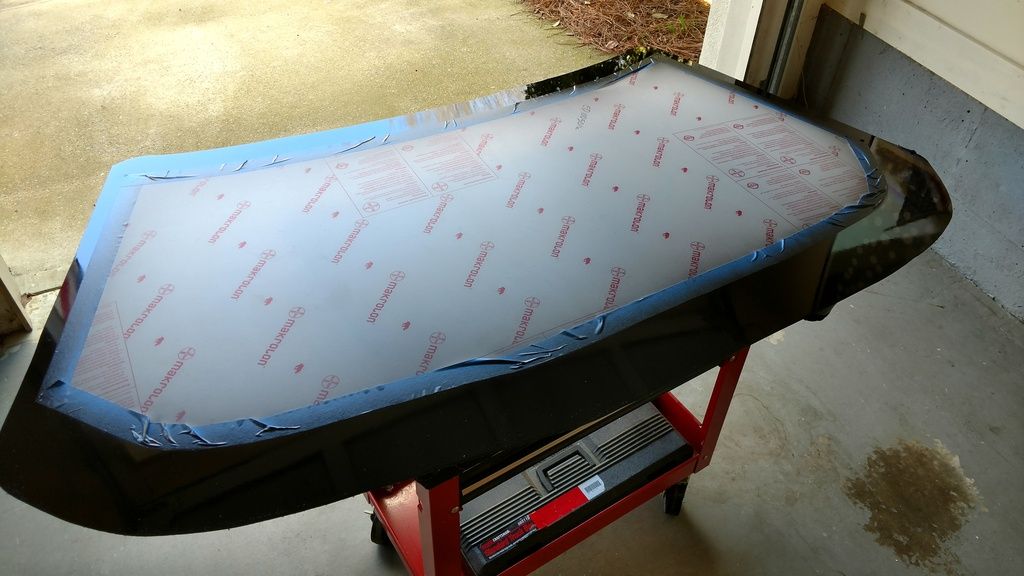
I am super pumped to see this windshield project you have going on, was looking into polycarbonate windows and the precut pieces are way overpriced
In reply to Jroc:
Same here! I've been contemplating doing this for the windshield in the BMW.
Raze - you said you stepped up from 1/4" to 3/8"...did you mean that the other way around?
AxeHealey wrote: In reply to Jroc: Same here! I've been contemplating doing this for the windshield in the BMW. Raze - you said you stepped up from 1/4" to 3/8"...did you mean that the other way around?
Sorry typo... I used 1/8 on the Merkur so I went from 1/8 to 1/4. I'm not looking forward to forming it on the sides as it curves a lot. It looks like I'm going to need some serious clamps and more interior trim removal, good excuse for more tools ![]()
I'll second the black out on the edges. It makes a big difference in how it looks on the car. You did a much cleaner job on your black out than we did.
Small update, tools...ok...so more like Sanding blocks and real pro-grade self sticking sandpaper. Time to step up my body work quality:
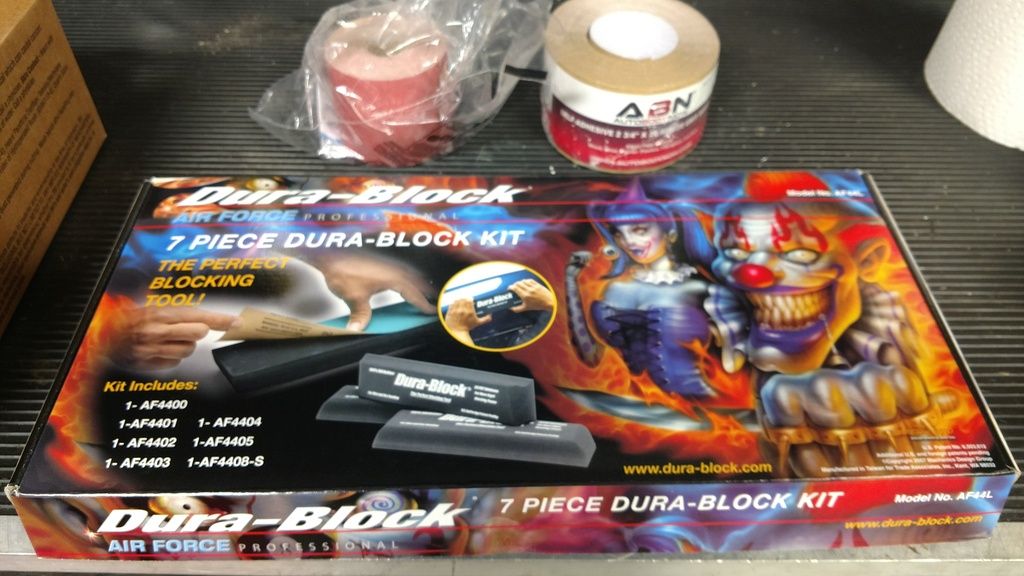
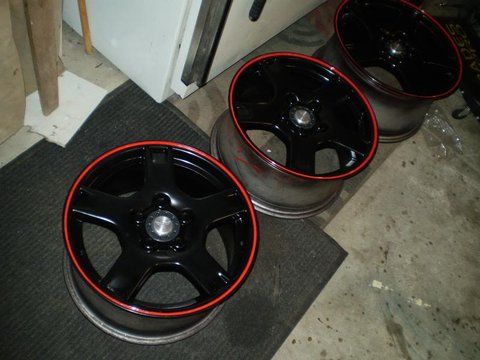
Also, while I'm down for the count for a few weeks due to surgery I'm thinking up ideas to improve the look of the wagon wheels. I've cleaned them, 3 of 4 scrubbed out OK with steel wool, detergent, brake dust cleaner and iron-x. Last one needs more cleaning but here is what I was thinking, the car is black and may remain so but I also like white cars:
Raze, never in my wildest dreams would I had thought that scarycreepyclown and his trusty sidekick pauley purrette in full zombie display are suitable for marketing product....whodathunkit.....oh speedy recovery on your surgery.
That is some seriously berkeleyed-up art work on the box. Please recreate it as a mural on the hood for the challenge.
Dusterbd13 wrote: That is some seriously berkeleyed-up art work on the box. Please recreate it as a mural on the hood for the challenge.
I'm pretty sure this has to do with the 90's airbrushed lowrider craze. Why they use it today makes no sense. LOL
759NRNG wrote: Raze, never in my wildest dreams would I had thought that scarycreepyclown and his trusty sidekick pauley purrette in full zombie display are suitable for marketing product....whodathunkit.....oh speedy recovery on your surgery.
Yeah, when I opened the Amazon box and saw that... I was confused, it seems like strange marketing for good blocks
Dusterbd13 wrote: That is some seriously berkeleyed-up art work on the box. Please recreate it as a mural on the hood for the challenge.
Oh man, if only I had the skill...
One could also lower standards to "Merkur", cut out the box-cover and either mod-podge it under the clear-coat or (my personal favorite) just laminate the cover of the box and velcro-sticker it onto the hood.
Raze wrote: Small update, tools...ok...so more like Sanding blocks and real pro-grade self sticking sandpaper. Time to step up my body work quality:Also, while I'm down for the count for a few weeks due to surgery I'm thinking up ideas to improve the look of the wagon wheels. I've cleaned them, 3 of 4 scrubbed out OK with steel wool, detergent, brake dust cleaner and iron-x. Last one needs more cleaning but here is what I was thinking, the car is black and may remain so but I also like white cars:

I did not think one could make Corvette wagon wheels look good. You sir have done a nice job with those. I'd put them on my car.
In reply to epilonious:
LOL... Welcome to the hive, you can help make that happen when you help me with the paint work ![]()
In reply to vwcorvette:
I haven't quite done that yet, but I have all the paint and materials to make it happen, surgery went well, I'm rehabing well and should be back at it this weekend.
OK... So I got busy today, I still have one to do and 2 more center caps and then let them harden and clear but I'm in business, and I'm shocked how good they turned out. I started last weekend hitting the edges with red engine enamel, let it harden and then started sanding out the bad spots.
If everyone reading this takes one thing away from this thread... DuraBlock plus professional grade self adhering sandpaper, I had no idea, but I will never touch box store stuff again.
On to the pics:
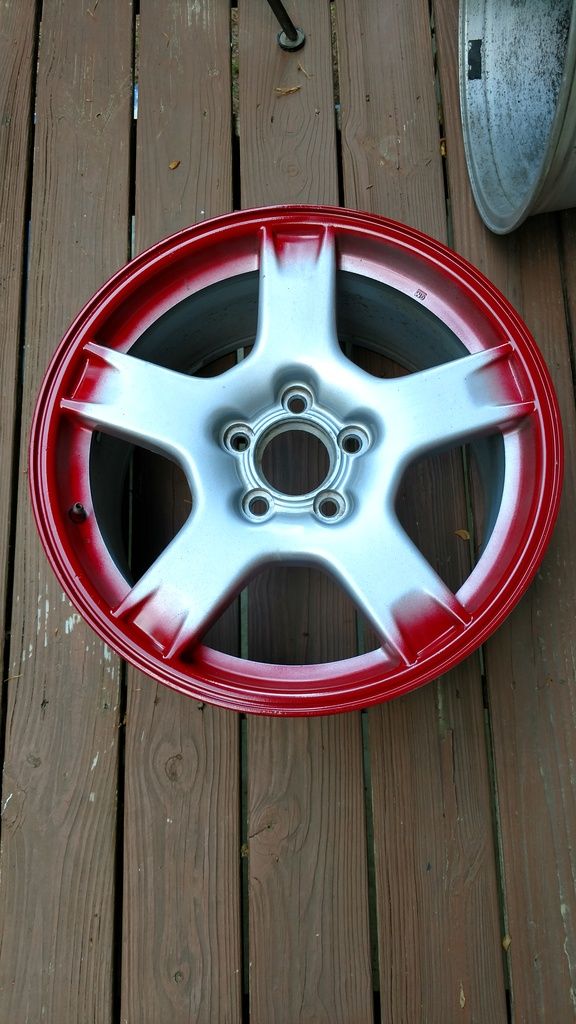
Sanded and I used 3M vinyl flexible tape, it's amazing:
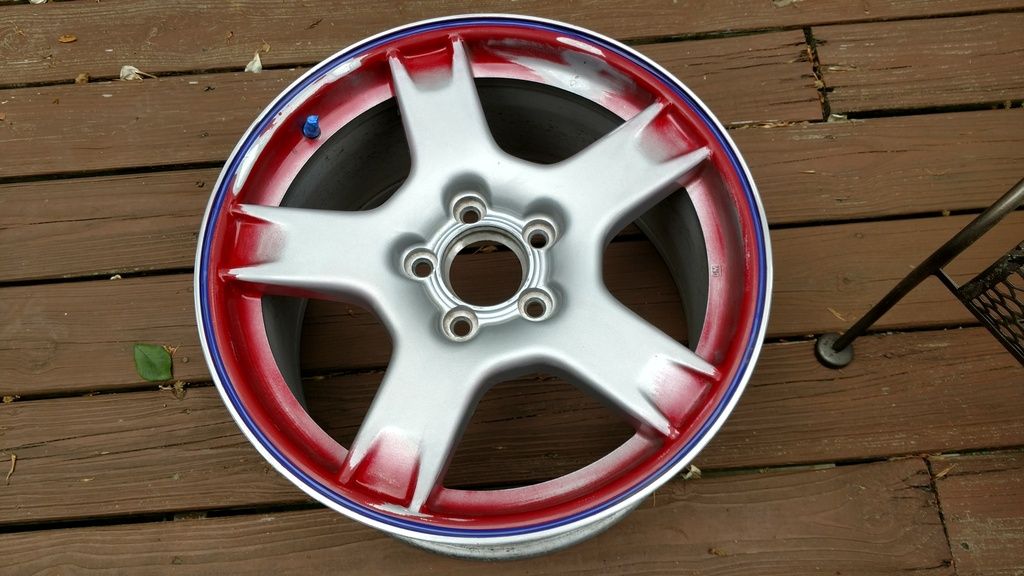
Before letting it harden for 15 minutes, I also hit the barrels again with engine enamel:
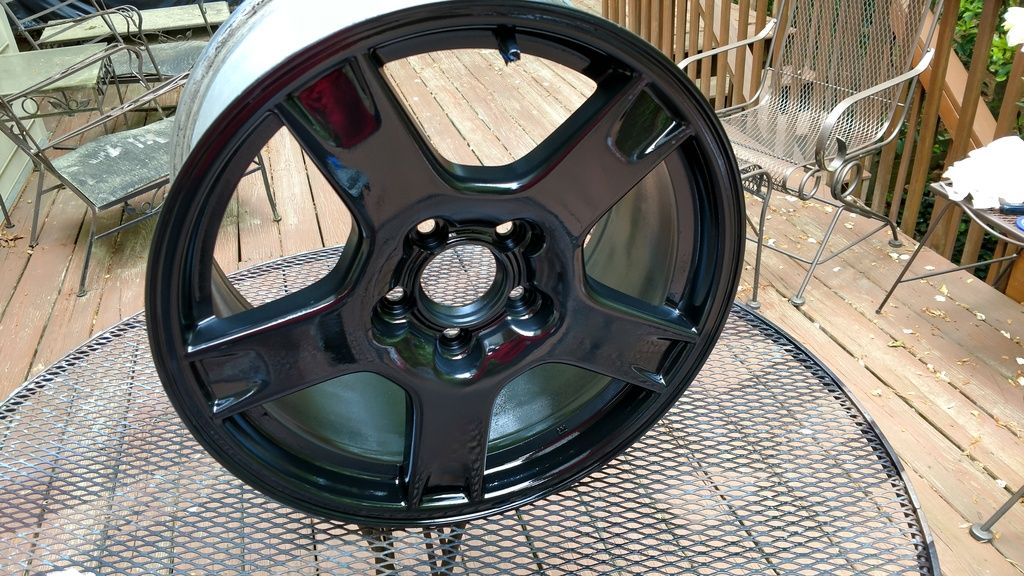
Finishedish product, I'm pleased, will look even better with clear:
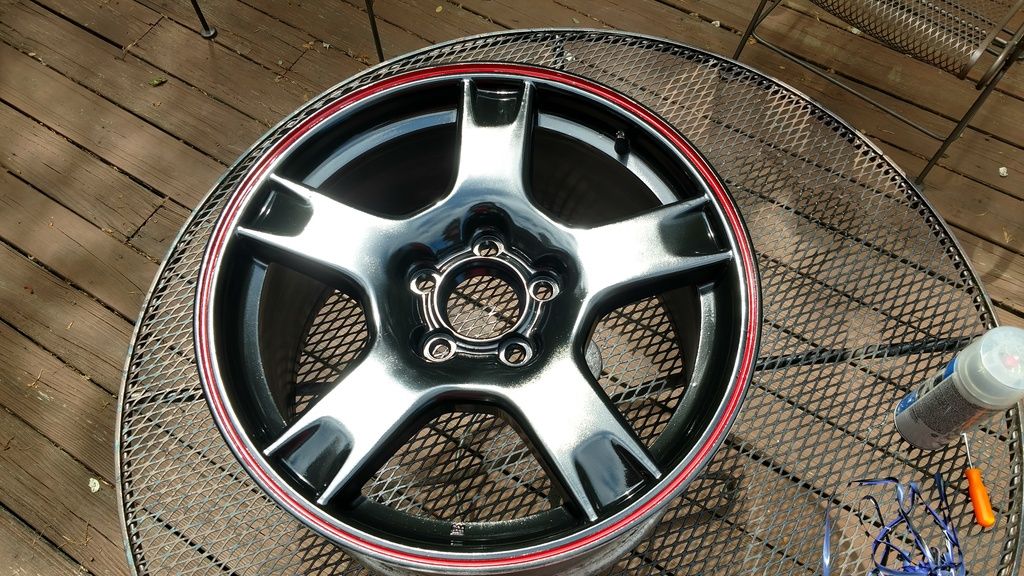
Next up... Windshield install
You'll need to log in to post.