In reply to bgkast:
My life isn't that easy.
It sits about 1" above the benches. Add another 1" for insualtion and another for S&G and the top of the engine cover will be about 3" above the bench tops.
However, I'm thinking about adding a cushion to the middle seat that would be about 3" thick so the front can be square. The back I might taper into the top of the rear deck just so people won't trip on it.
Dammit. I had almost talked myself OUT of doing this to my Lone Star. But if you're having results this good out of a 50hp motor and pump, I think a single Rotax 717 or 787 out of a late 90's Seadoo could make that thing fly. Just have to convince the girlfriend to let me cut a hole in the bottom of a perfectly good boat.
Also, I told my plan to a much more boat-savvy person than myself and he said that he has been told not to run jetskis on the Missouri because it's got so much silt and sand in it. According to the lore, it will burn up a jet pump in no time. I have no idea if it's true or not.
Toyman, I'm guessing you're mostly running on freshwater lakes, right? Not so much silt and debris?
psteav wrote: he has been told not to run jetskis on the Missouri because it's got so much silt and sand in it. According to the lore, it will burn up a jet pump in no time. I have no idea if it's true or not. Toyman, I'm guessing you're mostly running on freshwater lakes, right? Not so much silt and debris?
I'd take that one with a grain of...silt, I suppose. More research is probably in order. As in, cheap-jet-ski-on-the-river type research.
psteav wrote: Dammit. I had almost talked myself OUT of doing this to my Lone Star. But if you're having results this good out of a 50hp motor and pump, I think a single Rotax 717 or 787 out of a late 90's Seadoo could make that thing fly. Just have to convince the girlfriend to let me cut a hole in the bottom of a perfectly good boat. Also, I told my plan to a much more boat-savvy person than myself and he said that he has been told not to run jetskis on the Missouri because it's got so much silt and sand in it. According to the lore, it will burn up a jet pump in no time. I have no idea if it's true or not. Toyman, I'm guessing you're mostly running on freshwater lakes, right? Not so much silt and debris?
The whole point of jet drives is to be used in shallow water. TV would have you believe you need a mud motor for that. But look at the rivers and such in Alaska, any estuary water where shallow water is then norm, you'll find jet drives, outboards with a jet drive foot attached, or outboards with jackplates.
My grandfather had an old Sea Viking with a jet drive, it sucked skiing behind it when he hit a shallow bar, you'd get blasted like you standing in front of a sandblaster.
In reply to psteav:
It's going to see everything from fresh water lakes, to rivers, to saltwater creeks and ocean. It's going to suck up a fair amount of mud and sand. I'm building it to take me all the shallow places I can't go with my outboard boat. Breaking the gear-case or prop on a Yamaha 85 is expensive.
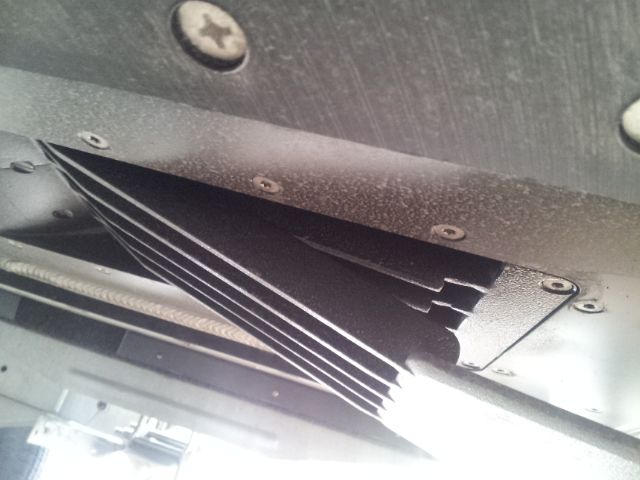
It will probably end up with a SS impeller and the wear ring may end up being replaced fairly regularly. I'll have to see how it holds up. I'm also doing some research on building a stomp grate for it to clear weeds and rocks from the intake.
That's down the road a fair ways. It may not be a problem.
Spinout007 wrote: My grandfather had an old Sea Viking with a jet drive, it sucked skiing behind it when he hit a shallow bar, you'd get blasted like you standing in front of a sandblaster.
...and then you'd hit a shallow bar on waterskis, which I think would make you forget the sandblaster in short order. Kinda like a warning shot before your feet get ripped out from under you.
Update time again.
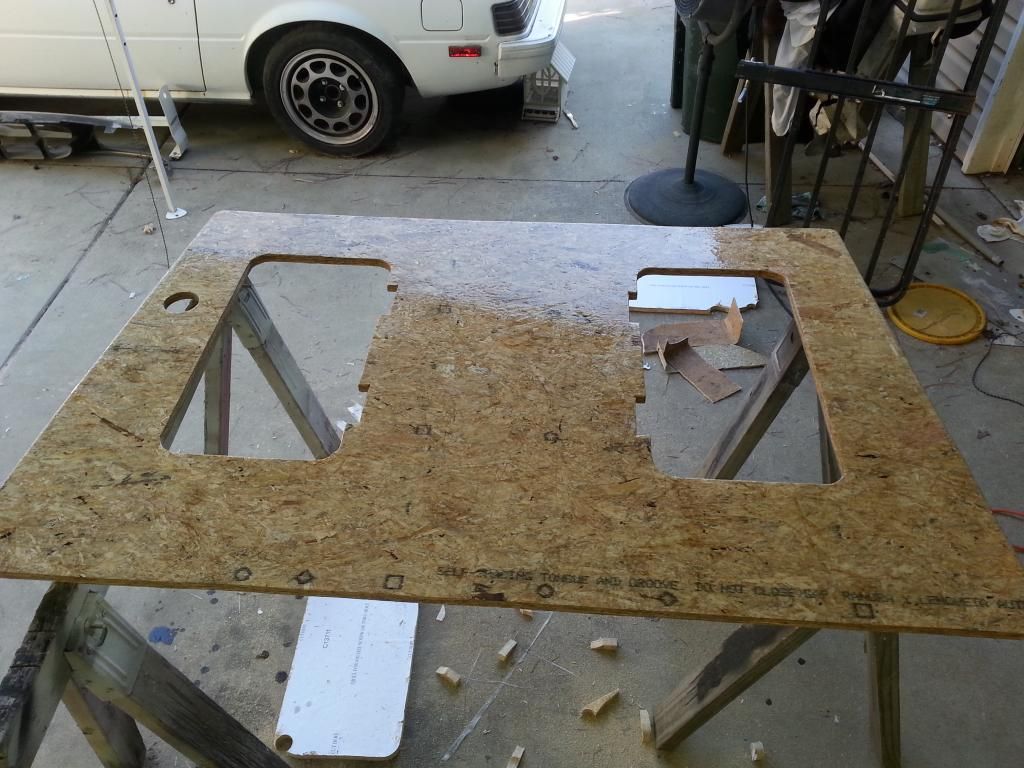
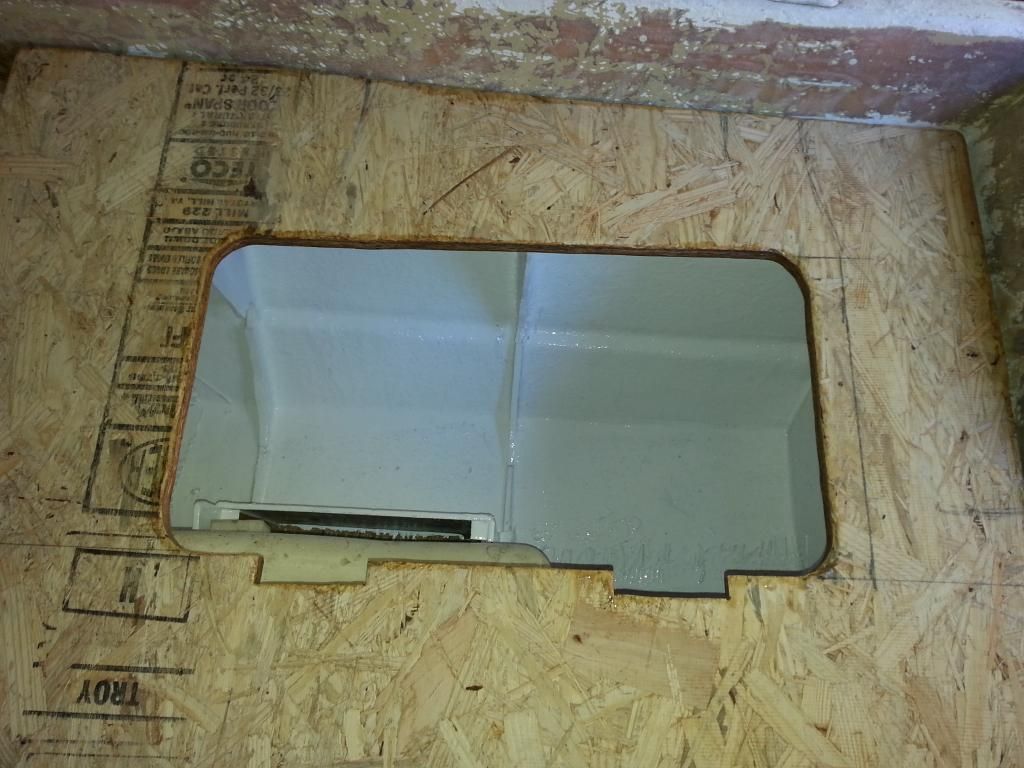
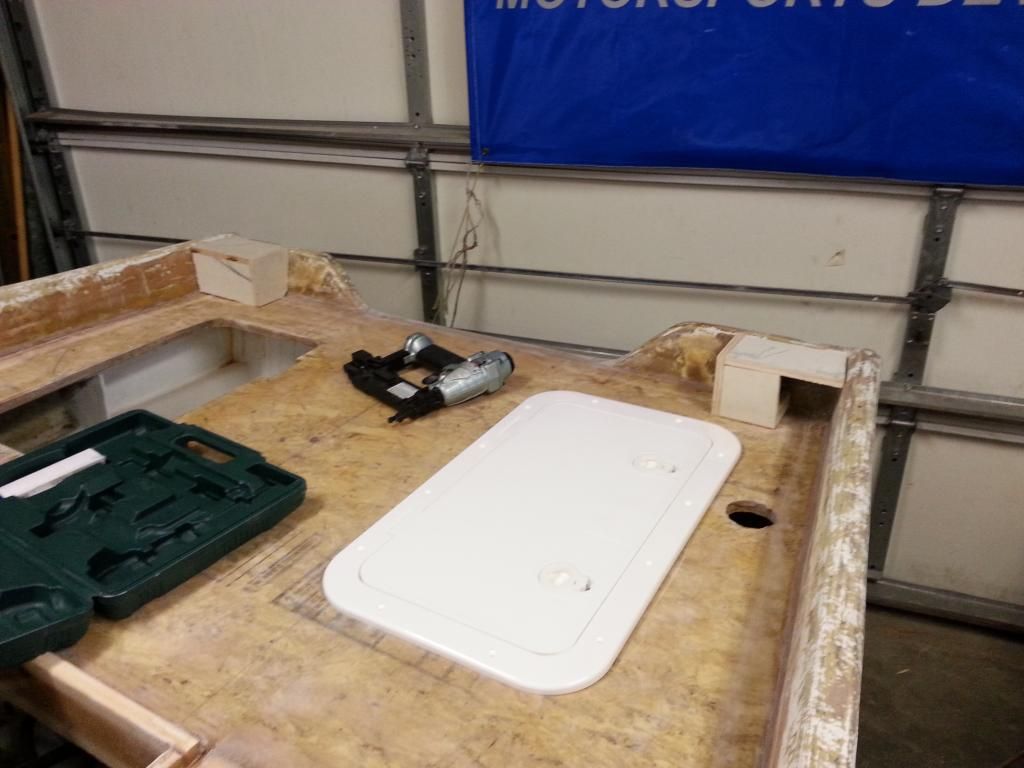
I put in a couple of hours today when I got home. The hatches for the rear deck showed up, so I got the deck cut out and test fit the hatches. I think they are going to work perfectly, so perfectly, I'm going to order a couple of more for the center seat.
The hatches came with a full size template, which was nice. Some careful lay out and spray adhesive and they were ready to cut.
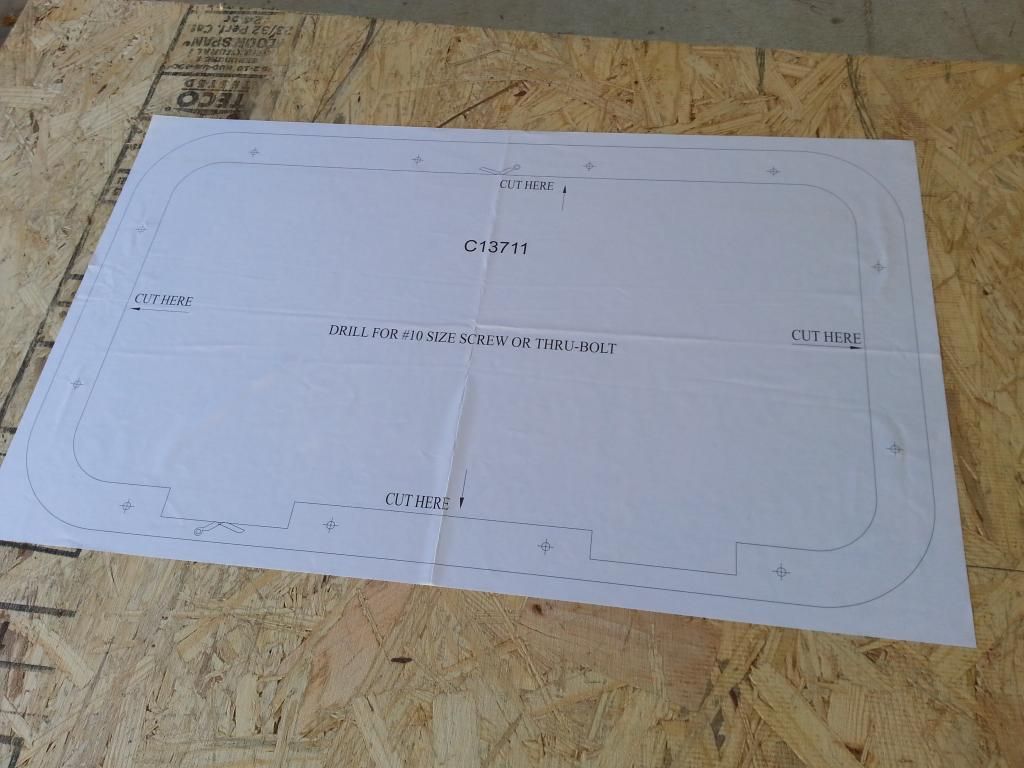
The trusty Bosch saber saw made short work of cutting the holes.
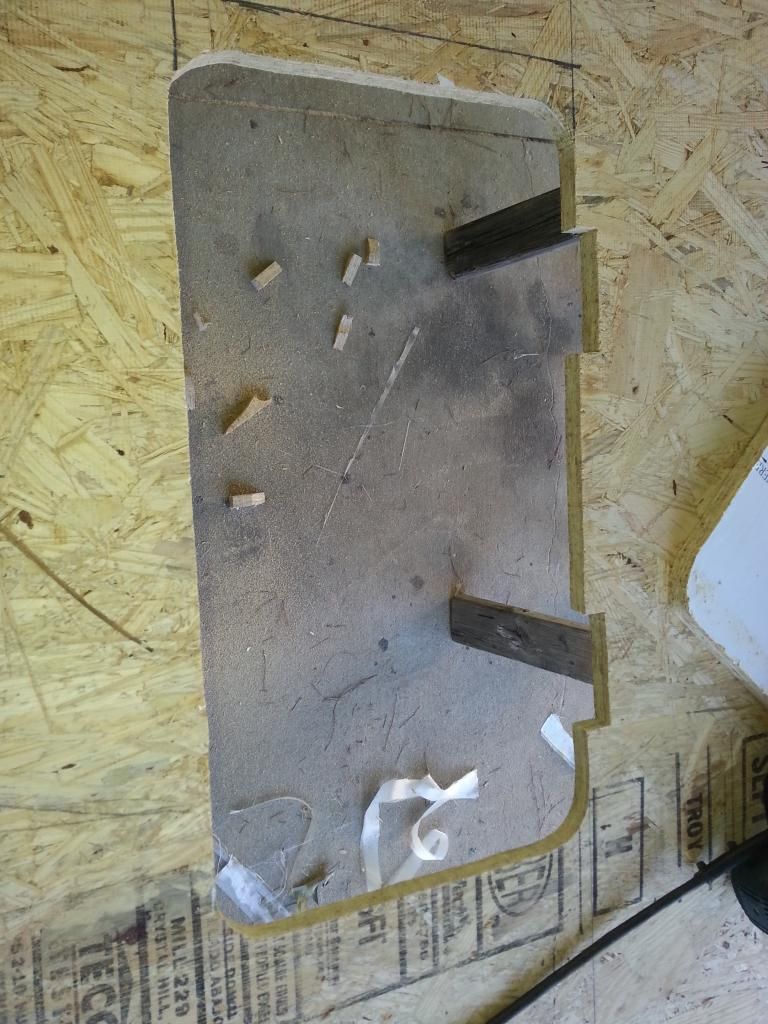
Perfect!
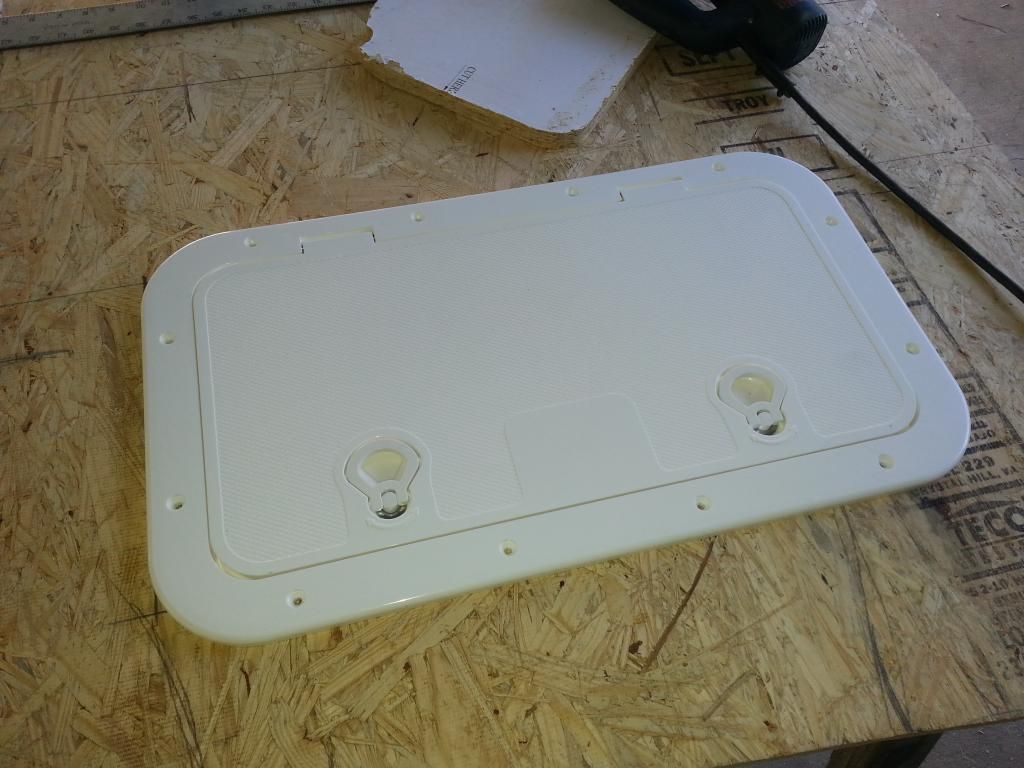
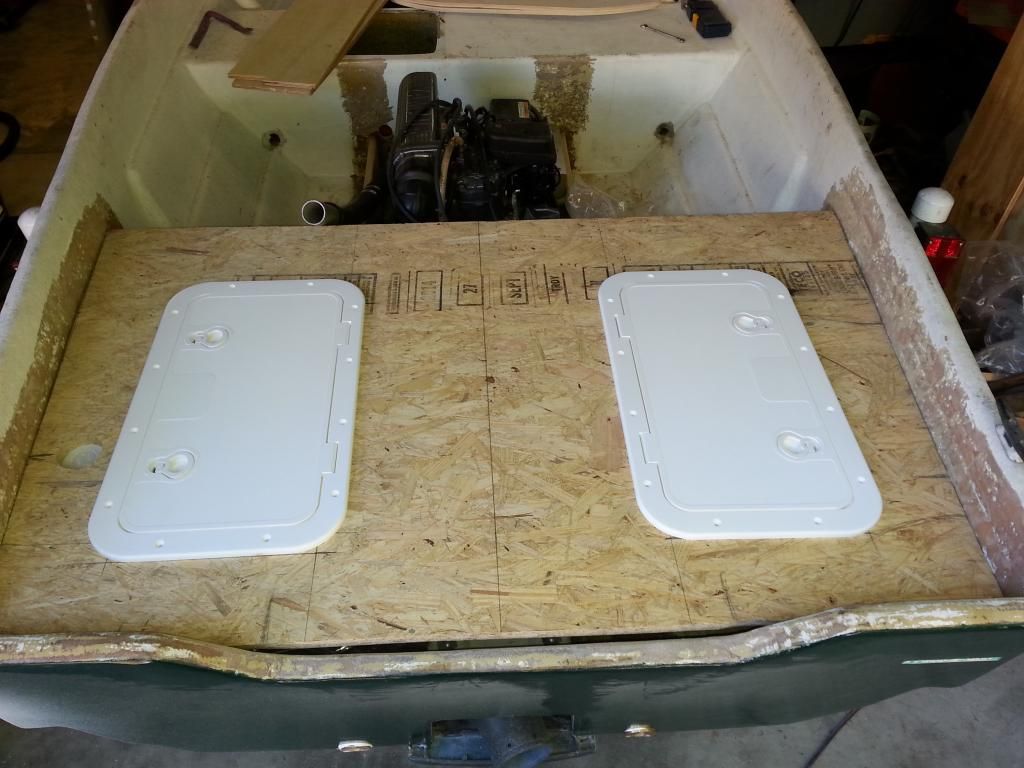
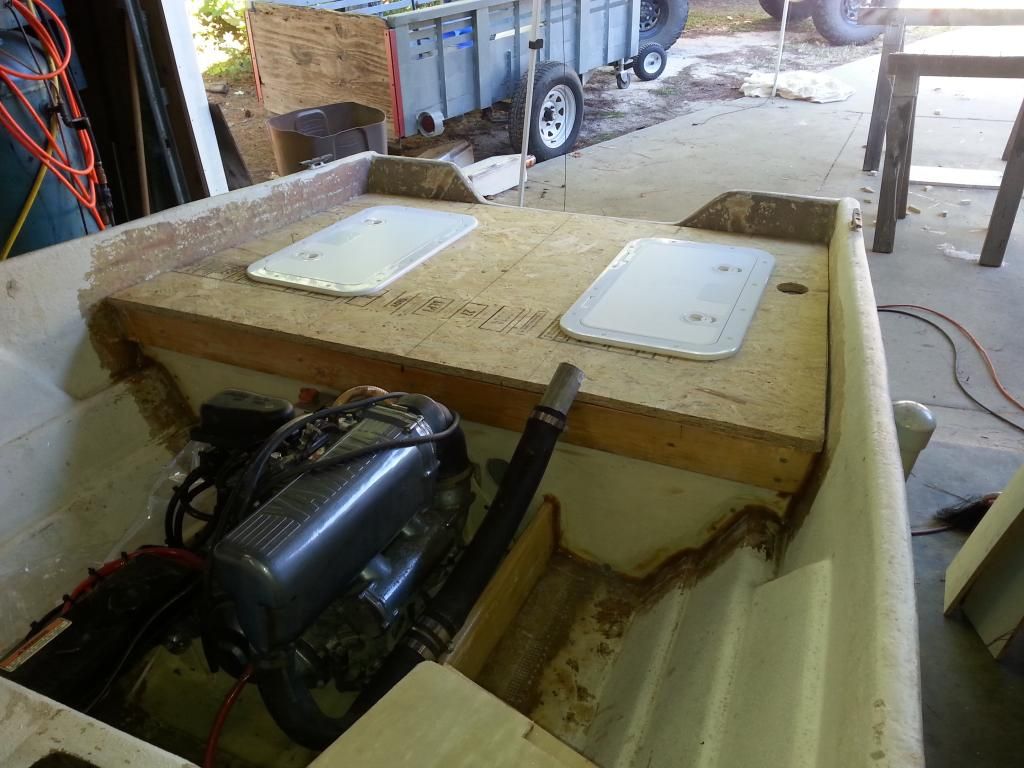
They give me great access to the fuel tank, exhaust and steering cable, as well as give me a place to store junk.
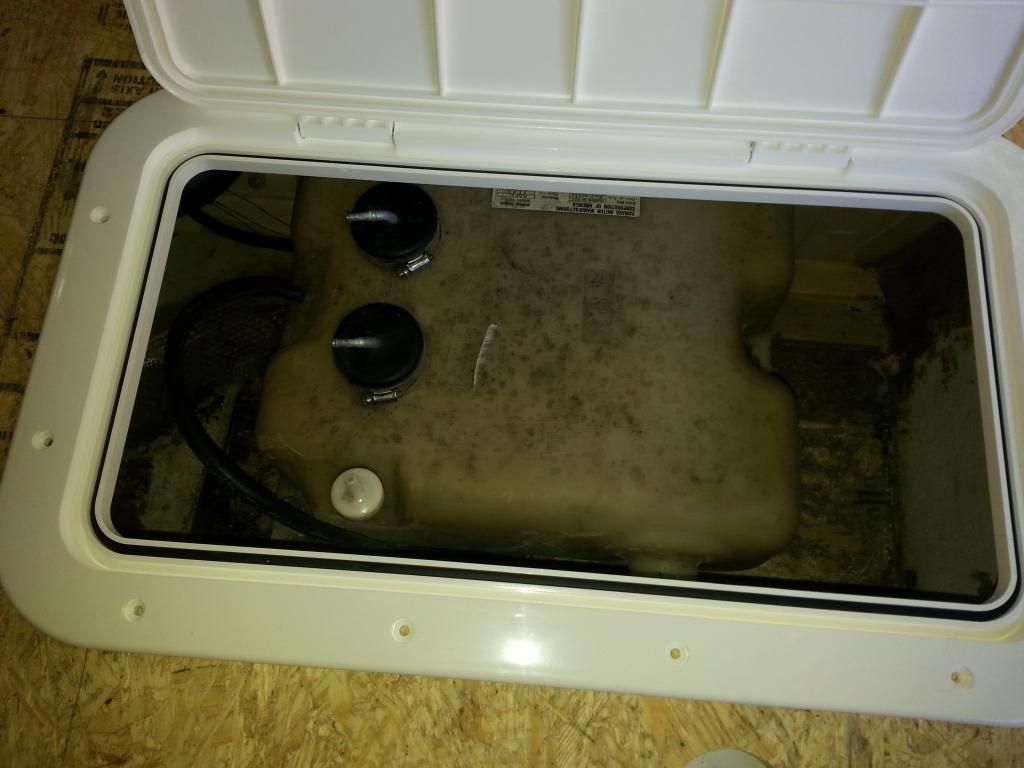
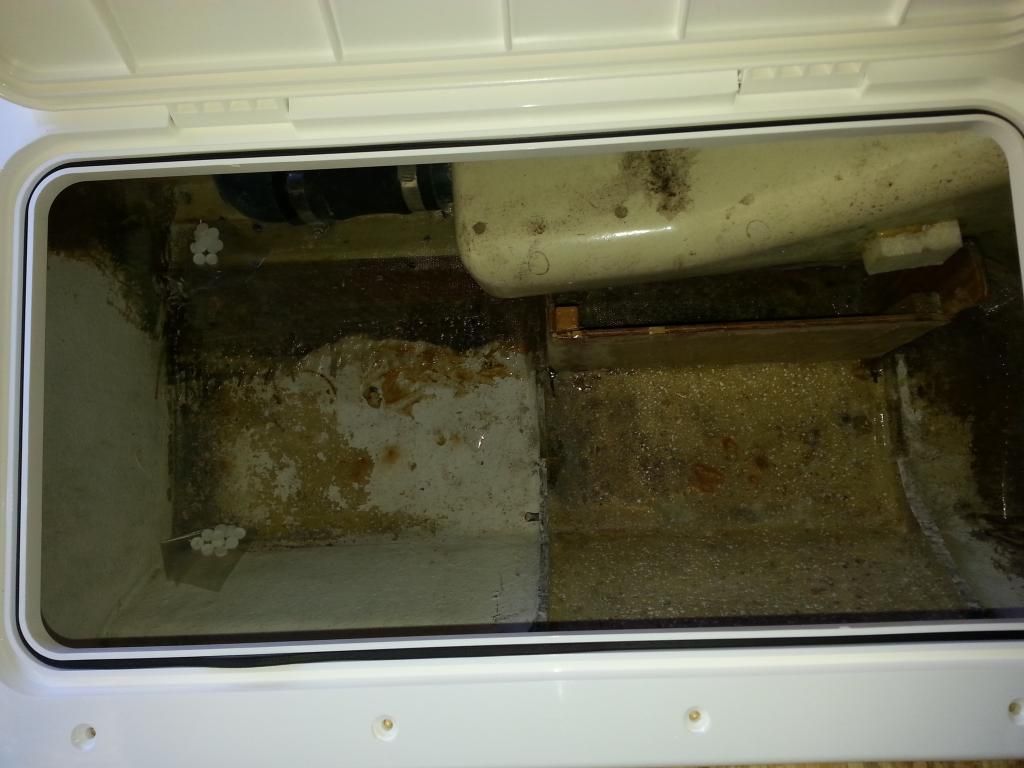
Now that it's cut out I coated the bottom and edges with epoxy.
This is the center seat. I had to remove the existing hatch cover because it interfered with the engine box. It just so happens the new hatches will work perfectly so two more are on the way.
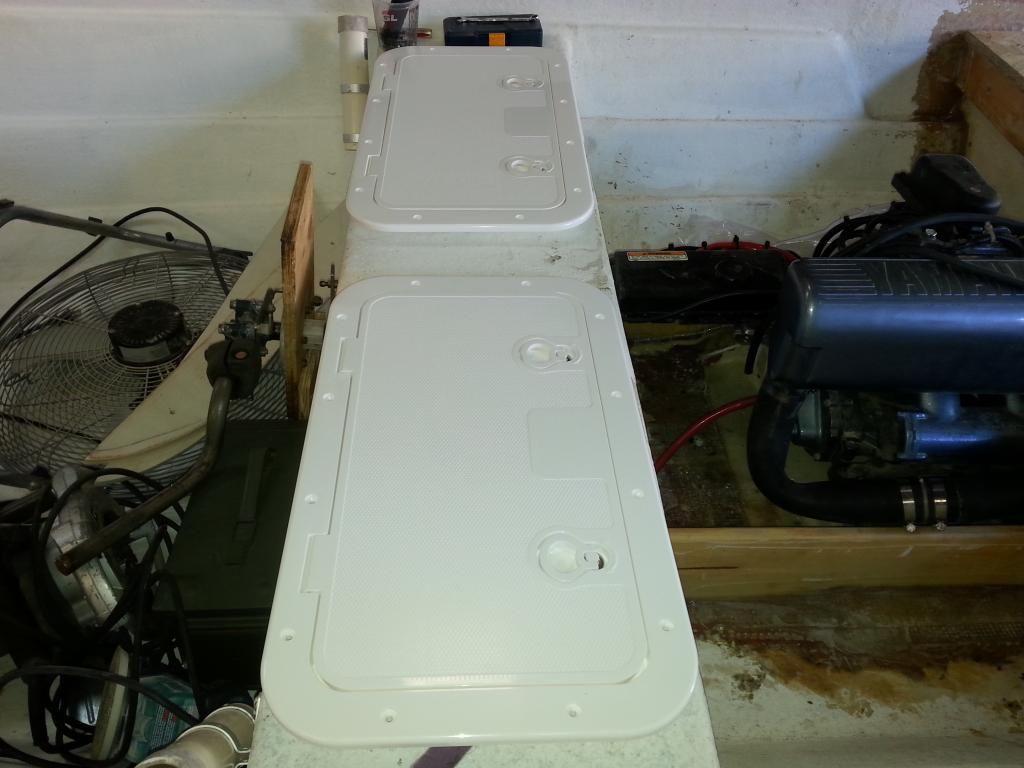
I'm would like to get the back deck and engine box finished this weekend.
Thanks for all the updates. Love what you're doing, even beyond the general idea of JET BOAT! I don't know much about boats so it's really interesting to learn.
I didn't get much done today. I've put a coat of paint under the rear deck. It will be much easier to pain now rather than after I cover it up.
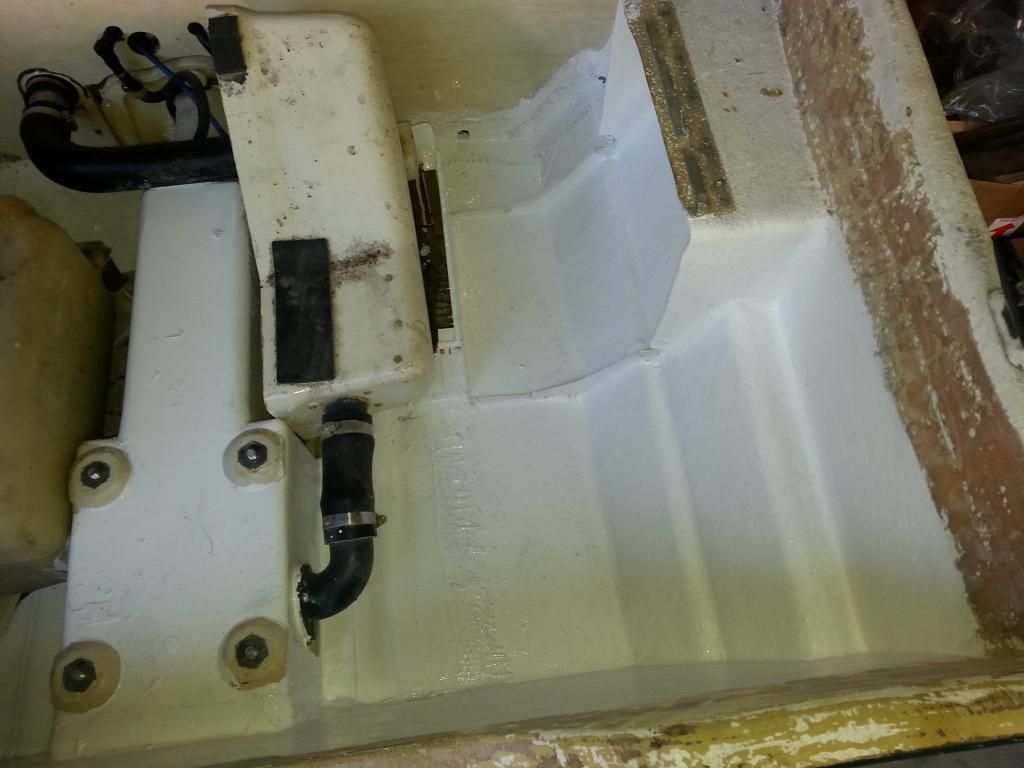
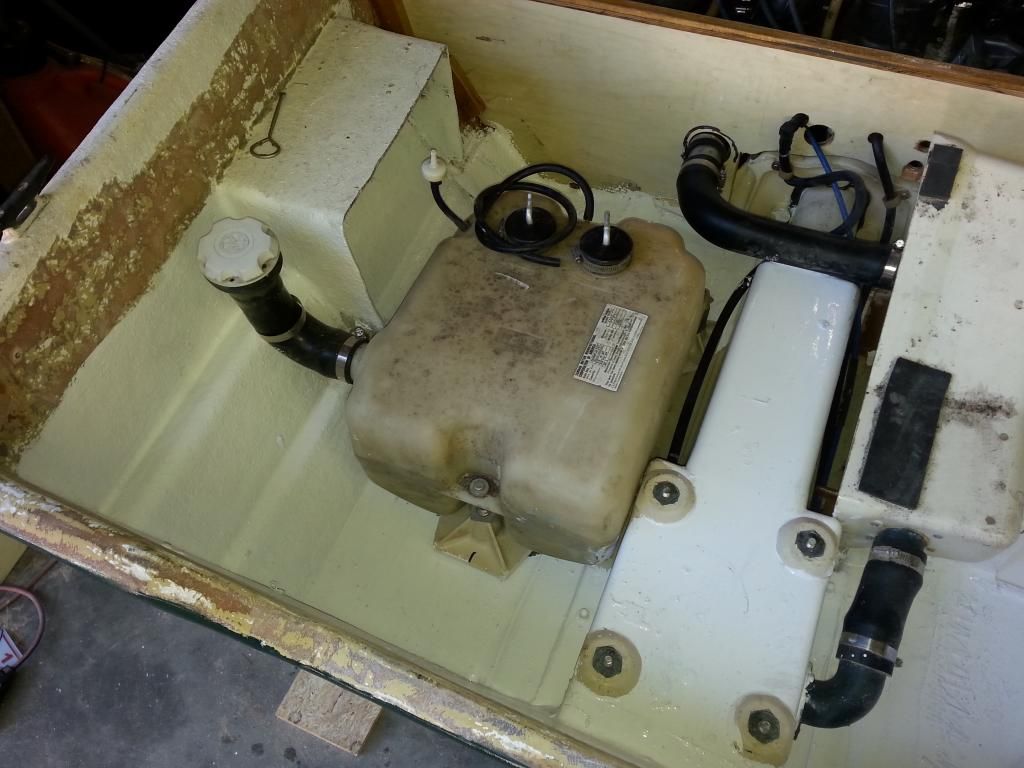
It will go a long way to making things look more finished.
The paint I'm using on the inside is Brightside marine polyurethane by Interlux. I have used it before and it is an outstanding paint. Amazingly durable and outstanding gloss even when applied with a brush.
psteav wrote: Dammit. I had almost talked myself OUT of doing this to my Lone Star. But if you're having results this good out of a 50hp motor and pump, I think a single Rotax 717 or 787 out of a late 90's Seadoo could make that thing fly. Just have to convince the girlfriend to let me cut a hole in the bottom of a perfectly good boat. Also, I told my plan to a much more boat-savvy person than myself and he said that he has been told not to run jetskis on the Missouri because it's got so much silt and sand in it. According to the lore, it will burn up a jet pump in no time. I have no idea if it's true or not. Toyman, I'm guessing you're mostly running on freshwater lakes, right? Not so much silt and debris?
Cut a hole in the boat first then ask, its not so good with a hole in it.
In reply to bgkast:
Nope. The tank is in good condition and the hatch gives me access to the fuel pickups, fill and vents. I've never had a plastic tank fail other than the pickups, fill or vents. I'm running this one in the mount designed for it, so it should help it stay in good shape.
Another update.
Today was a good day!
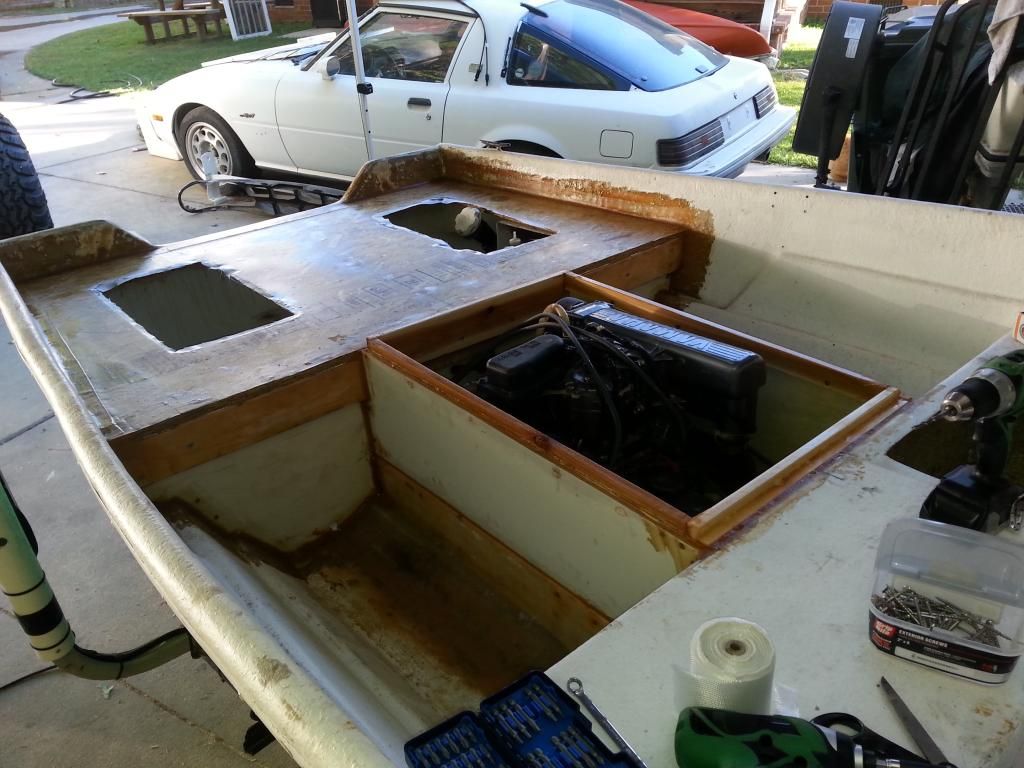
Started by installing some support under the back deck. It's going to get walked on a good bit and I didn't want it to flex too much. It's glued and screwed.
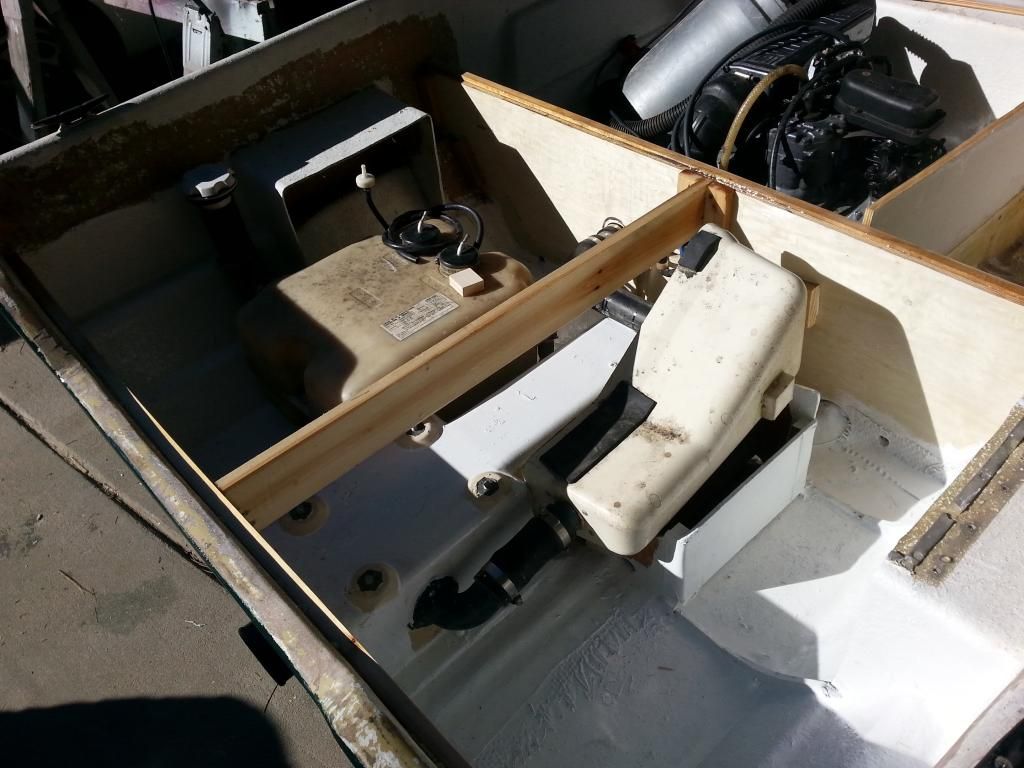
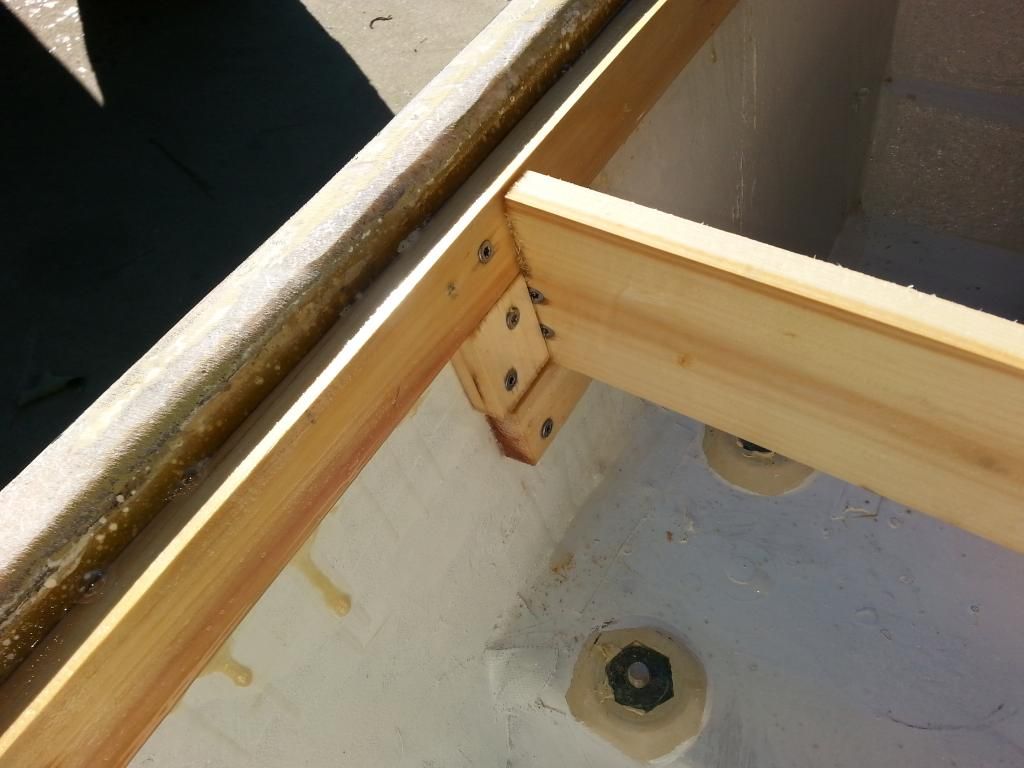
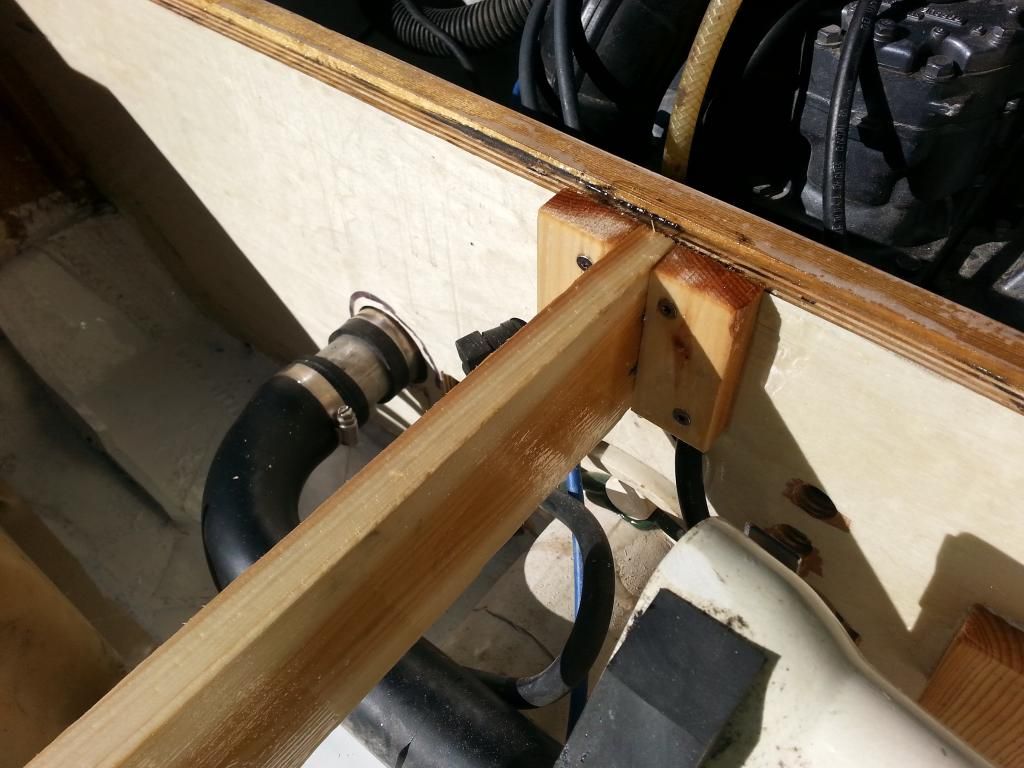
Back deck installed. Also glued and screwed.
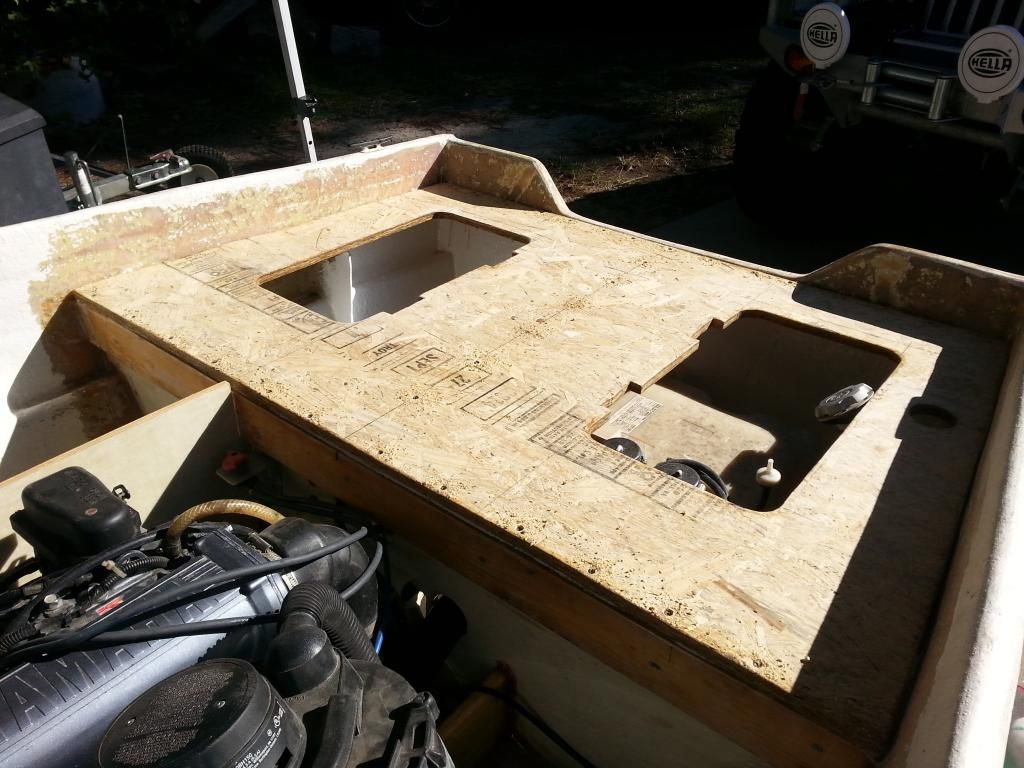
The perimeter received two layers of cloth tape and epoxy, and then the entire deck received a layer of cloth.


It will receive a layer of fairing compound and paint next.
While that was setting up, I built this.
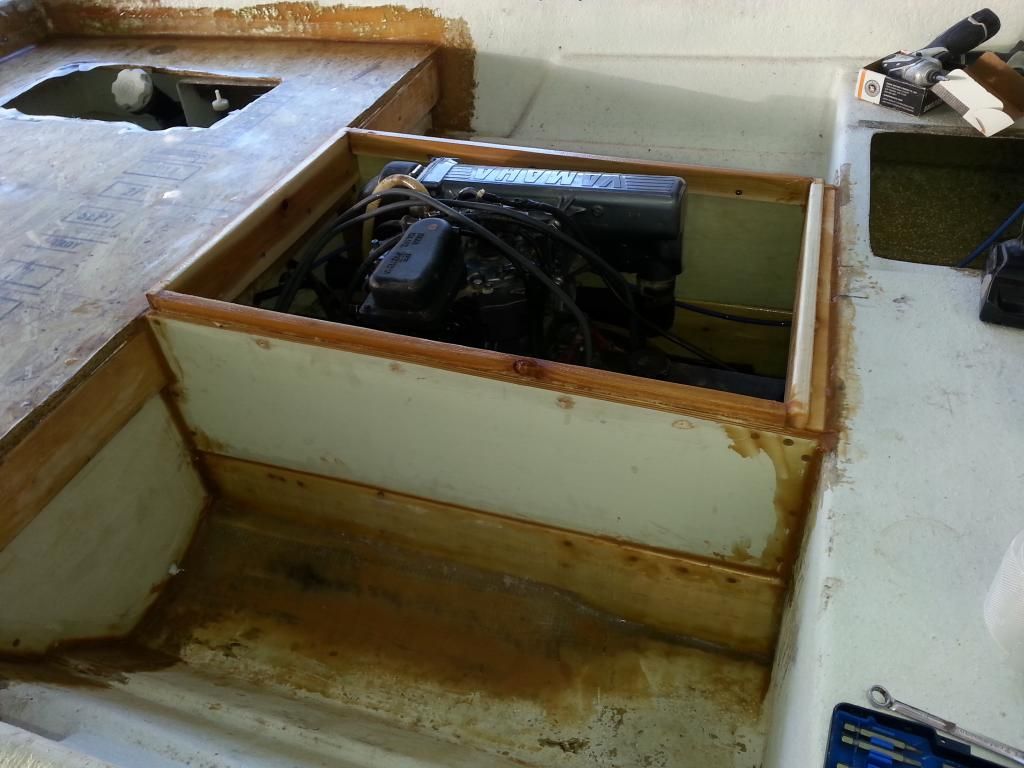
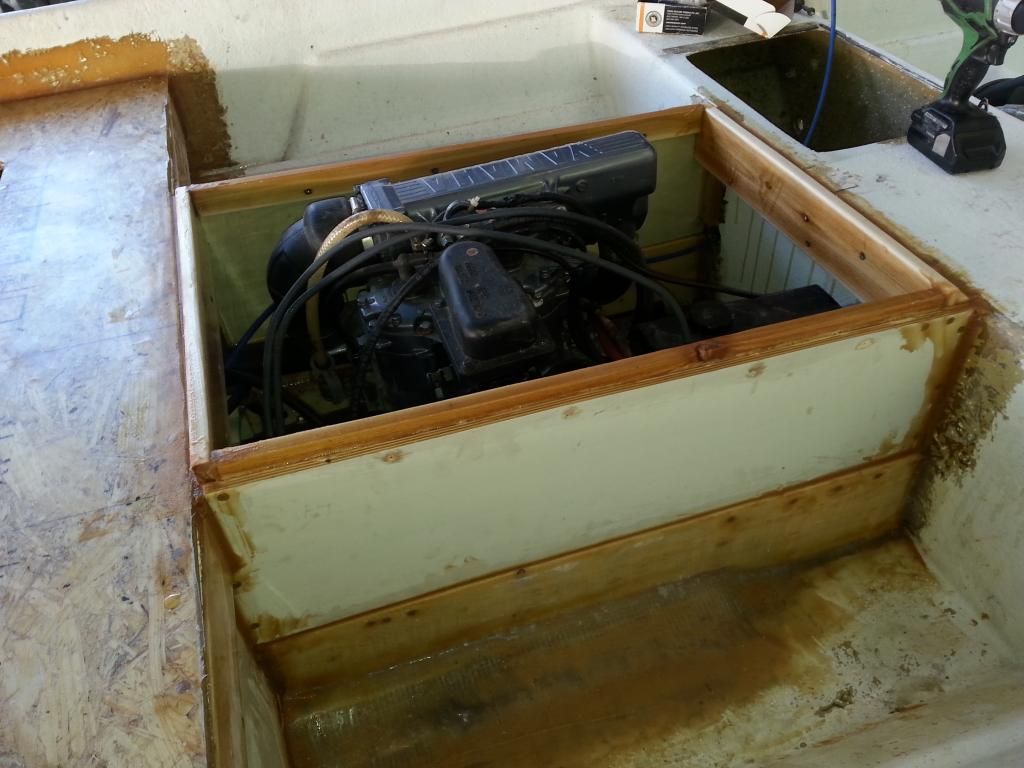
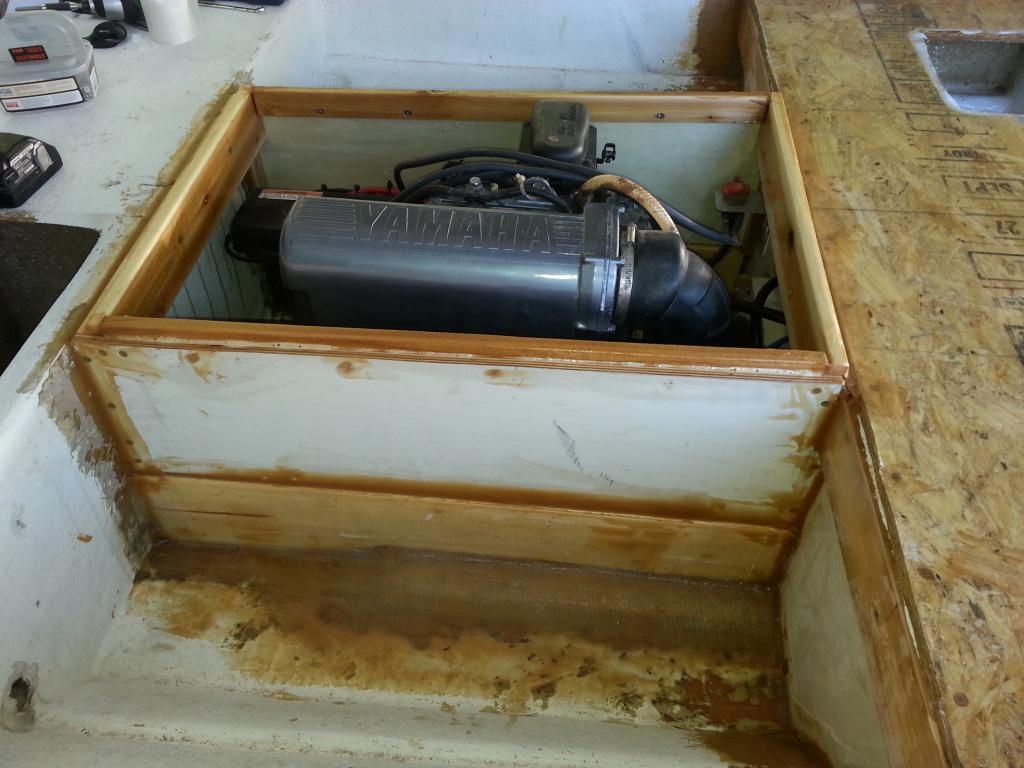
She's coming together.
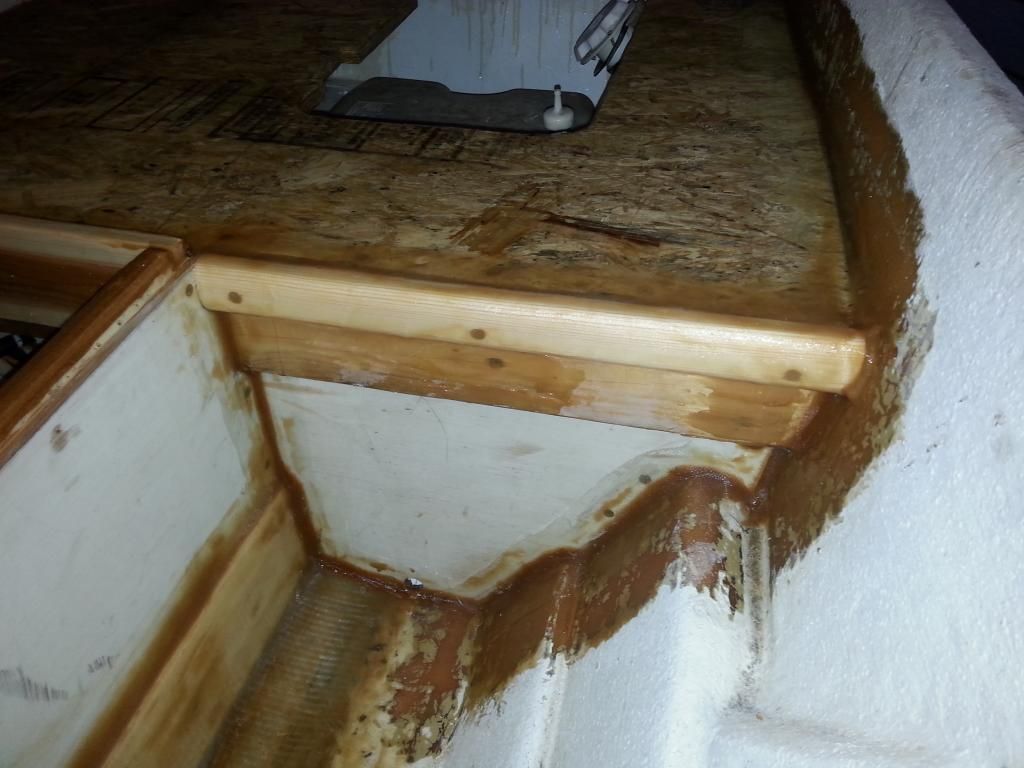
I figured out how to finish the front edge of the rear deck.
That's it for today. I'm tired and it's dark.
Do you have to do anything to vent the engine compartment for the heat? Or is the marine grade materials ok with the ambient engine heat?
And I assume that you are making sure there's a hole in all of that pretty wood and glass work to make sure the engine gets some air to breathe.
In reply to alfadriver:
I haven't cut them yet. I'm trying to work them into the engine cover but haven't come up with a design I like. Sound baffling is going to be pretty important. I'll be sure to post that up when I figure it out.
Another update.
The last couple of days have been filled with fairing compound and sandpaper. What fun!!! This ranks right up there with grinding fiberglass and painting as my most favorite things to do.
/sarcasm
I took a break from the fill/sand routine to mock up the intake and exhaust for the ventilation system. Finding a flat spot to put them, where they won't take on water, get tripped over, or looks stupid has been a challenge. I didn't want them in the engine cover. I want to trap as much sound as I can. I couldn't find anything ready made that I liked so I buils them.
The intake side will be ducted to the engine bay with a 3" vent hose, and the exhauset side will have a vent fan that draws from under the back deck. The fan is to vent the enclosed areas before start up. I'd hate to blow the thing up after spending all this time building it.
The intake is the one that is open at the front and the exhaust will actually be vented through the transom. These are by no means final, but the finished product will be something like this.
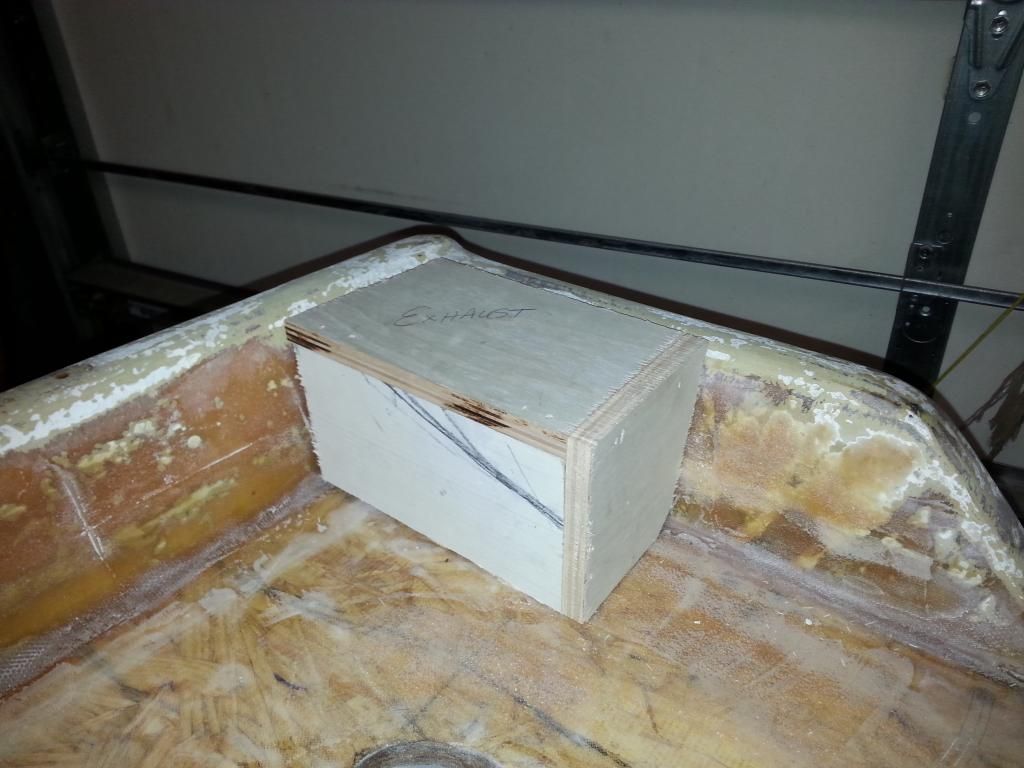
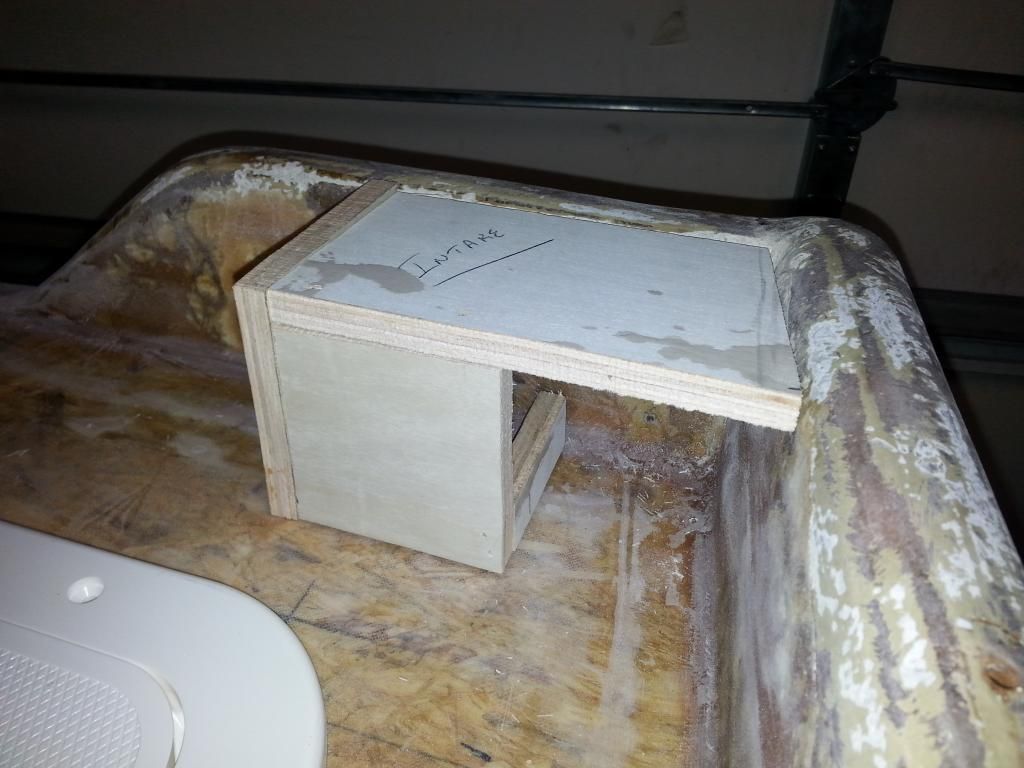
After studying these pictures, they will definitely be remade. Thinner material, and I think the inboard sides of the boxes, will have to match the cutout in the transom.
And if it happens to be too stern heavy you could always try those "smart-tabs" trim tabs. Seems like a cheap simple solution and should help with hole shot too after watching your lake test video. Keep up the great work!
Well, the vent idea got scrapped. I didn't like the way they looked and building anything nicer was going to be a royal PITA.
I moved on to the engine cover and I think I'm going to incorporate the vent system into it.
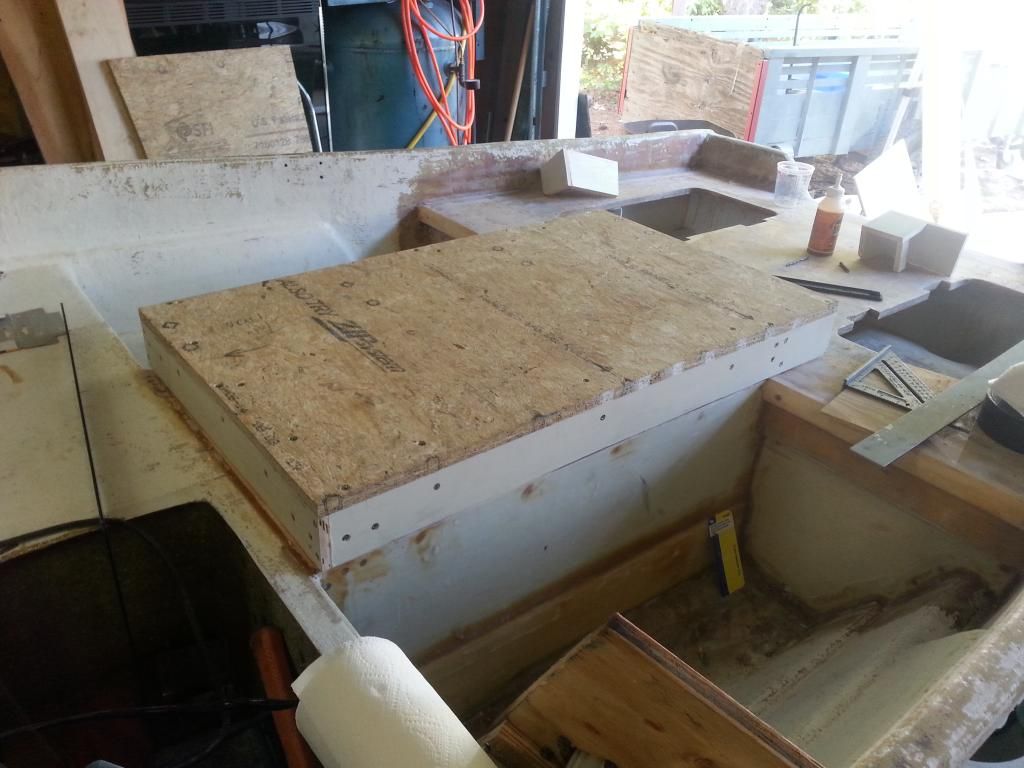
The square front will butt up to the seat cushion.
The vents are going to be in the back. Half of this will be intake, half will be exhaust. Not ideal, but good enough I think. The ducting will go down under the rear deck and then to the fan and engine ducting.
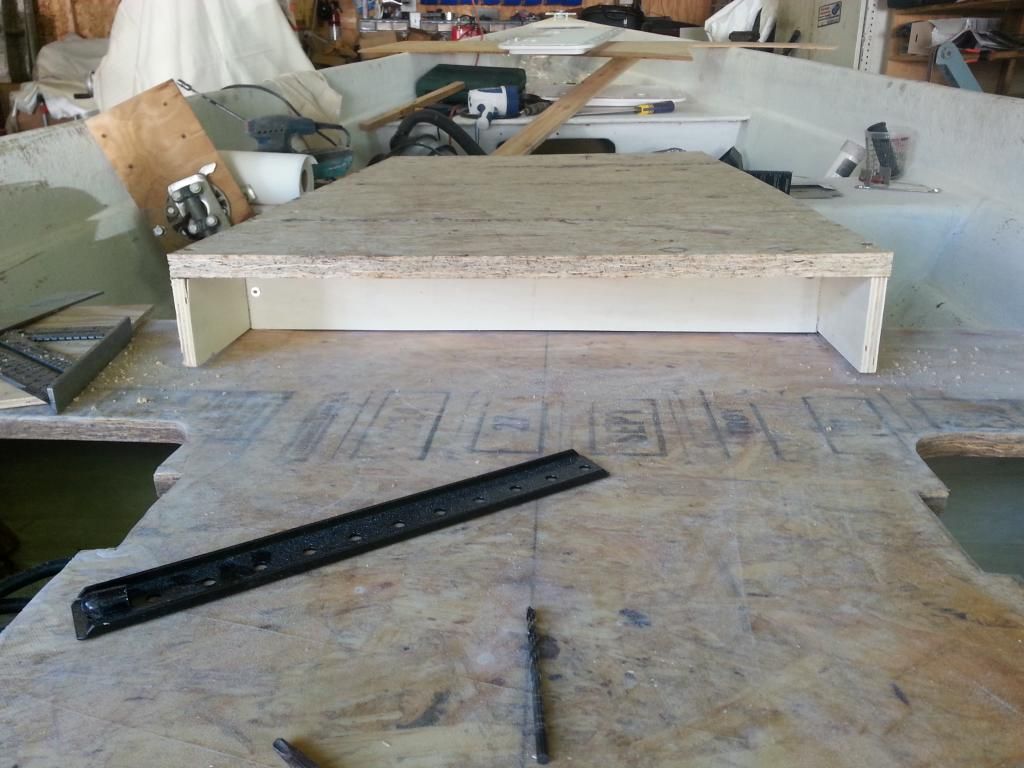
Lots of shaping sanding and epoxying to do on this still.
More to come.
Maybe do a center piece like how the ends stick out to stop crossflow from intake/exhaust.
I doubt it'll be much of an issue and no one can sit back there right?
A few more updates.
I haven't been working on it hard, but progress is being made.
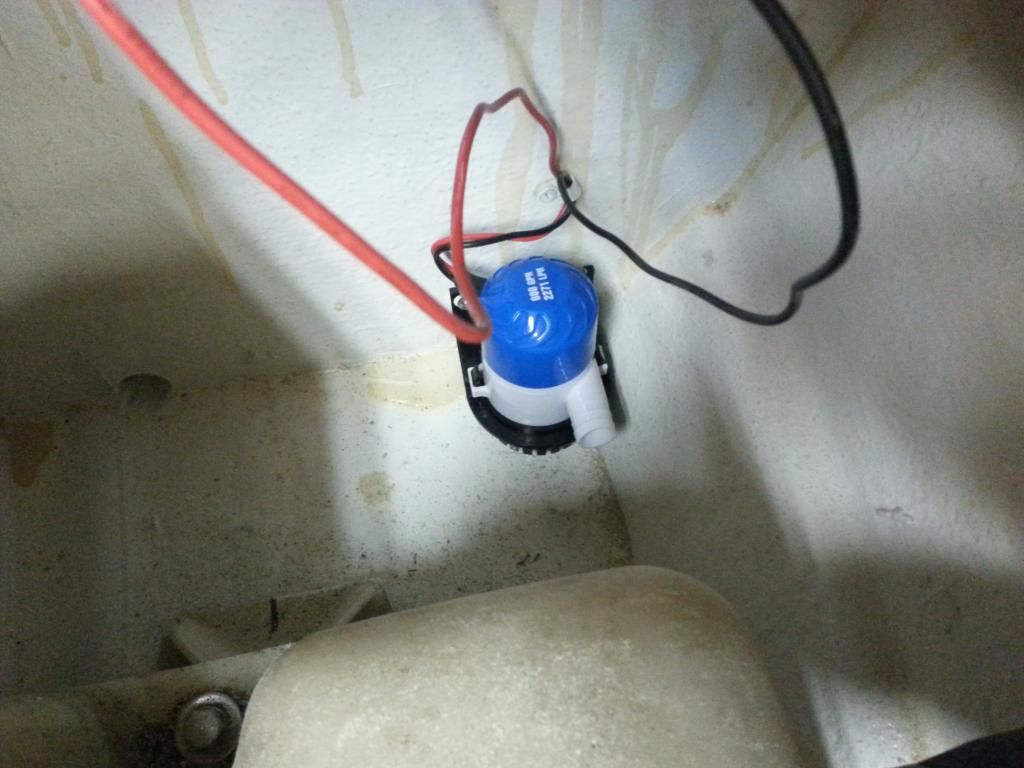
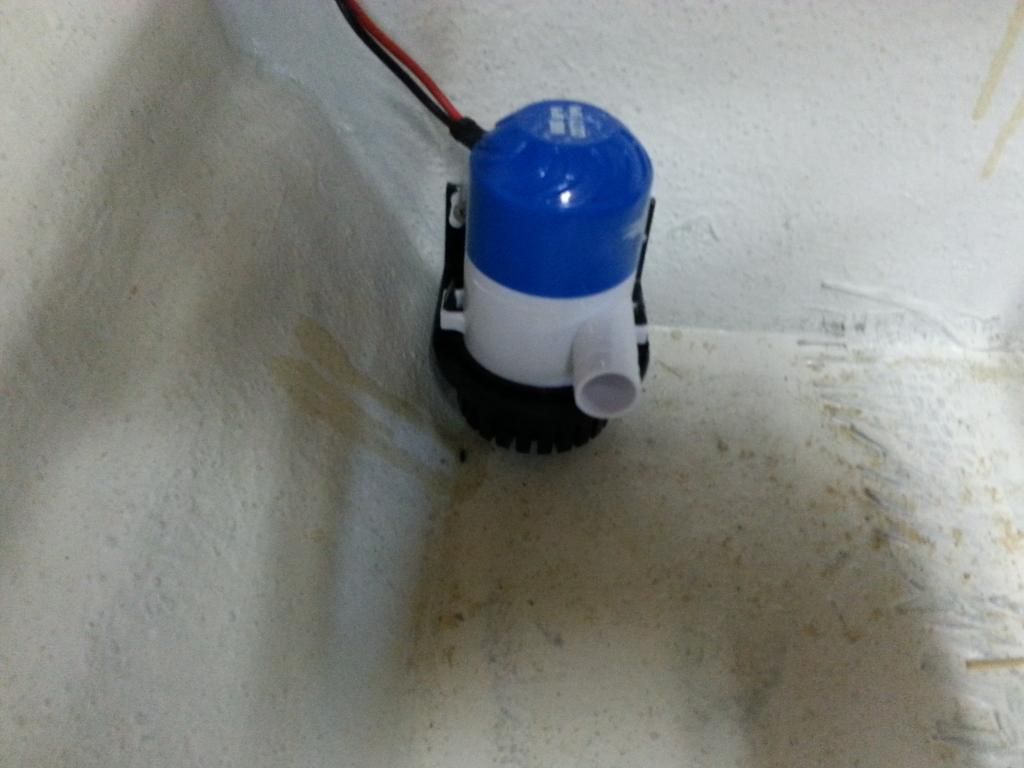
Bilge pumps are installed. They still need to be plumbed and wired, but they are in place and waiting on through hulls and switches. Since the bilge is separated by the drive tunnel, there are two of them.
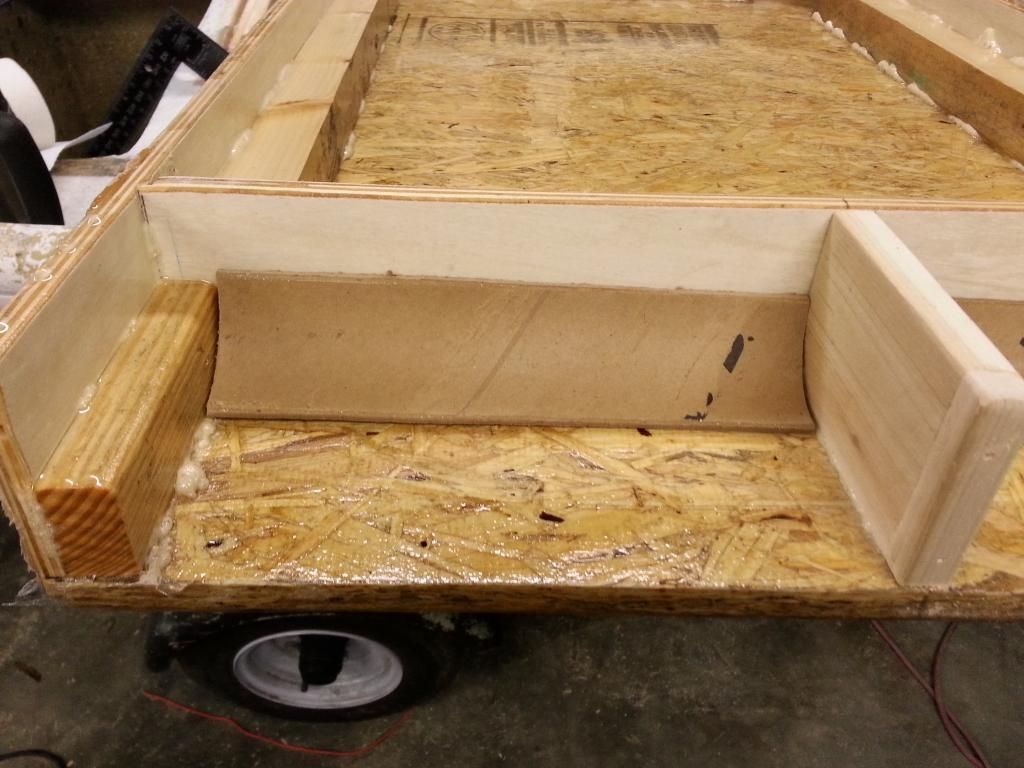
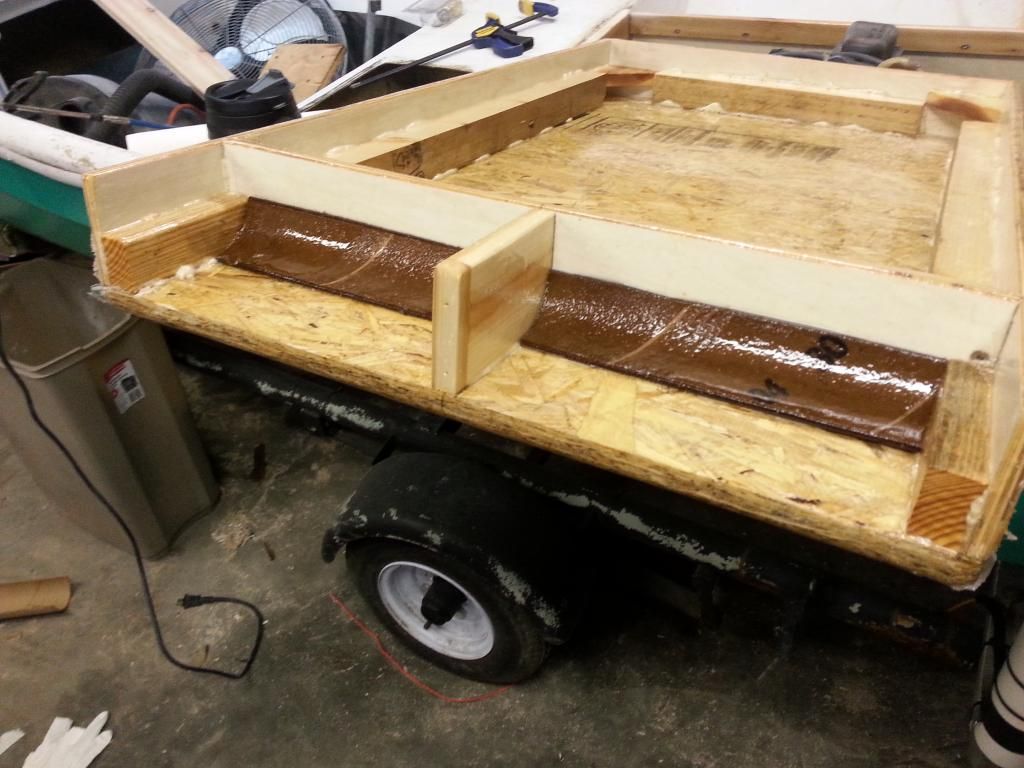
Next up were a couple of diverters for the ventilation system. They are made out of cardboard tube, soaked with epoxy. I've ordered a set of louvers for the back of the cover to finish it out.
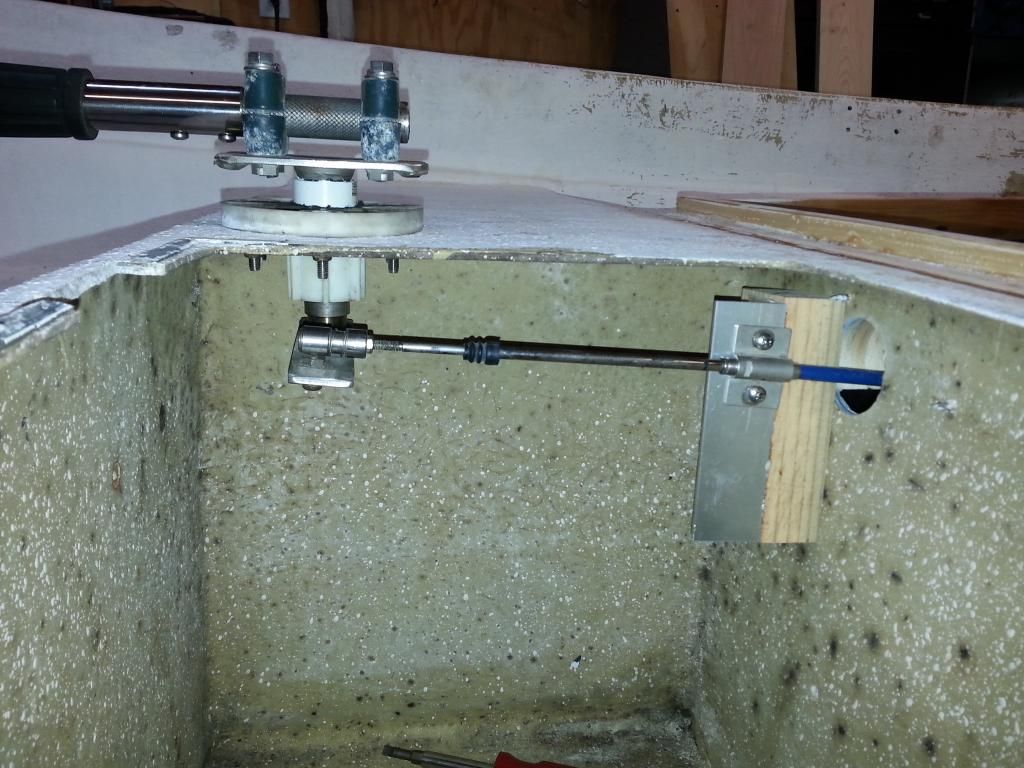
Next up was steering. I got one of the hatches cut in the middle seat, climbed in the boat with a handle and figured out where I wanted it. Here it is and here it stays...unless I decide to move it.
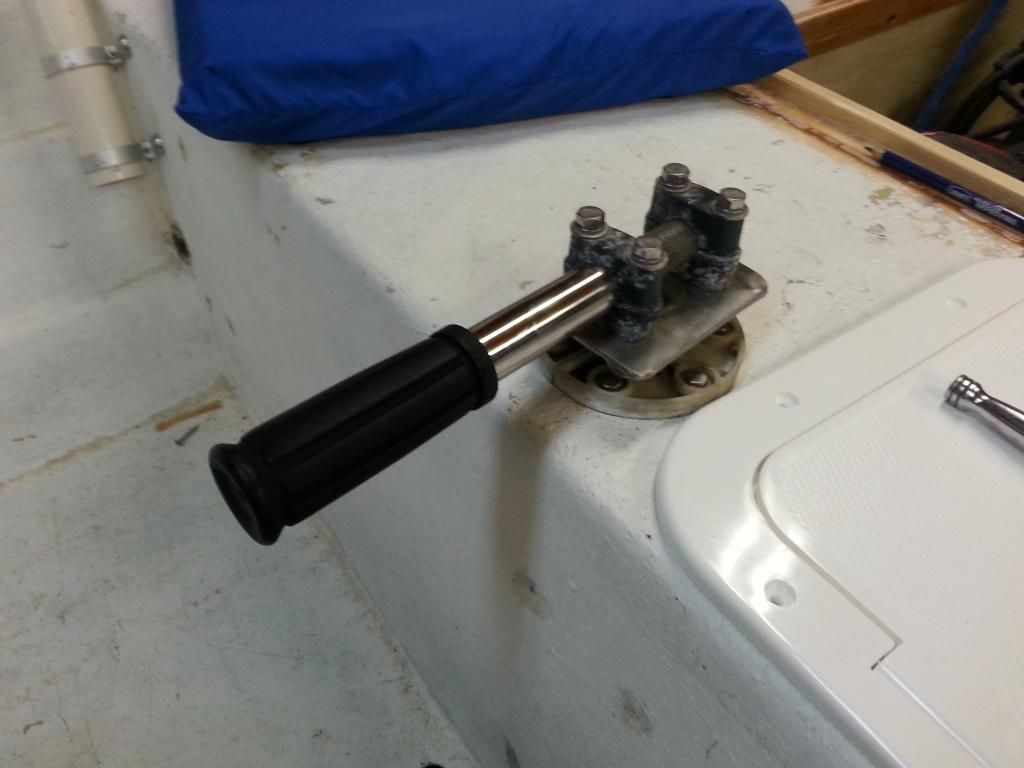
Cable mount fabbed, glued and screwed.
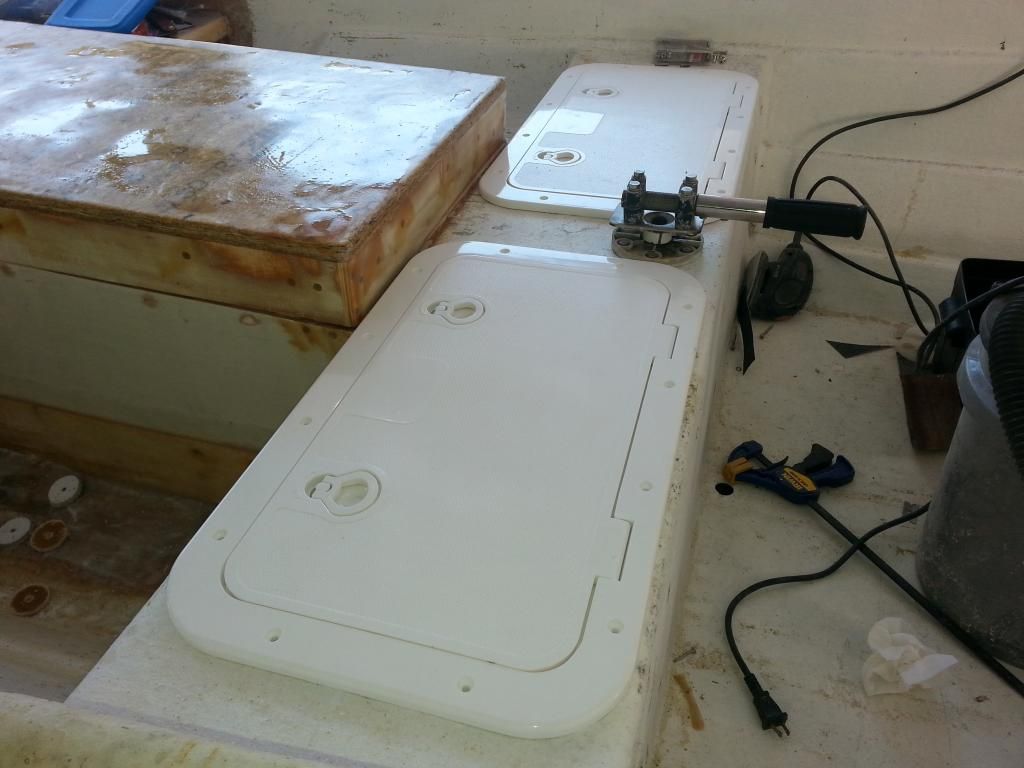
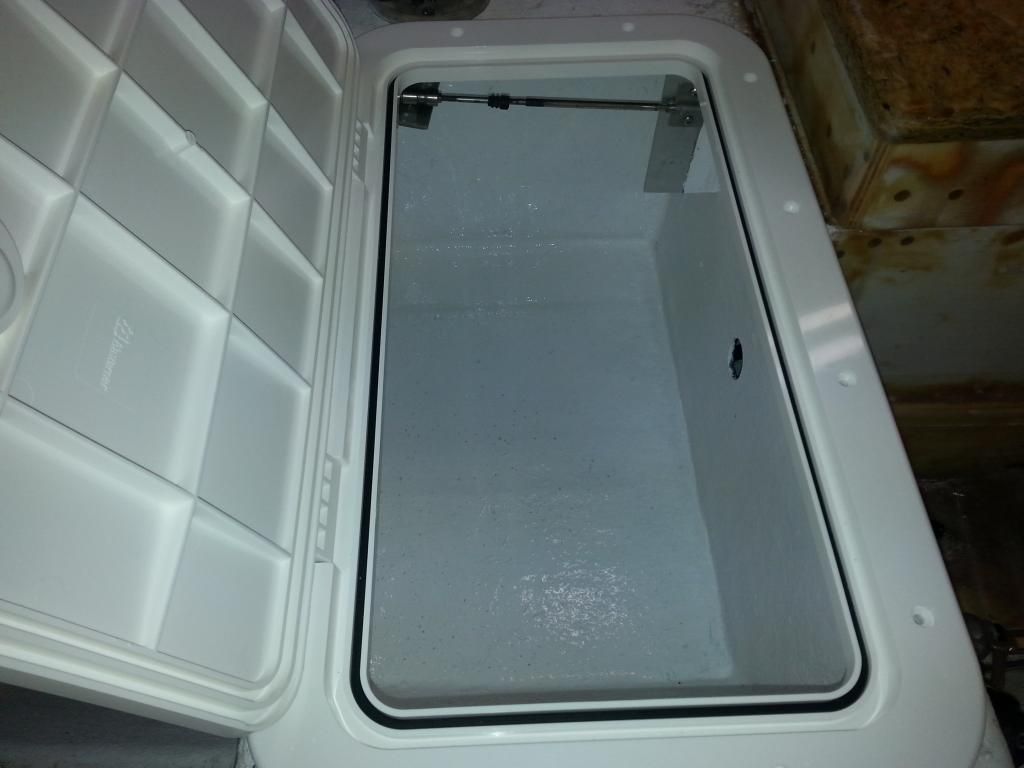
While I was working on the seat, I went ahead and cut in the other hatch.
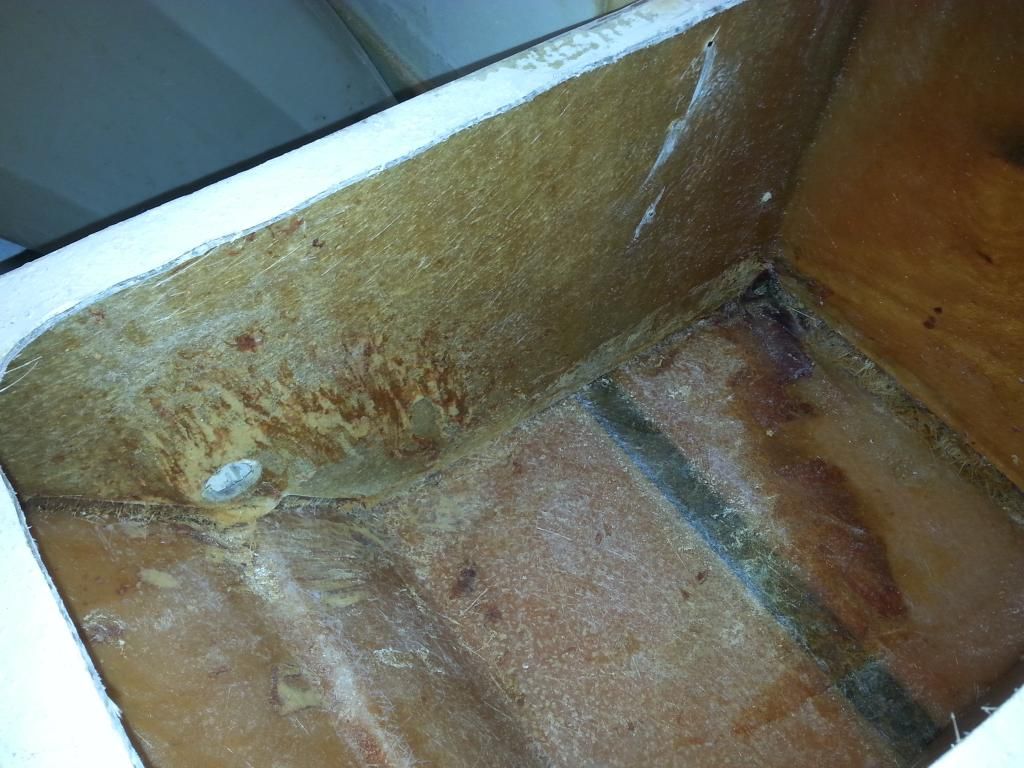
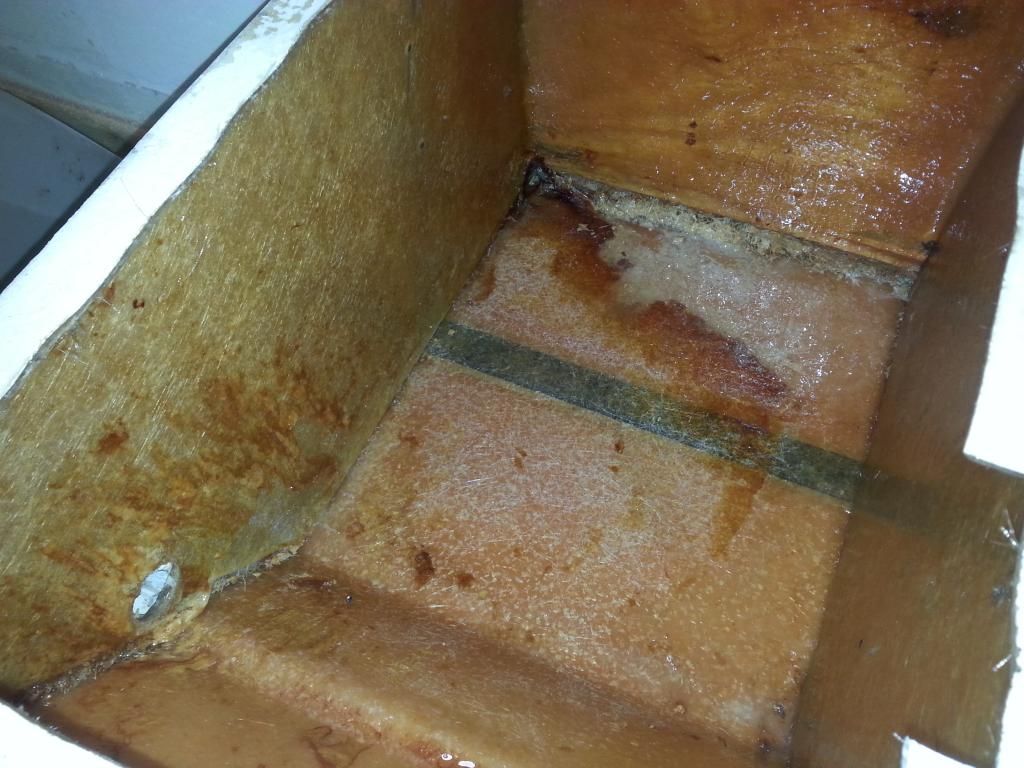
The inside of the new compartment was never finished at the factory. It was full of loose fibers, so it got a coat of epoxy.
The old compartment, where the steering is, got a coat of white paint. It always amazes me how much a coat of paint can make things look finished.
More to come...
You'll need to log in to post.