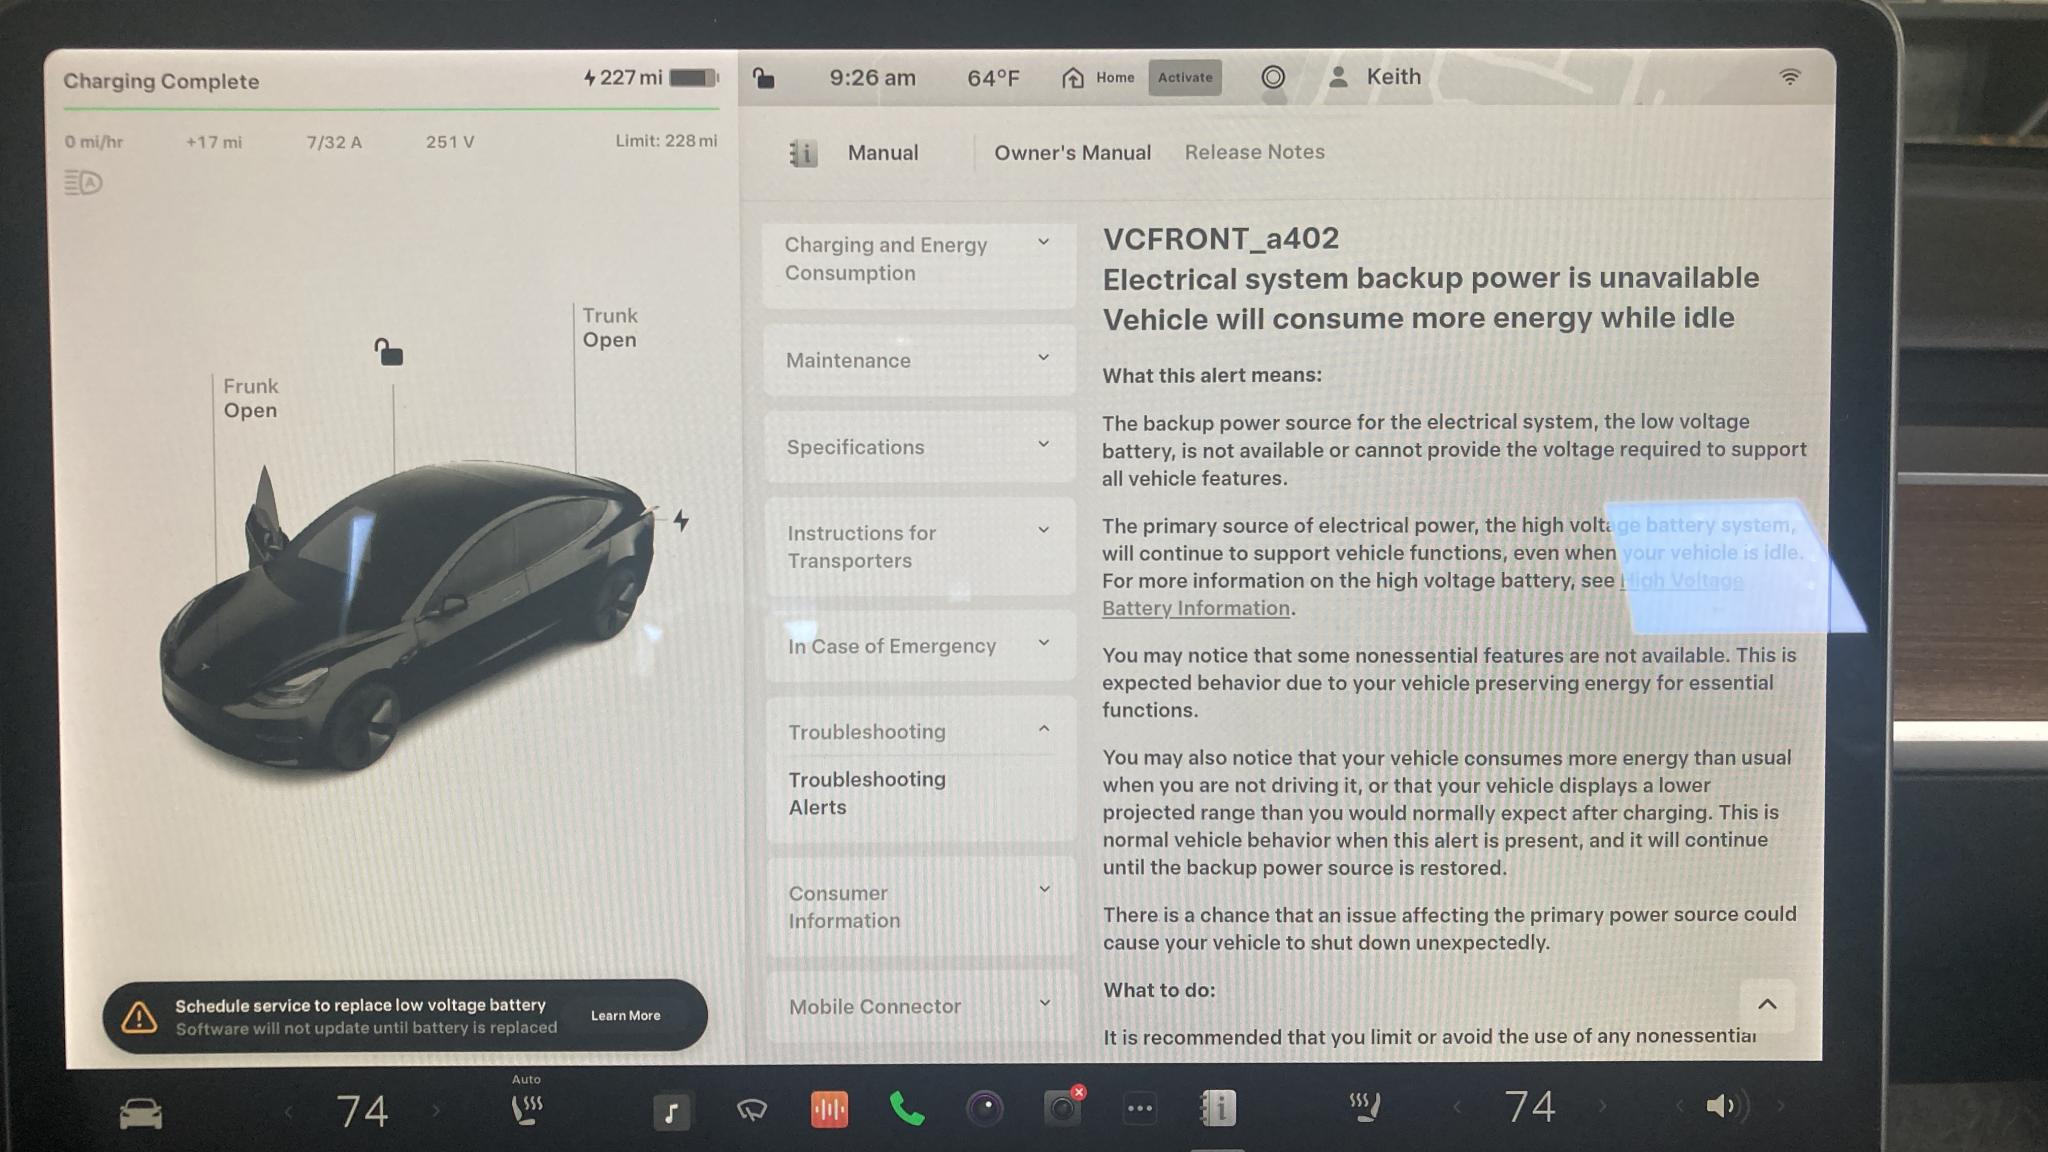
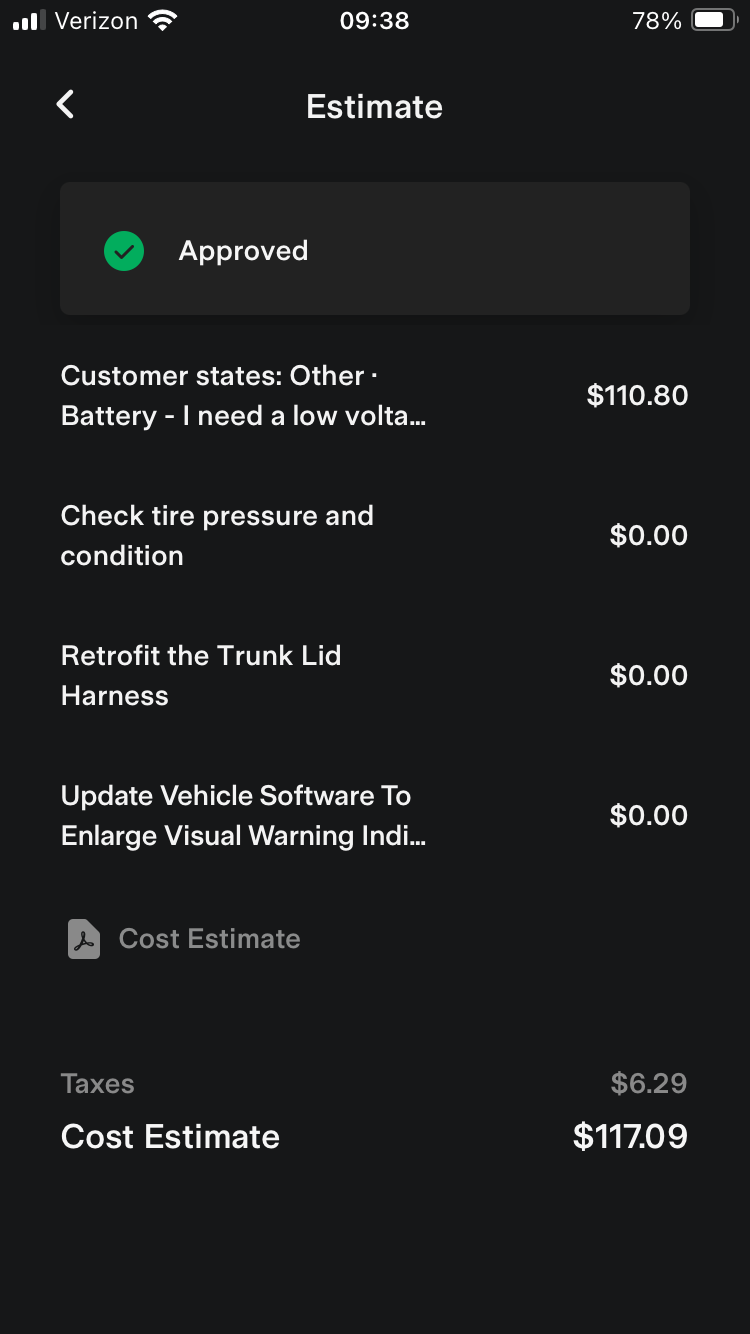
I got home from a trip to Miata Reunion in California and there were some big red boxes waiting for me!
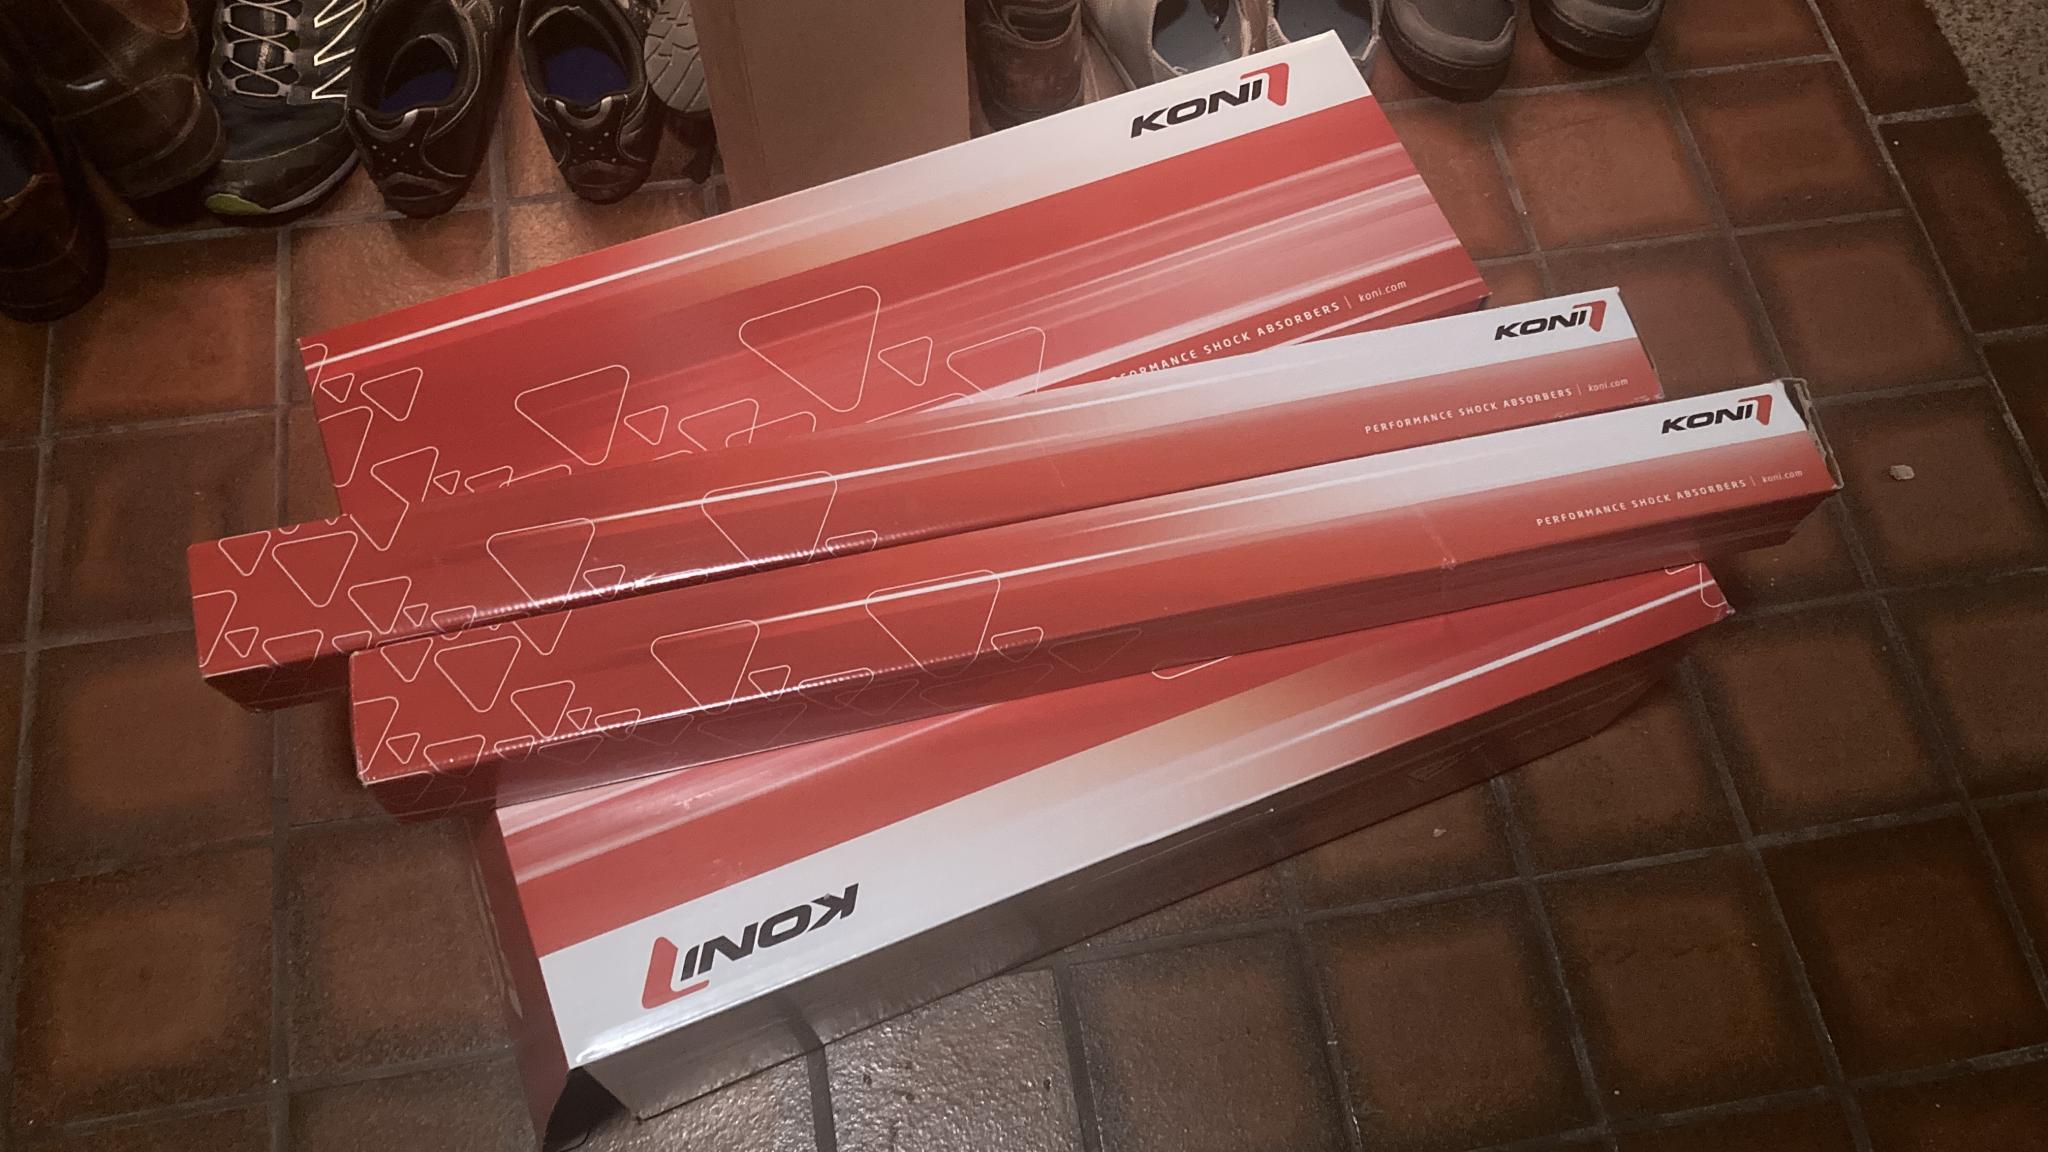
Those are the new Koni Special Active shocks for the Model 3. A couple of days later, I got a chance to put the car on the lift and start shufflin' shocks. I took on the front first as it looked to be harder, but not too hard.
Step 1, denude the frunk. Really, all I did was remove the plastic liner by removing 7 bolts but it sure looks dramatic.
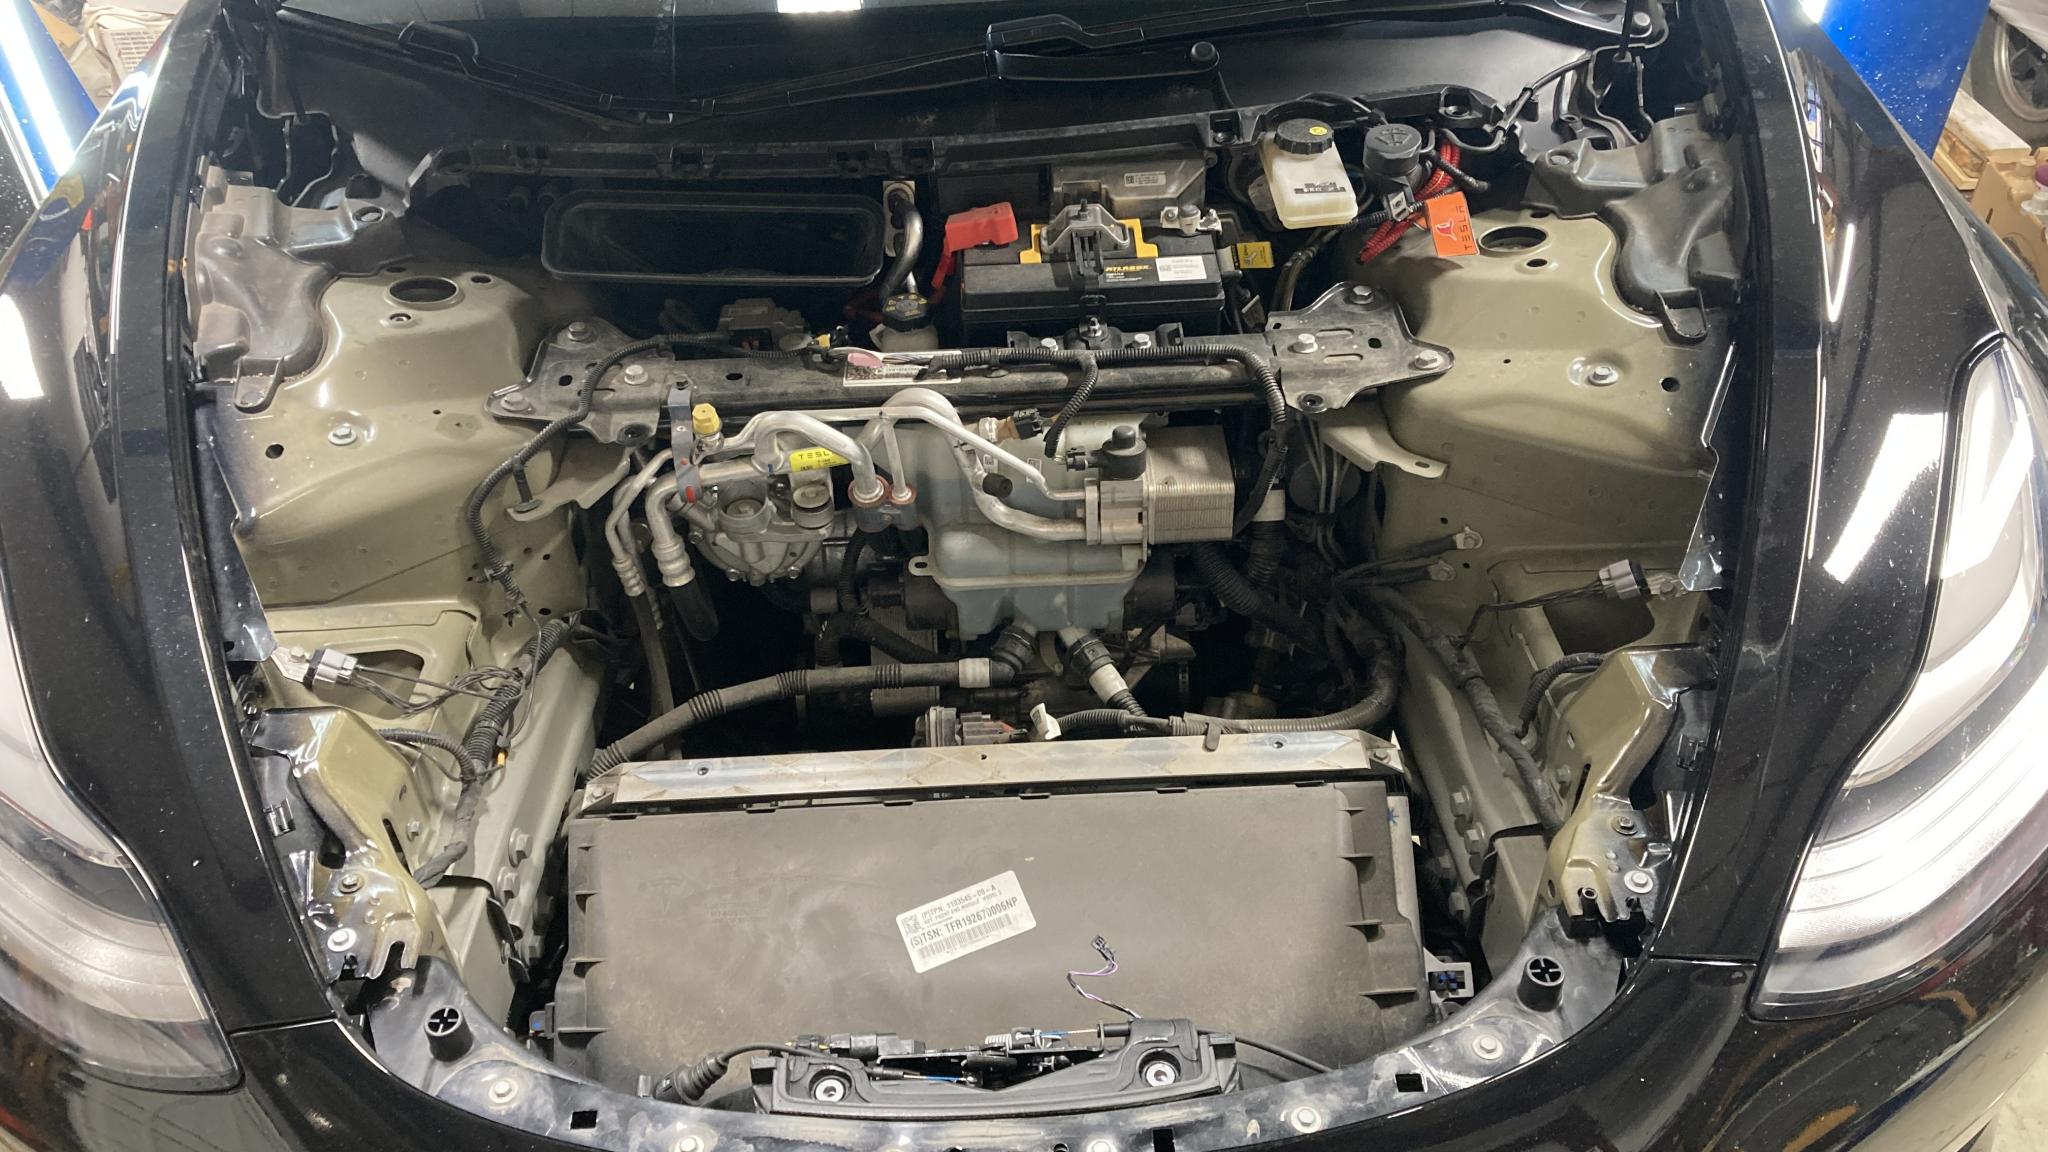
The most difficult part was removing these nuts. They have a 13mm head, but the holes in the unibody are just big enough to let my 3/8" drive 12mm socket in. Obviously that wouldn't work, but I found my 1/4" drive 13mm was a perfect fit.
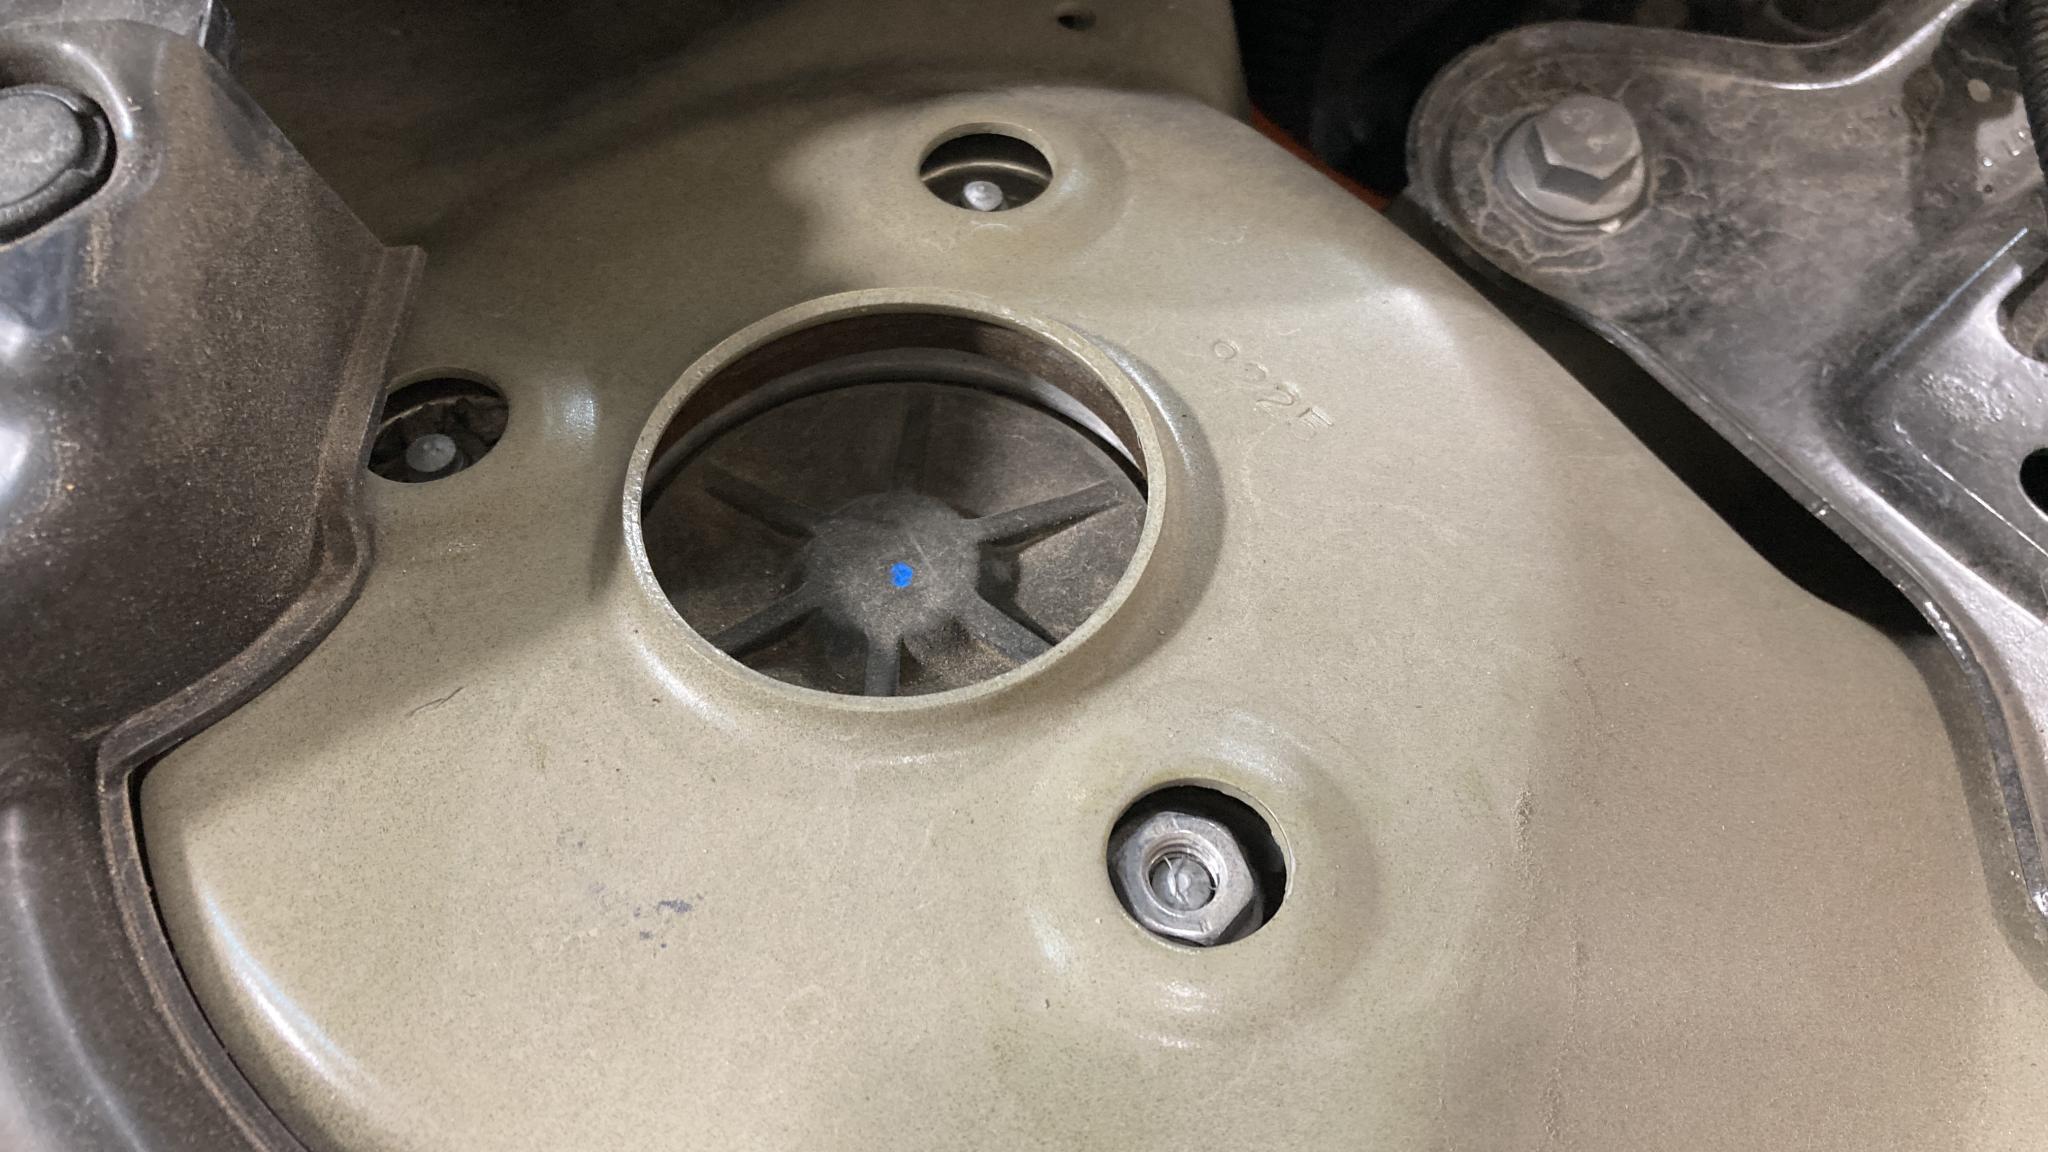
Well, it would have been perfect if the nuts weren't slightly offset in the holes on one side. How did they put this together?
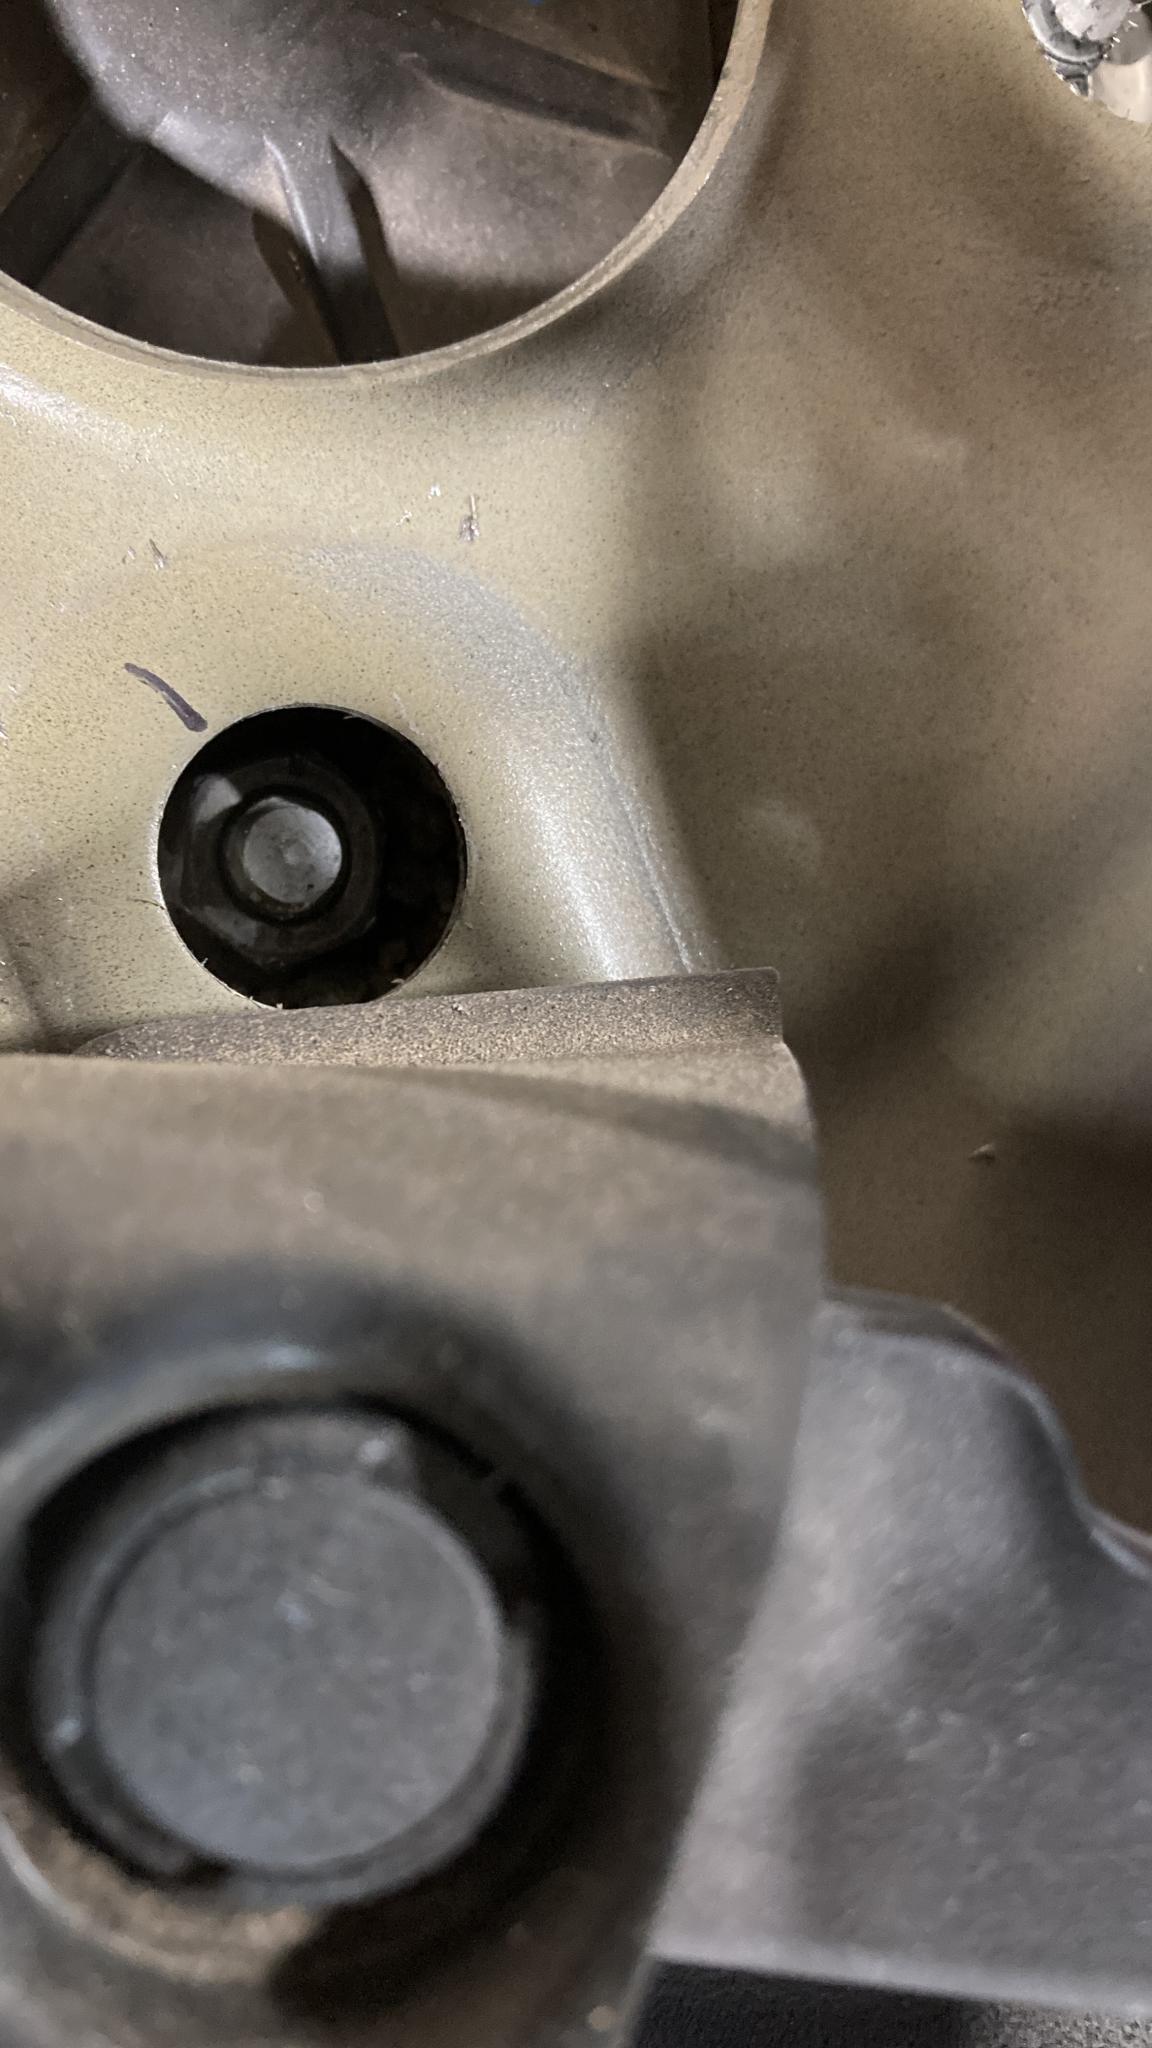
The solution was a short bit of work with the die grinder to open up the holes slightly - the Sharpie mark in the previous pic shows the direction I needed to move, and I had to take off maybe a millimeter.
Exploded front shock assembly - not a strut, this is a double wishbone setup.
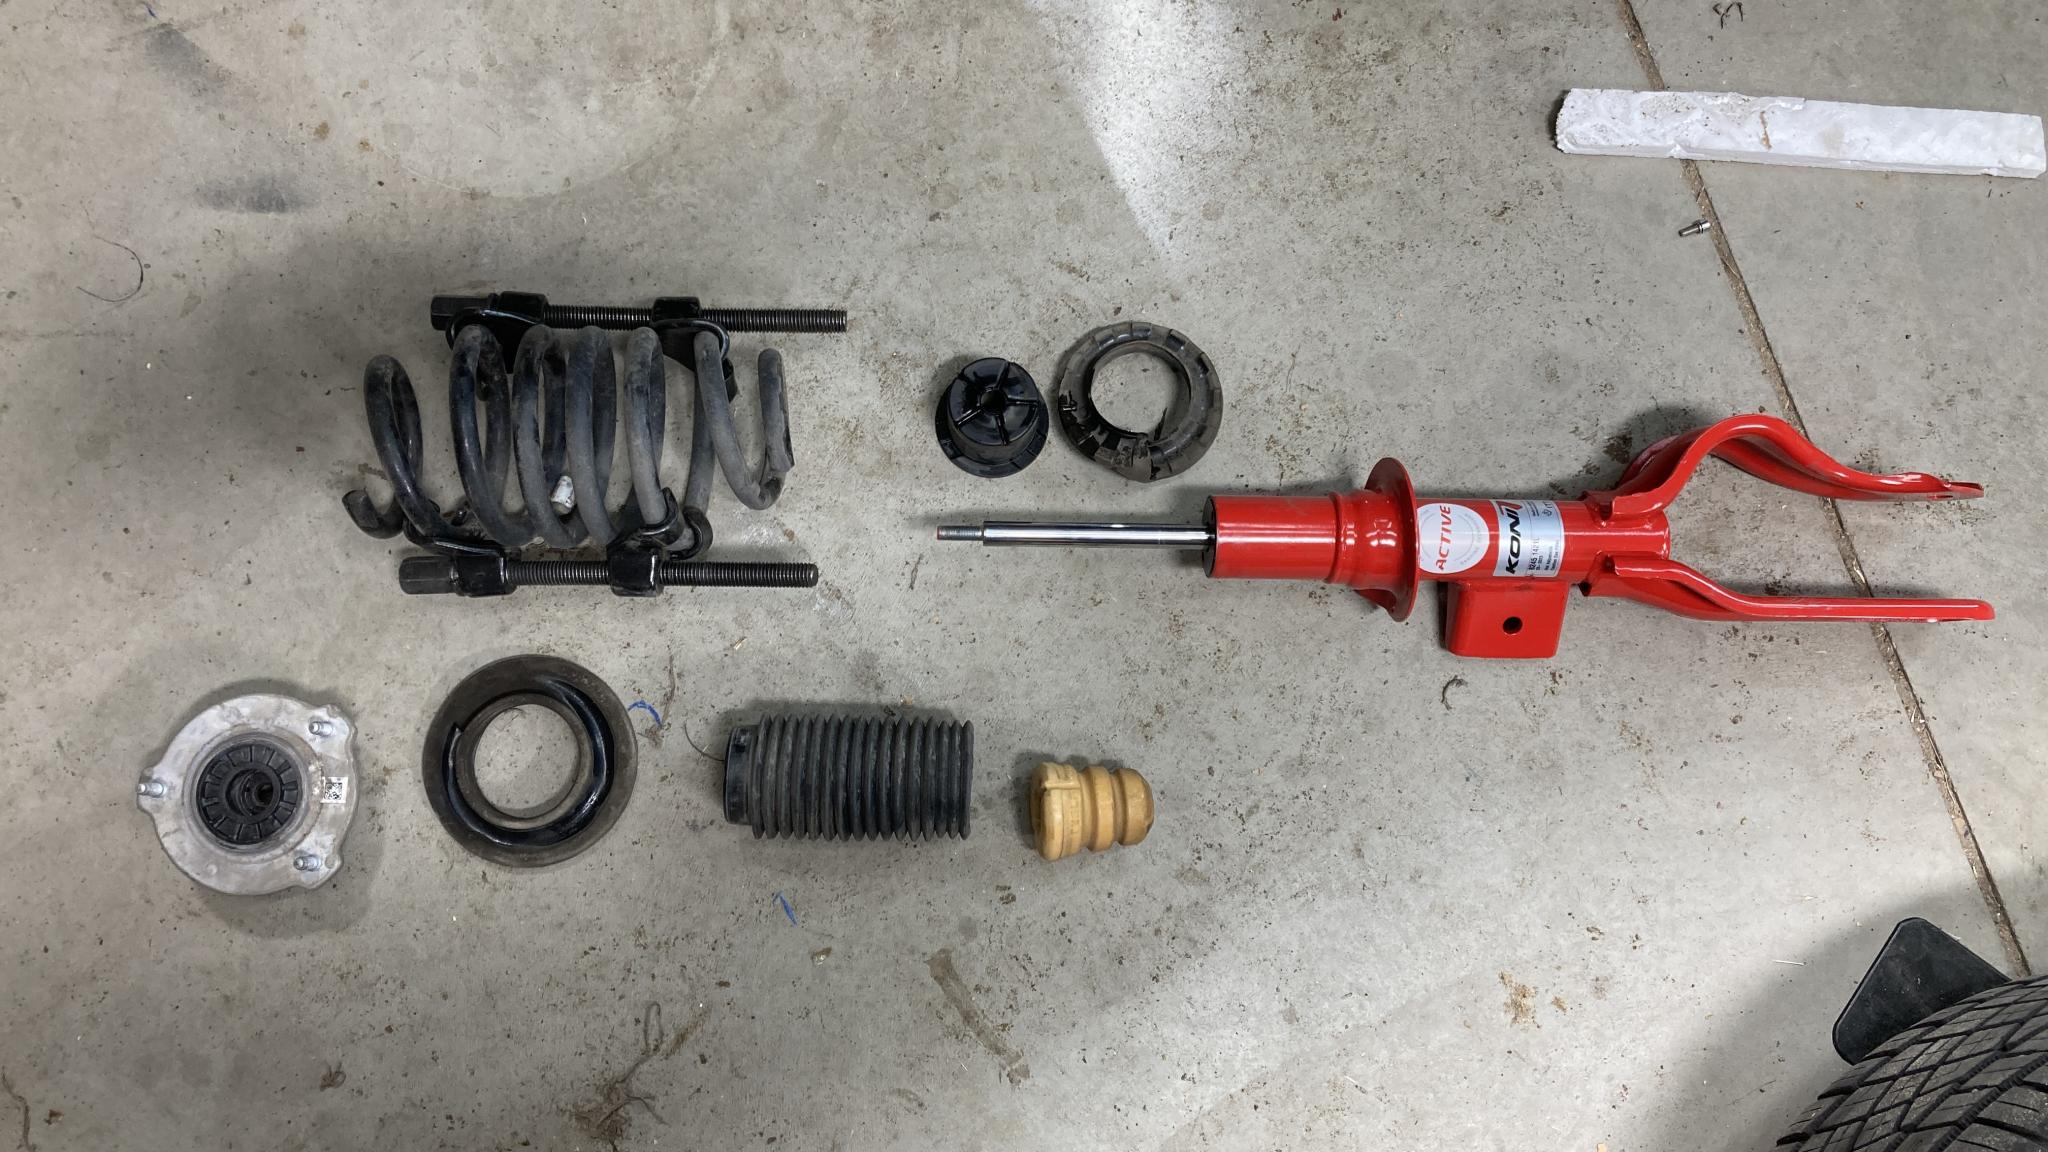
There was a plastic cap that was pressed on to the top of the stock shocks, but after I removed it from one shock (that's it just above the end of the shock shaft in the pic) it looked like it was there to protect a seal on the stock unit. It also has little grooves to let air release - which is the purpose of the slotted teflon washer that comes with Konis. Since the Koni had a properly protected upper seal, I left that cap off. You do need to be careful with the alignment of that upper mount, it's asymmetrical and you have to eyeball the alignment - more importantly, you have to know that you need to do that :) I had to take one corner assembly apart twice once I realized.
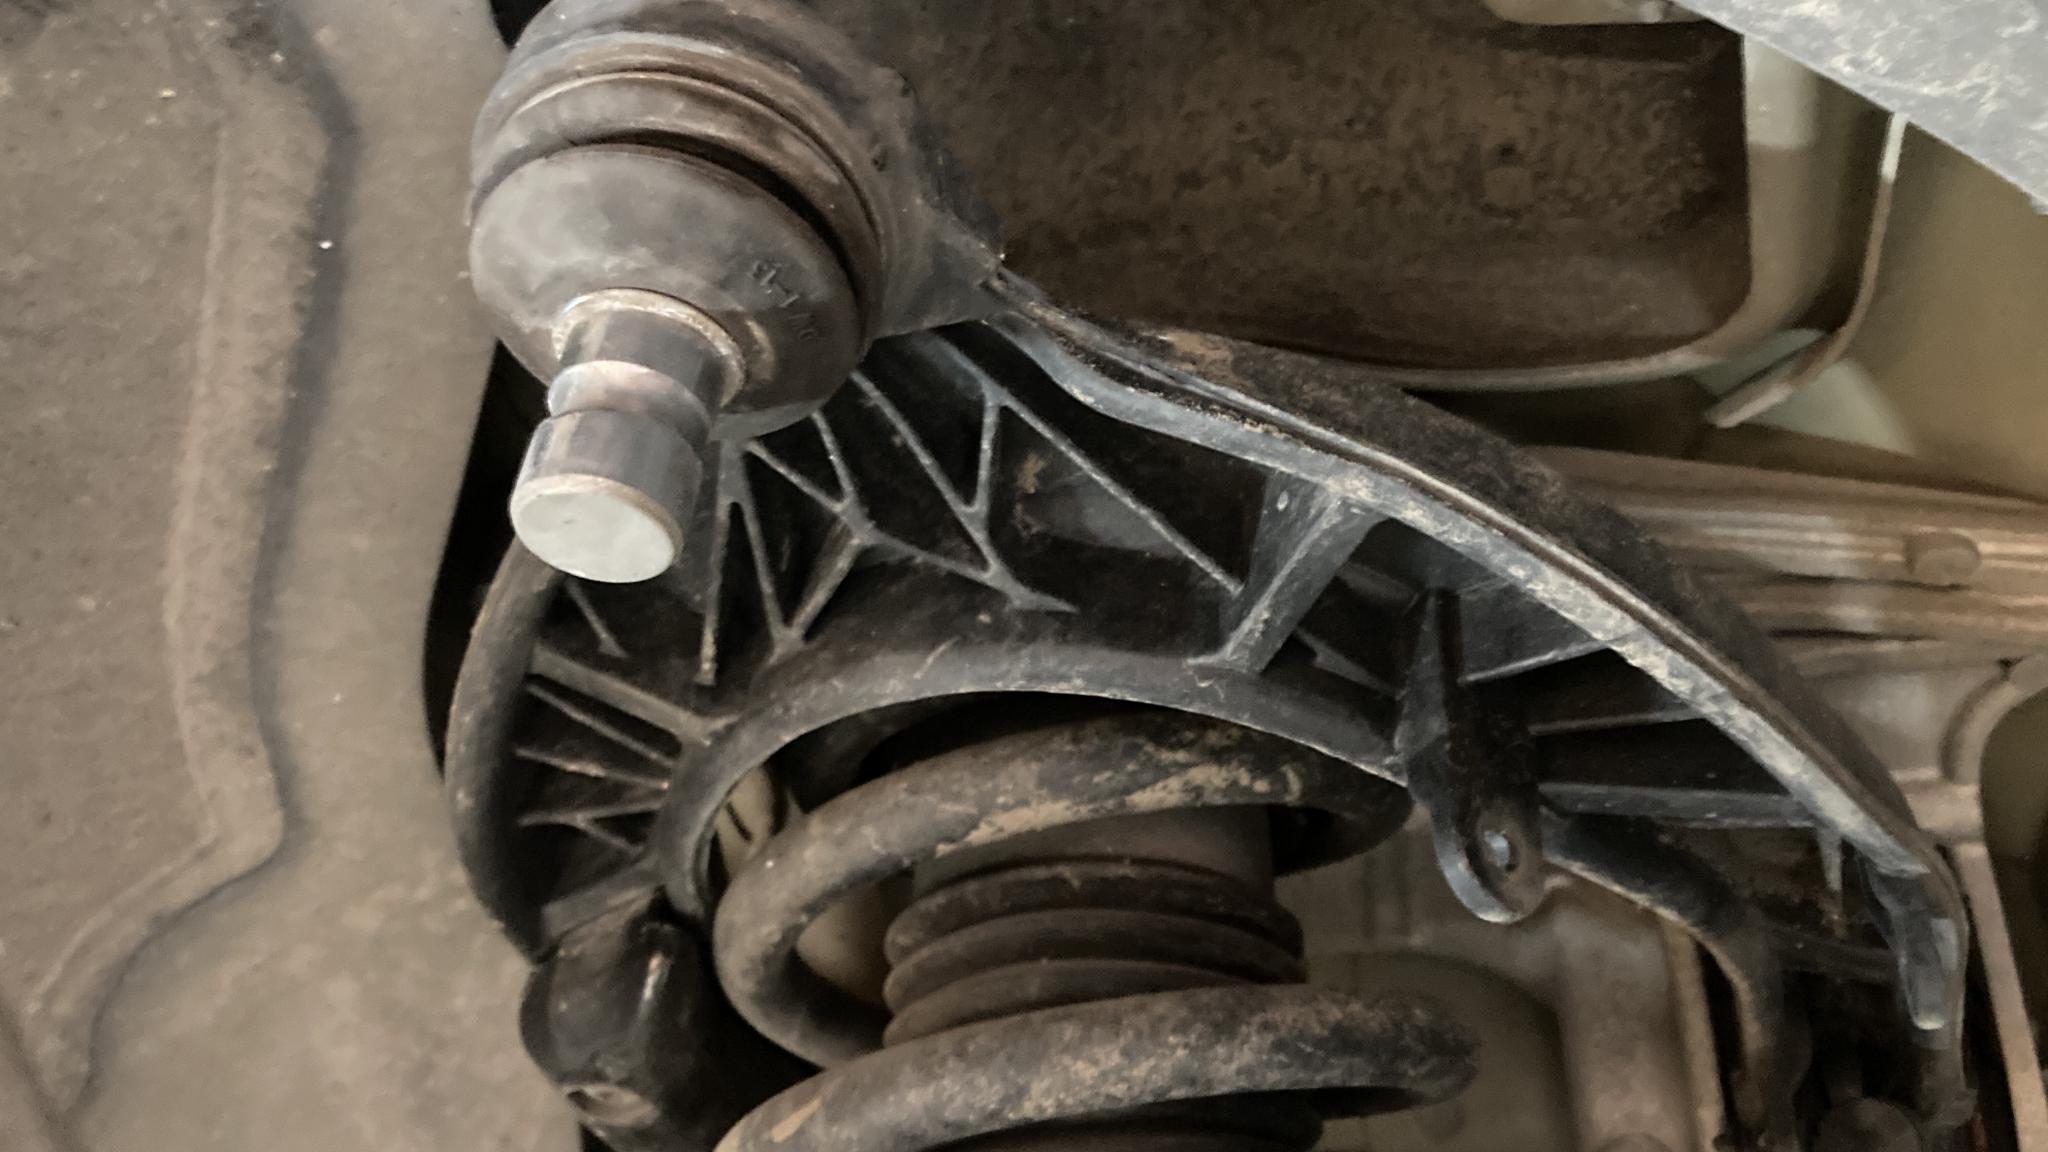
Speaking of double wishbones, this ball joint is apparently problematic. Water can pool on top of it and damage it, if I understand correctly. Not so much in our climate, and the aftermarket has come up with replacements at a good price. Mine felt good, nice and tight but smooth. Check out the cool design of this plastic insert on the bottom of the control arm.
The rears were unremarkable to remove. Two bolts on top that are accessible through the wheel well, one bolt to remove an aero cover, one bolt at the bottom of the shock and it comes right now. Quick and easy. Three hours after starting, I had all four shocks changed out.
Drive report? Very nice. The car definitely has better body control, but the edges of the sharp bumps have been smoothed off. Expansion joints that used to be a bang are now more of a thump. Roll is reduced, responsiveness is improved but the ride quality is also better. The car moves with more purpose, if that makes sense. Primary ride is more controlled, secondary is more compliant. Basically, this is what the Frequency Selective Damping (FSD, but not THAT FSD) is supposed to feel like. I'm pretty happy. We'll keep driving the car (obviously) and I'll report back as I get more seat time.
Otherwise, the underside of the car looked pretty good at 40k. All the shocks that came off looked fine. Brakes look basically new. The weird fuzzy wheel well liners don't even seem to hold dirt. I also changed out a set of HVAC filters, they've got a two year lifespan and we were starting to get the occasional whiff of funk. I splurged on the real Tesla parts which means that cost $34 shipped.


