5 6 7
Woody
Woody MegaDork
8/18/15 9:02 a.m.

I'm convinced.

I live in the first house on a short dirt road. By the time that I turned out of my driveway, I knew that these were going to make a difference. I'm not perceptive enough to notice a difference in handling, but the car is way quieter on bumpy pavement.

Every Miata needs needs these things.

 photo Miata Top Latches and Doors 005_zpsk0tzozod.jpg

Woody
Woody MegaDork
8/29/15 3:48 p.m.

From day one, my top latches wouldn't lock. It never really made me nervous or anything, but I thought that it should be addressed. I bought the kit from MiataMecca because I thought I needed the little plastic tips (I didn't), and even though I didn't like the silver screws that came with the kit, I followed his video instructions, so I figured that it was only fair to give him some credit.

https://www.youtube.com/watch?v=zS0ZmSeanFc

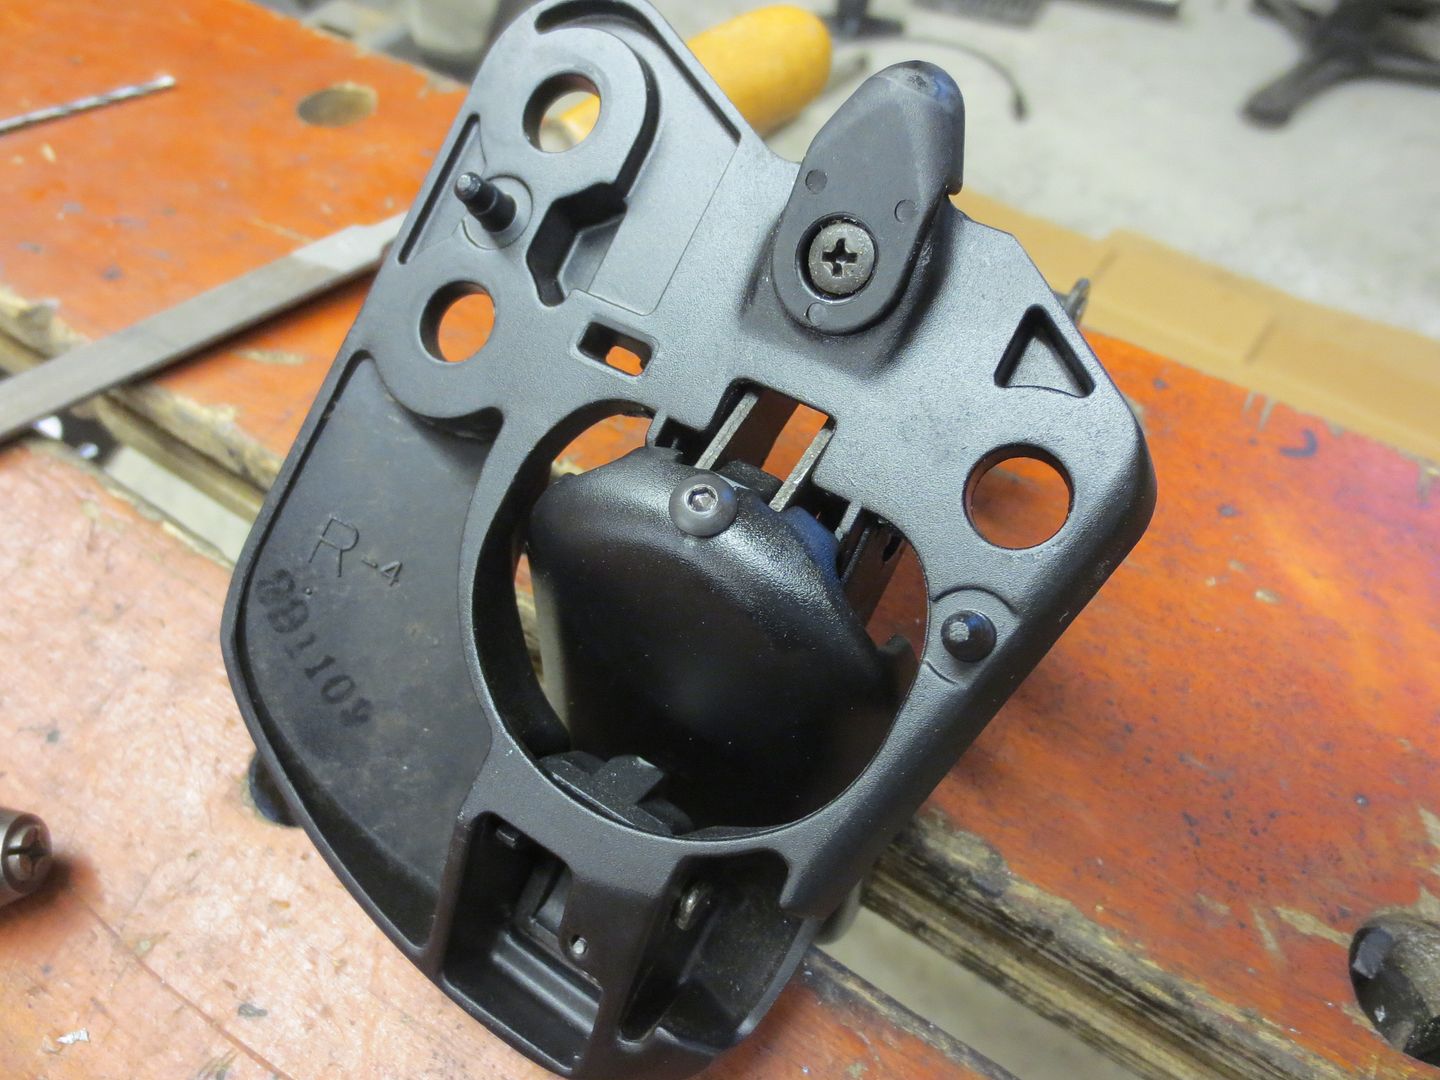
I bought some small metric hex head screws, drilled and tapped a couple of holes and installed them. Now my latches lock again and don't rattle anymore.

 photo Miata Top Latches and Doors 011_zpshe6eurv1.jpg

 photo Miata Top Latches and Doors 019_zps4msmgx4b.jpg

Woody
Woody MegaDork
8/29/15 4:11 p.m.

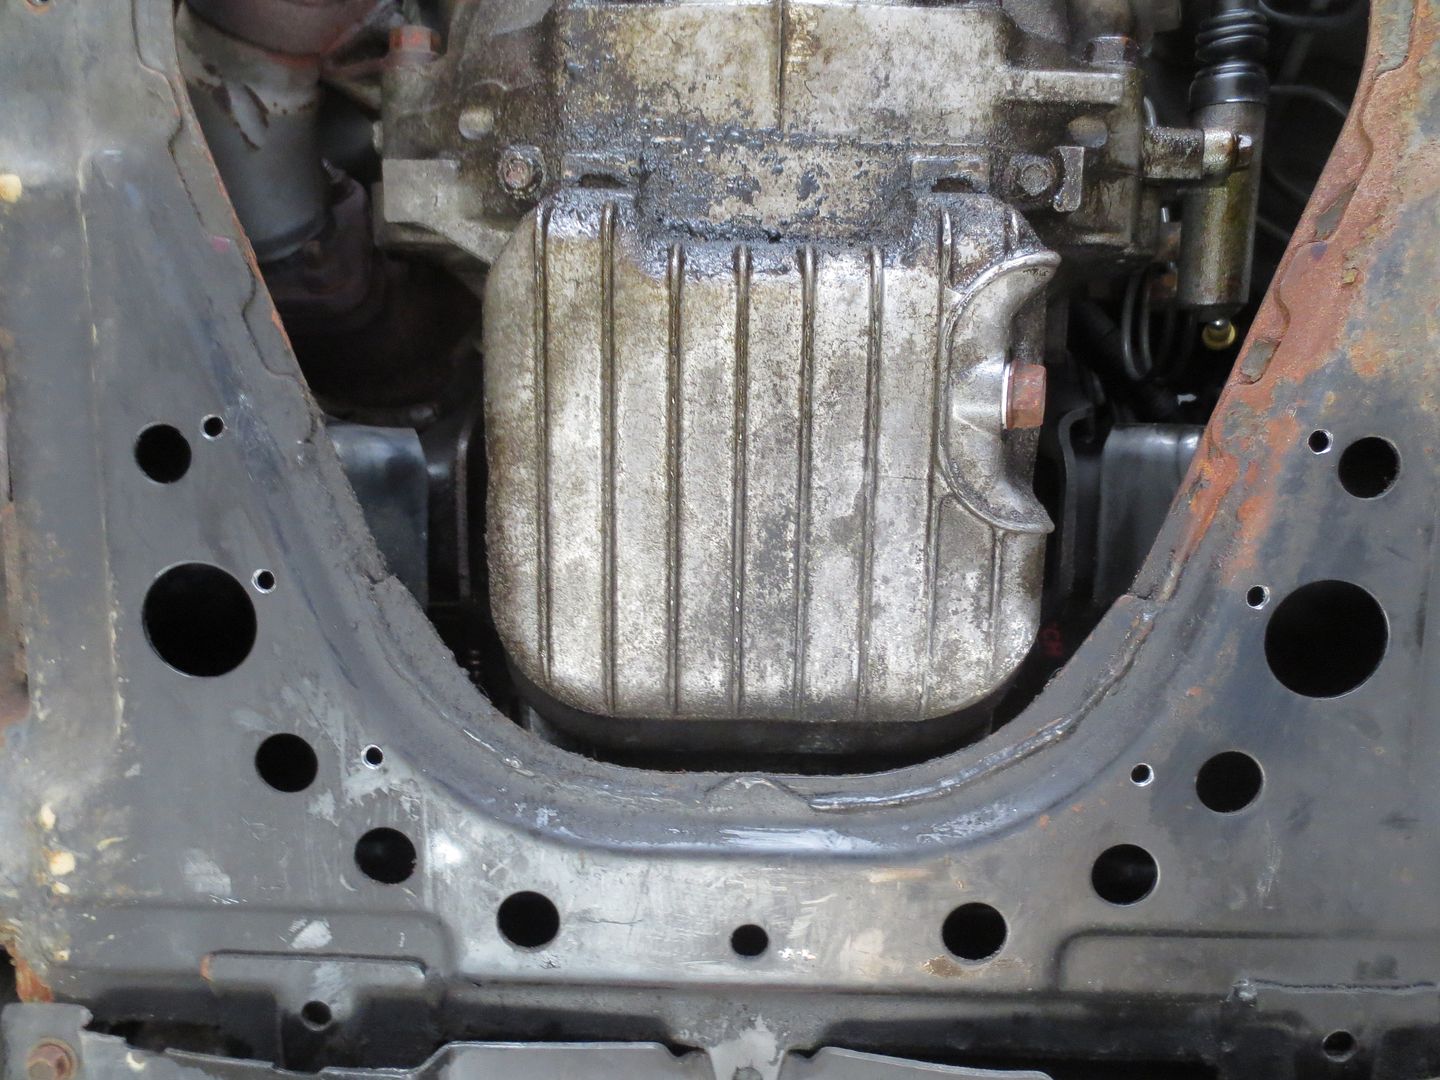
On one of the first uphill corners of the Winter Autocross course, I could hear and feel my oil pan bottoming out. I took a different line after that, but I was always nervous about it.

I wanted to add a skid plate.

I looked at the various options out there and decided to go with the GarageStar skid plate. While they seem to be geared more toward the stance crowd, it looked as if they had the best design.

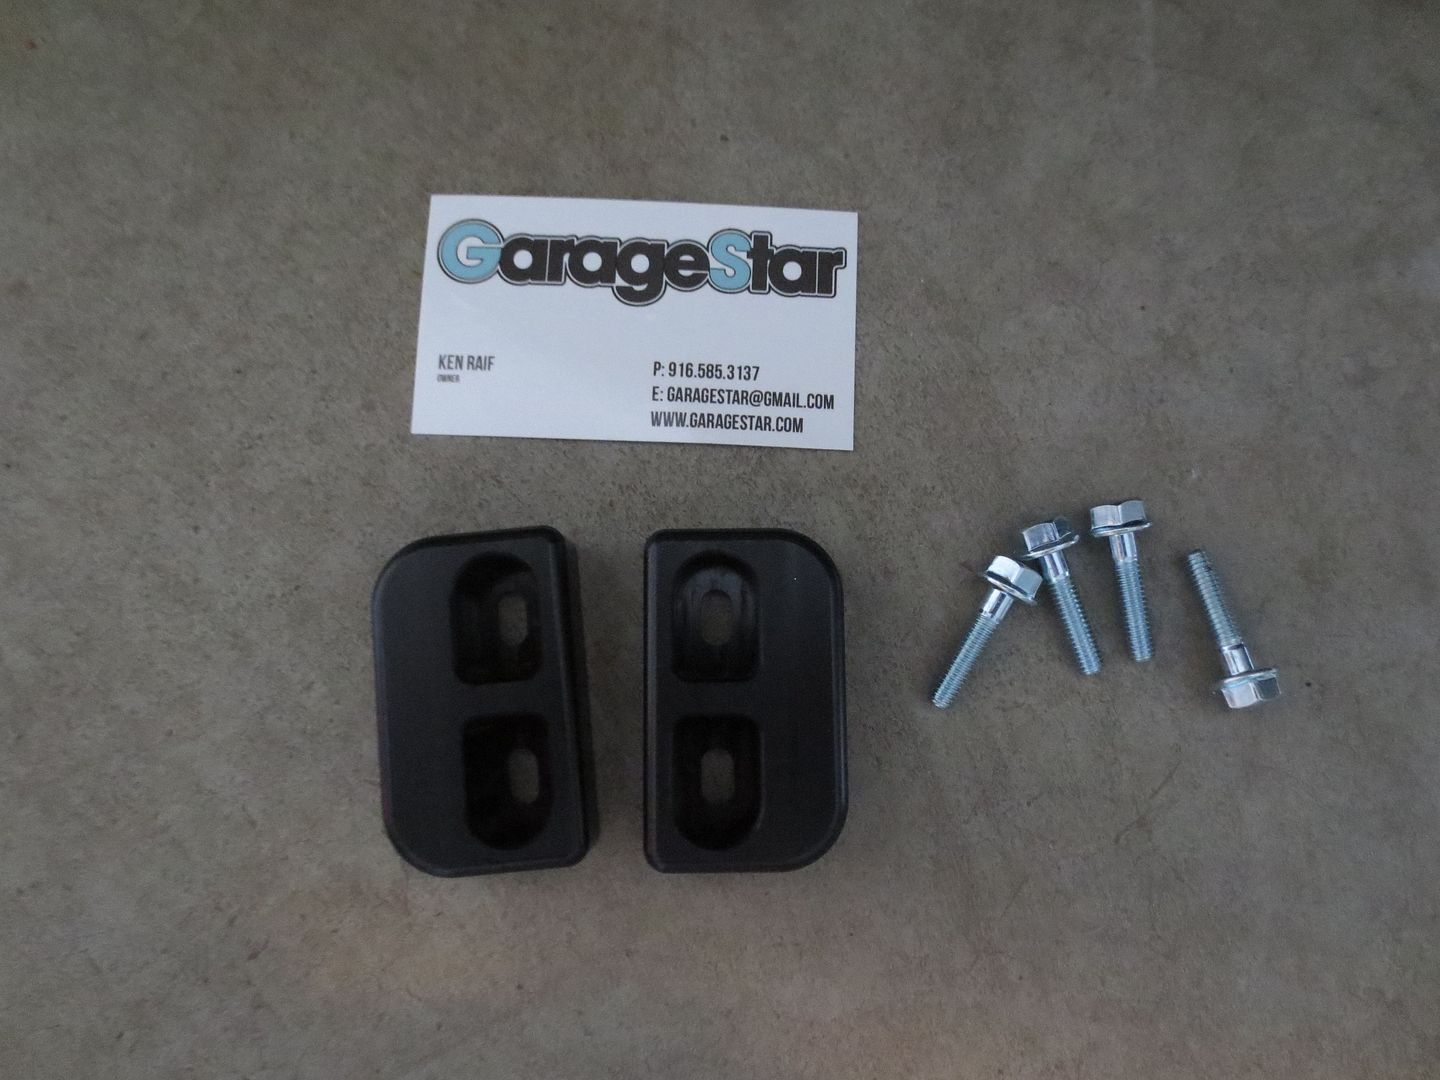
You can order the skid plate by itself or in combination with their engine lift plates. I sent an email asking if you can install the skid plate without the engine lift plates, but they said no. Since I was ordering their Delrin door bushings anyway, I also ordered the skid plate/engine lift combo as well.

Here's what you get:

 photo Miata Skid Plate 003_zps6xaknftt.jpg

There are no directions.

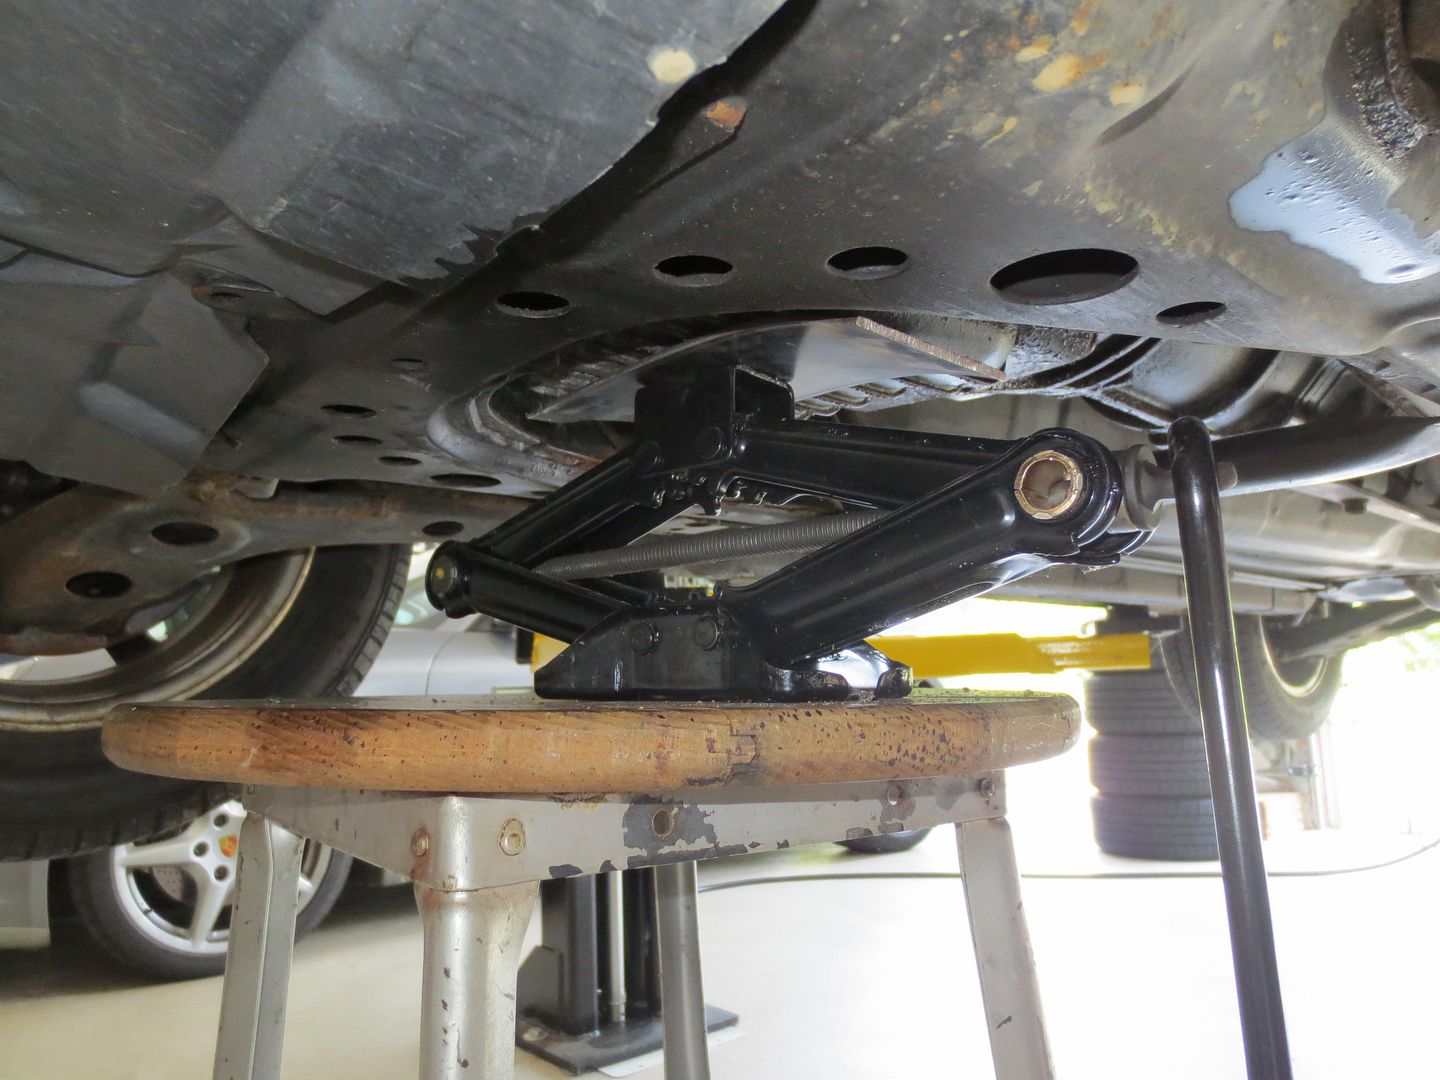
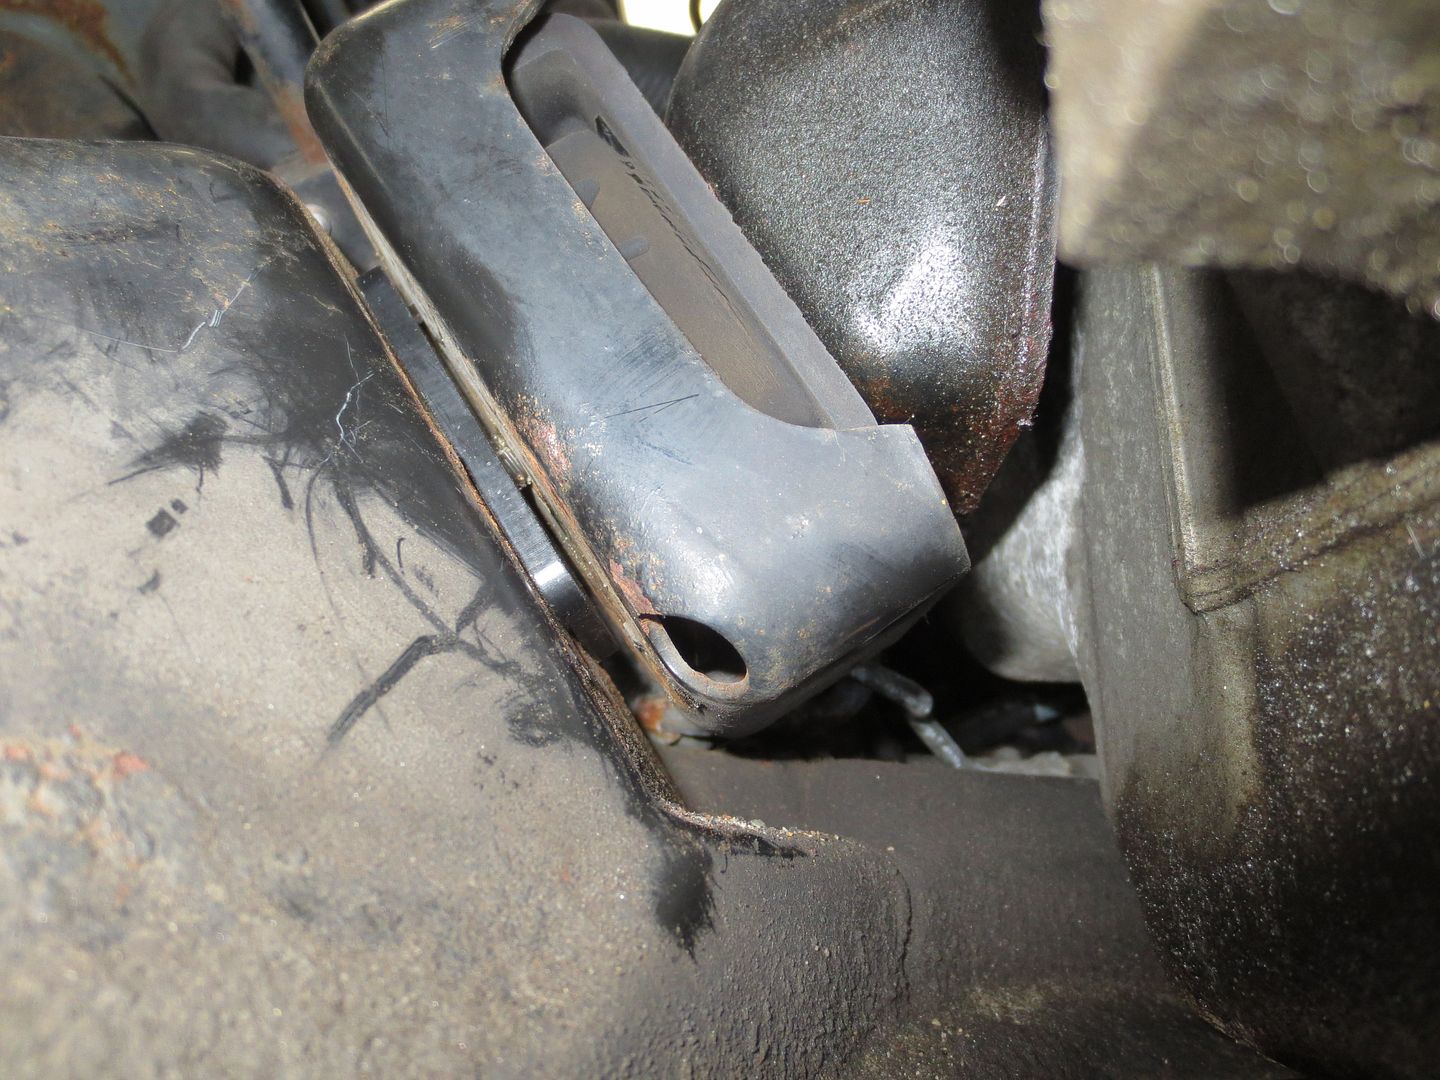
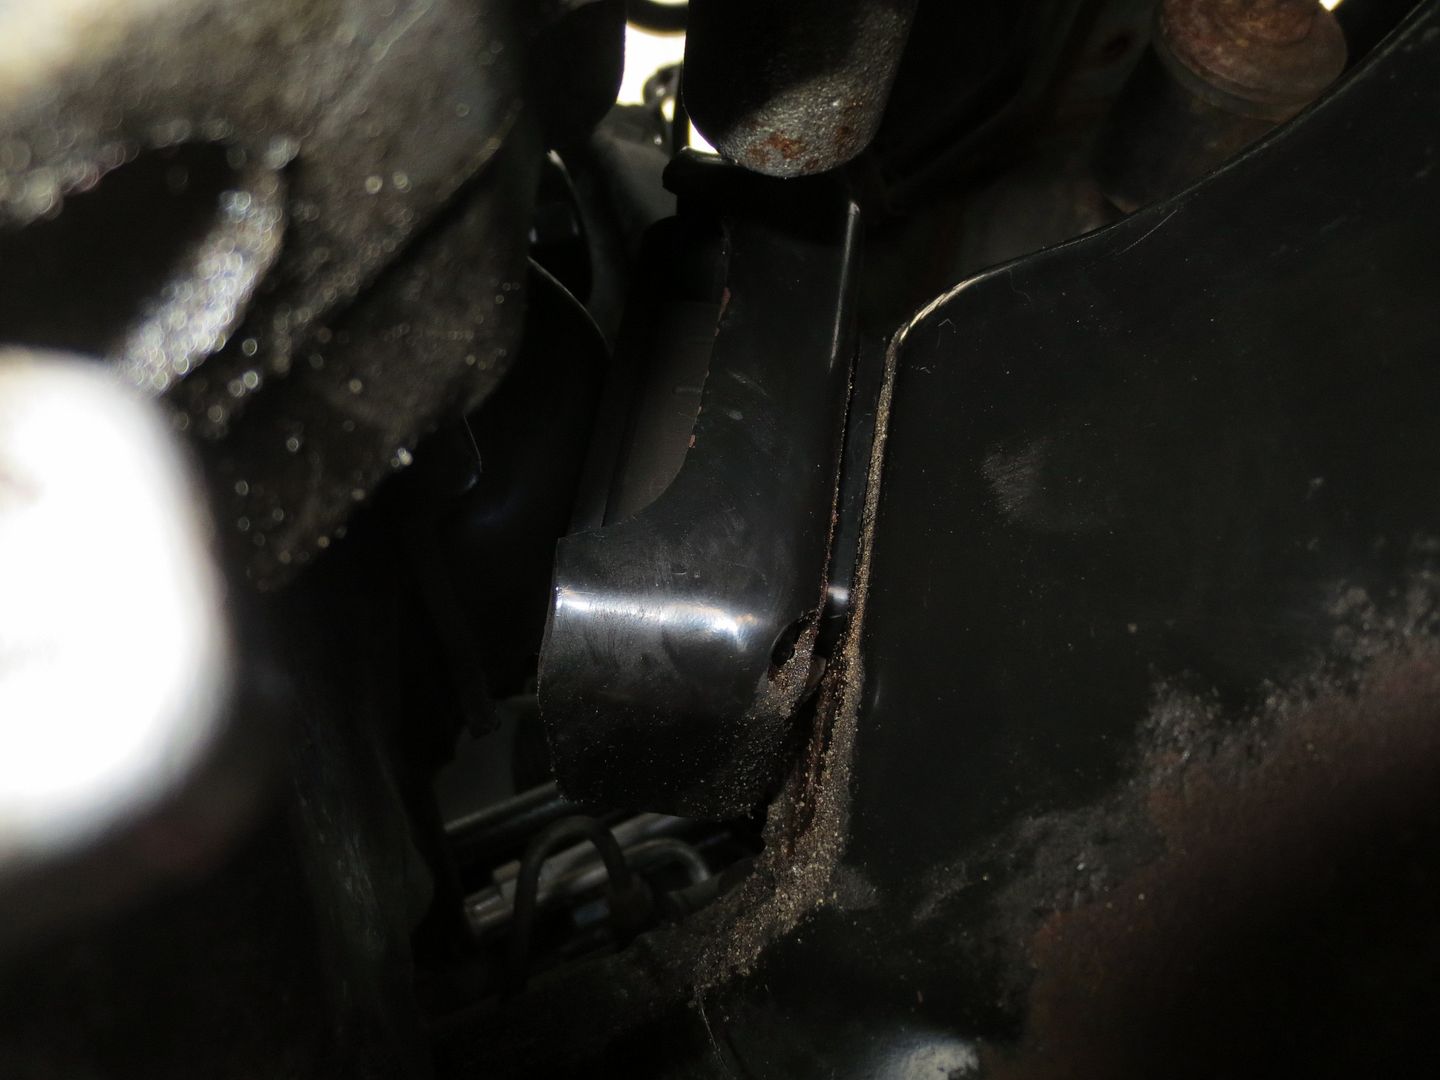
The lift plates are just 3/16" steel spacers. You loosen (but don't remove) the nuts from the bottom of your motor mounts, jack up the engine as far as it will go, and slide the spacers in. At first, I was trying to drop them in from above, but they wouldn't go. Looking from below with a flashlight, I found that there is a little nub from the rubber part of the motor mount that passes through the metal part, and that was preventing the spacer from falling into place. I slid them in from behind, dropped the engine back down and tightened the motor mounts. Not an awful job.

 photo Miata Skid Plate 011_zpsjczwmyri.jpg

 photo Miata Skid Plate 005_zps30nnmmyg.jpg

 photo Miata Skid Plate 007_zpsros0ugzm.jpg

Woody
Woody MegaDork
8/29/15 4:39 p.m.

Next up was the skid plate.

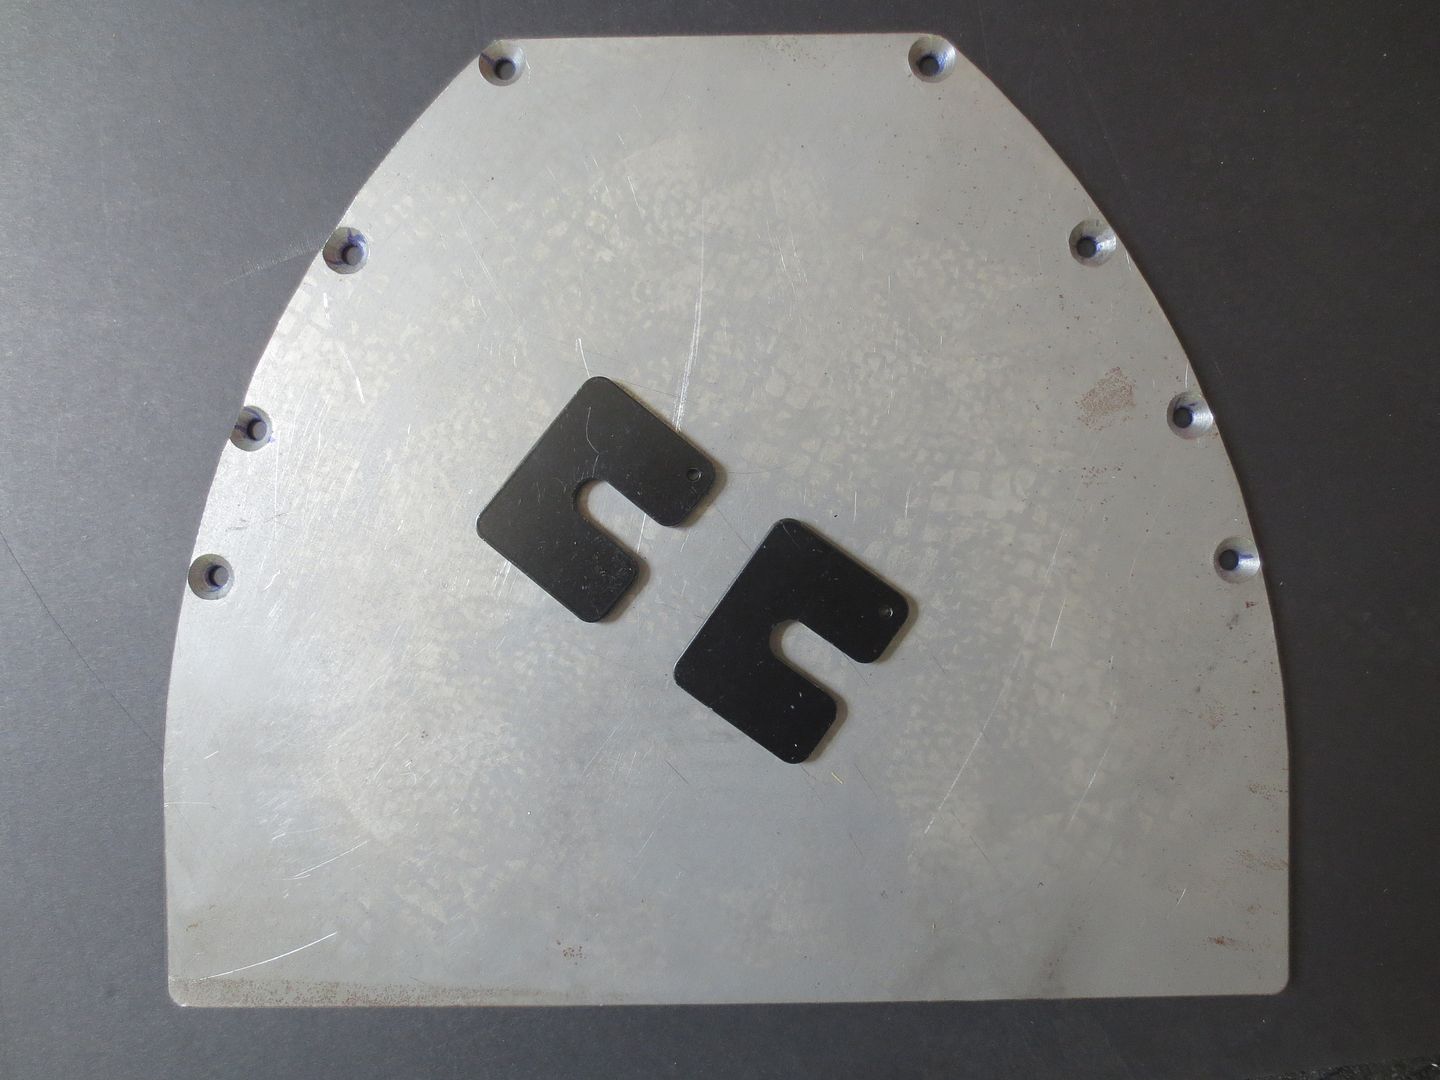
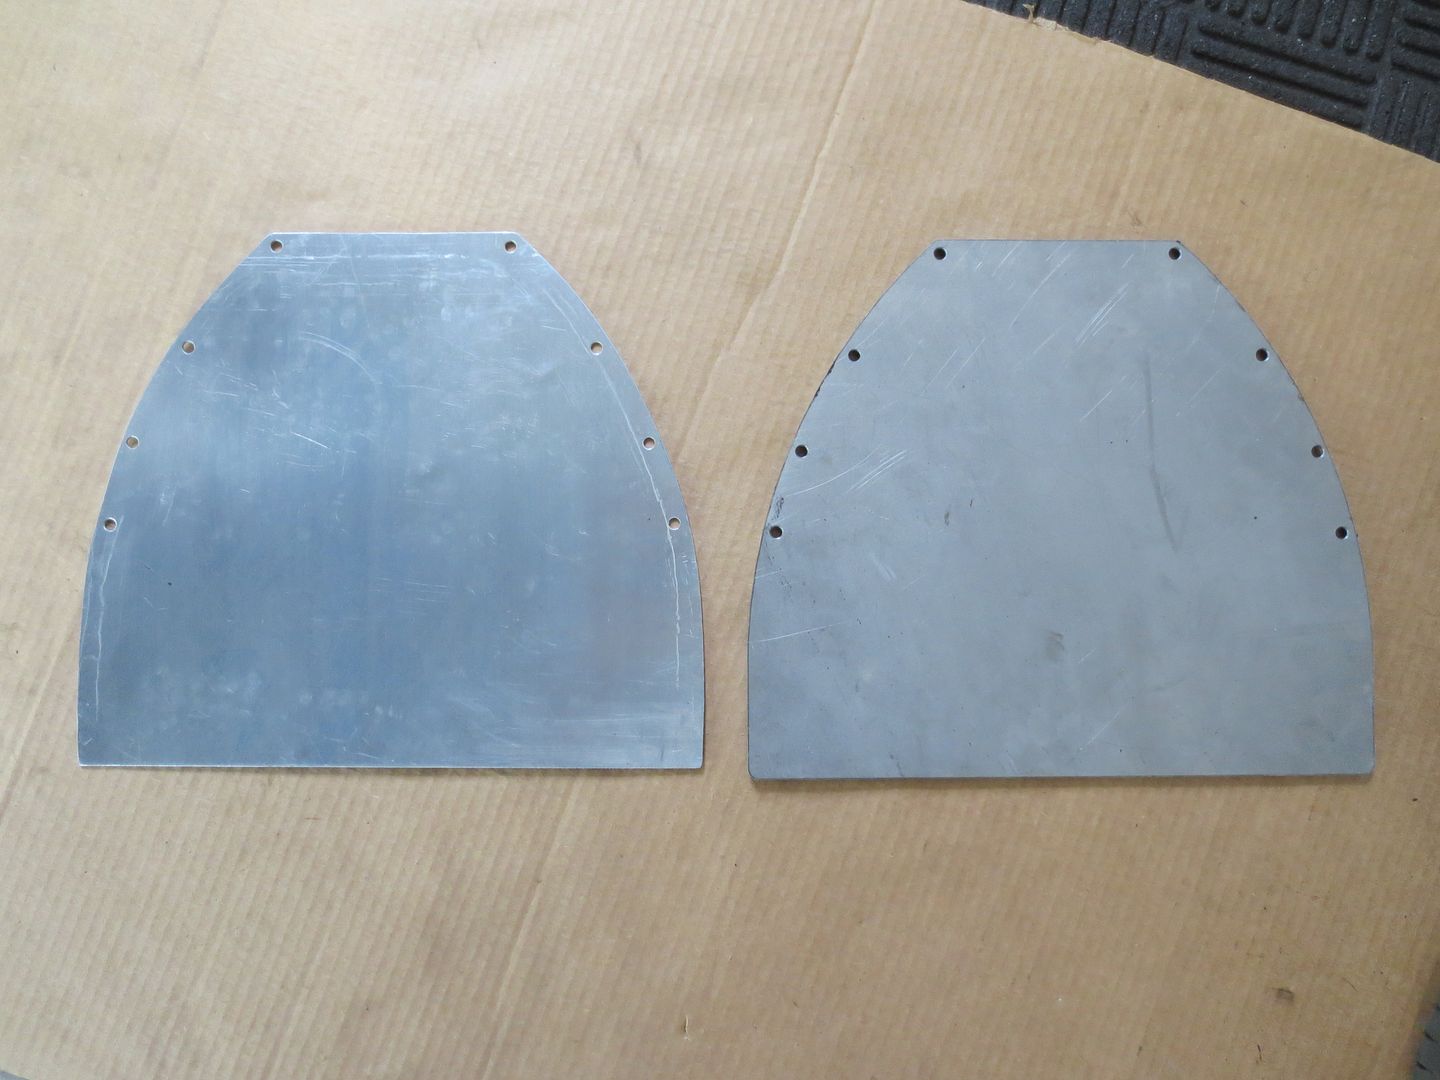
First off, it's cut from 1/4" steel and weighs nearly 12 pounds. While it would make an excellent skid plate for a rallycrosser or a stance guy going over the occasional speed bump, I felt like it was overkill for my needs. Even though added weight down that low wouldn't be a huge detriment, I still wanted something lighter.

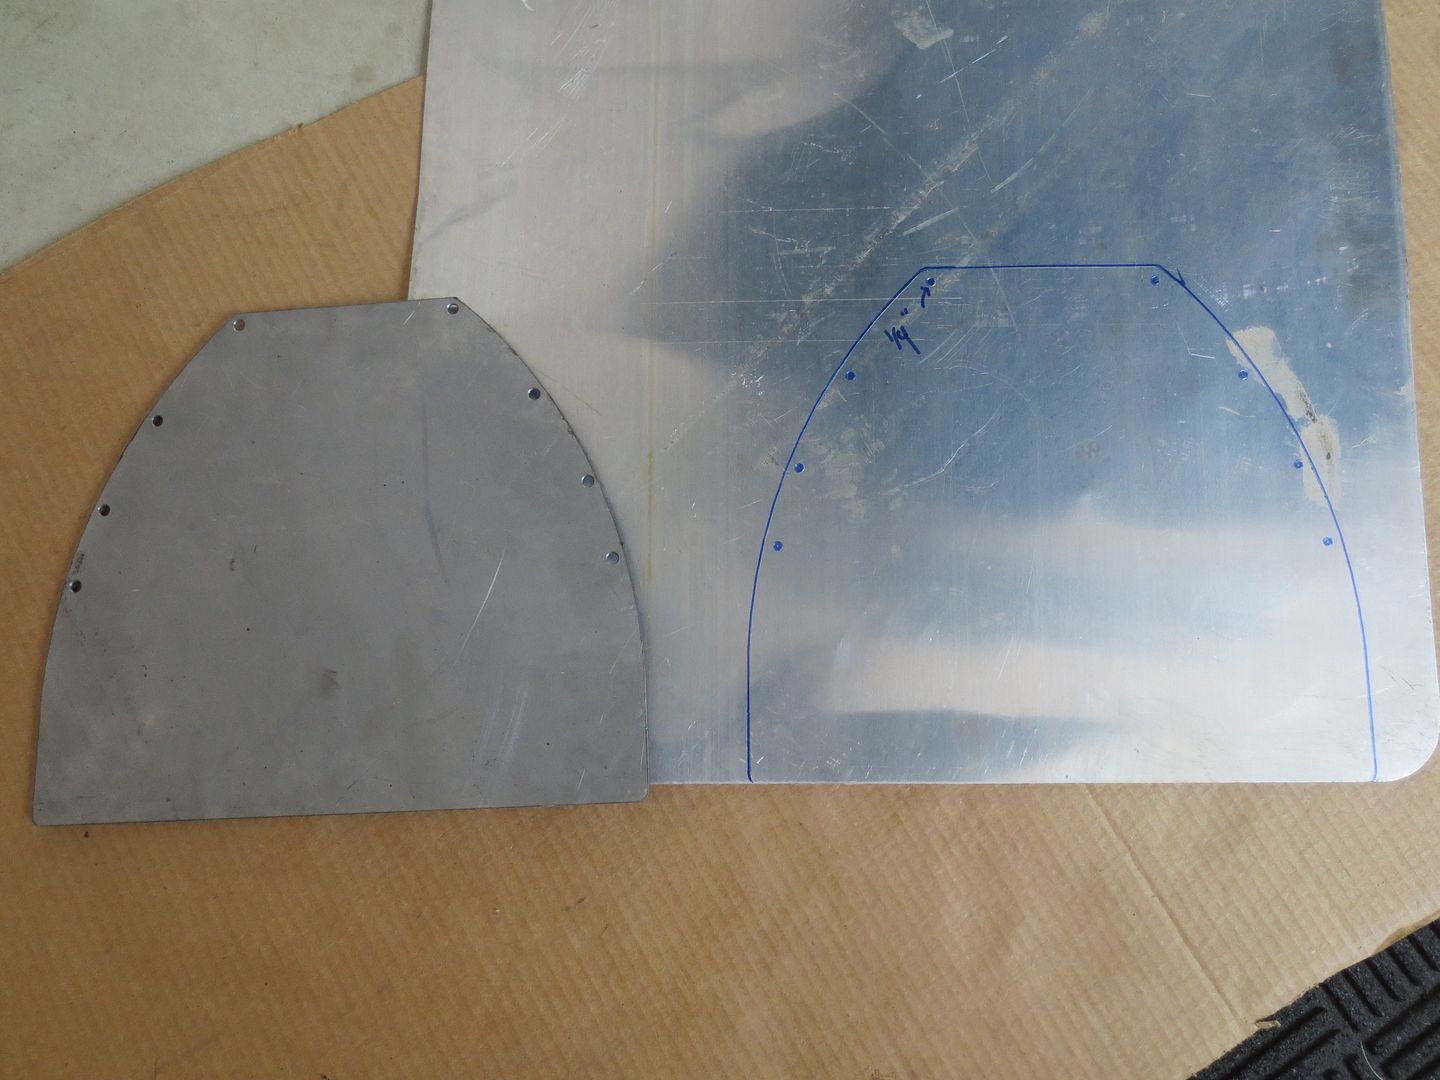
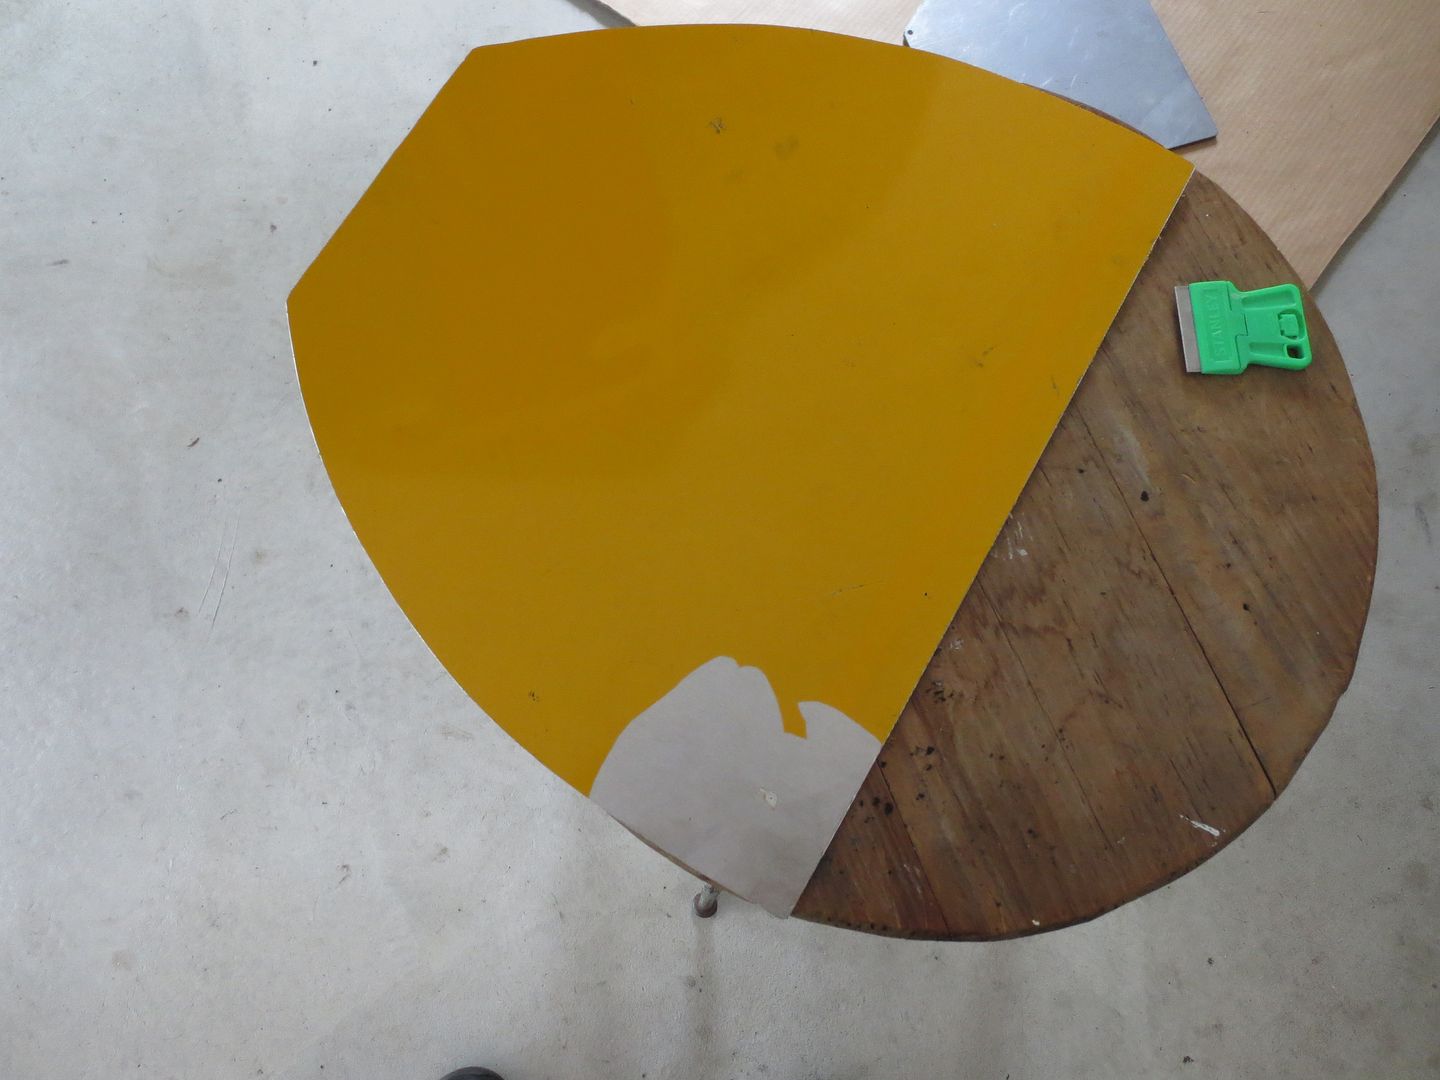
While I would have preferred a piece of 1/4" aluminum, I didn't have any down in the basement. I did have a thinner piece from my local supplier and I decided that it would be sufficient for such a relatively small piece that would only be defending against snow and ice.

I used the GarageStar skid plate as a pattern.

 photo Miata Skid Plate 017_zpsu5dzlzqa.jpg

 photo Miata Skid Plate 019_zpszt6xwgbg.jpg

The most time consuming part was removing the formerly decorative coating from the back side of my work piece.

 photo Miata Skid Plate 018_zpsjithlsqc.jpg

 photo Miata Skid Plate 022_zps2x6w9is2.jpg

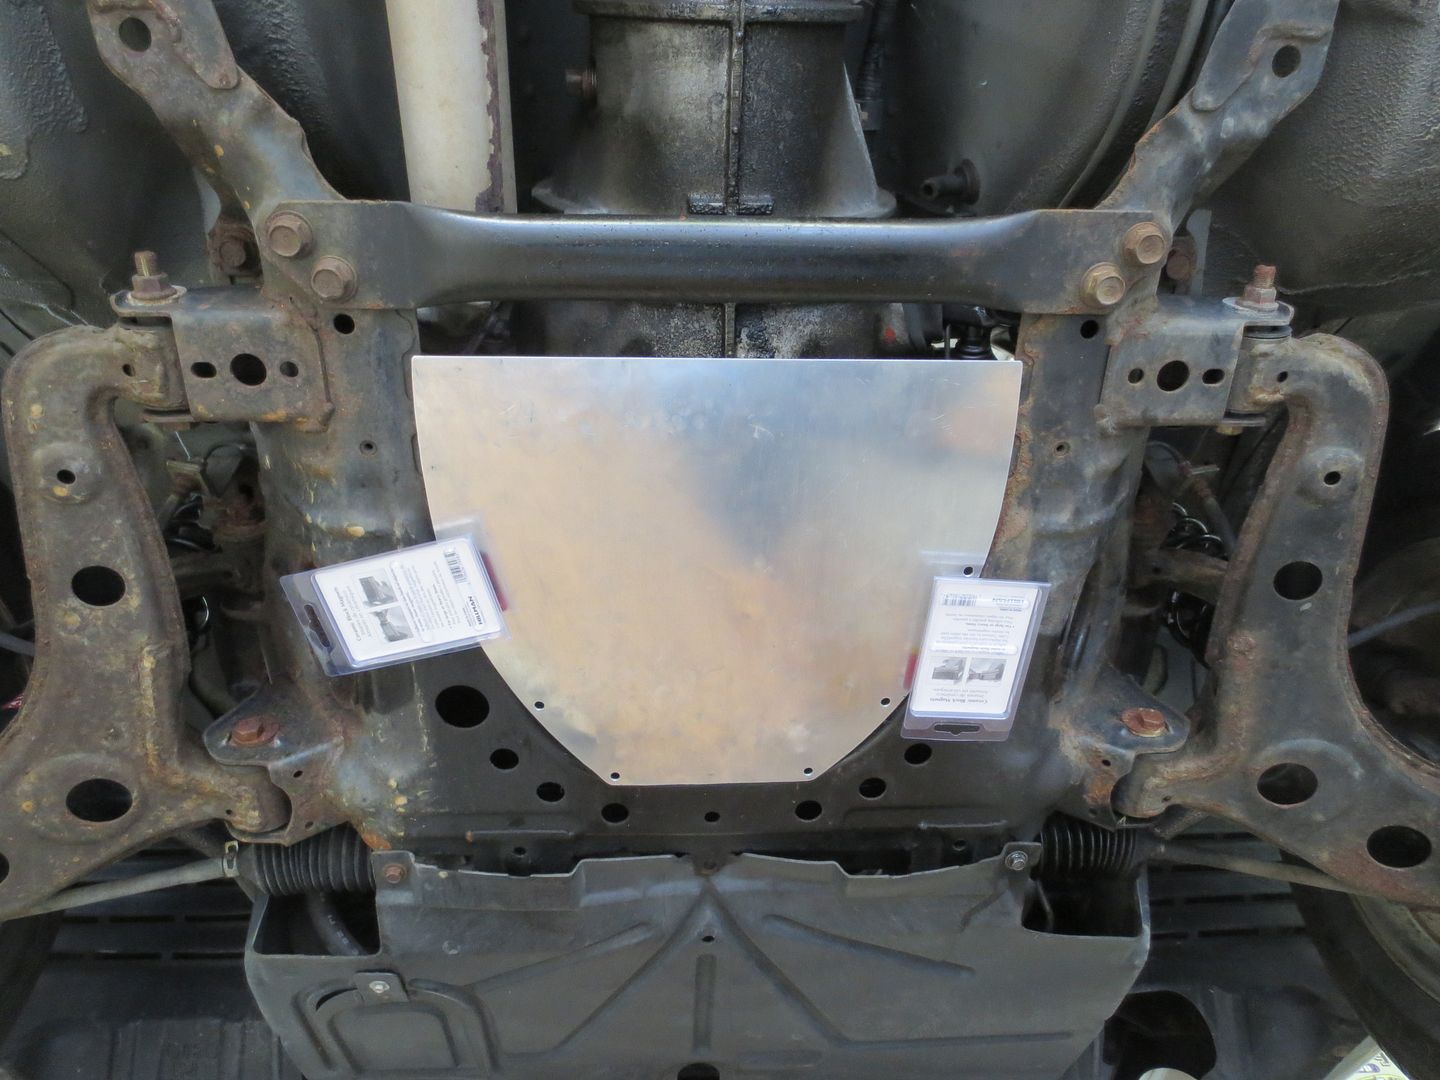
Here's what it looks like mocked up into place with a couple of magnets.

 photo Miata Skid Plate 020_zpscfabfxaw.jpg

If I decide that it needs to be a little stiffer, I'll bring it to a friend who has a bead roller and that should make it a lot stronger.

Woody
Woody MegaDork
9/1/15 7:52 p.m.

Today was a good day. I now have a parking brake.
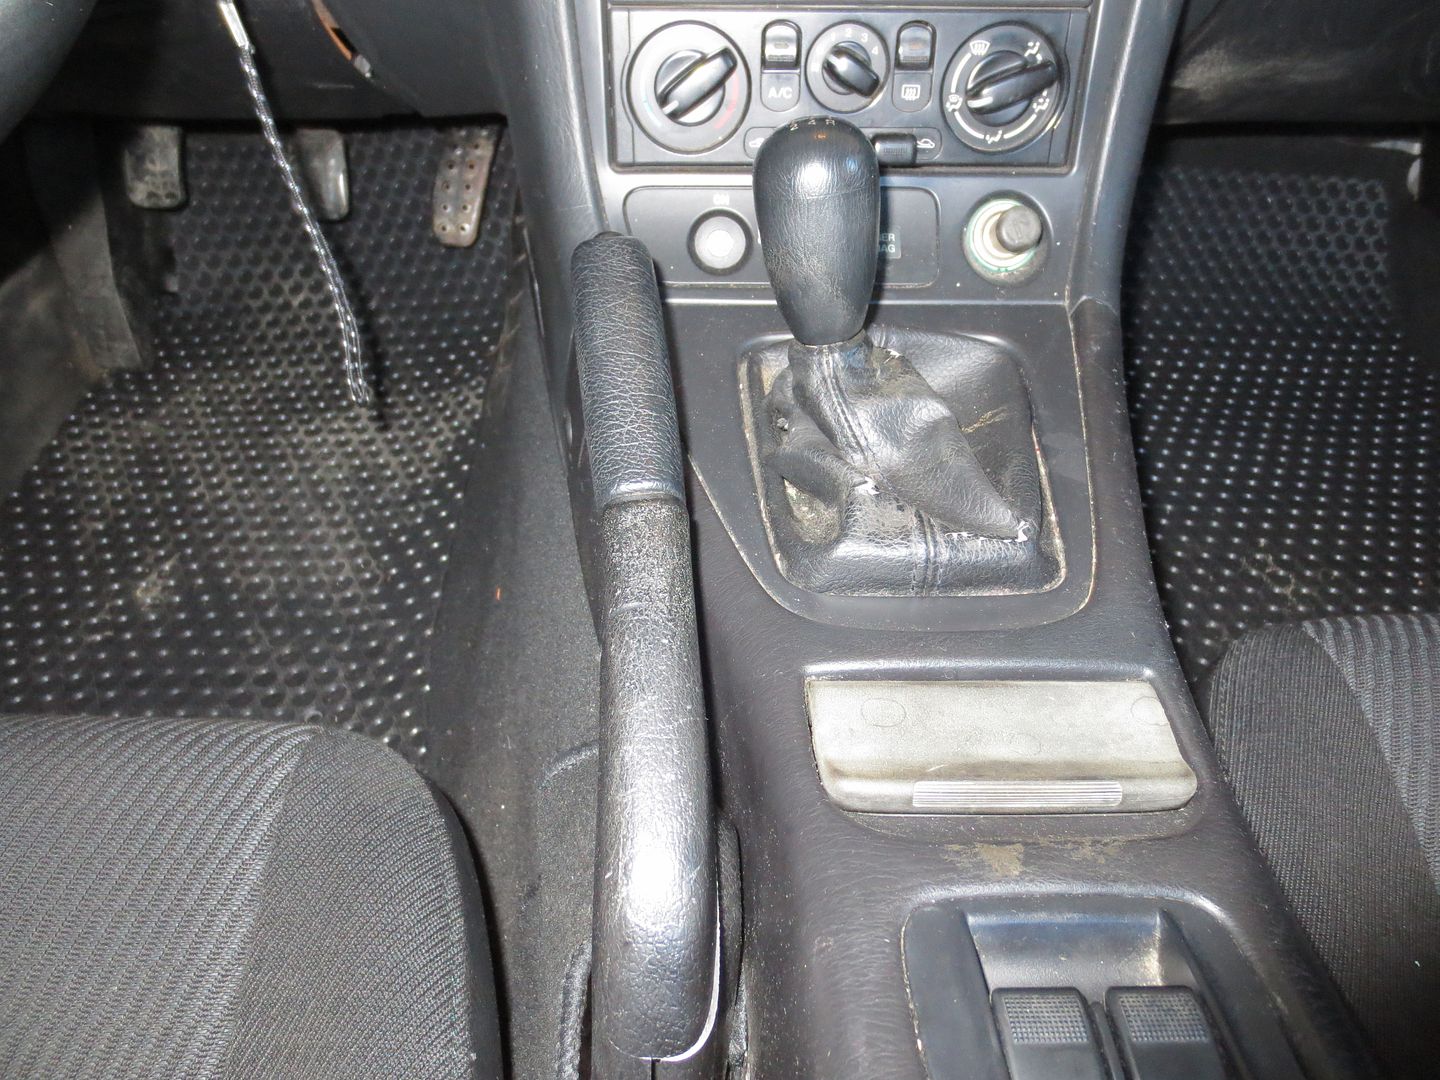
 photo Miataseatshims008_zps48d0af84.jpg

For as long as I've owned this car, the parking brake has been nothing more than a suggestion. Oh sure, I pulled it up every time I parked the car, but it never did anything. I know that there are people who never use them, but that's not me. It bothered me every time that I drove the car. I need a parking brake.

I made a few attempts at adjusting it, but even after installing new brakes and adjusting the rears with the help of the factory shop manual, I could never strike a balance between brakes that don't drag and a functional parking brake. As it turns out, the situation was the result of a combination of a faulty part and a couple of faulty mechanics, one of whom is currently typing these words.

There are three parking brake cables. The first goes from the parking brake handle to a balance adjuster in the transmission tunnel. From there, there are two cables, one going to each rear brake caliper. As I tried to adjust them individually, I wasn't getting the results that I was expecting. The system made more sense after I took a closer look at this diagram:

You can't tell from the illustration, but area where the two rear cables cross isn't visible from under the car. I was adjusting one side based on what I was seeing at the balance bar and things just kept getting worse. As it turns out, I was adjusting the wrong side.

Complicating matters was the fact that the passenger side cable's adjuster was pretty messed up. The car came with a replacement caliper installed on that side and I suspect that whoever installed it also screwed up the cable.

I decided to replace the bad cable. I figured that I should probably replace both at the same time. I couldn't find a part number for genuine Mazda cables on the Mazdaspeed site, and the thought of paying $40 each for aftermarket ones was making me chafe. Fortunately, I found a guy in Texas who was selling a pair of good looking used ones on eBay for $19.99 including shipping. I decided that they were worth a shot.
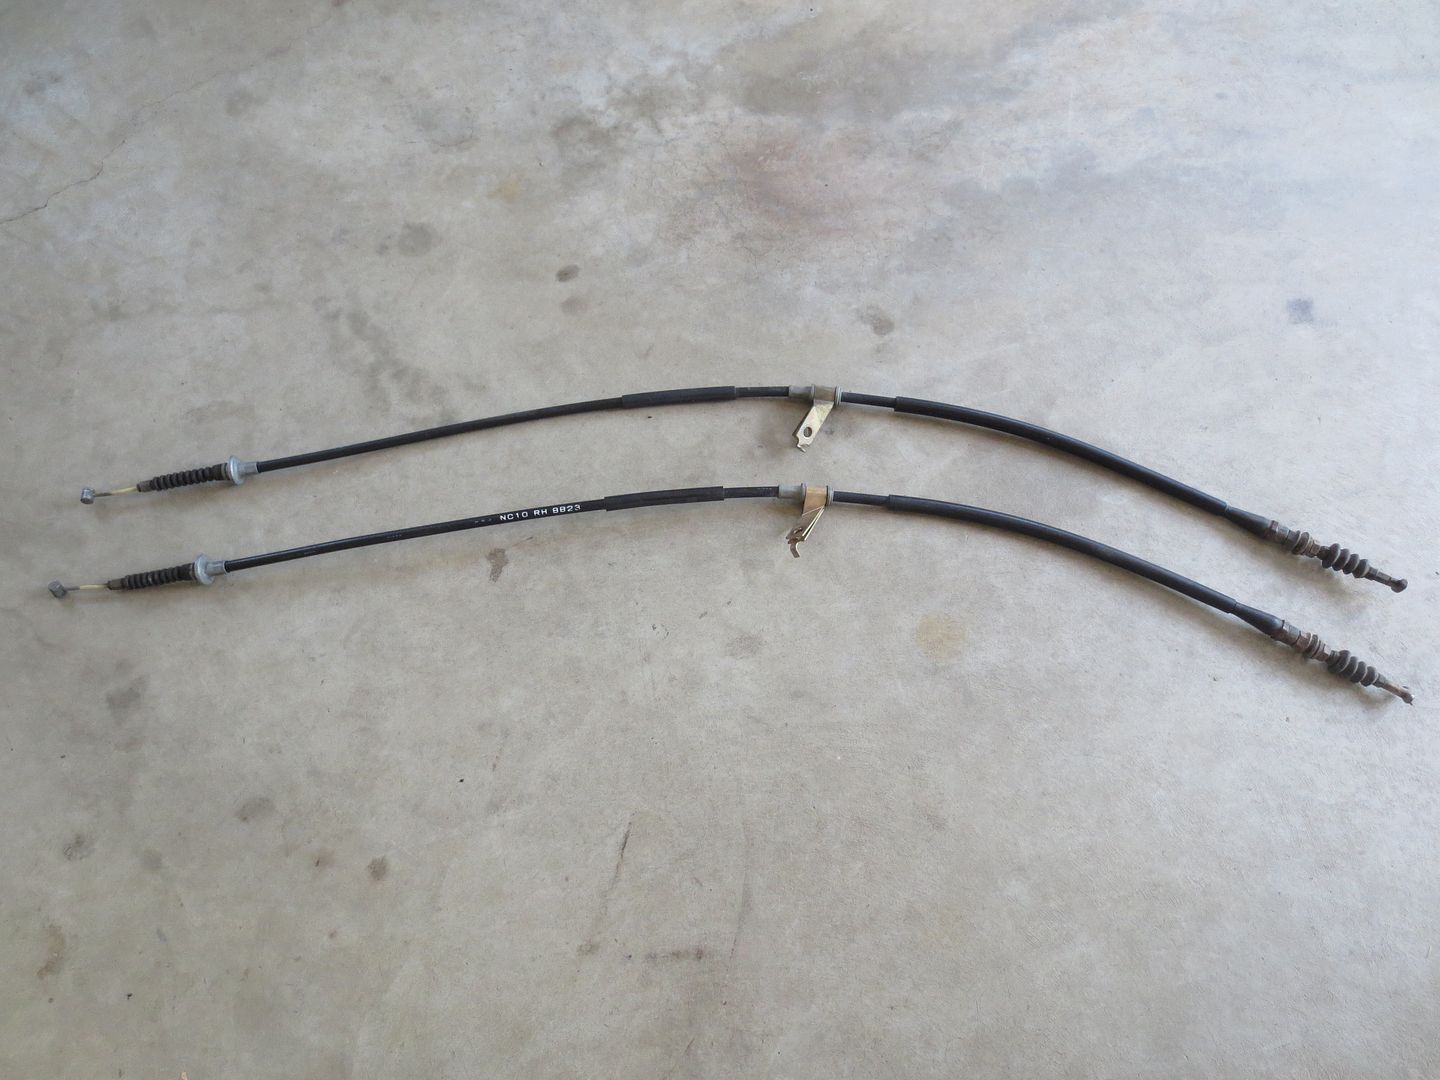
 photo Miata Parking Brake 001_zpsw8axkuri.jpg

It was fairly easy to disconnect the old ones, but before I pulled them out, I tied a piece of strong string to the front end. This was a good thing, because the cables snake around so many inaccessible and sharp things that I never would have gotten the replacements back in there without it. Even with the string, it was a little tricky.
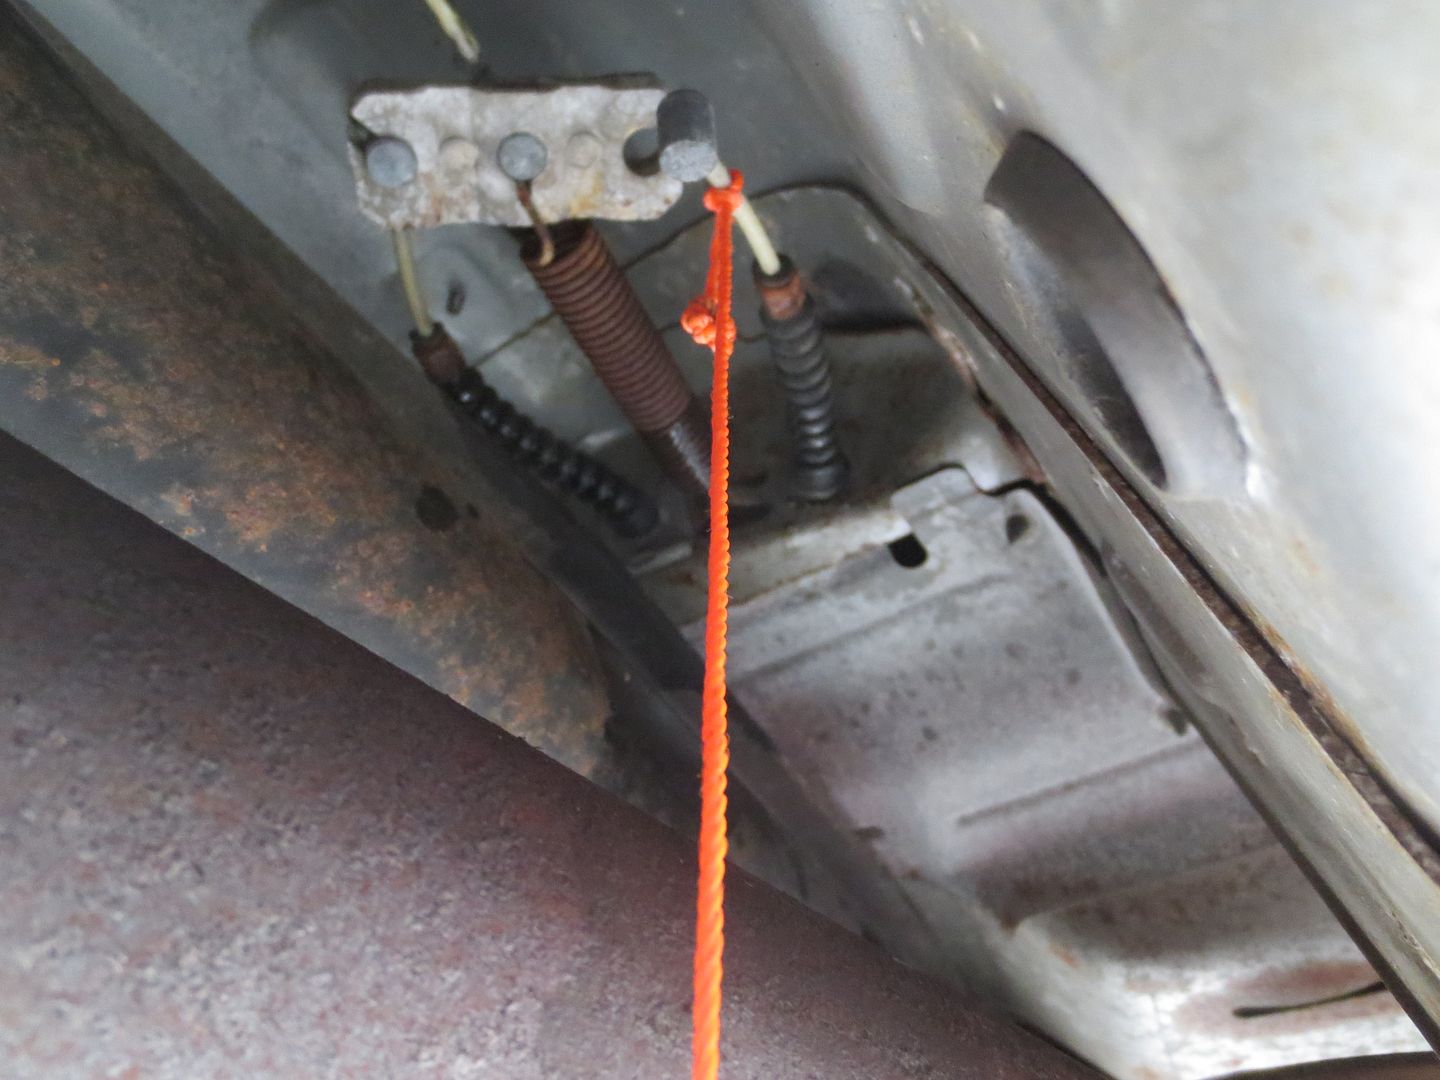
 photo Miata Parking Brake 004_zpspfazfata.jpg

Getting the cables out of the balance bar was fairly easy. It was much more difficult to get the new ones back in but I finally got them to fall into place with the help of a couple of pairs of long needle nose pliers.

There's one clamp about midway up each cable that bolts up to the frame.
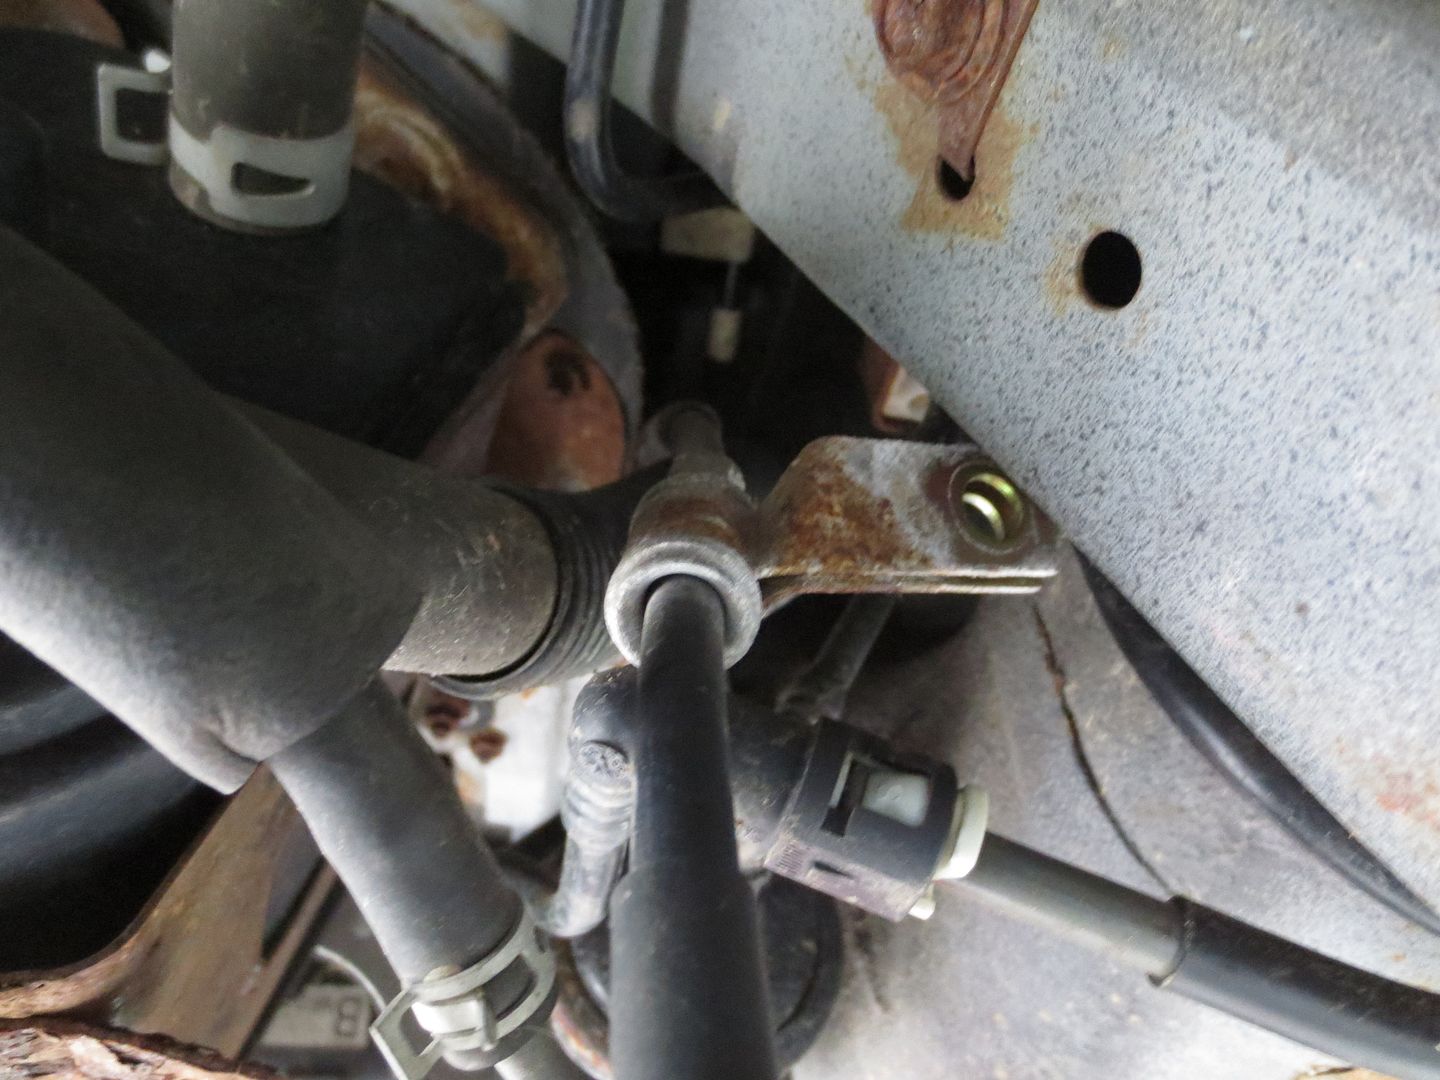
 photo Miata Parking Brake 006_zpslko6bh9h.jpg

Before connecting the cables up to the calipers, I readjusted the rear brake pads. This step seemed to make all the difference. When I replaced the rear brakes a few months ago, the bad cable was preloading the caliper. The brakes appeared to be adjusted correctly, but the preload was screwing up the parking brake balance.
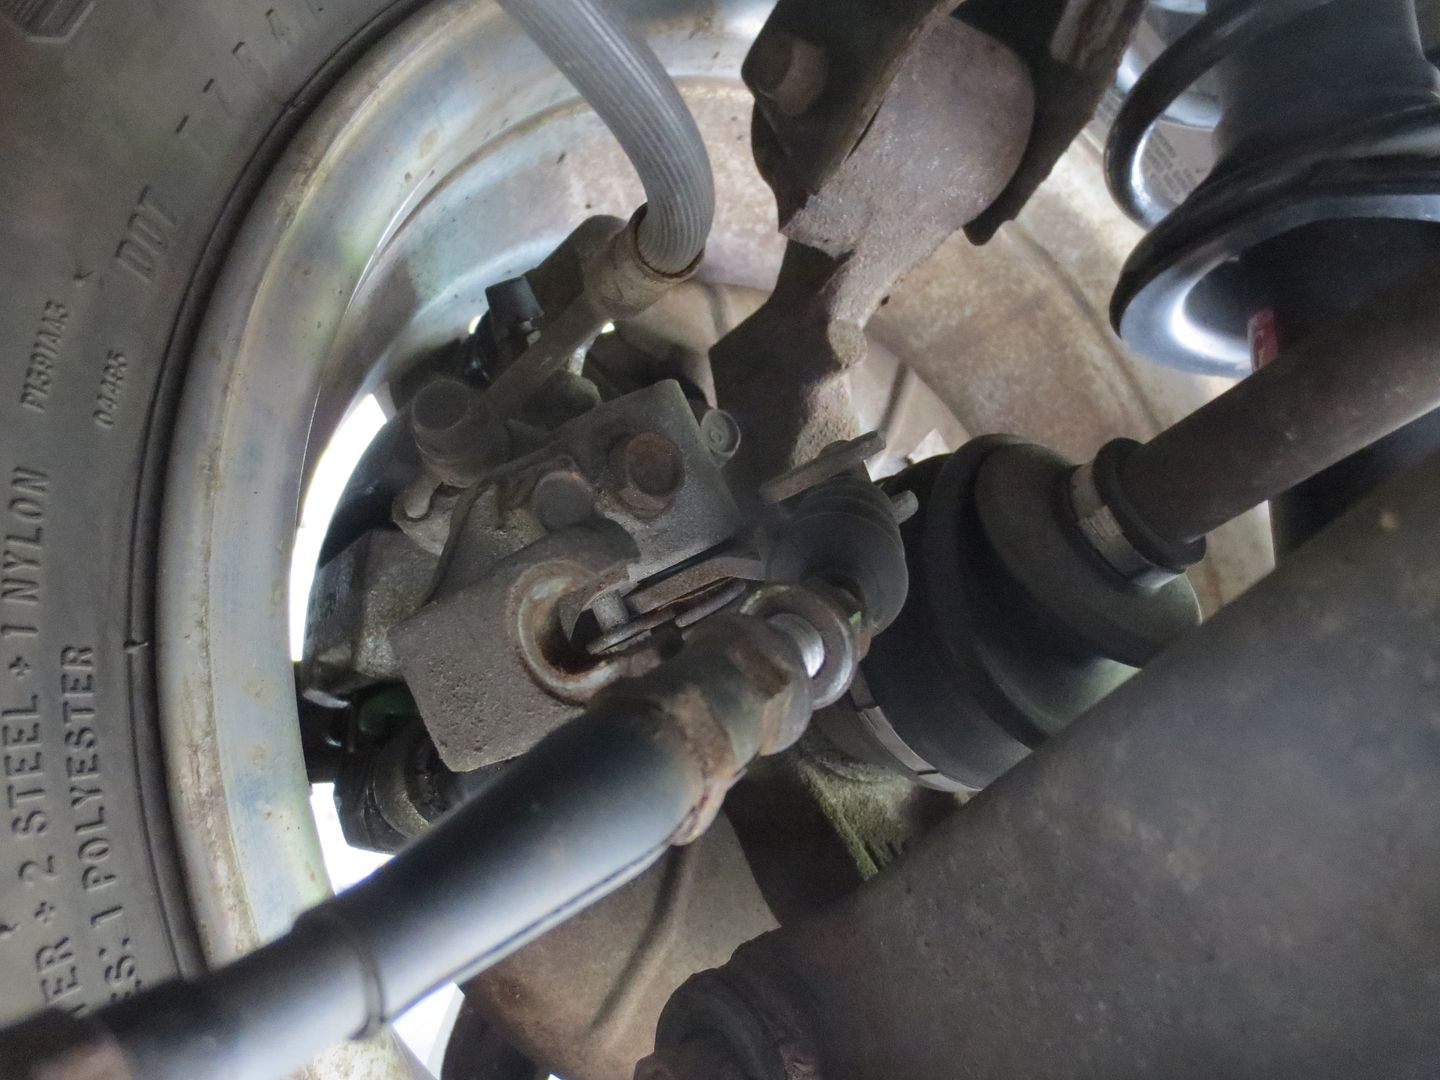
 photo Miata Parking Brake 005_zpsuxfwpc33.jpg

Then all I had to do was connect the cables to the calipers, tighten them down to the brackets and then adjust the tension using the adjuster at the parking brake handle. I don't have a photo of the actual adjuster, but it's a long 10 mm nut hiding between the lever assembly and the transmission tunnel.
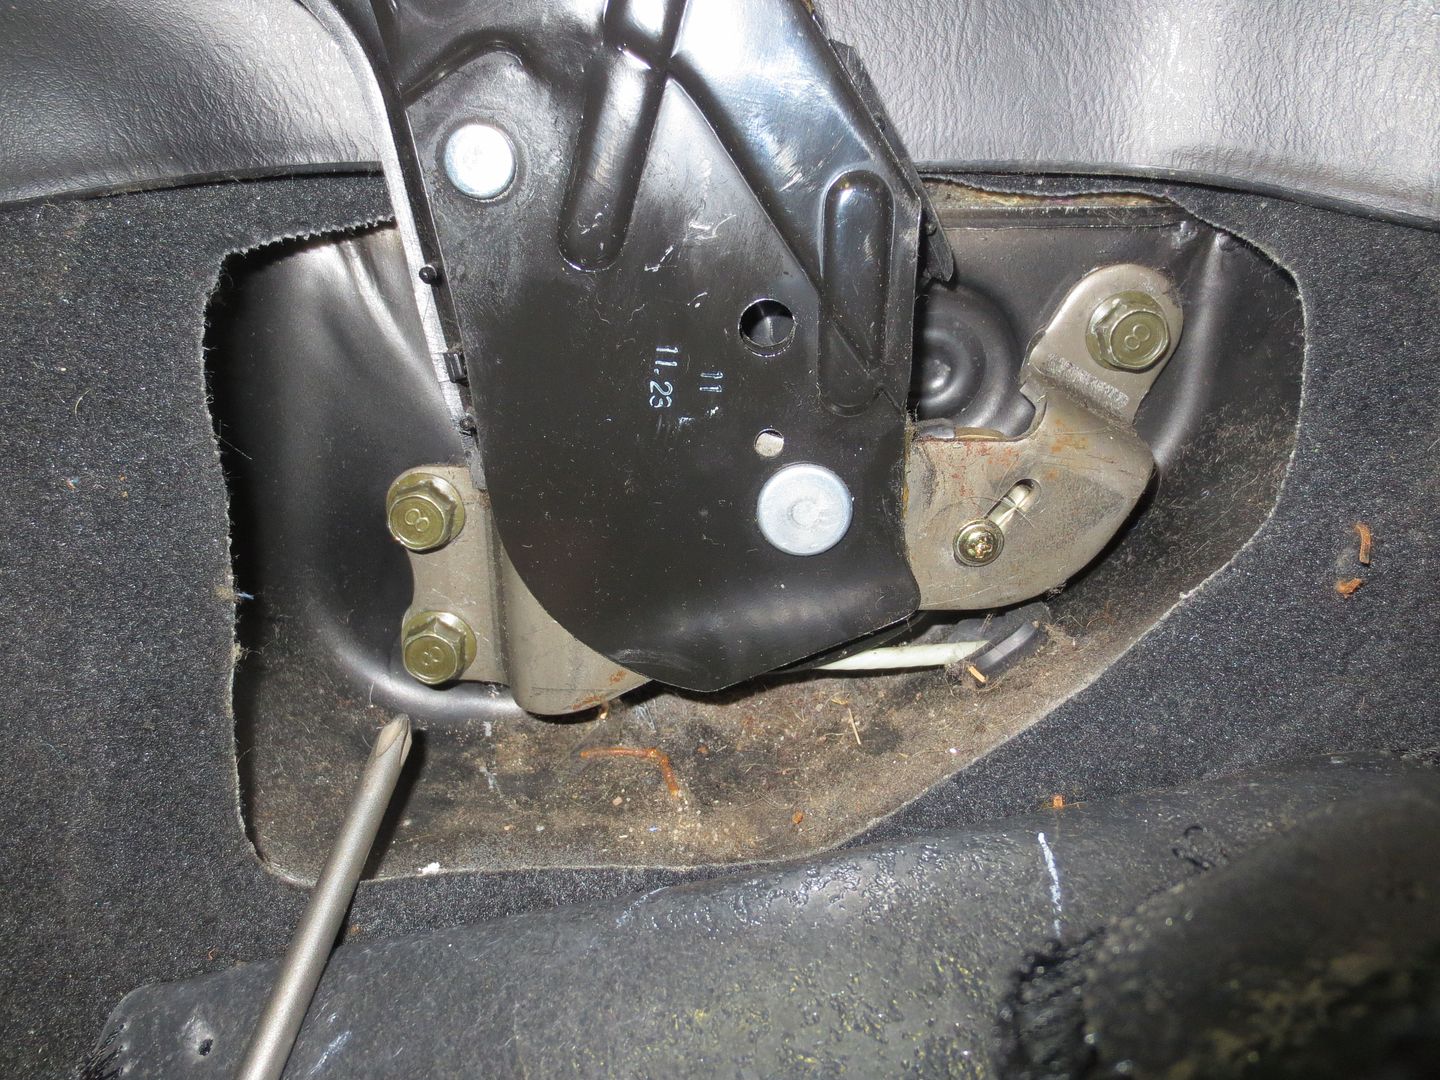
Now the rear brakes are properly adjusted and the parking brake holds the car as securely as it should. This takes care of the last annoying mechanical flaw on the car.

Woody
Woody MegaDork
9/27/15 8:44 p.m.

Back to the skid plate: Oil changes just got a whole lot more PainInTheAss-y.

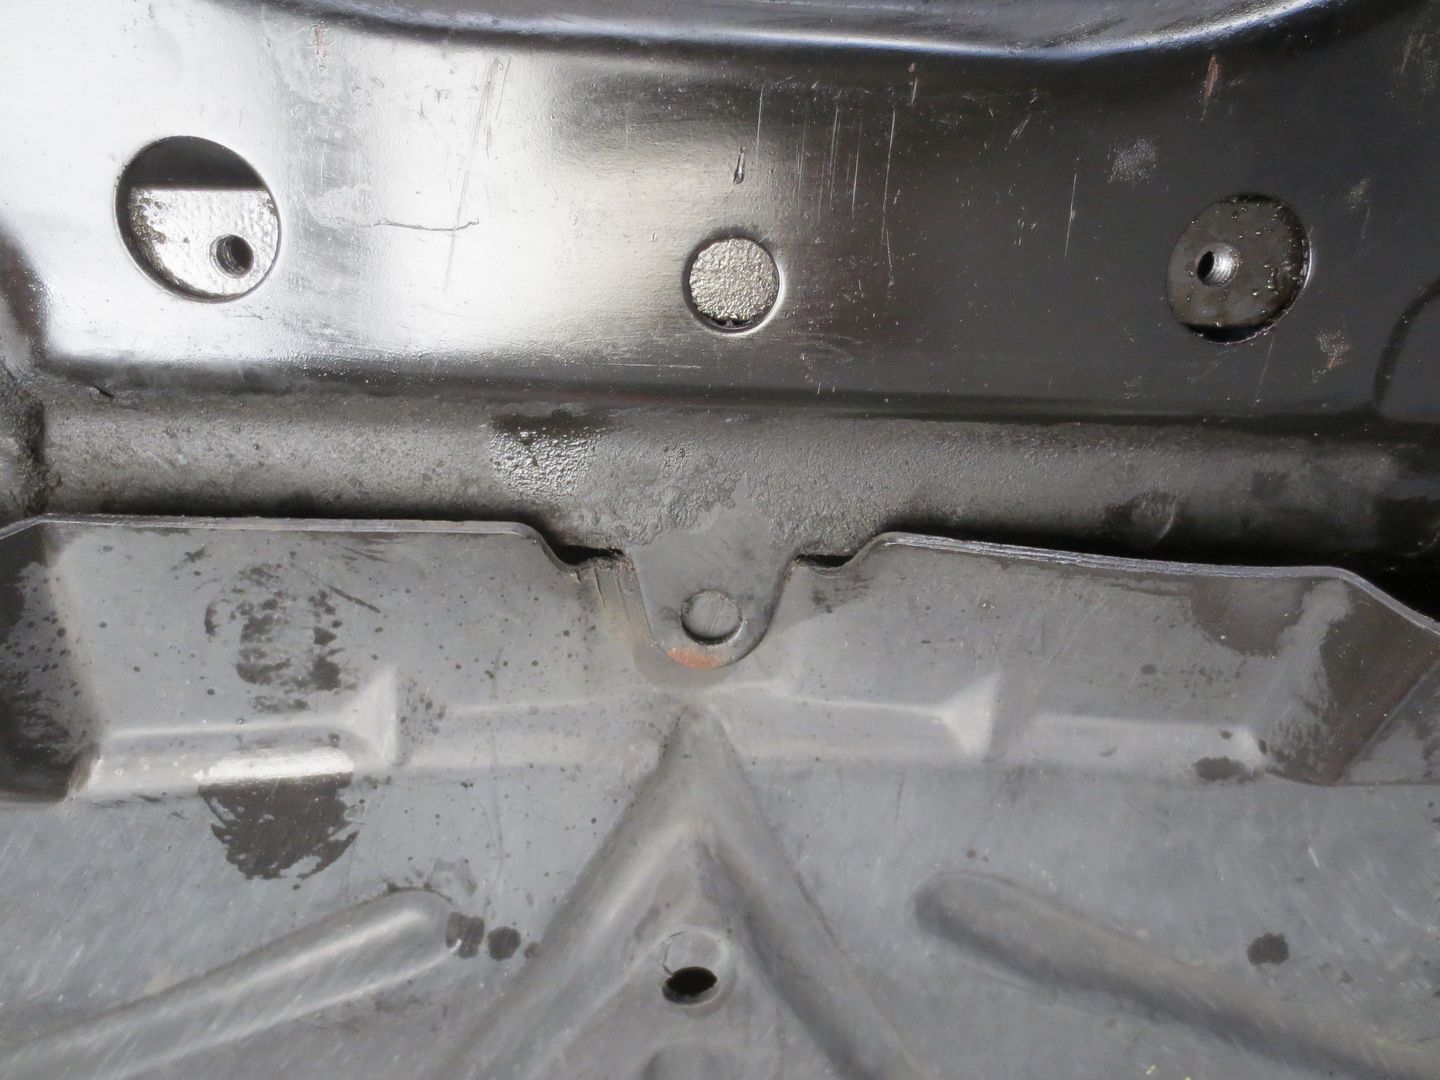
Fortunately, the first thing that I did this morning was change the oil. With that out of the way, I got to work on the skid plate. As you might recall, I used the heavy steel GarageStar piece as a pattern to fabricate a much lighter one out of aluminum. The GarageStar skid plate didn't come with any instructions, and installation wasn't exactly intuitive. The photos on their website indicate that the plate was supposed to sit up into the small recessed area on the subframe, but the fit wasn't right and the lip wasn't really large enough to drill holes in.

 photo Skid plate 005_zpsgb7qfanv.jpg

No good:

 photo Miata Skid Plate 020_zpscfabfxaw.jpg

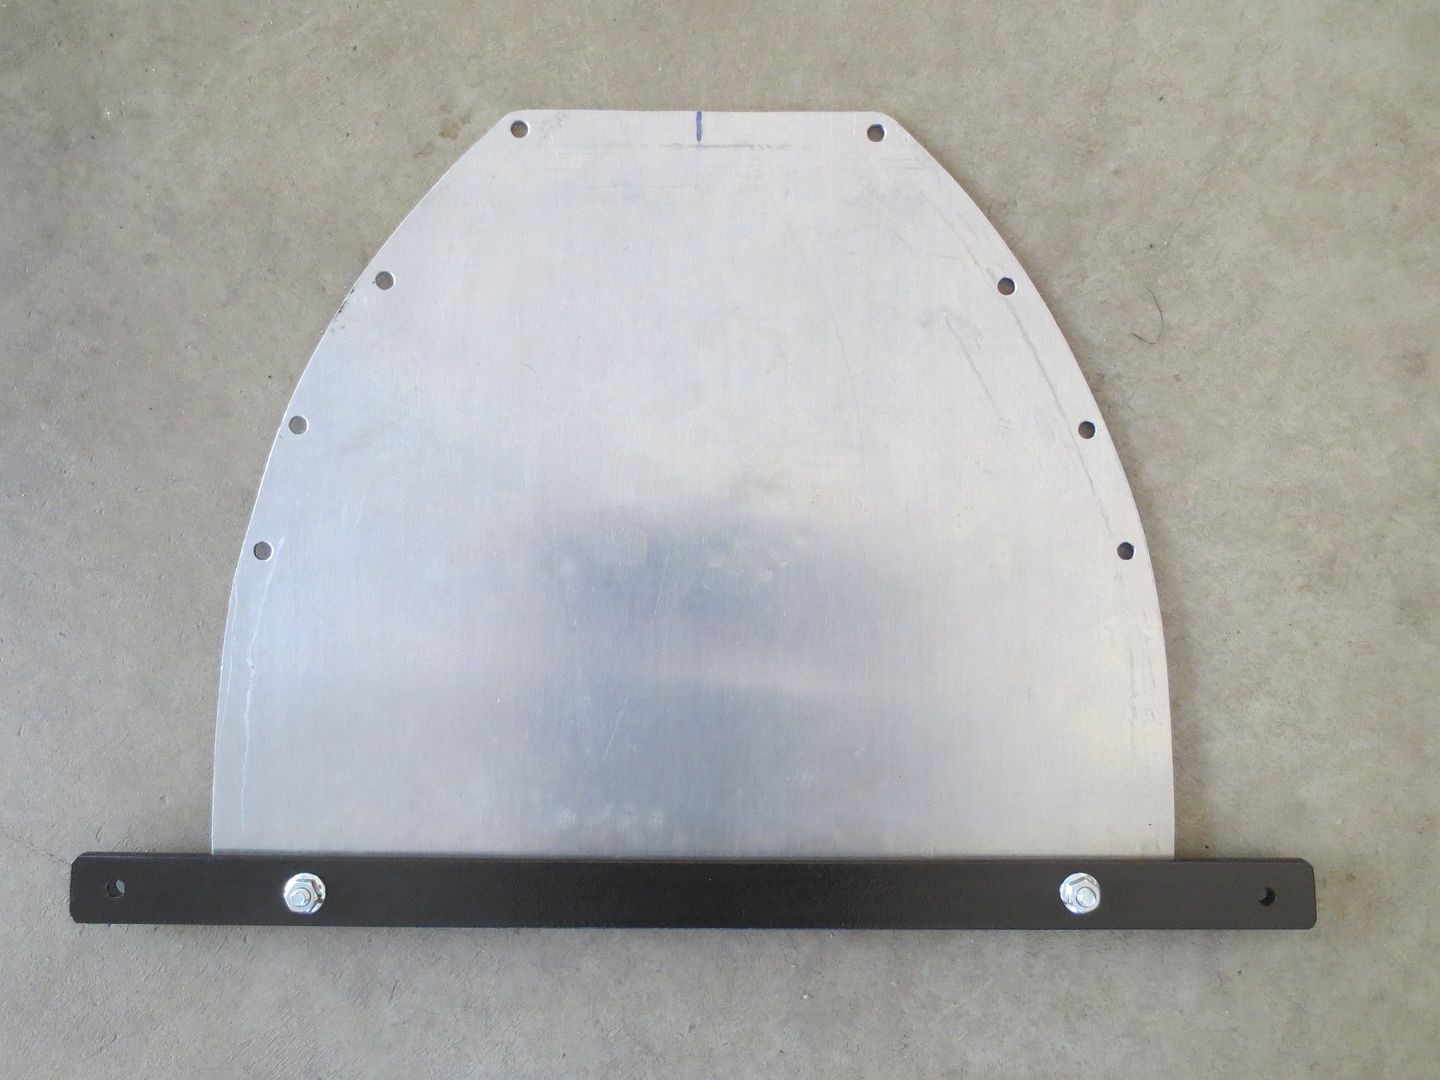
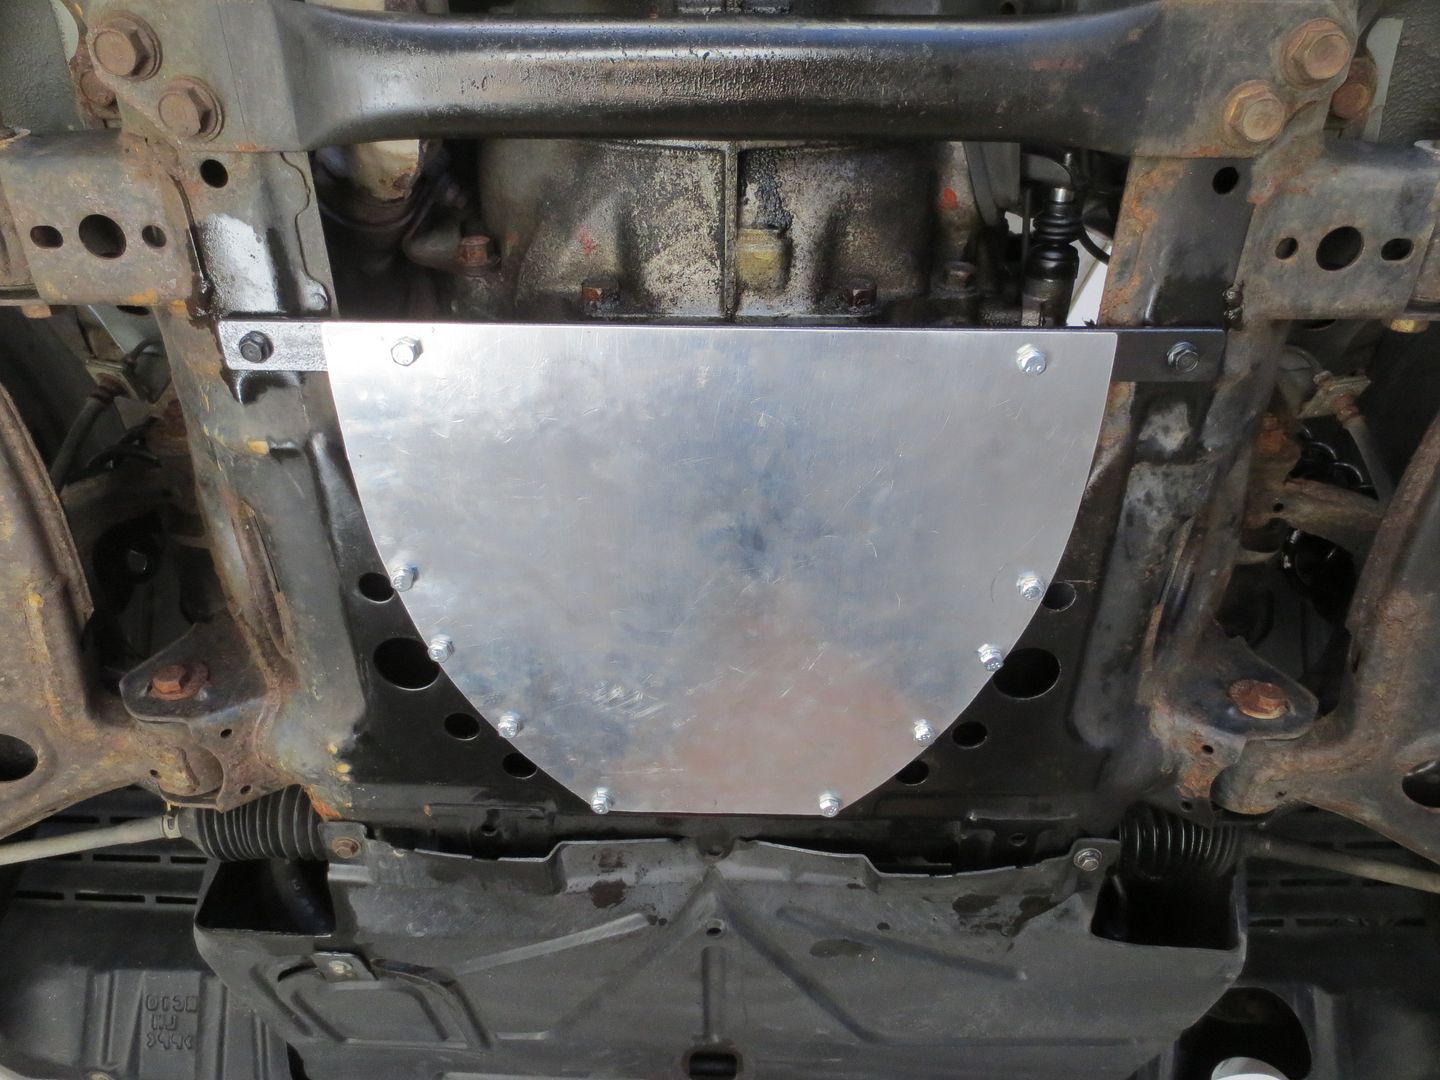
Eventually, I realized that I would need to move it down off the lip and forward a few inches. I would also have to fabricate a rear support for it. This was fairly easy as there is a small flat area just ahead of the front frame crossmember. As a bonus, there is also a threaded hole in the center of each flat. I cut an 18" long piece of 1" x 1/4" flat steel, drilled a couple of holes in it and bolted it between the frame rails. When I lined up the back edge of the skid plate with the edge of my new steel support, it became obvious that the front of the plate would be exactly where I needed it to be. I would use the skidplate as a template to drill a few more holes in the subframe, and use the existing holes to access the the nuts that would hold the plate in place.

I drilled a couple of new holes and bolted the rear of the skidplate to my new support. I would now be able to temporarily bolt it into place so I could drill the forward holes exactly where I would need them.

 photo Skid plate 012_zpsostfk2jc.jpg

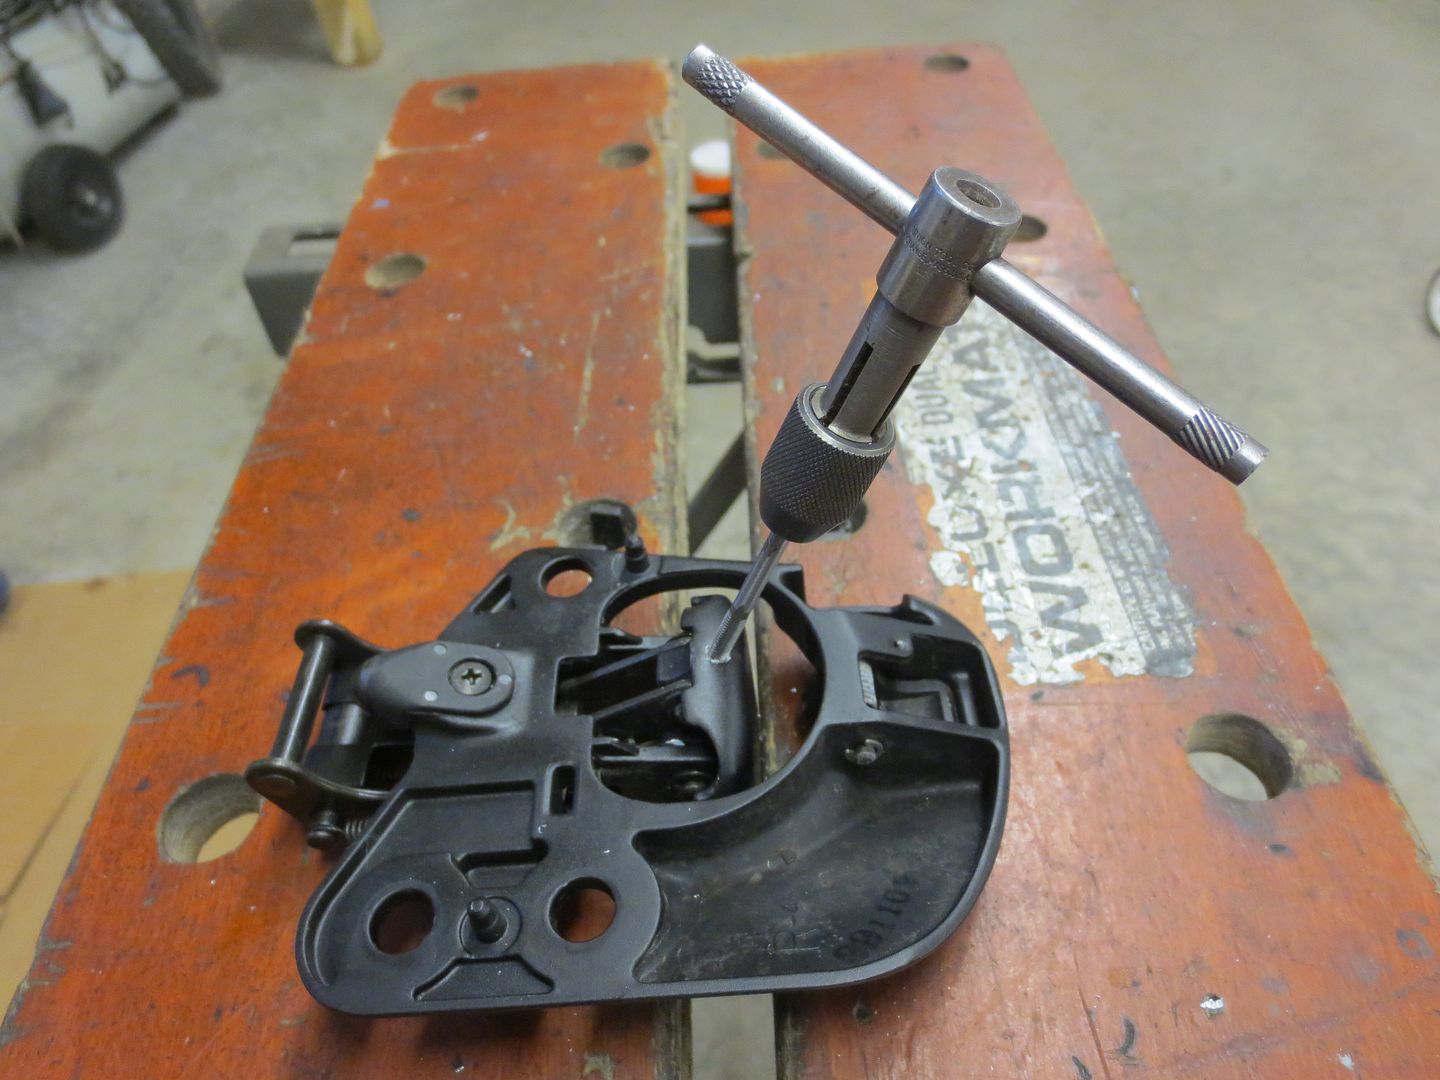
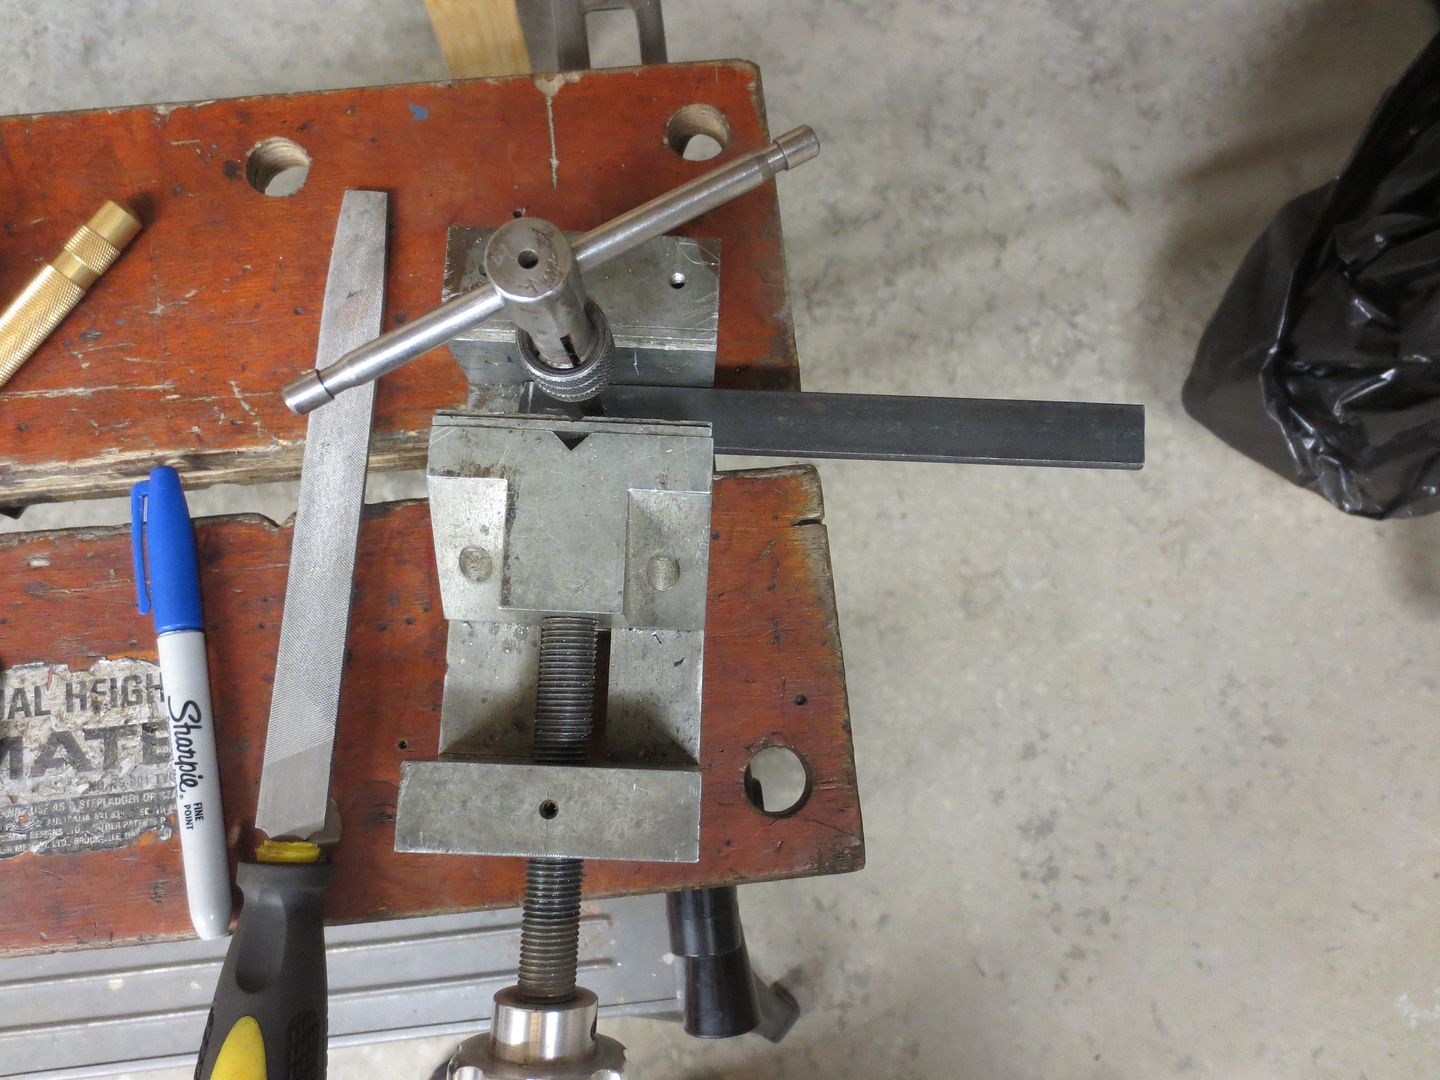
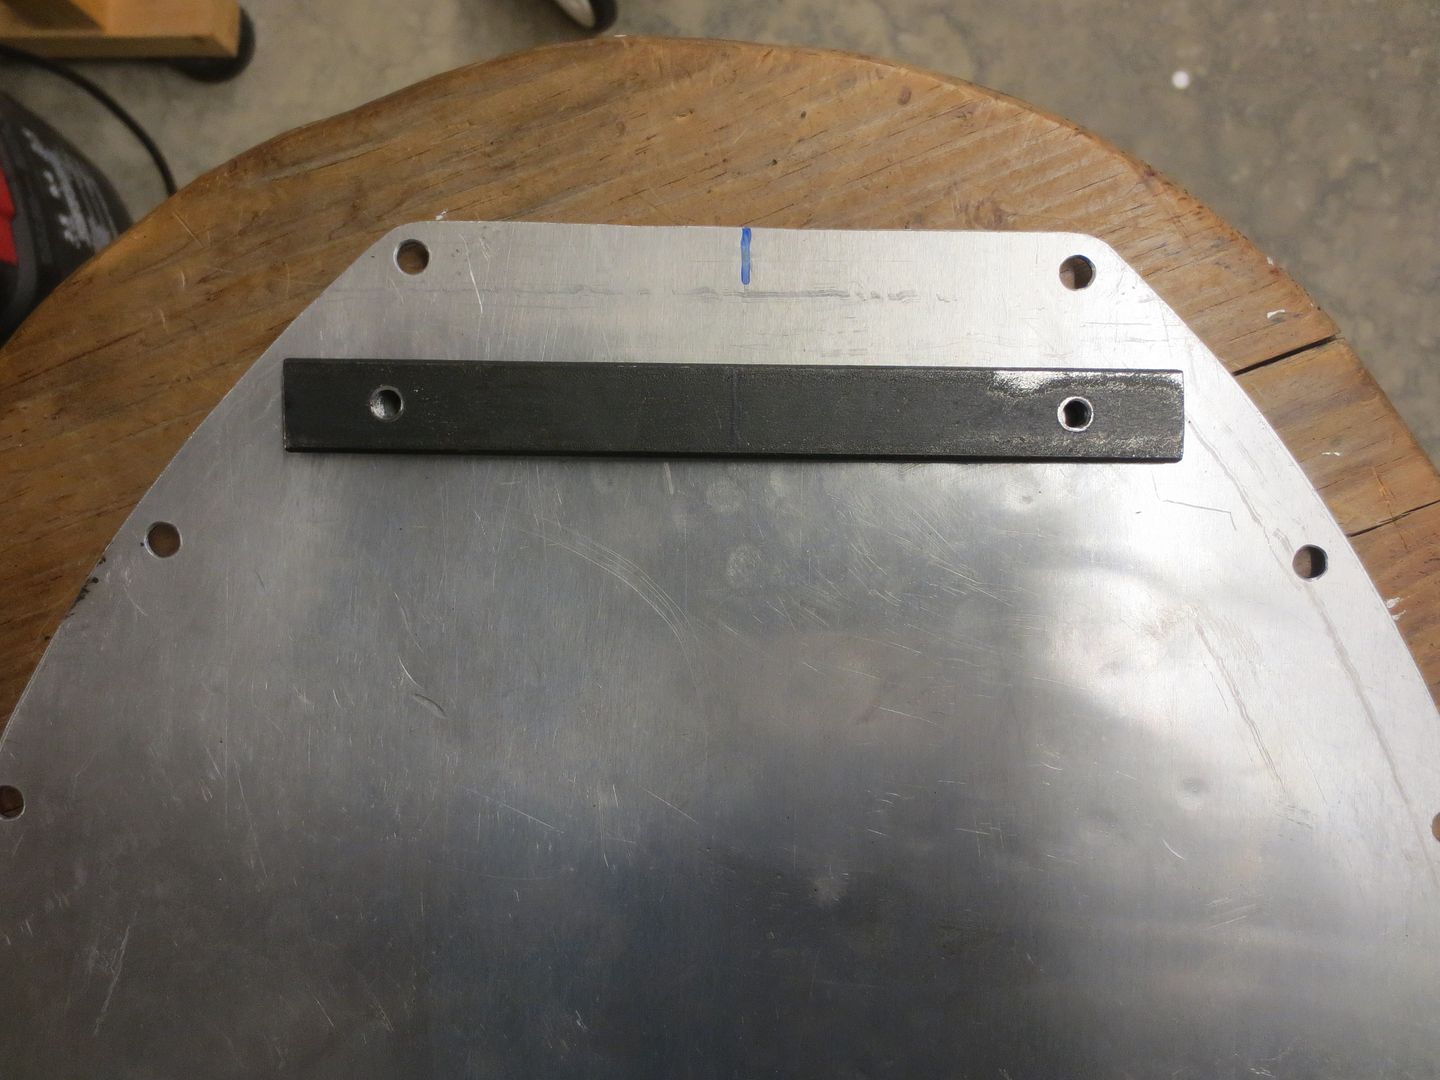
The only snag was the front holes in the skidplate, would be directly below a pair of larger existing holes in the subframe. Also, there would be no way to get at the nuts for the forward bolts. I addressed this by cutting a short piece of 3/4" x 1/4" steel, and then drilled and tapped the holes for the mounting bolts.

 photo Skid plate 008_zpss8ddfynn.jpg

 photo Skid plate 010_zpsga1rerdl.jpg

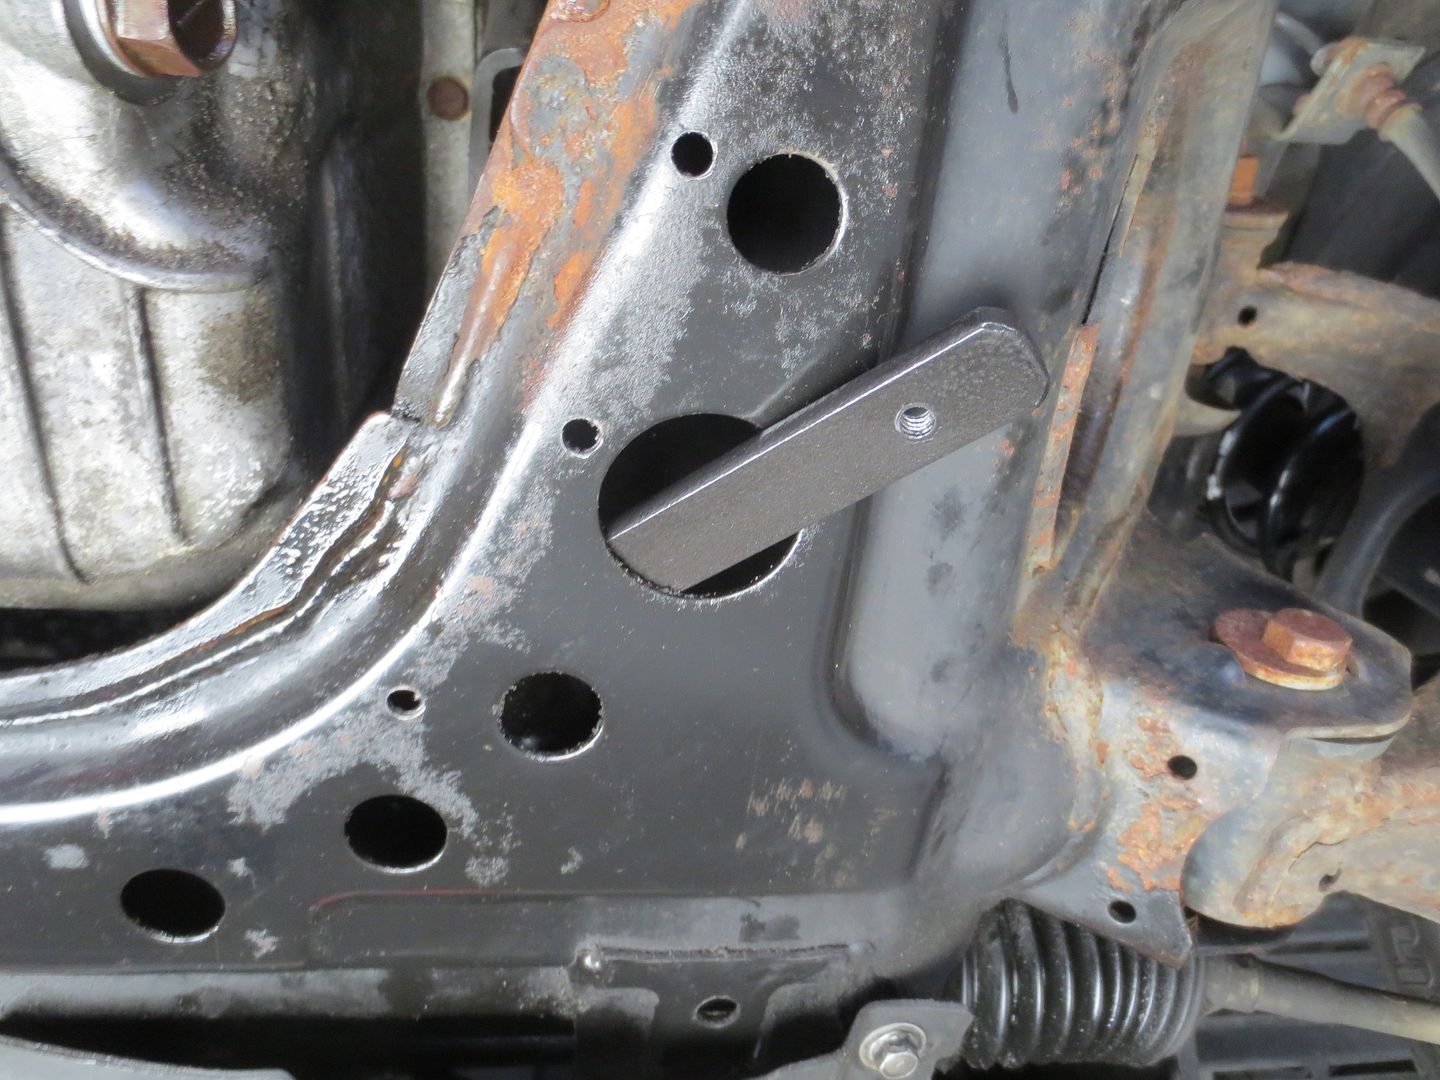
Next I slipped the steel plate up through one of the larger holes in the subframe and worked it forward and lined it up with the front holes in the subframe. Now I have a solid backing plate inside the subframe, and I'll be able to tighten the bolts without having to get a wrench on nuts that I would never be able to access.

 photo Skid plate 013_zpspnrtfoh6.jpg

 photo Skid plate 014_zps9ljultd4.jpg

For the remaining three bolts on each side, I was able to get a flanged nut up through the larger holes and tighten the bolts from below without needing to get a wrench on the nuts.

 photo Skid plate 017_zpsjuyboo1z.jpg

It will be a bit of a PITA to remove, but having changed the oil this morning, I'll be good until the end of the Wintercross season. I'll leave it off when Spring rolls around.

I'm very happy with the way that this turned out. It's strong and stiff. I don't know if it would be tough enough for rallycross, but it should be more than adequate for the snow and ice that I need it for.

Woody
Woody MegaDork
9/27/15 8:58 p.m.

It's also worth noting that, mounting the skid plate the way that I did, I didn't need the engine lift plates. They're on the car, so they will stay there.

I do, however, have a brand new GarageStar steel skid plate with mounting hardware that's for sale if anyone is interested...

NickD
NickD Reader
9/28/15 5:18 p.m.

I feel your pain about the handbrake on Miatas. The one in my 1990 is the bane of my existence and always takes like 3 attempts to get right.

5 6 7

You'll need to log in to post.

Our Preferred Partners
NMU0BjENQdtWnCBW8fFa9VGeJUgPeaXLEJJUCnfG1osAPho5B34DrSyT9RhgSavl