Awesome. Your project is almost done. Nice work.
For your next trick, bring this thing to a dragstrip an see what it can do. Then publish a "Lessons Learned" post, showing your biggest triumphs and failures throughout. This is one of those rare projects that actually gets finished. Wrap it up and let see some dragstrip videos!
hmm
you have to see the first and last updates to really get a feel for just how much work you did. Especially in such a short time.
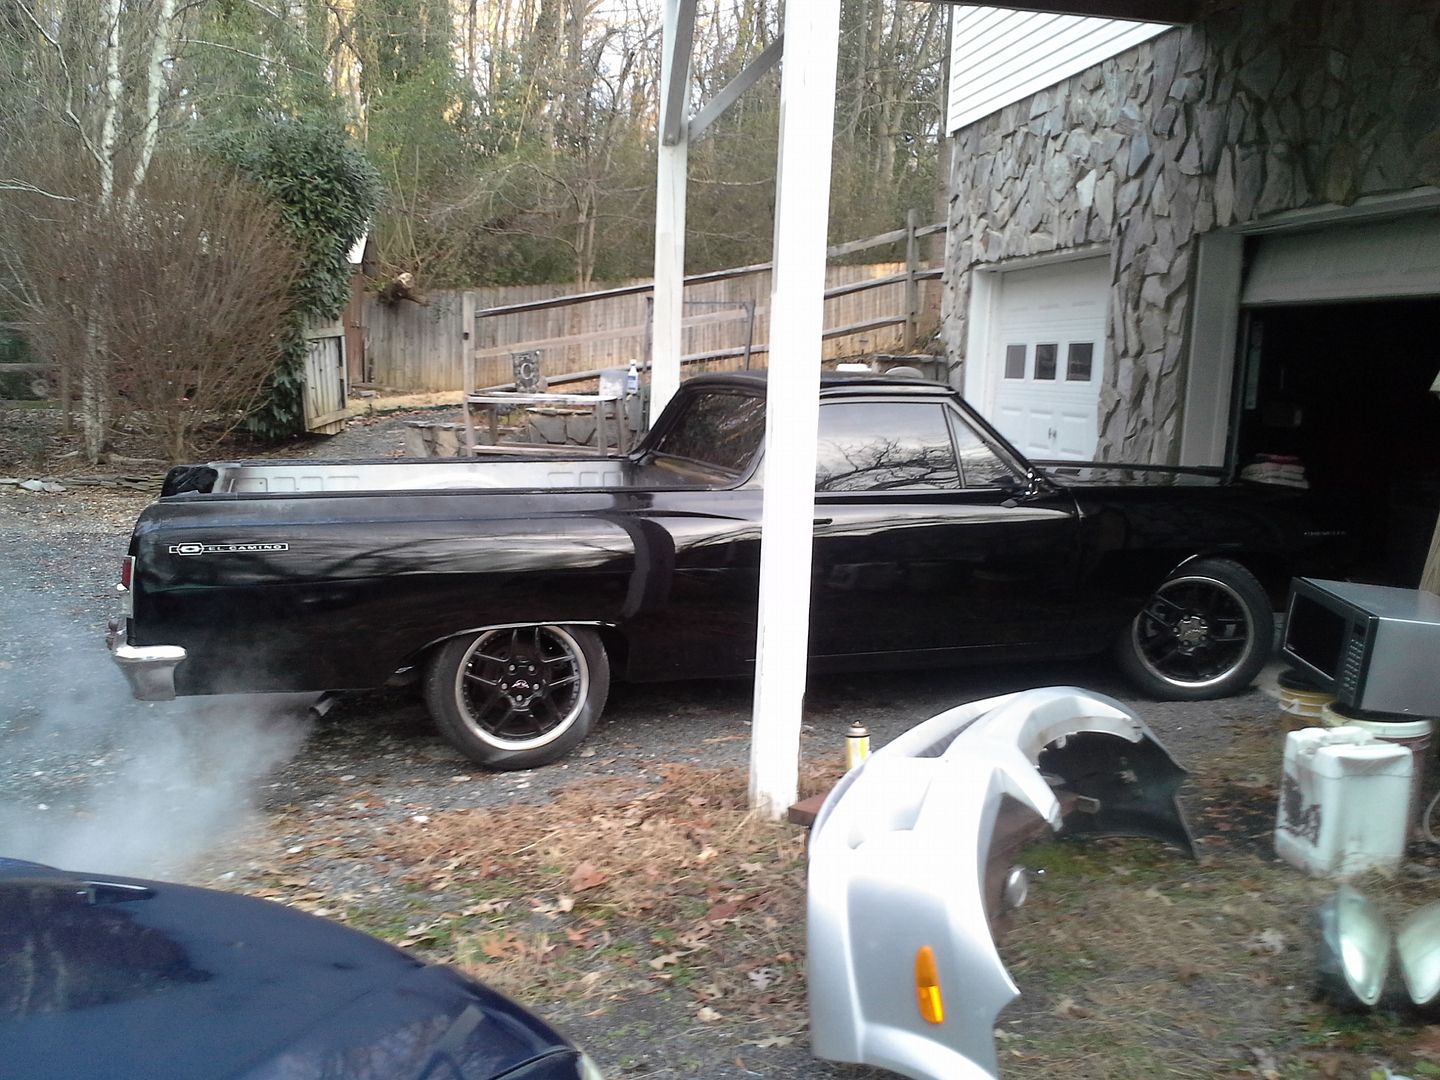
It probably says something about us car guys that we call this done
Still have wiring, interior, and bed finishing up to do.
Thanks, all. I really appreciate the feedback.
And much beyond this. But it's a good starting point. ..
And updates when I can find the floor of my shop again. I bought stuff. And paid the man...
Its back in the shop, but computer is currently broken, so no updates at the moment.
Needless to say that chasing water leaks turned into a three daythrash that resulted in me finishing wiring, rebuilding the heater box, redoing the smugglers compartment, etc.
But I still have four berkeleying leaks. One in every corner.
Time for more seam sealer....
so, budget first:
previous total: 10,121.07
money spent:
new body guy: 320
ac condenser, eBay: 56.99
ac bulkhead fitting: 13.38
throttle linkage, eBay: 15.49
jump terminals, eBay: 22.35
fuel gauge, swap meet: 5
ac plumbing parts, eBay and oreilly: 94.95
wiper motor, door jamb switches, rear disc pads, longer wheel studs, oreiiley: 146.92
heater core, oreilley: 41.56
hid conversion, EBAY: 39.99
clear bumper lights: FREE!
heater box rebuild kit and new door handles, NPD: 80
custom upper control arms, UB machine: 200 after selling old control arms
nardi raid steering wheel, eBay nos: 49.45
raid adapter, eBay nos: 30
new total: 11,237.15
well, apparently I just blew by 11k and I'm still not done. damn......
you also may want to get something to drink. this is going to get long and interesting.
anyway, long time, no update. last time we were here, I was dropping the truck back off with the body guy for the tailgate, wet sanding, buffing, and bed lining while I did a customers truck. first up, ill post a couple of pics of the customers truck. not my style, but not my truck. did full march serpentine conversion and a bunch of billet, dropped in the 302/c4 combo, billet everything on the interior, full wiring harness, fuel system, ac, etc. lots of work. but it turned out pretty good. kicked my ass though. every step of the way. I hate that truck....
[URL=http://s54.photobucket.com/user/dusterbd13/media/customer%20cars/20150311_085415_zpseflktpzg.jpg.html]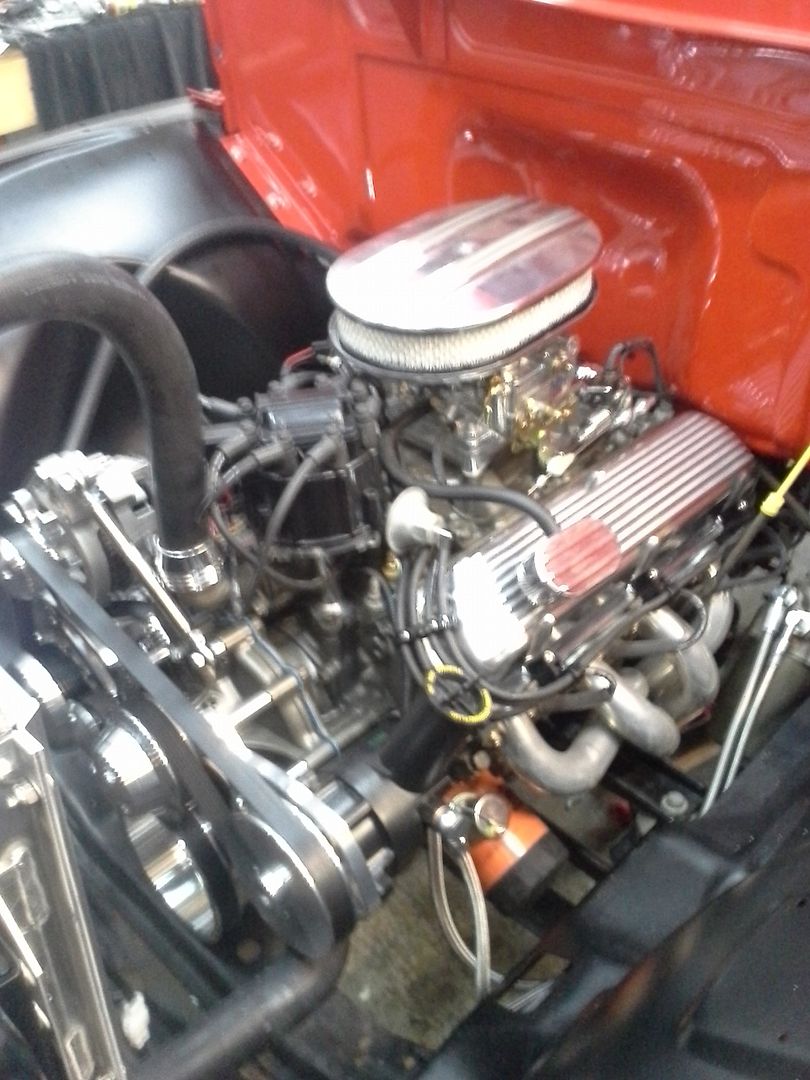 [/URL]
[URL=http://s54.photobucket.com/user/dusterbd13/media/customer%20cars/20150311_085445_zpsbtwzeicp.jpg.html]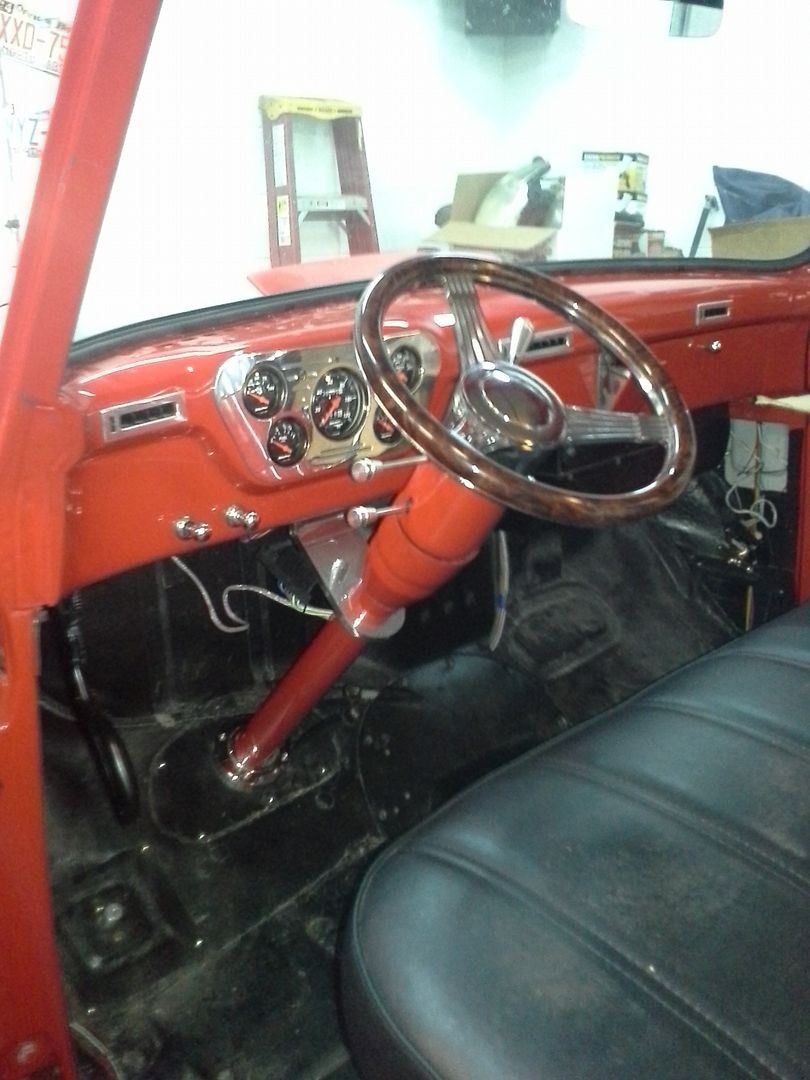 [/URL]
also, I killed my duster in January before going to Disney for my first ever family vacation. fan relay went bad, backfed the harness, and fried it. caught it just before it got fully engulfed. used a 2 liter of diet dew to put out the fire. in the dash. through the speaker hole. no pics, and its sitting in time out, thinking about what its done. that’s my late summer resurrection project after this truck is done, the deck rebuilt, and the shop renovated. oh, and the house painted.
so now that we have the stage set, well flashback to January. I'm at Disney world in Florida, on my first ever vacation. having a blast. my 6 year old daughter had a wonderful time. about 9:00 one night, I get a text from the body man to contact the sheriff's department. that sinking feeling in your gut? yeah, that. turns out everything had been seized in the eviction process, including my truck and tailgate, as well as my materials. not a happy man. long story short, they let me get my truck and tailgate back, no materials, no hardware, no nothing. but at least I got my truck and tailgate. after a lengthy fight.
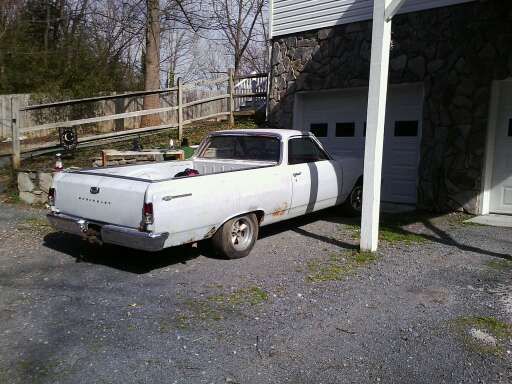
truck had been "wet sanded". bed had not been touched. tailgate had not been touched. truck looked very, very bad. and had a front end wobble. and an intermittent fuel pump. so I brought it home, stuffed it in the driveway while I finished the ford from hell.
this is what it looked like upon its return.
[URL=http://s54.photobucket.com/user/dusterbd13/media/1964%20elcamino/20150302_141606_zpsi4uqygdu.jpg.html]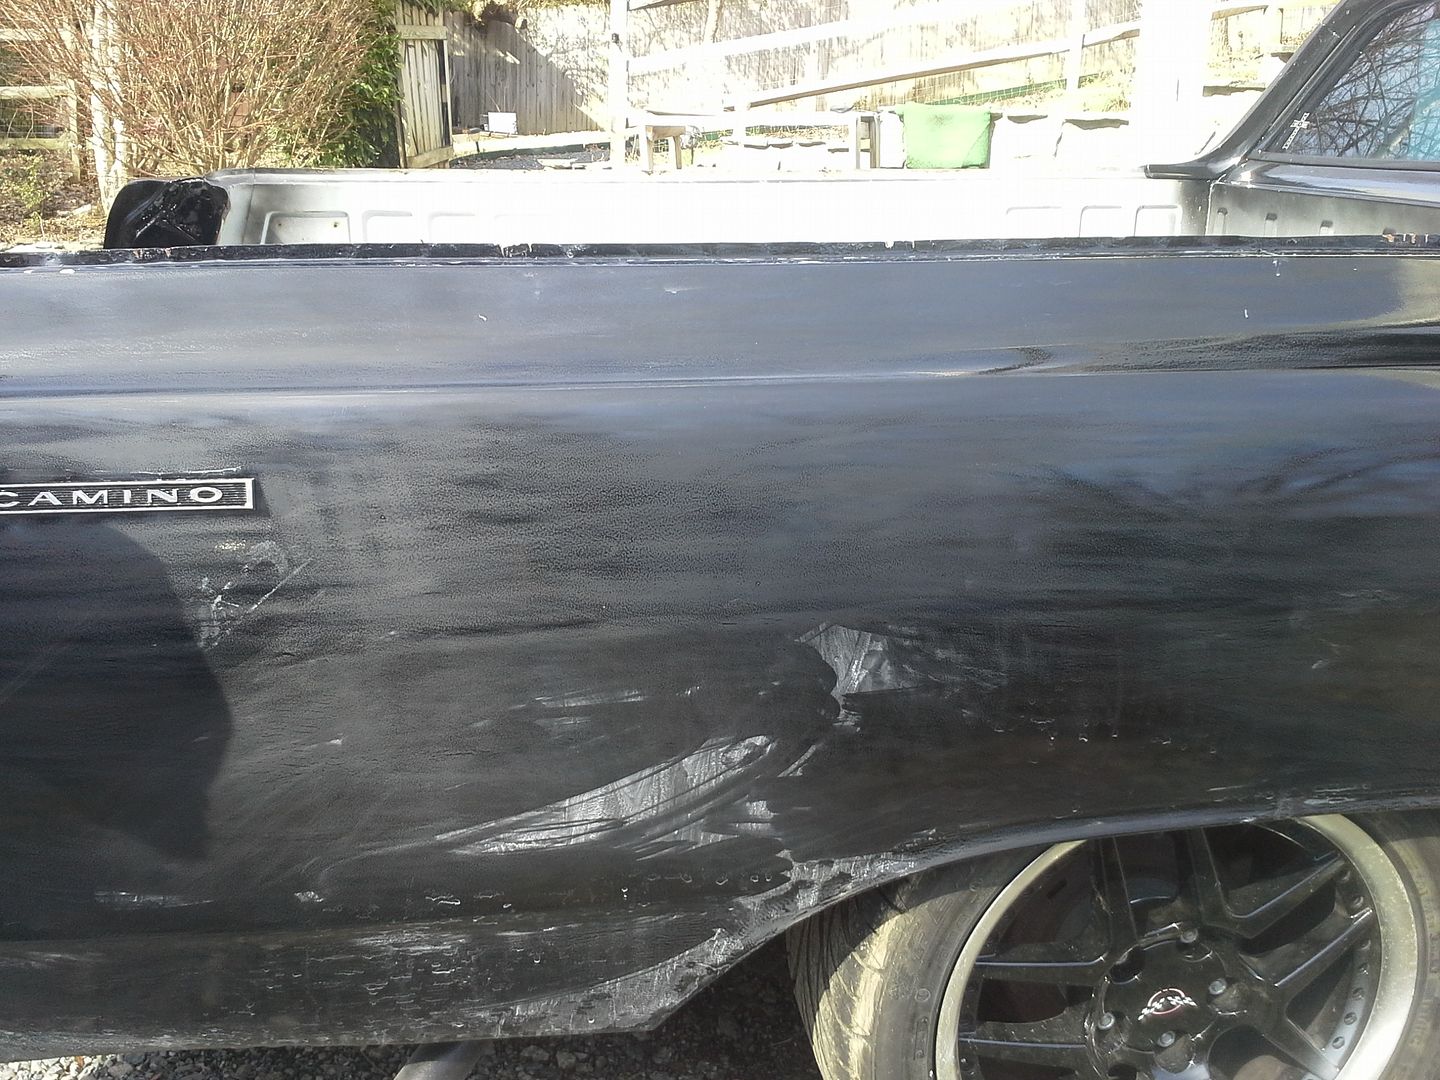 [/URL]
[URL=http://s54.photobucket.com/user/dusterbd13/media/1964%20elcamino/20150213_165653_zpsbxkywi9e.jpg.html]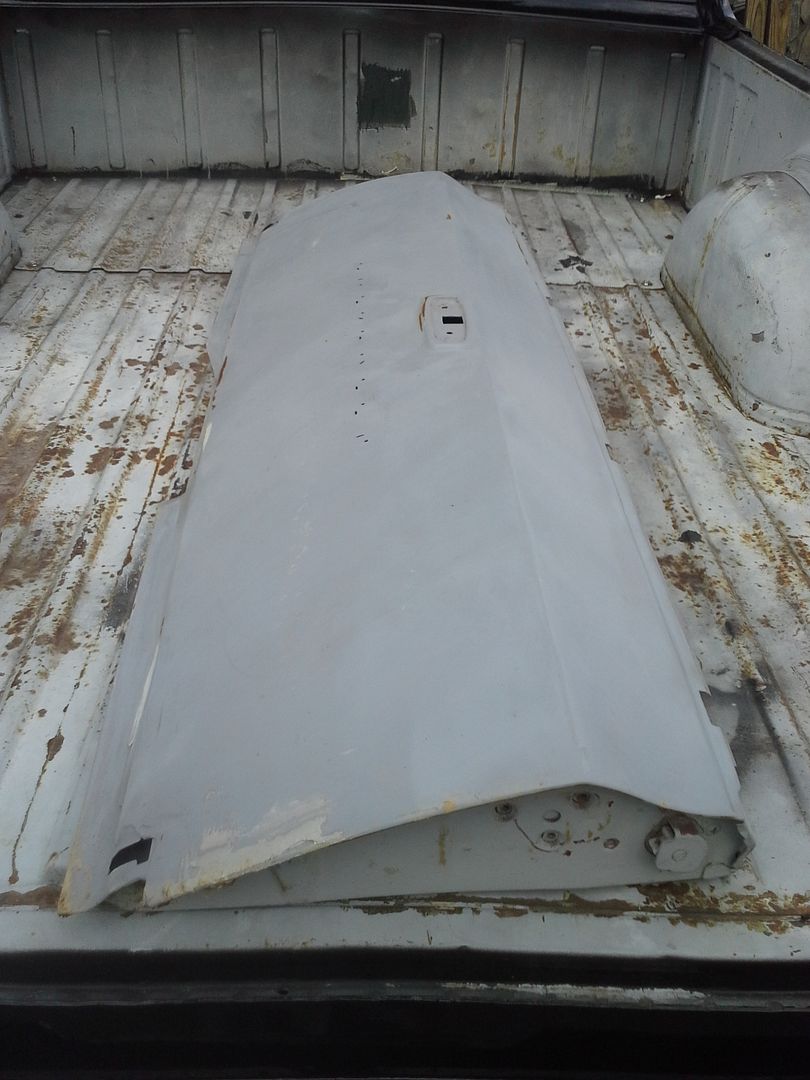 [/URL]
looked a lot better in the snow, while darkish, and wet.
[URL=http://s54.photobucket.com/user/dusterbd13/media/1964%20elcamino/20150217_103154_zps14ffdagb.jpg.html]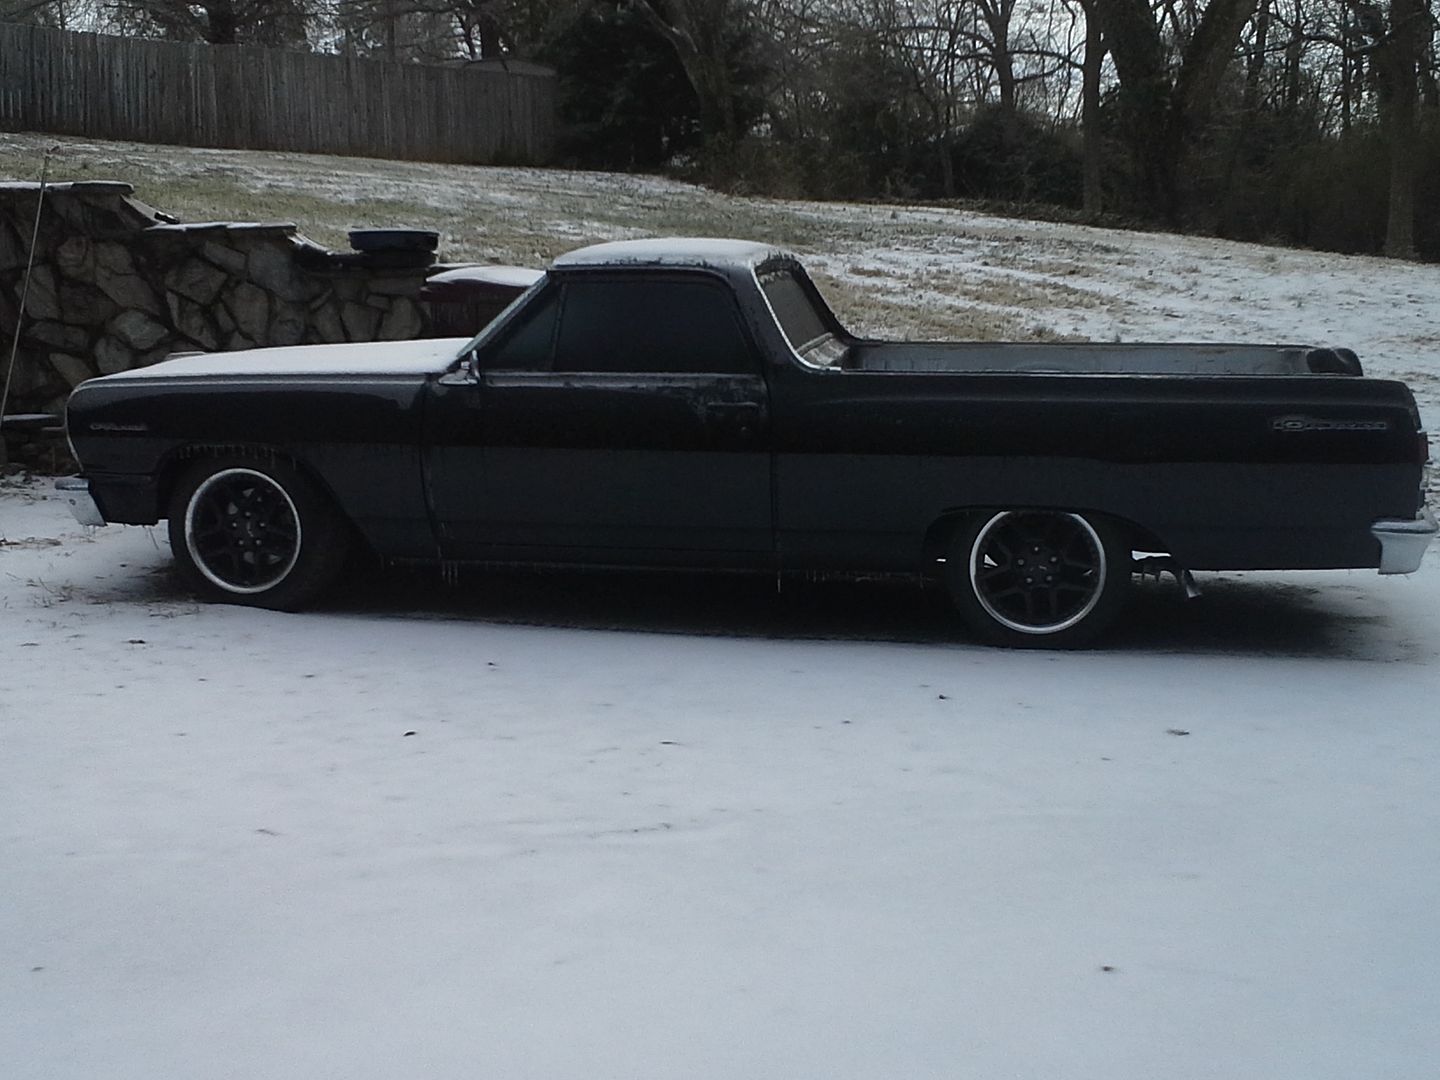 [/URL]
the guy I sold the original drivabeater to called me at the end of February, beginning of march. he had lost his business, family, etc. fallen on some really hard times. even sold the original to a guy in Tennessee. if anyone sees that truck, let me know. I want to track down the new owner and give some history.
anyway, he was looking to see if I needed to hire anyone for the hot rod shop. as I am shutting down for an unknown length of time, that wasn’t feasible. I did, however, need a body guy to fix the ugly and paint my tailgate. so we struck a deal for 320. he's started on most of it, and i have my supplies. supposedly gonna be finished next week. but he did, however, reconcile with his wife and find a full time job, so that’s a blessing.
anyway, after I finished the ford, I decided to turn my attention back to this flaming pile of crap. first was to get it running reliably. somehow, art had managed to rip the grounds for both fuel pumps loose. from the frame. under the quarter. without damaging the quarter. I have no idea how he did it. so I reterminated it, cleaned the ground up, and had functional fuel pumps consistently. while I was back there, I decided to fix my tail/turn/stop/running lights. that turned into new sockets, bulbs, added grounds, etc. but it was fixed and I now had all the rear lights operating for the first time since owning the truck. I even installed back up lights. I will say that the giant LED taillight bulbs were much dimmer than the incandescent it would usually run, so I tossed them. I also learned that the silver star reverse lights are no brighter than the standard bulbs, so save your money. it doesn’t look any different back there, so no picture.
I also took this opportunity to finish up the front lighting. I had read various things about HID installs, and it seems the projectors I'm running would be the optimal recipient of HID lights. these are supposedly brighter and more long lived than the normal capsule bulbs. so I ordered a set of xentec conversions from eBay, in 5000k and 55 watt. they came in, and mounted up perfectly. I created a mounting plate from scrap steel for the ballasts, and plugged them in. first picture is the passengers side mounting plate, next is drivers with the headlight relays, and last is a comparison between capsule and hid. you can guess which is which. also, you can see on the drivers side picture where I mounted the horns.
[URL=http://s54.photobucket.com/user/dusterbd13/media/1964%20elcamino/20150319_075027_zps055tmldm.jpg.html]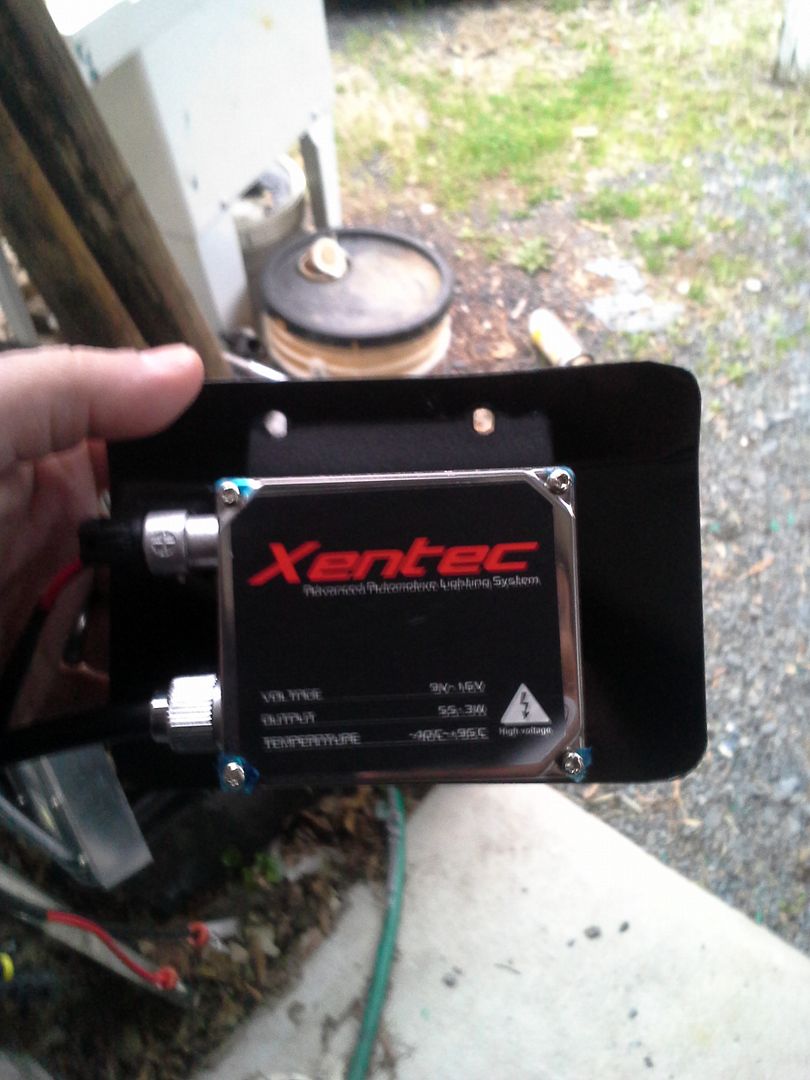 [/URL]
[URL=http://s54.photobucket.com/user/dusterbd13/media/1964%20elcamino/20150319_075206_zpscxhgejxl.jpg.html]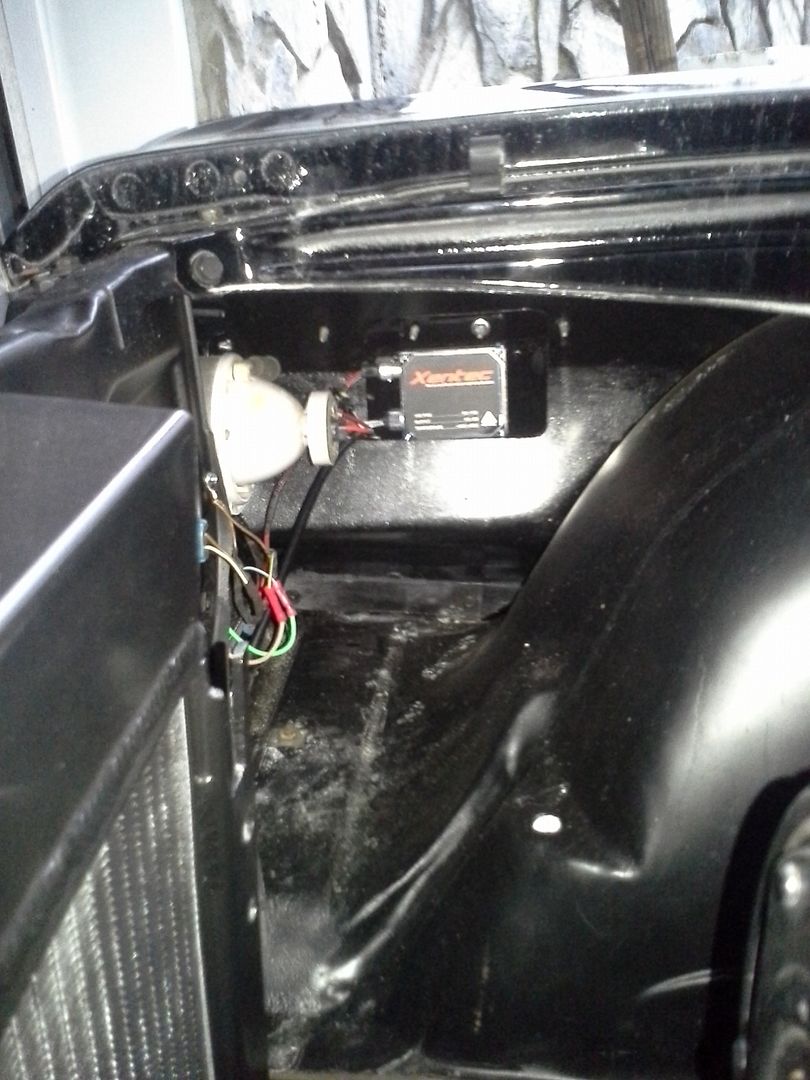 [/URL]
[URL=http://s54.photobucket.com/user/dusterbd13/media/1964%20elcamino/20150328_202022_zpskey8jb9o.jpg.html]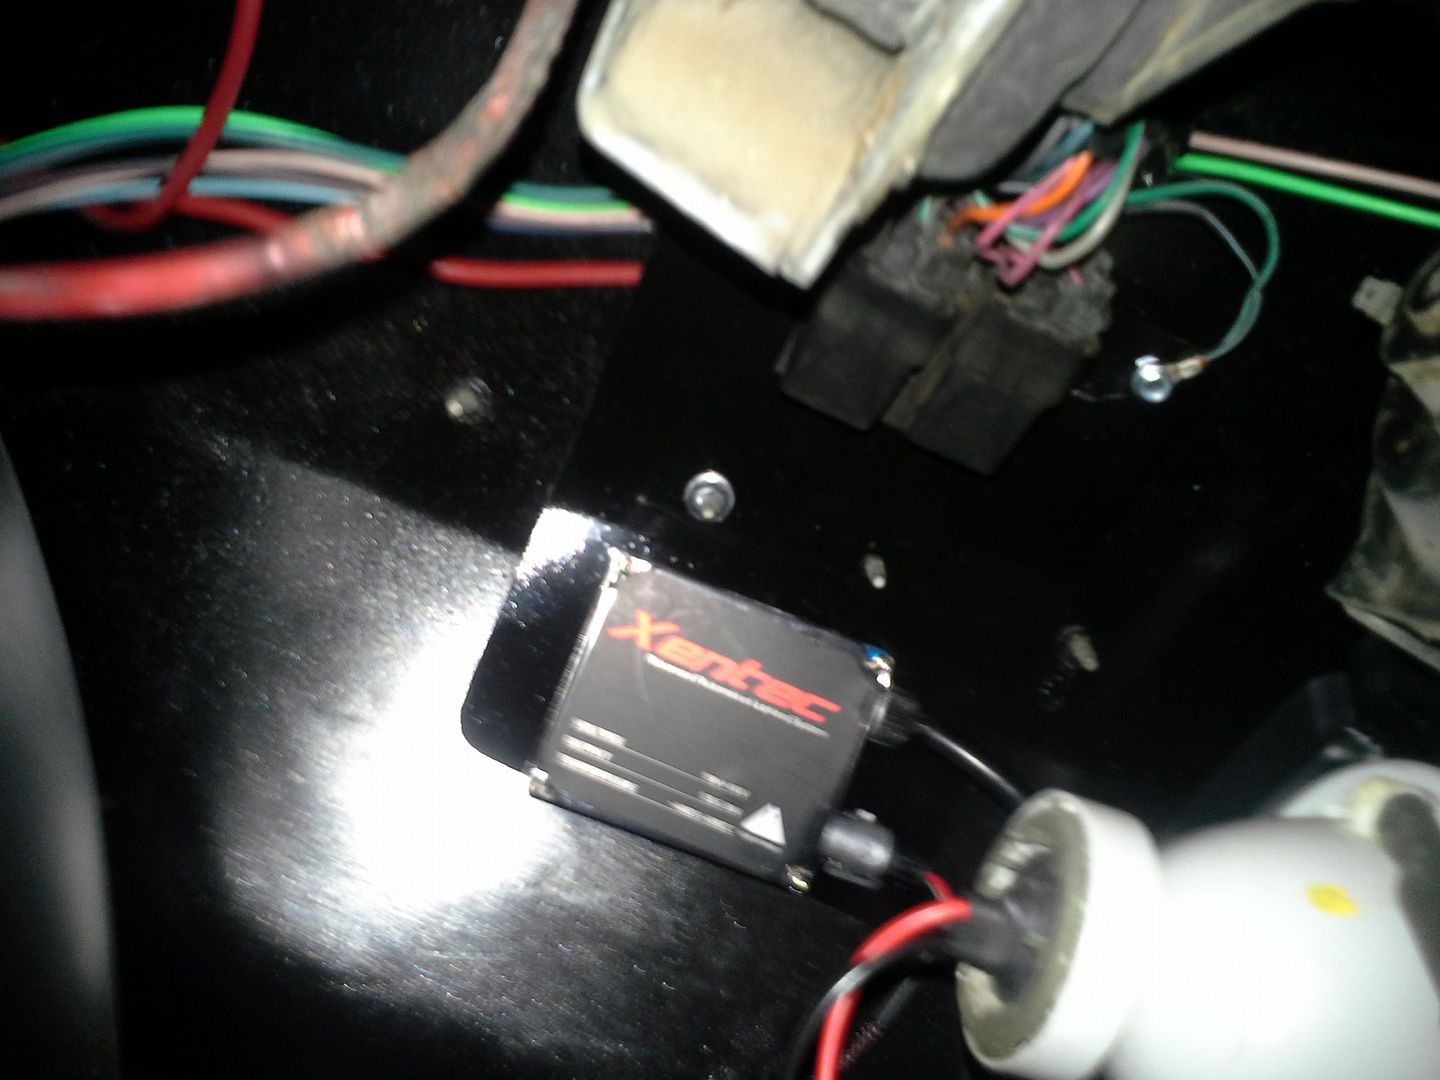 [/URL]
[URL=http://s54.photobucket.com/user/dusterbd13/media/1964%20elcamino/20150223_195653_zps59ncsaa1.jpg.html]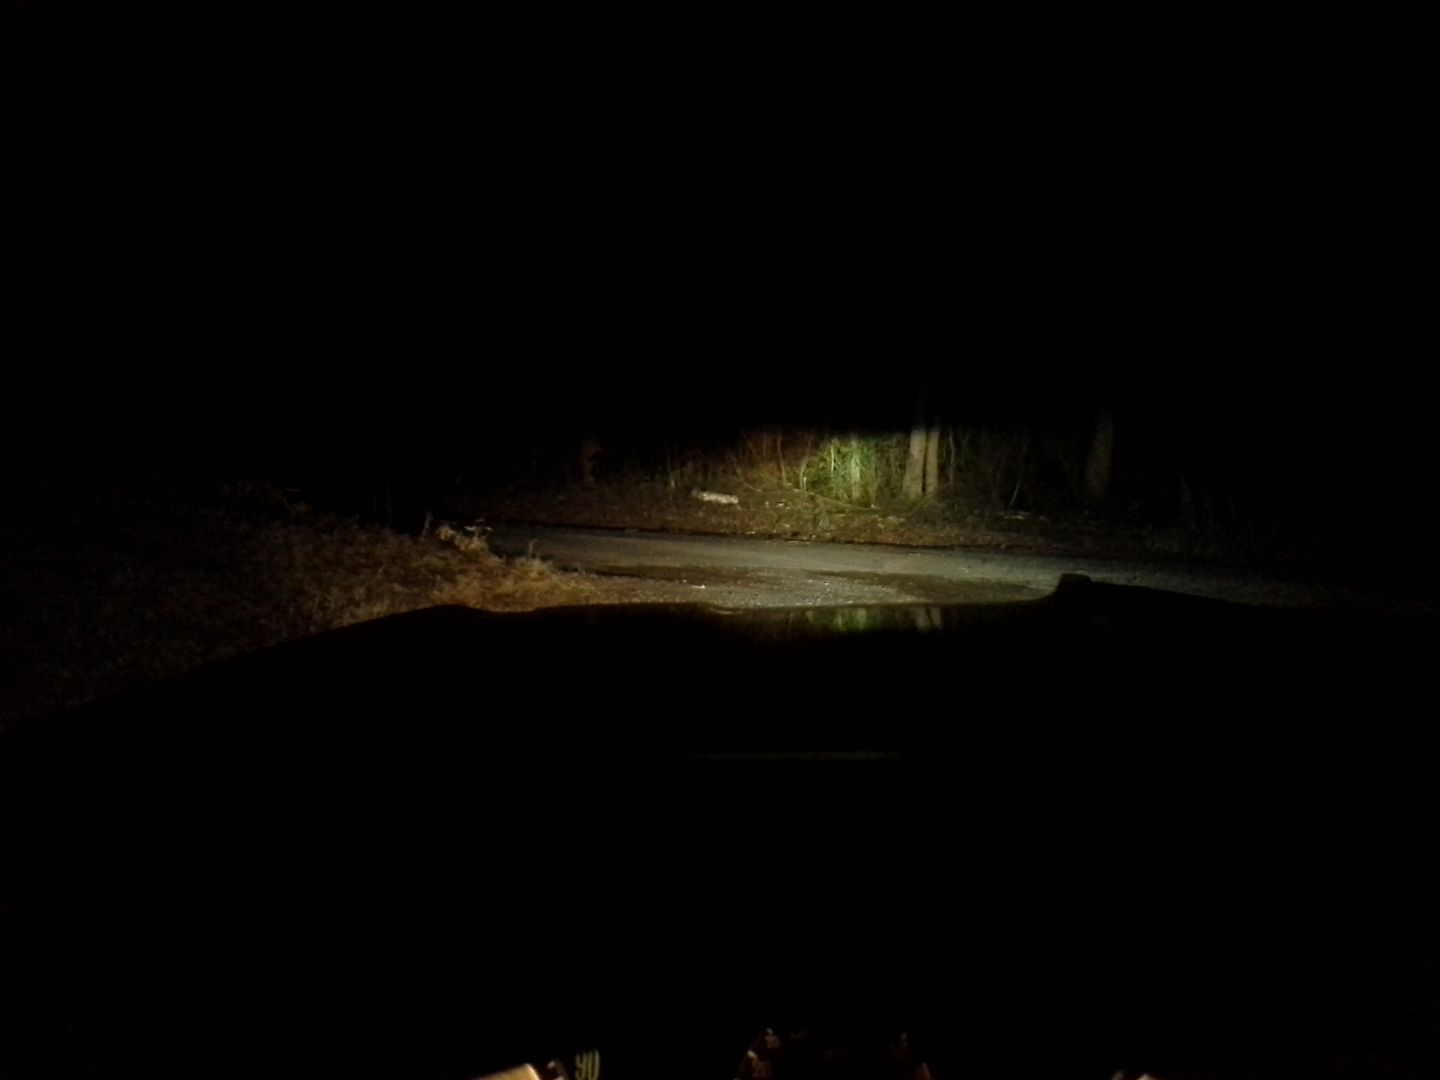 [/URL]
I then decided to get the front cree led switchback bulbs and housings working properly. after cleaning the sockets, the function greatly improved. the looks, however, did not. nor did the light output, due to the cracked, faded, and generally hammered turn signal lenses. so I had to do something about that. pulled the housings out, and decided to repaint them and create some clear lenses.
[URL=http://s54.photobucket.com/user/dusterbd13/media/1964%20elcamino/20150327_204032_zpsbsgpafdo.jpg.html]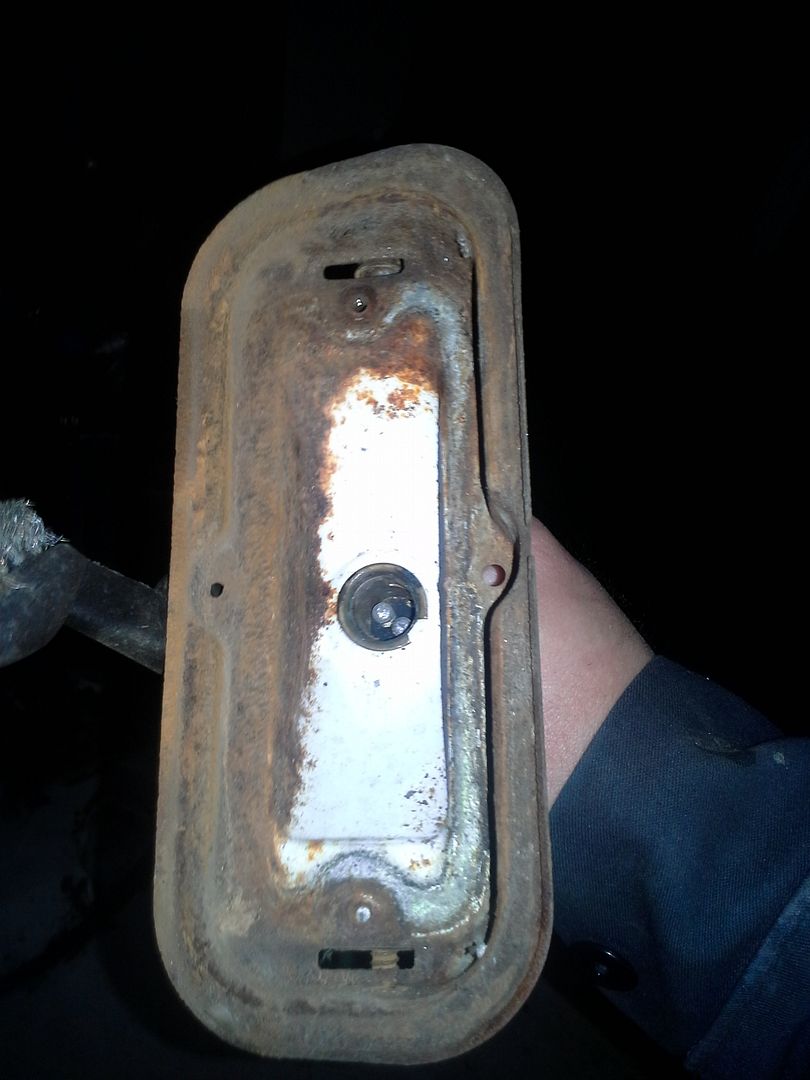 [/URL]
[URL=http://s54.photobucket.com/user/dusterbd13/media/1964%20elcamino/20150327_204044_zpsywjd45un.jpg.html]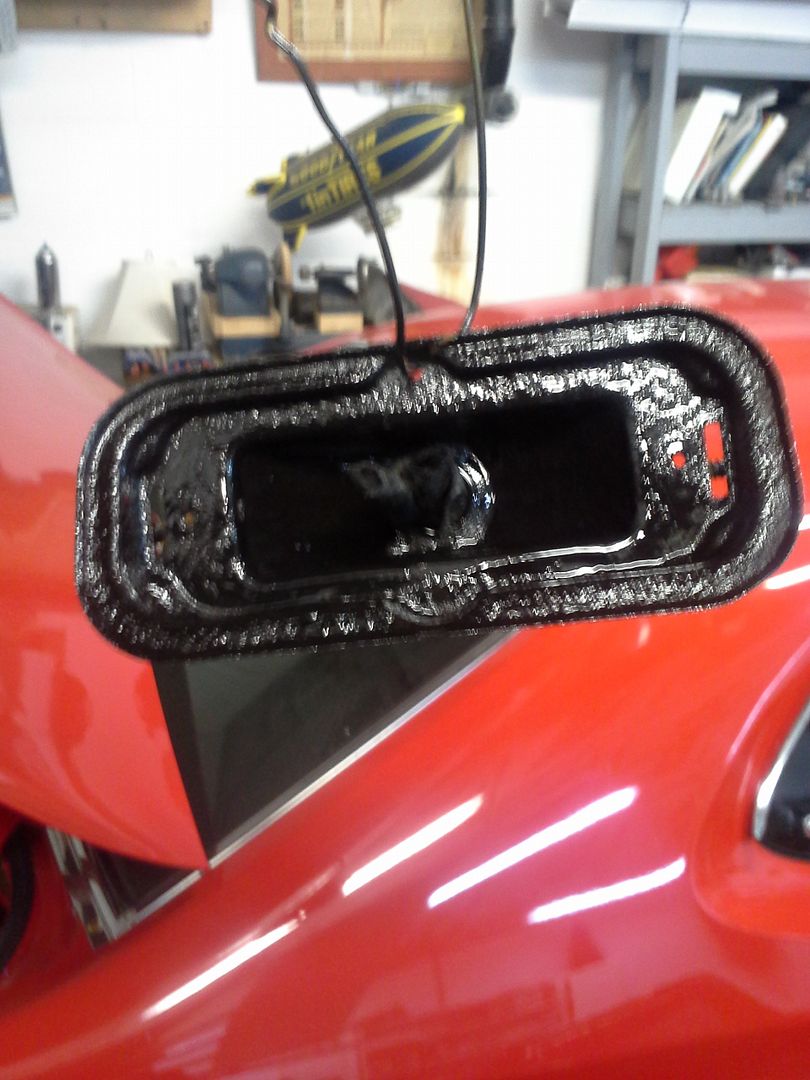 [/URL]
the gaskets came in the gasket kit I bought a long time ago from NPD. white foam. drivers side was put together with the white foam and 1/8 acrylic lens made from some scrap acrylic that lives by my band saw. passengers side I painted the gasket black. both gaskets are now black.
[URL=http://s54.photobucket.com/user/dusterbd13/media/1964%20elcamino/20150328_110000_zpswucyddw0.jpg.html]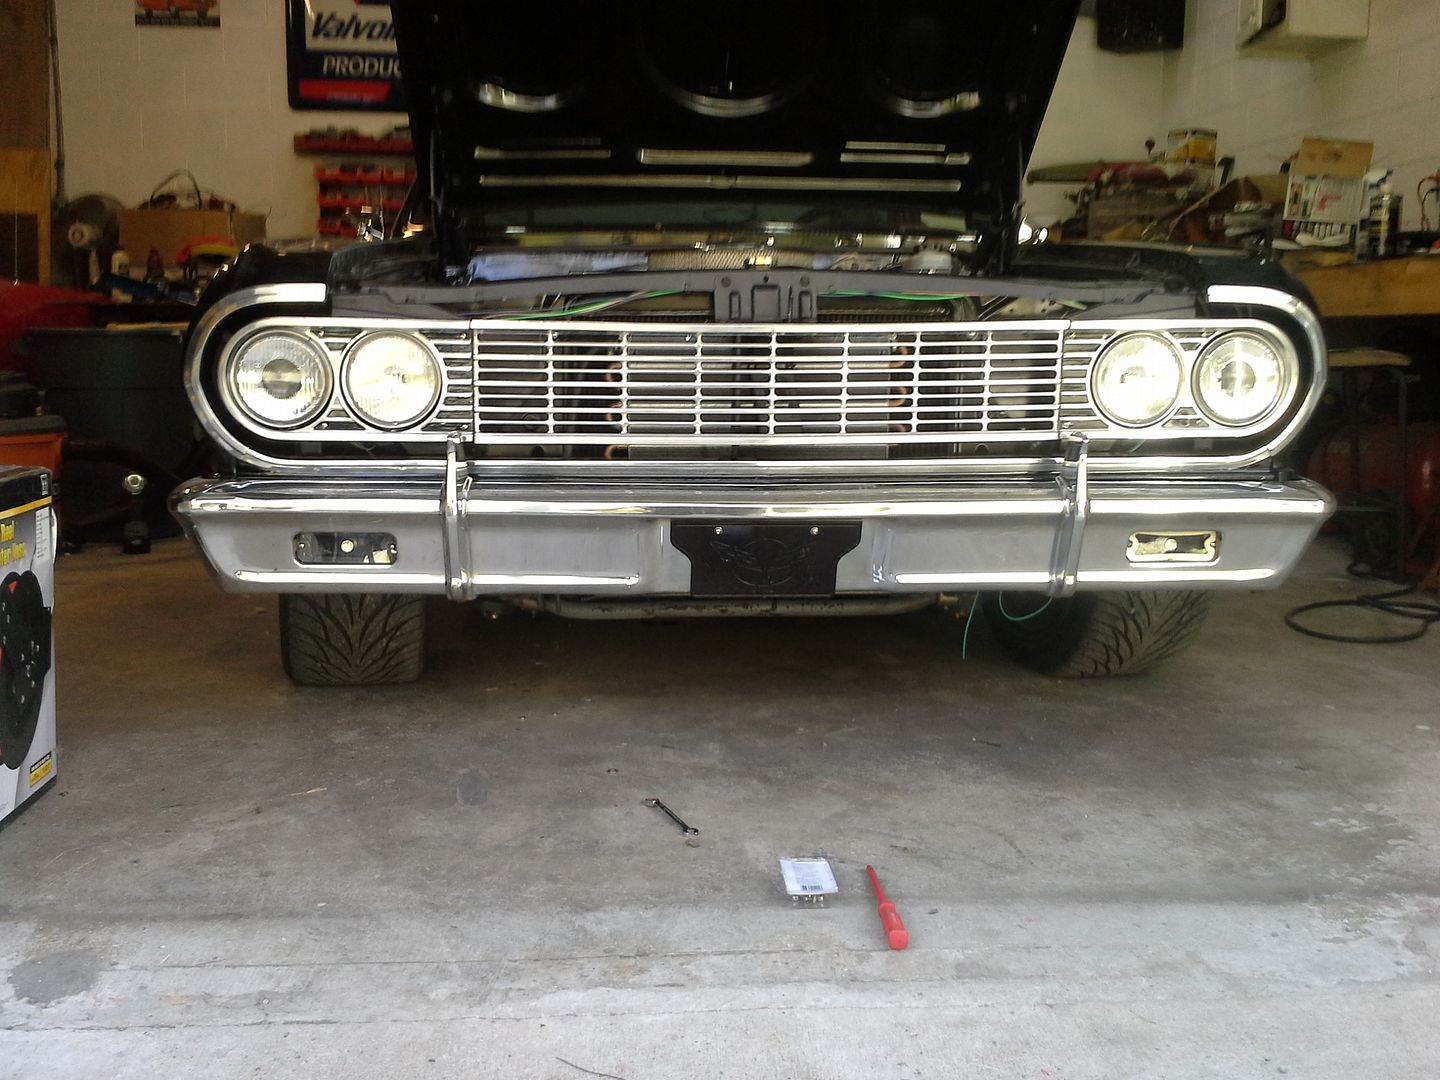 [/URL]
[URL=http://s54.photobucket.com/user/dusterbd13/media/1964%20elcamino/20150328_110007_zpsqnxw24yz.jpg.html]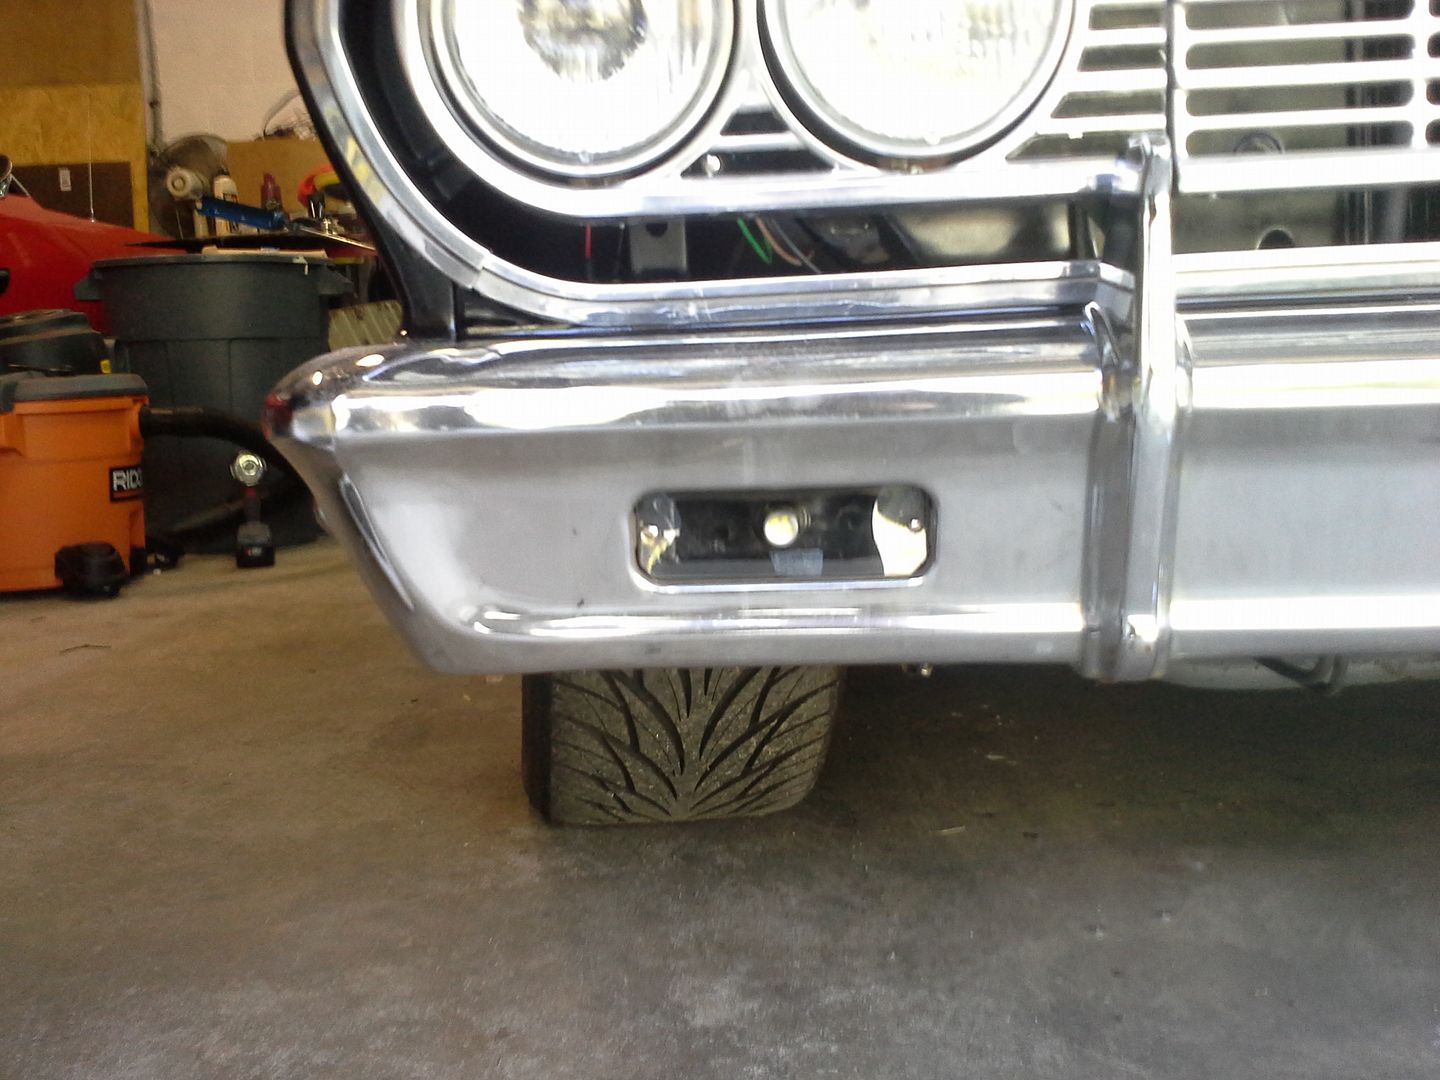 [/URL]
this is a picture of just the 80 watt cree's lit up at night, followed by the hid projectors and crees. the white posts are about 15 feet from the front of the truck, woods about 30 yards.
[URL=http://s54.photobucket.com/user/dusterbd13/media/1964%20elcamino/20150328_200705_zpsgmcm03fu.jpg.html]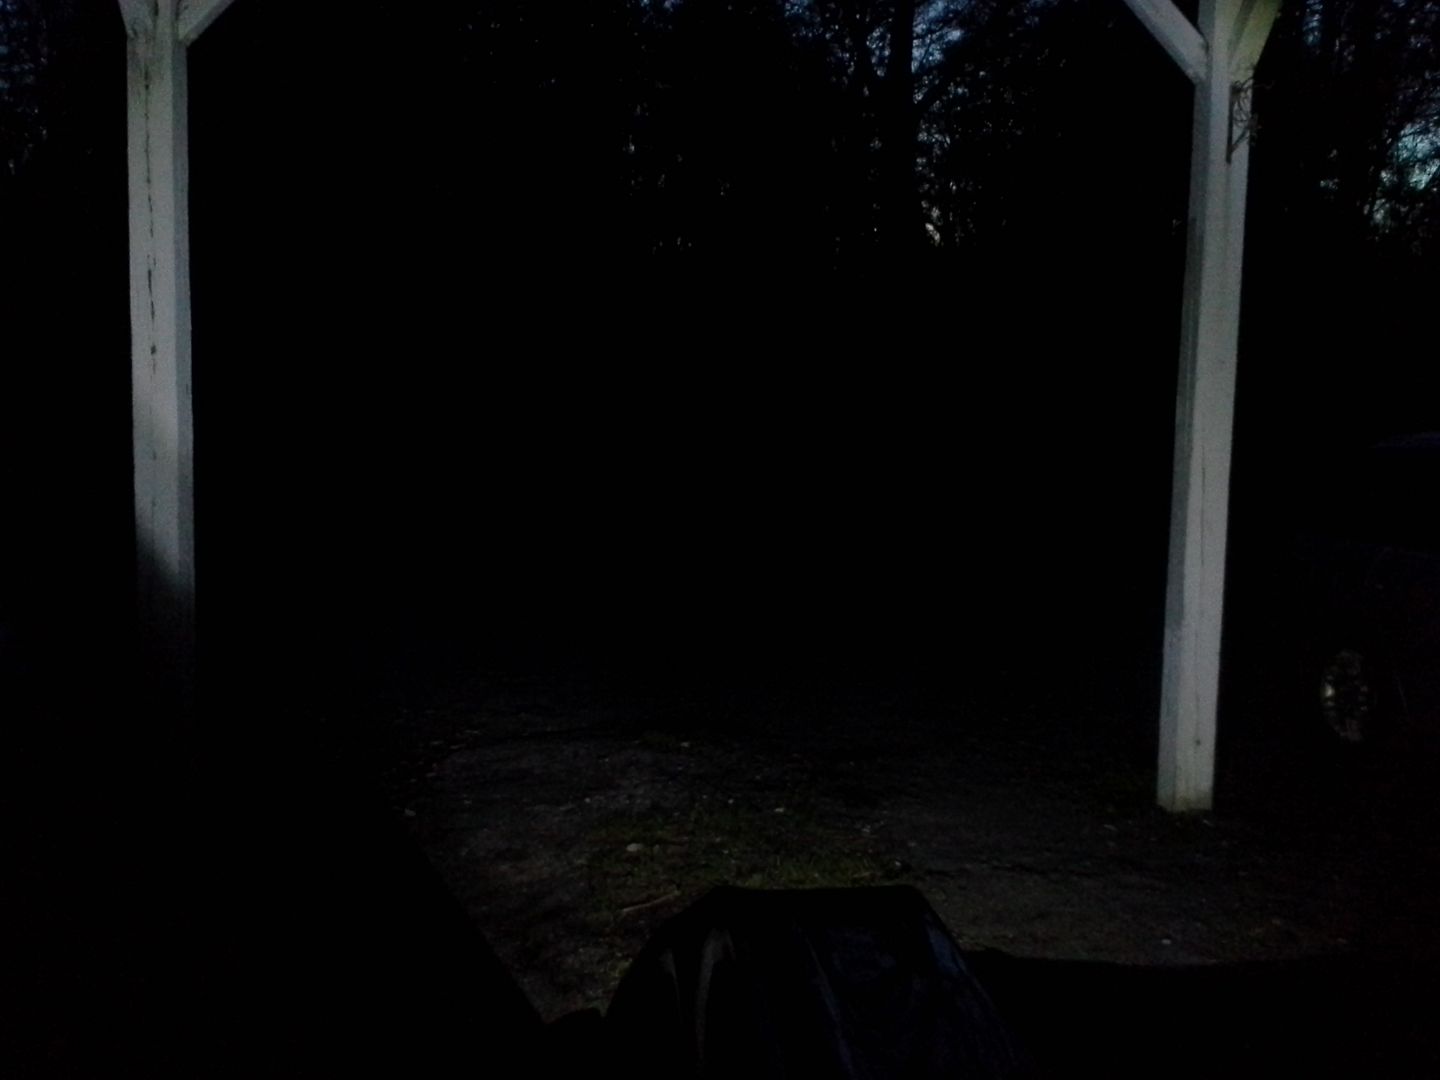 [/URL]
[URL=http://s54.photobucket.com/user/dusterbd13/media/1964%20elcamino/20150328_200724_zps5qihjlza.jpg.html]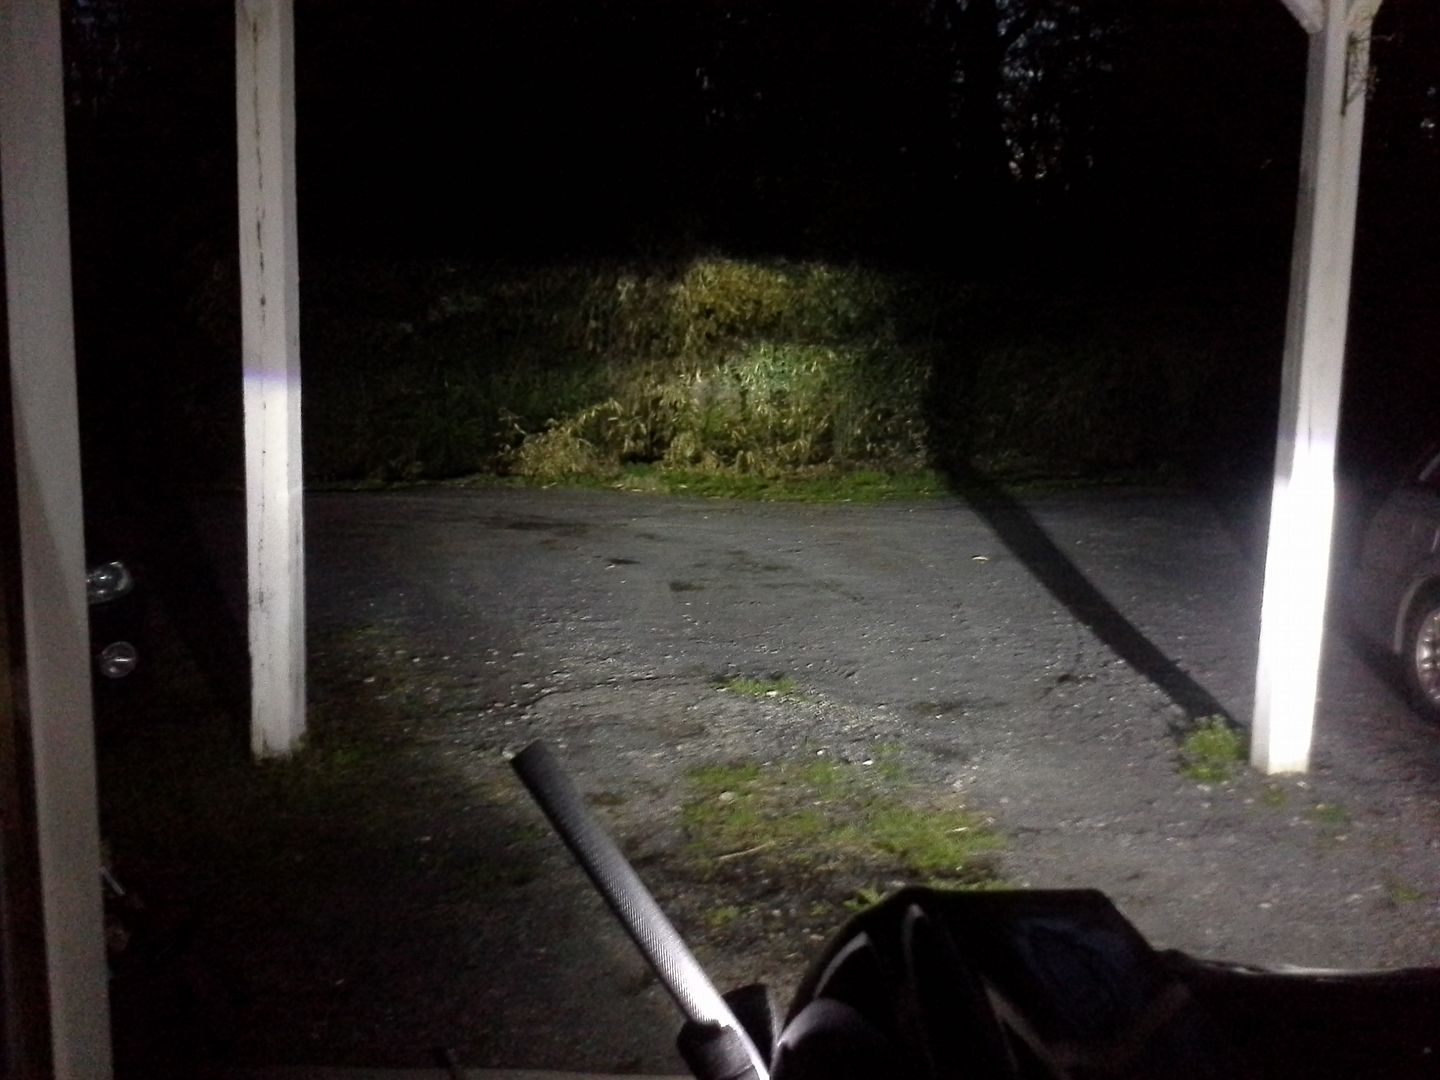 [/URL]
boy howdy, we got light now!!!
additionally, while I was under the back, I also finished the trailer hitch install and did a nut and bolt check, as well as put the filler panels in the bed. parked it back outside while I did a strut job gone wrong on the daily. it was raining.
the damn cab filled up with a few inches of water over the next few days. obviously, it was leaking.
we dried it out, and I got in the truck with my wife spraying it with a hose. most obvious leak was the passengers side, around the heater box, and the rear wall in the smugglers compartment where I had never made that fill plate mentioned way back on page one or two. so, I go off down to npd to get the heater box rebuild kit. had to drop the inner fender, pull both the inner and outer housings, and reseal it all. I did all the doors as well while it was out., as well as installed a blower motor resister left over from a heat only 80's s10. fits perfect, works perfect.
[URL=http://s54.photobucket.com/user/dusterbd13/media/1964%20elcamino/20150328_142158_zpsbggm250i.jpg.html]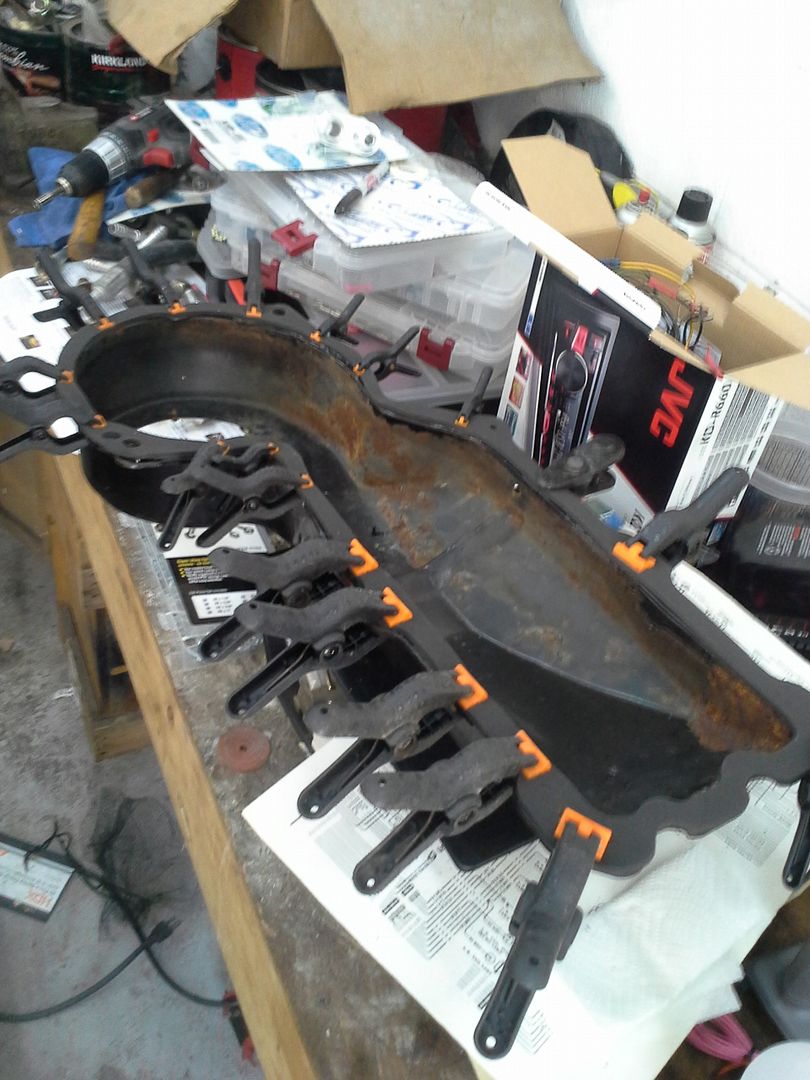 [/URL]
[URL=http://s54.photobucket.com/user/dusterbd13/media/1964%20elcamino/20150328_202004_zps3s5jchyh.jpg.html]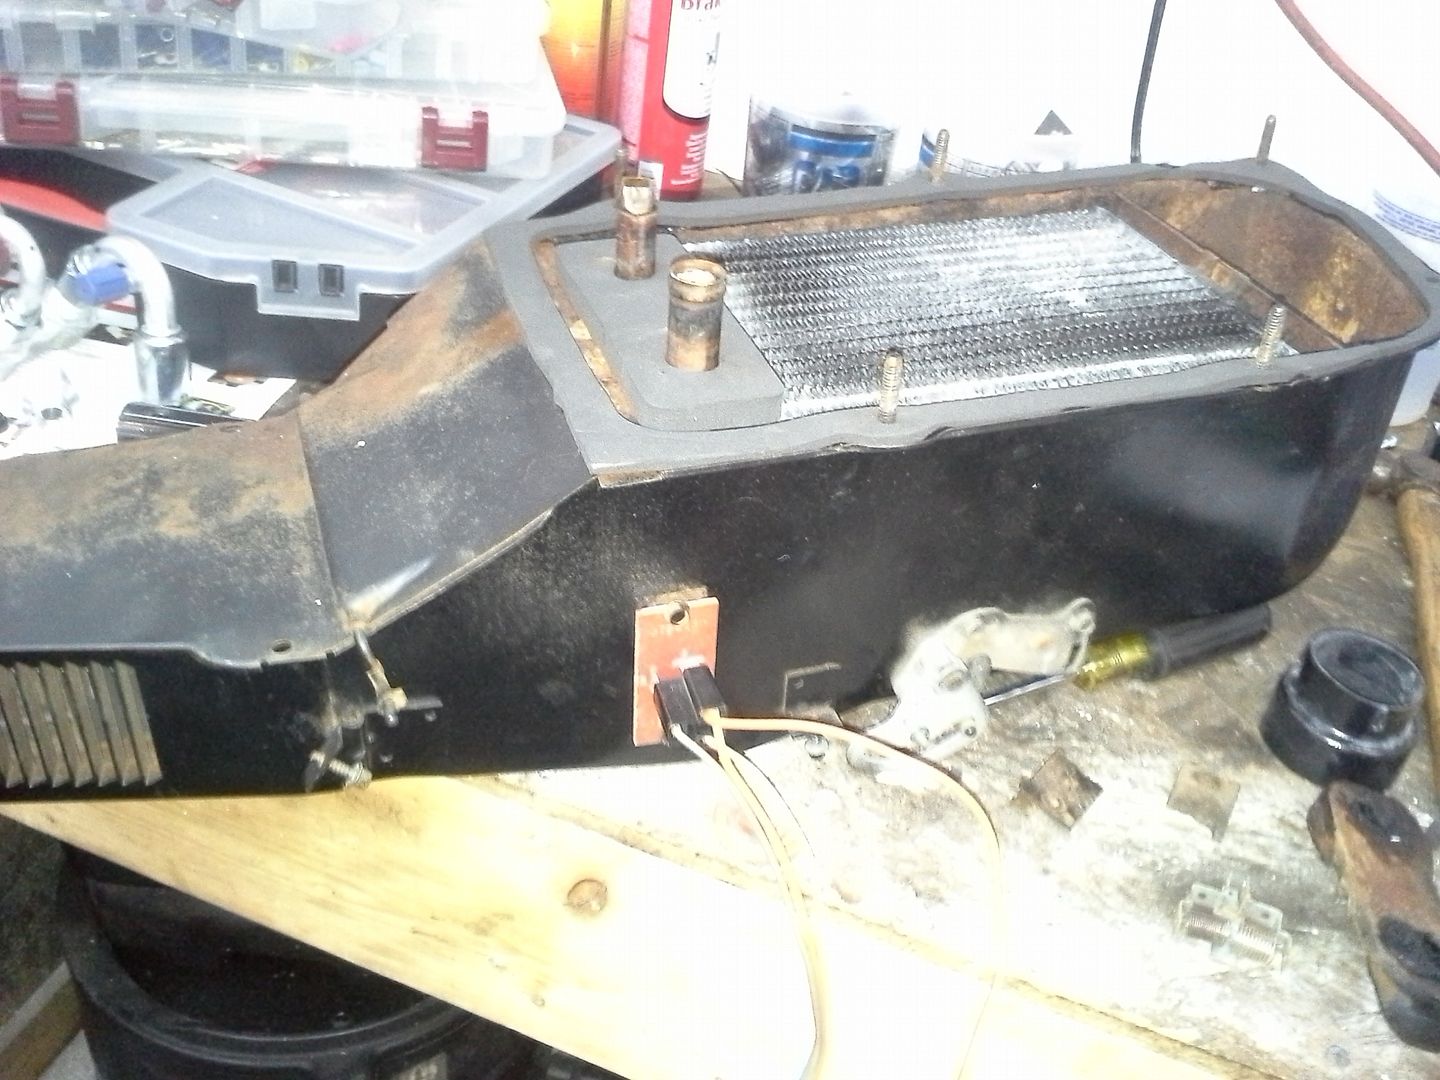 [/URL]
[URL=http://s54.photobucket.com/user/dusterbd13/media/1964%20elcamino/20150328_202119_zpslioevptw.jpg.html]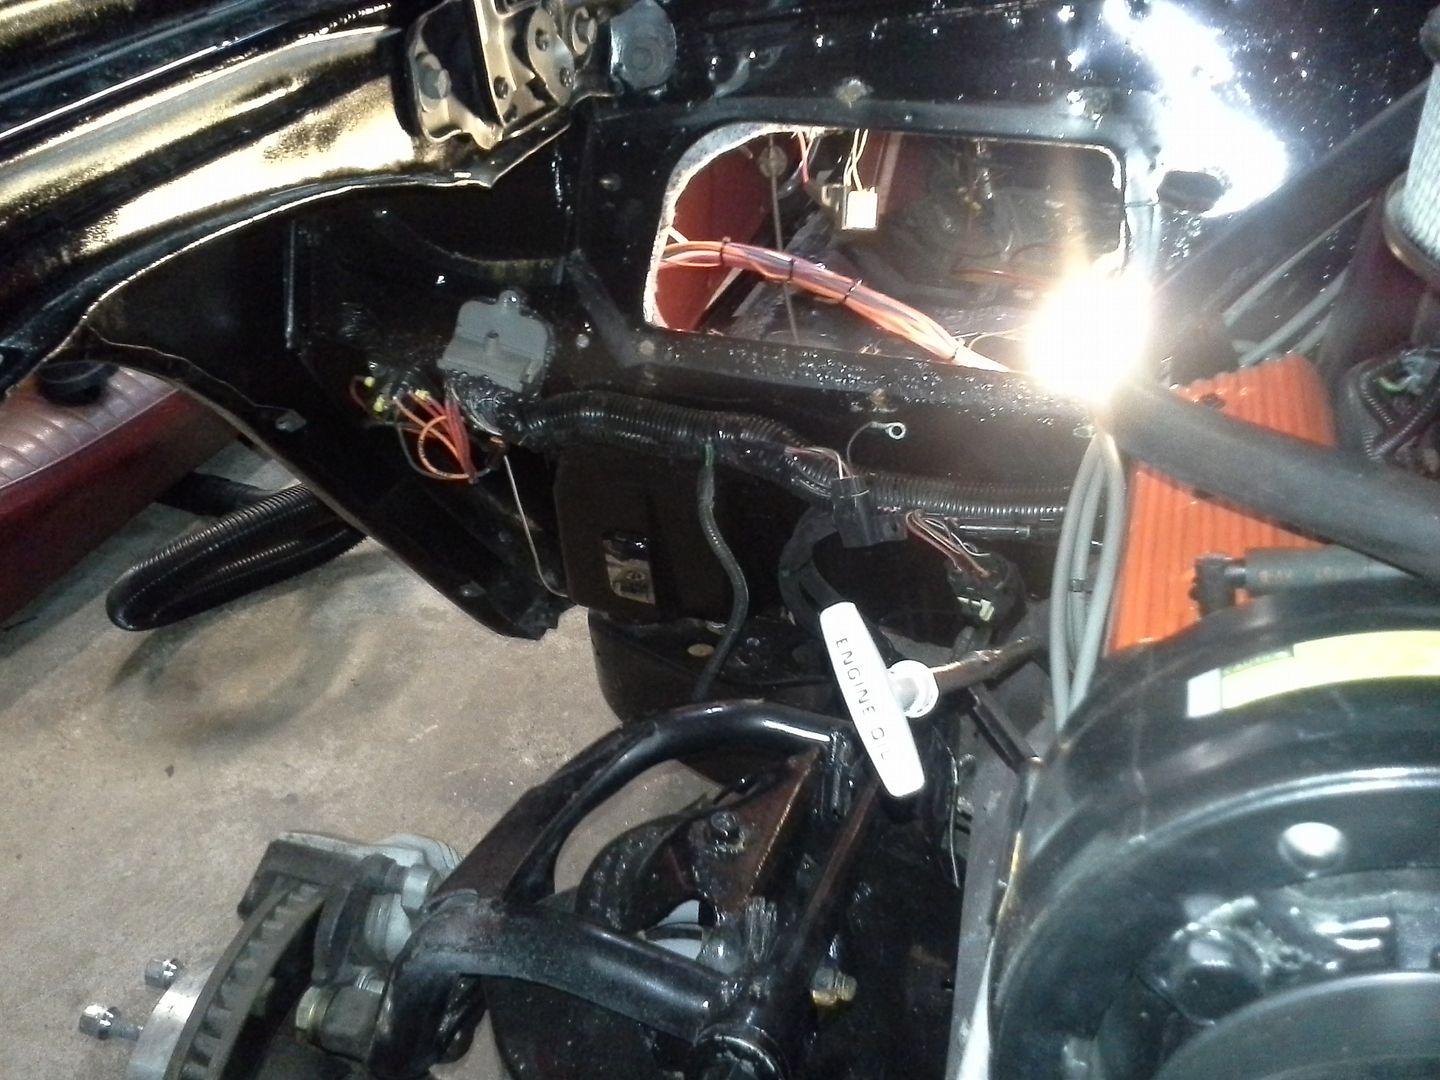 [/URL]
this was the first time it was out. you can probably guess what comes next, because you're not a stupid optimist like me.
after resealing the heater box and removing the seat, as well as finally making a panel for the hole to the smugglers, we tried the hose trick again. I was laying on my back, and got a good bath.
we had leaks coming from the wiring harness pass through for the EFI. two separate leaks from the windshield channel. both panels into the smugglers, and one from under the rear window cab molding.
and an antifreeze leak from the heater core. crap.
so, back into the shop, for a good haul this time. pulled the heater box/inner fender AGAIN to replace the heater core, and also fill the bulkhead pass through with rtv. the factory used epoxy in 89, and I spent HOURS cleaning it all out. shoulda known better. I also had looked at the heater core when it was removed from the box, and told myself that it wasn’t leaking and I had no reason to replace it. yup, I'm an optimist sometimes. I KNEW better. but didn’t.
the windshield leaks turned out to be from stubs of original windshield molding clip screws that I never noticed. couple of dabs of seam sealer, and that was fixed. the rear cab molding was fixed with a touch more of that electrical conduit putty I had used. the rear smugglers compartment leaks, however, snowballed dramatically.
[URL=http://s54.photobucket.com/user/dusterbd13/media/1964%20elcamino/20150325_081634_zpsn7fo5uut.jpg.html]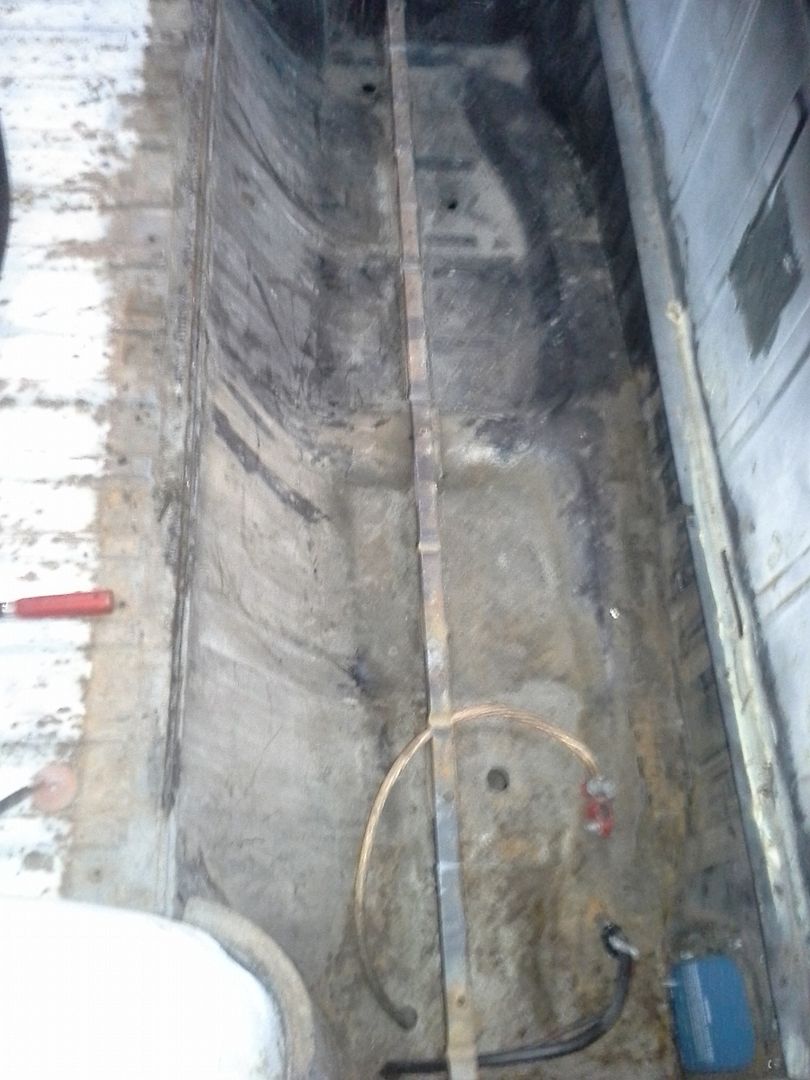 [/URL]
scrubbed it down, scraped/ground out all the failing seam sealer, resealed it, por15'd the rust, and undercoated it all. finally stopped the leaks. and the crowd rejoiced.
[URL=http://s54.photobucket.com/user/dusterbd13/media/1964%20elcamino/20150327_062411_zpsntfvbdn8.jpg.html]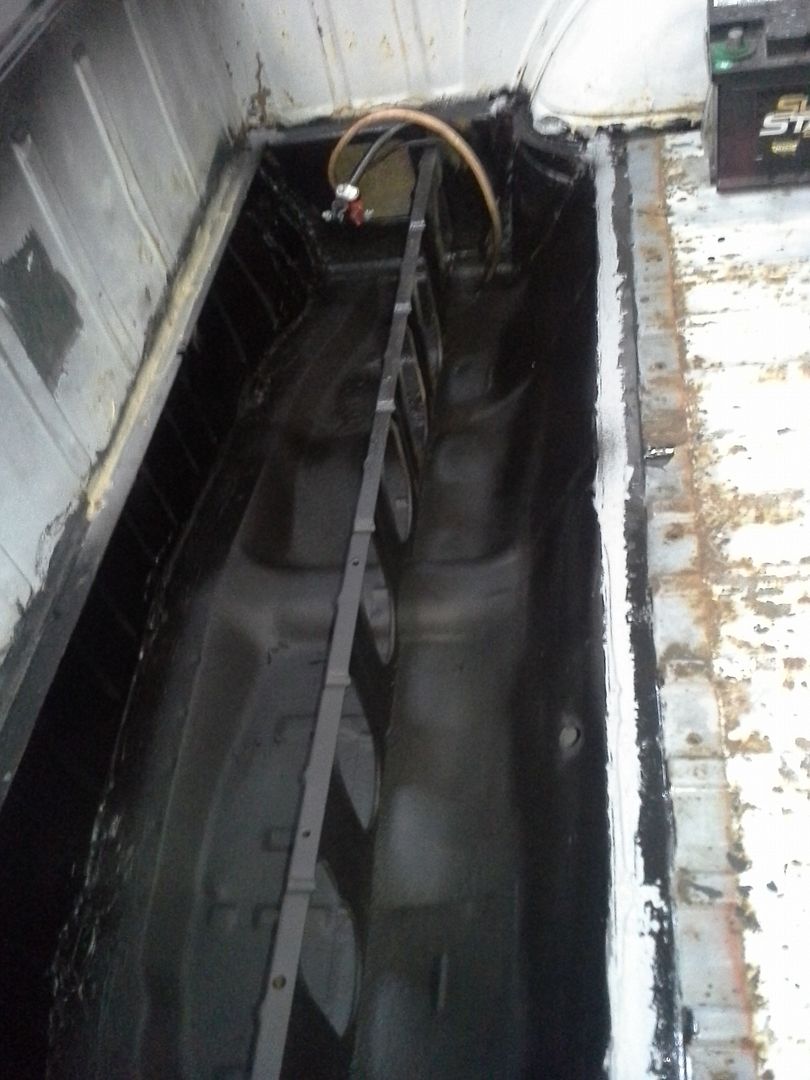 [/URL]
so, since the interior and dash were already out, I figured now was as good a time as any to finally finish the wiring, stereo, sound deadening, heater, insulation, defroster, keyless entry, interior lighting, etc.
yeah, I thought it was gonna be pretty quick. it wasn’t.
we went from this:
[URL=http://s54.photobucket.com/user/dusterbd13/media/1964%20elcamino/20150223_170530_zpsoc1ctuan.jpg.html]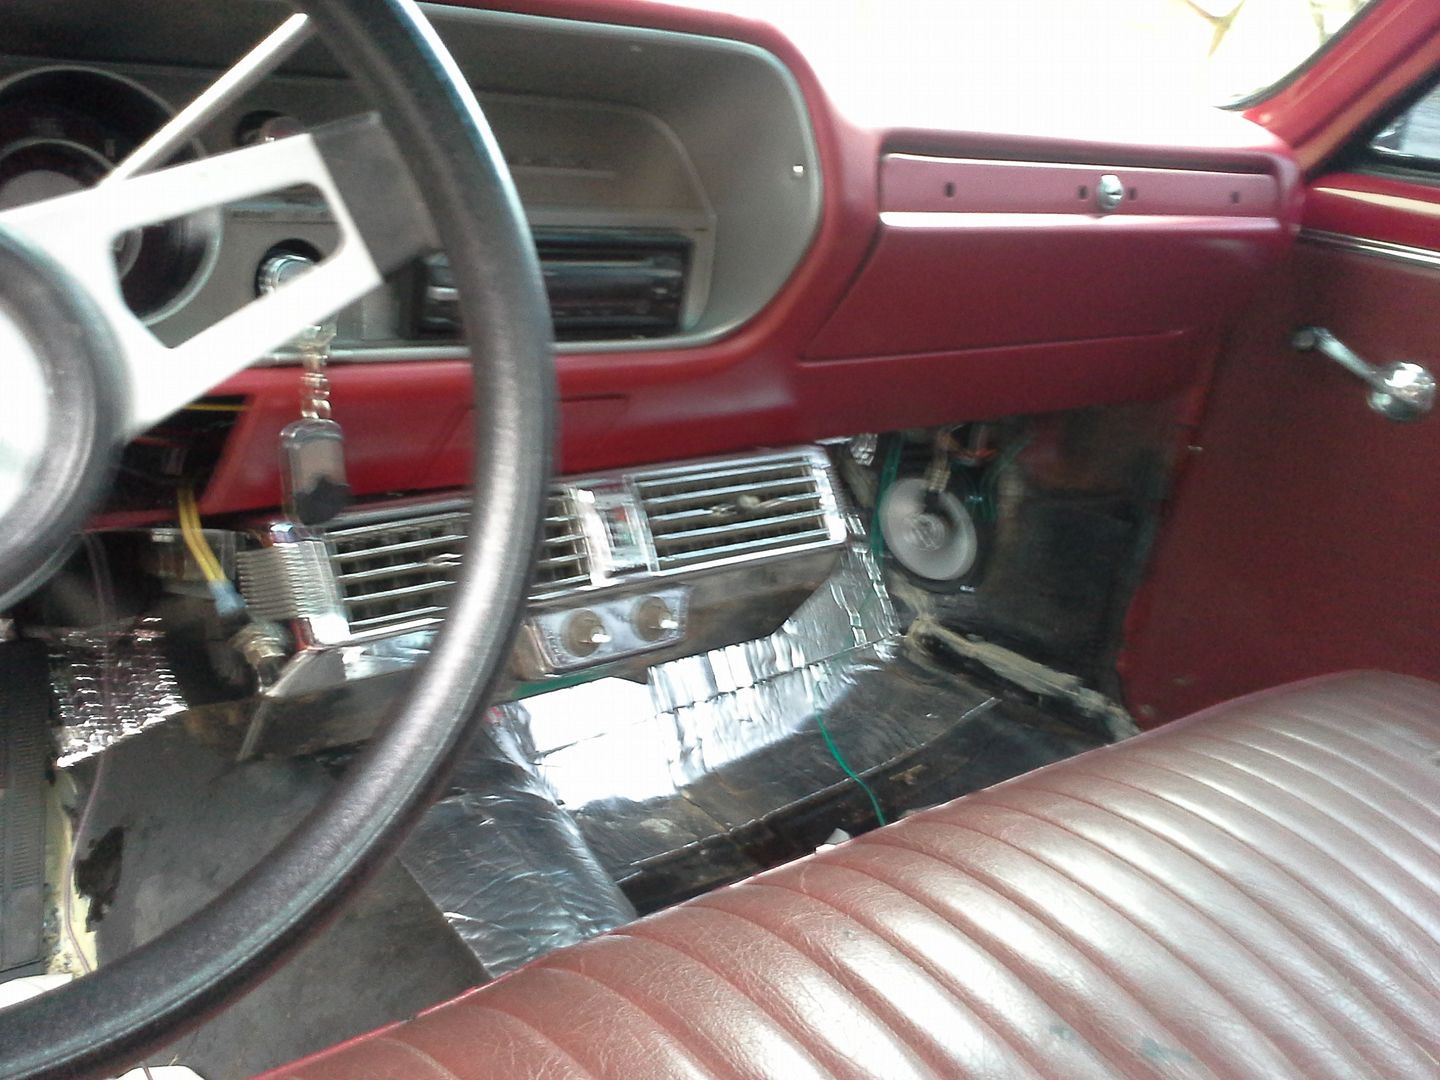 [/URL]
to this:
[URL=http://s54.photobucket.com/user/dusterbd13/media/1964%20elcamino/20150414_202858_zpsynxind8k.jpg.html]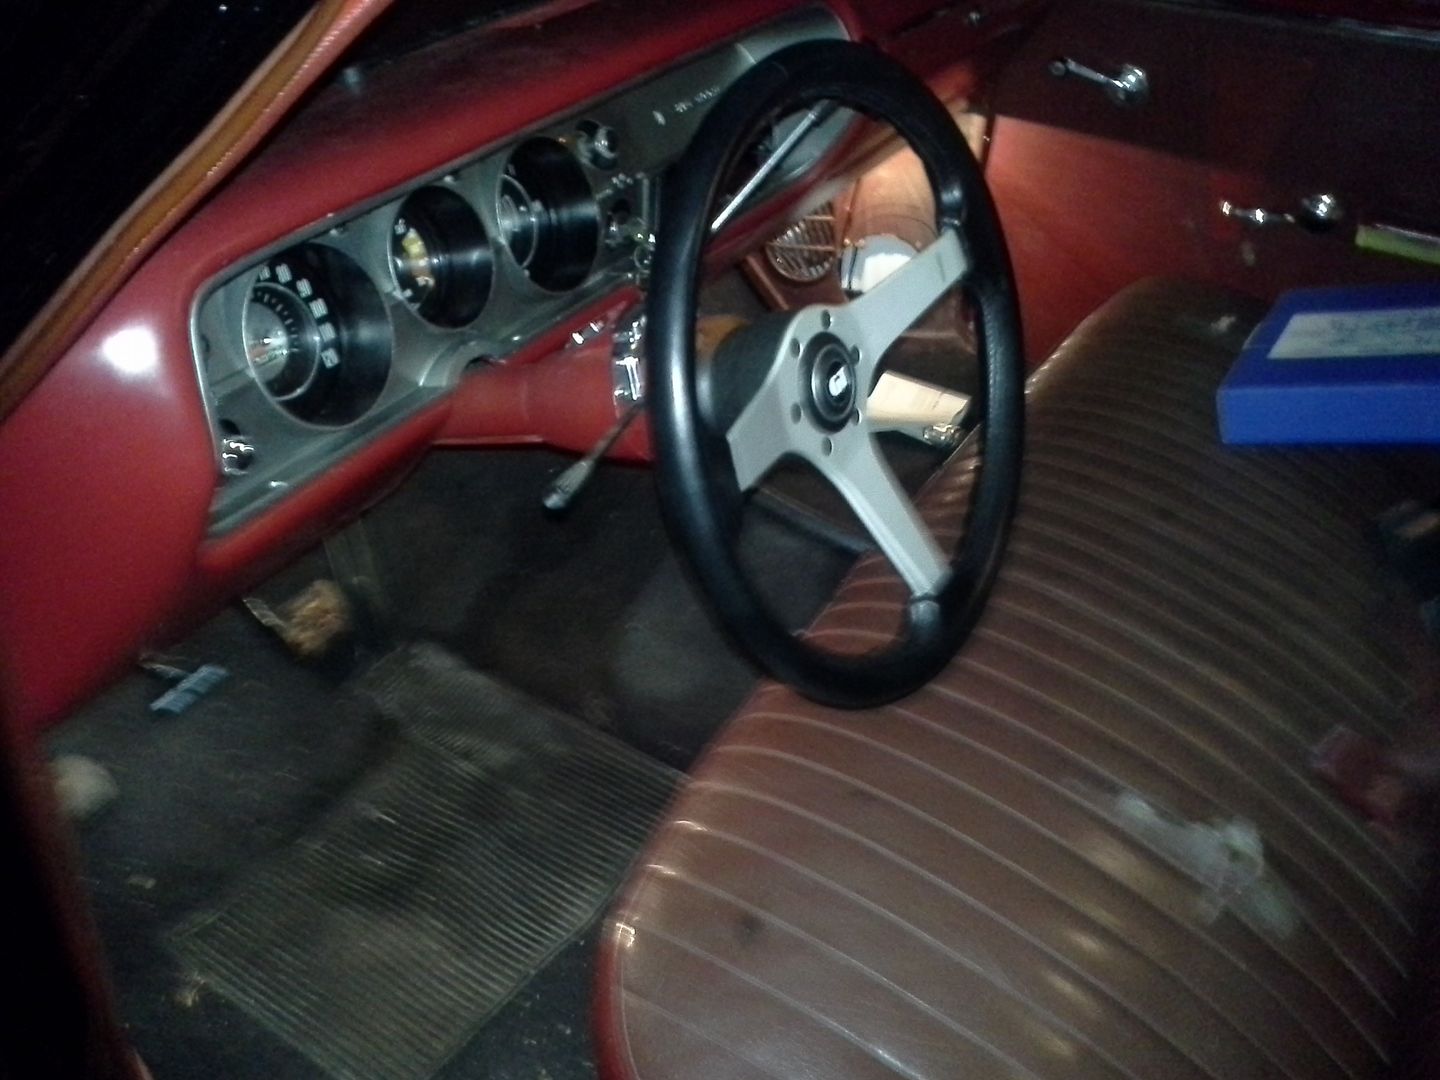 [/URL]
and here's how!
first, we started by buttoning up the wiring. this involved a lot of me undoing temporary splices to get it running, pulling the dash and steering column no less than 47 times, and much alieve due to the way I had to bend myself. in the process, I added some foot well lights to the dome light circuit from a late 80's s-series ( I get them for free, and have about a dozen in my box-o-misc-electrical-crap. (yes, that’s what the box is actually labelled). I added a couple extra grounds to the dash cluster itself, as well as rebuilt and relubed the heater control sliders.
[URL=http://s54.photobucket.com/user/dusterbd13/media/1964%20elcamino/20150302_191107_zps70jyyru0.jpg.html]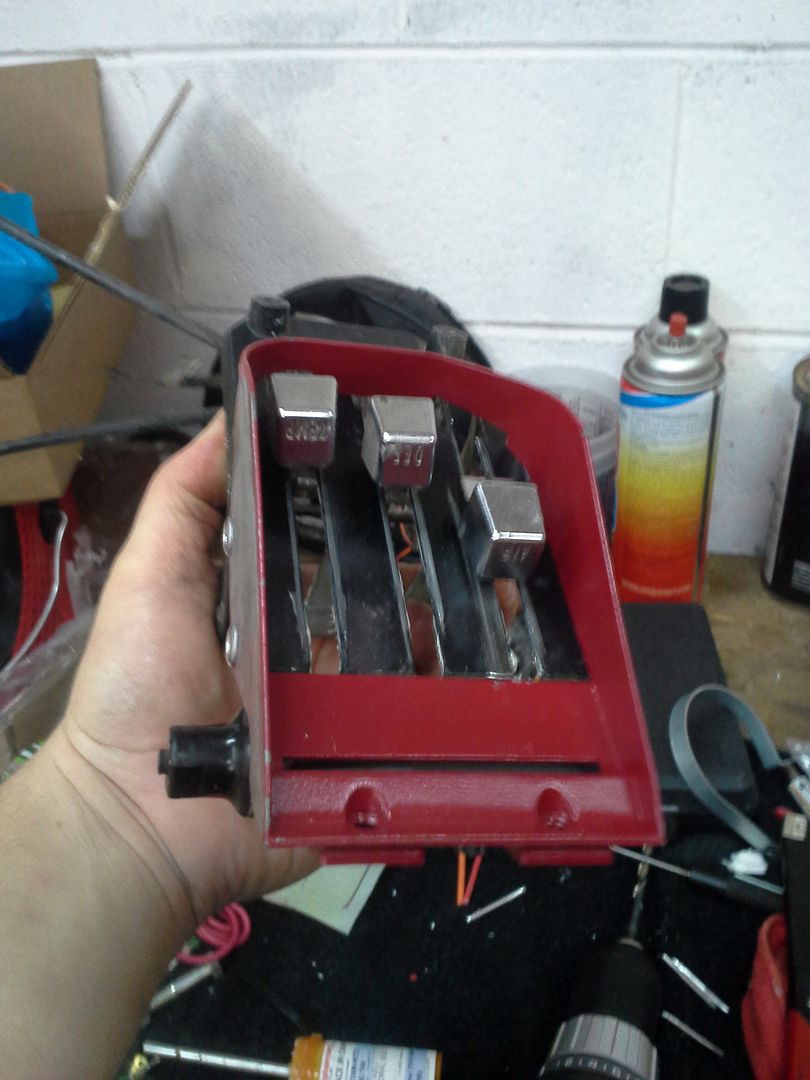 [/URL]
once all the electrical was working properly, and the column was in for what I thought was the last time, I added my new Italian leather steering wheel. you see, I'm trying to go for parts from every major country of manufacture. I've got all of the big three represented, Britain, Germany, japan, china, and now Italy. I'm only missing Sweden, but cant thing of anything from there that would fit the build. at least not yet. maybe Volvo seats?
anyway, I really, really like the new wheel. fits perfectly, and looks great.
[URL=http://s54.photobucket.com/user/dusterbd13/media/1964%20elcamino/20150414_202944_zps8jvbdtcy.jpg.html]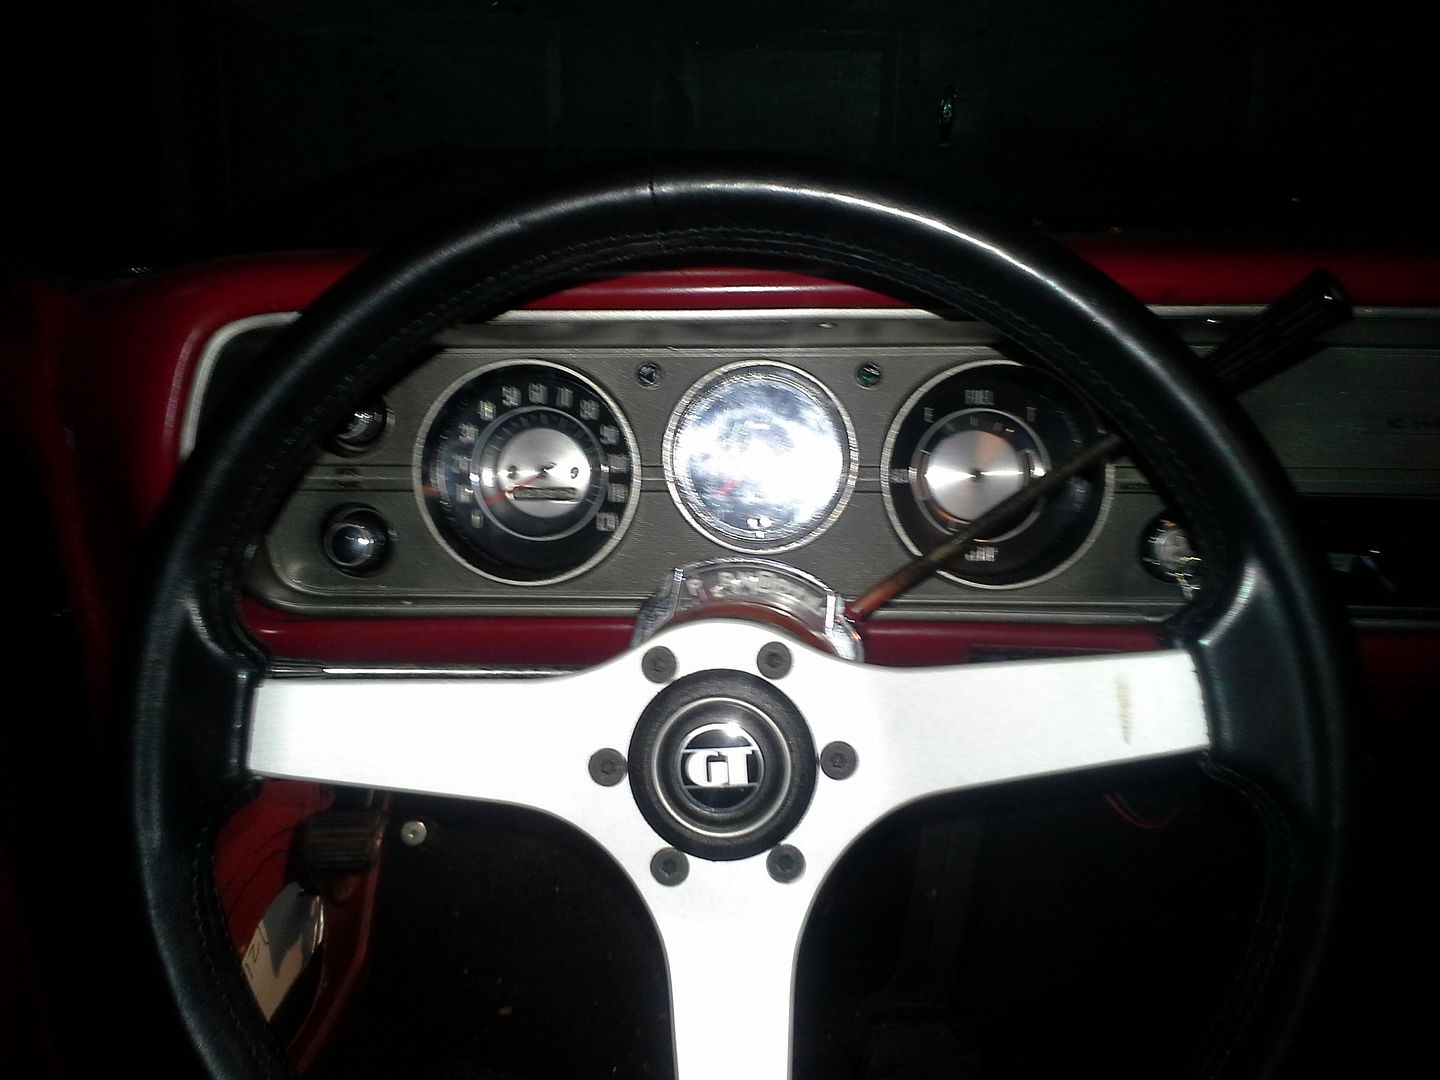 [/URL]
the next step was adding sound deadening and insulation. my wife says it has now become a compulsion of mine to find a truly quiet classic car. I cant disagree. to that end, I covered every piece of the interior with the aluminum backed peel and seal. this serves three purposes: another level of seam sealing all my panels, the aluminum is somewhat insulative, it has sound deadening properties. over this, I used up the last of my mcmaster carr elastomeric. on top of that I used the last of my foil backed jute. I ran out before getting the coverage I wanted, so will have to finish when I finally replace that nasty old carpet. just cant afford to right now.
here's a pic, not as far as I made it though:
[URL=http://s54.photobucket.com/user/dusterbd13/media/1964%20elcamino/20150406_195809_zpsgtlxuwqn.jpg.html]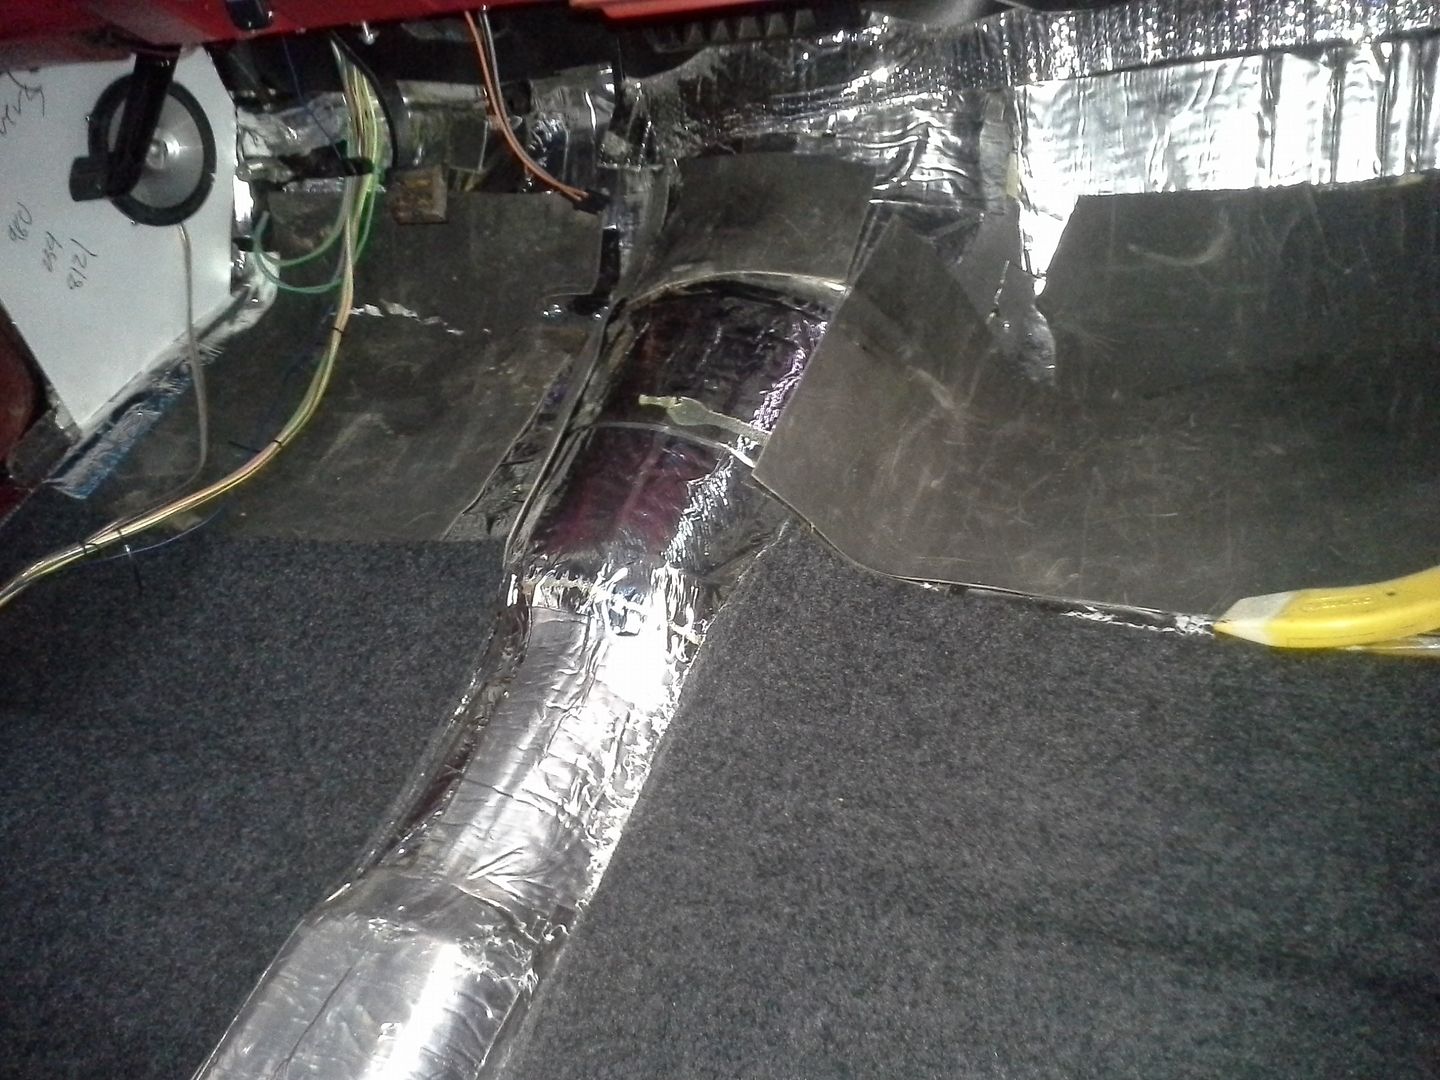 [/URL]
so then it was time to turn my attention to the stereo. you remember from way back that I had started collecting audiophile level sound gear for this thing one deal at a time. JVC head unit, eclipse amp, elemental designs 10, infinity reference 6.5, heavy gauge wiring. added to this, out of my boxes, were monster cable rca's, 4 gauge power and ground amp wiring, and some plastic 6.5 speaker mounting buckets. armed with all this, and o fear of failure, I attacked.
first job was amp mount. it had to be secure and safe from damage, but out of the way. decided this was best accomplished by mounting it to the back cab wall. but I couldn’t due to the fact that the screws would penetrate into the bed. I could weld studs, but....
the lightbulb came on: liquid nails. if I used some 5/4 deck boards, glued them to the back cab wall, I could use these top mount the amp to. PERFECT! so I did it. and insulated/sound deadened the whole wall. here's an in progress picture.
[URL=http://s54.photobucket.com/user/dusterbd13/media/1964%20elcamino/20150404_172624_zpsjcdpvtab.jpg.html]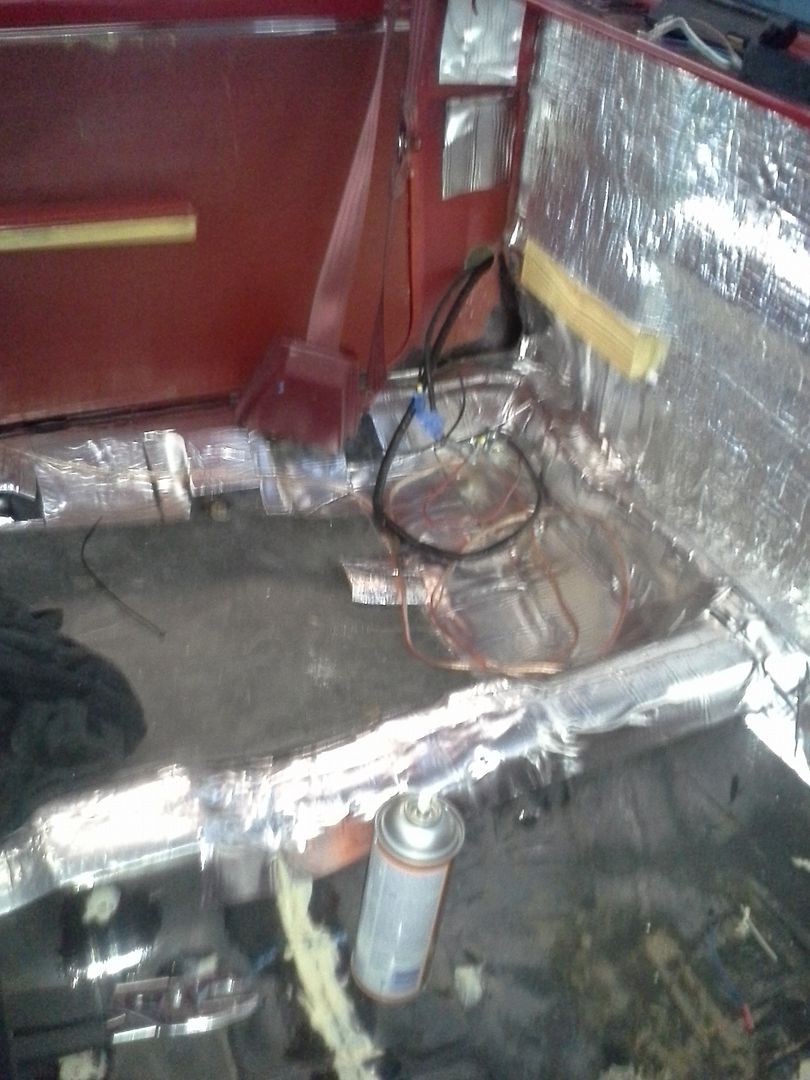 [/URL]
next was the sub mounting/box. I had bought a pre-fab truck box for this purpose, but wasn’t happy anywhere I put it. so I rolled my own out of a half sheet of left over OSB. don’t ask me what the dimensions are, I don’t remember. but internal volume is .52 cubic feet, perfect for the elemental designs sup that calls for .50 and displaces .025. mounted this to the back cab wall with a piece of angle from the metal stock bin screwed directly to the box and to the reinforcing rib on the cab wall. one self tapping sheet metal screw into the smugglers compartment, and friction.
[URL=http://s54.photobucket.com/user/dusterbd13/media/1964%20elcamino/20150406_195802_zpsy8o5kwjc.jpg.html]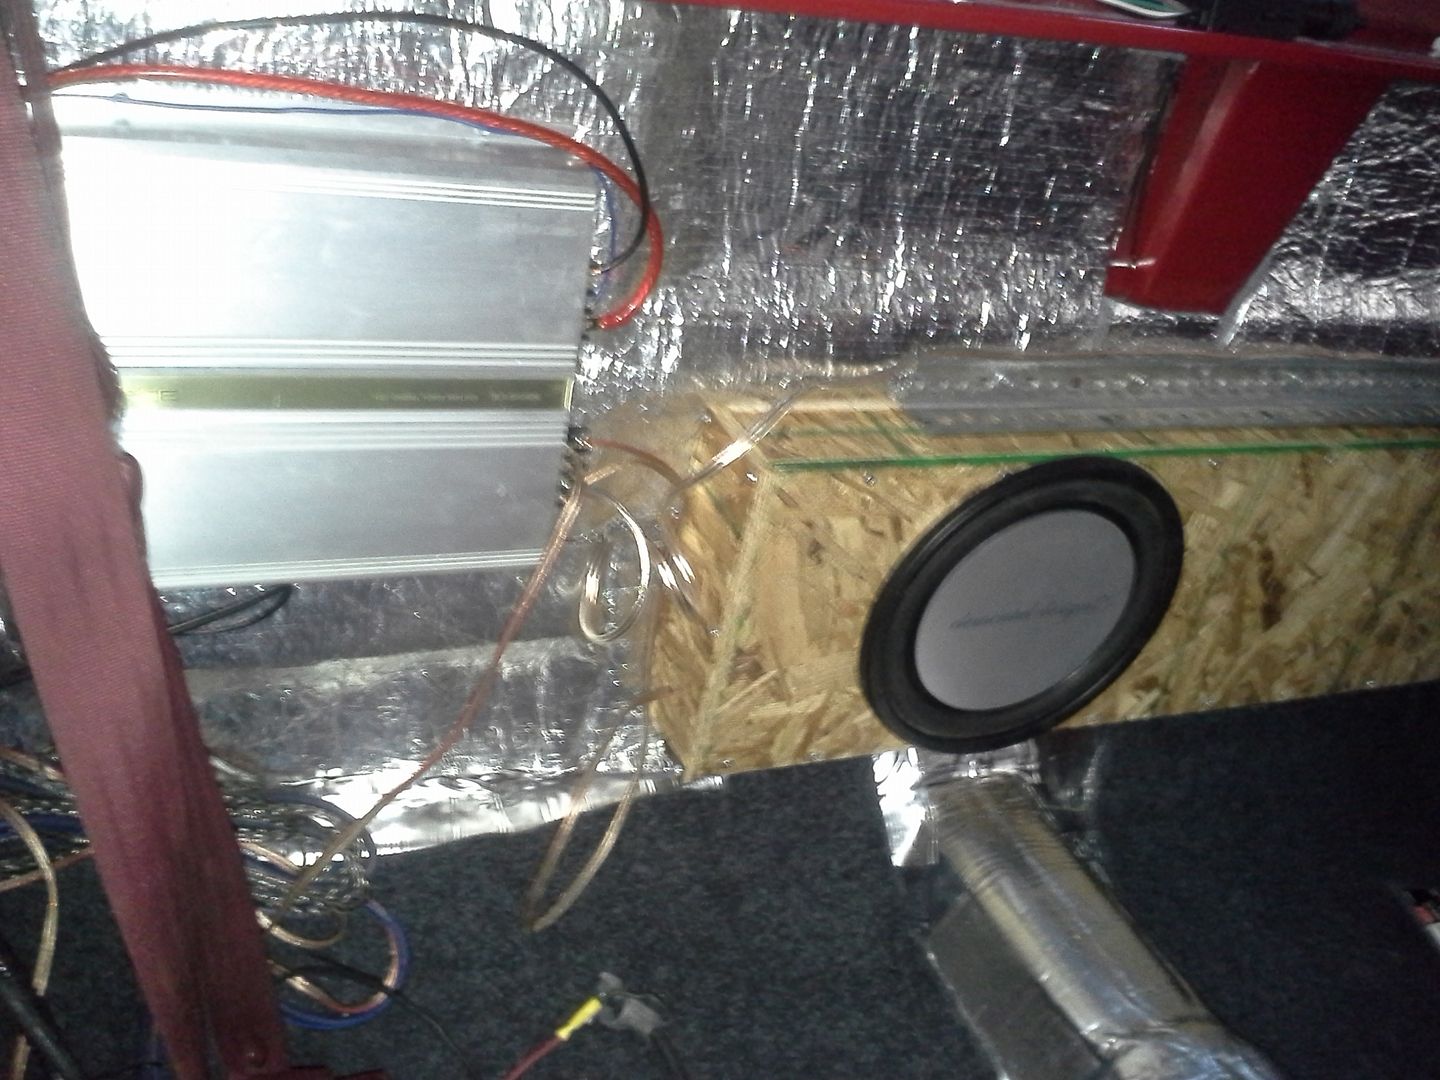 [/URL]
I also had the genius idea at this point to use some remote jump terminals back there for the eventuality that I would have to get the battery jumped off in the middle of east jabib at 2am. don’t want to have to take the bed apart to do it.
so I grabbed some old battery cables out of my stash, and wired them up. currently, behind the seat looks like this:
[URL=http://s54.photobucket.com/user/dusterbd13/media/1964%20elcamino/20150414_202909_zpsmvhp99qd.jpg.html]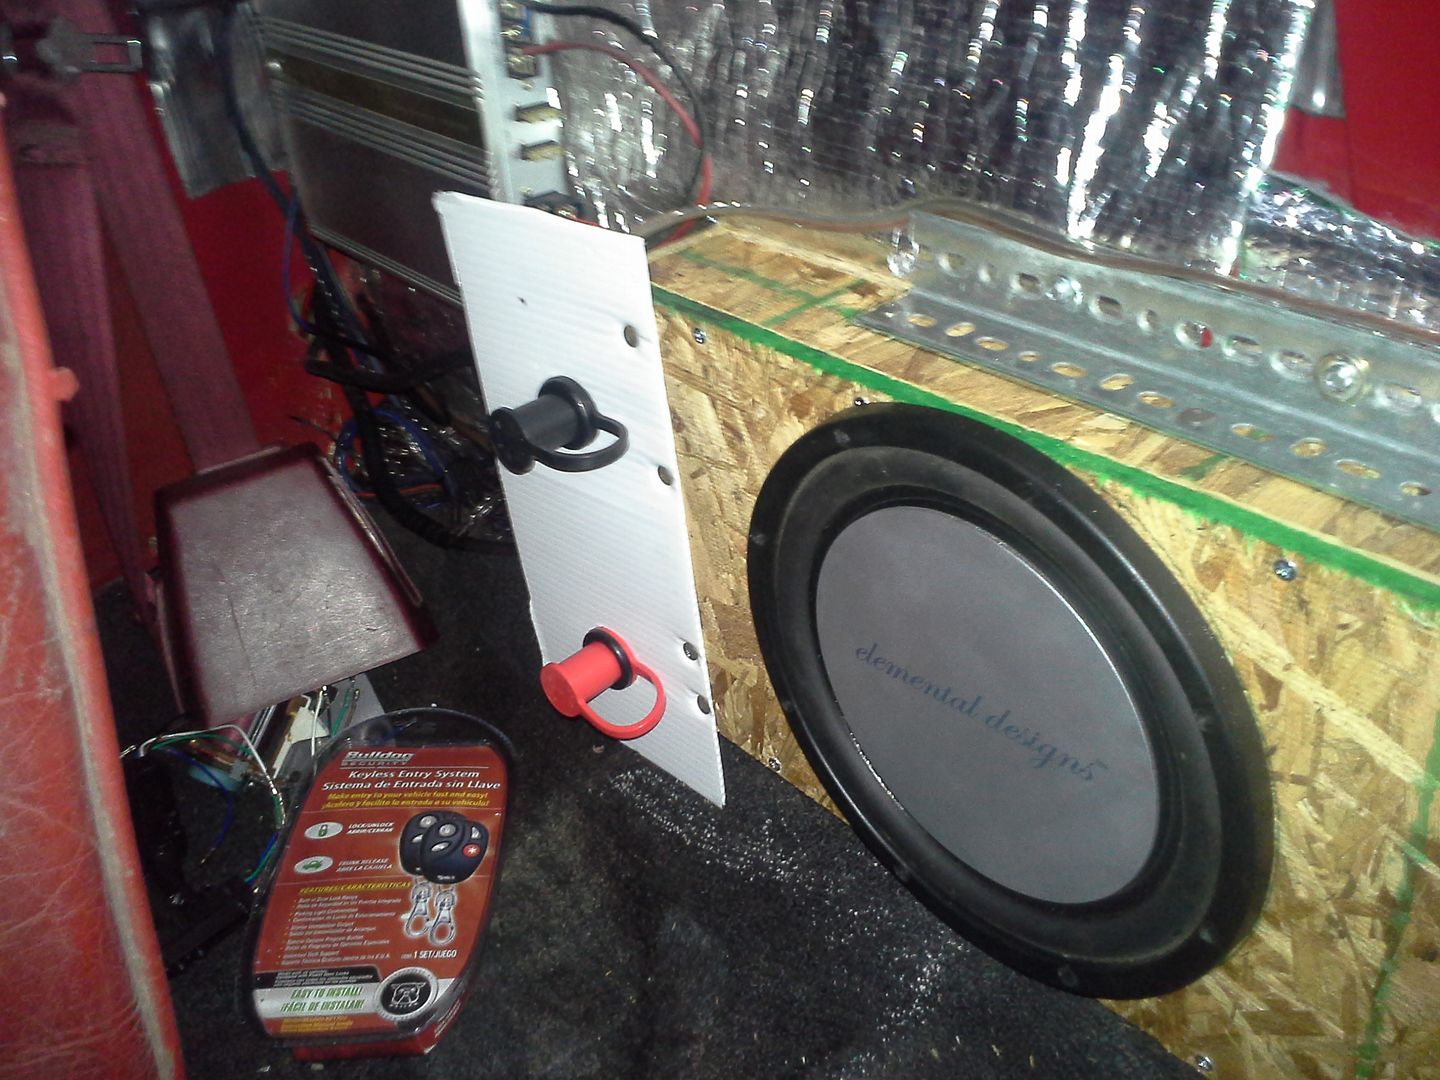 [/URL]
at some point, ill make a trim panel, covered in vinyl, and finish out the cab wall street rod style.
next was mounting my full range drivers. earlier I had the genius idea of using chloroplast to mount them where the original kick vents would go. I traced the kick panels as a pattern, and started whittling down from there until it all fit. mounted the infinity in the speaker baffles, and ran them home.
[URL=http://s54.photobucket.com/user/dusterbd13/media/1964%20elcamino/20150404_172643_zpso5hkwsf1.jpg.html]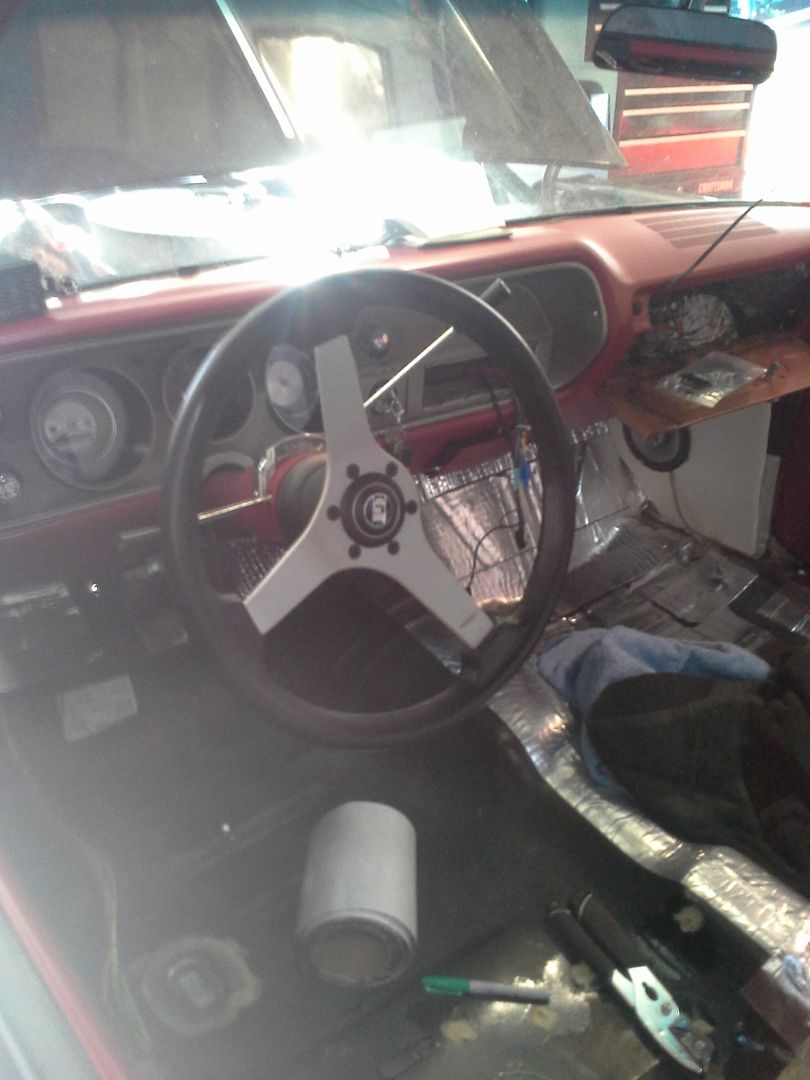 [/URL]
[URL=http://s54.photobucket.com/user/dusterbd13/media/1964%20elcamino/20150414_202930_zpsq4tianoo.jpg.html]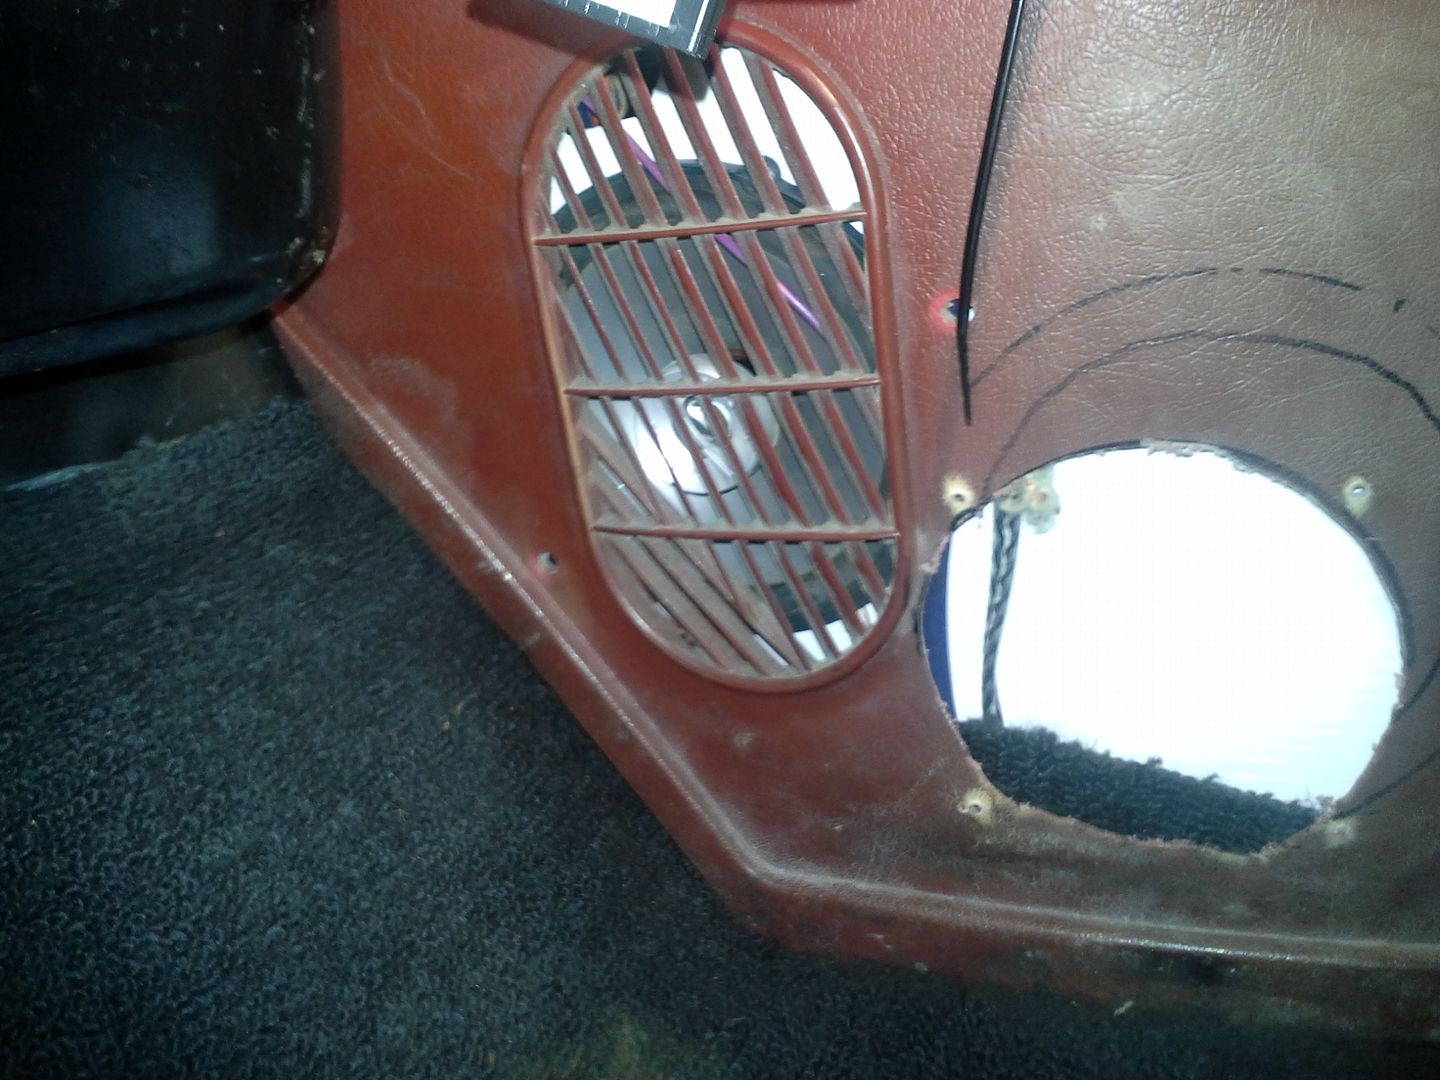 [/URL]
need to find decent kick panels, and do something about the white chloroplast, but man they sound good. great front soundstage. wont even need the door mounted dome tweeters after all.
so, with that all buttoned up and working great, I put the nasty used carpet from a 69 442 convertible back in, and my tattered seat, effectively making the whole interior look like E36 M3. I need this thing on the road, and I have other things that need my money more than this truck, so it will have to do for now. I cannot make up my mind on black or red carpet, or what I want to do about the seats. id love some feedback on that.
in my budget, I mentioned buying AC parts. here's what I bought:
condenser, parallel flow, biggest i can fit:
[URL=http://s54.photobucket.com/user/dusterbd13/media/1964%20elcamino/20150327_205639_zpsgbq4sskr.jpg.html]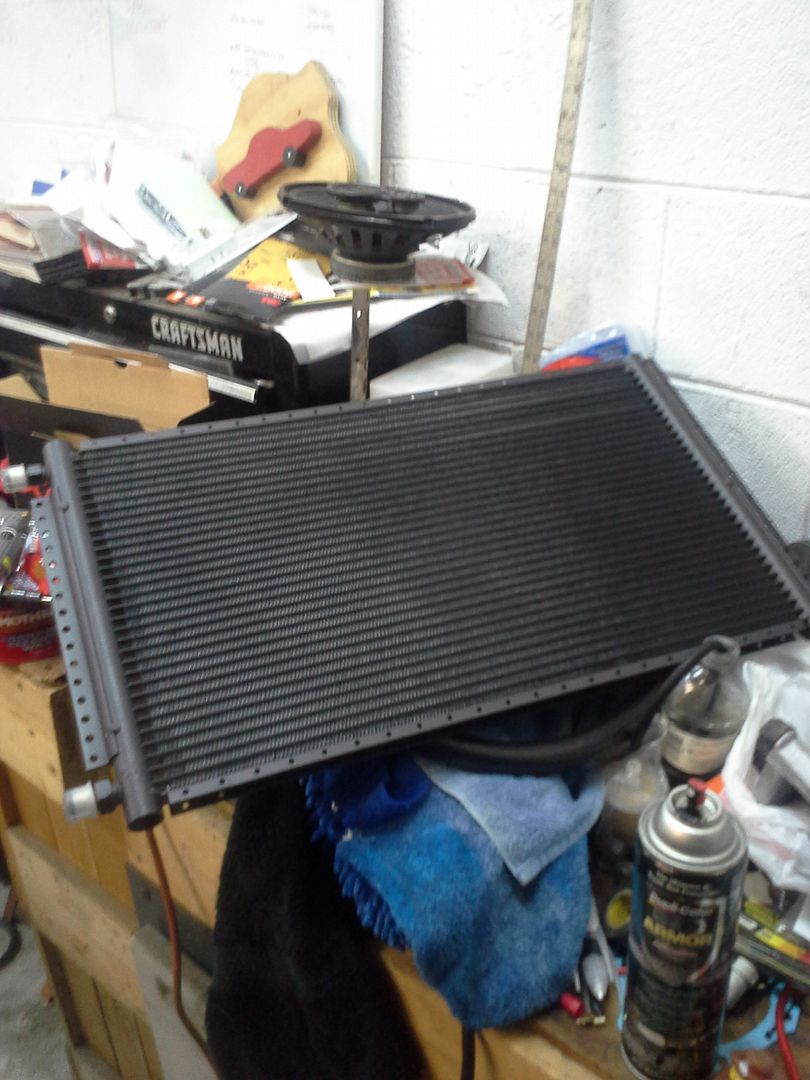 [/URL]
billet hose bulkhead, which I think I will mount in the toe board, just below the heater box:
[URL=http://s54.photobucket.com/user/dusterbd13/media/1964%20elcamino/20150327_211245_zpskfxwdbyq.jpg.html]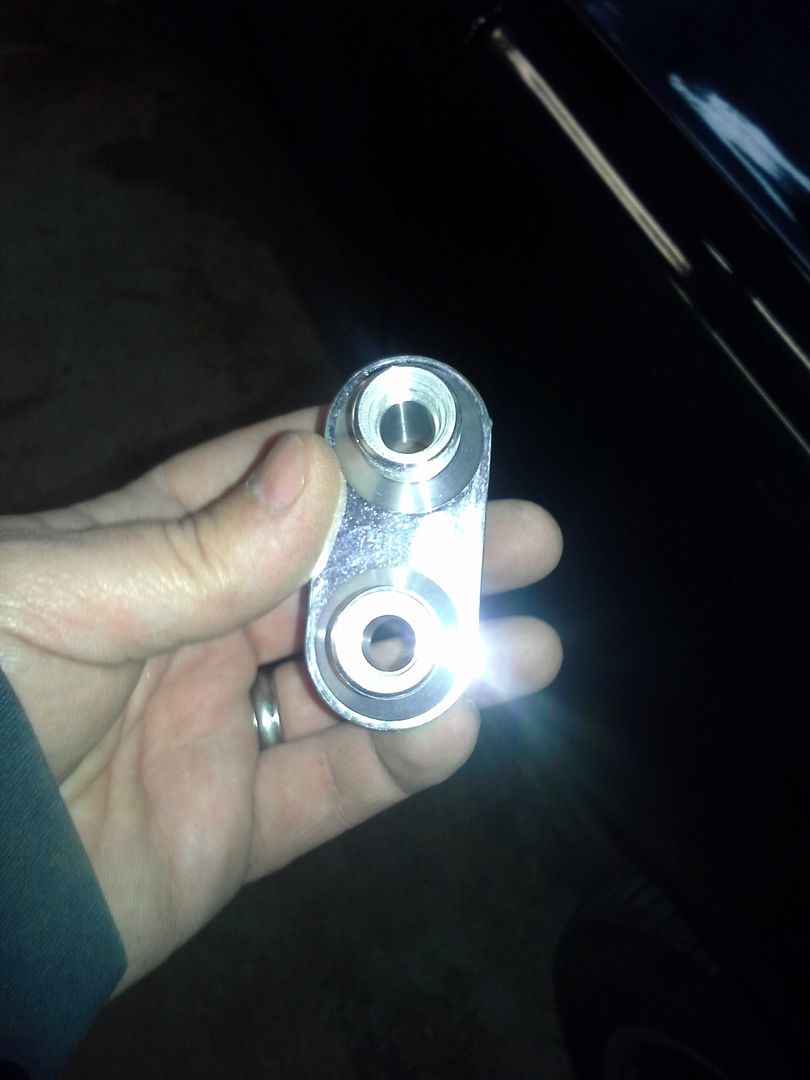 [/URL]
vintage air r4 manifold was given to me:
[URL=http://s54.photobucket.com/user/dusterbd13/media/1964%20elcamino/20150327_211446_zpsogdidfay.jpg.html]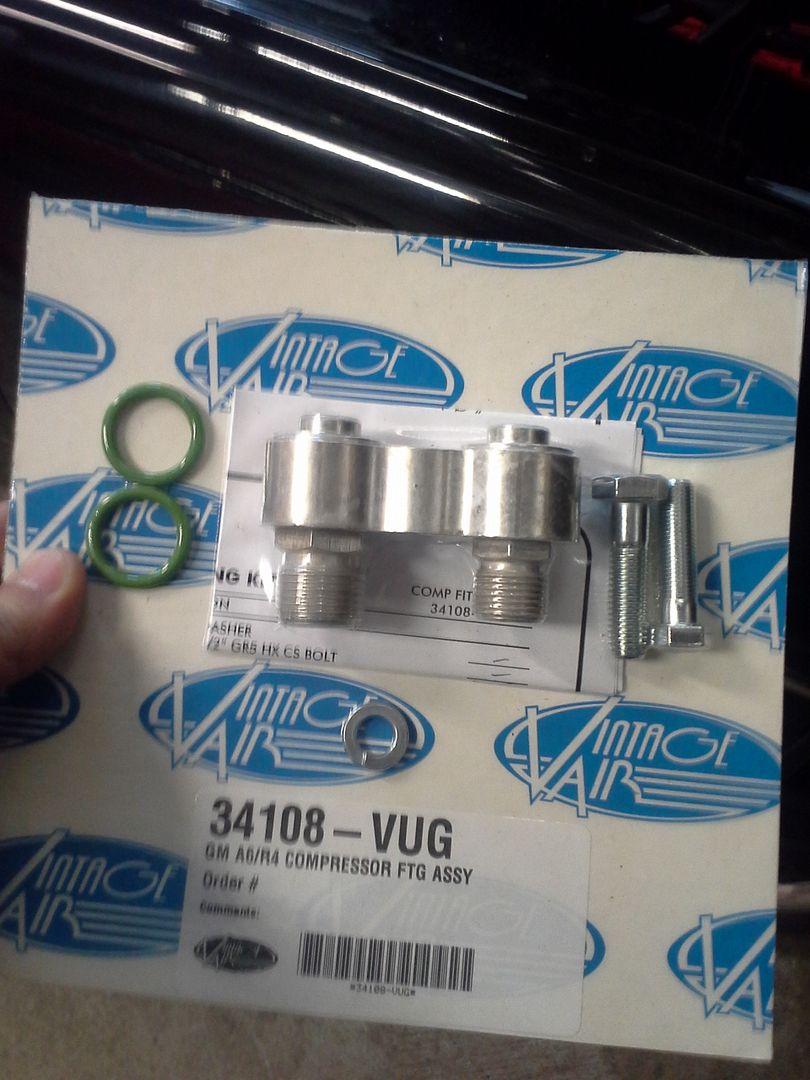 [/URL]
and before I forget, the way I wound up hooking the factory heater box to the vintage air ductwork was by doing this:
[URL=http://s54.photobucket.com/user/dusterbd13/media/1964%20elcamino/20150414_202920_zpsji7mgtqc.jpg.html]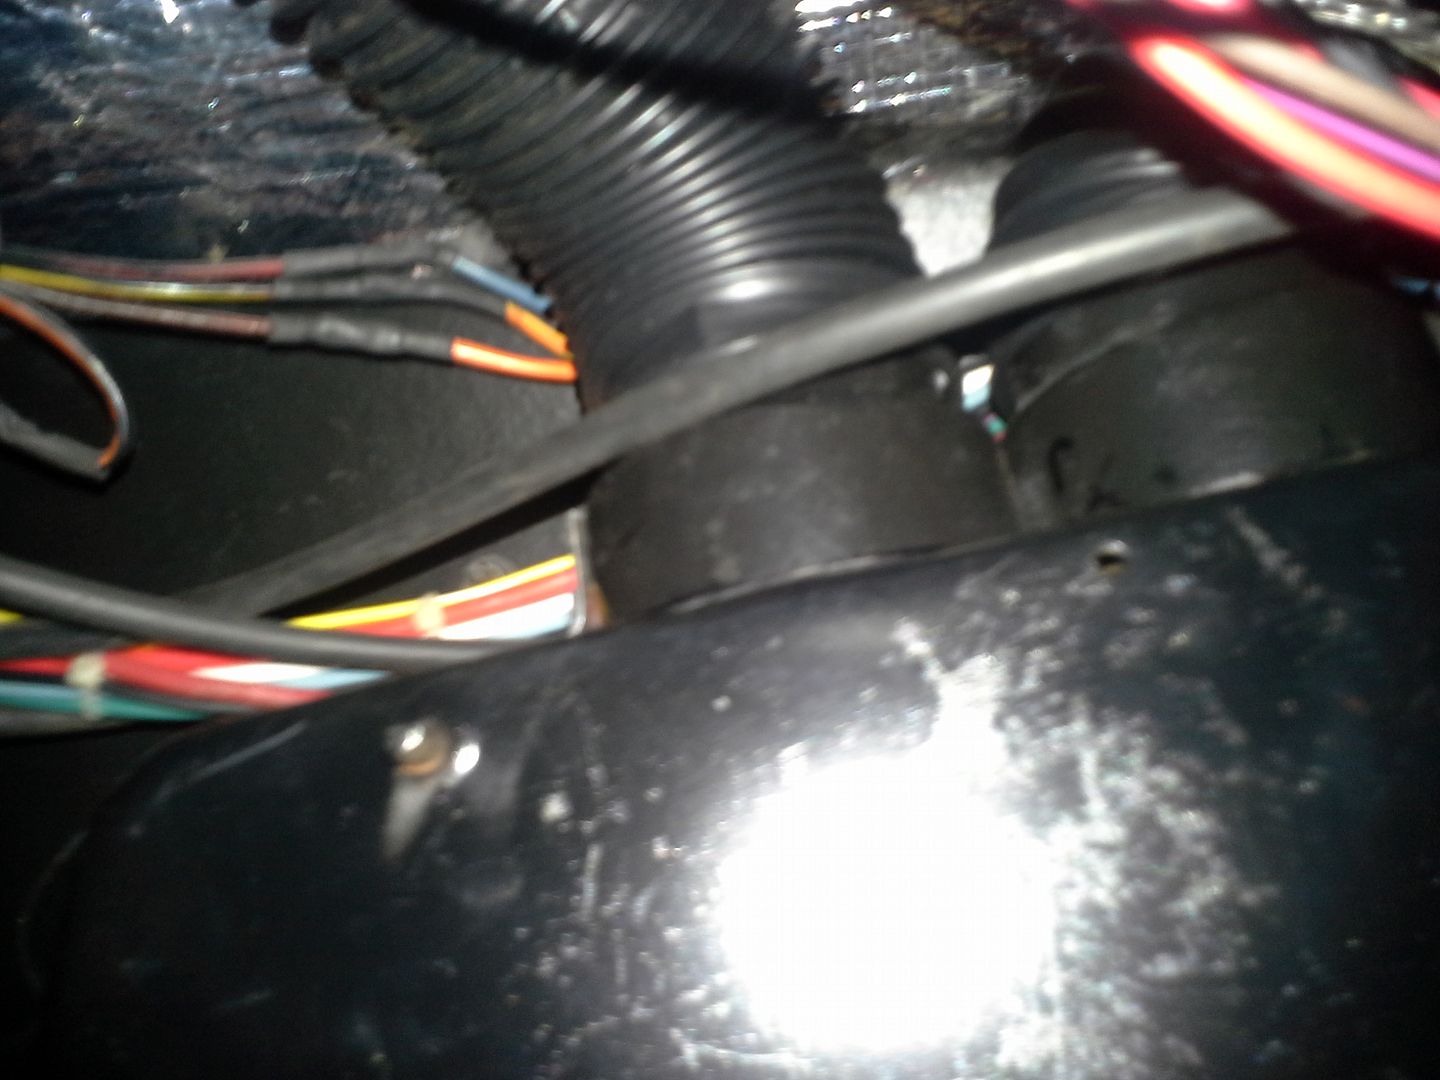 [/URL]
what that is is a pair of plastic reduces that were in my AC box from god knows what, bolted together, and held to the case with plumbers strap and sheet metal screws. it sounds and looks pretty hokey, but has much better defrost flow than stock. so it works.
also, I talked about custom upper control arms. the reason is, that with my 9.5 inch wide front wheels, the inside edge would slightly rub the one tube of the upper. this was fixed permanently, as well as my huge stack of alignment shims, by these, $300 of pure circle track goodness, custom made to my specs.
[URL=http://s54.photobucket.com/user/dusterbd13/media/1964%20elcamino/20150325_081707_zpscw9r7qxc.jpg.html] [/URL]
I also found why I had the front end wobble. both sets of wheel bearings were loose. took them out, repacked, set them, and while I was in there replaced the wheel studs with longer versions. for some reason I didn’t do this before, and only had a couple of threads worth of engagement on each lug not to each spacer. don’t remember that problem, but I'm the only guy to touch these things, so I must not have noticed, or meant it to be temporary. still need to do the rears when I do the rear disc brake conversion. I'm also still debating upgrading to 13 inch rotors and corvette calipers up front, which have smaller pistons for less pedal travel and a stiffer pedal.
the last part of this will be about the clusterberkeley of the body.
my guy has made sporadic progress on doing the repair wet sanding and buffing. here's a close-up of where were at:
[URL=http://s54.photobucket.com/user/dusterbd13/media/1964%20elcamino/20150313_192858_zps9hwwbofi.jpg.html]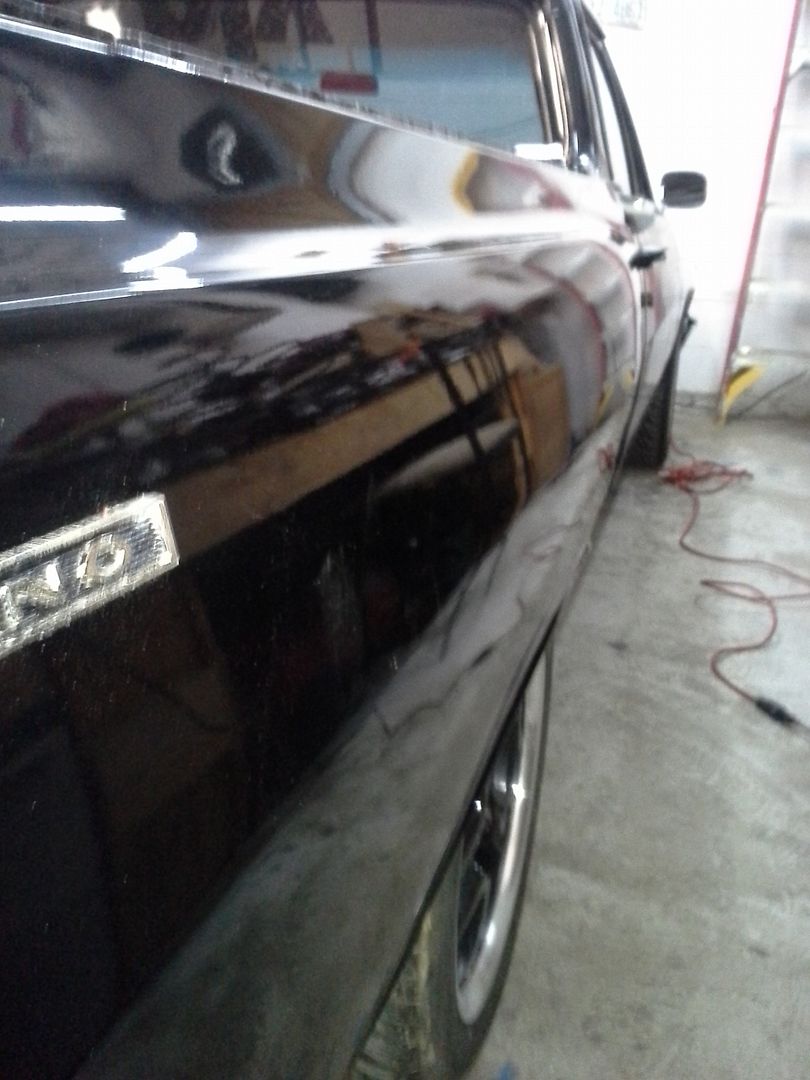 [/URL]
and some craptastic overall shots:
[URL=http://s54.photobucket.com/user/dusterbd13/media/1964%20elcamino/20150327_205315_zpsaabmpgit.jpg.html] [/URL]
[URL=http://s54.photobucket.com/user/dusterbd13/media/1964%20elcamino/20150327_205335_zpspqfplkgx.jpg.html] [/URL]
next steps are doing AC, replacing my dead gas gauge with an operable new one, finishing getting the paint back to good enough, alignment, nut and bolt check, driving it, and enjoying it. stay tuned for more sporadic updates, on the same bat channel, at the same bat time!
that’s all for now, folks! please, give feedback, as I'm pretty sure that by this point you’ve finished your beverage, scooped out our eyes from the pain of reading all this, and possibly gone into a coma from boredom. I just want to make sure I haven't killed any of my loyal readers....
Two comments only:
Your camera stinks
Don't ever let that bodyguy touch this car, or any more of your stuff, ever again.
OK, three. Nice work. Keep it up.
In reply to tuna55:
Yes, it does. It's the company mandated pocket potatoe. Usually I don't have my good camera anywhere near me.
He won't ever again. Nice guy, but now lives in an abandoned pop up camper out in the woods. Sad really.
Thanks guys. Spent the last few hours typing and organizing the massive photo and brain dump.
Read the whole update and I still have 33% of my beer left. Nice work! I like how you do things the right way or what seems like the right way to me. Hard to tell about the paint with those pictures but I thought it looked great before. Way better than most of the cars parked over at my place.
In reply to VWguyBruce:
I do try to do it right. That was a lesson beat into me and my friends in high school. I remember my dad coming home from a business trip while a couple of us were working on my duster. One of my buddies was performing some ill conceved hack job. My father's advice was this: do it right or go the berkeley home.
That is still my motto to today, and it pains me when I cannot afford to do it as well as I can. But as they say, perfection is the enemy of good enough.
Today is fun car Friday. Im driving the elky. Its awfully nice to participate in this again.
I always figured Diet Mt Dew would be flammable...
(Great update. And better luck with body work in the future)
so, budget first:
previous total: 10,121.07
money spent:
c4 vette wheels, craigslist: 75
new total: 11,312.07
so, not a huge update....
first, I fixed the gas gauge. looks exactly the same as before, so no picture.
at least I fixed it, only to have my brand new sending unit crap out the next day. it was a rock auto closeout, so no warranty, and I haven't had the time to change it out. so I'm filling up every hundred miles. mpg is hovering in the 15-16 mpg range.
next, I need to admit a little known secret: I love changing wheels. I'm also a product of the mid 90's car culture, and this truck, in my head has always had an esthetic goal: to look like GMPP would have done one for a crate engine demo truck in 1990. like what if they had a tbi crate engine swap kit back then, what would they have done to take on the power tour to promote it? kind of look. to that end, the z06 wheels weren't cutting the mustard. I was able to score a stupid cheap set of 88-89 c4 vette wheels on craigslist.
[URL=http://s54.photobucket.com/user/dusterbd13/media/1964%20elcamino/20150515_152554_zpspfrefqnd.jpg.html]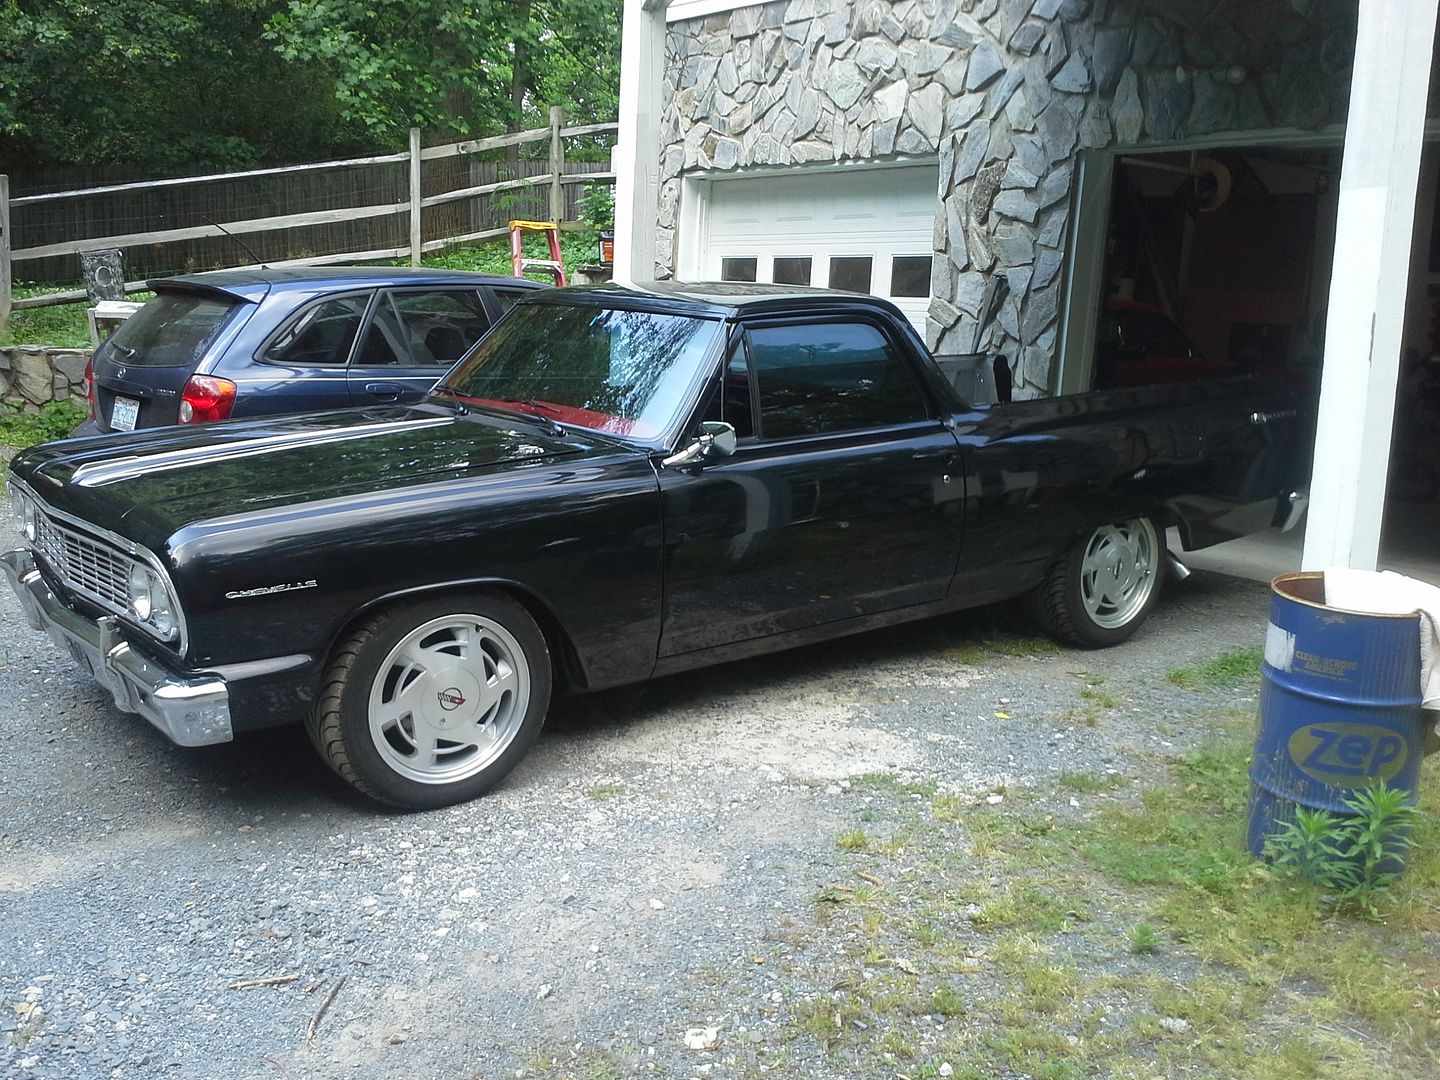 [/URL]
looks sooo right. I really want a set of 17x9.5 torque thrust 2 wheels, but no used and reasonably priced options have presented themselves yet.
then, it was on to being my daily driver and doing truck stuff. I remembered quickly what one of the shortcomings of the bed of this thing was: no tie down points. I had to fix that, as I still don’t have a tailgate.
a buddy of mine gave me some harbor freight d-rings he had gotten for his landscaping trailer, that were too small. so I installed them. one pair at the front of the bed on the floor, one at the rear, and a pair on the sides front and rear.
[URL=http://s54.photobucket.com/user/dusterbd13/media/1964%20elcamino/20150515_152710_zpswcwdoqo9.jpg.html]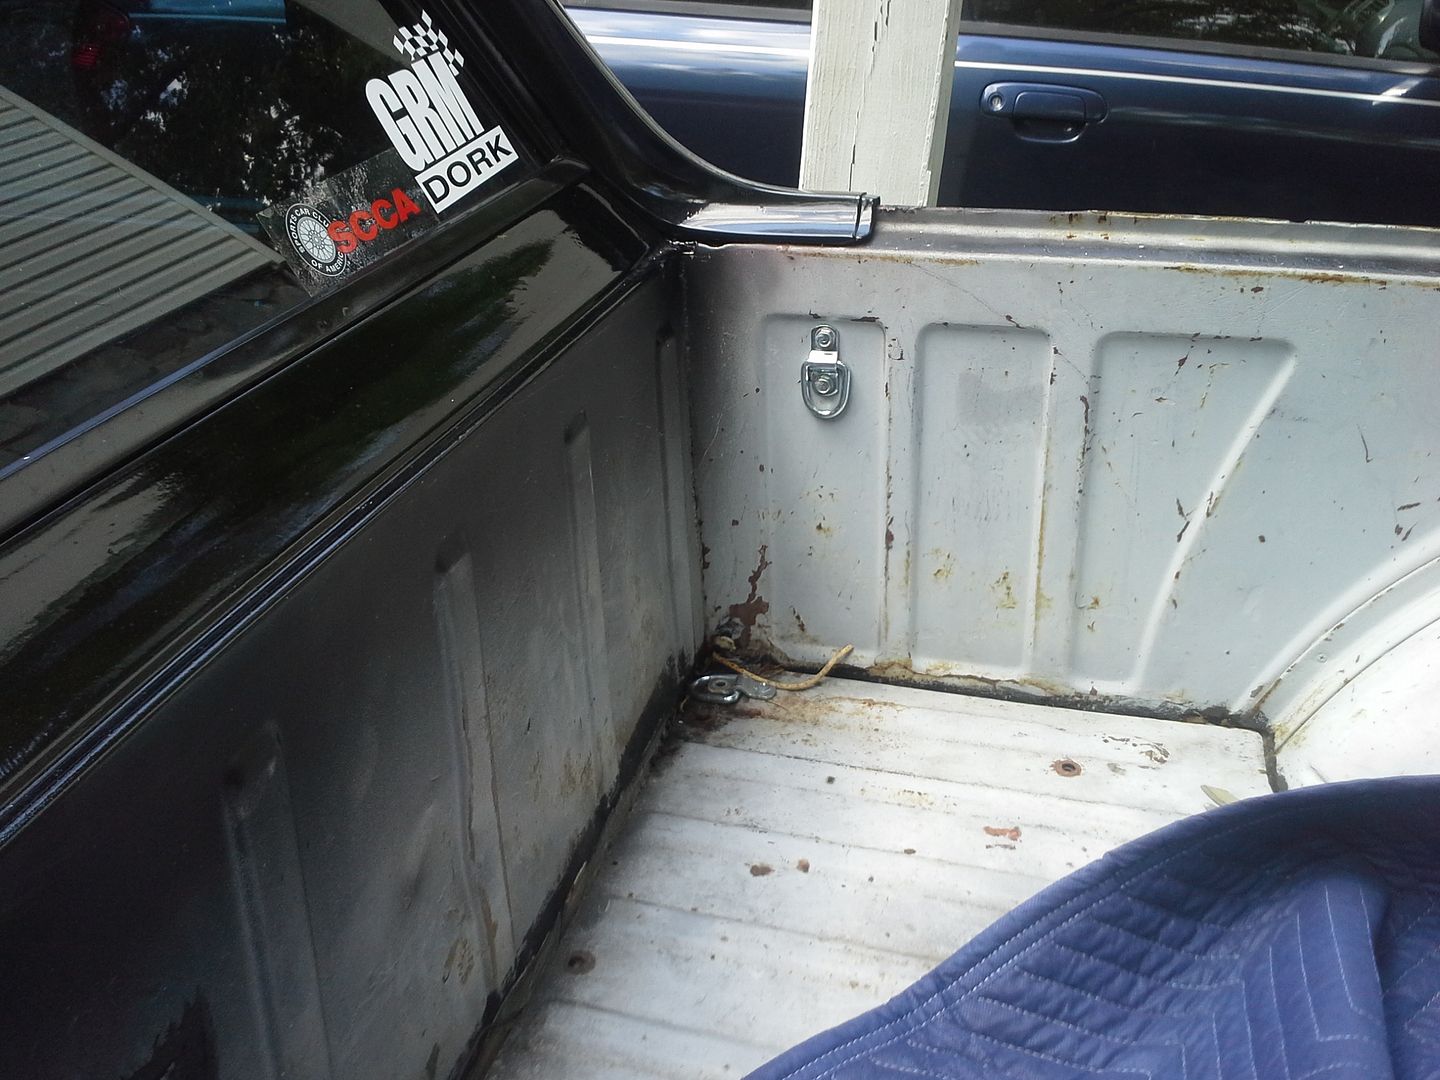 [/URL]
[URL=http://s54.photobucket.com/user/dusterbd13/media/1964%20elcamino/20150515_152703_zpswhcbcsam.jpg.html]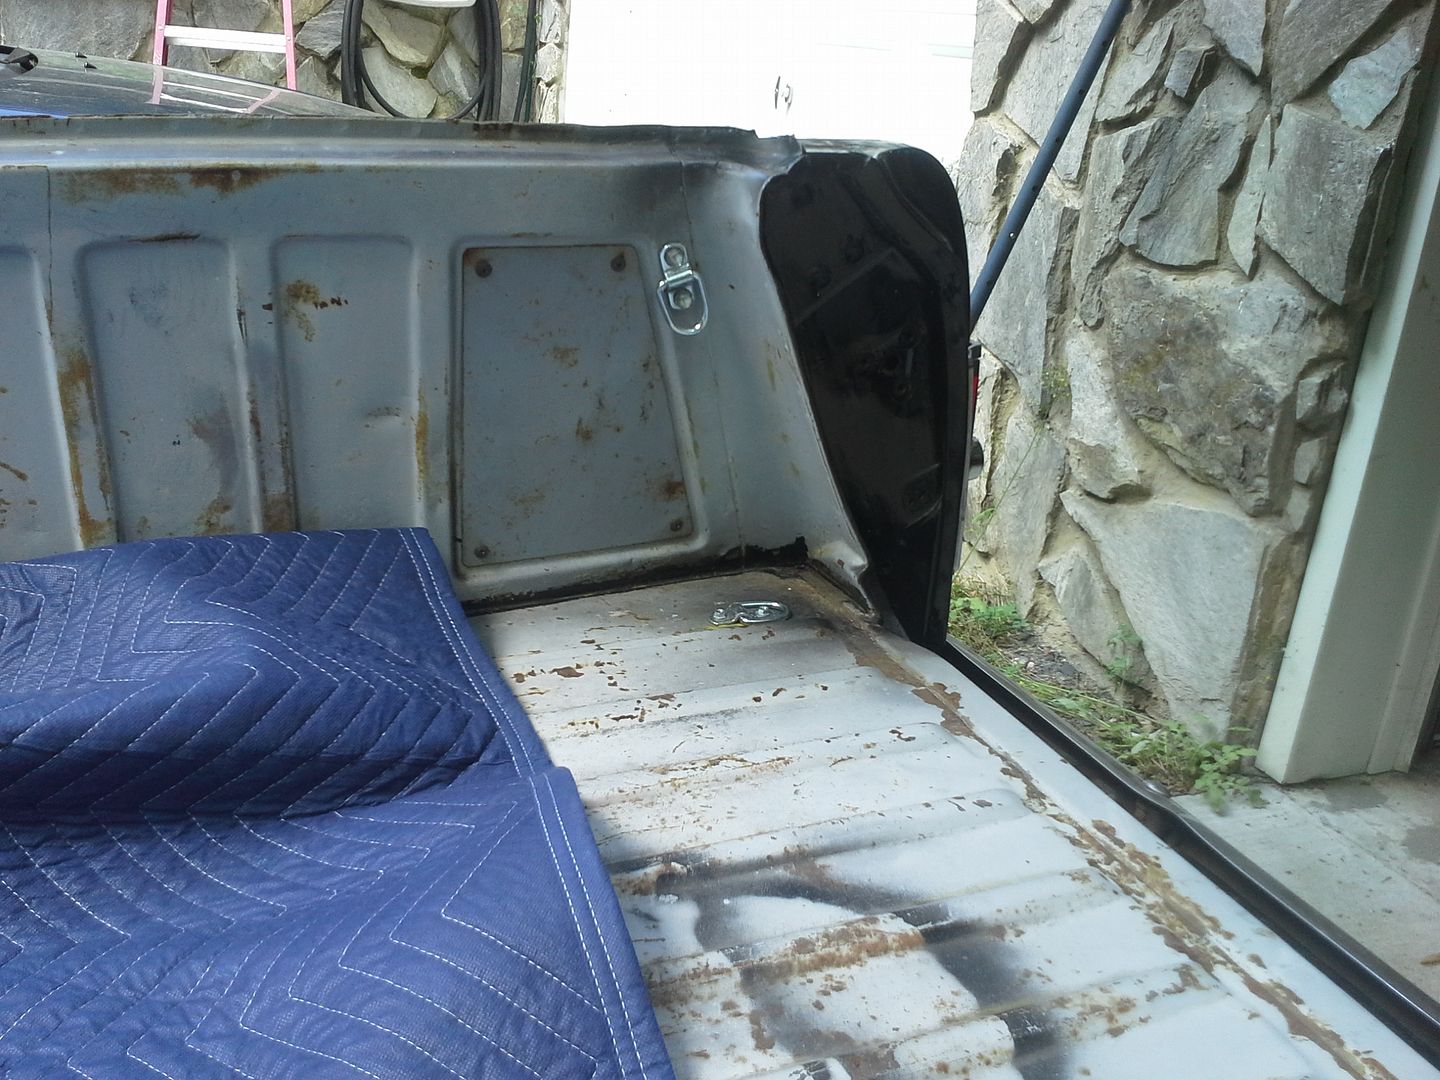 [/URL]
then on to truck stuff. one of my other hobbies is collecting and restoring vintage power woodworking tools. in the first picture there's a 50;s craftsman shaper, 54 Dunlap mushroom head drill press, 59 toolkraft jointer, 2 extra motors, and a bunch of extra stuff. second picture is a keeper, a 150 series craftsman floor standing drill press. only the craftsman stuff stayed out of all this. the rest went to a friend of mine after a mechanical restoration, leaving the patina. went into his woodshop alongside his grandfathers Dunlap tools that I brought back to life for him.
[URL=http://s54.photobucket.com/user/dusterbd13/media/1964%20elcamino/20150508_114435_zpswrhk04wj.jpg.html]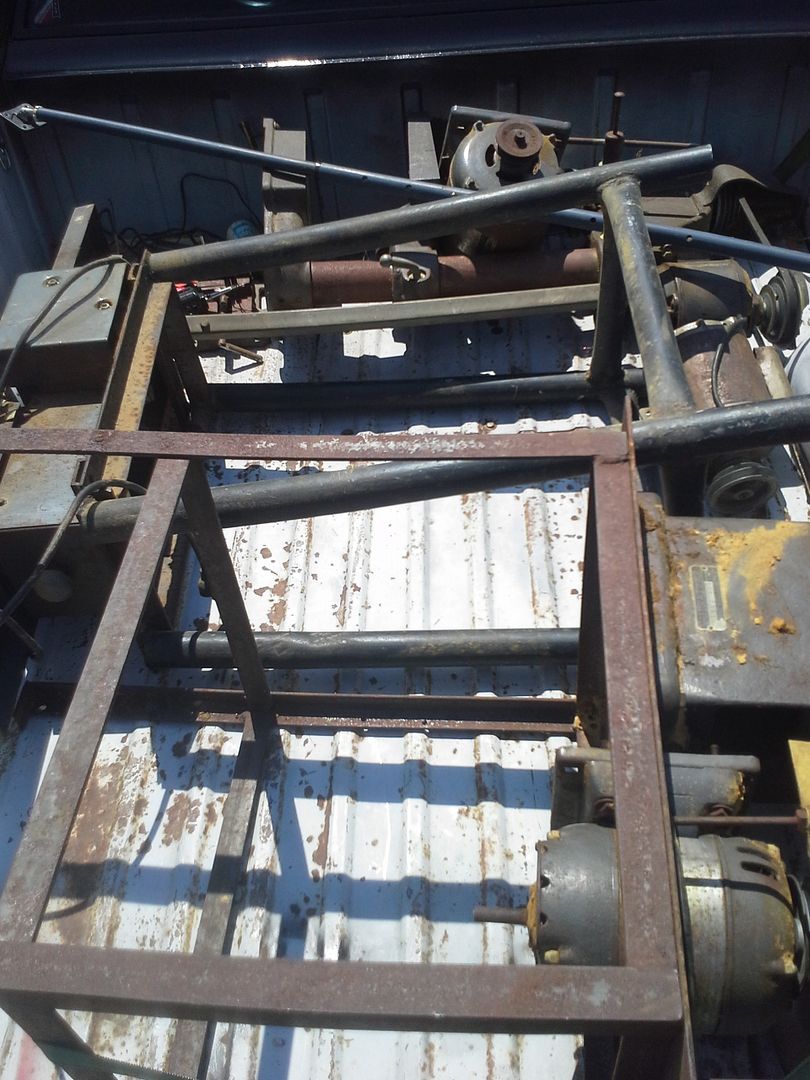 [/URL]
[URL=http://s54.photobucket.com/user/dusterbd13/media/1964%20elcamino/20150516_192511_zpszk3depjy.jpg.html]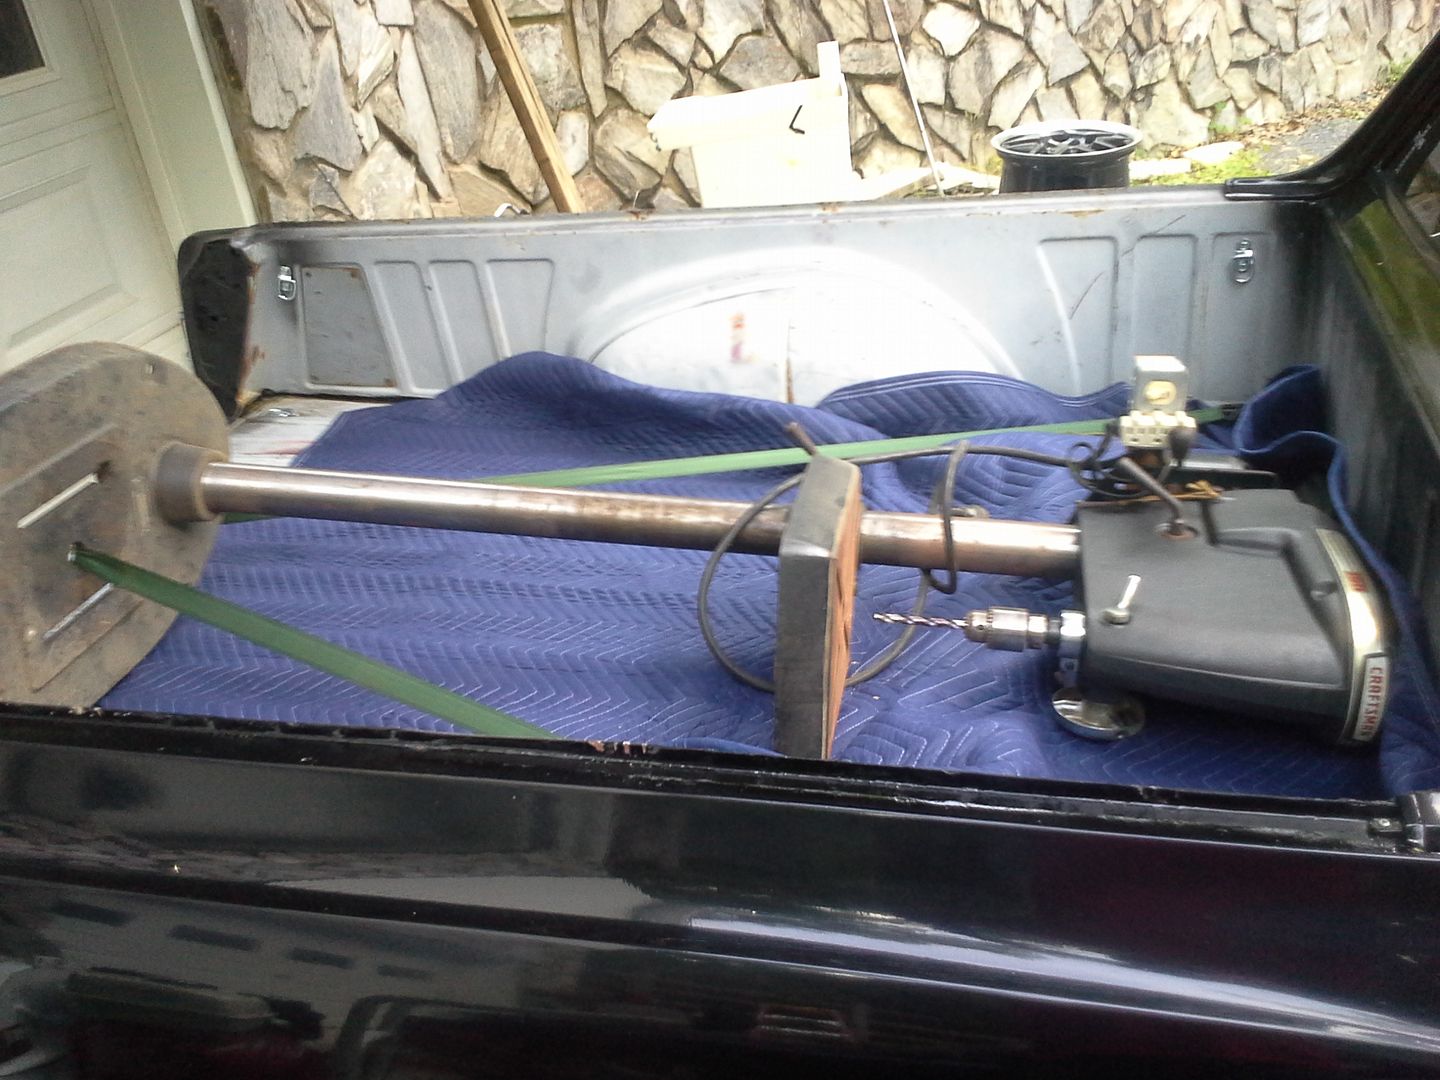 [/URL]
we also finally put on a couple of stickers on the glass. the grm sticker is from when we went to Disney. I had to stop by the magazines world headquarters, as it's my favorite magazine, and it was sort of on the way, being in the same state and all. david wallens himself gave it to me. I'm ridiculously proud of this sticker. the scca sticker was given to me the first time I joined.
[URL=http://s54.photobucket.com/user/dusterbd13/media/1964%20elcamino/20150515_152540_zps3eg1muup.jpg.html]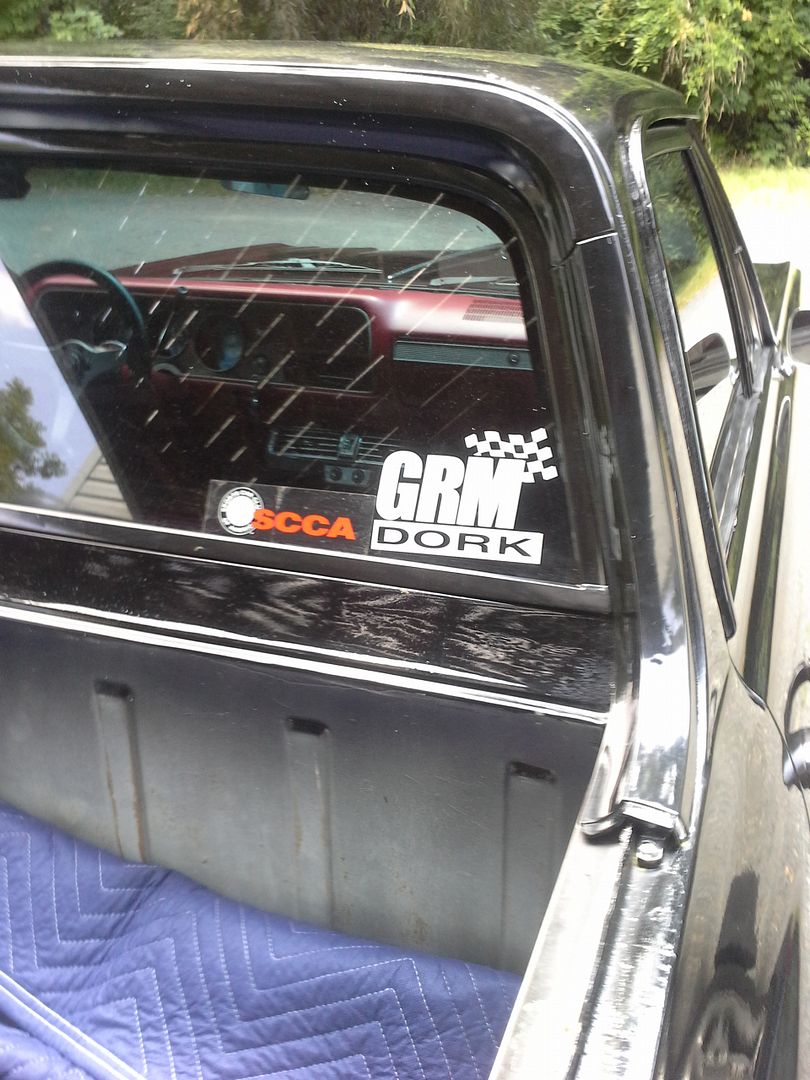 [/URL]
up next is what my unreliable body guy and I have accomplished. first, we've gotten the first round of repair wet sanding and buffing done. tons of swirls, and some hazing yet, but its getting better than it was. this is a shot of the middle of the hood.
[URL=http://s54.photobucket.com/user/dusterbd13/media/1964%20elcamino/20150515_152604_zps4ow6m0ez.jpg.html]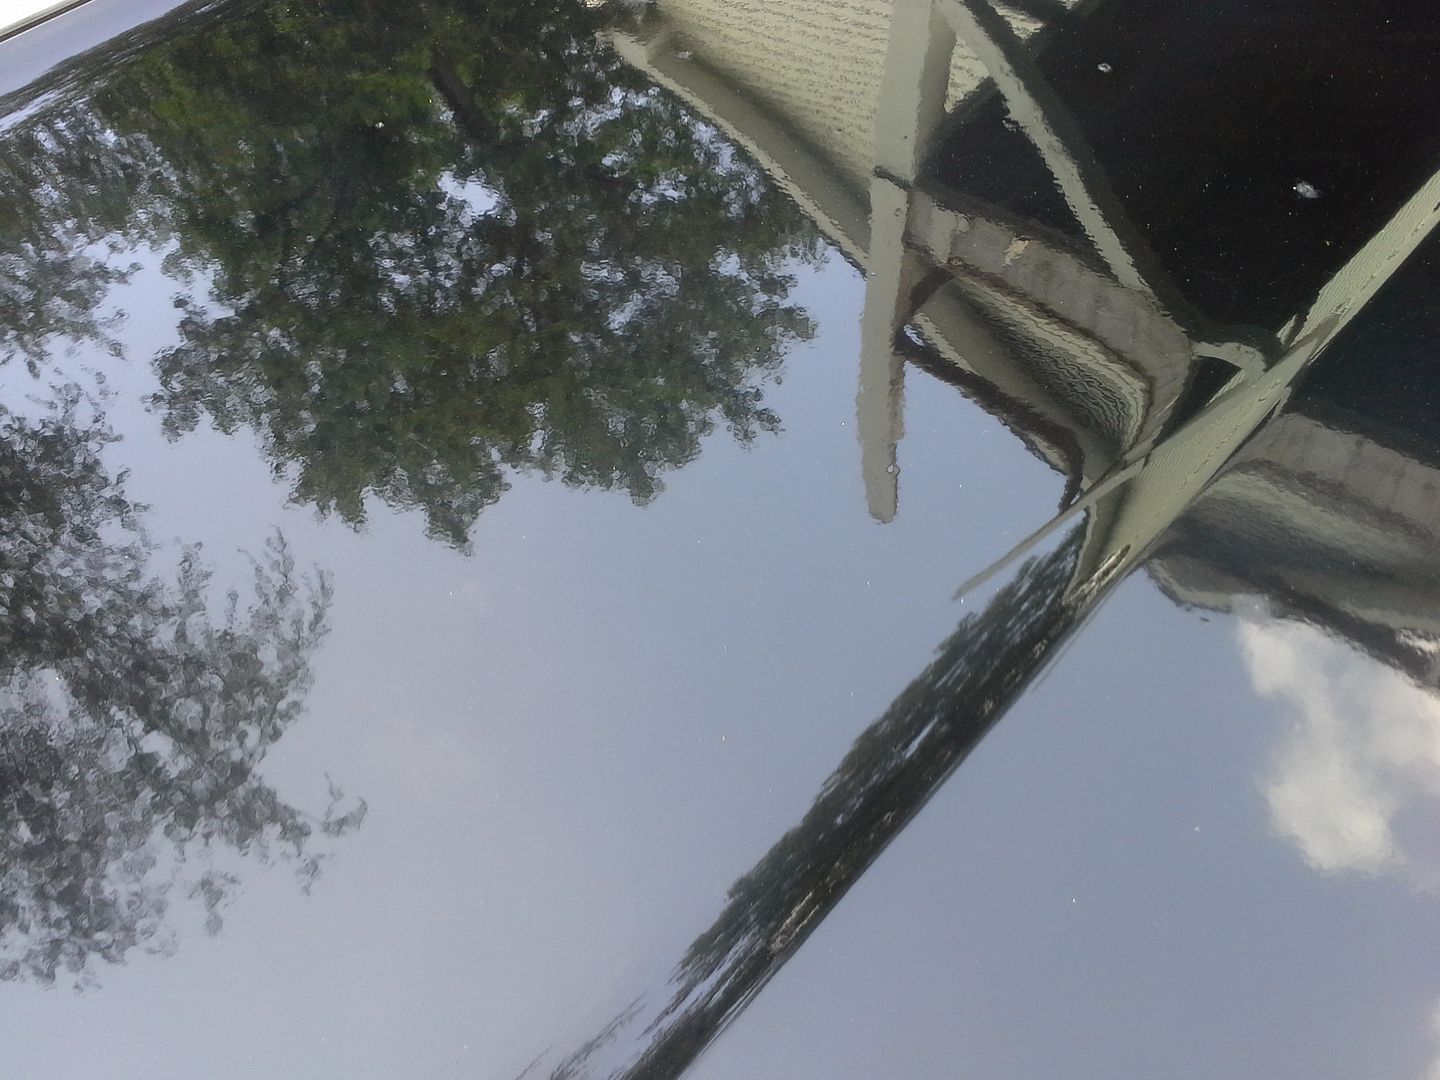 [/URL]
we also prepared the bed and put in the bedliner. duplicolor bed armor. was told he was using spray in, but this is what I wound up with. I'm going to do a few more coats, and its dirty in these pictures. holding up to light duty pretty well over the last couple of weeks of moving tools, people, furniture, lawn equipment, and go-karts. scuffed with 80 grit, down to bare metal where surface rust/epoxy primer failure was evident. then dish detergent and an sos pad. then wiped with prepsol. then applied. only spot of failure is where the stuff had sweat dripping on it.
[URL=http://s54.photobucket.com/user/dusterbd13/media/1964%20elcamino/20150520_113217_zpswswmozus.jpg.html]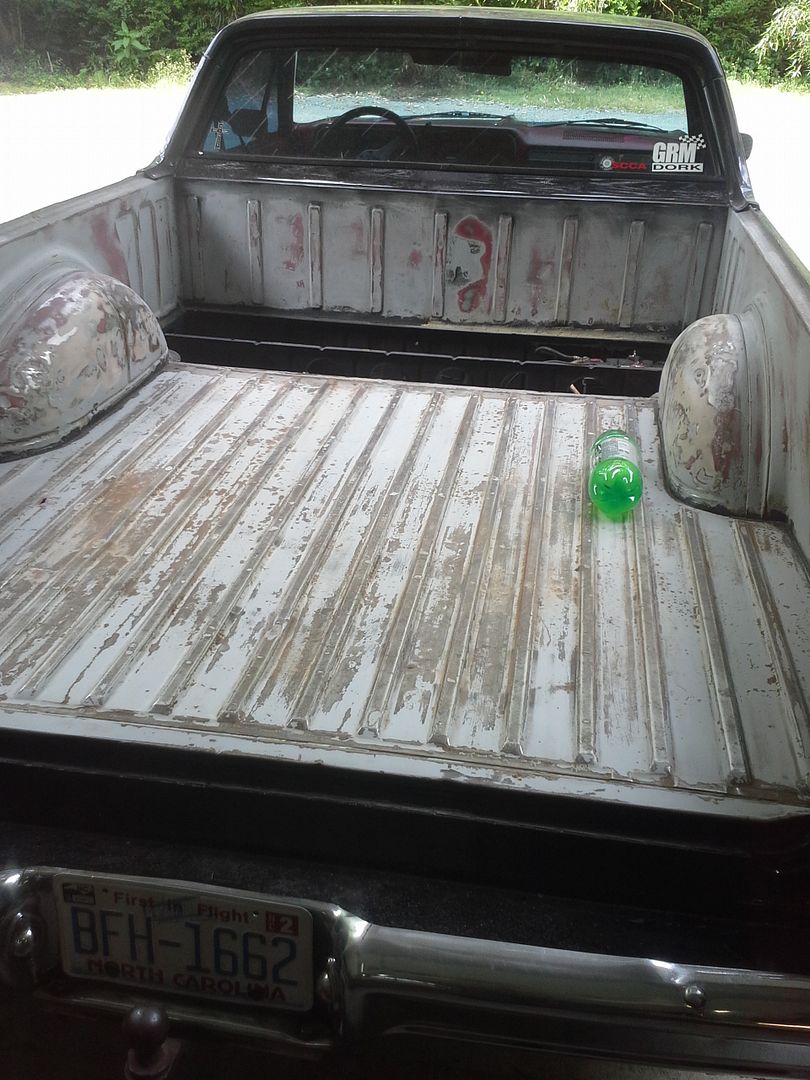 [/URL]
[URL=http://s54.photobucket.com/user/dusterbd13/media/1964%20elcamino/IMG_20150524_160943_zps2zlnov54.jpg.html]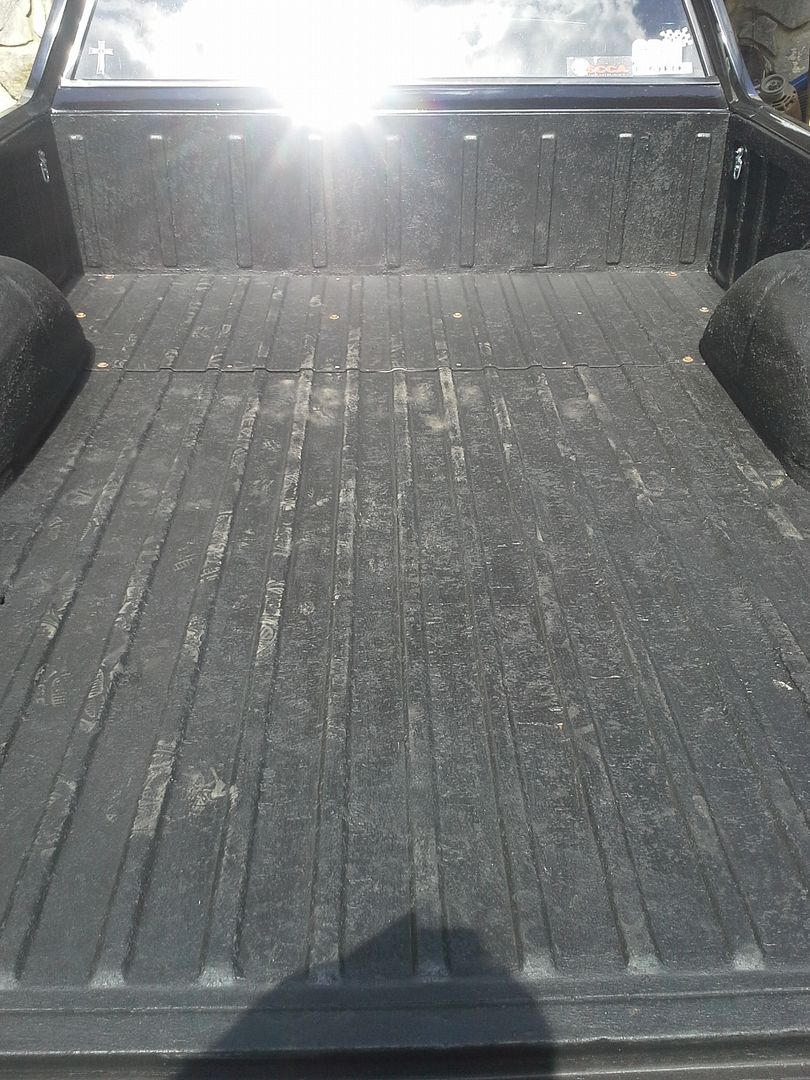 [/URL]
[URL=http://s54.photobucket.com/user/dusterbd13/media/1964%20elcamino/20150521_073228_zps7dknnkxx.jpg.html]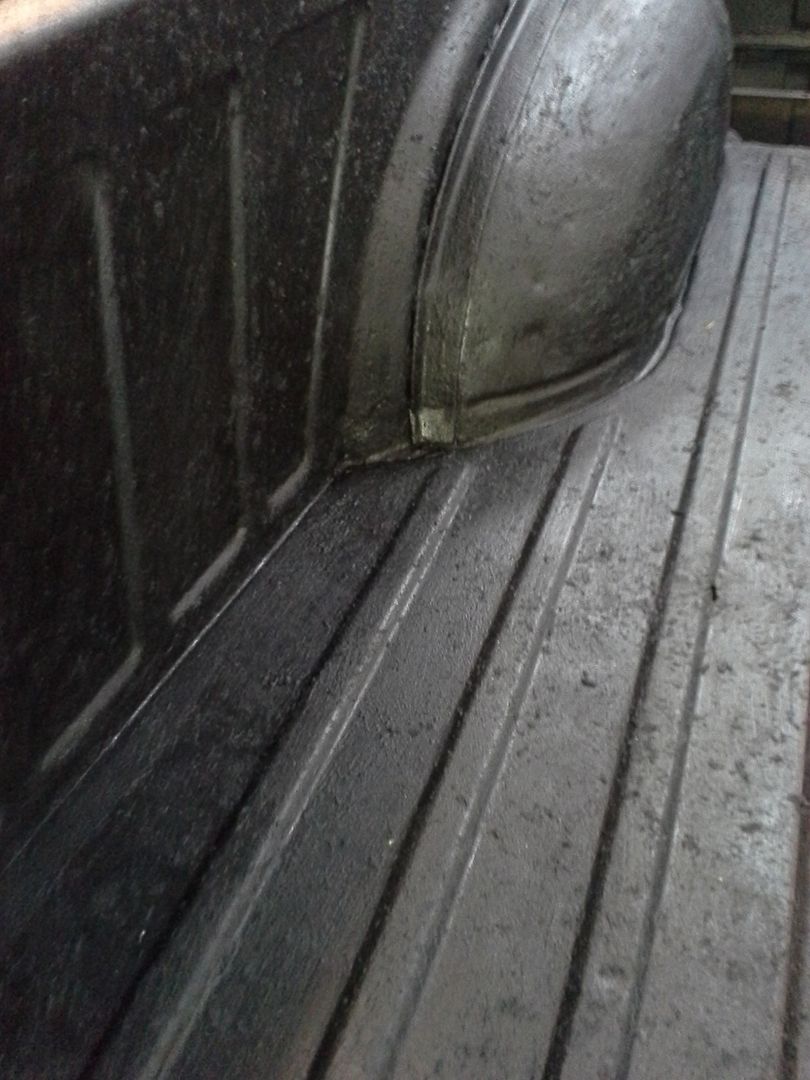 [/URL]
lastly, got the AC system hooked up. was unable to use the bulkheads, so I went with the grommet method. had a friend of mine at oreillys do the crimping on the lines, and did the initial charge with leftover 134a. unfortunately, the pressures never got right, it never cooled, and then blew the hose on the high pressure line to the condenser at the fitting. so I'm not sure what is wrong with the system at this point, (well, other than the hose failure) and need to find a good ac guy to take a look at it for me. I'm thinking I may have a bad POA valve.
[URL=http://s54.photobucket.com/user/dusterbd13/media/1964%20elcamino/20150529_181947_zps7qq51dhp.jpg.html]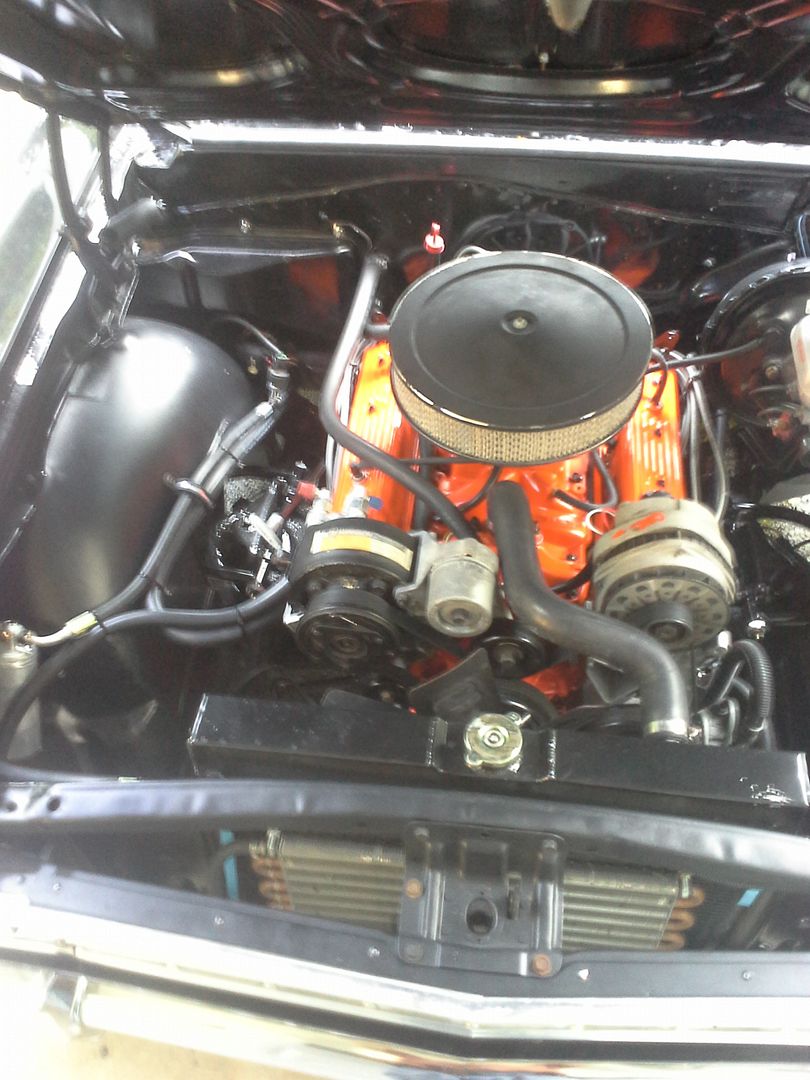 [/URL]
so, well end this update on a high note:
I've put right at 1500 miles on this thing in the last three weeks. its been my daily driver for two of them. everywhere, every weather type, every road type. ive hit almost all my goals with this truck so far. need to finish the air conditioning, cruise control, and remote door locks. then onto finishing the interior. the seats are horribly uncomfortable after about 20 minutes. kills my back. so ill be sourcing either buckets and a buddy seat from something, split bench, or full bench. don’t know what or from where yet, but this seat has to go. the black carpet has grown on me. I dig it. the radio has no reception with that crappy hidden antenna, so I have to find a better solution. the speedometer reads 10 high, but the odometer is correct. it also goes haywire at 65+, so I'll be using the swap meet speedo I got included with my fuel gage. this thing gets appreciated everywhere I go. I'm in love.
which with my history, means that as soon as I get these last parts dialed in, ill sell it for break even/minor loss. I tend to do that for some reason, and every time I do I swear I won't do it again. I still miss my ACR, the original drivabeater, and a few others. but I couldn’t turn down the money at the time. granted, this one is in a whole nother tax bracket.
You'll need to log in to post.