Awesome progress! That really is starting to look suspiciously like a car ![]()
Wow, that looks nice. I bet it will drive even nicer. That's going to look awesome when you lift the bonnet.
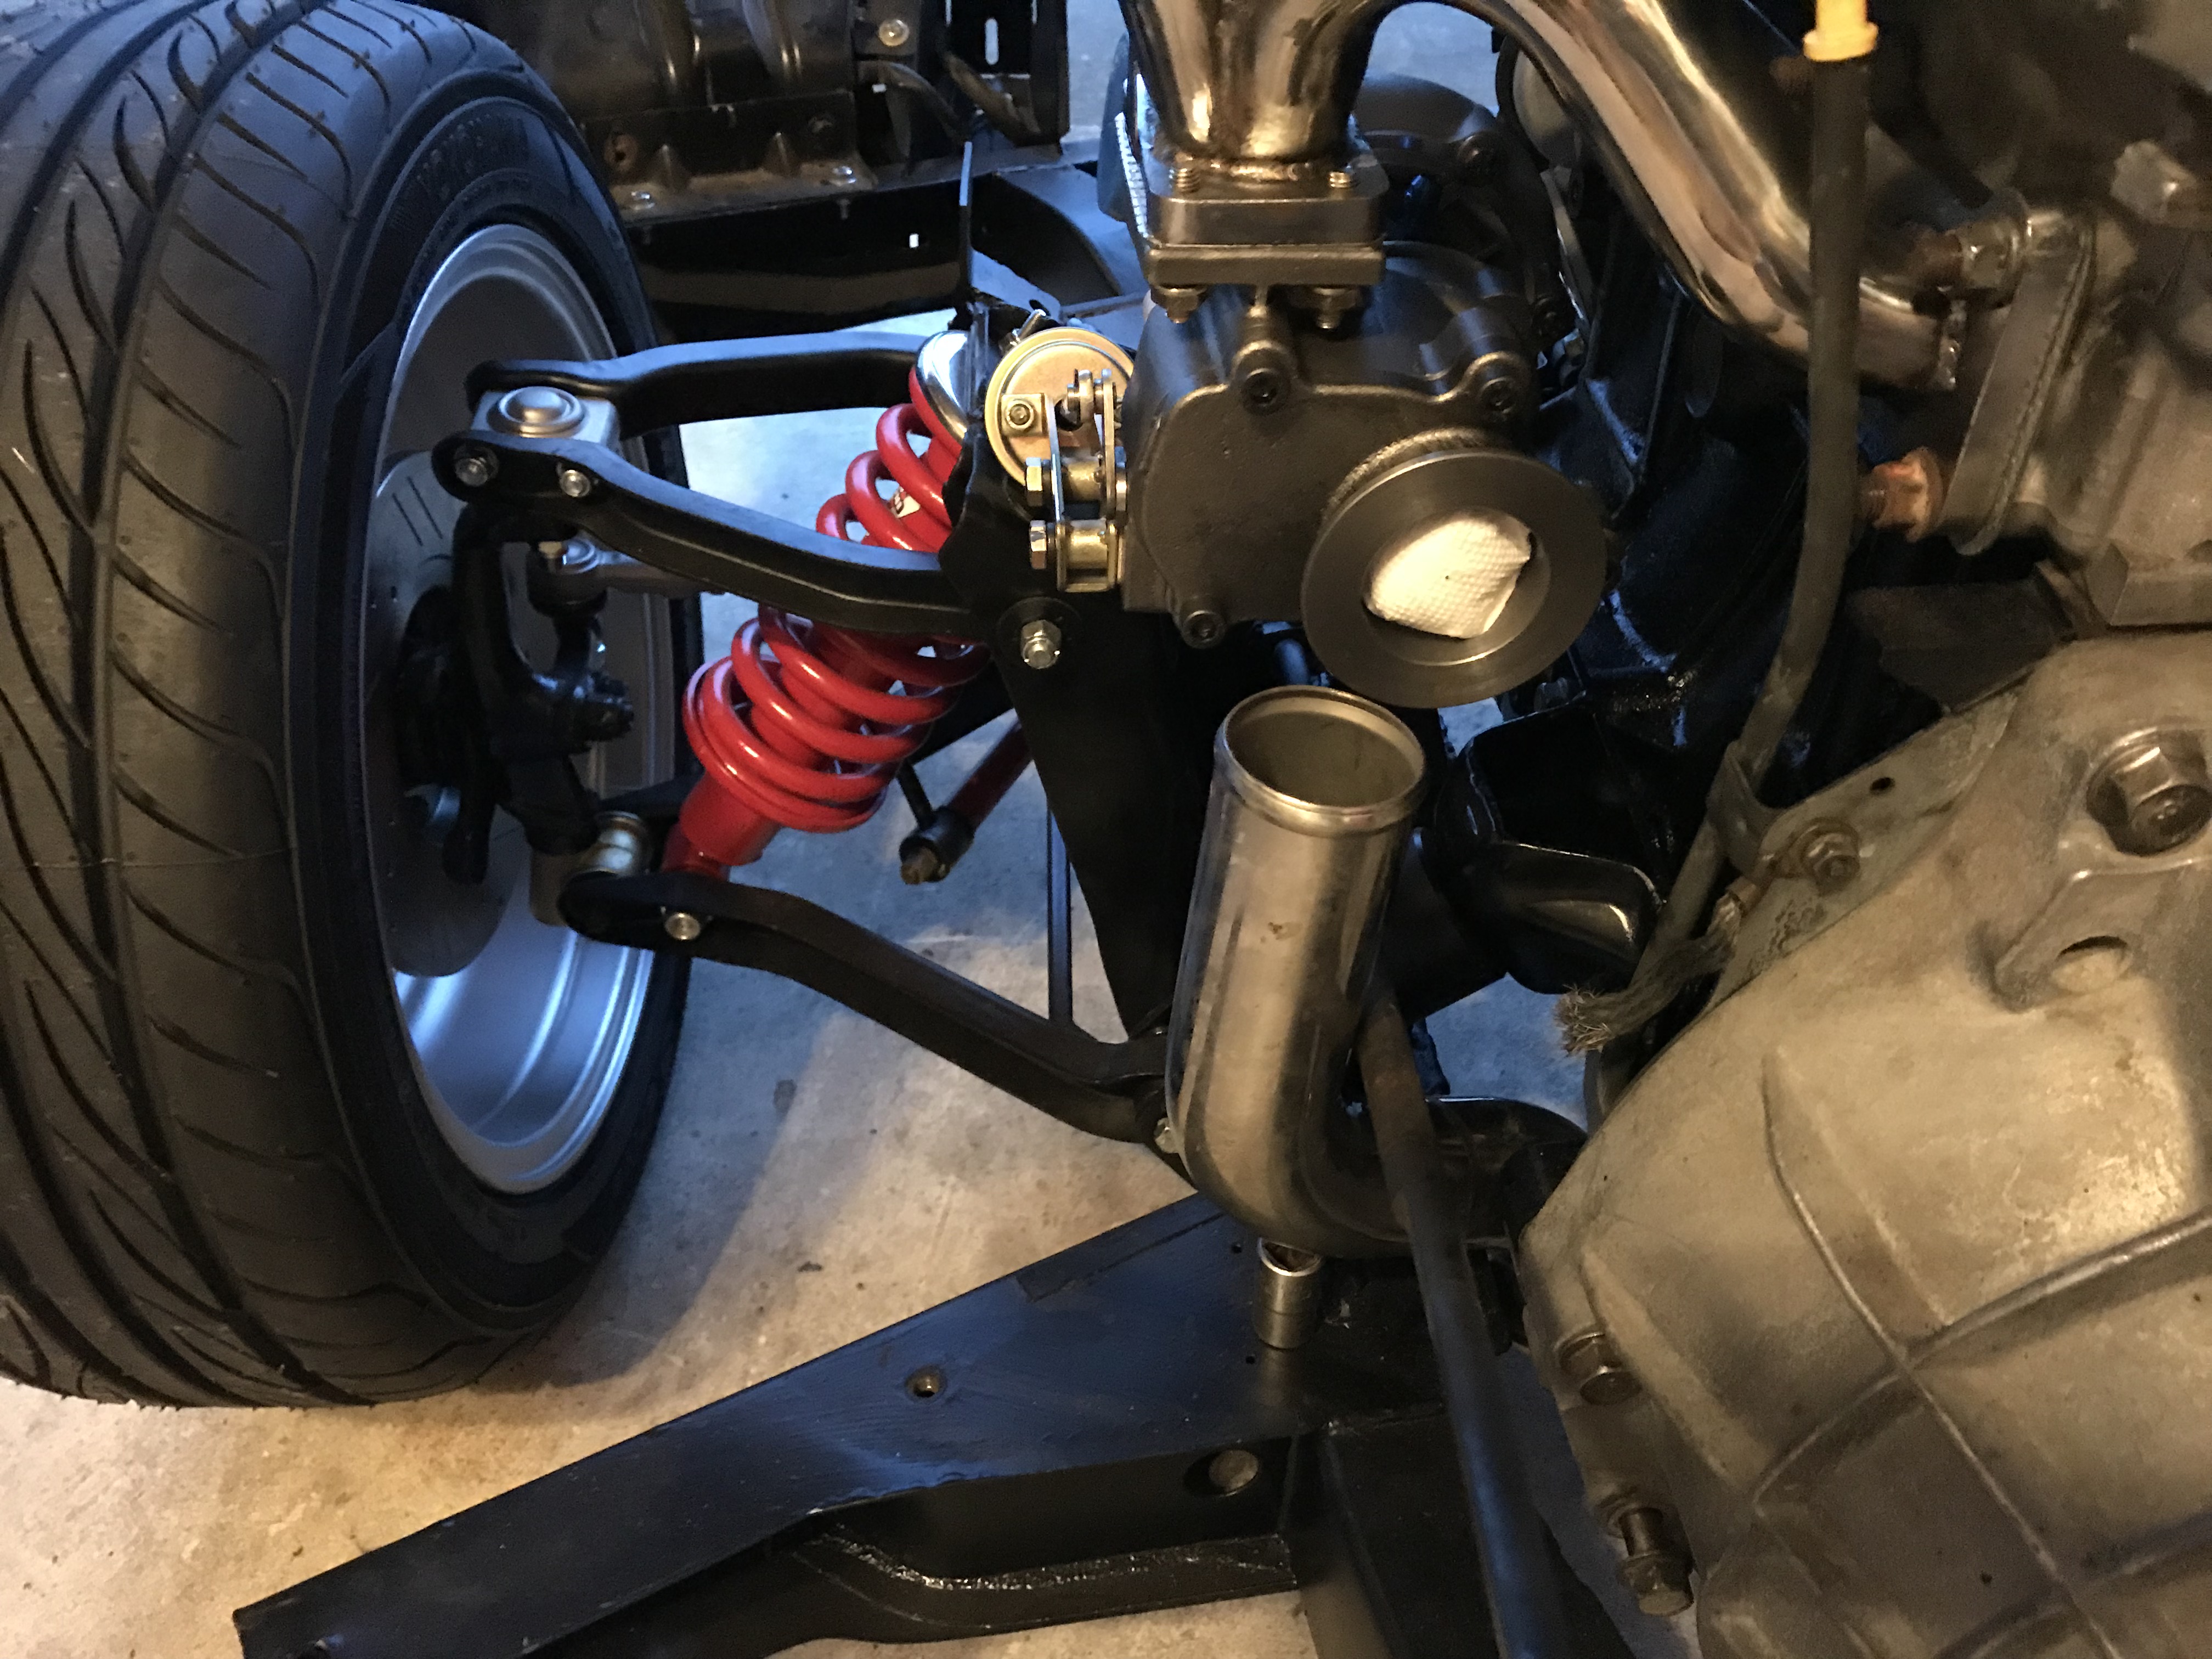
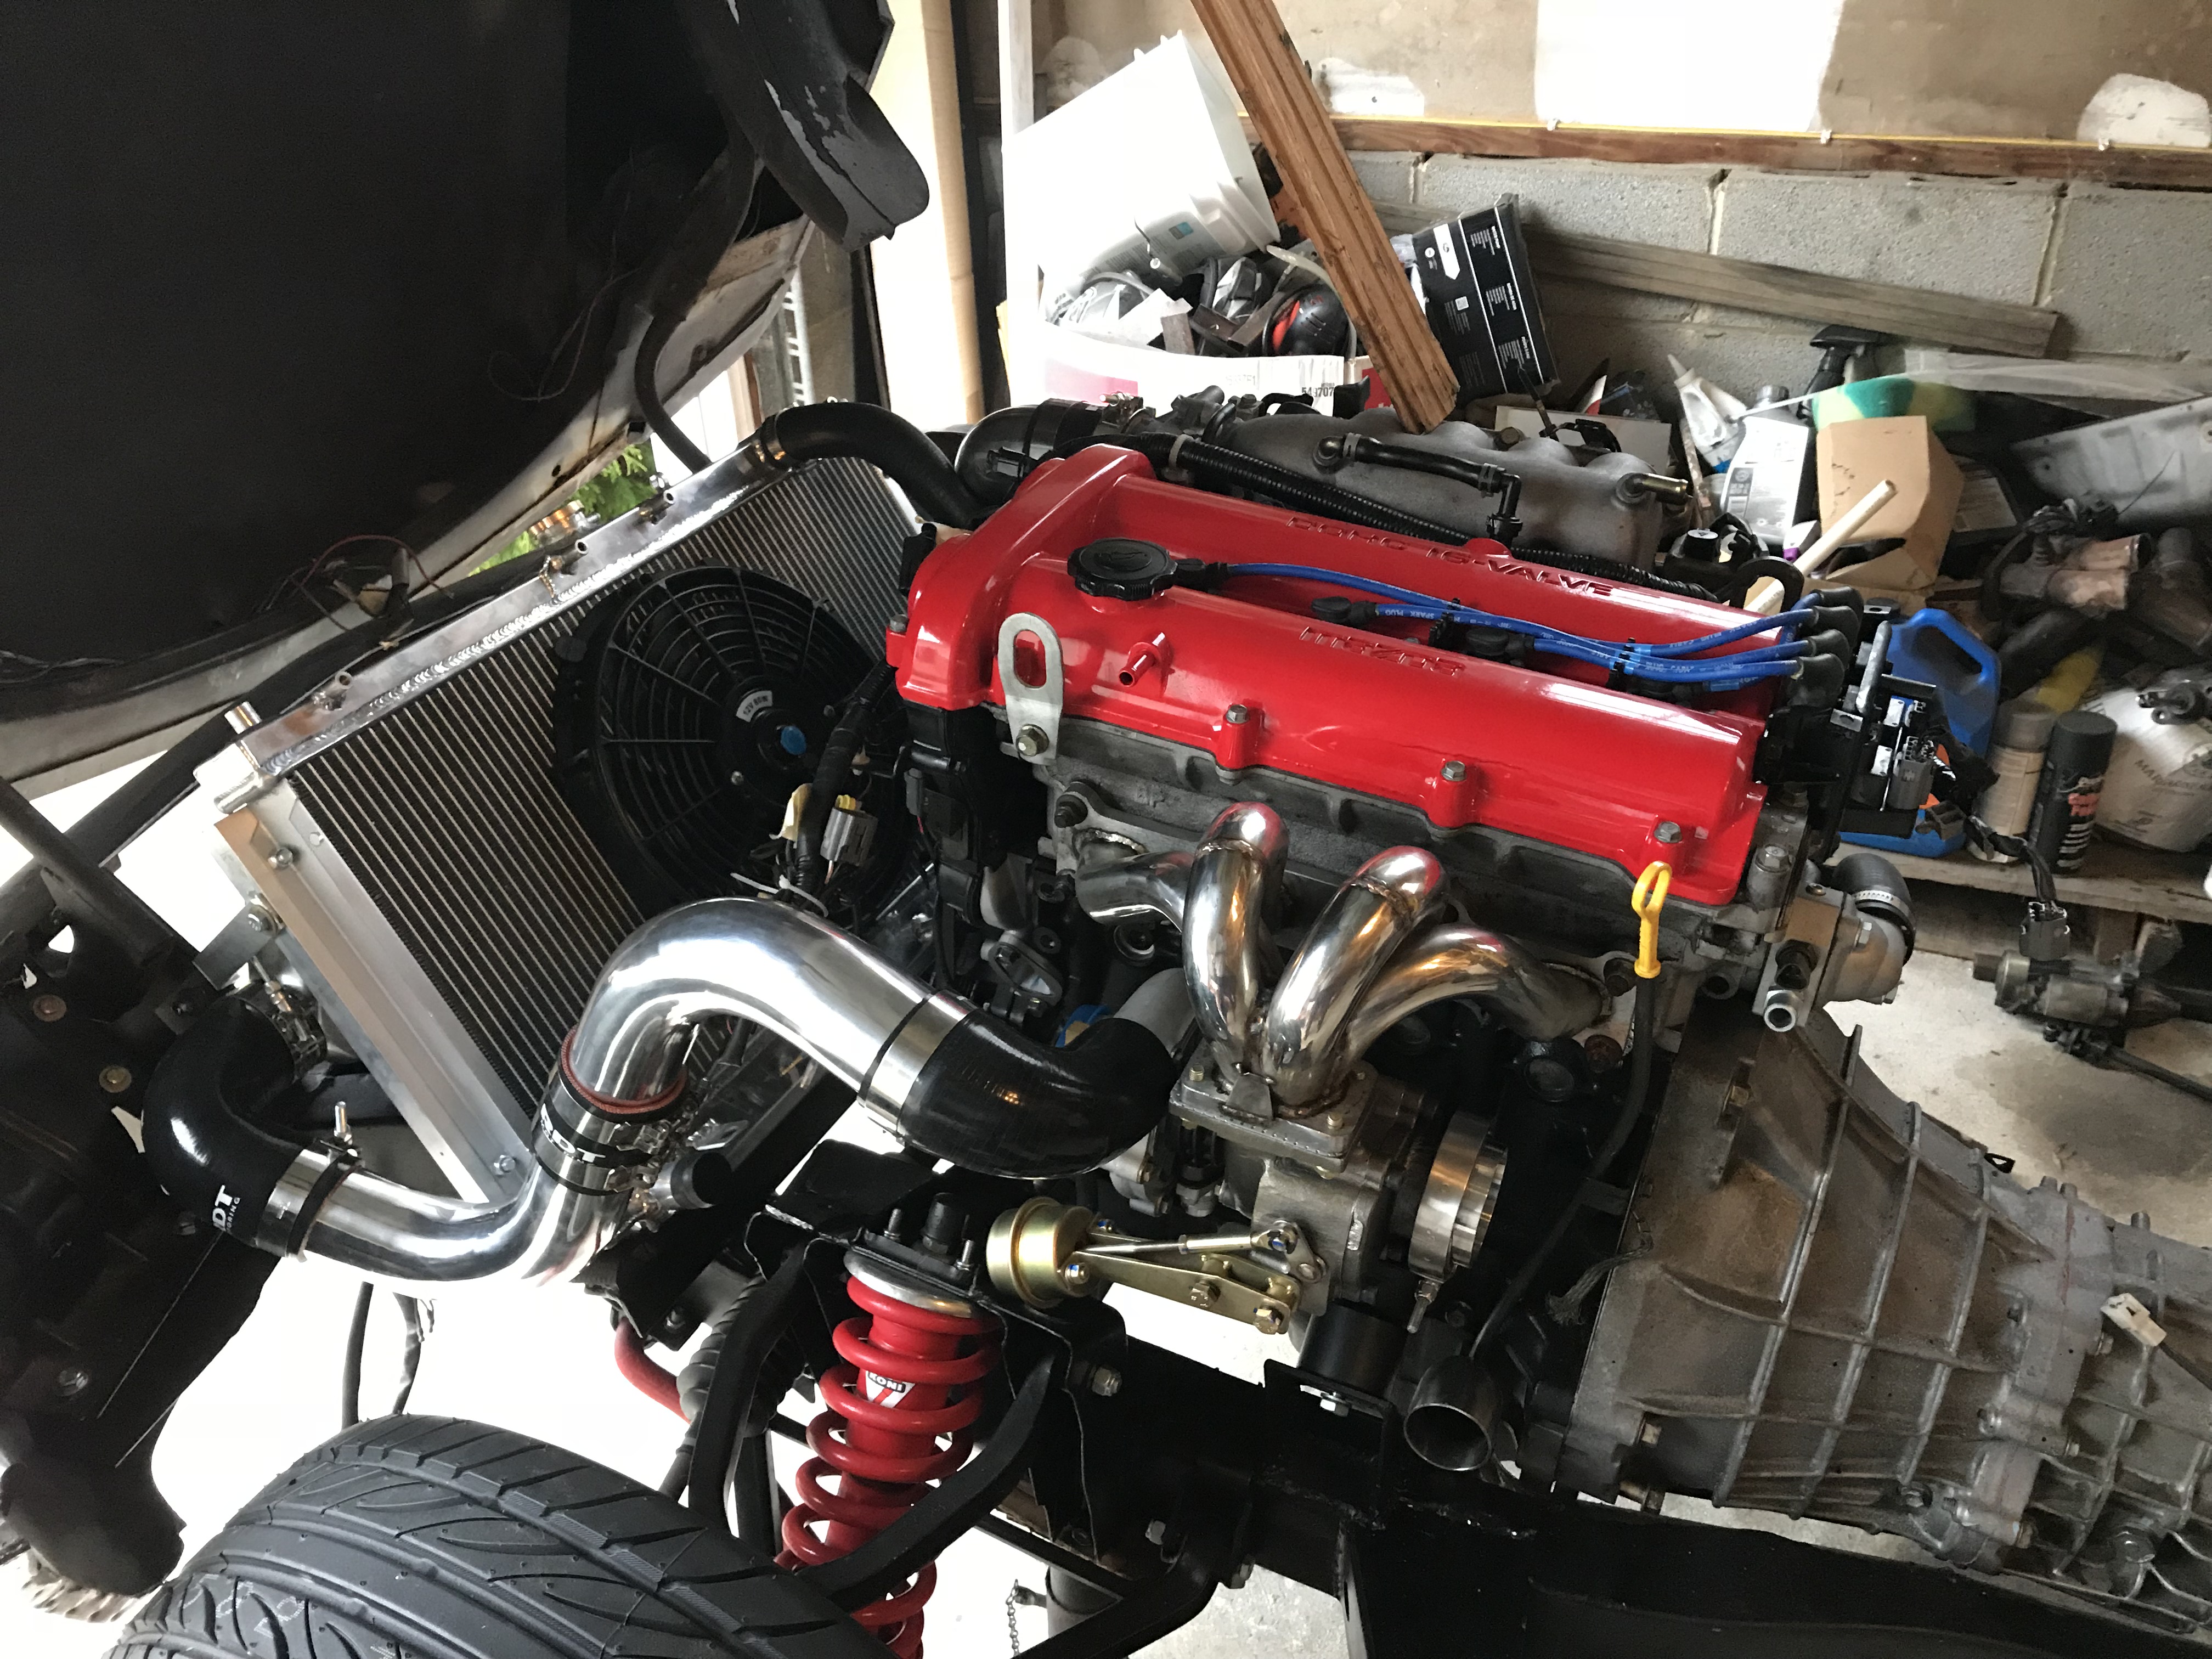
So spent the day putting the front valance and bumper back on the car so I can start figuring out the systems for cooling, intercooler, exhaust, etc... and needed to know how much clearance I have for the big stuff like the radiator (it will slat forward like the last model Spitfires). I also tried to swap the turbo north to south, but that won't work at all, so needed to figure out now to route it where I originally intended. I had a piece of 2" intercooler tubing that is in a big "S" and see that I can weld a stainless downpipe that will need to go around the steering shaft and then between the frame and the engine right behind the rear motor mount. I ordered a bunch of tight 90 degree bends and some 2" stainless pipe and a 2.5 to 2 reducer and am confident that this will work. I will have to pull the engine one more time and trim the frame flanges where the exhaust goes through to give it enough clearance, but will weld in some reinforcing plate. So will need to pull the motor one last time (hopefully) and then make the changes so I can start putting it all back together and build the exhaust.
Wow Dave, you are really moving! Nice work.
Shame the turbo couldn't be rotated, I'm guessing the housing stuck out too much toward the tire?
Looks really tight in there for those exhaust turns, and tough to tell from the images, but if you really get stuck could you turn the exhaust up first, so like a 270 degree loop to get it oriented properly? Might be a silly suggestion, I guess I'm not doing a great job of seeing possible interference from the firewall etc.
Yes, it is likely that the downpipe will be more of an "uppipe" that will loop around to go down to my limited space for the exit. The good news is that 2" pipe will fit with plenty of clearance, especially after I trim the flange on the frame in this location and weld in a reinforcing plate. I have to weld in radiator and intercooler mounts, so I'll figure out the locations and pull the engine and transmission one more time, finish my welding and then put it all back together. It really is much easier than trying to do a full 4 into 1 header, as I have just one pipe to worry about. I will do a 2-1/2 turbo exit and then drop down to 2'' to go around the frame and transmission to meet up with the Bell GT6 2" exhaust in the middle of the frame. I am 99% sure I won't have to trim the firewall or have steering column issues taking this approach.
Cool project! Looks really clean for a mid-Atlantic area car. I also think the original brown paint will look cool on the finished product.
Thanks for the info about the axles, that’s exactly what I’m looking to have done with a set of axles for my current project. I’m assuming Dutchman is a member here?
Thanks, yes it was remarkably rust free considering it is a local Baltimore car. Dutchman Motorsports is https://www.dutchmanaxles.com/ they do all kinds of custom work, you would need to call them for CV axles like I had done, but it was inexpensive and fit perfectly.
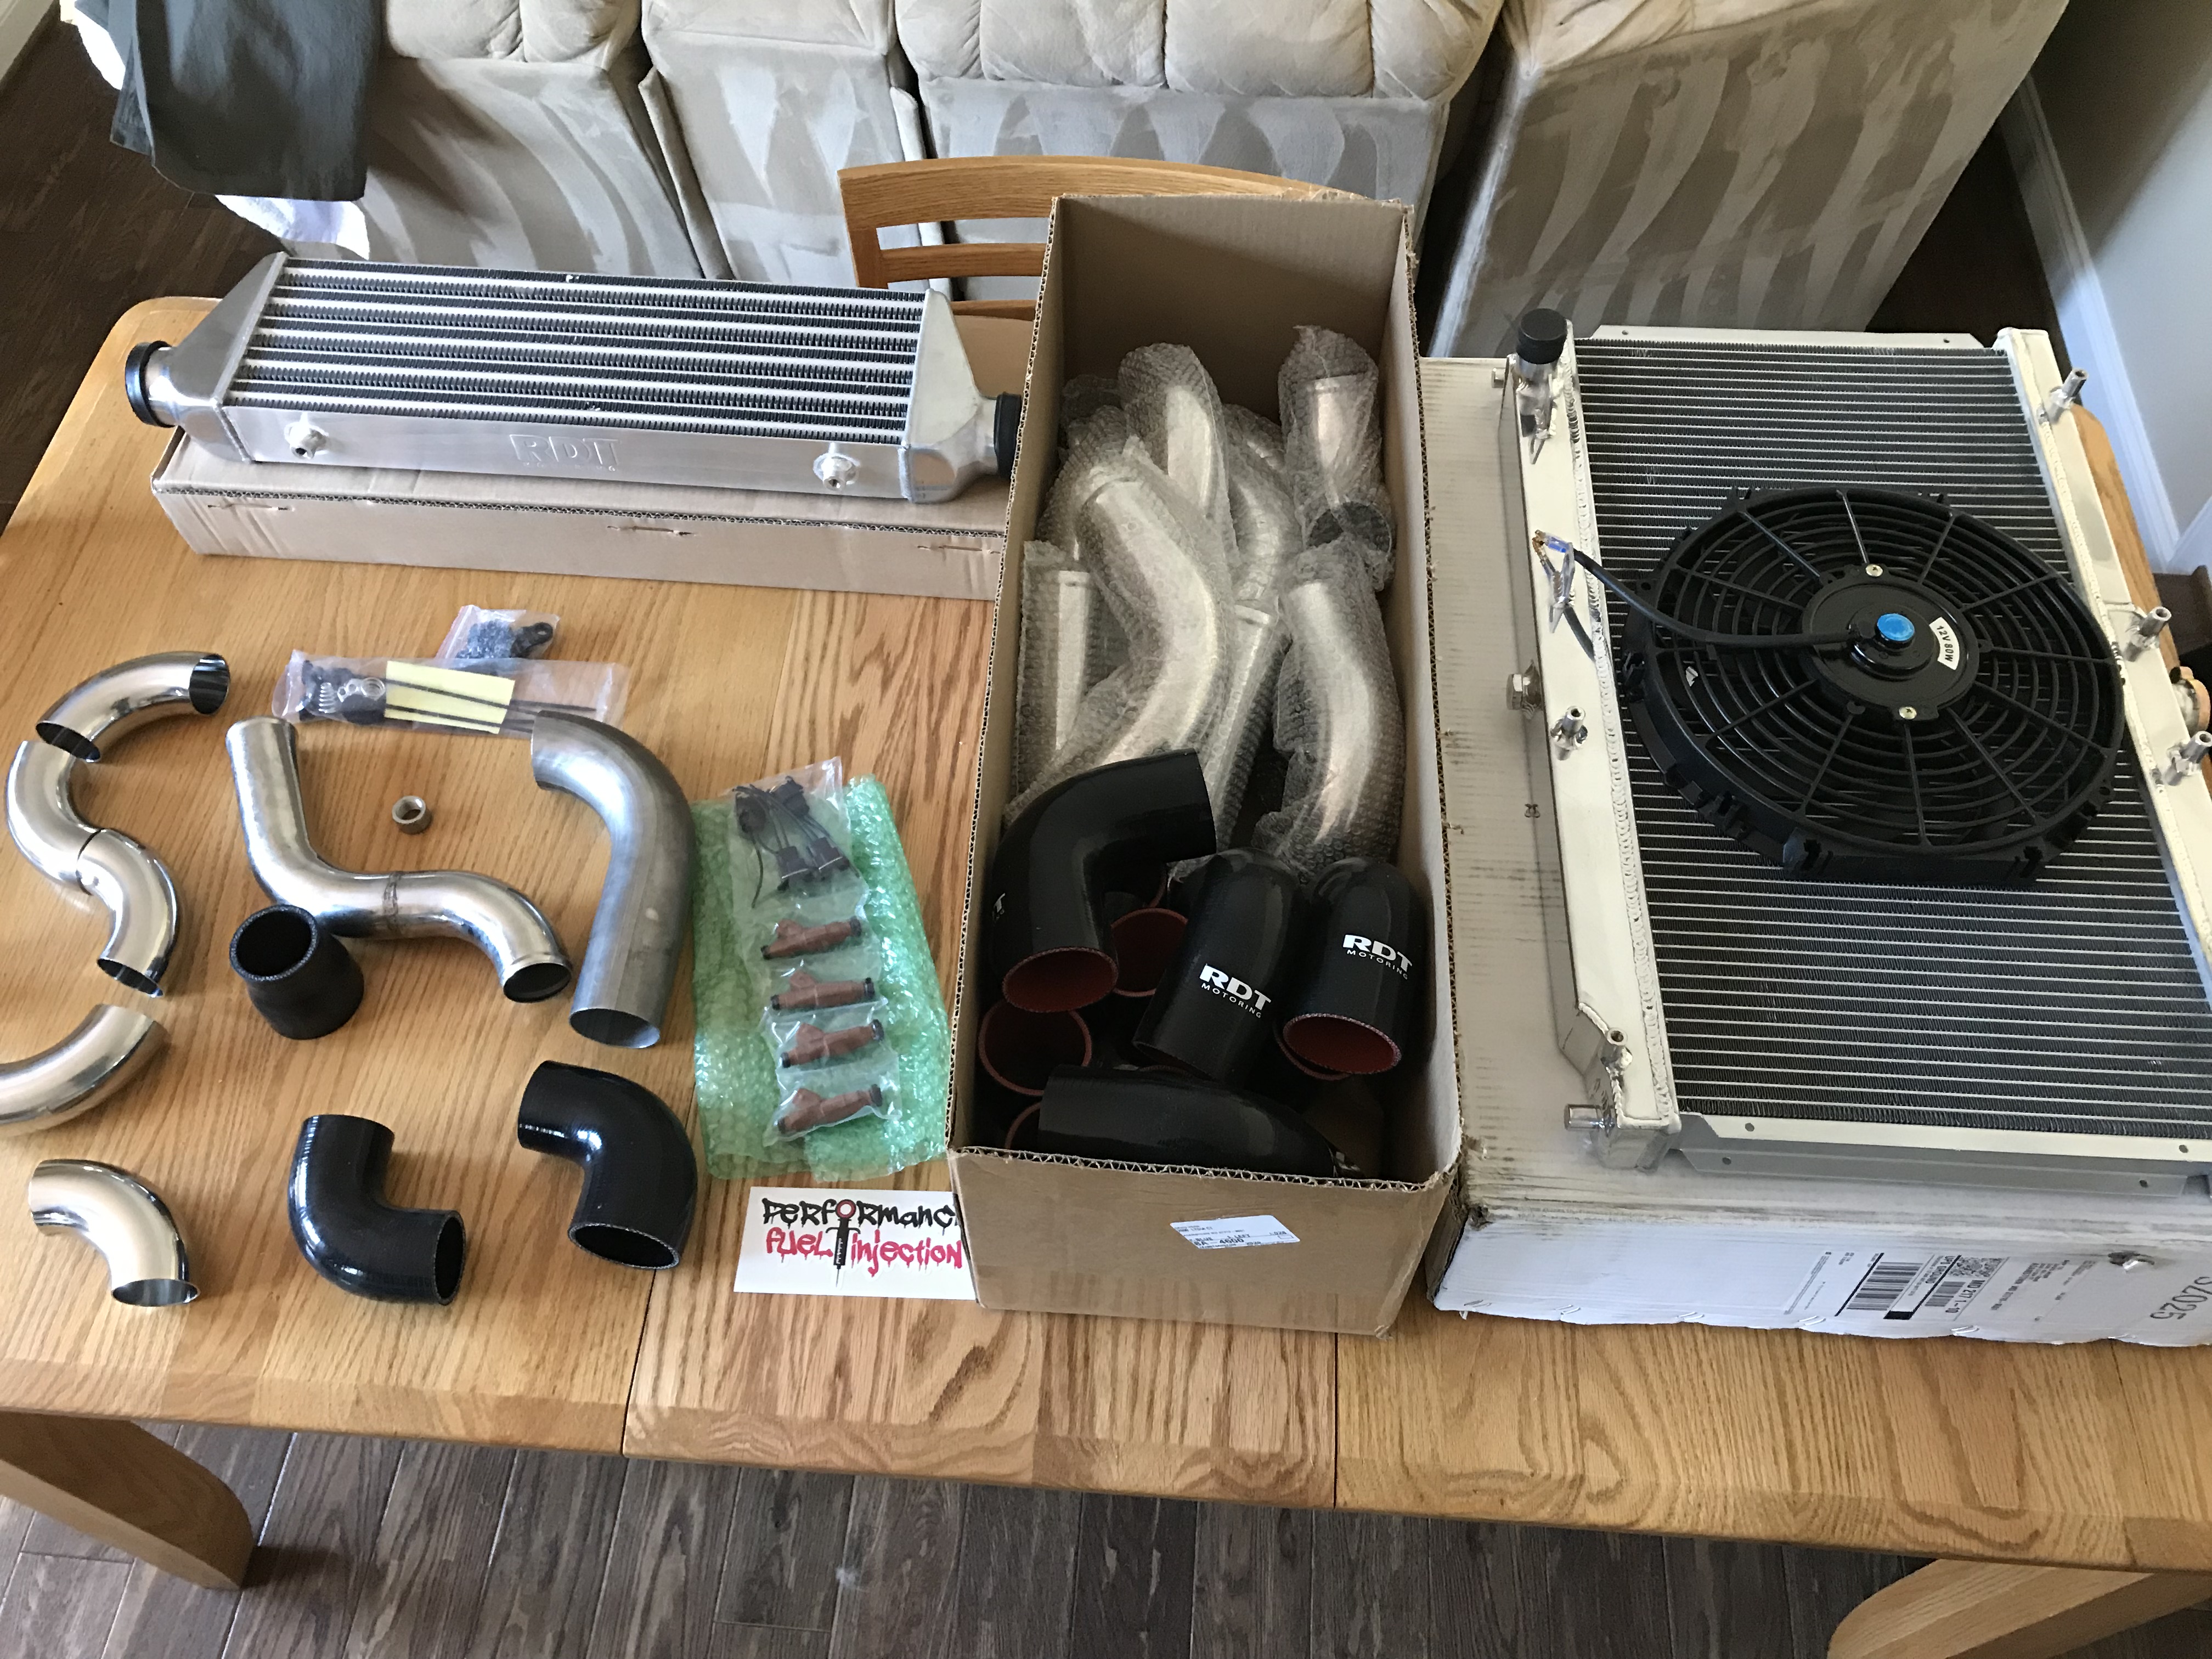
So not a lot of physical work on the car, as I was out of town, but got in a bunch of parts for the next steps, which would be figuring out the radiator and intercooler mounting. We also put the hood back on the car, so I can make sure it all clears. Got the radiator, intercooler, hoses and uprated injectors this week as well as most of the exhaust elbows for making the pipe from the turbo to the GT6 exhaust.
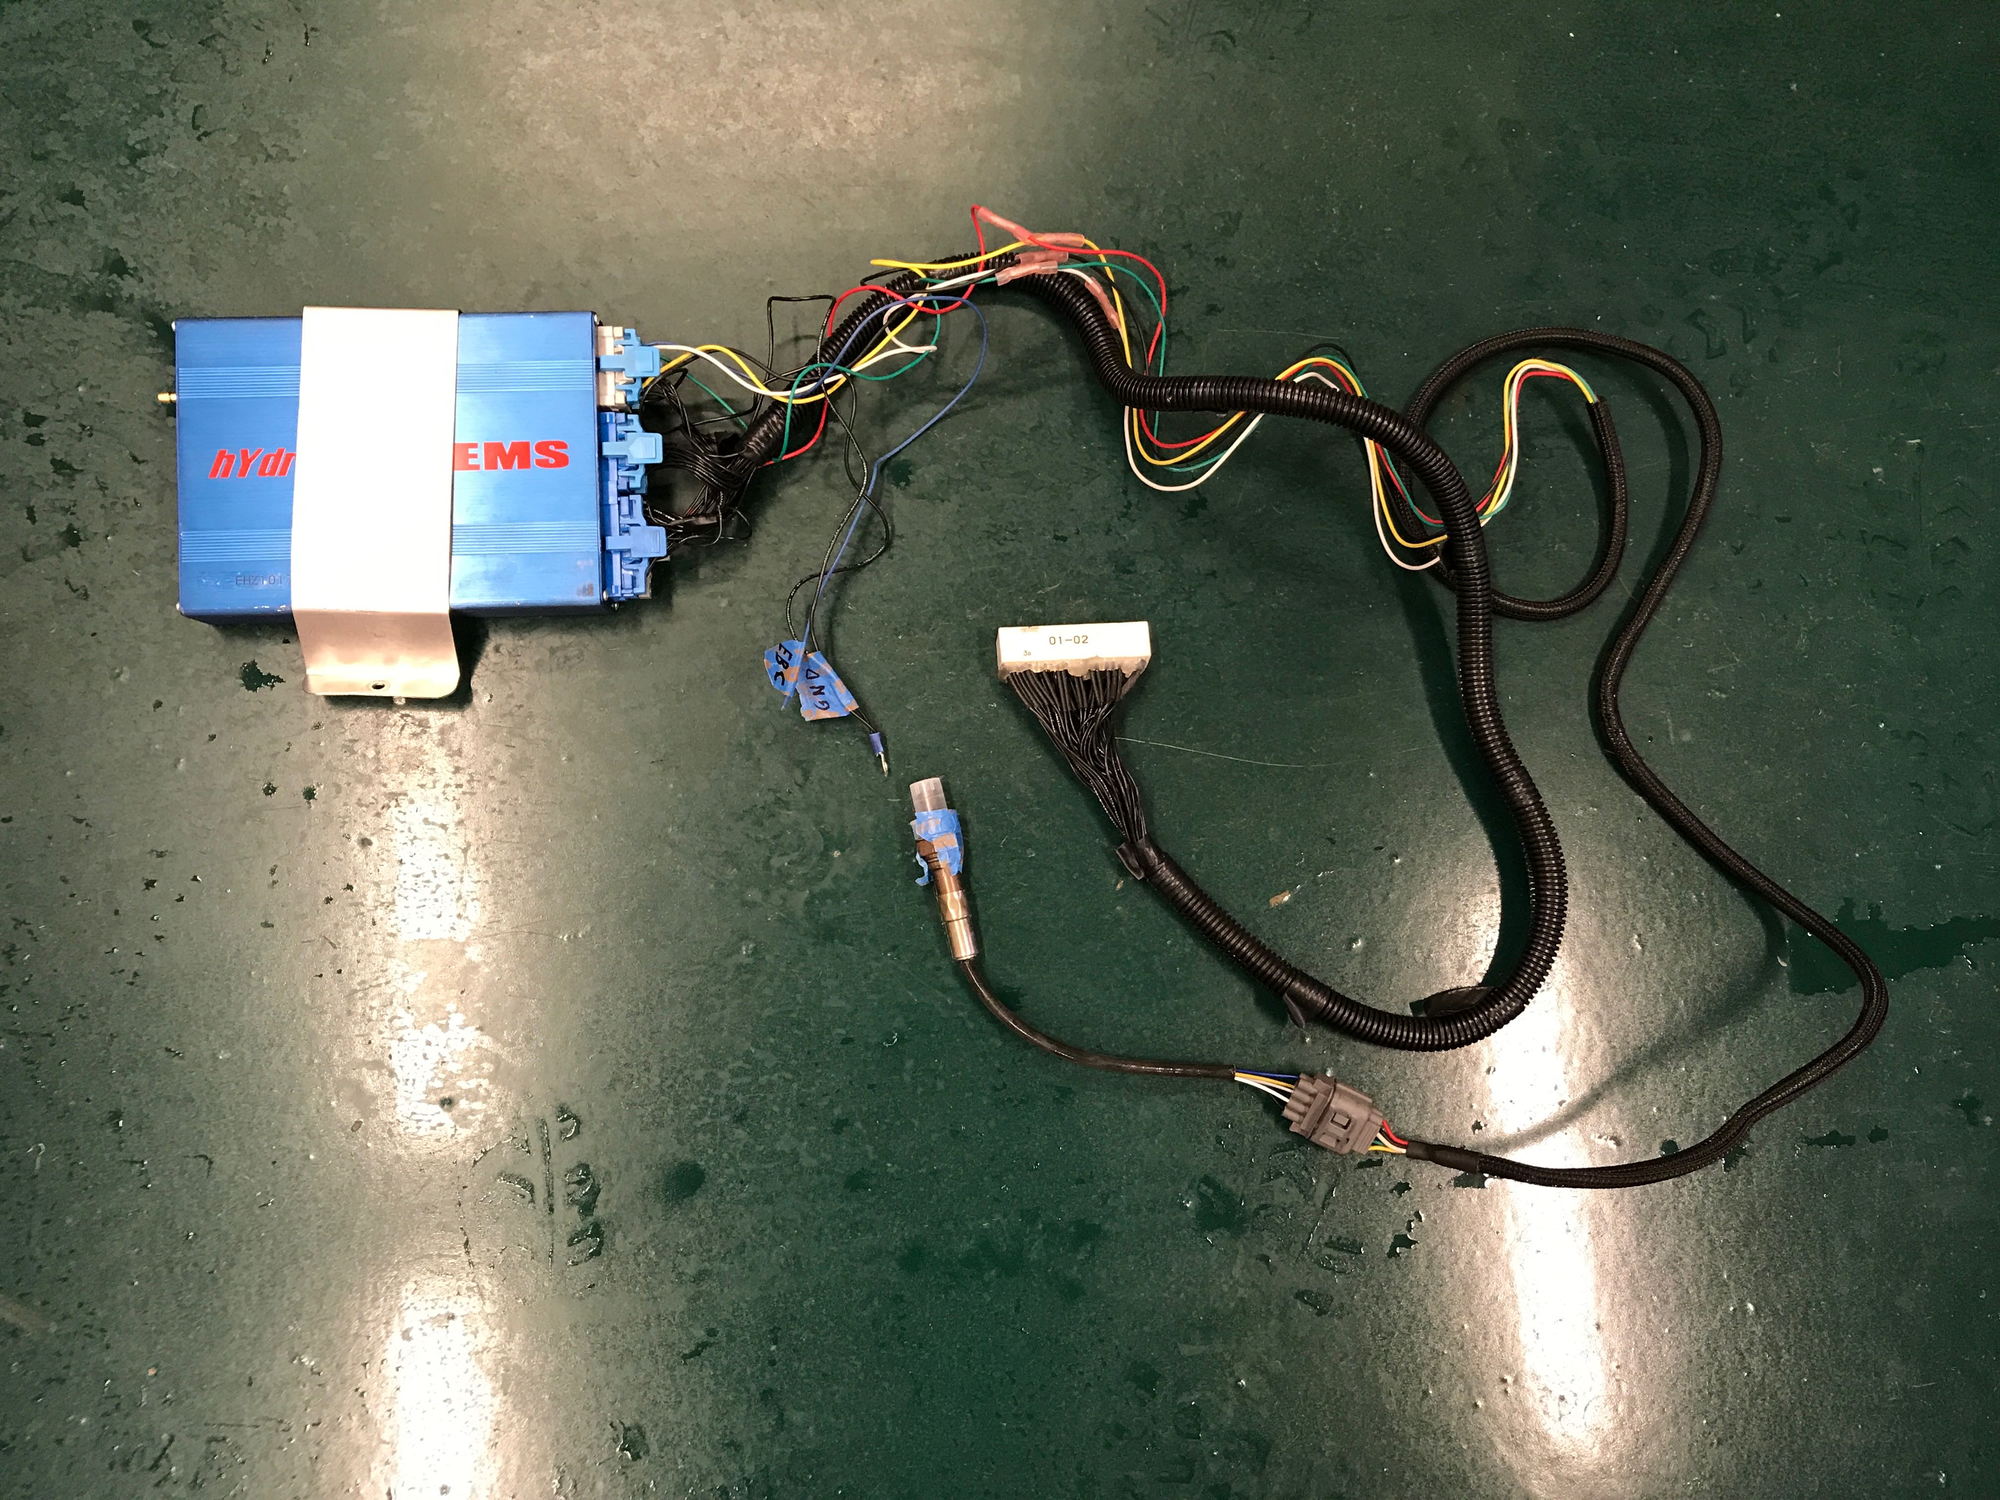
Also, made a decision on the ECU. I have been talking on the Turbo Miata forum on ECU choices and had settled on having a MS3 made up for the car, but a deal for a Hydra Nemesis 2.7 came up on the board and I bought it. This gives me total tuning control and a wideband included. I'll pay FM for the support and contact them for the update to unlock the LLT (Autotune) and this should be perfect for my build.
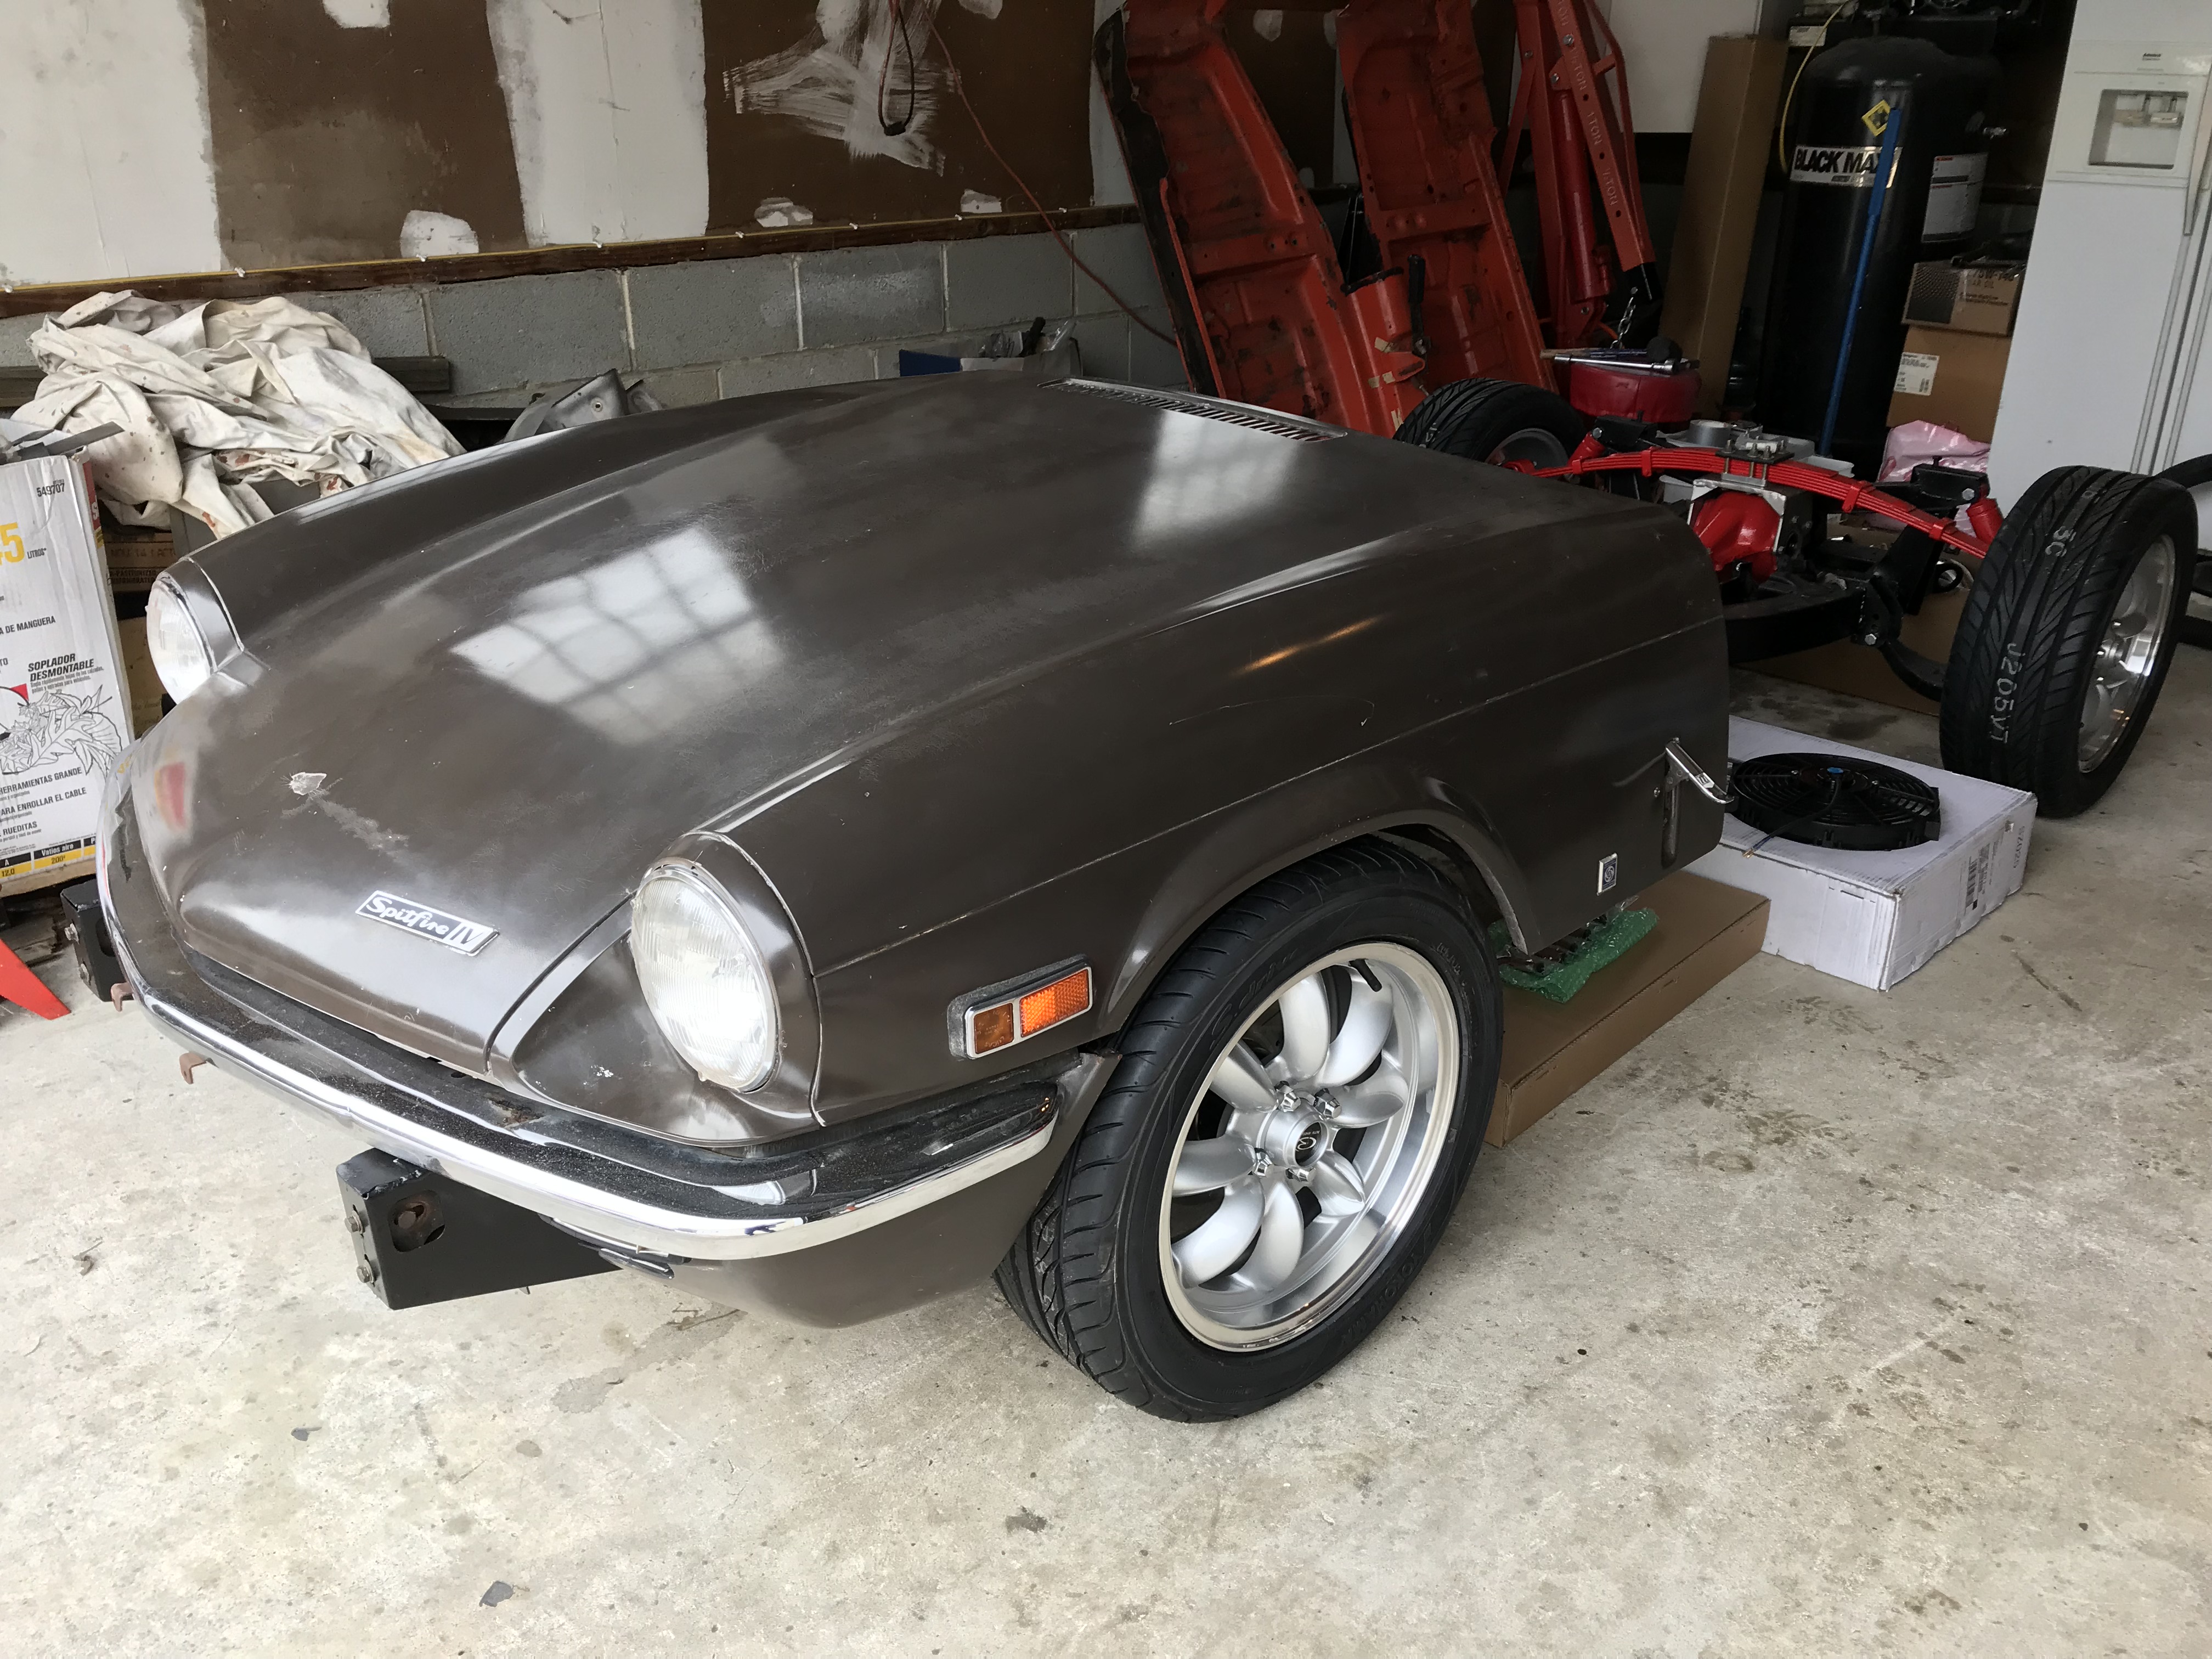
Did some test fitting to see that the Miata radiator and intercooler will clear. All good on that front, will need to tilt it like the final version of the spitfires as others have done, but will build a bracket to bolt to the frame as well as the intercooler mounts. Definitely starting to look like a car again, and I am quite happy with the look.
Luv the shiny new parts.
One of my concerns was with the plumbing for the intercooler. Now, I've got hydraulic lifters for the bonnet that get in the way, but even without, wasn't sure how I could route the plumbing around that wide rad (I've got the same size - factory Miata version). All the routes I saw either got into the wheel well to go around, or too low under the car to be practical. I was thinking of sourcing a different, narrower rad, maybe with an extra row of cooling.
Standing by to see your solution. :)
Good observation. It looks like if I flip the intercooler so the outlets are down rather then at the top, and mount it a little higher, it will clear the hood hinges just fine. Will likely have to cut down some of the front inner fender liner, but not by much as you can see in this picture. I don't see a conflict with the front wheels at this height, but will mock it all up before I build the permanent mounts. Agree that a smaller radiator would be better, but cooling with the turbo was a big concern, but I am hoping that in the Triumph chassis, this will be less of a concern than in the very tight confines of a Miata.
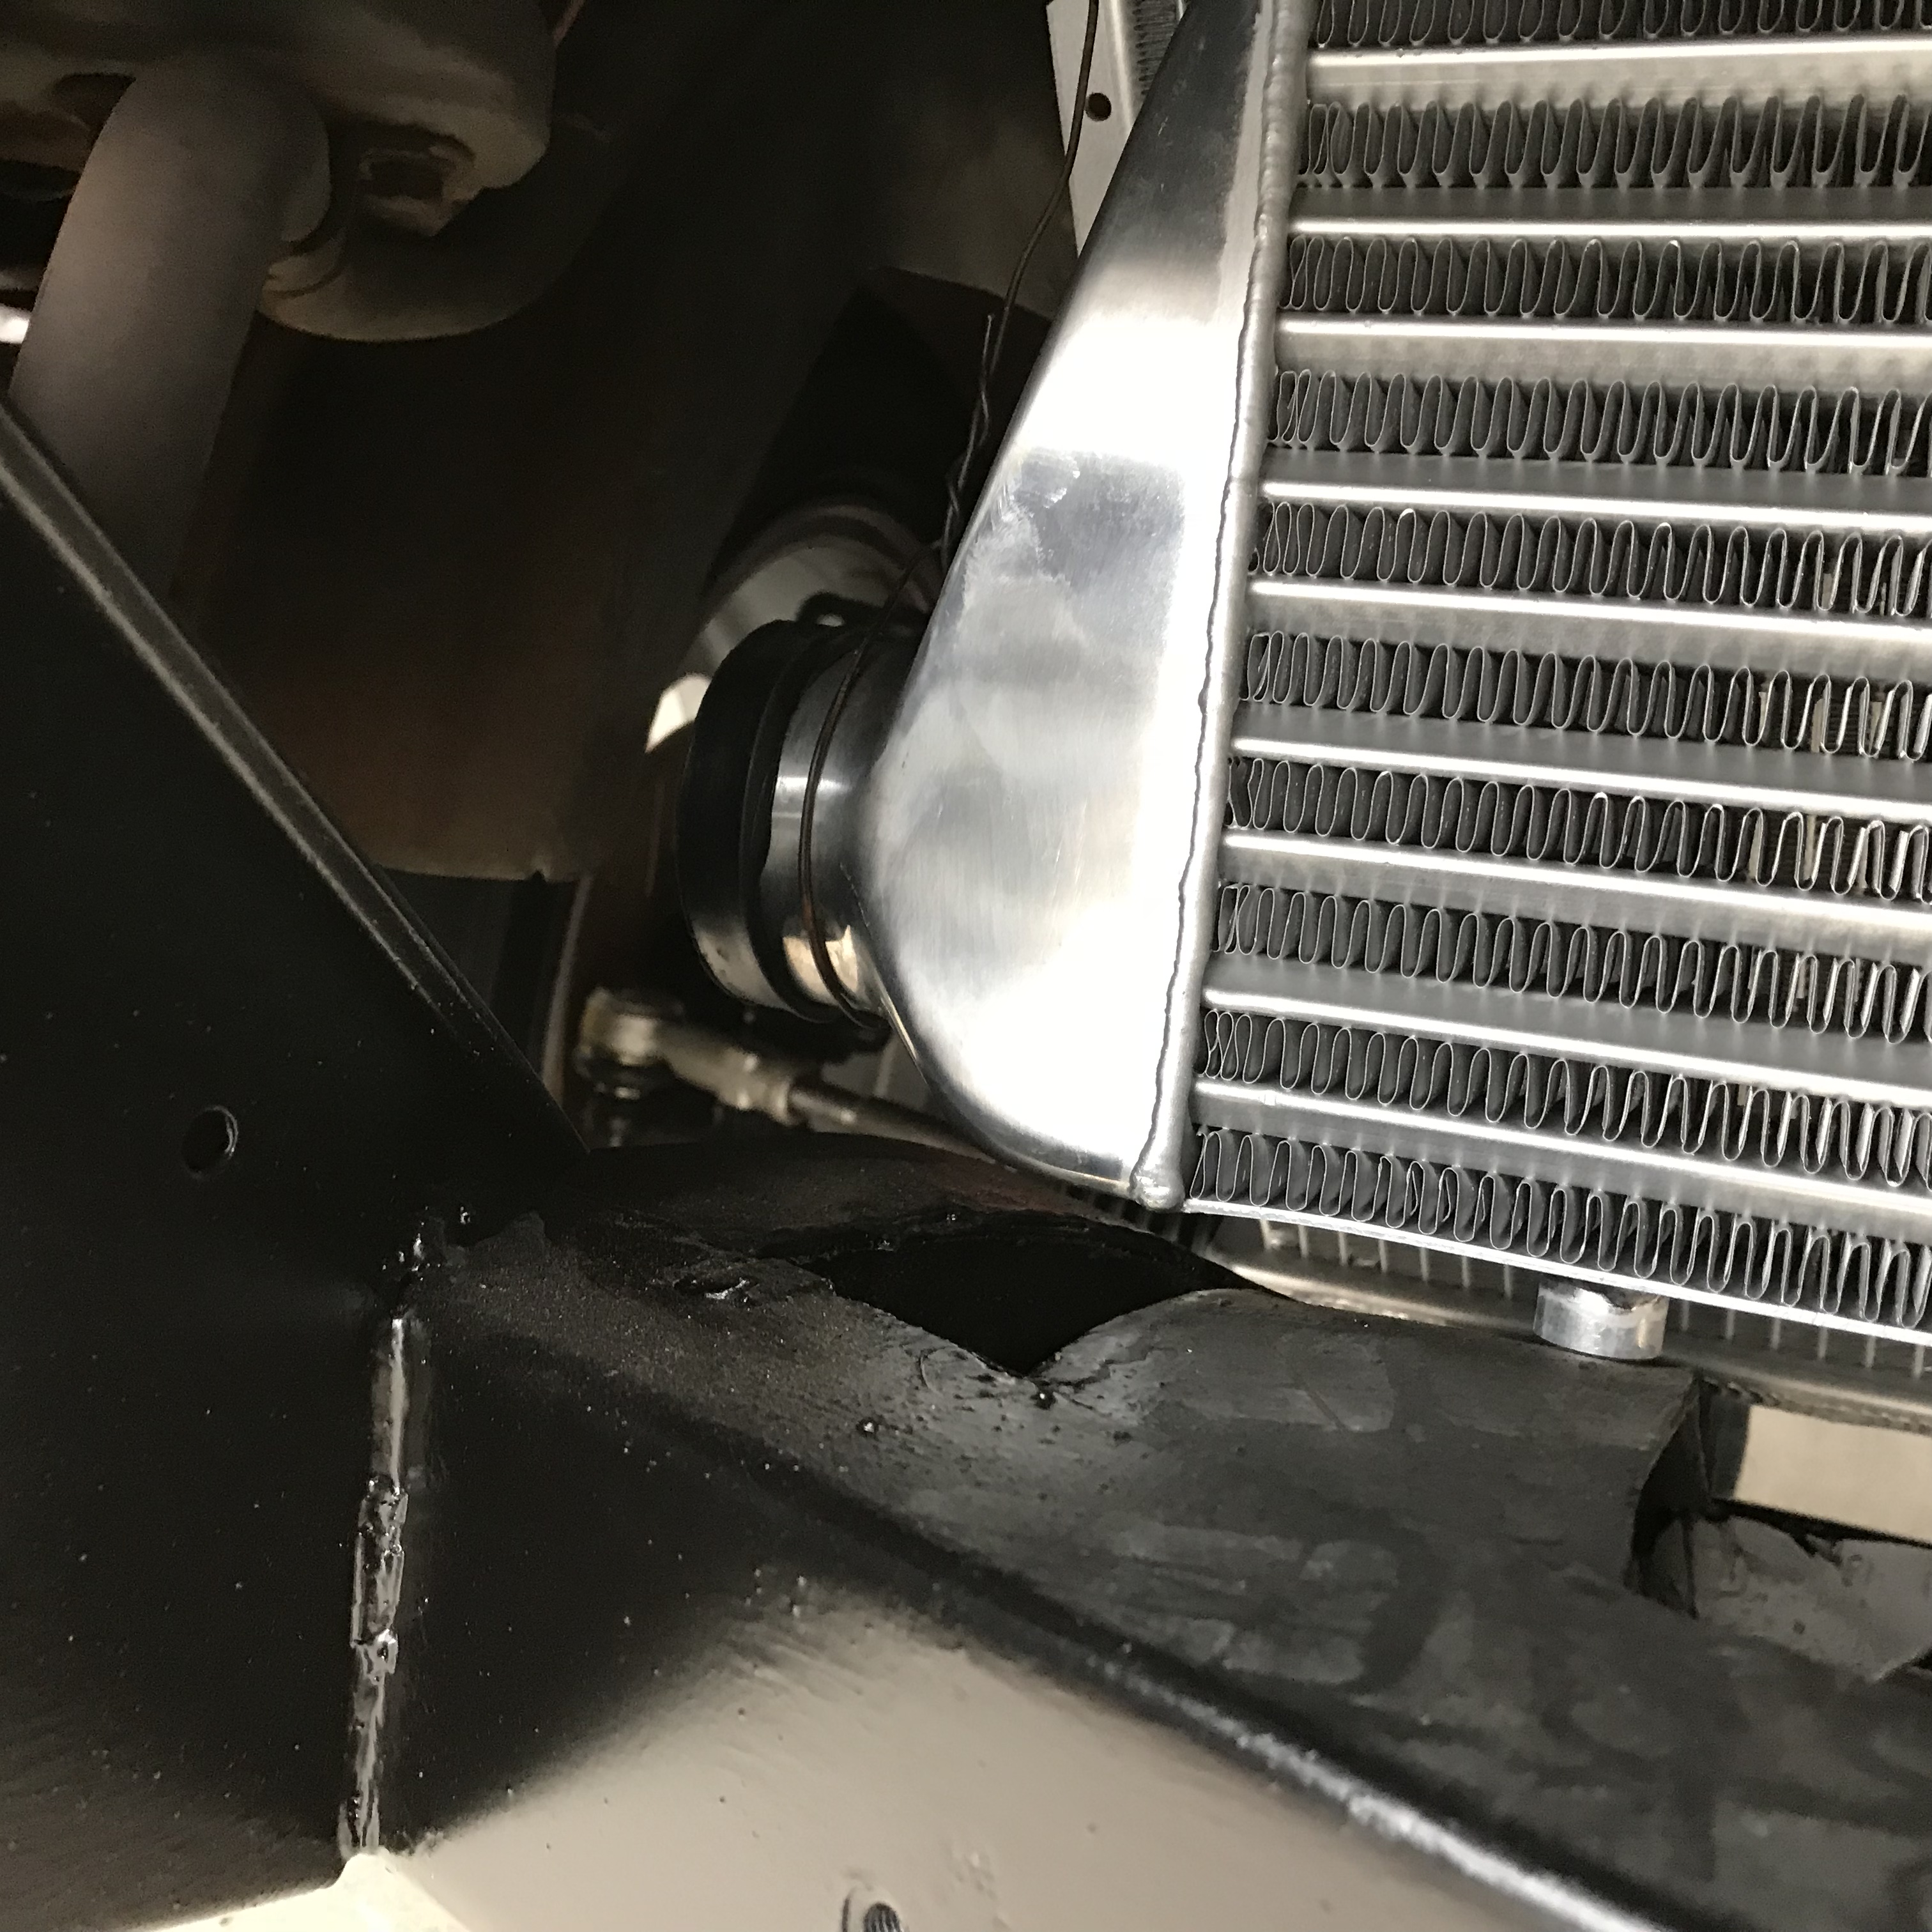
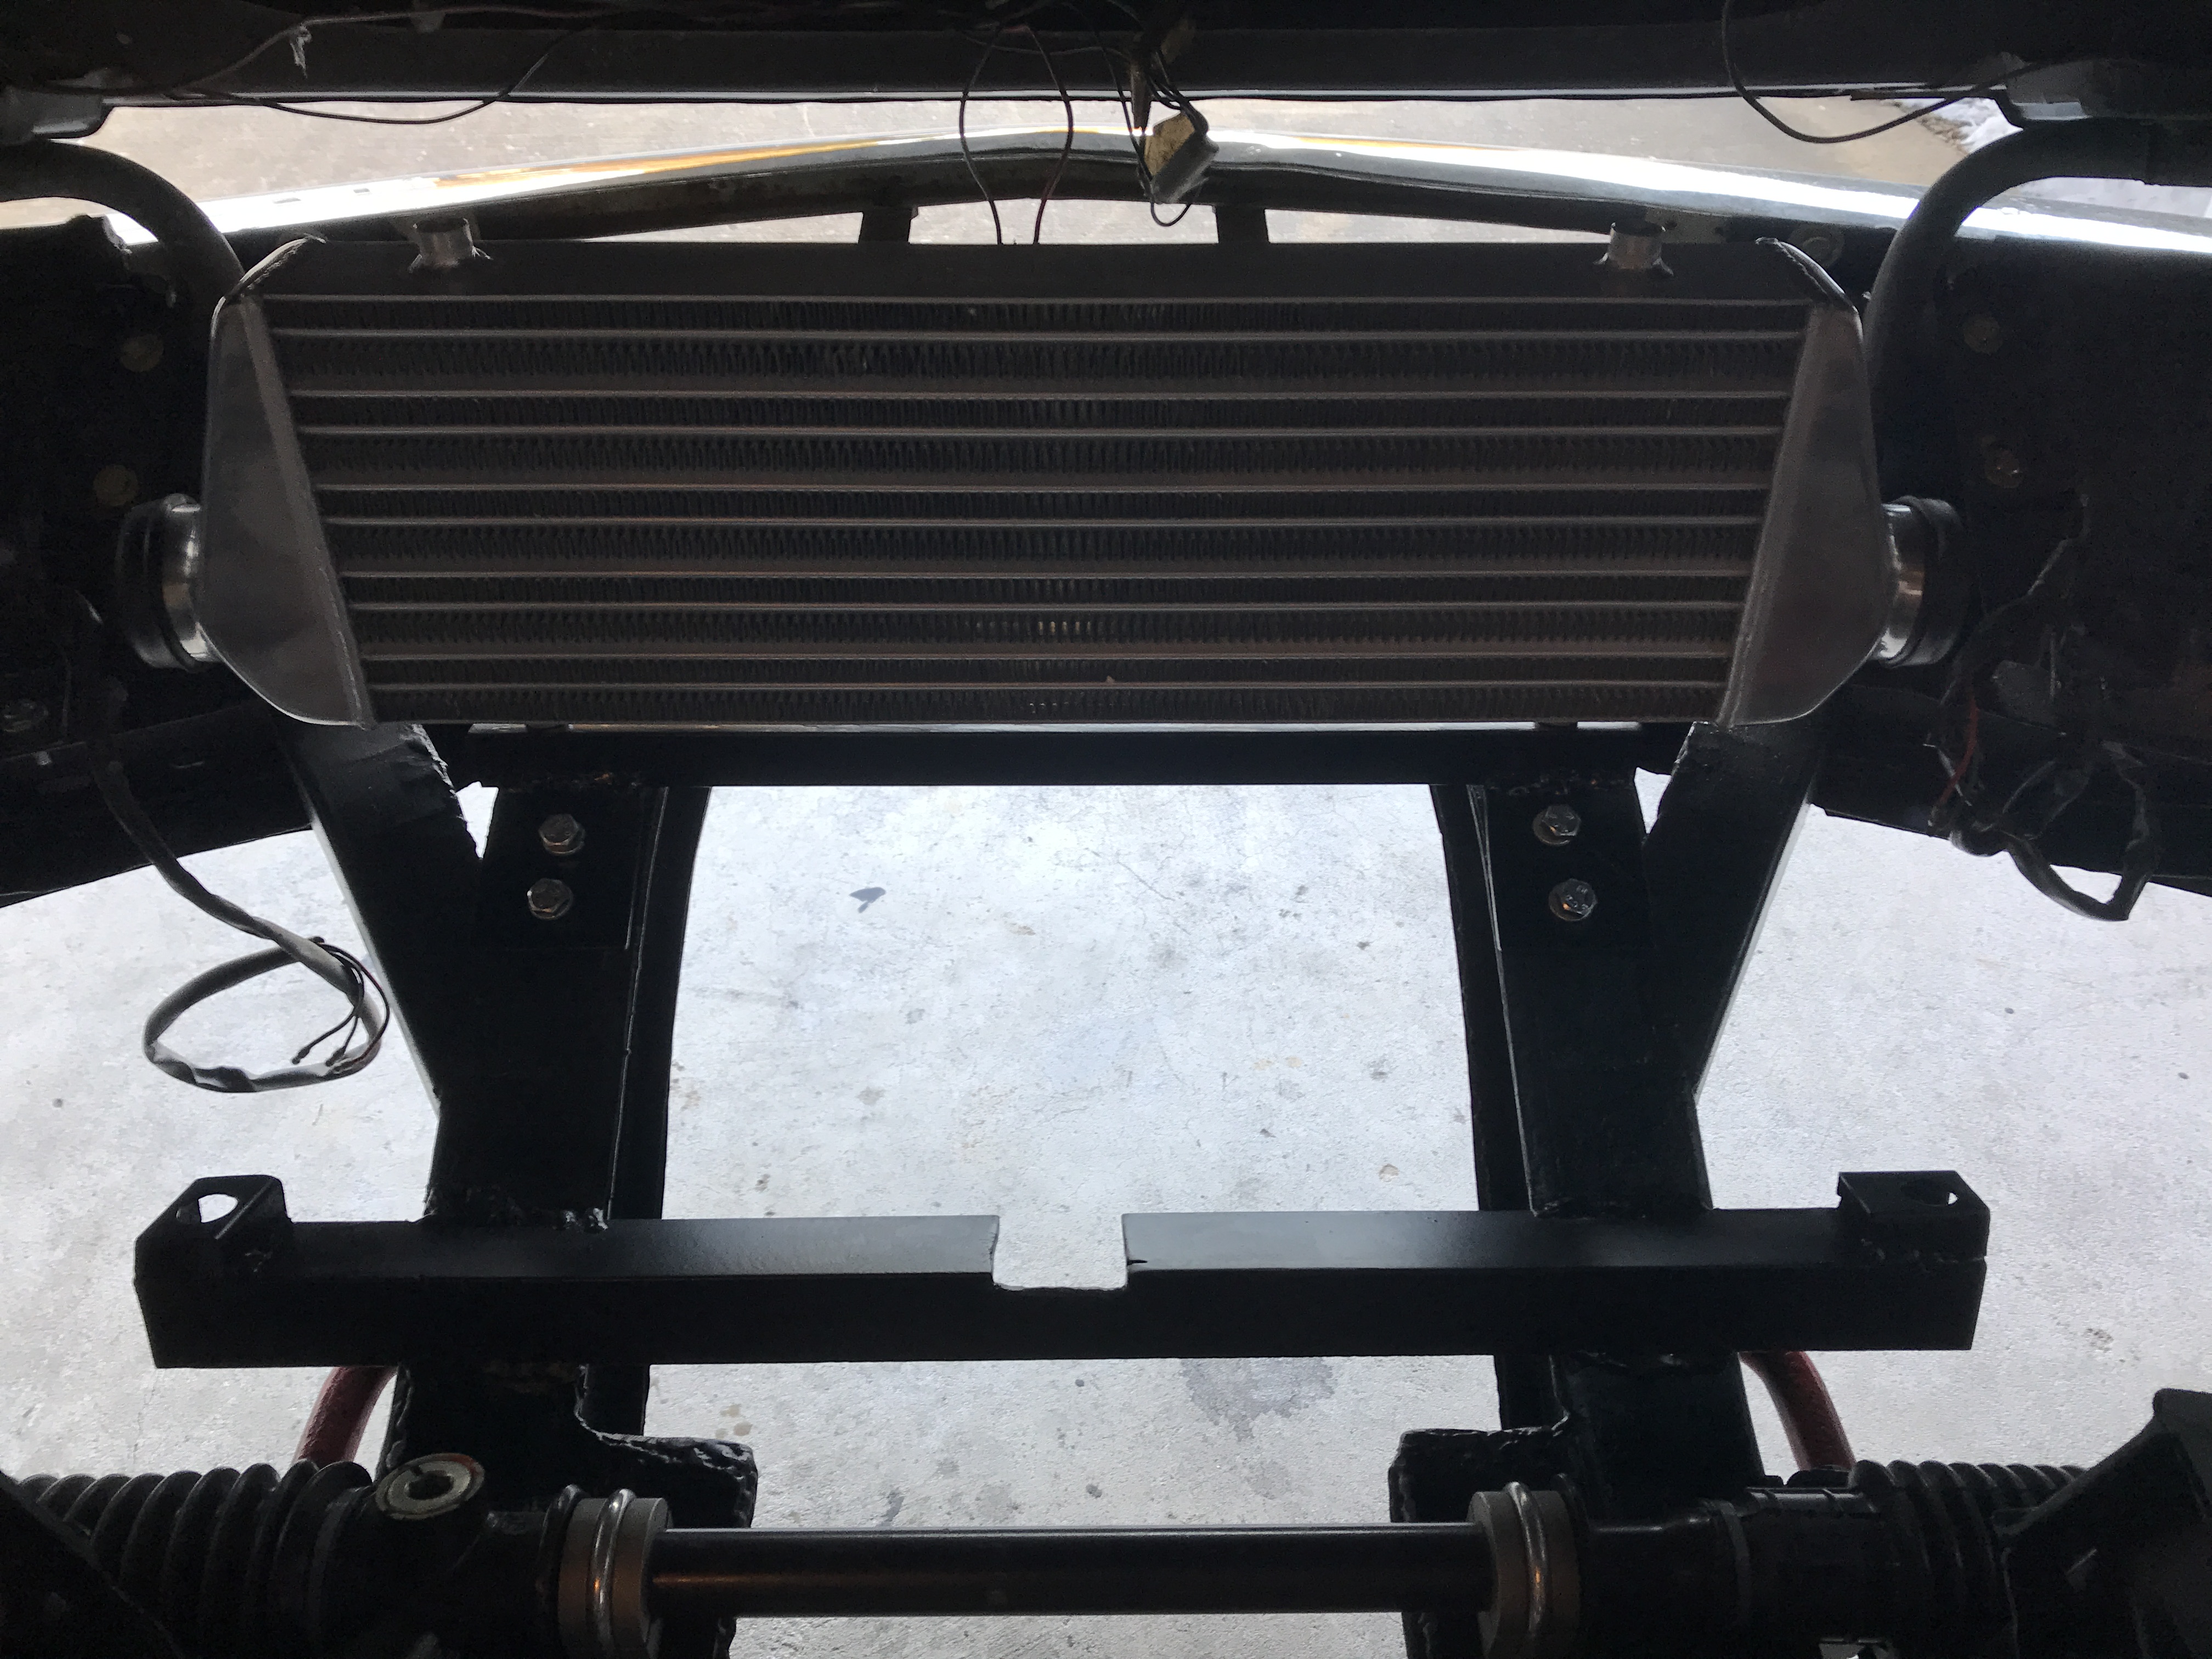
Had a full day in the garage and much progress was made. Finished my radiator and intercooler mounts and bolted both in once I had moved it around a few times to clear the front end. Should not be a big deal for intercooler hoses, the radiator is easy. I used the pins on the bottom of the radiator to hold it in place and then aluminum brackets hold it down.
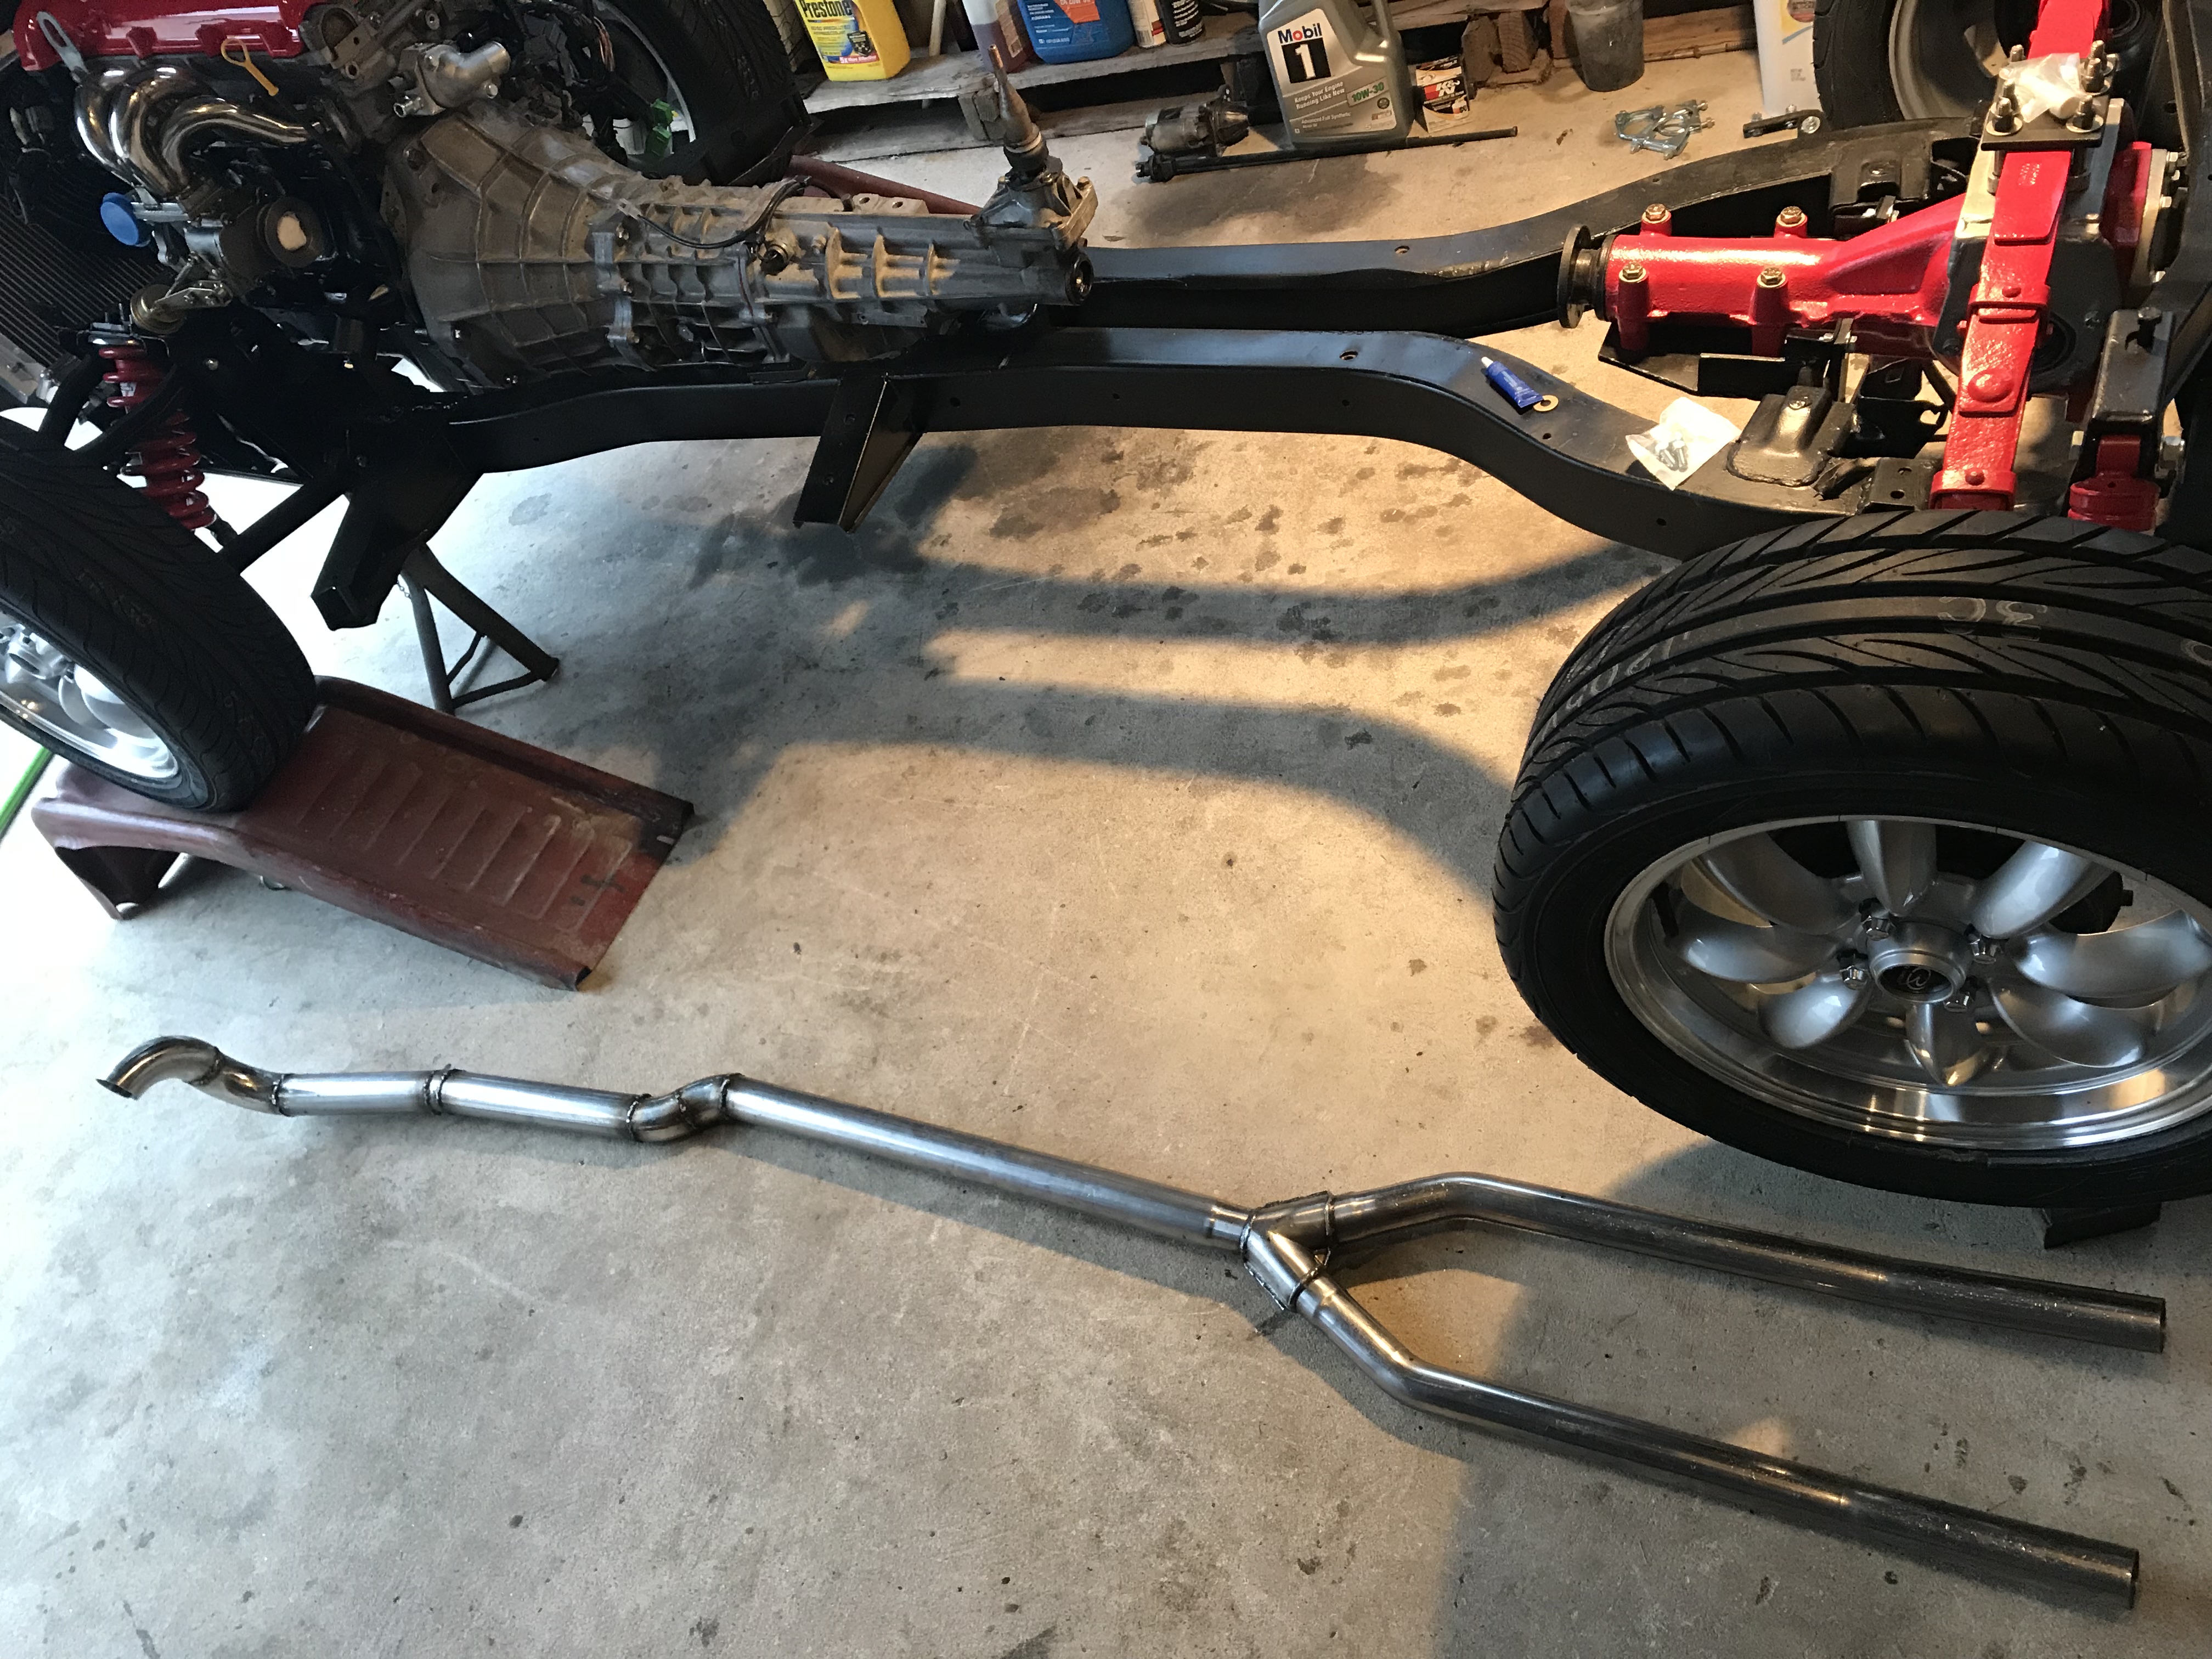
The next step was to get the exhaust to the engine side of the car. I using a Bell GT6 dual muffler stainless steel exhaust system, so it ended right at the transmission, so I needed to get two feet to the tight spot between the engine and the drivers side of the frame just in front of the motor mount. I figured this had to be much easier without the transmission and engine in place, so I had a bunch of 2" 90 pieces and straight 2" stainless and cut and welded it to follow the frame and transmission. I don't think I'll be quiting my day job but the welds are strong and it looks good.
Fits great and now I just have to build my down pipe to mate up with this. It will all be wrapped with heat wrap due to the close spacing, but looks like it will work just fine. Also got my valve cover back from the power coater, looks pretty good. Next steps will be to continue to hook up stuff, getting close to having the chassis ready for the body, just need my drive shaft and to finish my CV axles and run brake and fuel lines and then the chassis will be ready for the body. I'll probably be starting on the body at the end of the month.
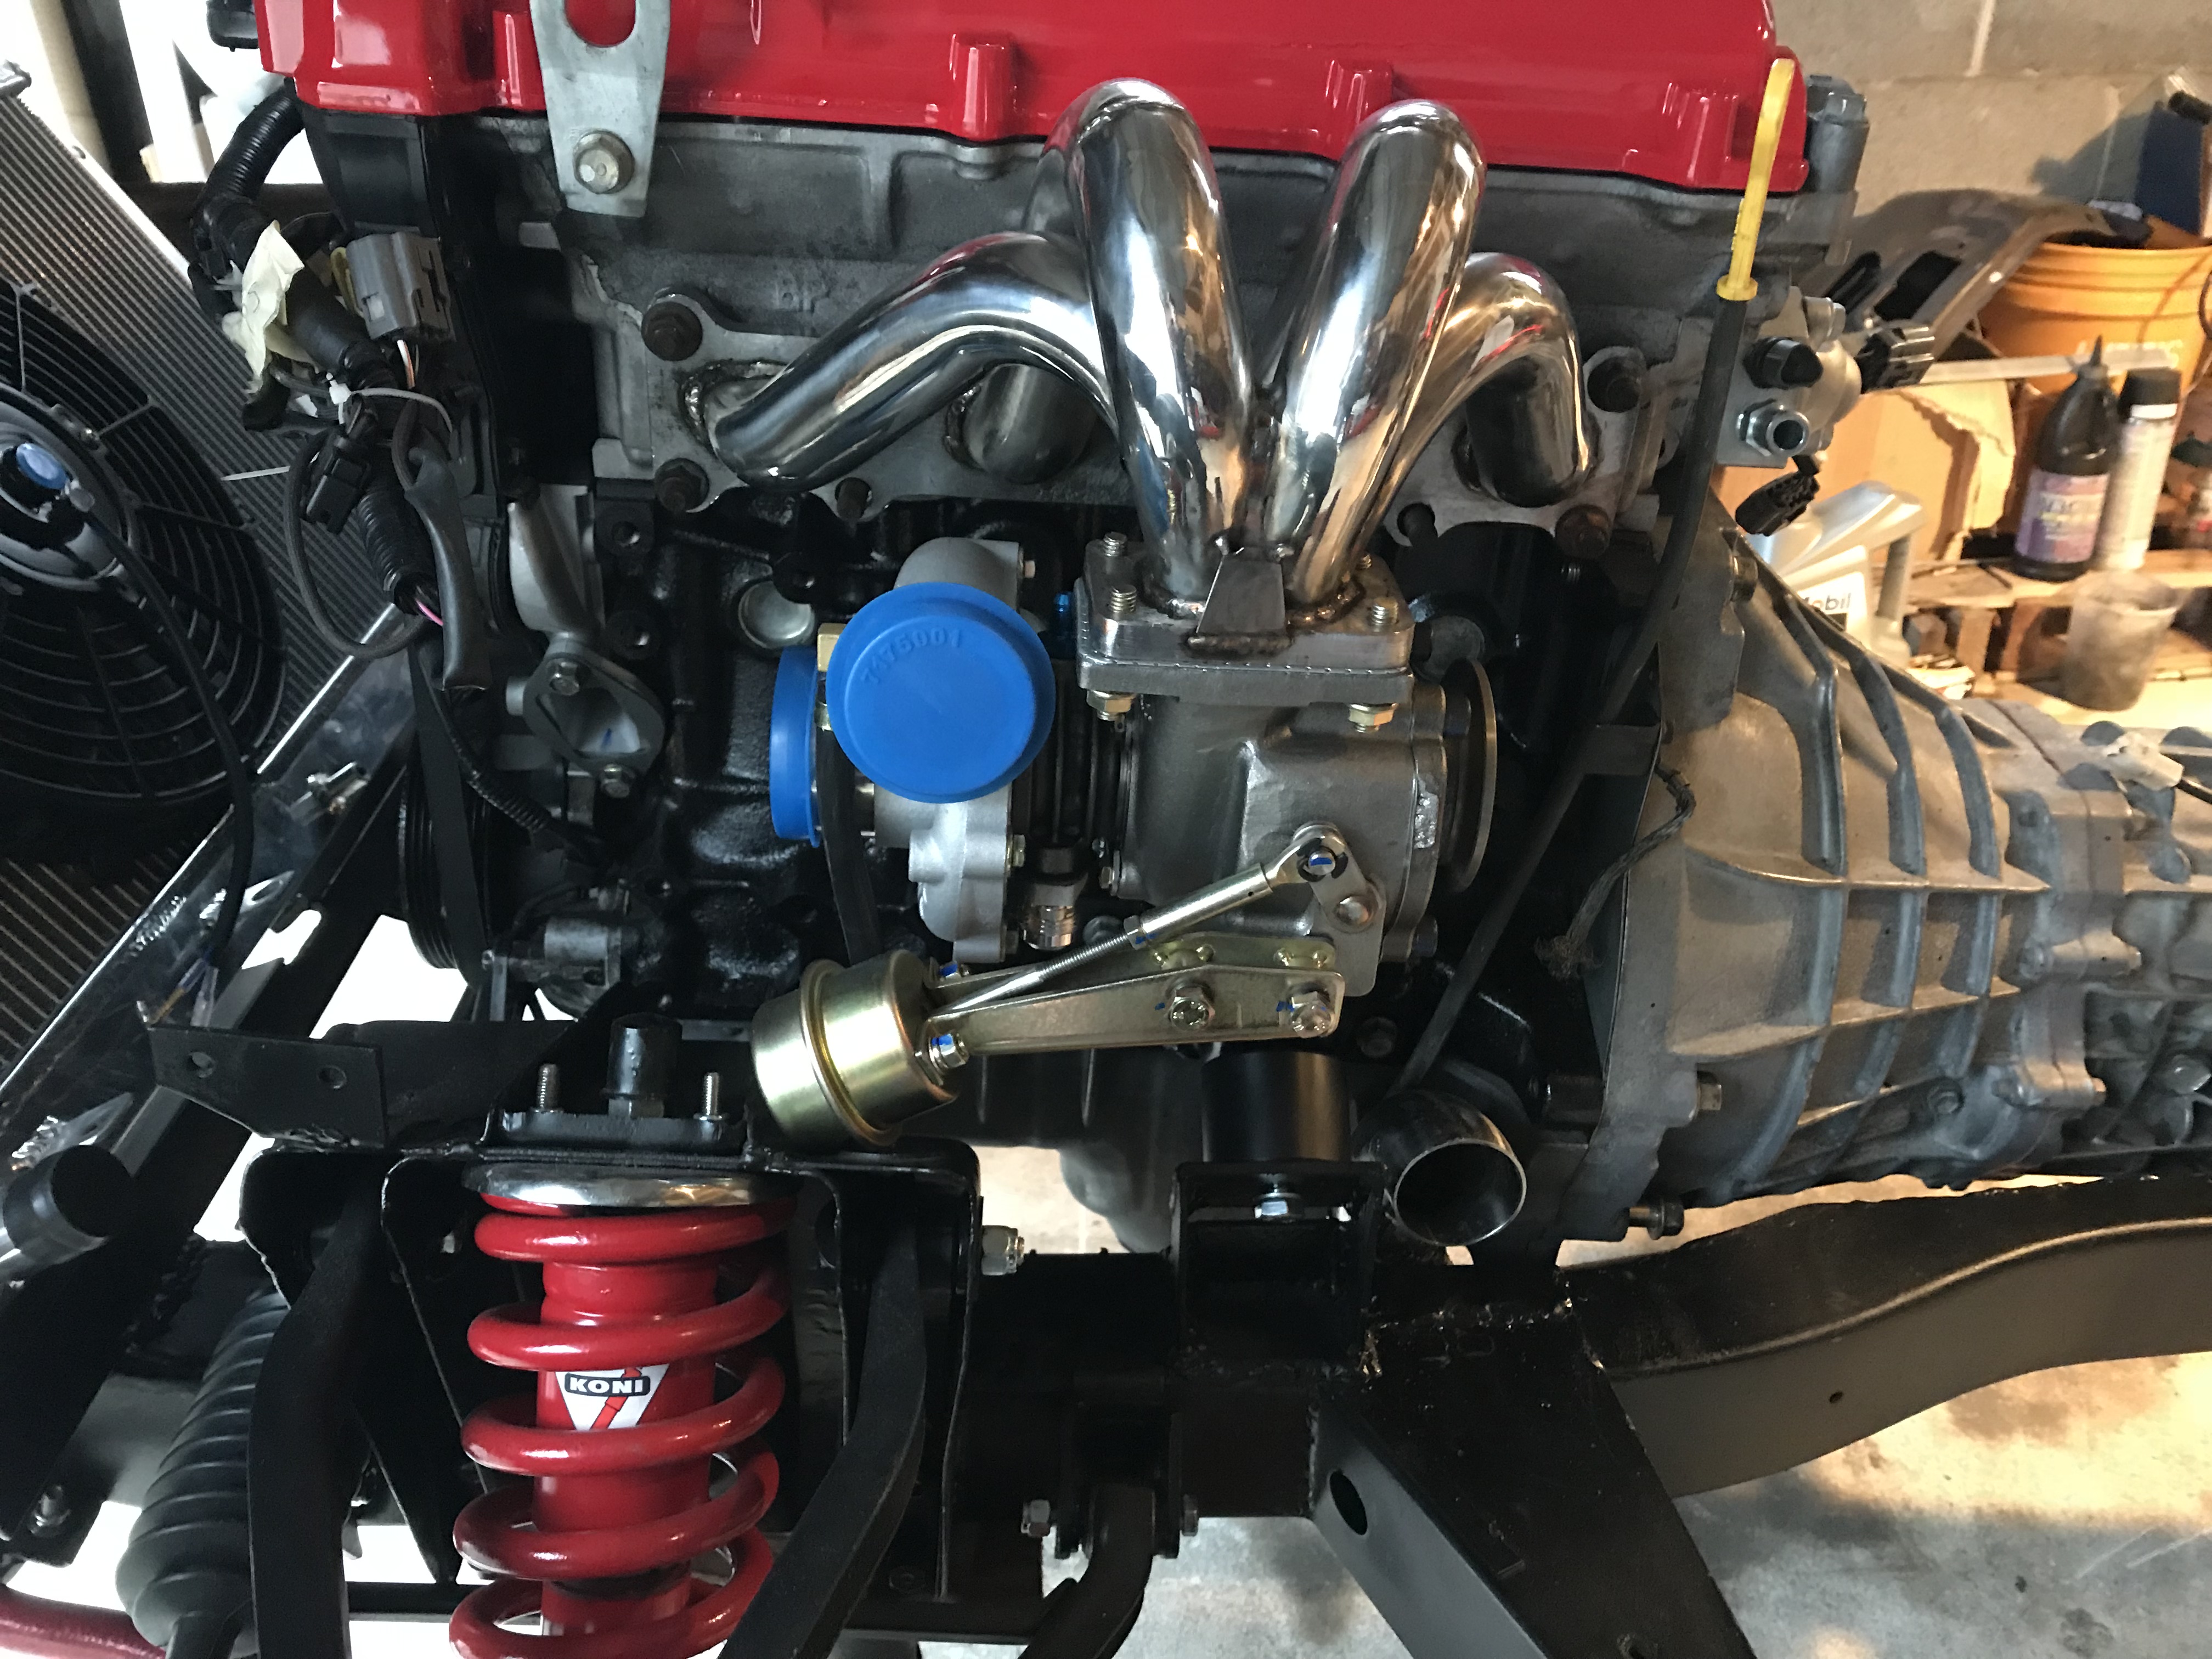
I finished up some of the engine ancliaries and ran the intercooler lines, hood shuts, no clearance issues. Only issue is my final exhaust routing but I have an idea that I'll post on the main forum to see if the "hive" agrees with my plan.
Now that the exhaust issue is resolved (still have to build the downpipe, but technically that is easy, now that I will be not using the original v-band), I can focus on the rest of the chassis pieces so I can turn my attention to the body at the end of the month. My goal is to have the chassis "Body Ready" by then and I can do my welding and minor body work, paint and undercoat the floors and then re-install the body back on the chassis. Starting to really look like a car now. Today, I'll install my new fuel injectors and more of the engine pieces.
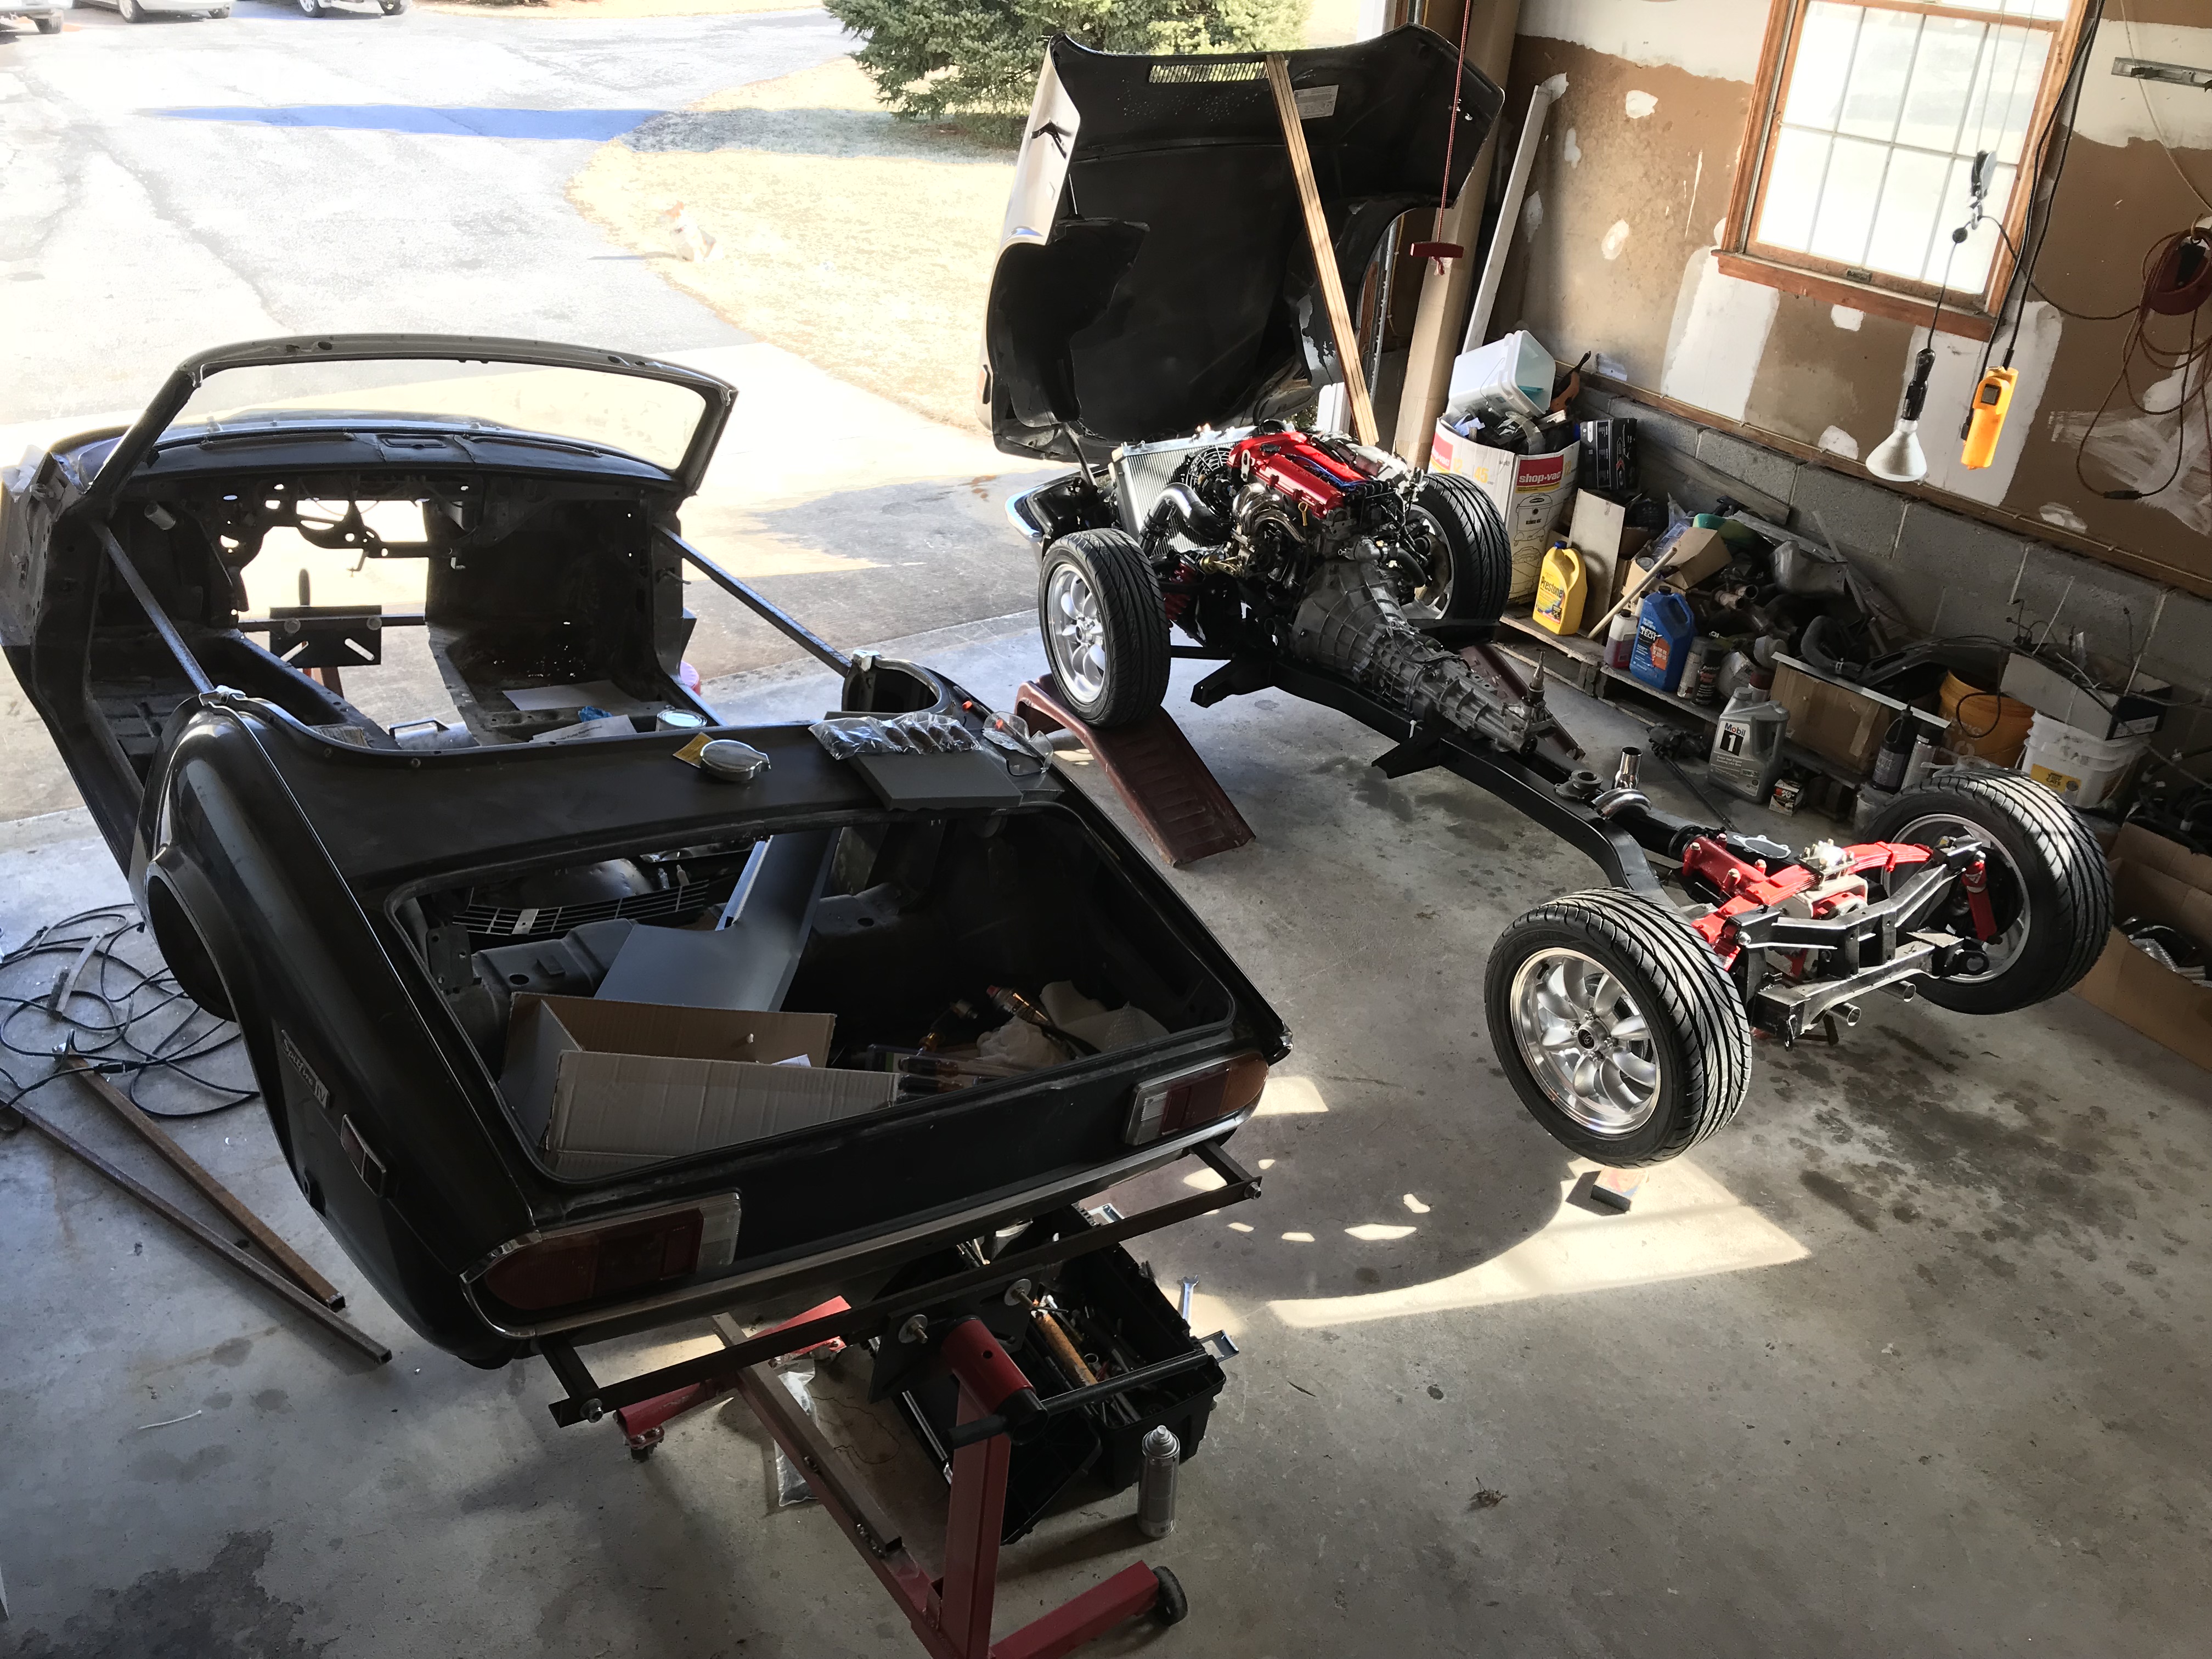
Thanks, FYI I ended up with a Hydra 2.7 instead of a MS ECU. Could not pass it up for $575. Had to buy a harness for my 99 from Flying Miata, but now I'll have a fully programmable system with autotune features as it includes the wideband. Solved the exhaust issue as well, so can continue to assemble now.
I think you'll be happier with the Hydra. I have some experience with an MS3 and MSPNP. The MS3 on a TR6 motor wasn't bad. The MSPNP on a Miata was quite a lot more challenging and frustrating. It's working well now, but I've had it for 3.5 years.
Yes, starting to look complete. I envy your engine access.
dherr said:Thanks, FYI I ended up with a Hydra 2.7 instead of a MS ECU. Could not pass it up for $575. Had to buy a harness for my 99 from Flying Miata, but now I'll have a fully programmable system with autotune features as it includes the wideband. Solved the exhaust issue as well, so can continue to assemble now.
Saw that, hope it tunes easily for you! Pretty sure the PimP ECU for mine will autotune, but I guess we'll see. Have to actually work on it first...
It helps that I will have support from Flying Miata. They do the base maps, so I start with that, enter in my injector sizes, do a few calibrations and can set it to autotune to get started. I'll have someone who knows Hydra's give it a final tune once it is all finalized, but this will get me started and in a good position.
JoeTR6 said:I think you'll be happier with the Hydra. I have some experience with an MS3 and MSPNP. The MS3 on a TR6 motor wasn't bad. The MSPNP on a Miata was quite a lot more challenging and frustrating. It's working well now, but I've had it for 3.5 years.
Yes, starting to look complete. I envy your engine access.
Appreciate your comments. The MS community is quite extensive but I was going to either have an MS3X built for $900 or purchase an MS3Pro for much more. The MSPNP looked like it was going to be much more of a manual effort. For my relatively mild setup, the Hydra is overkill but it does let me grow if I find that still want more.
You are not kidding on the engine access. I pulled the intake to swap the injectors today, sat on the front tire, piece of cake. I learned from my challenge car, that I wanted to be able to service without having to pull the engine or body, so this time around, I make sure that I allowed for access to all the normal stuff, in addition to this sitting in a Spitfire with excellent access to the engine. I read the Flying Miata instructions for installing the turbo kit and it is such a tight space to work in.
CV axles are installed, got the breather hose and filled up the diff. Still need to add a few boot clips, but the new axles fit and my drive shaft will be shipped next week. Working on much of engine ancilaries like the oil drain and feed for the turbo, need to move a few things but should have it all installed tomorrow. I figured out the Miata NB fuel system simplification, so will be building the lines this week and getting it all attached to the chassis so I can get the brakes lines installed.
On the topic of brakes.... when I first ran my car I found out the hard way that lines too close to the exhaust header tended to boil the fluid and really soften the pedal effect. I just wrapped them and put up a make-shift heat shield for now, but if you are running new ones anyway good to keep 'em away from that exhaust.
I wasn't too picky as I'll eventually change everything out anyway and I know you're smarter than that, but thought I'd mention it.
Are you keeping the PWDA? that's where I got too close. Eventually I'll put in a complete new system, but it's working for now.
Thanks for the reminder. I picked up 25ft of nickel/copper lines and will be running my own lines, so will have plenty to get creative in the front. I intend to have a heat shield for the water line for the heater that is between the turbo and block (I did not flip the water mixing chamber as you did). I also have a blanket for the turbo exhaust housing I will probably run the front brakes in "reverse" and route around the three way on the passenger side and over to the driver side caliper to avoid the turbo and downpipe. That way, I can just run up from the passenger side and across the top of the body to get to the MC. I was not planning on running a PWDA (don't think they are on a 72?)
You'll need to log in to post.