So I did some looking and from what iv seen there are different sizes but can't seem to find consistent info on them. But I also found that such a thing as check valve in the vacuum line... Learn something new everyday!
I did look at replacement boosters for the turboII and they are a bit pricy so need to have a had look into cheaper options. I also saw that the 929 booster should fit the car.
Also I am not looking to swap the master cylinder because I wan't to keep the small cylinder to keep the pedal feeling easy but I do want a bigger or working booster so when I need to slam on the brakes I don't have to push my seat to the back of the hatch if you know what I mean. Think miata brakes! (Im borrowing a 09 miata NC so im getting jealous)
Posting this up for a buddy,
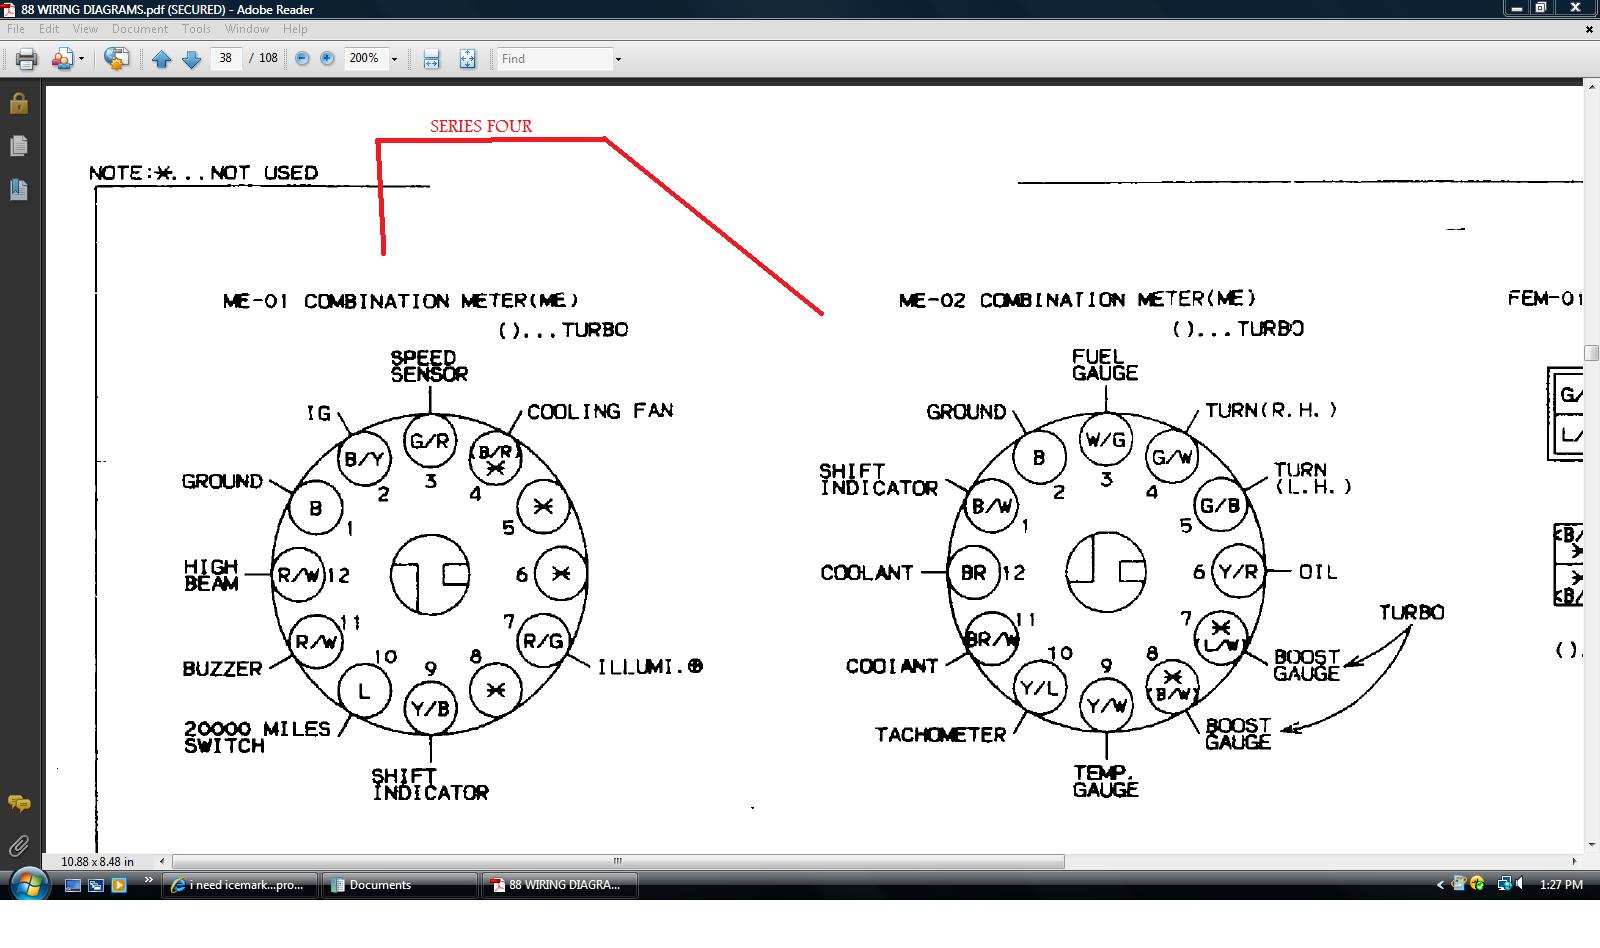
Here is where I found that info-
Dash wiring
In other news im headed to a drift event tomorrow, not taking the mazda it likes to get hot above 65mph and its a hour on the highway and its going to be 94 tomorrow and feel like 105... Im taken lots of water and new camera gear to shoot a video though!
Do you have an undertray on the car?
They like to get hot without one.
The air hits the rad and dumps under it instead of going through it.
Nope no undertray and if you look at how the rad is set I need the air to flow under the car. I am working with a friend at work to make a cover for the top of the rad which is where it needs to be in my car. He drew it up in solidworks and we aregoing to cut a test pice of of cardboard on the laser this afternoon!
Been driving the car a lot this week finally cooling off. Going to get it inspected this afternoon. Crossing my fingers they pass it! Only real issue is the rear view mirror is not installed. Been to hot for thr glue to stick.
The air enters the front down low. If there is nothing between the bottom of the bumper and the bottom of the rad, it WILL bypass the rad.
Just tape some cardboard under there and see if it helps.
Yes but the pice would be maybe 2" long. Thats just to cover the back of the rad the leading edge is inside the bumper. The rad is tucked into the bottom of the bumper there is maybe 1/2" where the air could go straight down then under the rad. The rad is angled the bottom is close to the front of the car and the top is to the firewall so the air wants to go up to the hood not down. The air doesn't have a chance to build pressure to go through it because its going through the huge gap above the rad. Once I block that big hole then ill look at the little gap between the bumper on the bottom. The front lip of the bumper is the bottom of the rad so i go slow over bumps!
ah, okay. I gotcha now. For some reason I was thinking yours was angled the other way, like stockish.
Definitely do the cardboard aided design for the top and the sides if necessary.
Our race car is super sensitive to blocking off all airways that lead around the radiator.
Yep I think that this will solve the issue air does different things at 70mph then it does at 50mph.
So here we go with the fun! We cut a test piece out today and I offerd it up to the car. We were off in some places and not in others. It will take a few times to get the real world inline with the cad design. If all works out I might make 4 or 5 and sell them if people want them. Not to make money but there might be some more people that might want them. I plan on making the final one out of black chloroplast sheets (local guy said he could get 4'x8' sheets in black for $15 and in stock! I could make 4 or 5 out of a sheet!) Anyway on to the pic!
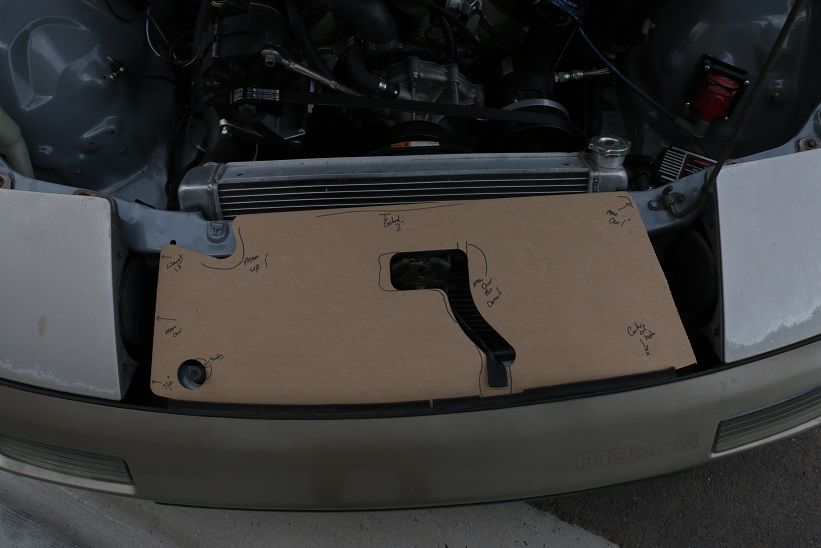
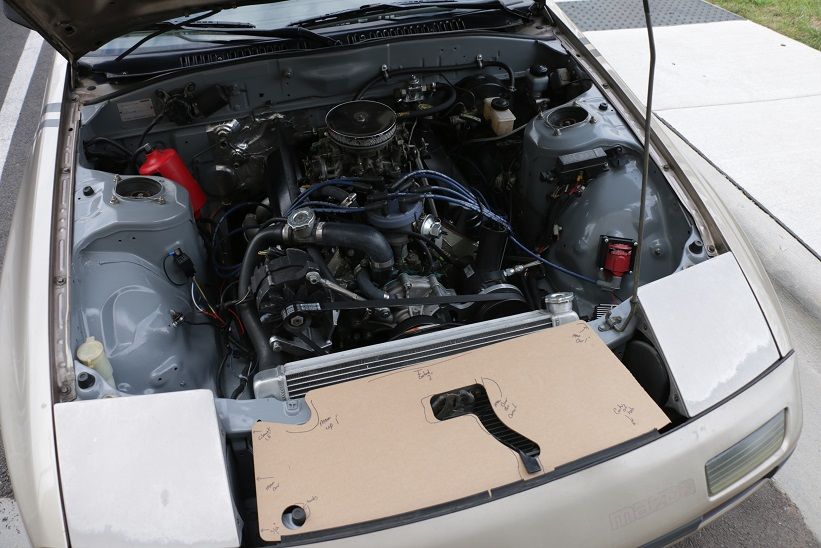
Also someone buy my complete mustang EFI! -EFI kit-
So I can buy this -Dream EFI kit-
Fun from this past weekend!
https://www.youtube.com/embed/wNy7DdUj-nA
If you haven't yet check out my YouTube and Instagram @Petrol360. I try and post stuff from the RX7 as well as other cool stuff going on.
its tough to tell from that pic of the cardboard, but you want it to go the entire way to the radiator. Also, I would close off the 1" gap on both sides.
It can make a BIG difference.
Yep it will cover everything this is only the first test piece. If you can tell from my chicken scratch thats notes on modifications that we need to make to the cad model. Also the final piece wont be cardboard this is just a test. And cardboard us free!

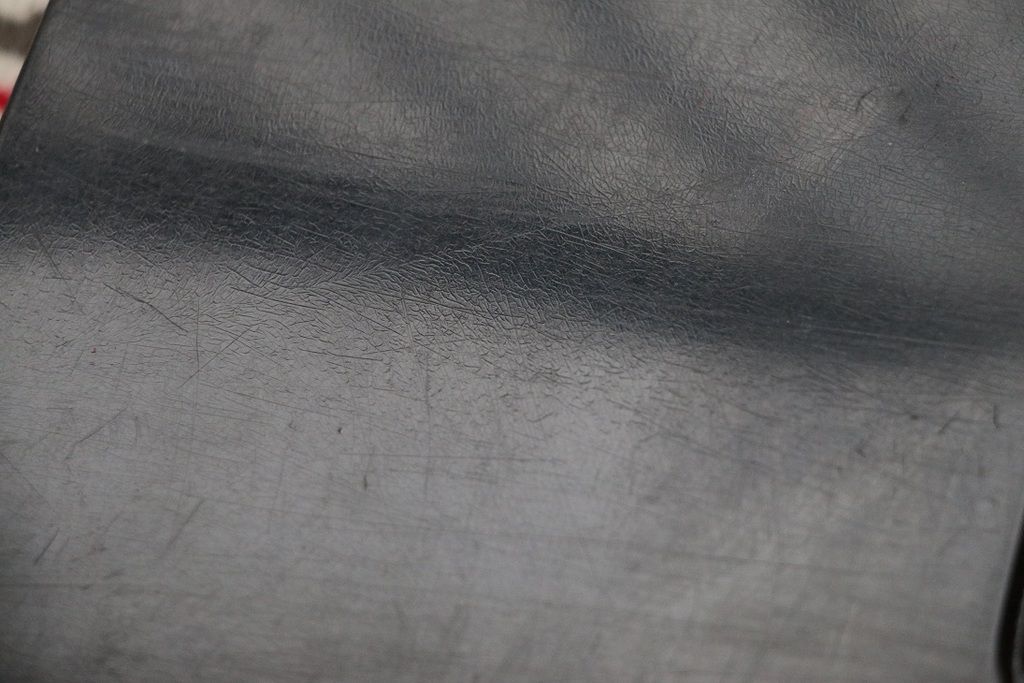
Cars been going good still a bit to hot to DD the car. Been trying to figure ou things I can work on while I live at the apartment. Still waiting to rework the air dab for under the hood so time to start another project. I have been trying to find ways to make the car look more up to date and not so much like the piece of crap it is haha. One thing that lets it down are the tail lights they have been baked in the sun for far to long. So time to bring them back to life!
Here is the starting point. This was a spare light the car came with. Its the test piece in case this didn't work.
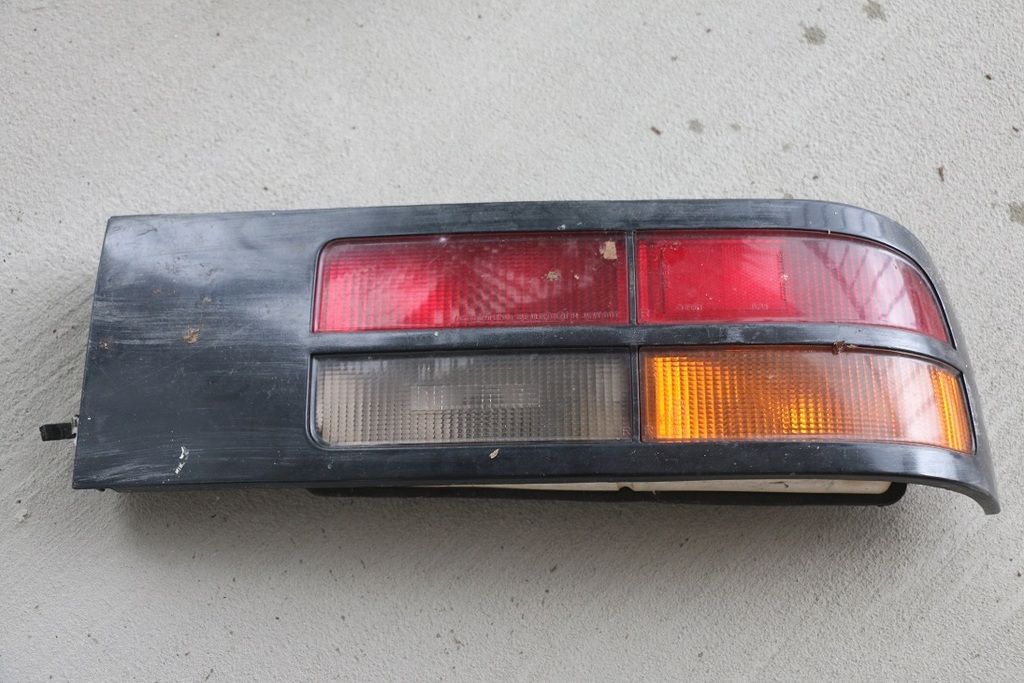
Yes it was very bad!
I had thought about just spray painting the black bacl to black but iv seen some other people do that and I was not very impressed. So I thought a headlight kit might work!
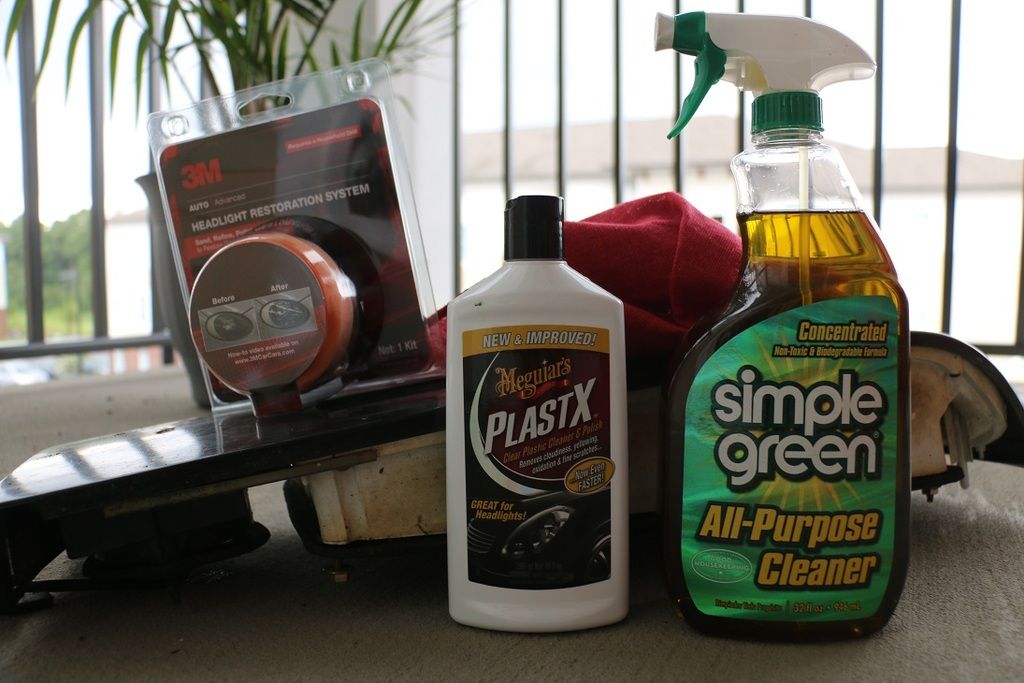
First step was to clean then hit the light with 1000 grit. Wish I had a 500 grit because the cracks were deep in there.
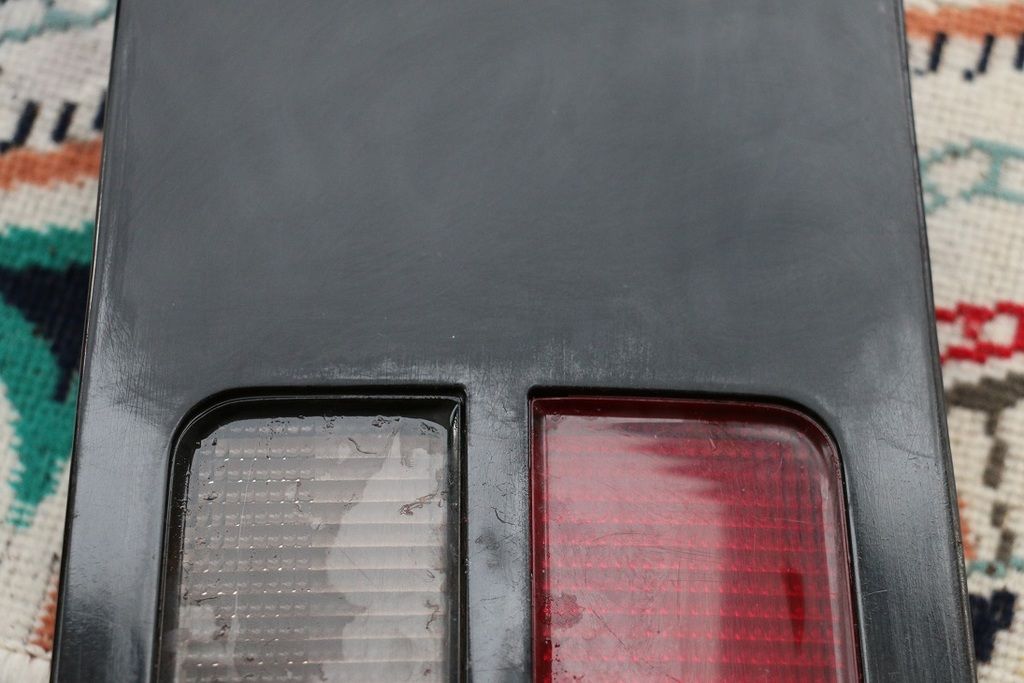
Now 2000 grit.
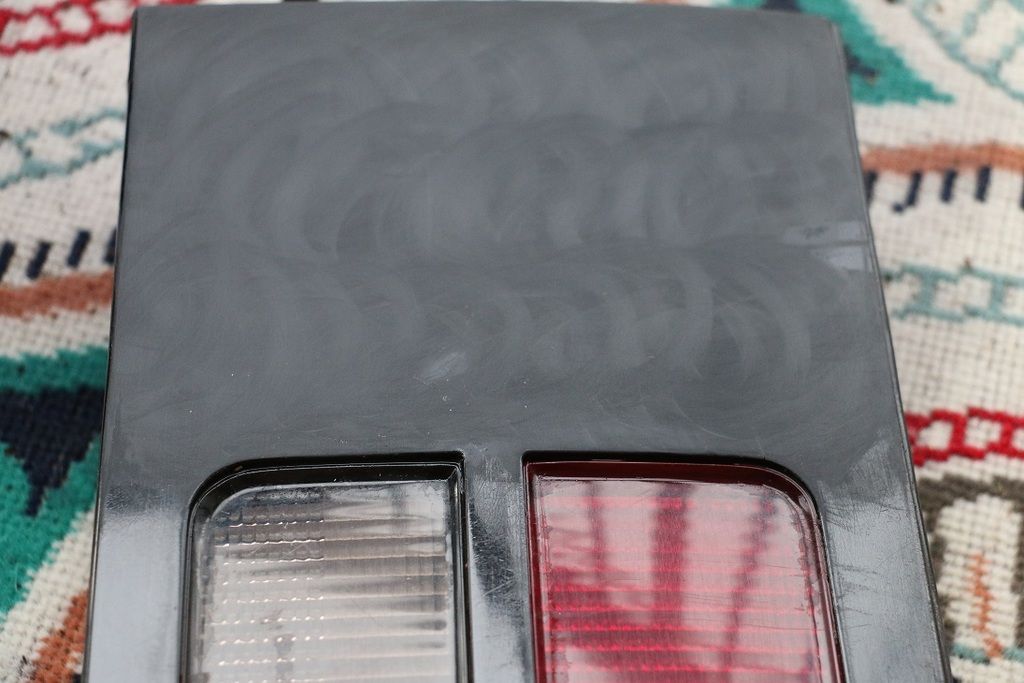
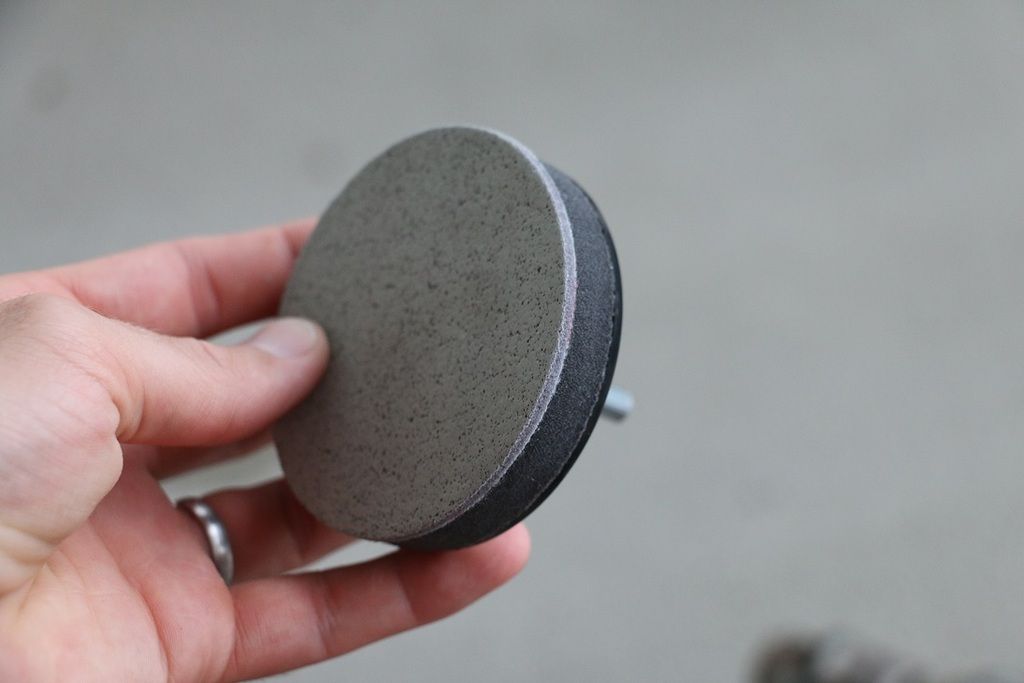
This is where it got fun, before I was just wet sanding by hand now hit it with a 3000 grit thing that I used the drill to run. This really stared to bring it all together. The drill made easy work of it to!
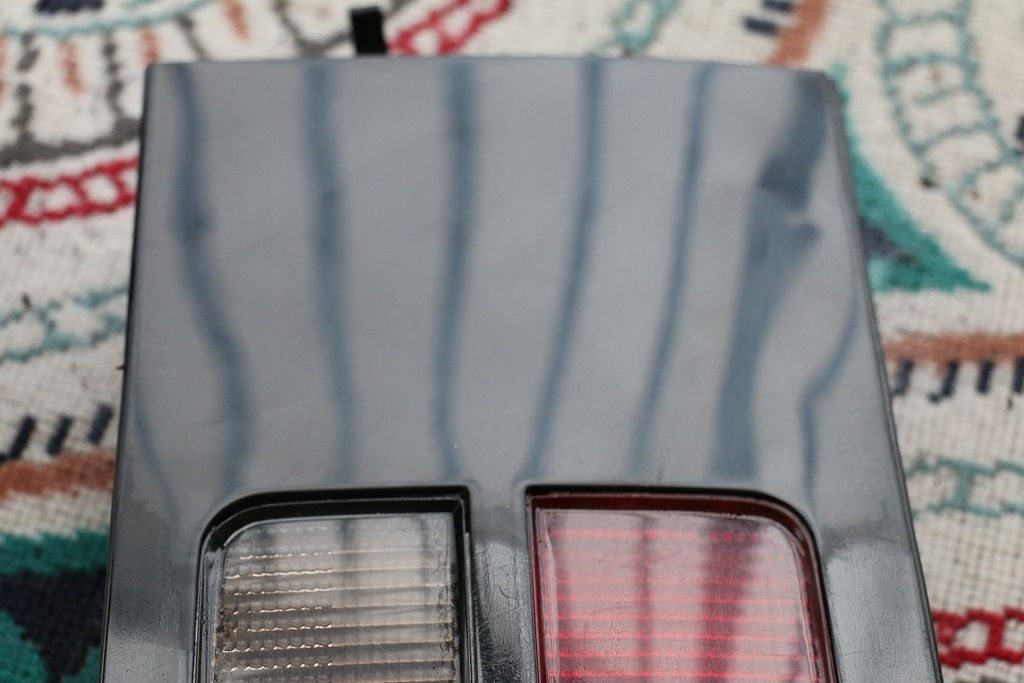
After the 3000 grit. I was very happy and would have been happy if this what the finish. It was black again and was much more shinny then before.
Now the real fun! Didn't take long to really get the clean flat shine that I was looking for. Its always fun to buff because with the rubbing compound you cant really tell what it looks like till you clean it off!
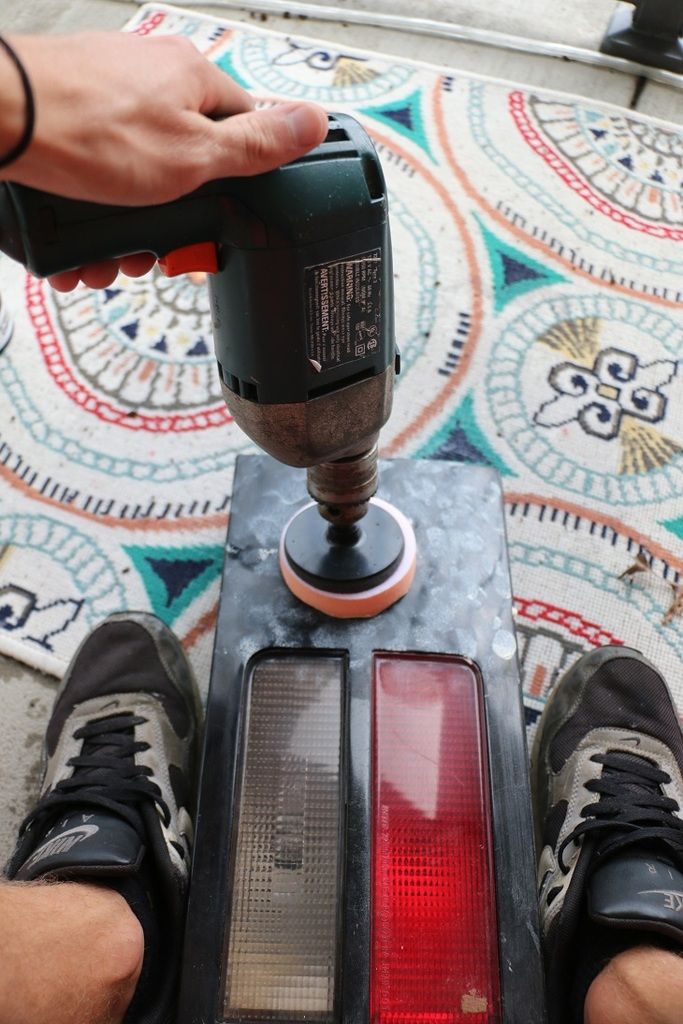
And photo bucket decided to quit working!
Looks like yall will have to wait to see how it looked in the end!
Ok well going to brave photo bucket again! Here is hot it turned out!
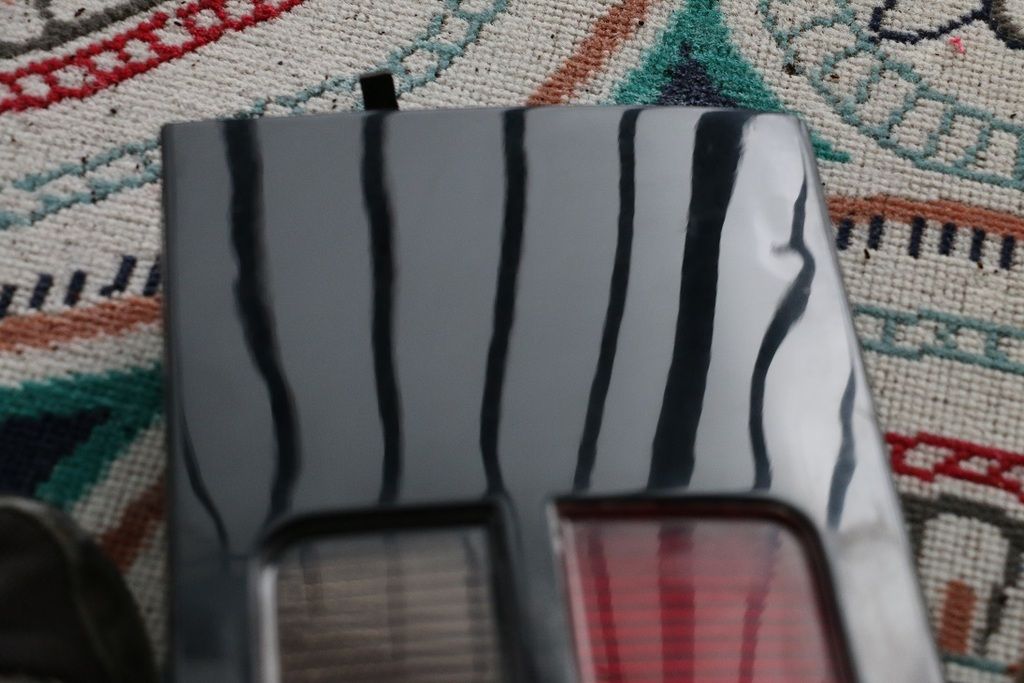
Not bad at all!
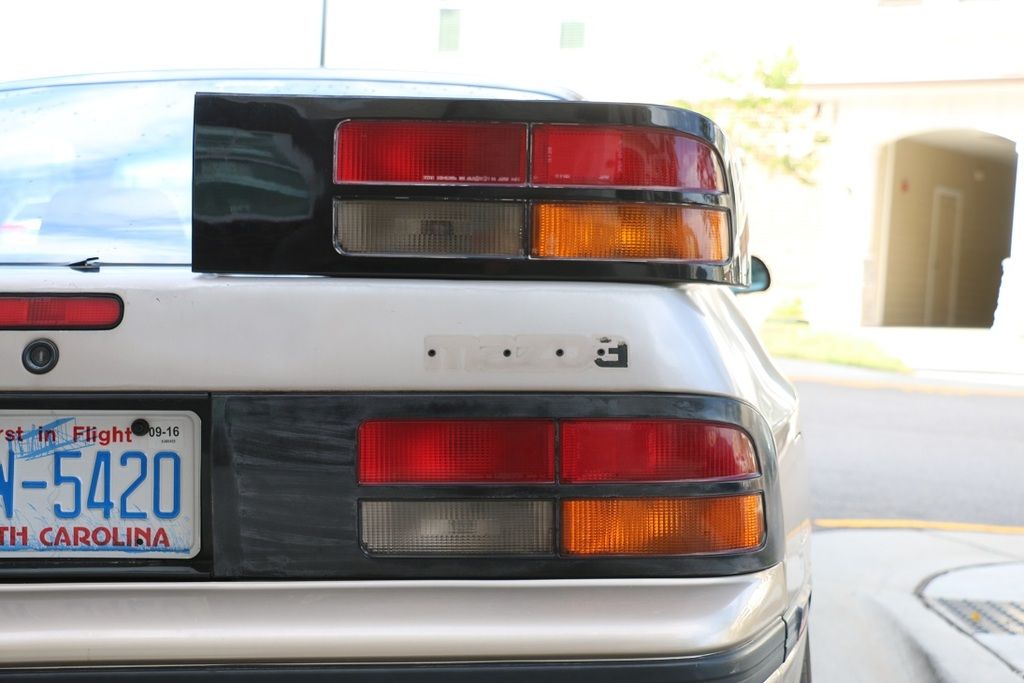
Really happy with the way it turned out. Now I just need to find a way to get the left over rubbing compound out of the cracks in the tail light. Good project for the week easy and cheap and you can see the difference!
Here is another video update on the car!
https://www.youtube.com/embed/lclsD_nj-Qg
Hope you enjoy!

Ya had some leftover stuff I have shot fir a while so might as well get some practice with editing.
Well good news I sold the mustang EFI setup so I might look into preordering the holley sniper throttle body efi. The kit seens solid and people have had really good things to say about the FItech system which is what holley more or less copyed. Going to call there tech line this afternoon, I made a long list of questions im going to ask. Not crazy about preordering something thats not out yet. I did talk to them about the sniper system once defore and it sounds like it can run boost as well as be plugged into a laptop and use holleys efi program to tune from a laptop. Thats a plus so if I want to get a good dyno tune latter down the road I can. From what I gatherd its the same as the FItech 600hp power adder unit plus the ability to tune with a laptop but for $200 less then the FItech at (Holley sniper is $1000, FItech power adder is $1200). The nice thing is the holley isn't out yet and the FItech is on back order so I'v got some time to make a good decision on what to get!
Holley Sniper
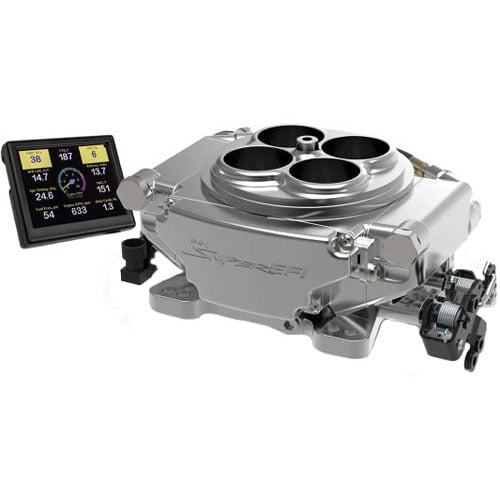
FItech

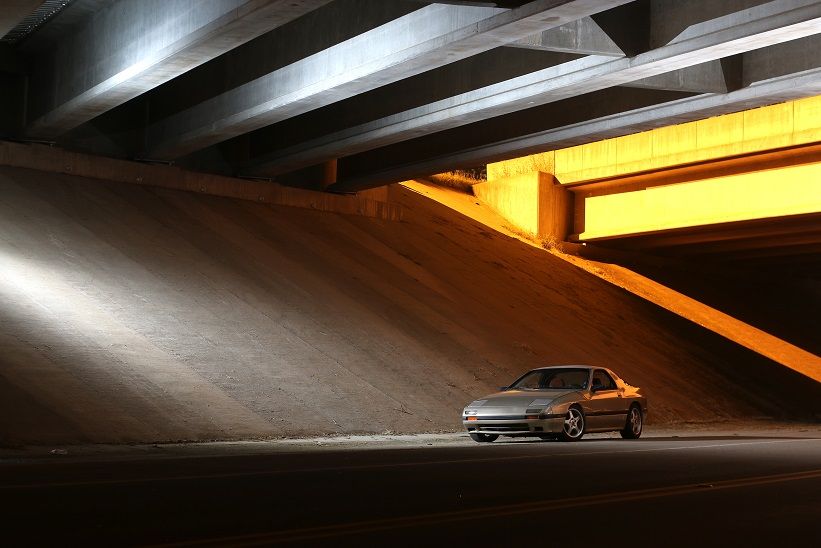
Still messing around with the ideas of the EFI but while I wait I took the car out and got some night shots of it!
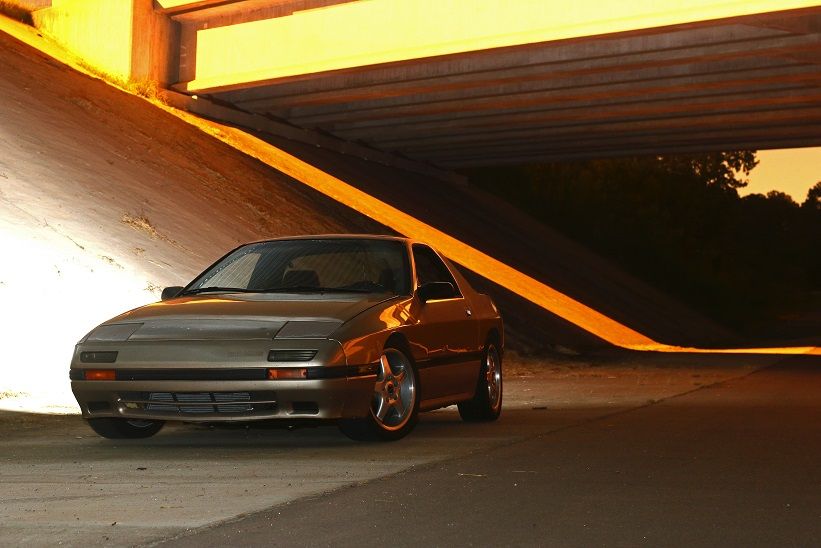
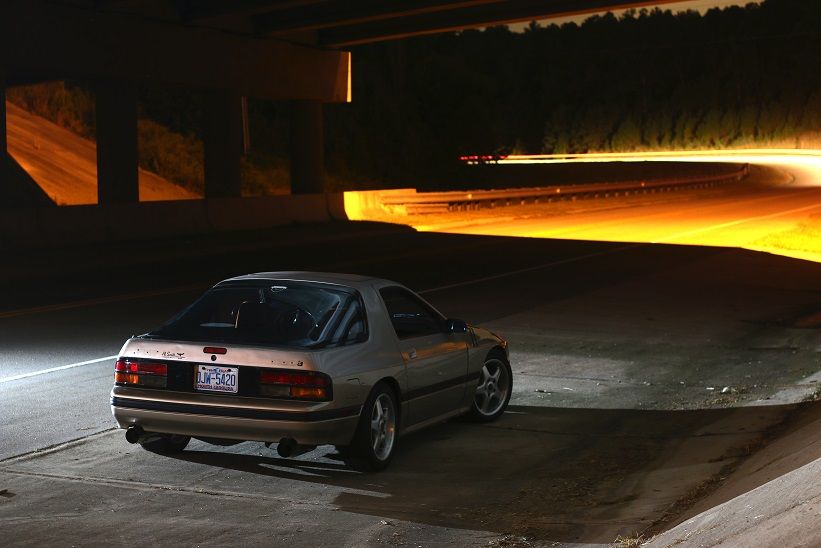
Was going to try and go to cars and coffee this weekend but I think it will be more of a boat show rather then a car meet. Tropical storm is going to be bowing through then.

Finally some work got done on the car with the amazing weather the tropical storm brought with it. Friday night I posted up in Instagram asking if anyone had a fender roller tool I could use for cheap. A local guy in the drift scene responded and told me to come by his shop the next morning. So jumped in the car and headed his way. He has a little inspection shop and lets his friends work on there drift cars behind the shop, thankfully we are now friends!
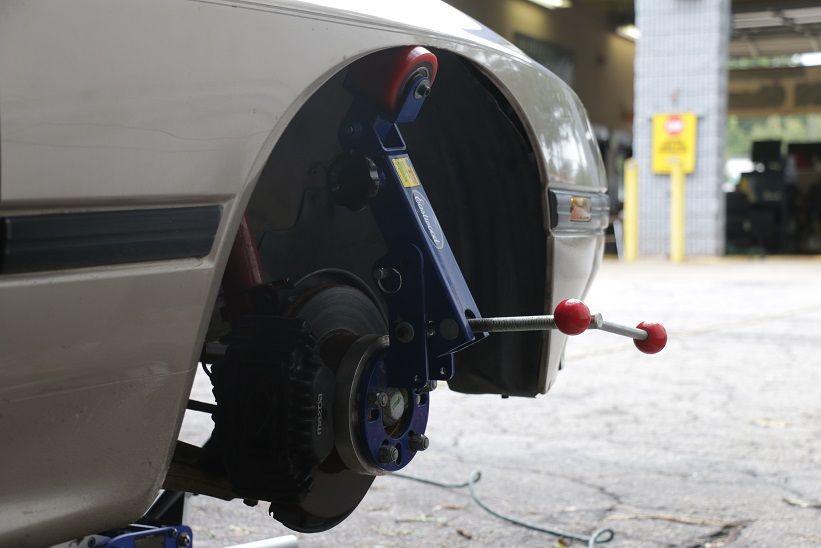
Rolling them was easy, the paint on the drivers side was already chipped off so I started on that side then used a heat gun on the passenger side and it worked for the most part. Thankfully all I needed was to fold the lip I didn't have to push the whole fender out or anything crazy. So I paid him in a few cases of beer and job done!
Also when I had the wheels off the front I saw that my wheels were rubbing the sway bar at full lock... I thought it was the tire but no it is the lip of the wheel itself.
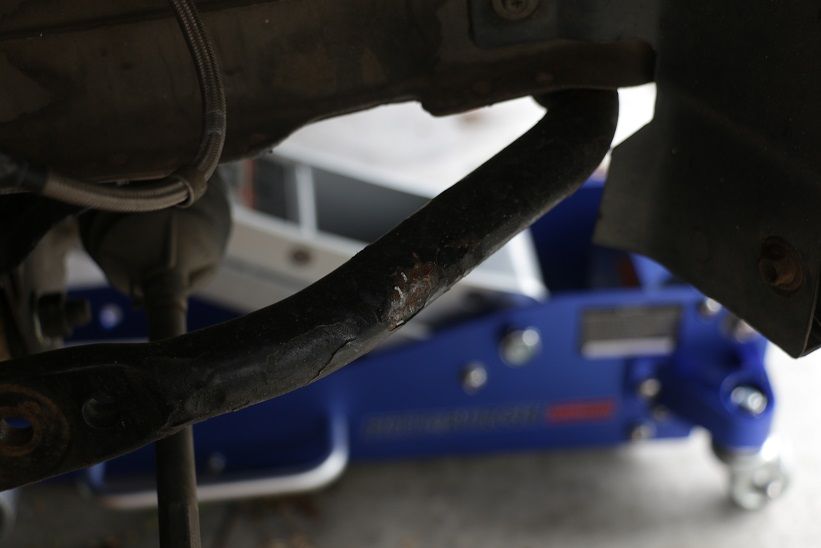
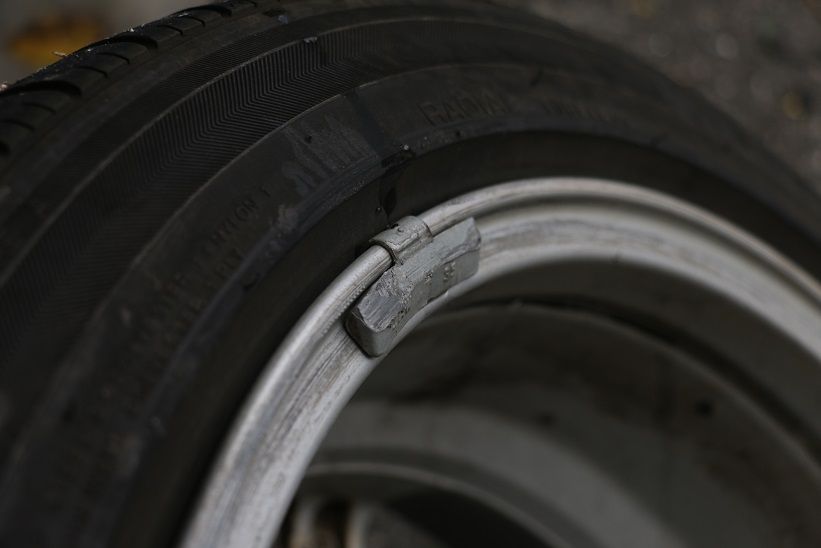
I need to modify the end links again to make them adjust to shorter lengths on the sway bar because I do have a fair but of body roll when turning causing some under steer. So im going to try and heat the sway bar and bend it so it will clear the wheels. Need to do some reading on it to see if it can even be done first.
Also did some other little things, my turn signal wasn't working even after a new bulb so I swapped the wiring harness from my spare tail light and that fixed the issue. I finally mounted my coolant gauge and wired it so I can see it at night. Can't wait for it to be cooler all the time so I can drive it even more!
Have some parts coming, my wife loves going out for night drives but im not crazy about them because I can't see if its getting hot or not (now fixed) but also I can't see where im going! So I ordered some 7x6 conversion lights and some HID lights to fit them. They will look much better and be much safer! Should take a week or so before they get here but since its a safety thing it had to happen!
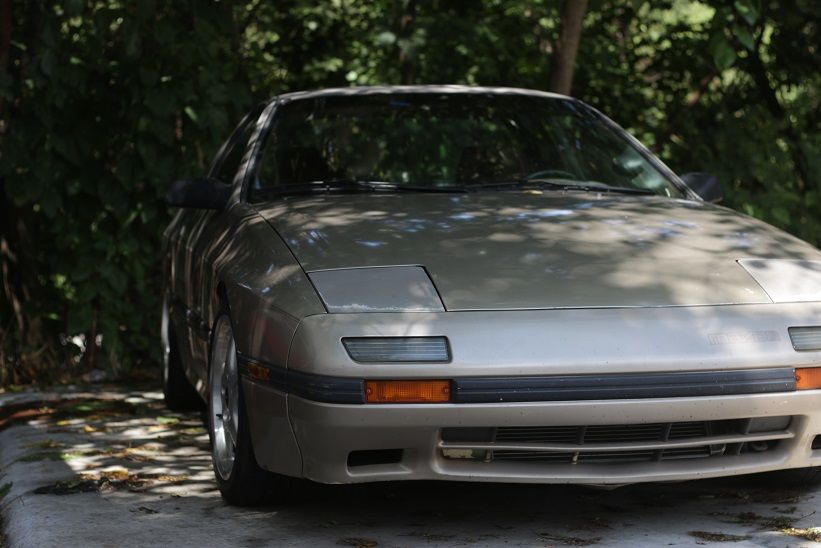

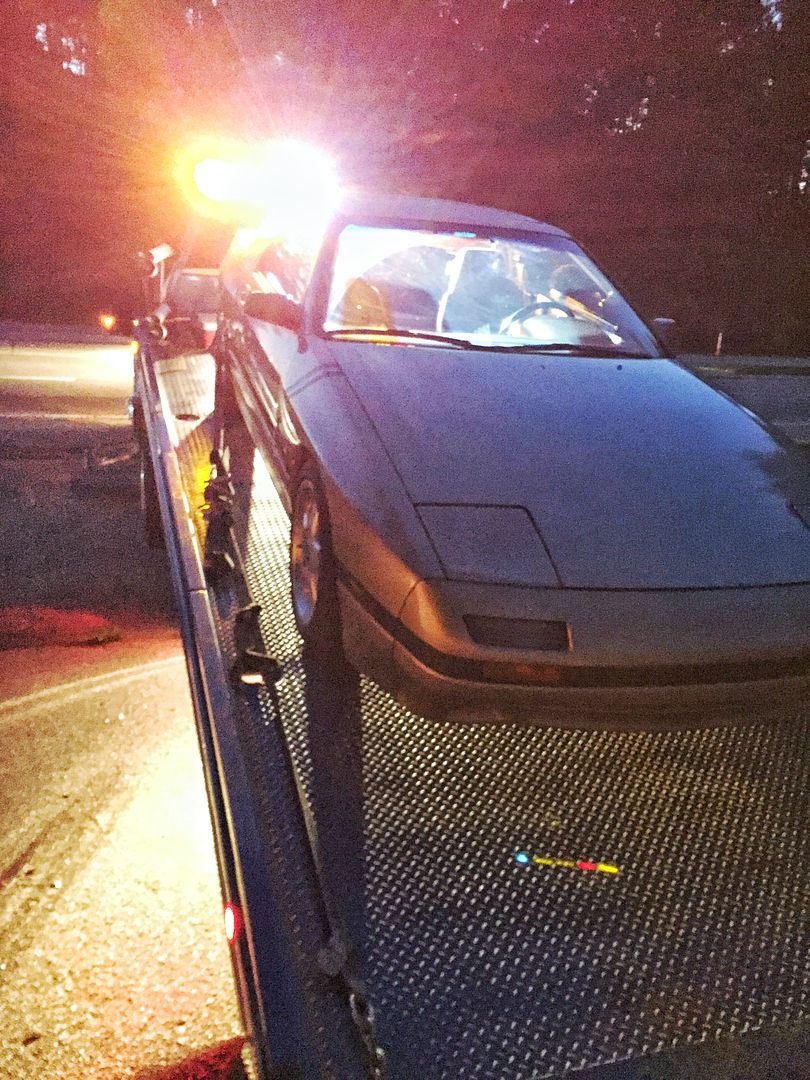
Well some sad news the RX7 broke down the other day on my way home. Started to smoke from under the hood so I pulled off the road and shut it down. Turned out to be the power steering line had a hole in it and covered the inside with PS fluid that was smoking off the hot motor. So AAA picked it up and dropped it off at my brothers house so I could fix it later.
Once I got back with the car I fund the issue. A wire shorted on the PS line and melted the inner plastic hose causing the leak. So I picked up a 45 degree fitting to keep the hose off any wires. I already had new wire to replace the wire that shorted because I didn't like the way was working anyway.
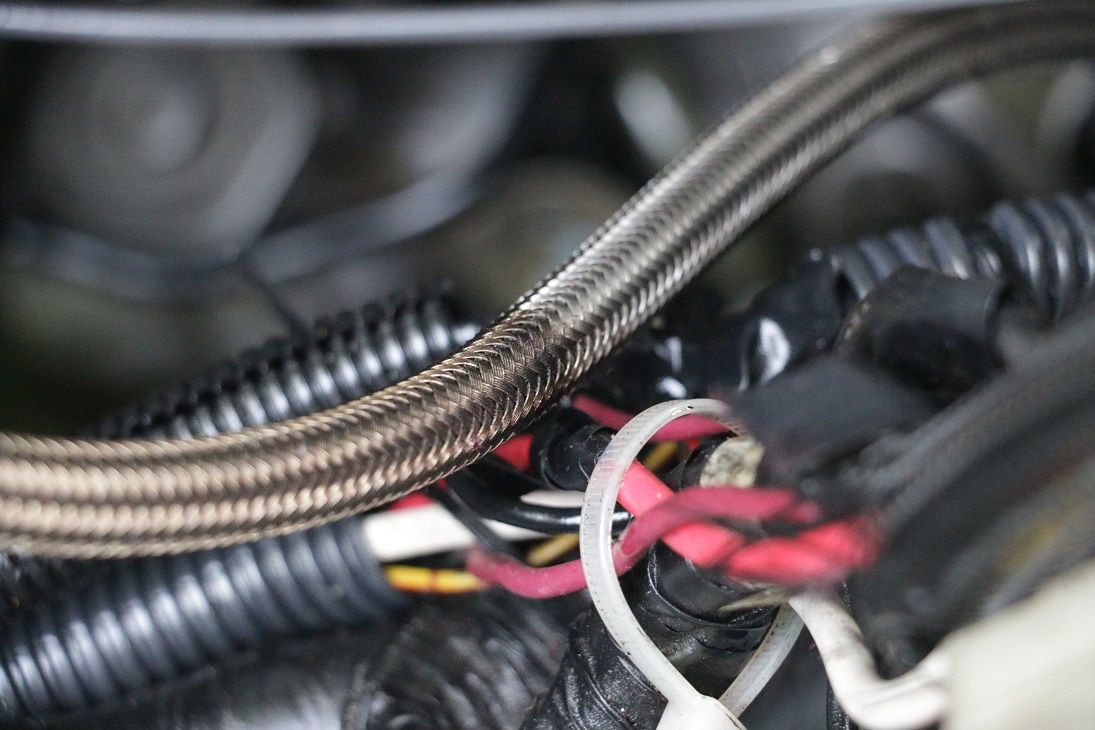
So got the new line on and filled it back up. Seems to be working well but I haven't drove it yet. Still want to replace the wire while its still at my brothers where its easy to work on.
So from there we are back on track. Next will be new headlights I picked up some H4 conversion housings and HID's. The stock lights suck so bad!!! Also the auto fair is coming soon so I might pick up a Holley carb and some other goodies if I can find them!
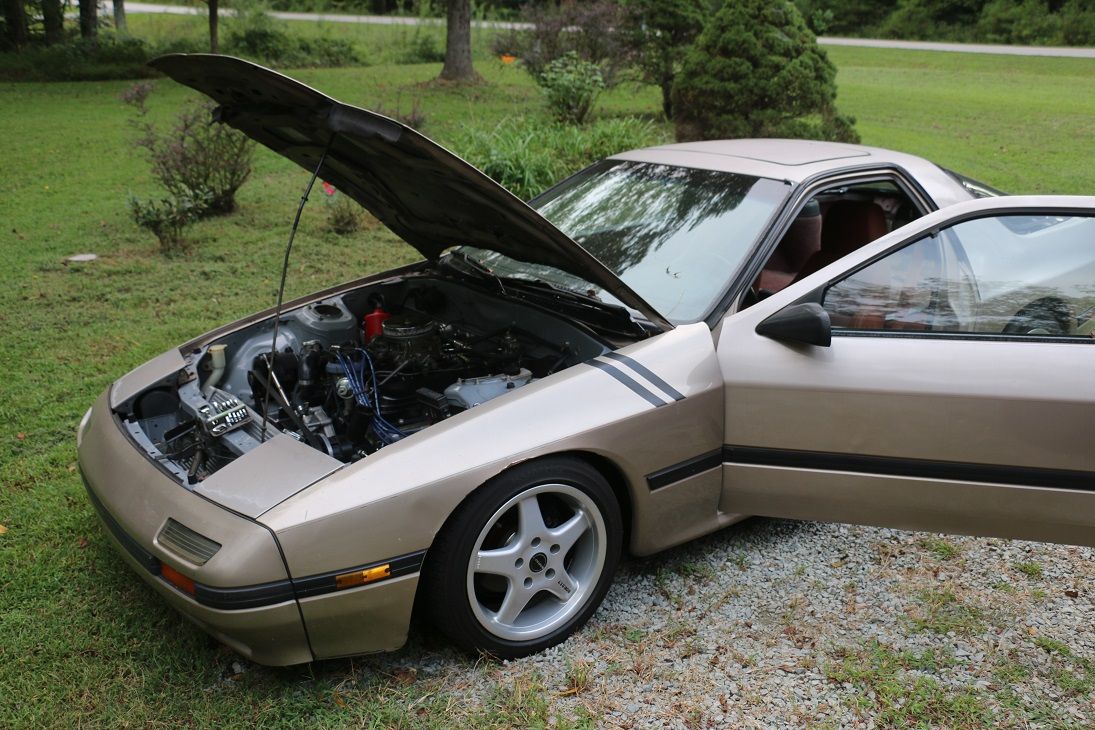
No updates, one of the fittings had bad threads so it was leaking then when I tightened it up the threads gave out and it just started to spin. So new fittings just got here today and if the rain is going to quit im going to work on it tomorrow.
In other news I added HID lights and new housings so I will be able to see. It was $50 for both on ebay so kinda looking forward to see how long the bulbs last. I kept the stock bulbs in case they do out out I can swap them on the road so I don't die on the way home.
Also going to the auto fair this weekend, really pumped to try and find some parts! And this time ill have some cash when I go!
Love the last under bridge shot, nicely done!
Thanks man! Had a lot of fun doing them, hope to do some more soon!

So here is a little update, I got the headlights on the car last time I worked on it and just now getting the photos on the PC.
Don't know how long these lights have been in the car but well you will see how bad they are.
First here is the old and new. I just found some conversion housings on ebay for $25 that take the sealed beam to a H4 bulb.
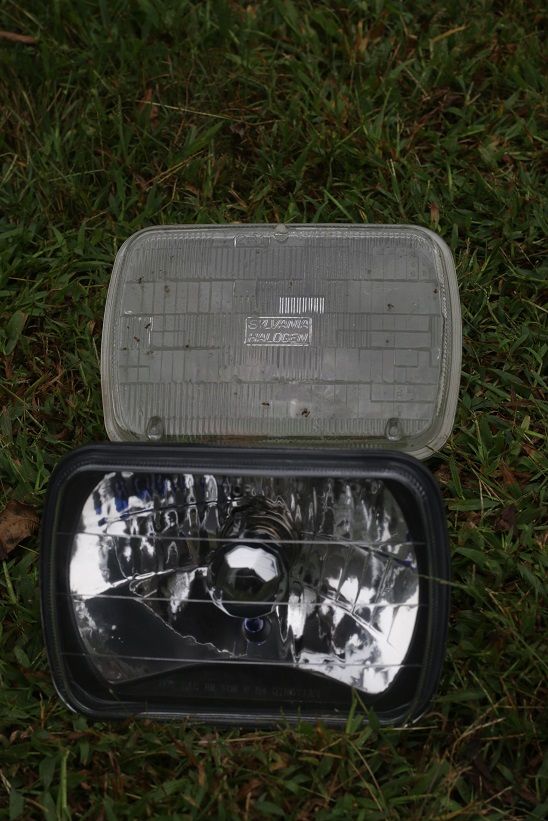
I did not think they would some with bulbs so I got to looking and found HID kits were cheap kinda scared to try them but thought why not. So I got some 5K bulbs because I don't like blinding people! The new housing dropped right in (they did come with H4 bulbs FYI im keeping them in the car as a spare in case the ebay HID's give up) the HID's were also plug and play very easy. Just had to make sure that sure that they still worked with the pop up lights.
So here is how bad the old bulbs were...
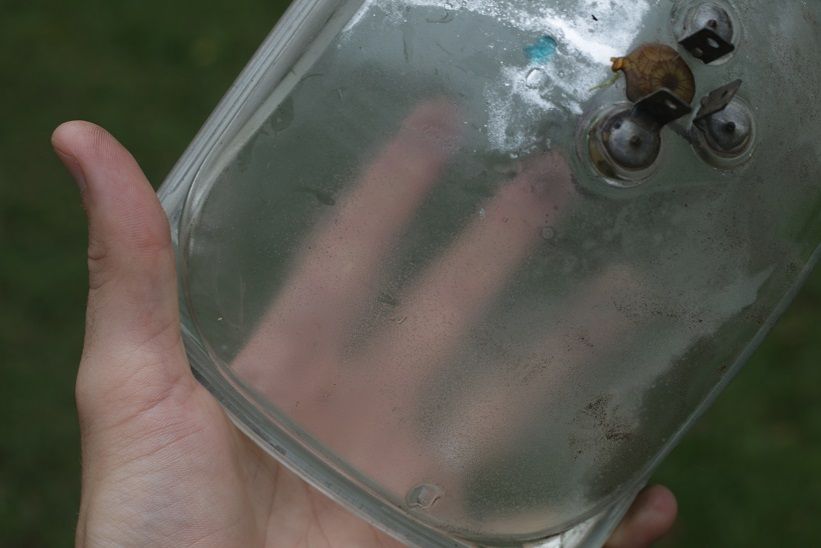
Ya all the reflection silver is gone so it has been throwing light all over the place.
It really makes the front end look more up to date, can't wait to see them at night!
At the auto fair I did not see as many carbs as I have seen in the past but I did find a 600CFM holley with vacuum secondarys. I was looking for a double pumper but no one had a used one for under $300 so I picked this one up for $40.
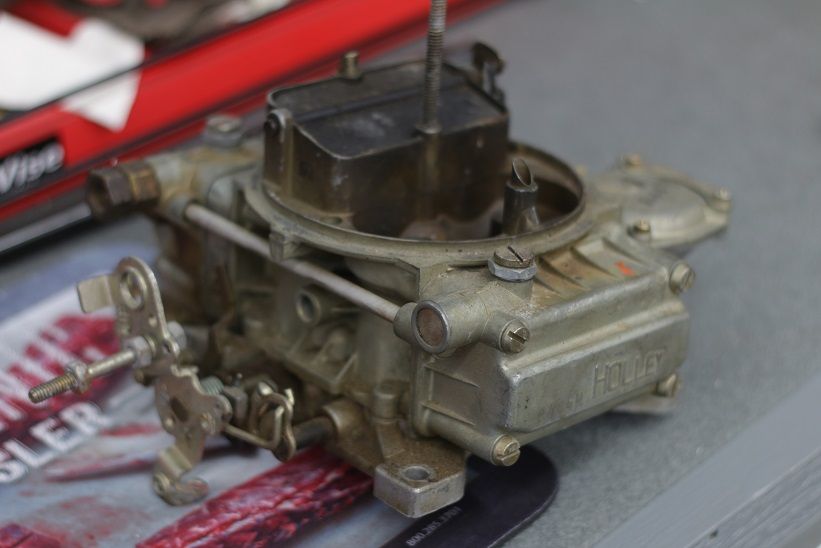
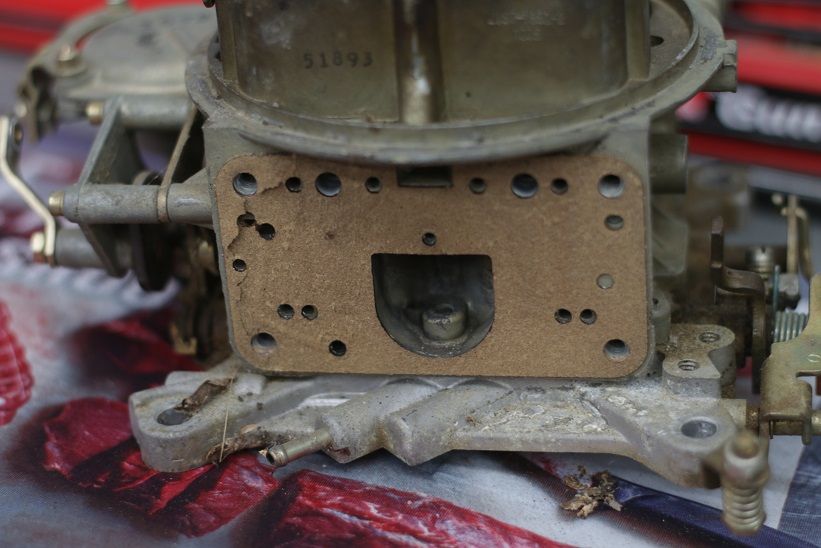
So I pulled it apart when I got back. All the screws came out very easy so grateful for that but then the gaskets... They were concrete... I soaked them, ultrasonic cleaned them, and so on. I was having to scrape it off with a screwdriver. Don't know if I will end up using the carb in the end or not it will still take about 4 hours to clean off the gasket. But it looks like scraping the gasket is also scratching the carb. It might be junk now but who knows.
Forgot to show the lights on the car!!
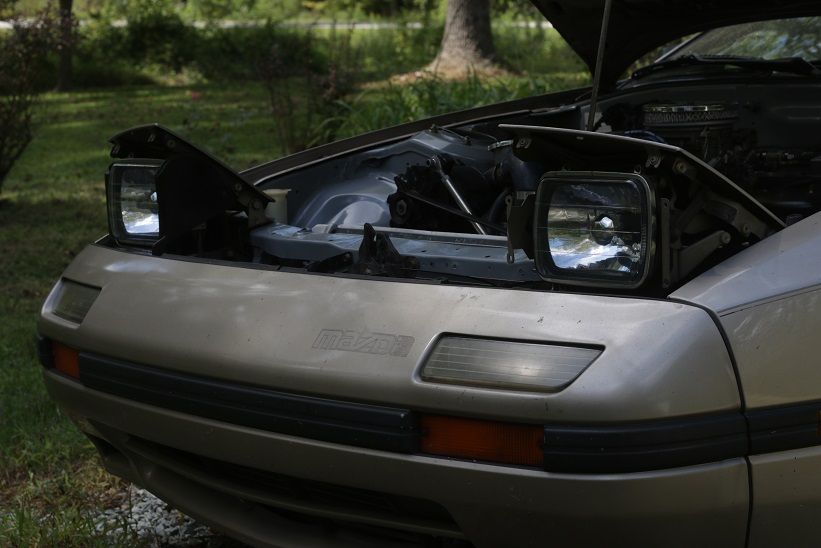
The plastic parts that wrap around the lights are off I sanded them down and coated them with some krylon fusion. Hope the paint sticks well its a lot better looking then fadded black plastic.
She is back!! Got the car back and drove it a few times and all seems to be well. For some reason my passenger side door lock quit working no big deal but something to look at. I think from the rain we have had it got damp in the door and killed it. thankfully I have 2 back up units that can be swapped in at any time.
So other then that its been good. Looking forward just to have the car and being able to drive it and see it parked waiting on me!


