Wondered where this was going to go when you first started, sure is turning out great.
I have come to the realization that, while I might have the fabrication skills to build a challenge car, I am far from having the accounting skills.
In reply to NOHOME:
I know you can do both. Matter of thought process.
Mucho progress today. One more thrash day to go, then picture and text dump.
No money weekend. And im tired. Been at it HARD. Dallas and I started 5:30 Friday night, quit at 1am. Steve and I started at 8am Saturday, we quit at 11 PM. Dallas and I started at 11AM today, Quit at 5:15. Were out of shielding gas, cut off wheels, flap discs, knotted wire wheels, and flat black spray paint. And coffee. Definitely out of coffee.
Anyway. Friday night we started on THE LIST. See. I have better luck and organization when I have a punch list. So I make them, on a yellow legal pad. No particular order of the list, just tasks to be finished. I then tape this list to the drivers side windshield. Cross stuff off as completed, make notes, add lines, etc. Very useful for me at the teammates. I had spent the last week working on the list, jotting stuff down at stoplights as I thought of it. It was two columns on the legal pad, whole length. Long list.
So, we started by cleaning out the pile of parts inside the car, organizing the pile in the shop, and cleaning the top of the workbench. Get ready to get ready, so to speak. We had the biggest piles being plumbing and dash parts. So we started there. We tried to fit the factory dash back in the car. Really did. It, however, just didn't work. By the time we clearanced enough to get around the downtubes up front, we had cut the whole end of the dash off, made the cluster unusable, and created a whole bunch of ugly. Oh well, it was heavy anyway. So its in the scrap pile (at least whats left) along with all the bits and pieces to it. One pile down. We did find the old 8 foot florescent light fixtures out there, though, and nabbed a piece of metal to try. I think I like it. But I know I can do a whole lot better. Ideas?
[URL=http://s54.photobucket.com/user/dusterbd13/media/amc/20170226_171003_zps08nnvbda.jpg.html]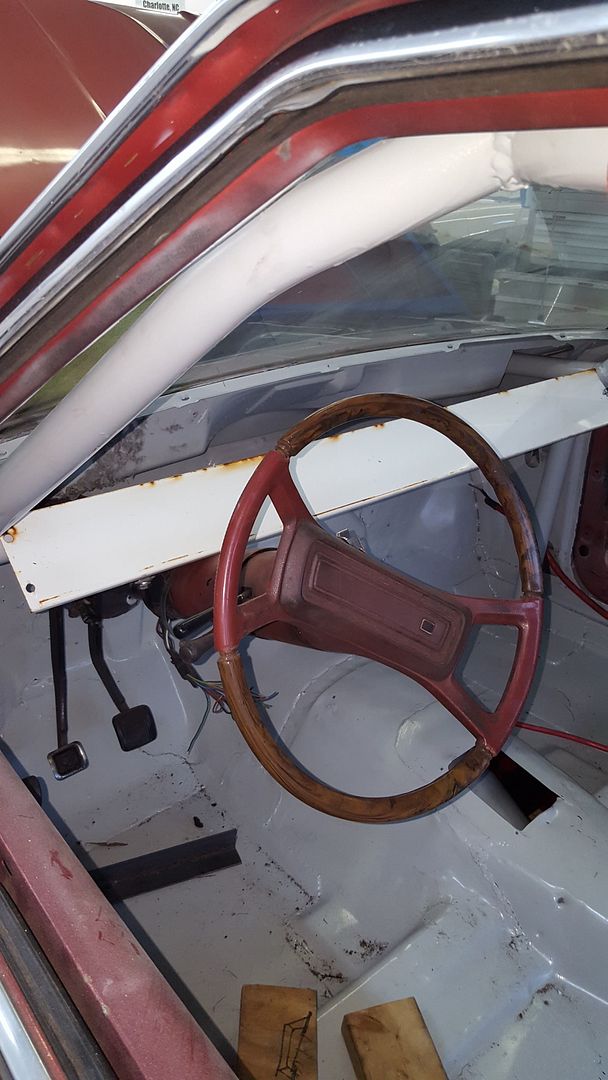 [/URL]
While I was doing this, Dallas began clearancing the rear bodywork. See, the sliders work great. But the nylon slider blocks hit the sheet metal behind the bumper under compression. They also needed to be retained by more than one bolt. At least according to Dallas. So he did some cutting, drilling, greasing, and finishing.
[URL=http://s54.photobucket.com/user/dusterbd13/media/amc/20170224_192021_zpsnlodgz6r.jpg.html]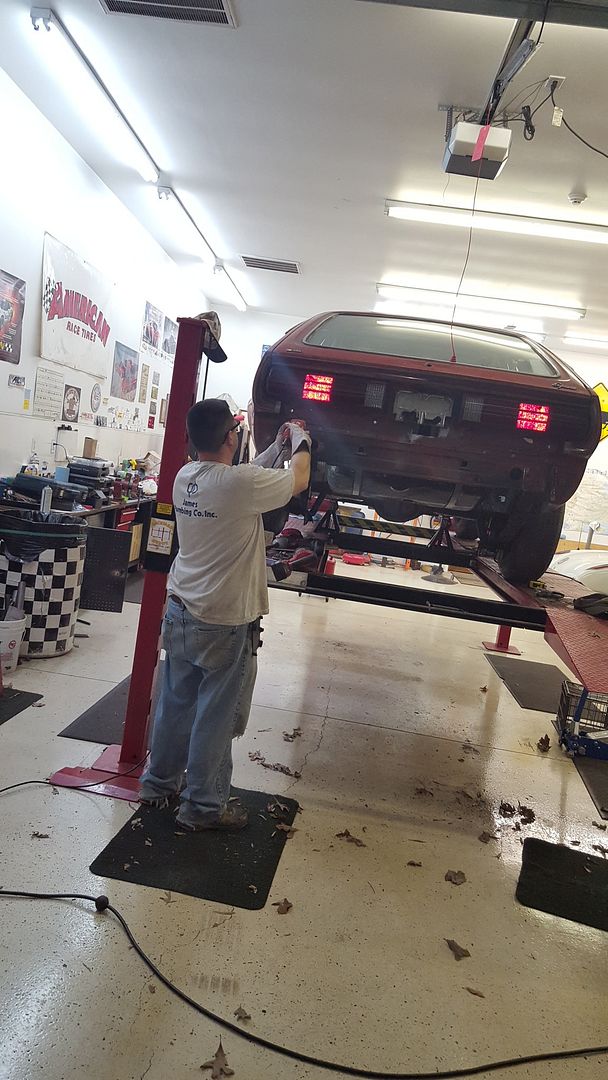 [/URL]
[URL=http://s54.photobucket.com/user/dusterbd13/media/amc/20170224_223341_zpsg1iwwadd.jpg.html]
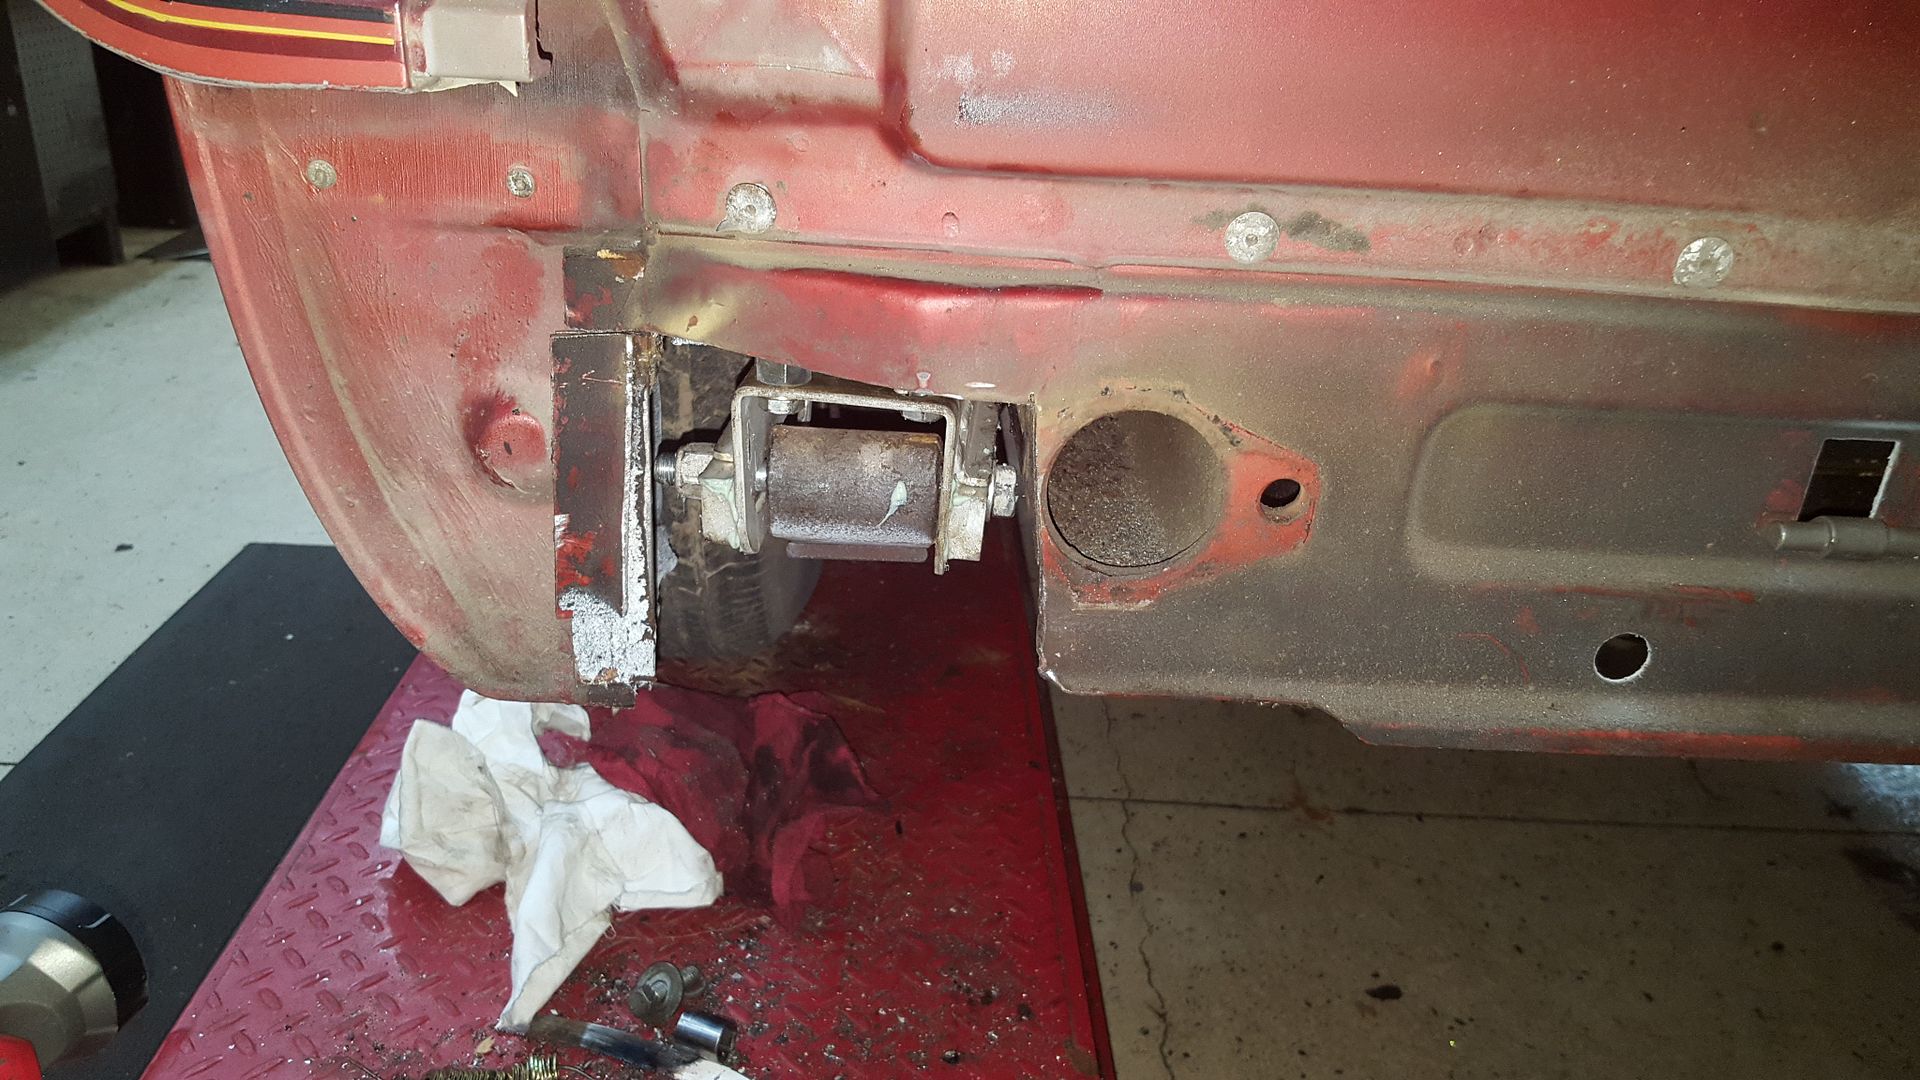 [/URL]
[URL=http://s54.photobucket.com/user/dusterbd13/media/amc/20170224_223347_zpsgdowfma2.jpg.html]
 [/URL]
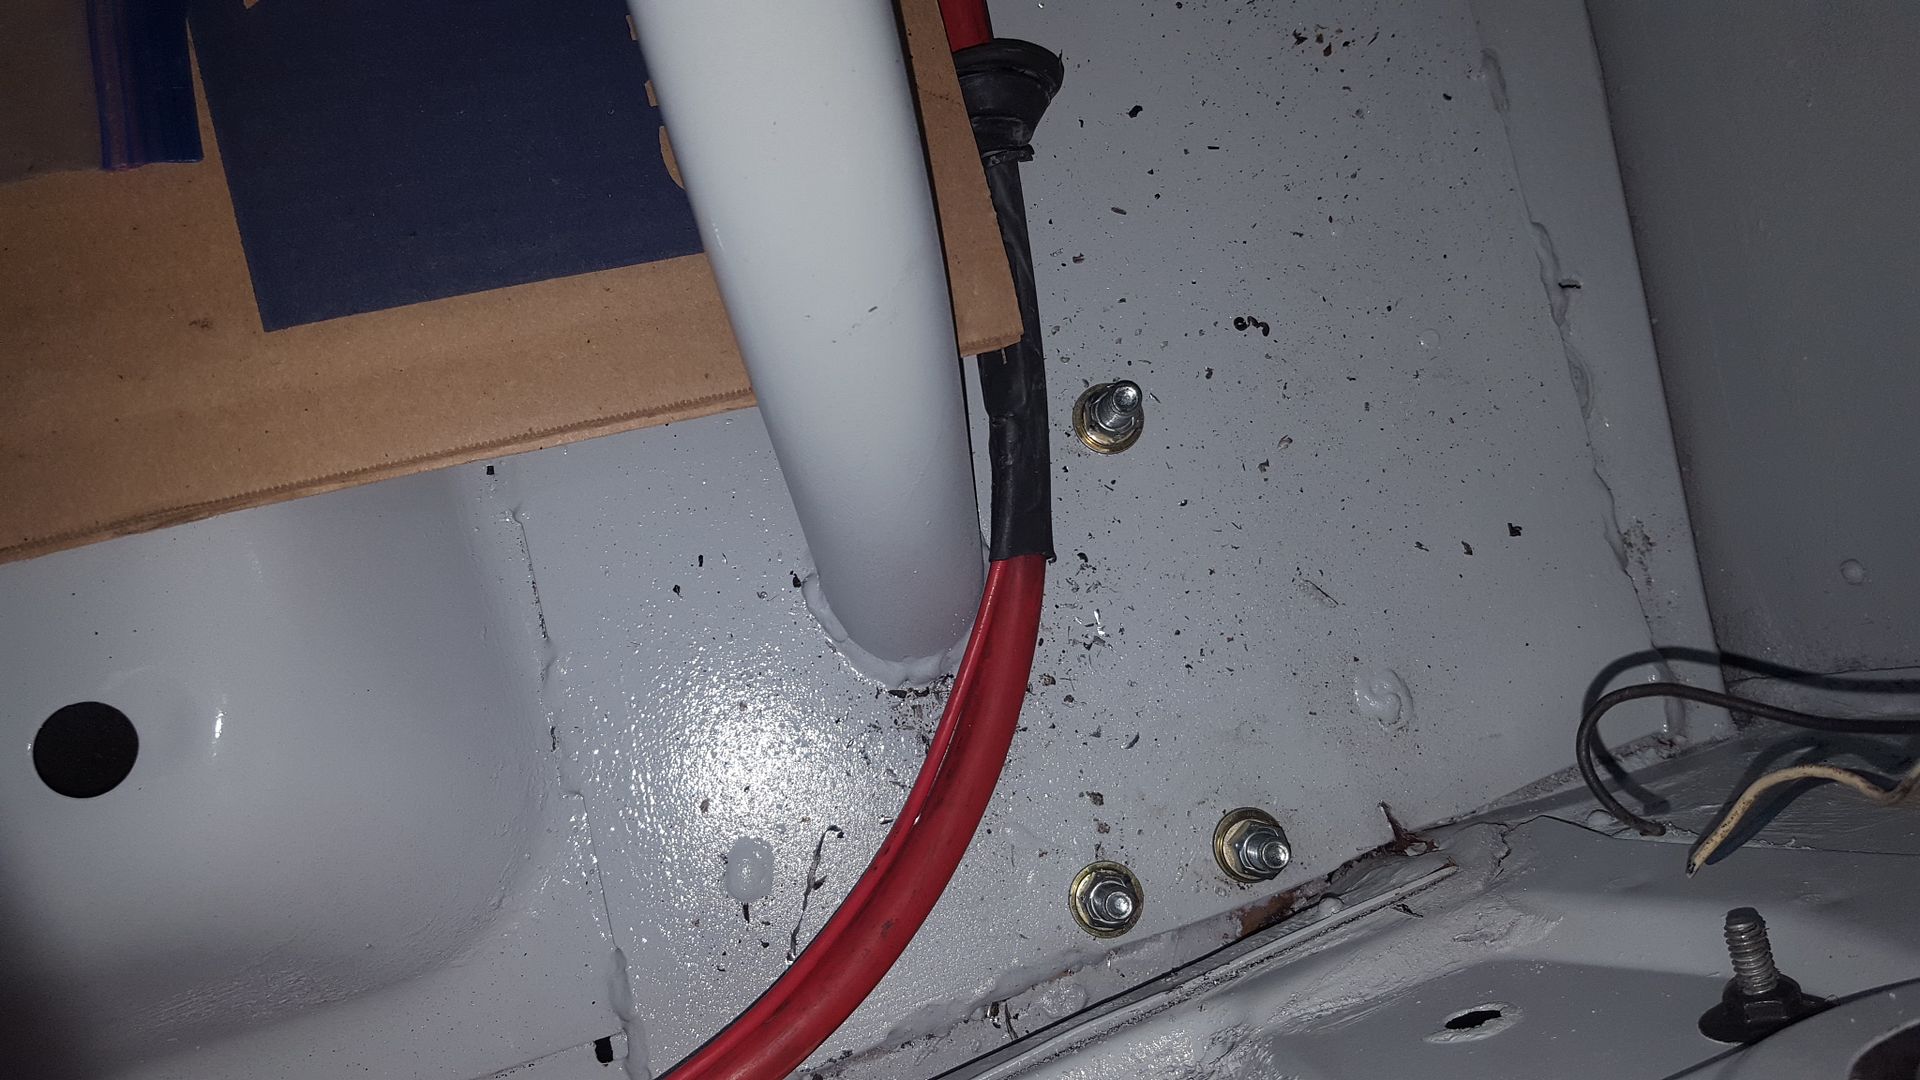
In that last picture, you can see some of the bmw battery cable. We decided on location for the battery and starter solenoid based mostly upon the lengths of were there. Battery is located where the passengers rear seat used to be. We also dug the battery box and kill switch out of storage, disposed of the rats nest that was in there, disinfected both, and decided o routing to the back bumper where the kill needs to live per NHRA rules. SCCA doesn't have a hard and fast rule except for accessible from outside the car. So, as in all rules, I am erring to the side of the more strict rule. Kill is right rear corner of the bumper. Box is a marine unit that is WAY too big for the batter we got out of the Lincoln, but its paid for (was in the car when I bought it, with the kill and a rubber battery hold down and a rats nest and some very rusty misc hardware inside it)
I also routed the fuel lines and mounted the tank. Apparently I didn't take pictures. So, next time im down there ill take some. However, take my word that its all there. My fuel pressure regulator came in Friday as well. Remember, this is the 29 dollar bypass regulator straight from china. I was absolutely shocked when I pulled it out of the box and it had aeromotive written on it. Looking closely at the machining, I think its either a knock off that has been blatantly obvious about who they copied, or a factory reject sold on ebay under a different name. Im hoping its a reject.
[URL=http://s54.photobucket.com/user/dusterbd13/media/amc/20170224_153807_zpsm5rpcu4p.jpg.html]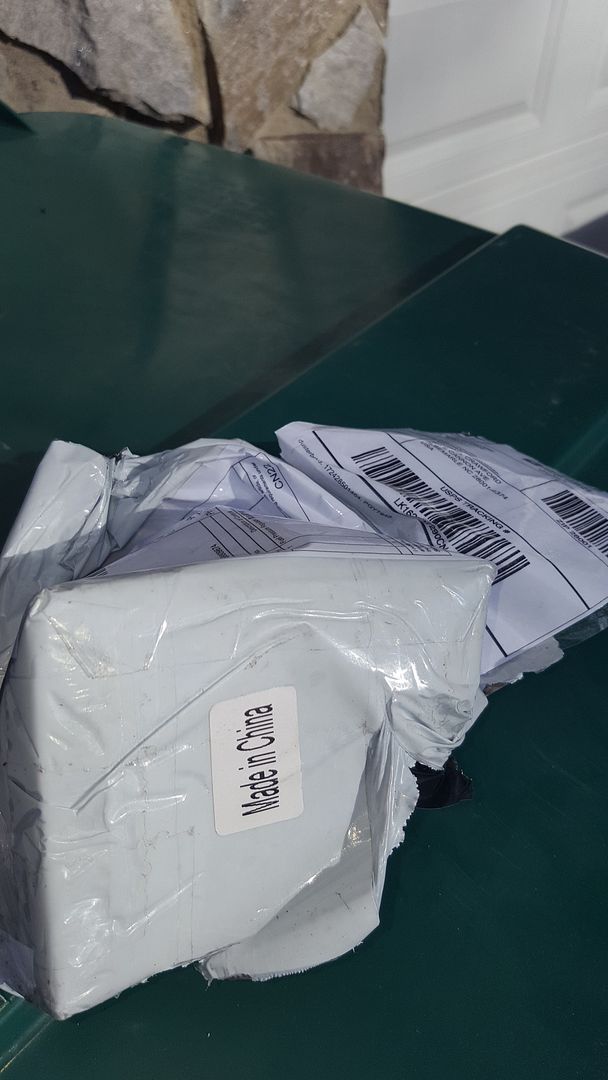 [/URL]
[URL=http://s54.photobucket.com/user/dusterbd13/media/amc/20170224_153810_zpsepnflldl.jpg.html]
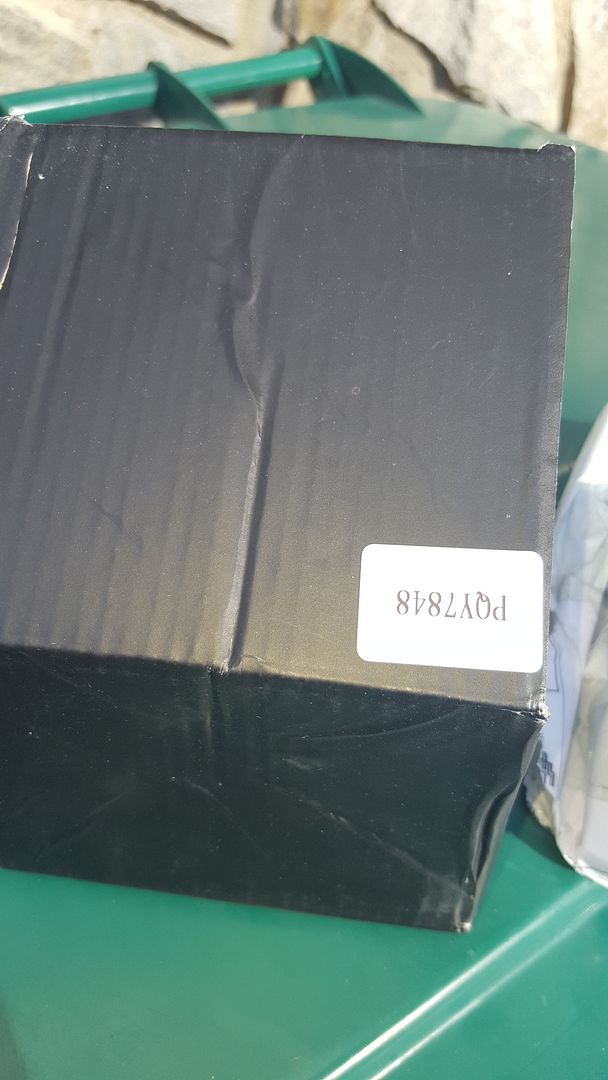 [/URL]
[URL=http://s54.photobucket.com/user/dusterbd13/media/amc/20170224_153823_zpsycdgyvjy.jpg.html]
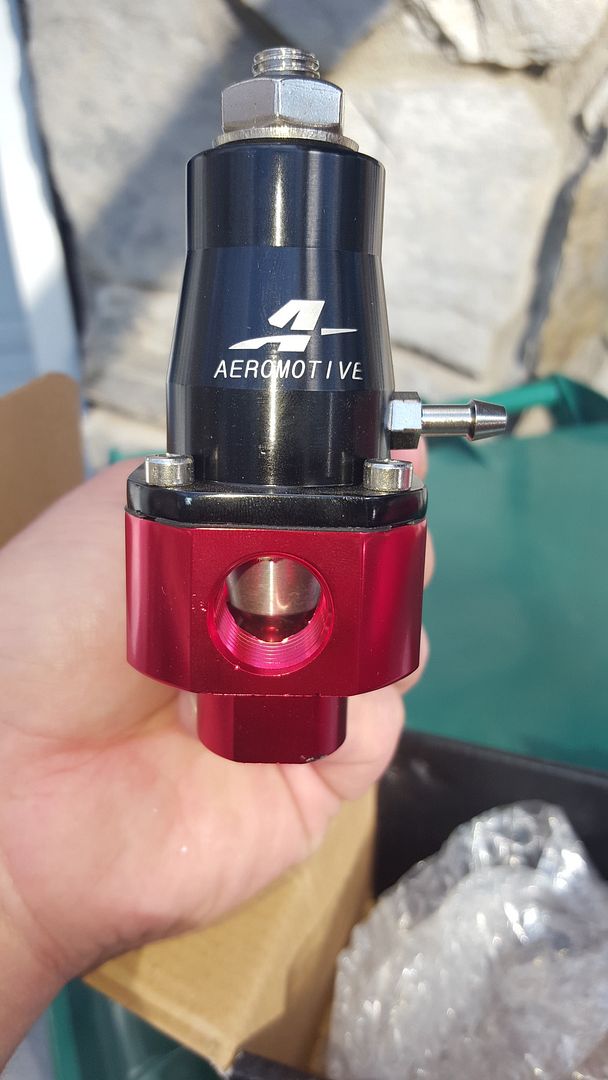 [/URL]
We also fitted the seats. Using 2x4 lumber, screws, and a sharpie, we found the correct placement, height, and angle. We will even be able to adjust them, and tie them into the factory seat locations. Good times. Now to make something not out of wood.
I also worked on the hood hinges some. Got them to fit after LIBERAL cutting and grinding. The rear stud on the hood still contacts the front downtube on the cage, not letting the hood close the whole way, but were close.
Called it a night after getting the hood on. Dallas had to work in the morning, and I needed to meet Steve.
Saturday morning, I got to the shop at about 8. Got the coffee going, and the wifi fixed so I could have my Pandora. Then broke out the nicopp 3/16 and tube nuts. Got the engine bay brake lines made and flared. I must say, nicopp is a pleasure to work with. Bends very easy, flares nicely, and doesn't see kinkable. Id heard great things, and so far they are all true. I will do the line to the rear axle in steel, just because im not convinced of the impact resistance of nicopp.
[URL=http://s54.photobucket.com/user/dusterbd13/media/amc/20170226_095537_zpsm11qihzo.jpg.html]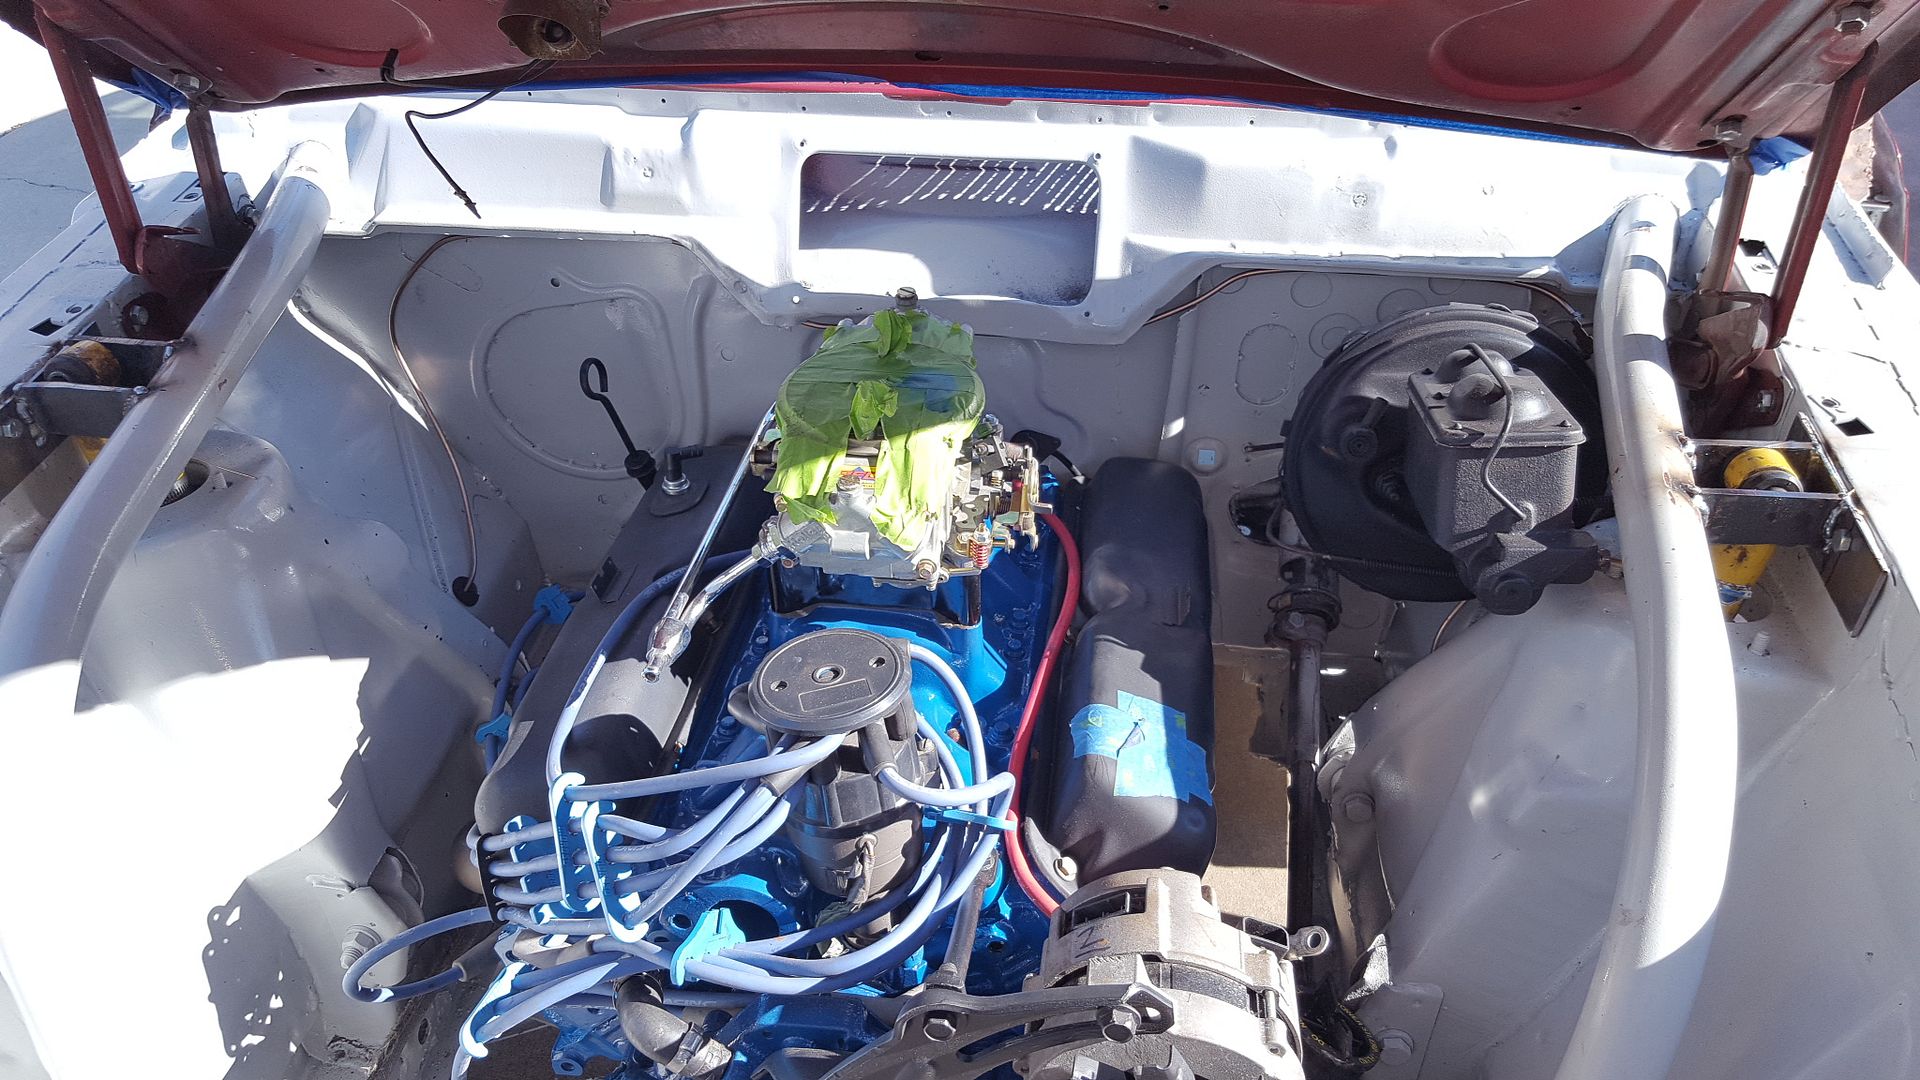 [/URL]
When I finished the lines, I moved onto fitting headers. They looked like a quick task.
Oh hell no.
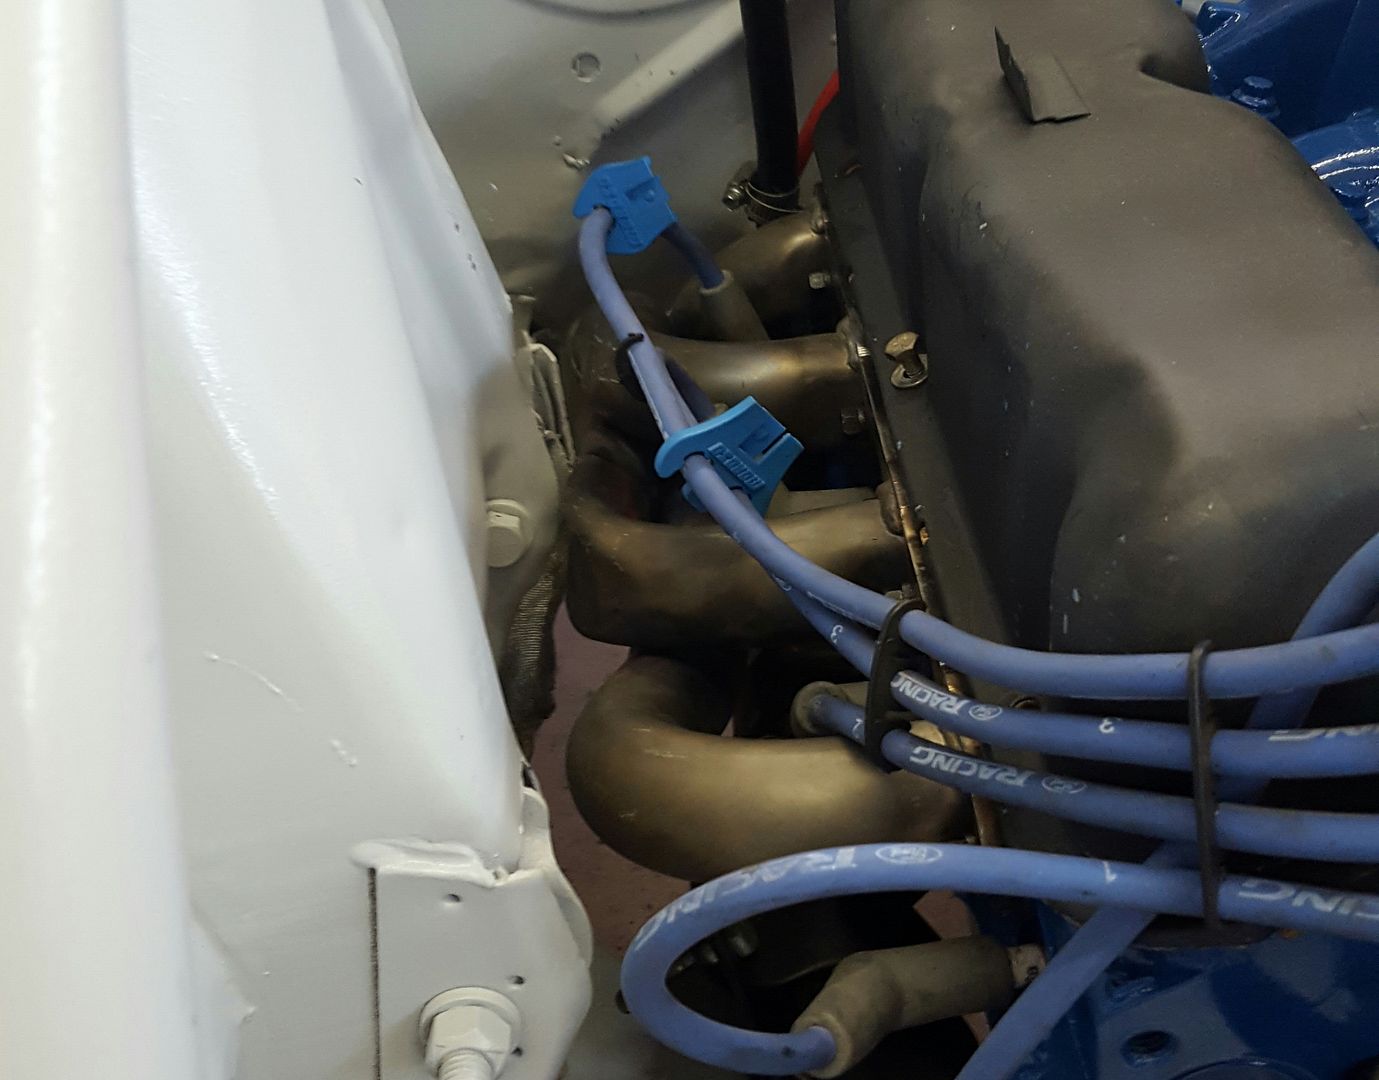
The passengers side, with some slight persuasion of a 3lb sledgehammer fueled by Marlboro/coffee/Marilyn Manson, fit fine.
[URL=http://s54.photobucket.com/user/dusterbd13/media/amc/20170225_114305_zpsblibegoa.jpg.html]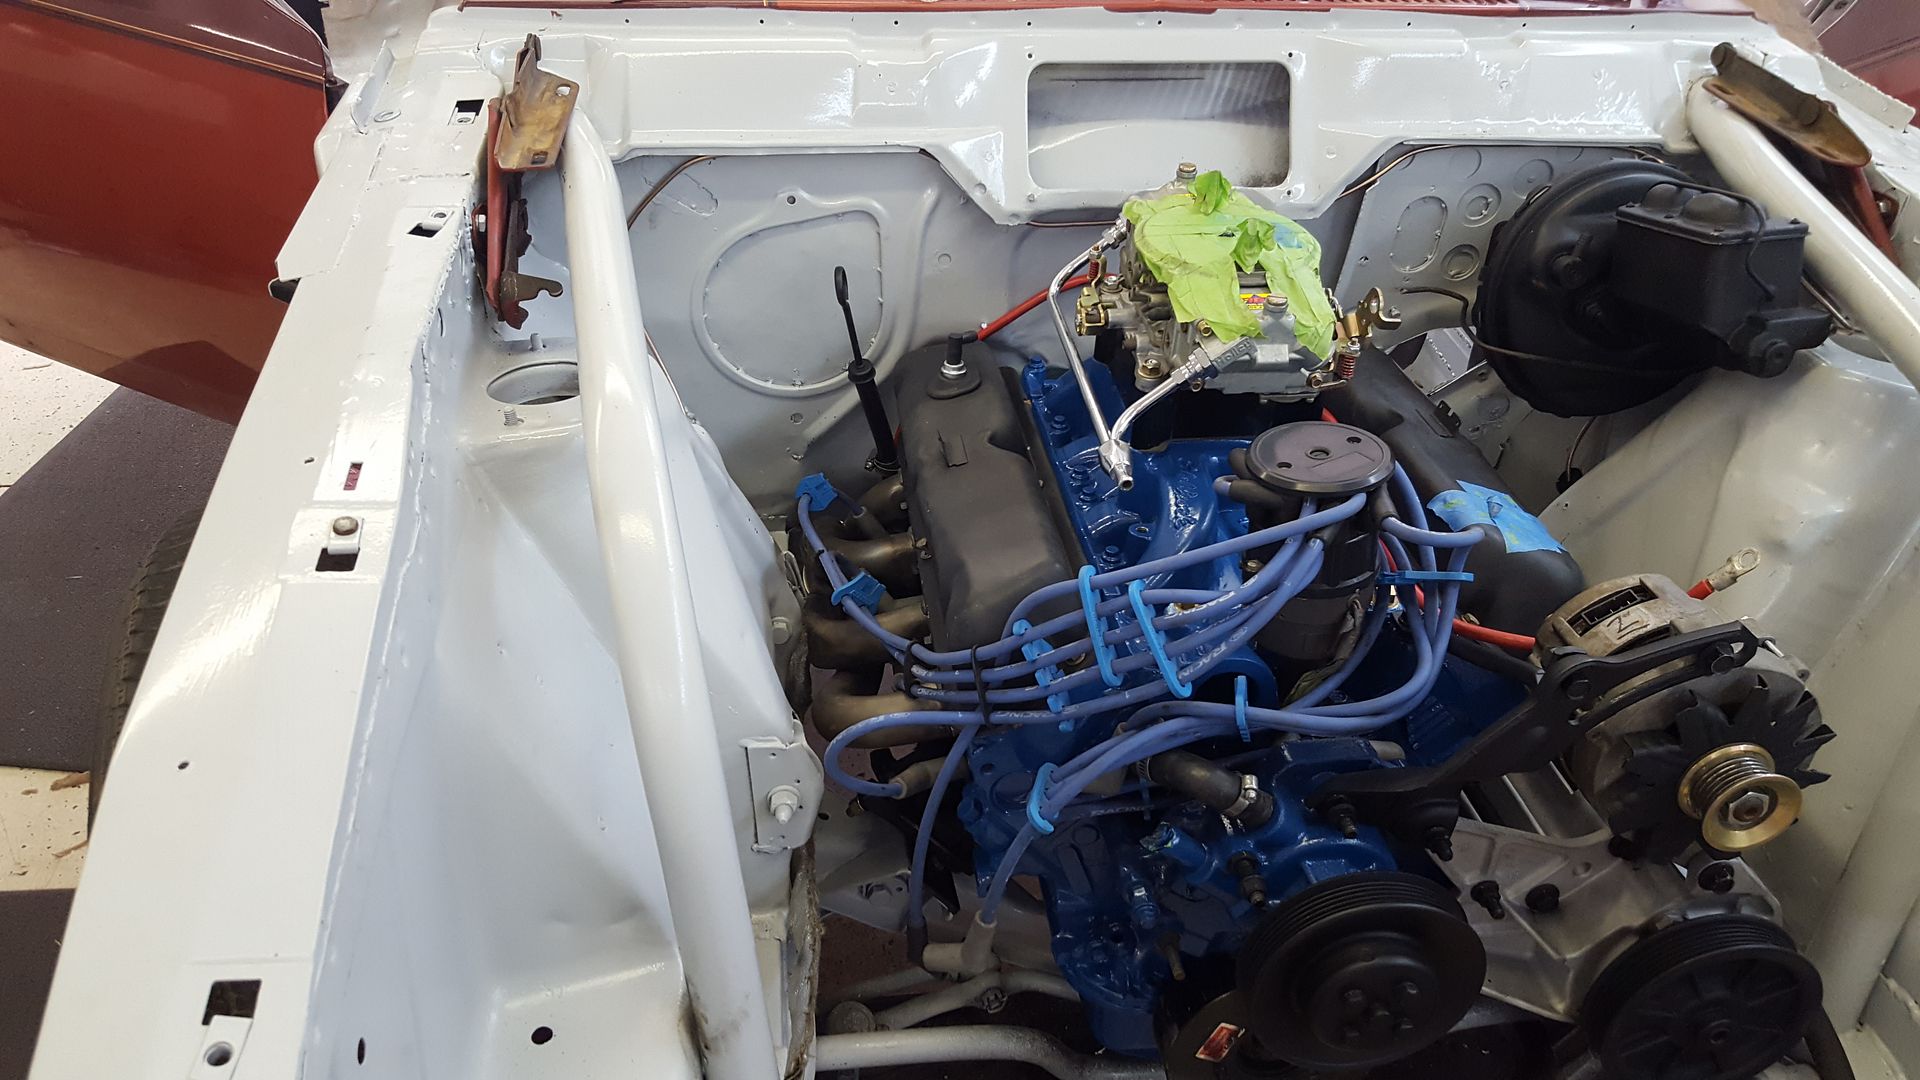 [/URL]
[URL=http://s54.photobucket.com/user/dusterbd13/media/amc/20170225_114300_zpsnorcsgsy.jpg.html]
 [/URL]
Drivers side, with even more severe beatings (crushed the offending tube all but closed) still wouldn't clear the steering column. So I set it aside to help Steve on the cage. We got everything but the door bars in
[URL=http://s54.photobucket.com/user/dusterbd13/media/amc/20170225_191944_zpszyayumxi.jpg.html]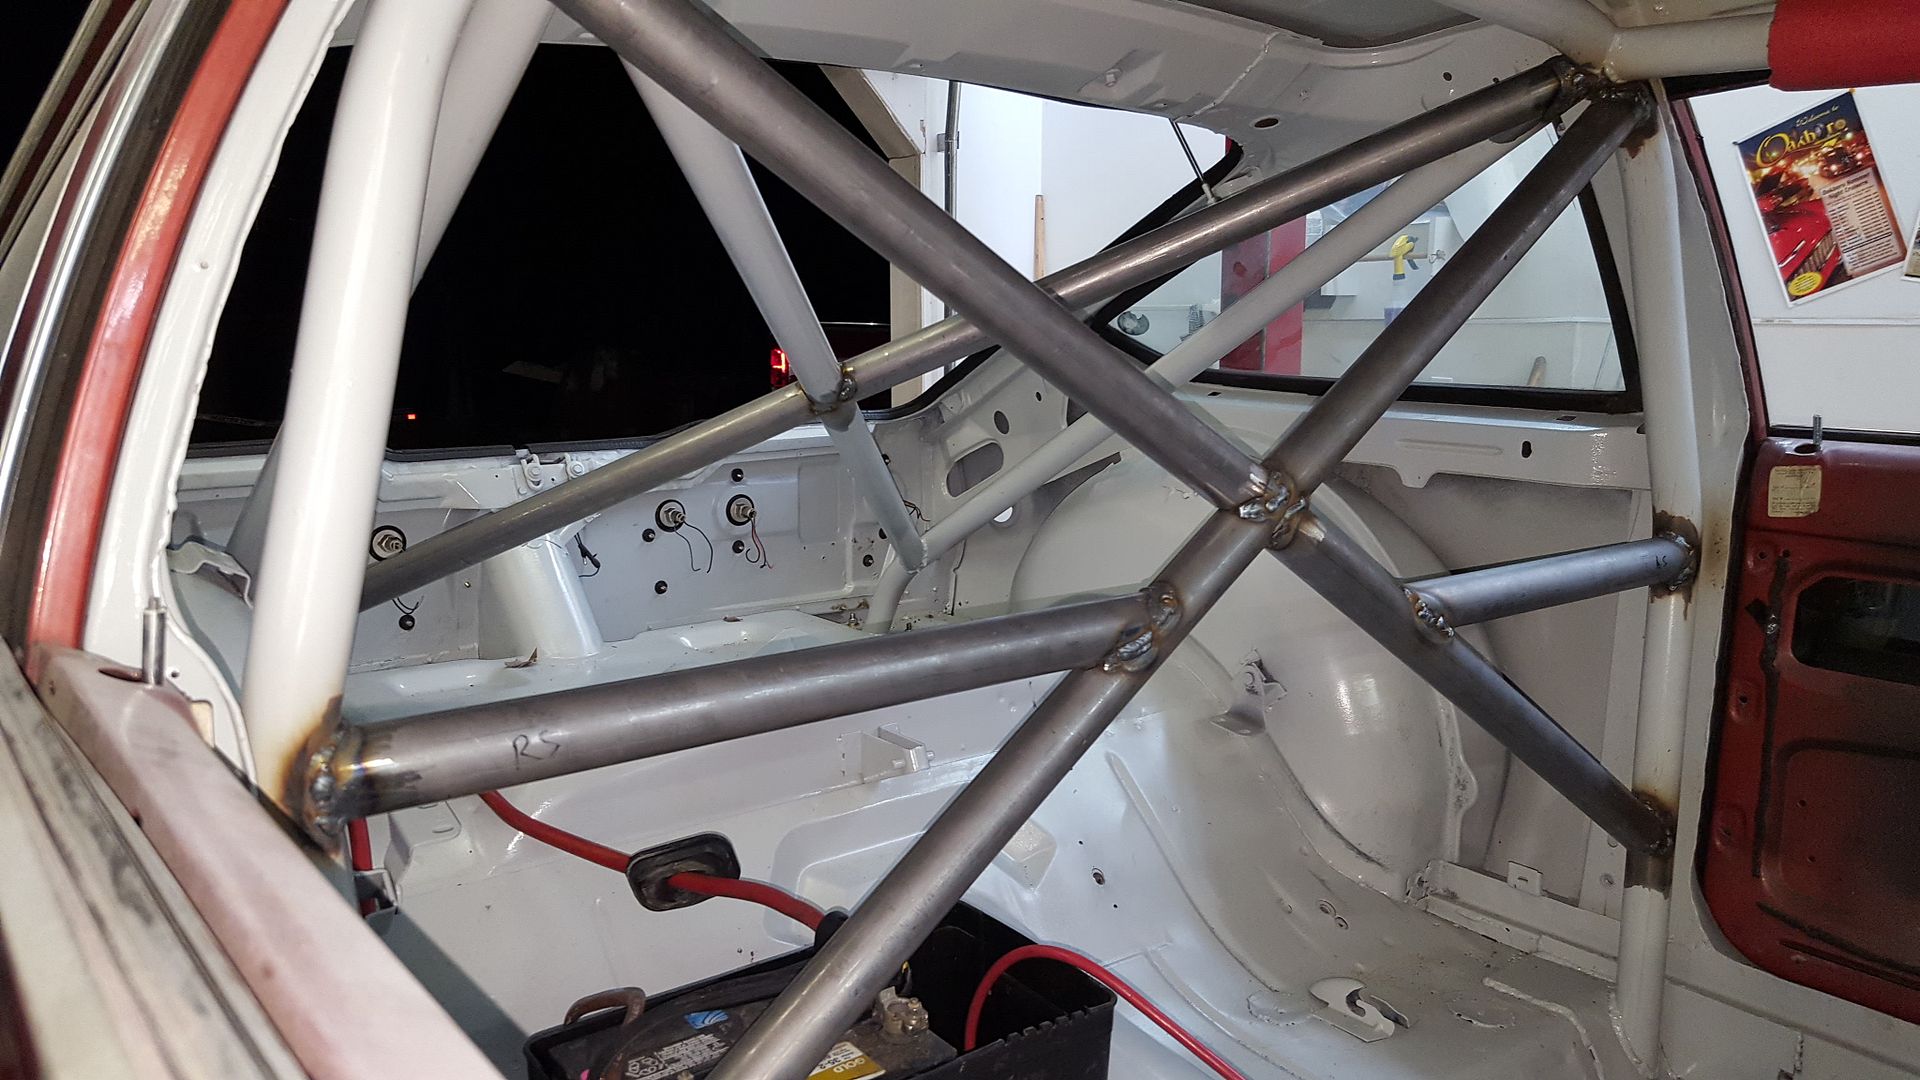 [/URL]
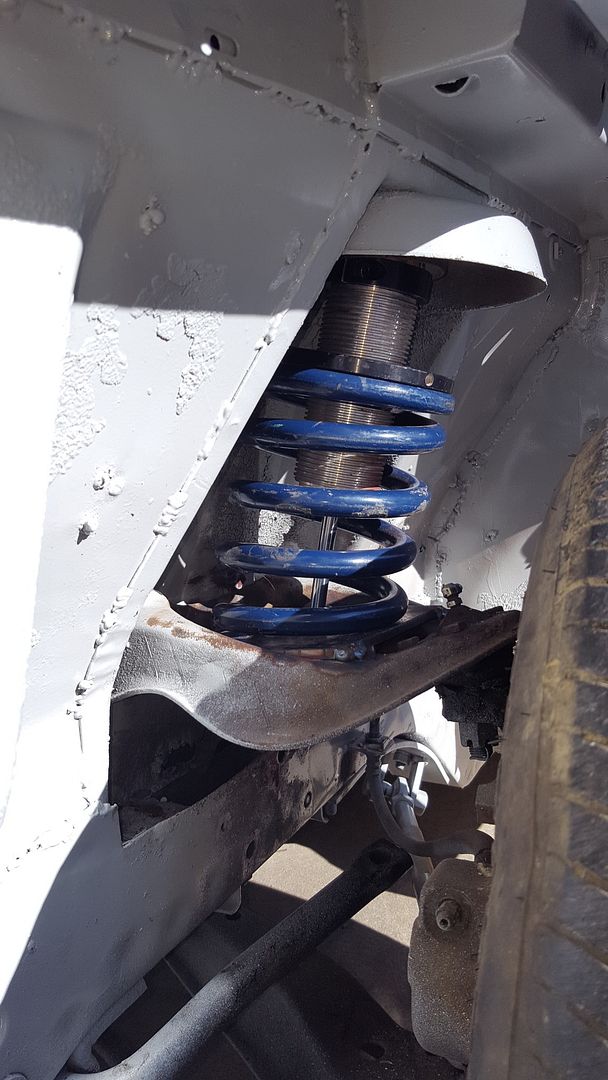
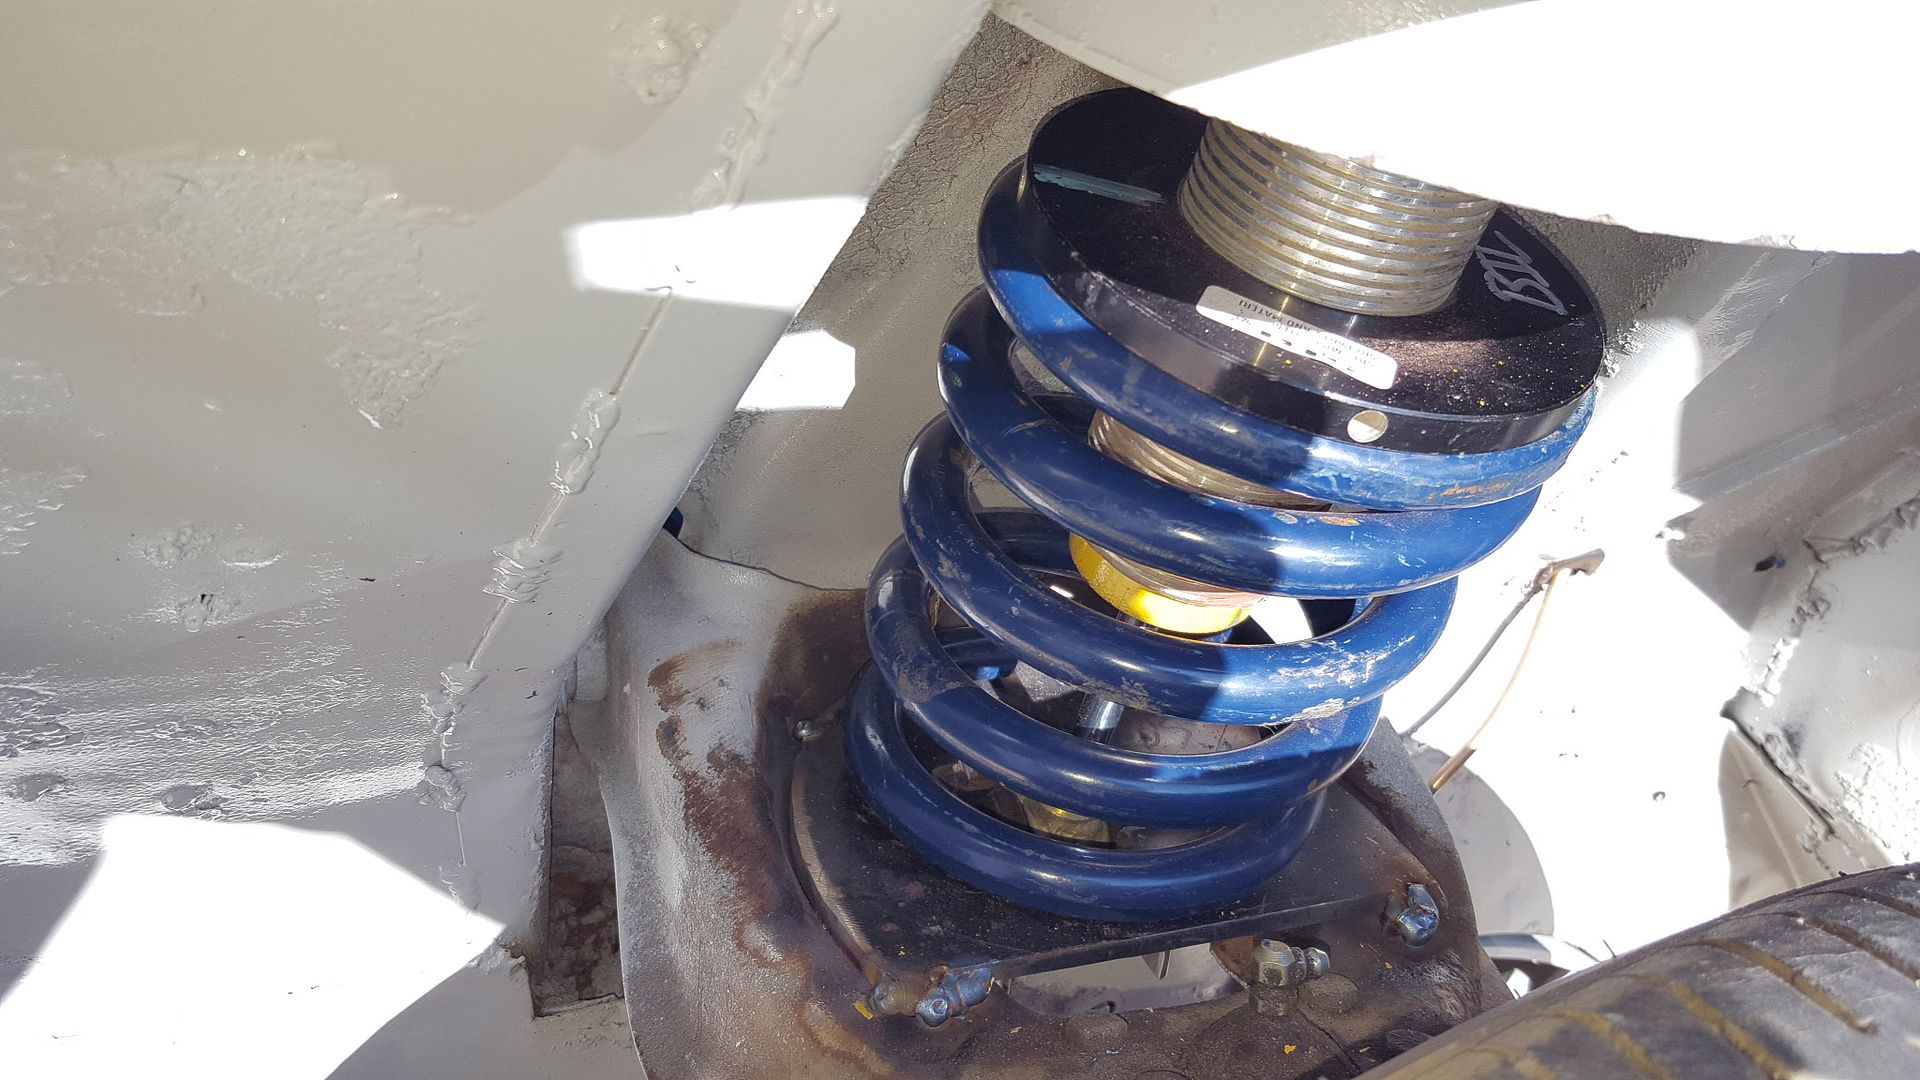
Steve had to leave to take his daughter to the daddy daughter dance at about the same time Dallas got done with the plumbing job. So Dallas and I picked up where Steve left off. The front suspension. Steve designed upper shock mounts with 1/8 and 1/4 plate from the scrap bin. They weld to the cage down tubes, and bolt into the factory upper shock mount. They eliminate the need for a strut tower bar, and really tie things together. Dallas and I finished welding those up, and welded up the lower plates. We had to clearance the factory spring pocket in the control arms so we could get the bottom bolts in, but once we got all the fiddly work done, this happened:
\
[URL=http://s54.photobucket.com/user/dusterbd13/media/amc/20170225_192001_zpss6xta5qk.jpg.html]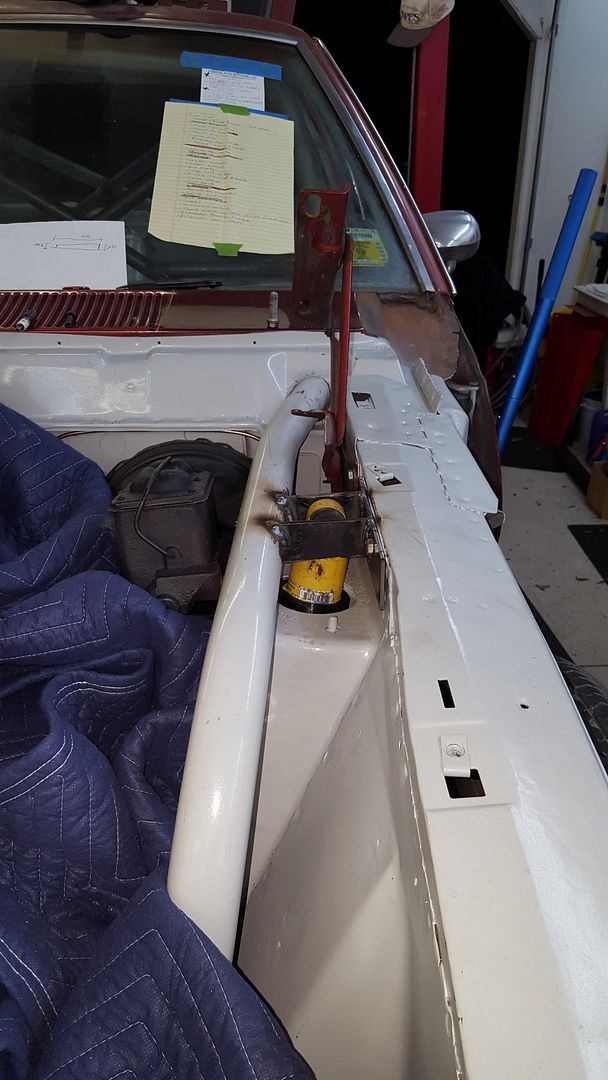 [/URL]
[URL=http://s54.photobucket.com/user/dusterbd13/media/amc/20170226_095519_zpscznngumk.jpg.html]
 [/URL]
[URL=http://s54.photobucket.com/user/dusterbd13/media/amc/20170226_095524_zpsxhmrgd01.jpg.html]
 [/URL]
Still need to finish welding, as we ran out of gas. And drill the holes for the upper mounts. Box the lower control arms, add some gussets to the strut rod brackets, and slam in the new steering box and the front is DONE.
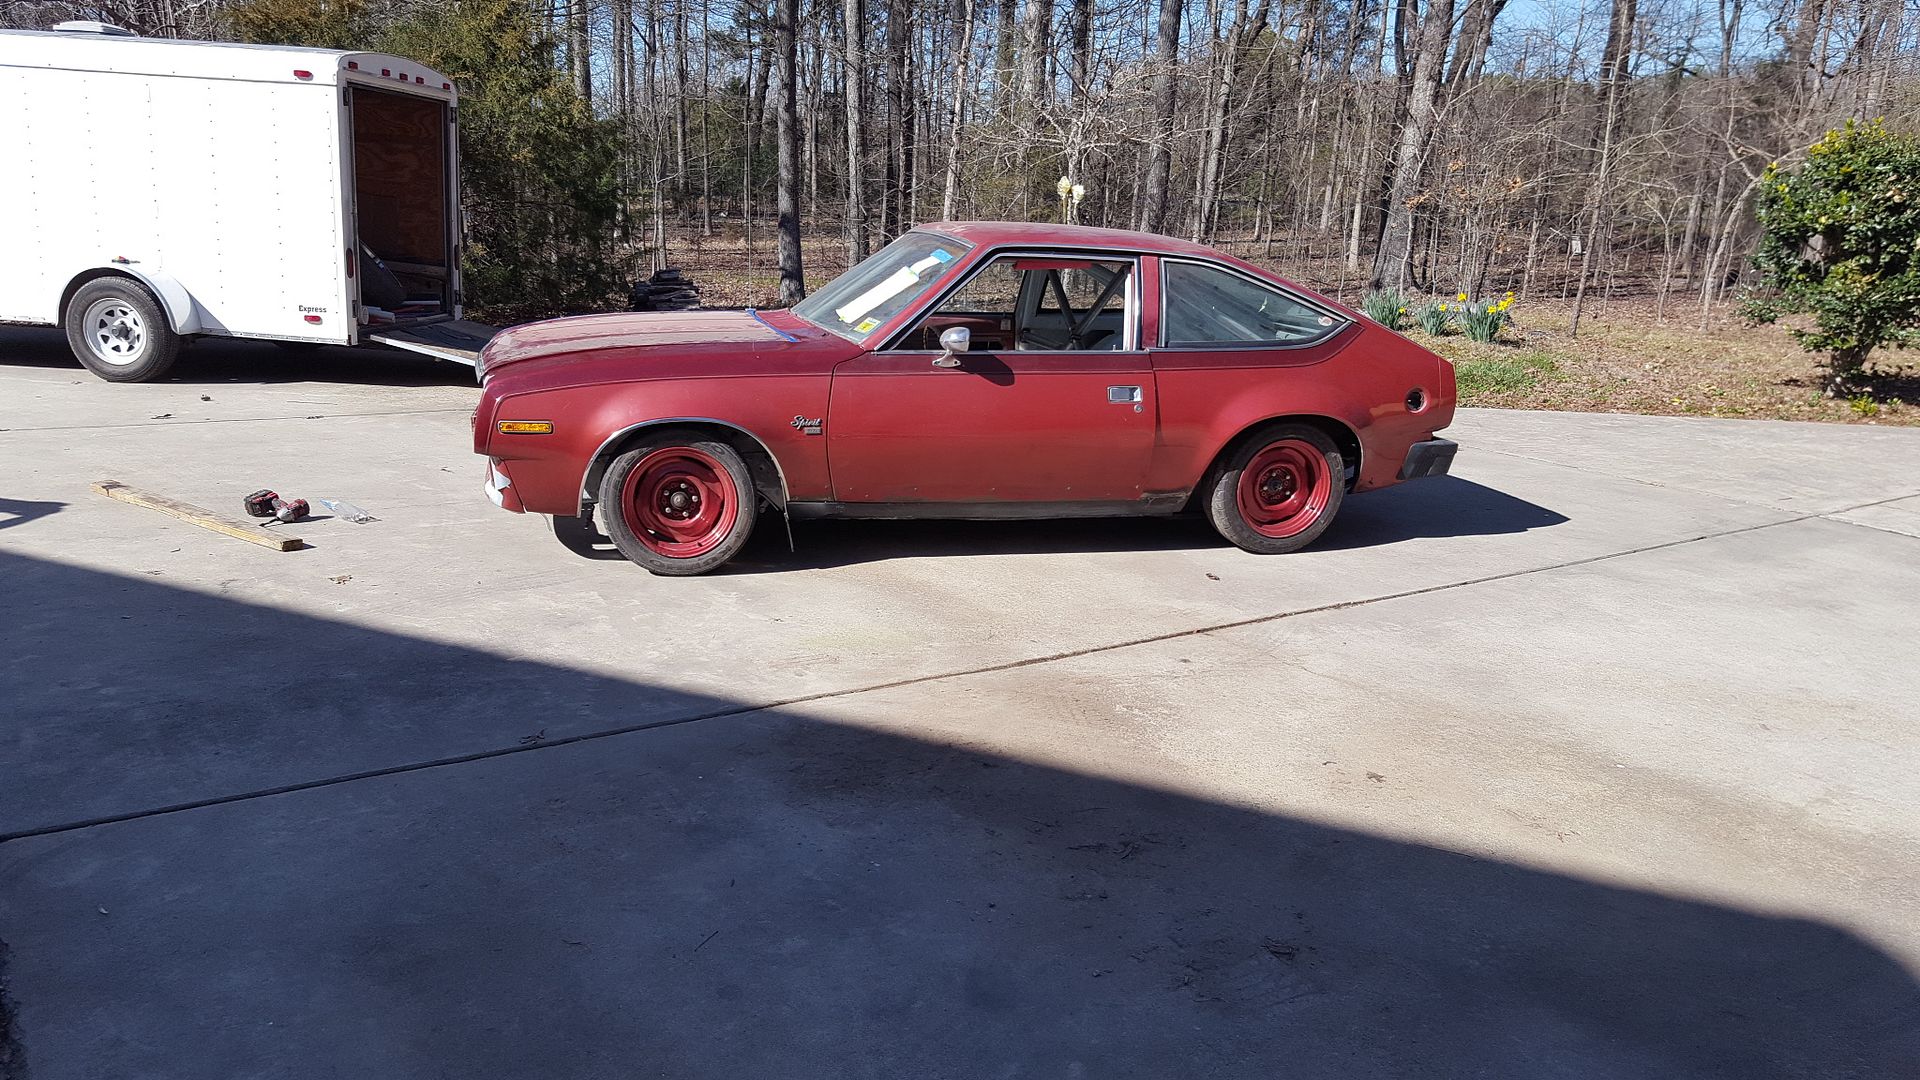
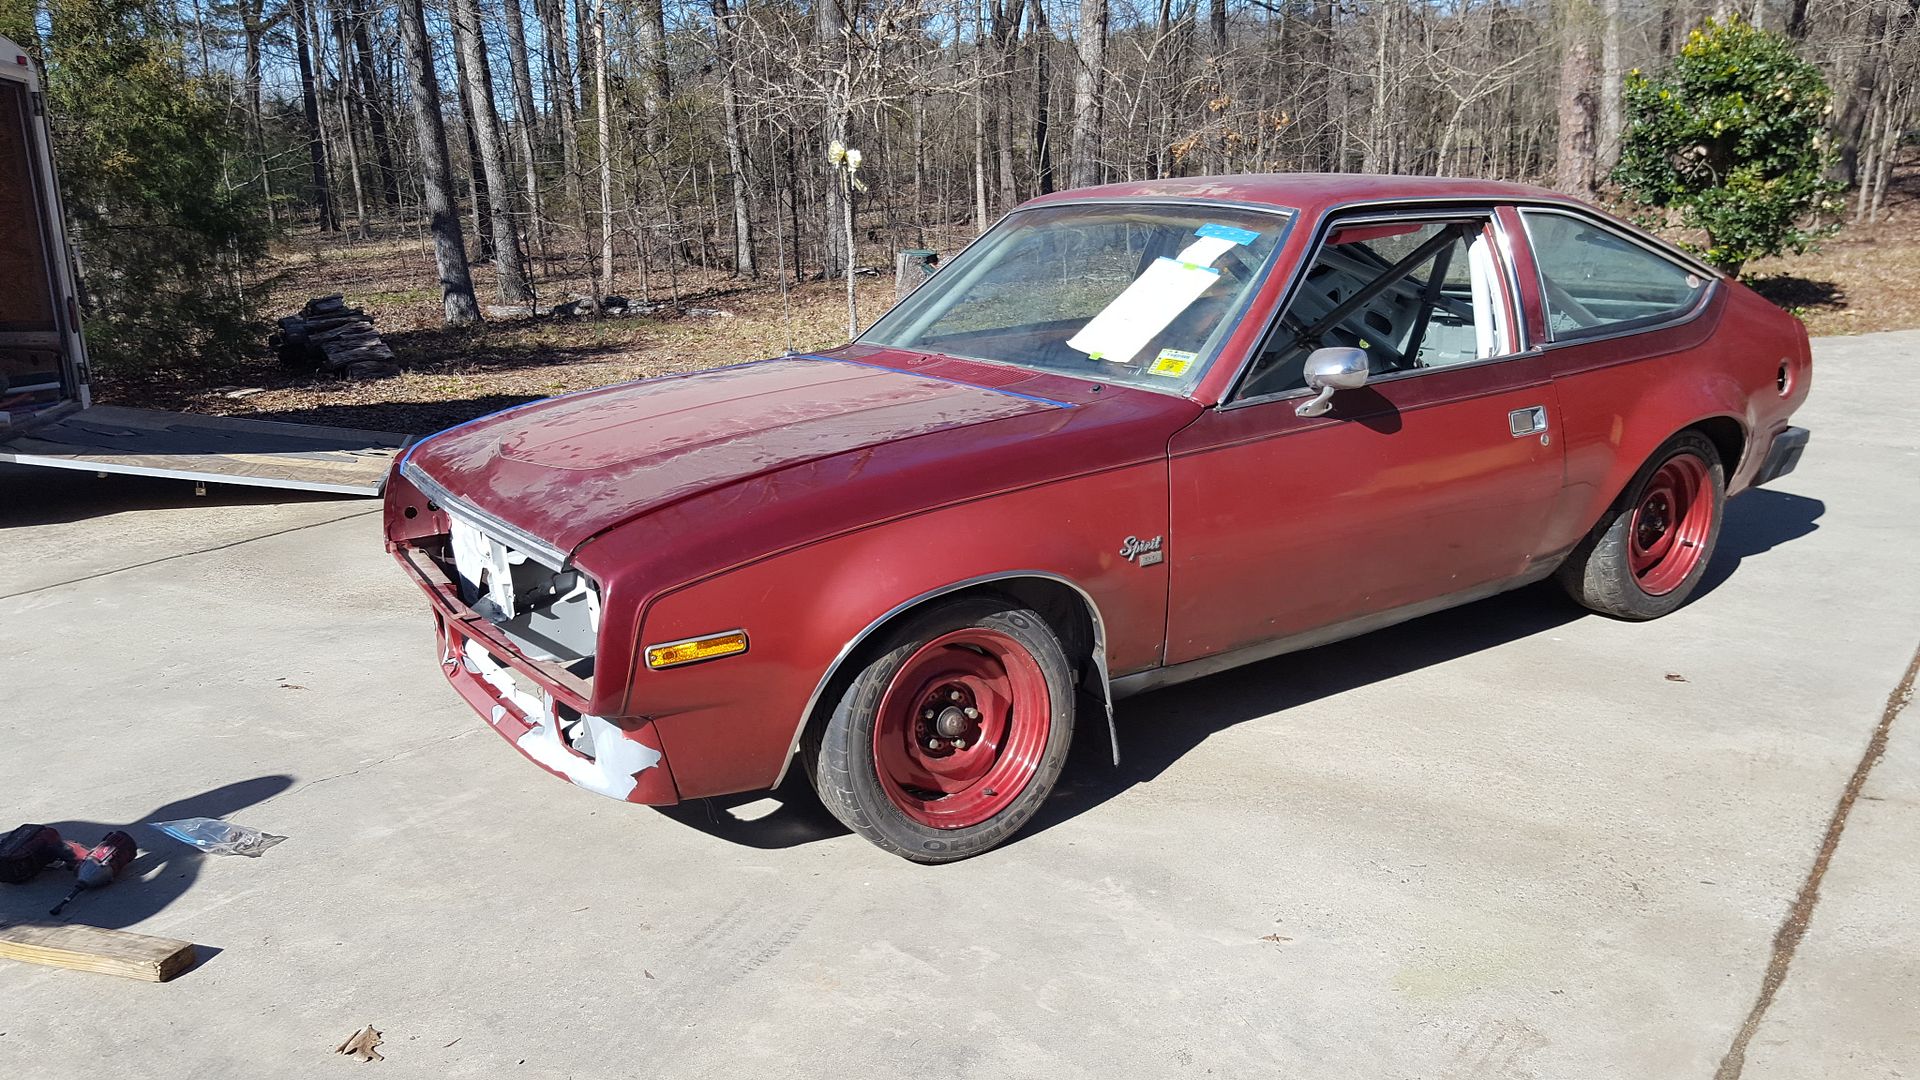
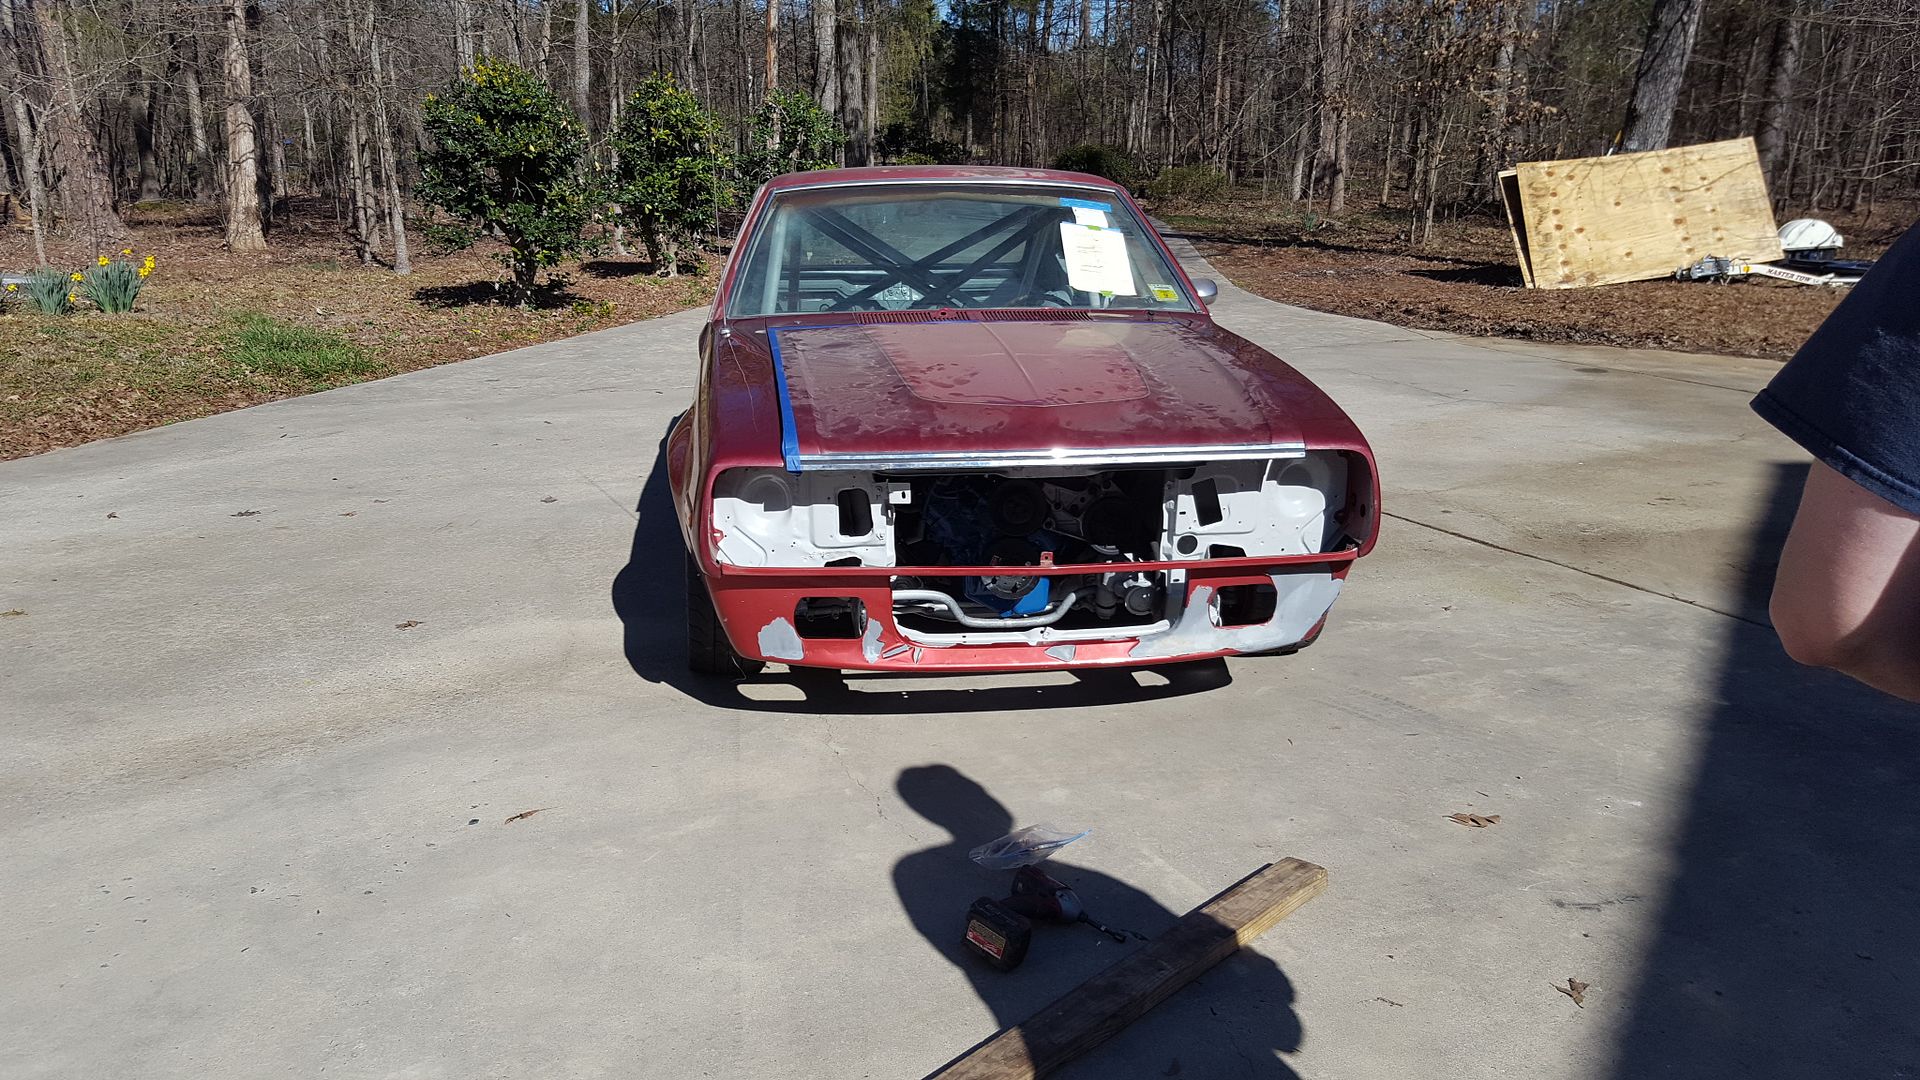
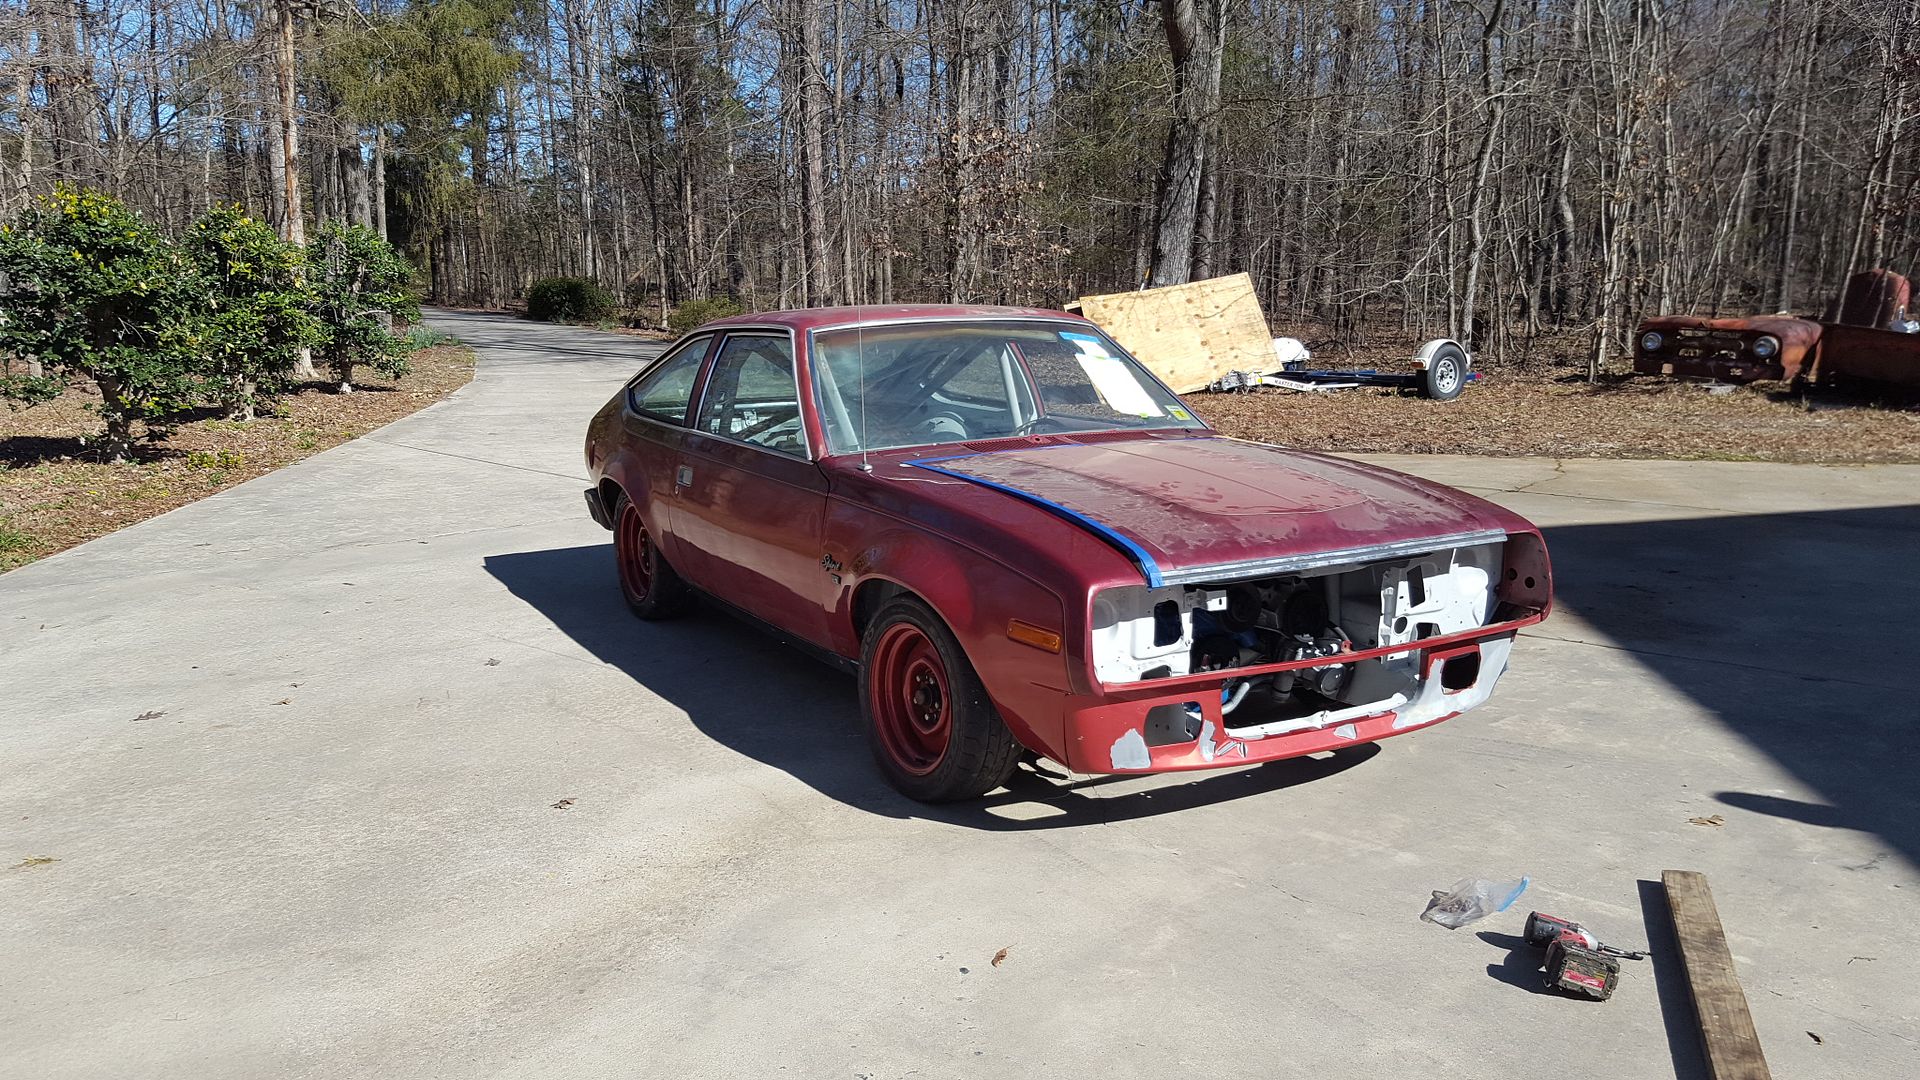
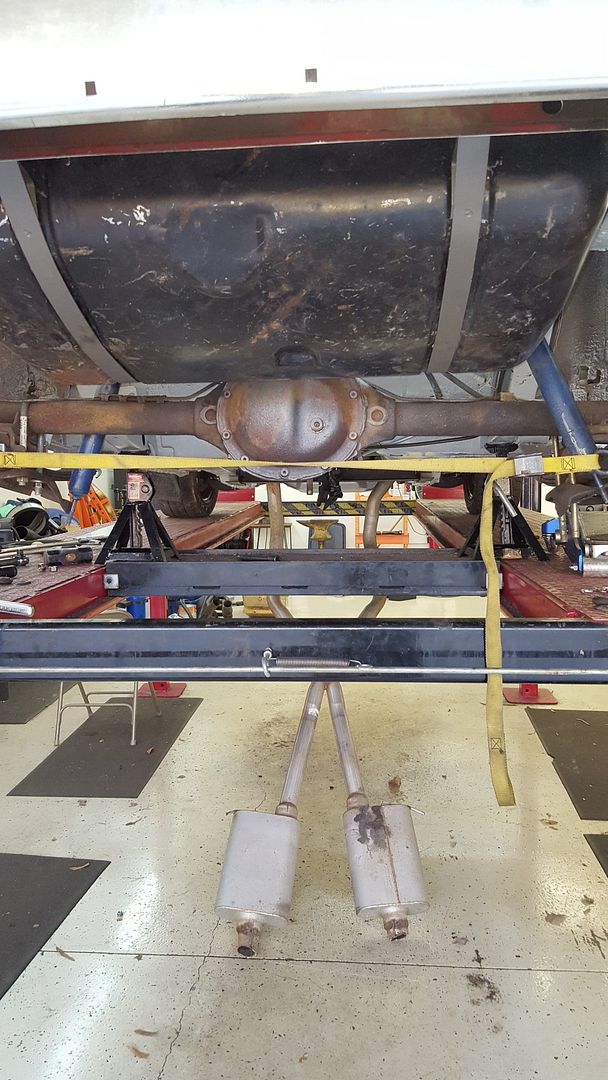
Today, Dallas worked on getting the front clip re-installed, checking clearances with the race wheels and tires, attempting to use the set of curbed bullitt wheels I scored for 100, and de-lowering the rear suspension (far too low now that its going back together). I worked on that stupid, simple, easy header job. All day.
Heres proof of Dallas work (except for the de-lowered. No picture of that finished, just in progress):
[URL=http://s54.photobucket.com/user/dusterbd13/media/amc/20170226_135044_zps0v9nx1lw.jpg.html]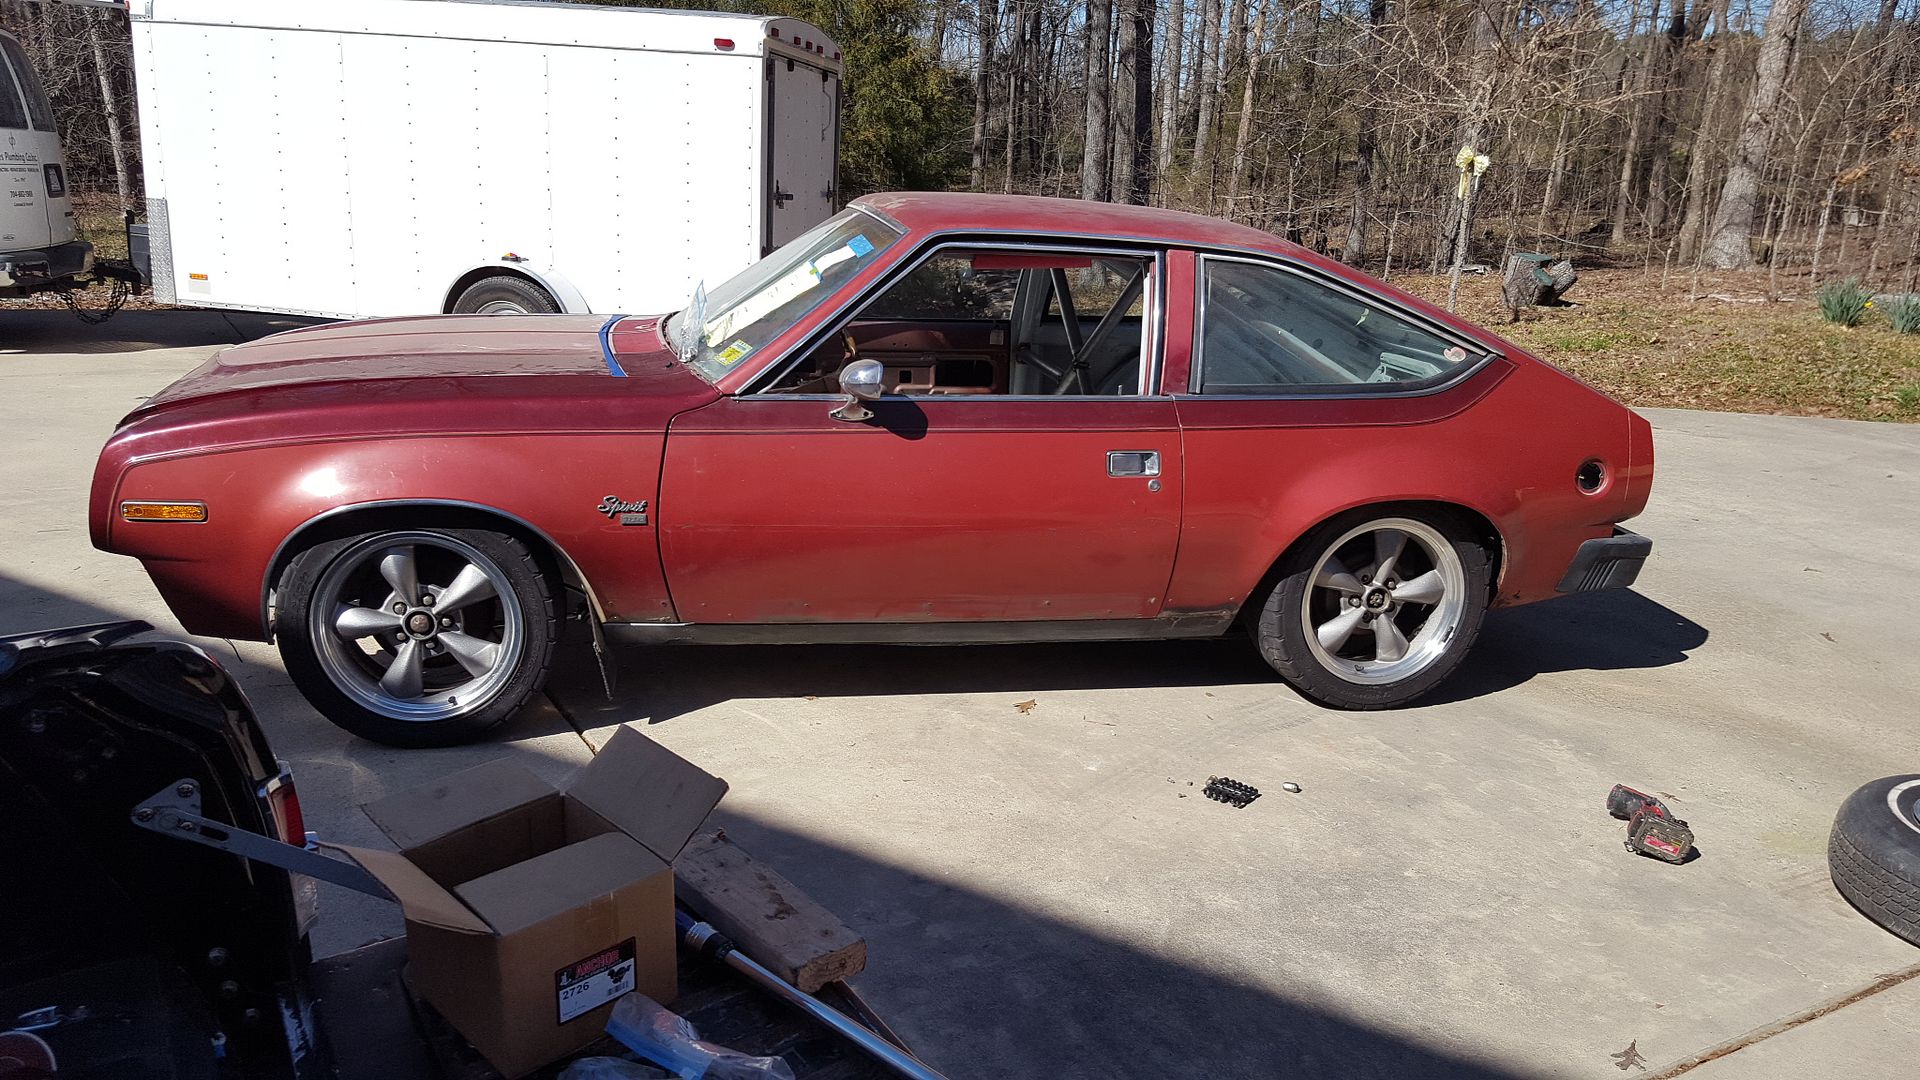 [/URL]
[URL=http://s54.photobucket.com/user/dusterbd13/media/amc/20170226_144330_zpsrnzbmwzu.jpg.html]
 [/URL]
[URL=http://s54.photobucket.com/user/dusterbd13/media/amc/20170226_144337_zpstvwevg0l.jpg.html]
 [/URL]
[URL=http://s54.photobucket.com/user/dusterbd13/media/amc/20170226_144347_zps5o0njjua.jpg.html]
 [/URL]
[URL=http://s54.photobucket.com/user/dusterbd13/media/amc/20170226_144352_zpsnos76bs2.jpg.html]
 [/URL]
[URL=http://s54.photobucket.com/user/dusterbd13/media/amc/20170226_163214_zpszednkoqd.jpg.html]
 [/URL]
Me, I fiddled with a header. Heres where we started.
[URL=http://s54.photobucket.com/user/dusterbd13/media/amc/20170226_102005_zps54xlbe7r.jpg.html]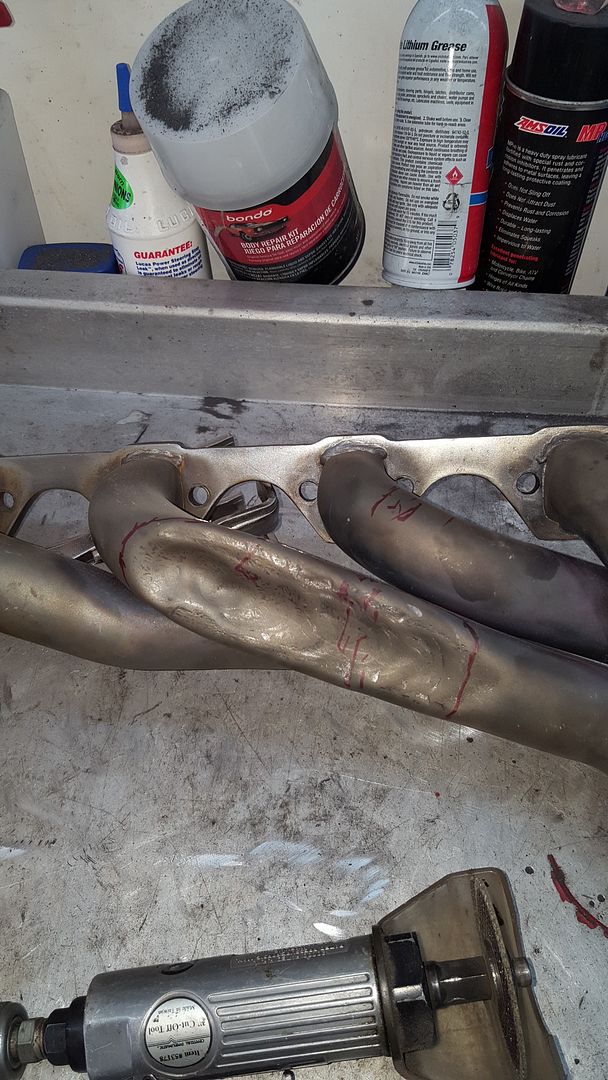 [/URL]
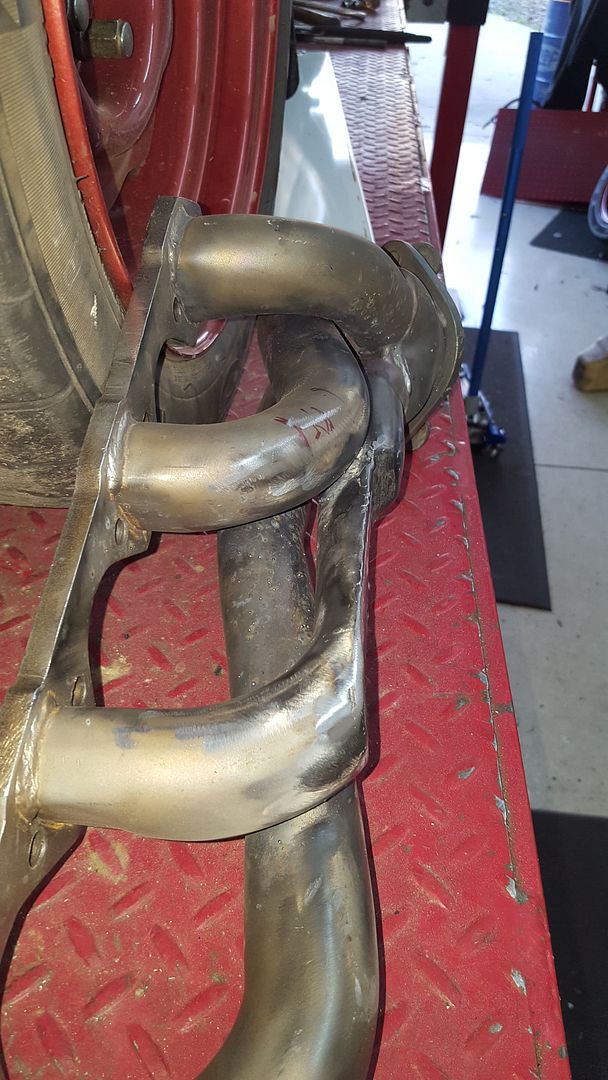
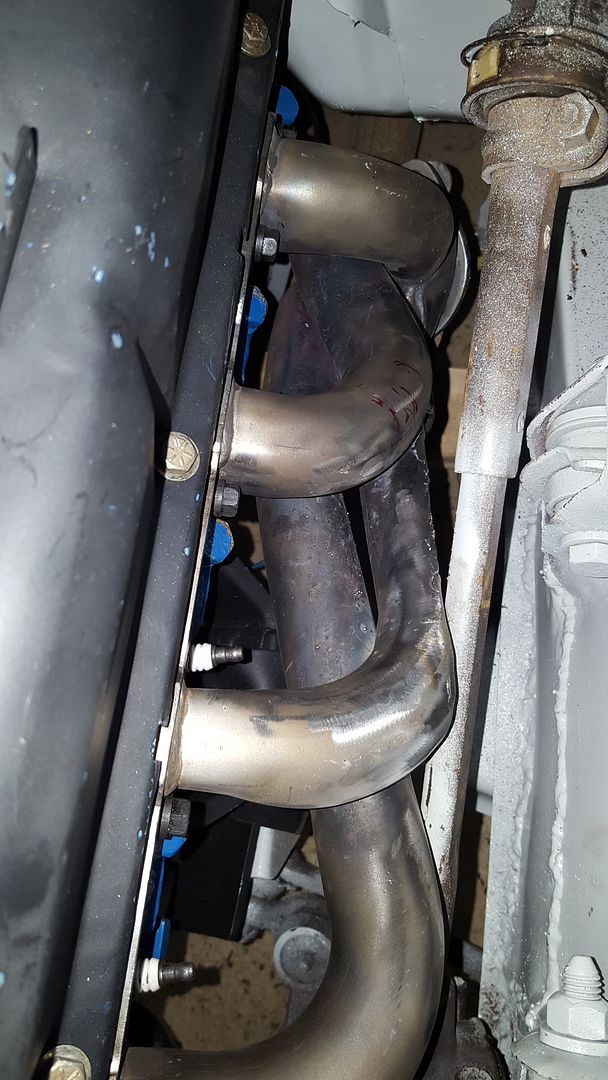
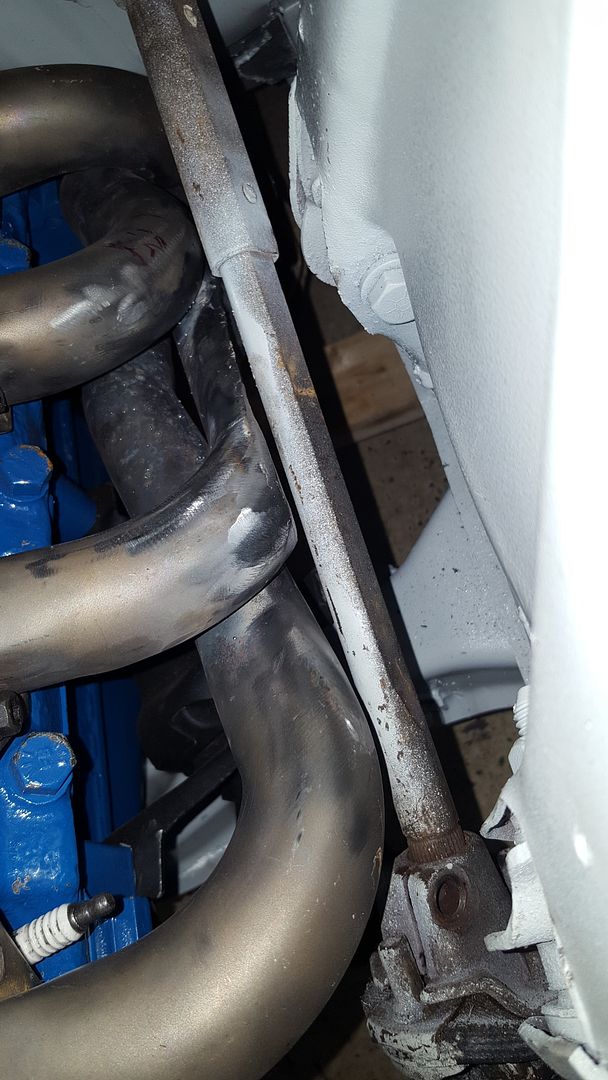
Cut the bashed in section out, and shaped with a flap wheel until it cleared the steering shaft by at least 1/8 inch. I then cut a CAD template out of construction paper, and wandered around looking for something of the right thickness to cut a patch out of. Dallas reminded me that the top of the water heater was pretty thick, and we hadn't used any yet. PERFECT!
[URL=http://s54.photobucket.com/user/dusterbd13/media/amc/20170226_154130_zpsde2qtwwk.jpg.html]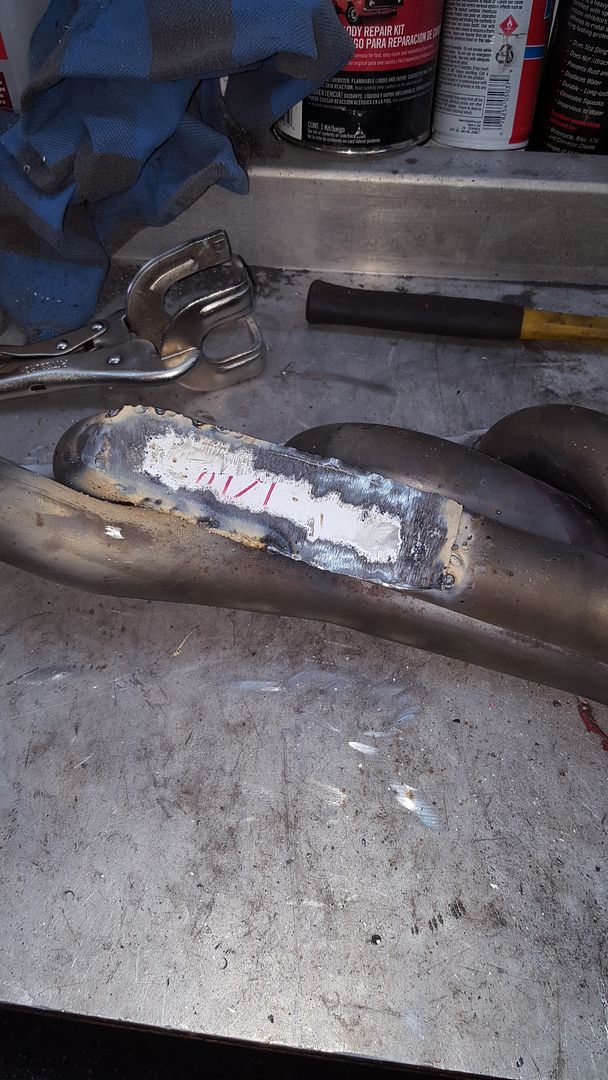 [/URL]
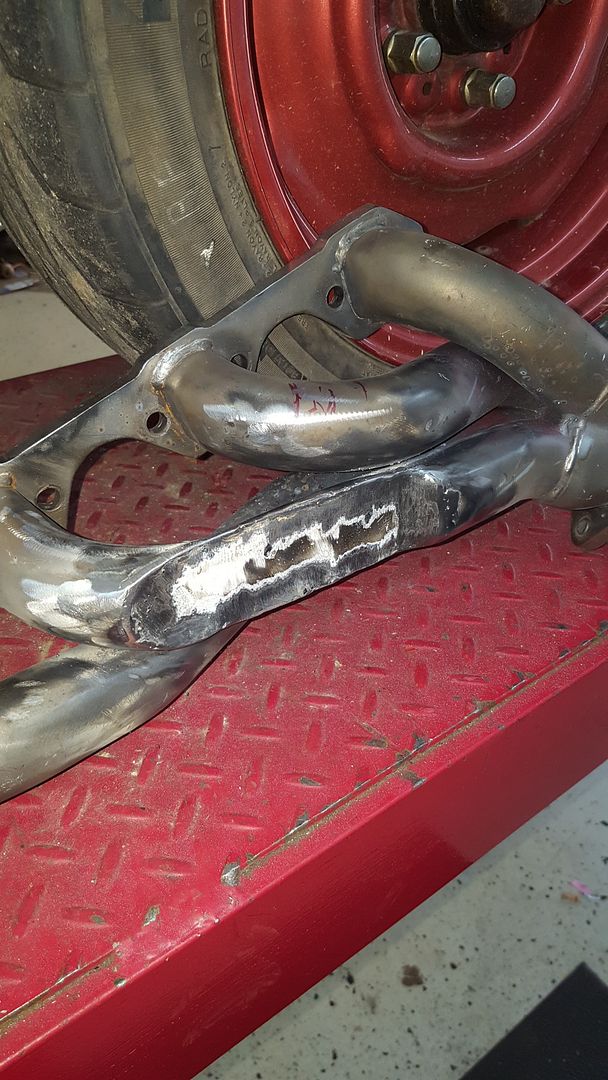
After a while with a welder (Harbor freight flux core, as the good welder is out of gas), the last flap wheel, and a put of coffee, we got here.
[URL=http://s54.photobucket.com/user/dusterbd13/media/amc/20170226_154142_zps04puth1s.jpg.html]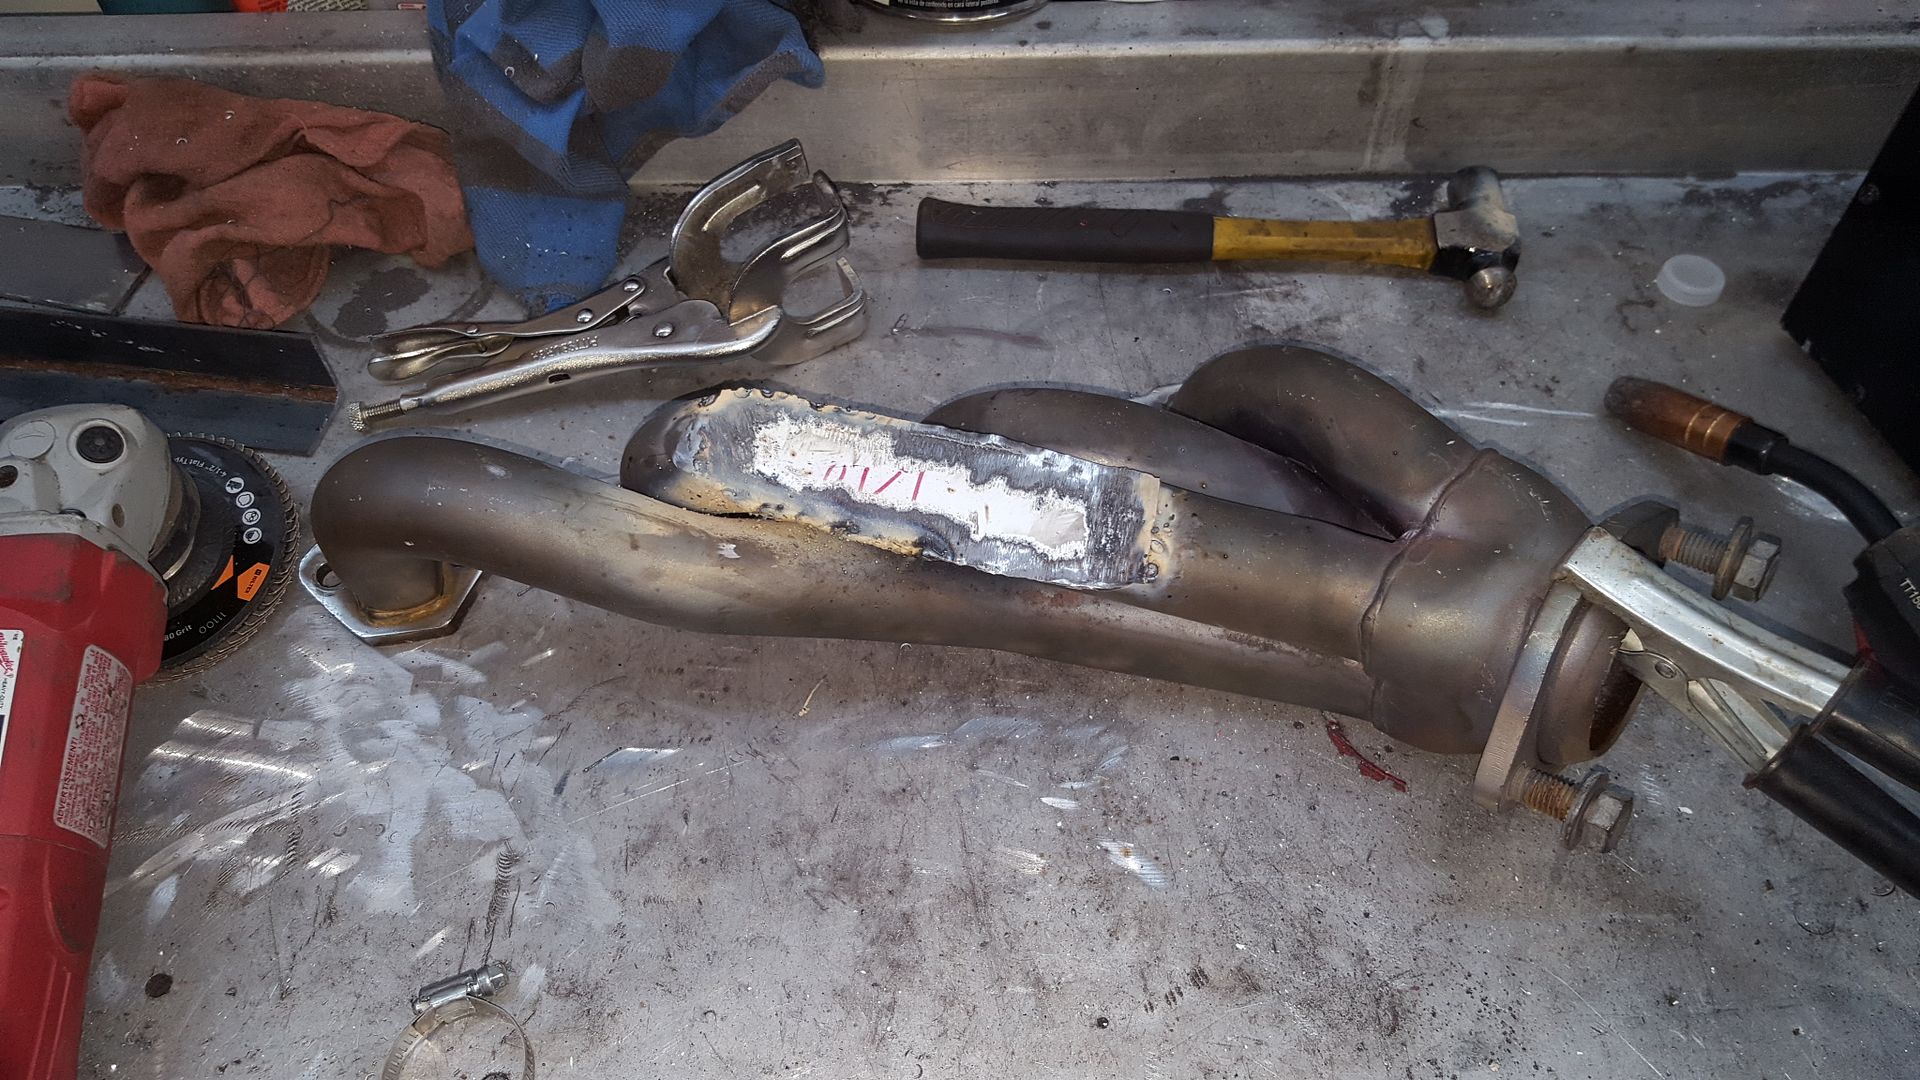 [/URL]
[URL=http://s54.photobucket.com/user/dusterbd13/media/amc/20170226_160724_zpsnmqacb4c.jpg.html]
 [/URL]
[URL=http://s54.photobucket.com/user/dusterbd13/media/amc/20170226_160728_zpsx1zjvy5f.jpg.html]
 [/URL]
[URL=http://s54.photobucket.com/user/dusterbd13/media/amc/20170226_170946_zps9upasgfr.jpg.html]
 [/URL]
[URL=http://s54.photobucket.com/user/dusterbd13/media/amc/20170226_170953_zpsmfkijqfk.jpg.html]
 [/URL]
In reply to Stampie:
No donuts. Got the beetus. So we just stick with the -ine brothers. Caffeine and nicotine.
When I saw this;

That's impressive. I know you're still working the ride height and this still has a way's to go but this really works for me. Why were this not more popular cars when they were new???
Keep it up!
I would love different headers. But not on this budget.
And the bulitt wheels look GOOD. Makes me almost like the car. But they hit everything and take more money from the budget. Dunno if we end up using them.
My only concerns with the headers are the the tubes i had to flatten. Will those cylinders run hotter or....
You guys are amazing. I'm in awe of the skills shown here.
A question re: the drivers side header - It looks like there's a pretty long straight run coming right off the flange. Did you consider shortening that to pull the tubes closer to the block? From the pics it looks like there's maybe half an inch or more to be gained there? Or not?
In reply to Sanchinguy:
I looked at that. But the cumulative effects meant building a new header. Just no room to alter things and still have a collector. The whole point of using shorties was that this car had fox body stock manifolds in it at onepoint and they fit. The engine swap came with no name shprties from supposedly a fox. This also allows us to use the exhaust that came with the car after slight rework.
Dusterbd13 wrote: I would love different headers. But not on this budget. And the bulitt wheels look GOOD. Makes me almost like the car. But they hit everything and take more money from the budget. Dunno if we end up using them. My only concerns with the headers are the the tubes i had to flatten. Will those cylinders run hotter or....
First off this thing looks awesome. Secondly, if you believe the roadkill/engine masters guys you can almost completely collapse every primary tube on a set of headers and you won't lose power. I'm guessing with that nice smooth flat section you'll be fine. Still has to be better than a set of cast iron exhaust manifolds.
posted the header picture in case you decided to fabricate your own,the patriot design looks like it would fit your application. I do realize that they are a tad spendy for a challenge build.
Would different headers really gain us anything? Horsepower or torque wise? Watching the roadkill video, it seems like the answer would be no.....
Also, there were concerns raised on another forum about the quality of the welds and design of the cage. By one guy. Who did it by private message.
I haven't seen anything of concern. It actually looks better than most cages ive seen.
What sayeth the hive? Before i write that dude off as a troll, i want to maake sure that he is.
I need more people to work on my car when they come over instead of having ME work on THEIRS. You guys are flyin through this build!
In reply to maschinenbau:
Our goal is the track night in America at cmp for the shakedown runs. Thats the beginning of april. So we need to get faster.
Here's a low-value comment;
Looking at the car with no grill or headlights, I'm wondering if late Volvo 240 headlights would fit in the opening where the factory stuff would go. You know, the big square blocky lights that those cars had. Put some yellow LED strip just to the inside of the lamp assembly for a turn signal.
Whatever you guys do will look awesome, just kind of spitballing ideas on how this might look.
You'll need to log in to post.