In reply to GaryC83 :
Thanks for sharing these pics. It's really cool to have access to see this stuff. The first Rad Rides car I ever saw was Chicane on the power tour in 2003. I hadn't heard of the shop at that point but the build quality was just from another planet. A total piece of art.
Very cool to see the craftsmanship. you have mad skills!
Still a ways to go, but making forward progress.
Pictures are reverse order...apologies. newest stuff at top. Working backwards.
In reply to David S. Wallens :
For sure. Eventually I might do a proper write up / step by step for some basic stuff, but that takes a ton of time and effort. And honestly that requires more than I have to give at the moment. Lol
In reply to NY Nick :
No problem. And that car definitely reset the bar. Total game changer. Still is always talked about, and asked about by droves of people. Was just in for some basic maintenence not too long ago. Thing still gets the wheels driven off it.
I'm wondering how you shaped that raised section and tapered it off to nothing.. very nice work!
Wow . . . just WOW ! ! ! ! ! ! ! !

In reply to Kendall Frederick :
This was done with a set of custom dies on a pullmax and gradually increasing the pressure applied on the panel via increasing the height of the lower die.
You can also just as easily make a hammer form and do it that way. Either out of wood with a routed out section that mimics the shape or a 2 piece steel setup with an angled insert welded in. In that case you'd definitely want to anneal the panel and sneak up on it, as its a pretty good amount of draw on the material. Have some shrinking to do after the fact to bring it back in line, and I'd recommend pre-stretching the area, like I did, due to the amount of draw it requires.
Other way, you could easily make a 2 piece set of dies and literally press the shape in. Again, I'd recommend steel. Or even 3d printing them out of solid PLA or Nylon and then anneal the panel and press it in. There are a lot of ways of doing it. Just depends on what tools you have at your disposal and how comfortable you are with doing different means of shaping..and what you are better with.
The last way, not the way I would do it, but you also could slit cut the area that gets raised. Raise it up, make a temp piece to hold things in position and tack it in, and fabricate a filler for the opening. Weld it in and dress it out. That would be my least recommended way, but if all you have is a sheet of alumnium a welder and some body hammers...by all means. I've done stuff like that prior when I didn't have any tools at my disposal and didn't know how to make dies and stuff. You know, predating youtube where you can find all sorts of useful, correct as well as incorrect Information at the press of a few buttons
Thanks! Very informative. I've done very little sheet metal work and I'd love to gain some skills there.
In reply to Kendall Frederick :
Best way to do it is just get out there and start making scrap. Lol. I'm kidding. But. Only sort of. There's no black art to it... just takes F'ing some stuff up along the way to figure out what works and what doesn't. I never went to WyoTech or the like... just paid attention when the old dudes were talking. Paid off in droves.
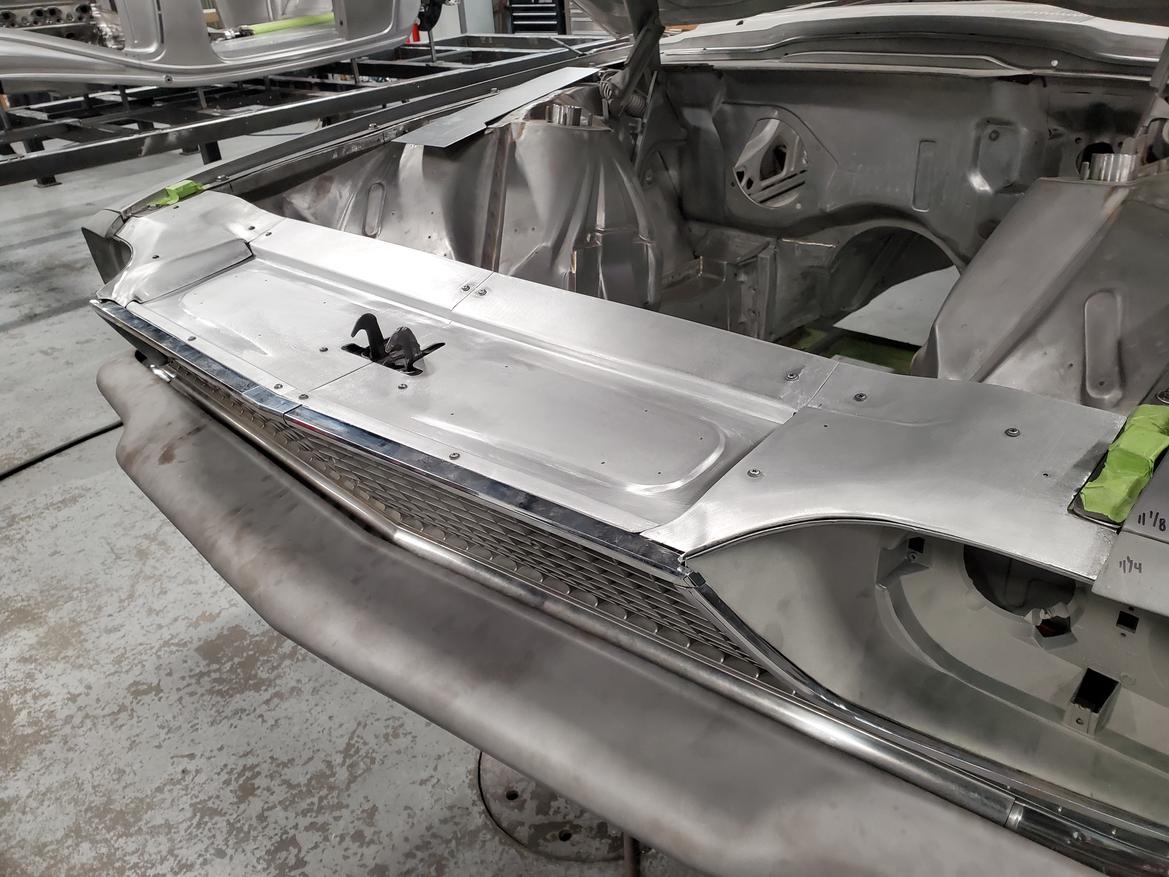
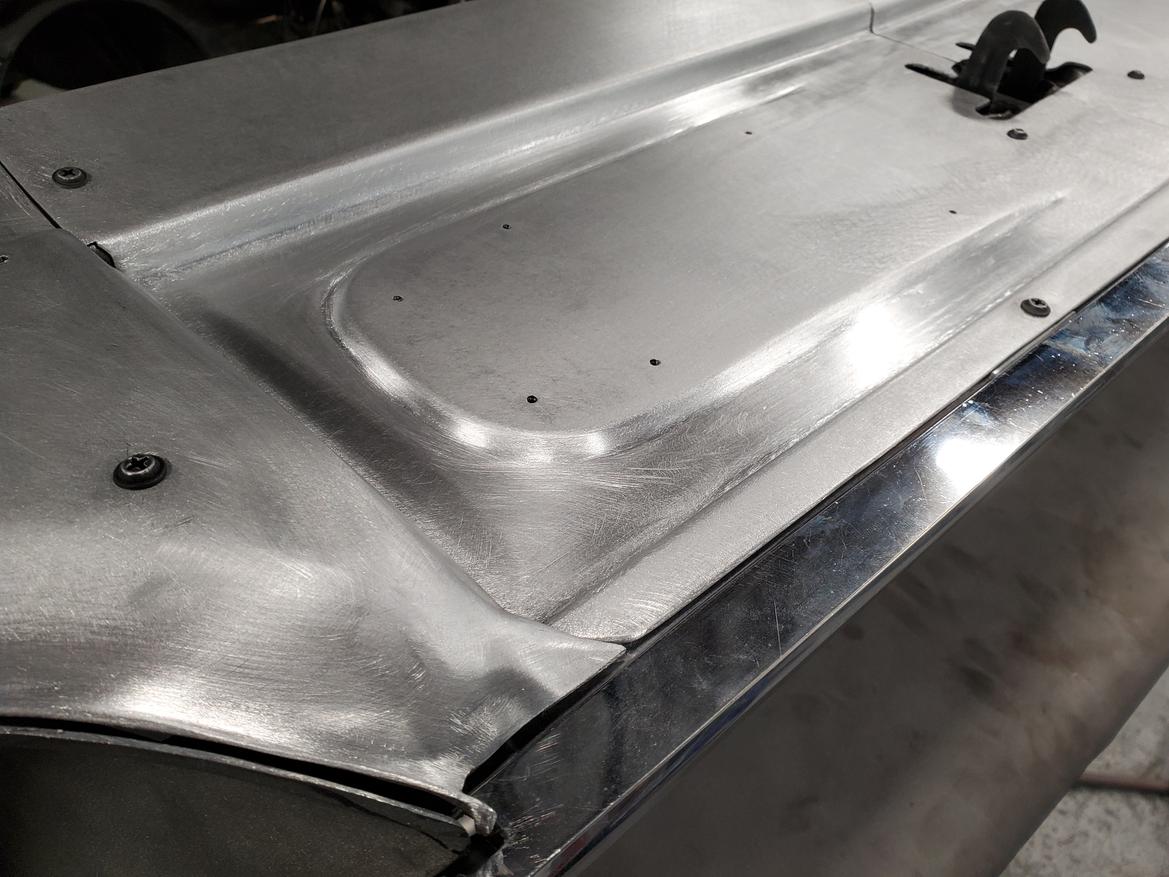
Getting some more done. Got the flange pretty much all squared away around the latch. Got it all back into one piece for the center section and getting it prepared to be welded onto the end caps.
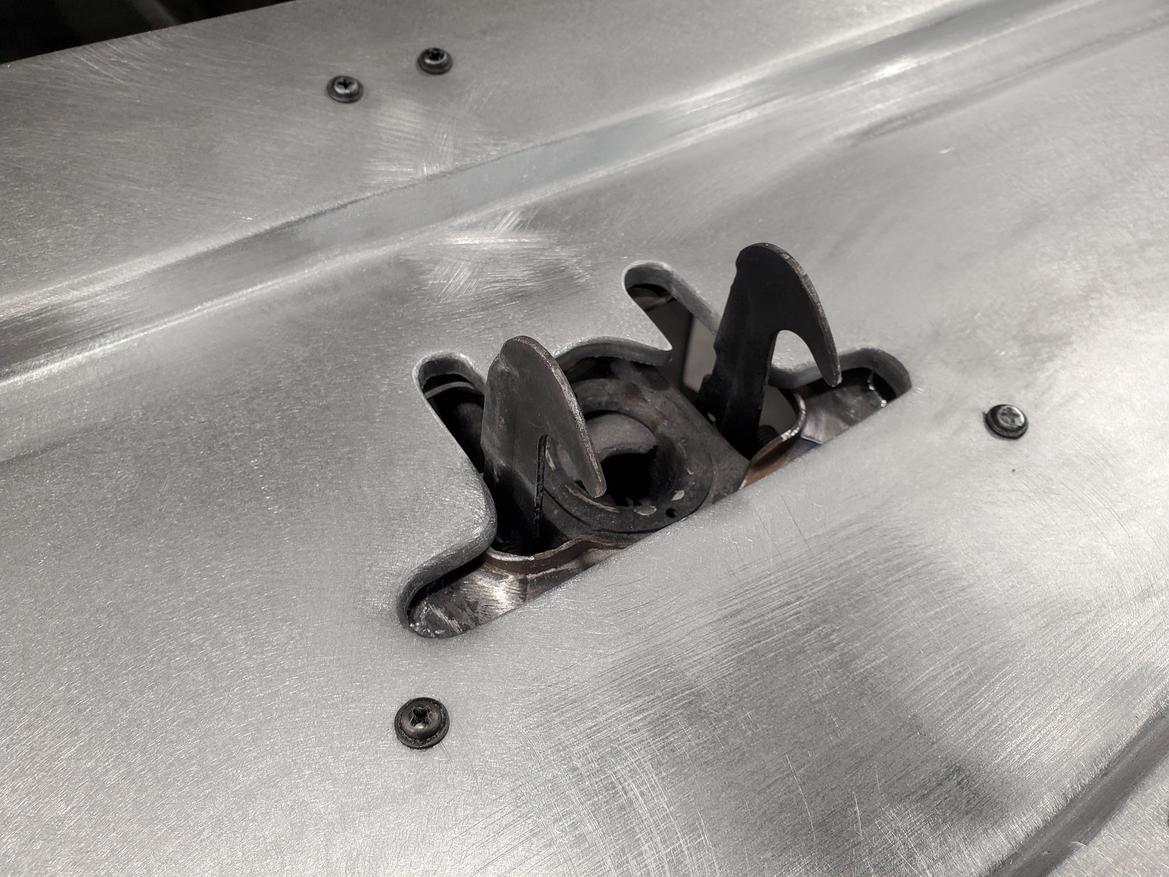
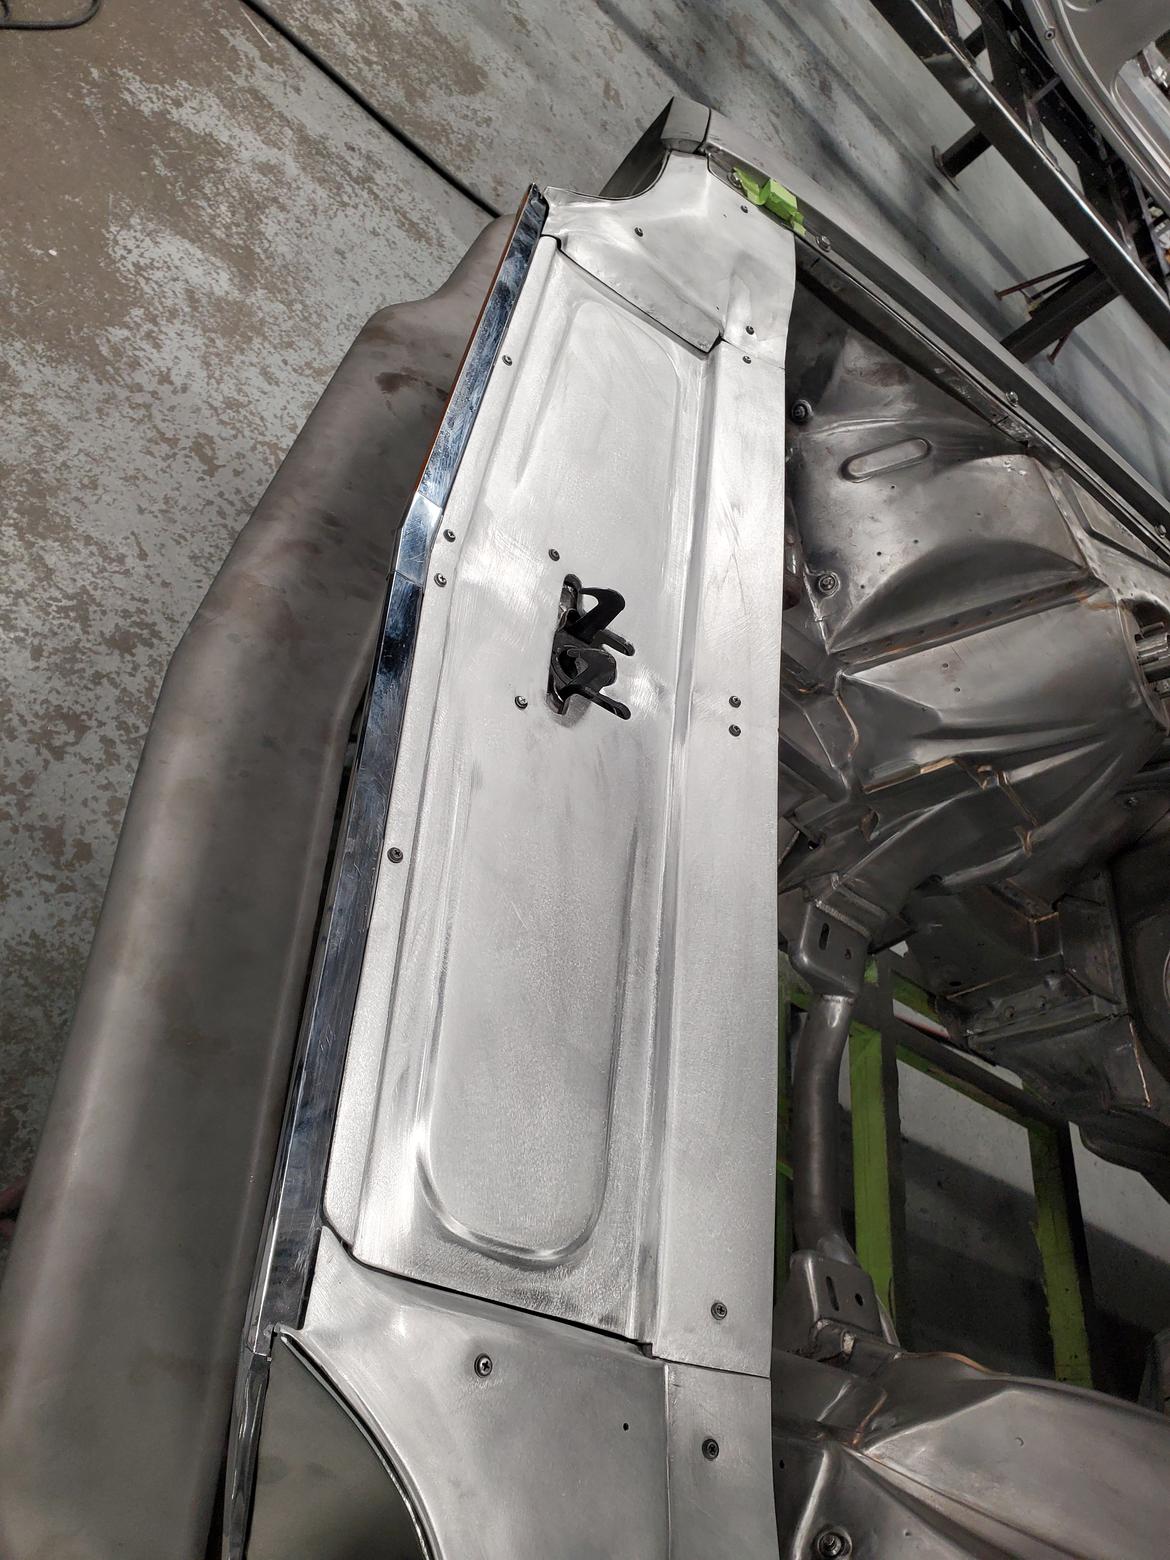
Still a bunch of work left, but I'm fairly pleased with how its turning out.
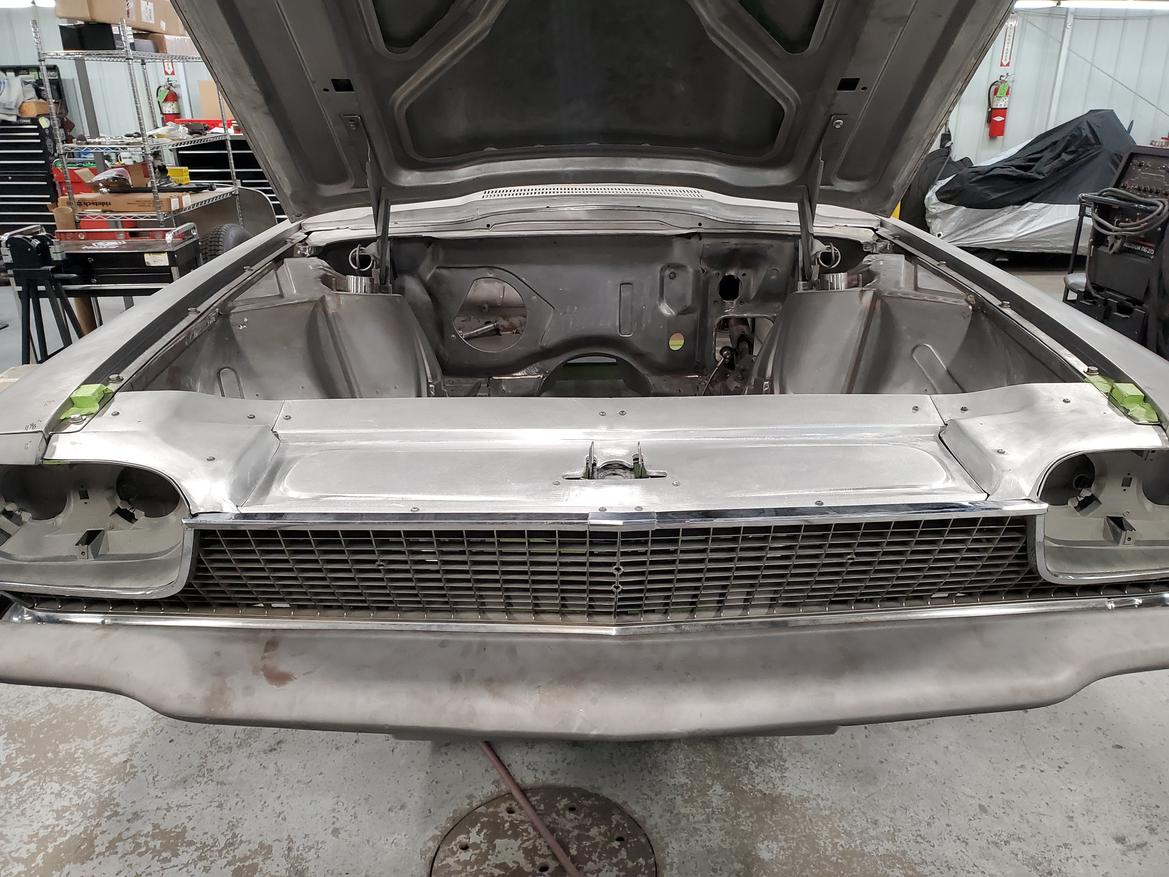
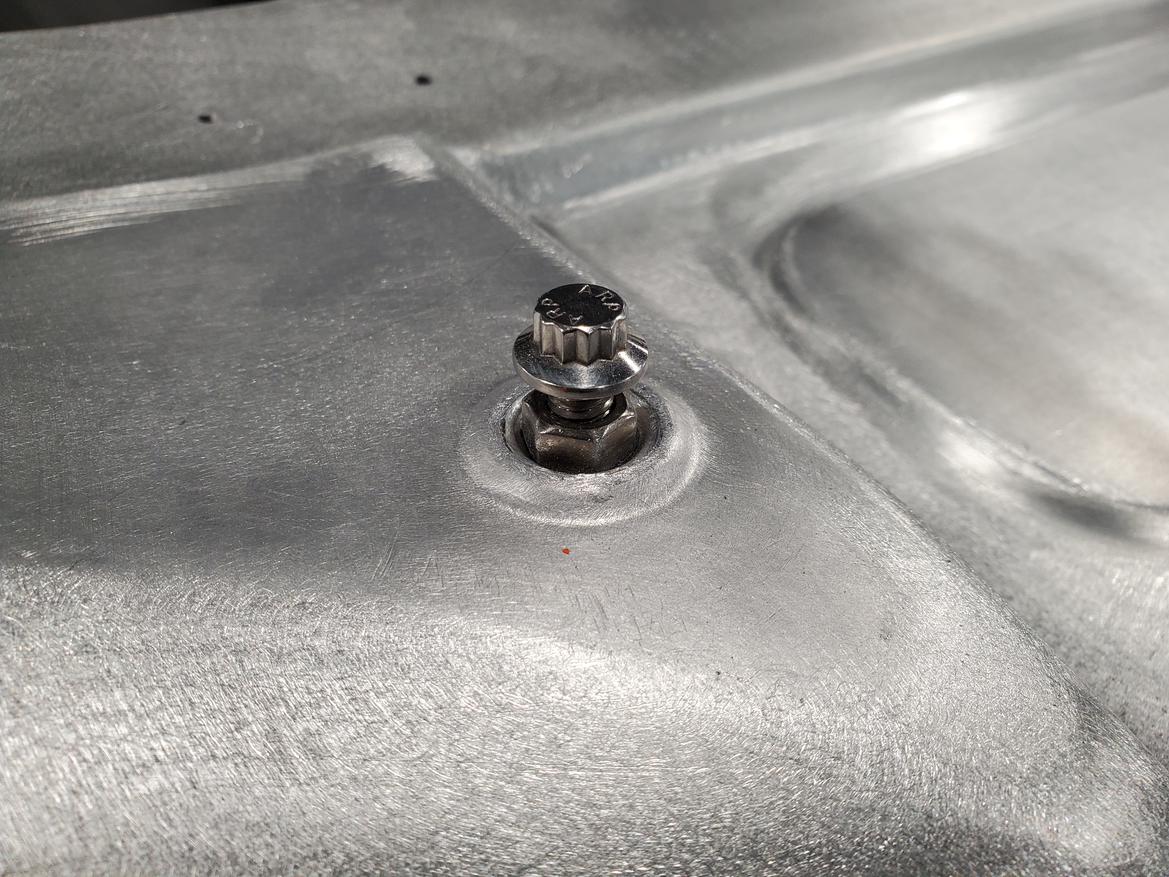
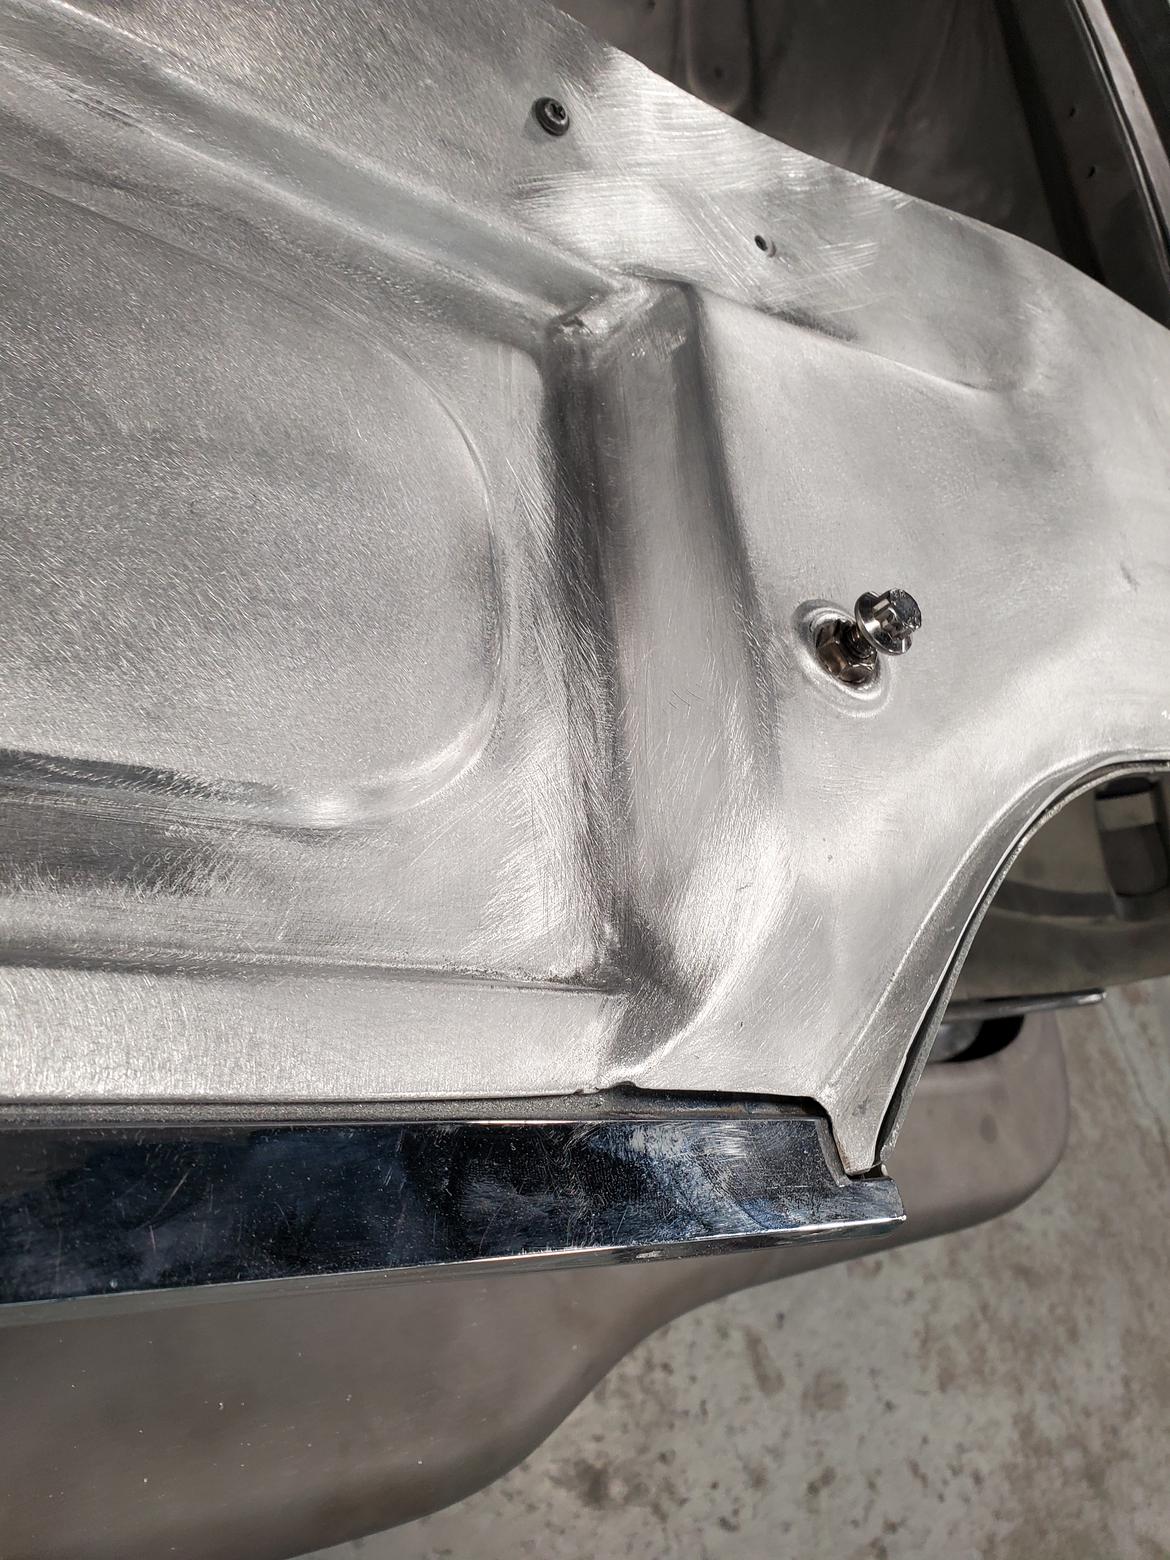
Drew up and 3d printed some quick dies to press in a little reveal area where the hood adjusters will land.
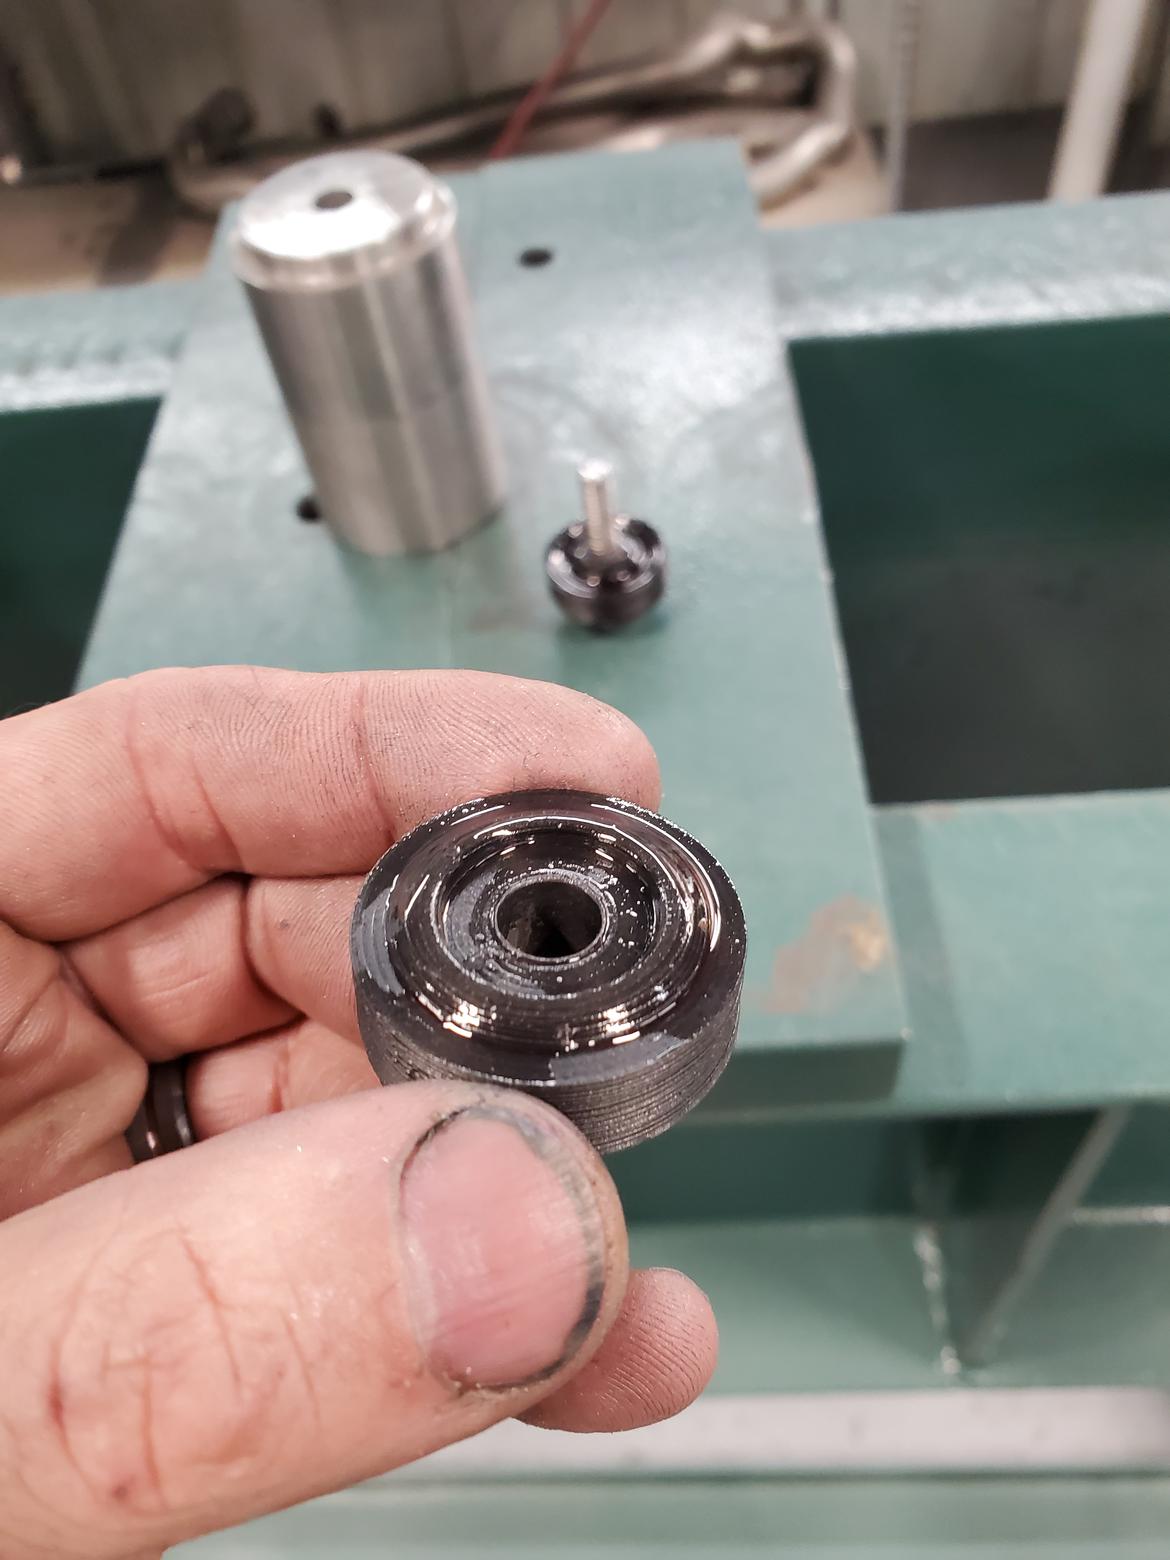
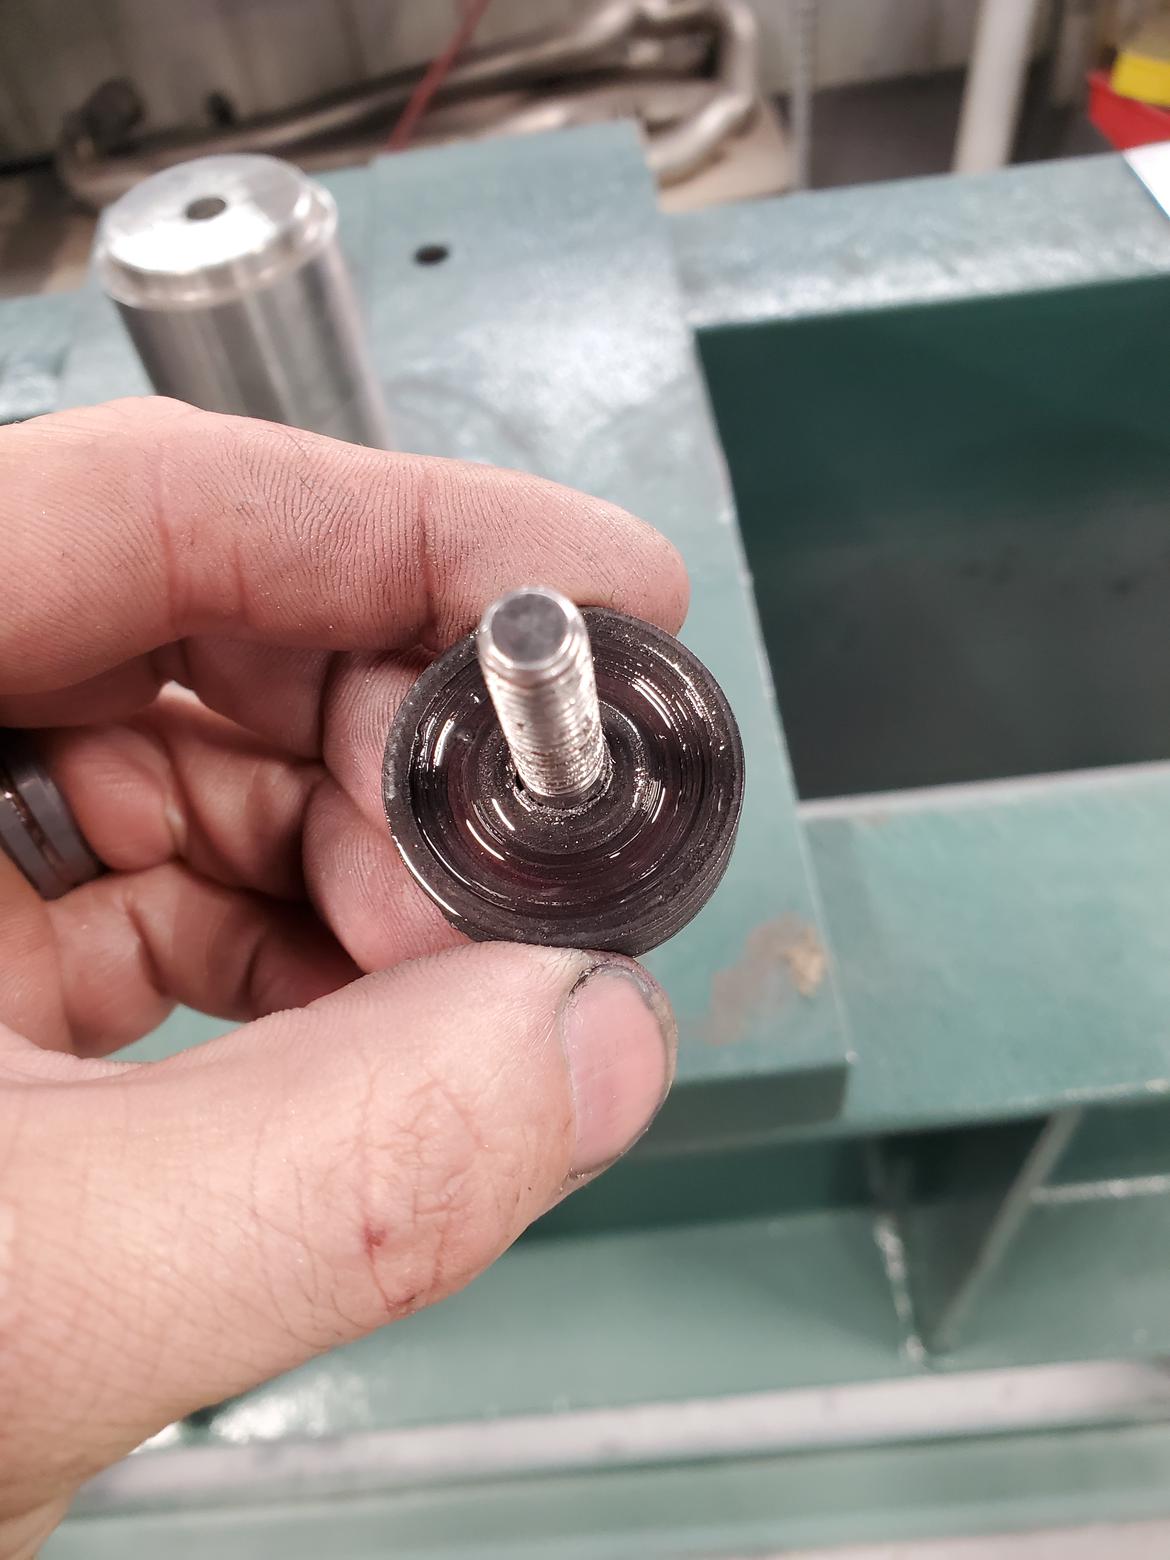
Could have turned them on a lathe but this was easier as I did other E36 M3 while I printed them. Lol.
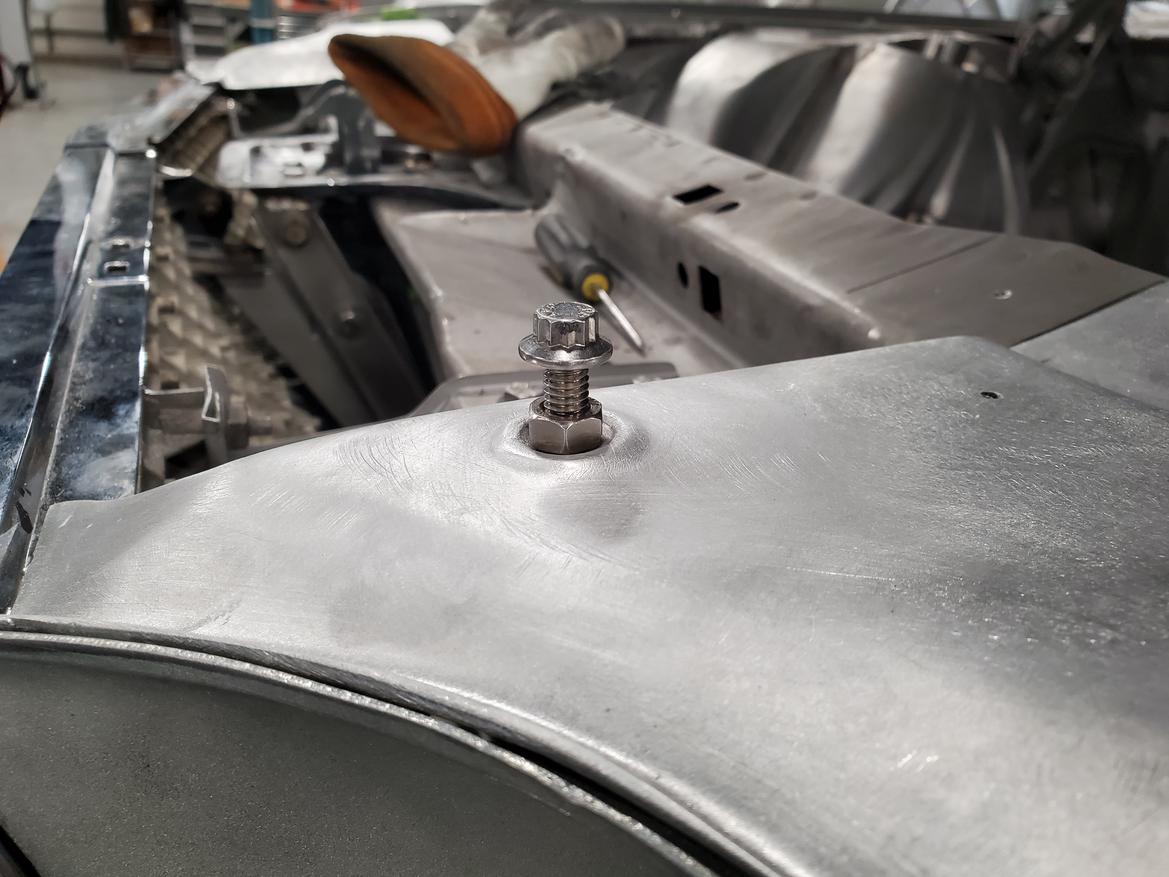
Obviously that bolt is a place holder for the adjuster.
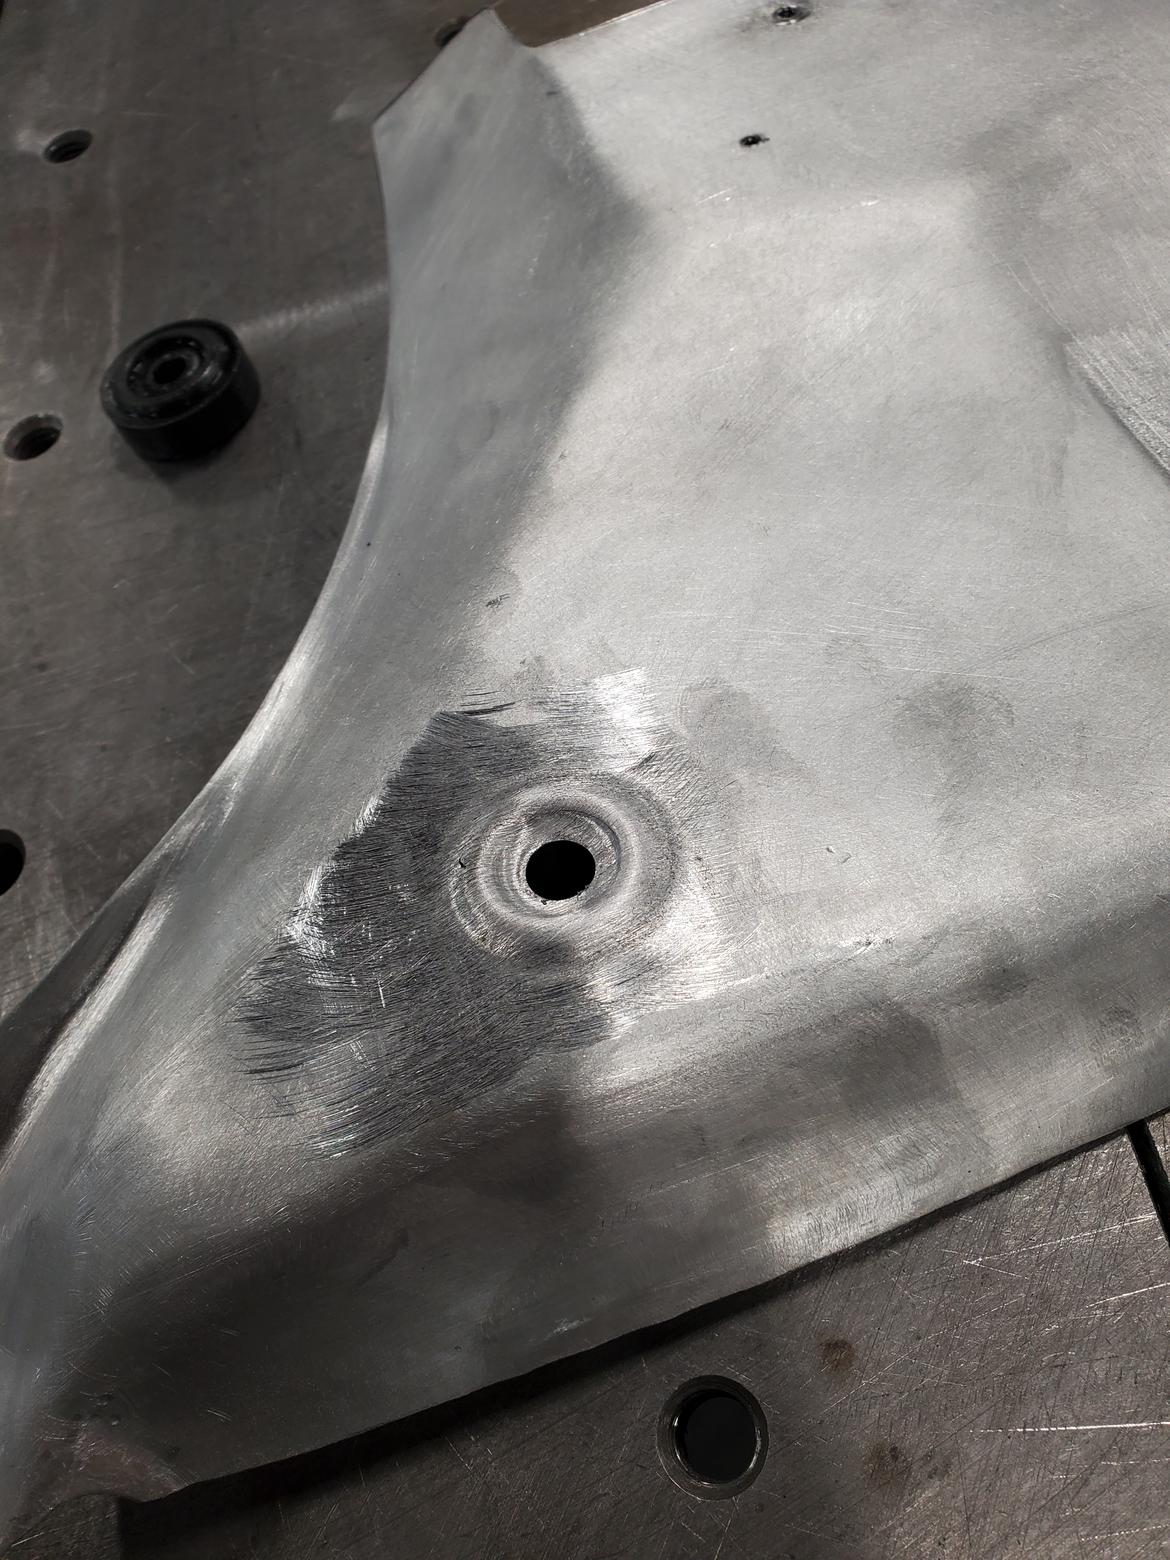
Nice work!
what material did you print them with? It held up fine?
In reply to TurboFource :
Carbon X ABS. Holds up to thinner aluminium just fine. For steel or stainless I'd have machined the dies. And if it was thicker aluminium (like .080-.125") I'd recommend annealing it first.
Boring to most I'm sure...but this is what this stuff takes.
Welded it together. Started dressing it all back. Have to go back and Gao everything, laminate edges by corner of trim where it fades out, figure out a set of rear mounts and a bunch of other stuff. But, it's getting there.
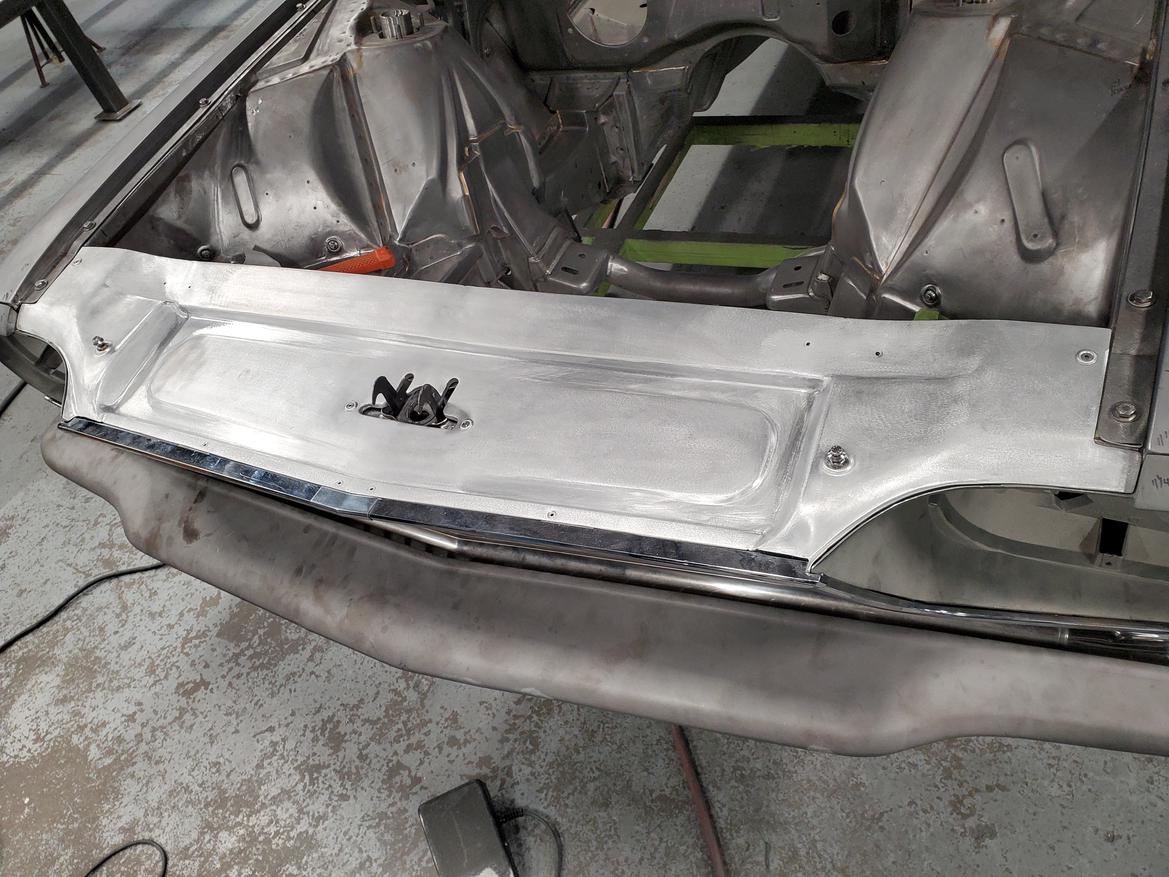
Everything is just kind of roughed in, and needs the final cleanup work on the inside radiuses, panel gaps, etc but gives the general idea.
In reply to GaryC83 :
not boring at all. so many layers to a build like this. thanks for peeling them back for us.
This is great stuff. Art is work.
Thanks much. Mist of the heavy fab is done on this now. It'll eventually have an upper portion that puzzles in and acts as a rad cover. But for now, onto the next portion. Still has some final details that need to be squared away....but its getting there.
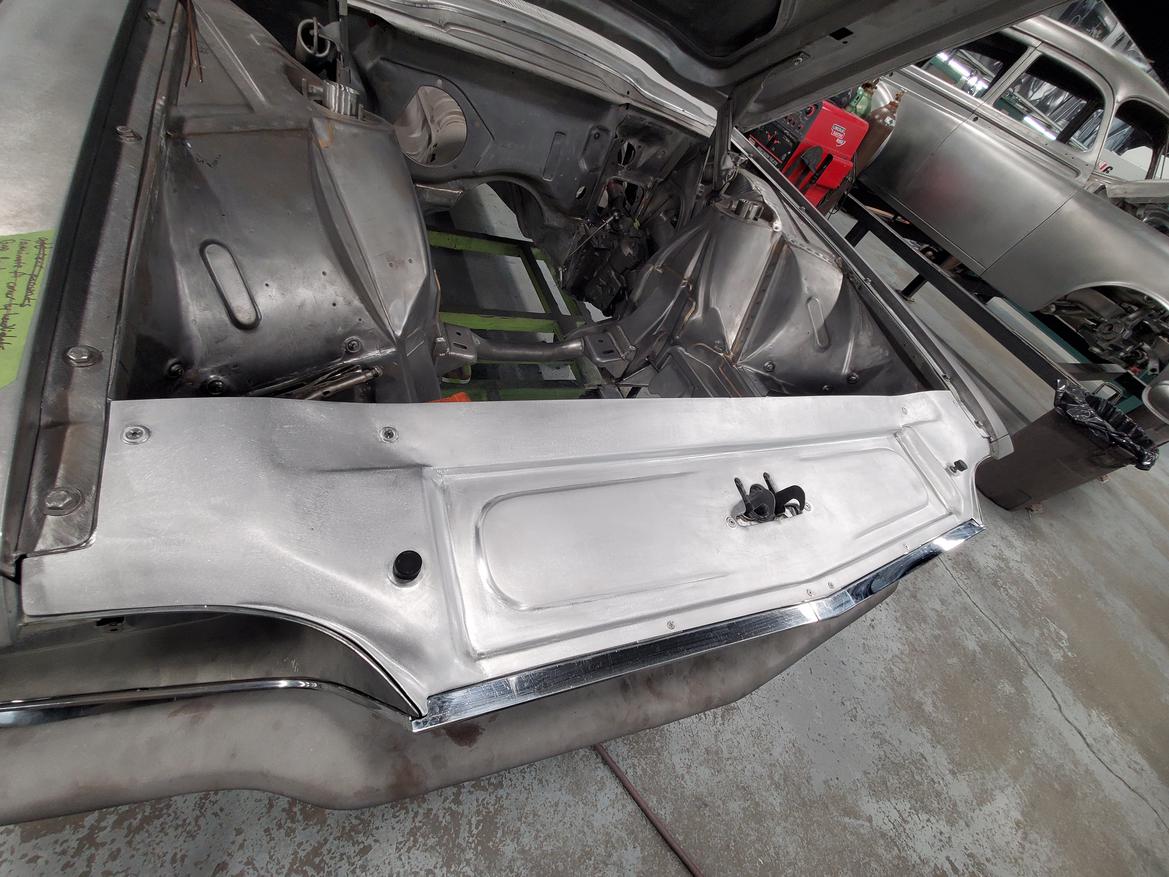
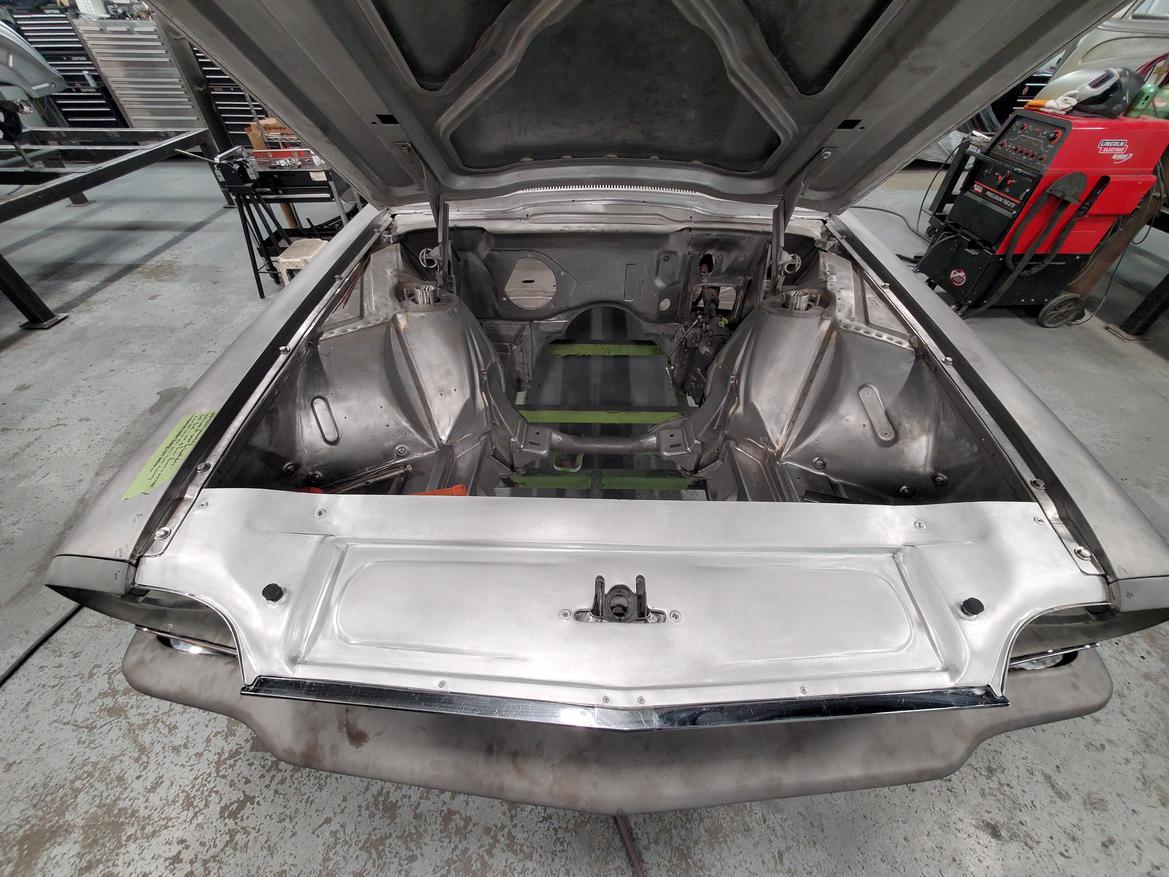
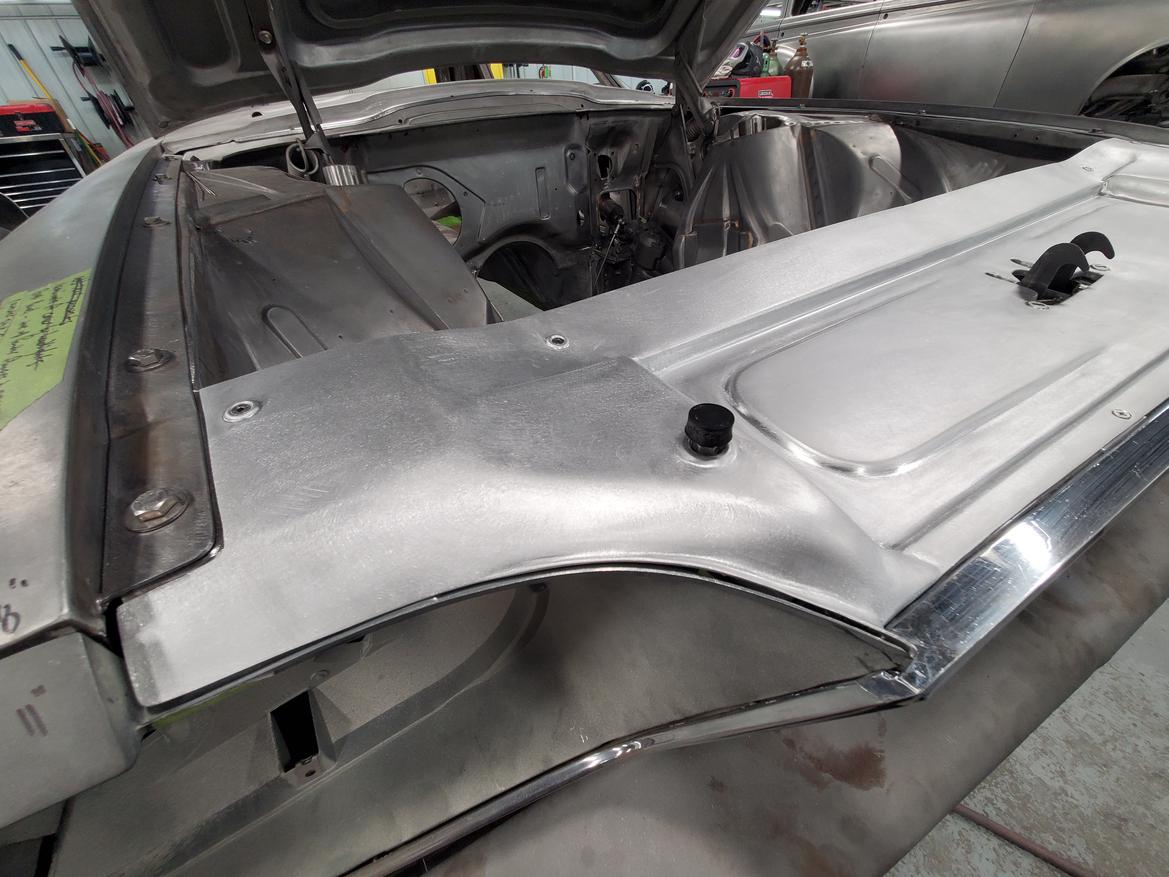
What size panel gap do you aim for and also did you just finish with 80 grit on a DA?
In reply to Spoonfed :
Stuff like that typically .125". Gives some final assembly leeway and room for powdercoat or primer / paint and still having a small margin for adjustments.
And yup. 80 on a DA for now
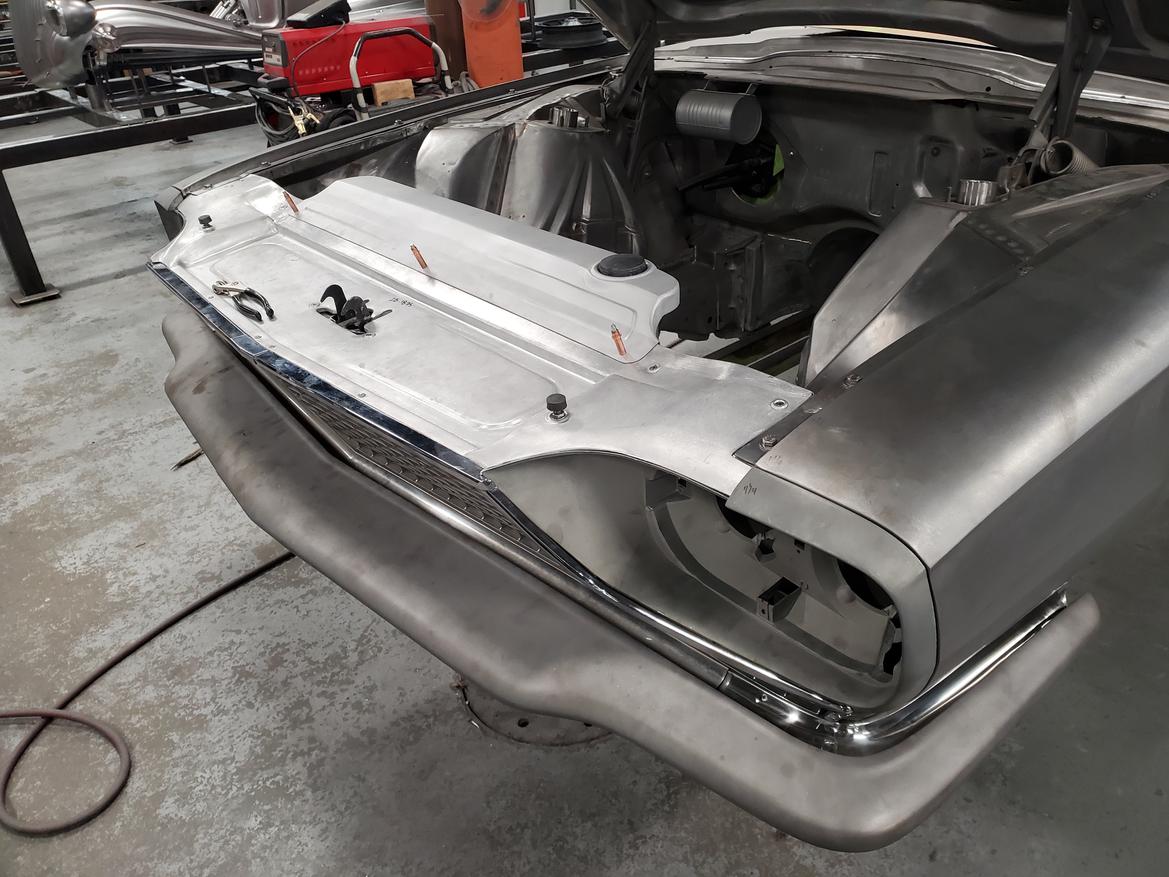
3d printed a mockup radiator so I could keep moving forward.
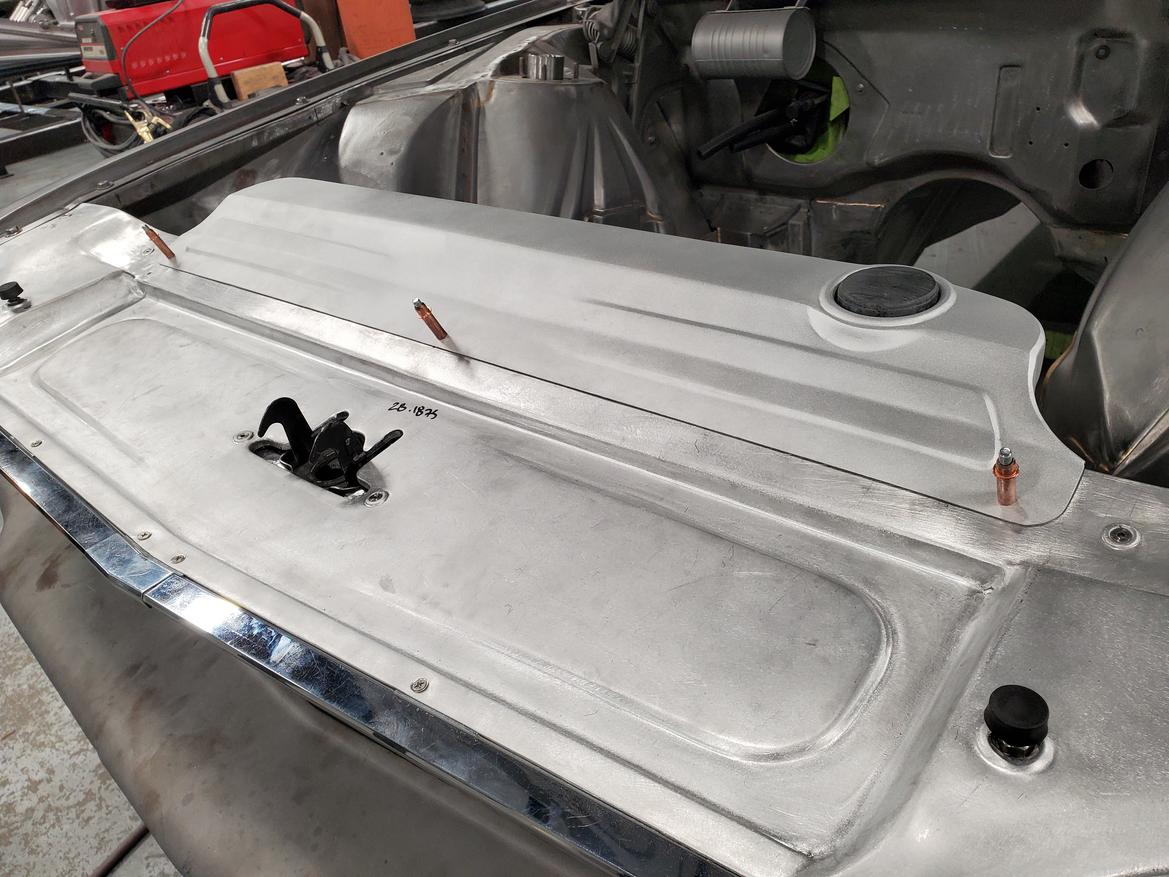
Still a load of work left...
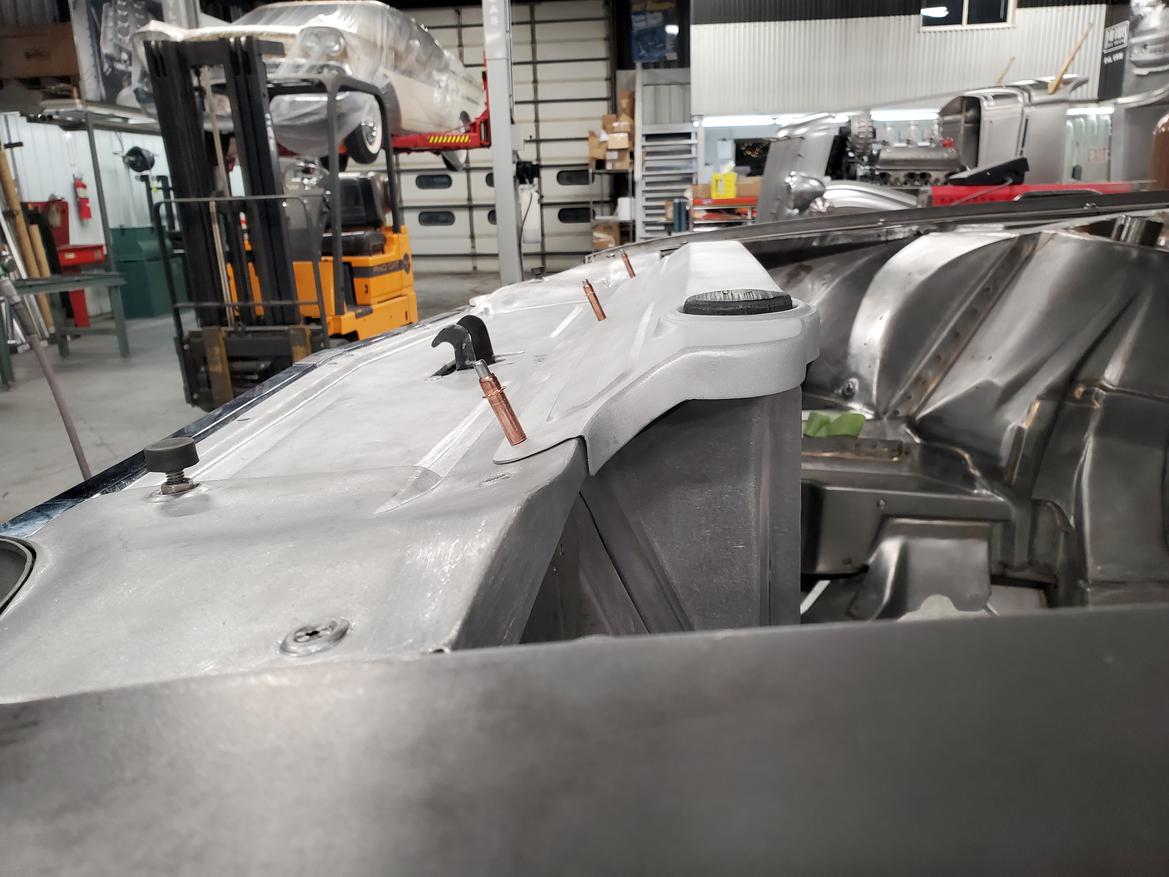
In reply to AngryCorvair (Forum Supporter) :
An electronic reciprocating sheet metal shaper from Sweeden. They rock. Been around forever. You can make your own dies and use them to form and shape sheet metal.
https://www.motortrend.com/how-to/0711sr-pullmax-machine-shop-equipment/
You can buy a used small one for a few grand. Used to be way cheaper but everybody wants to be a fabricator these days...as such prices have gone up. The one in daily use here is a few decades old. So don't be afraid of an old used good condition machine. Theyre work horses.
Not the one I use. But a stock photo off the net. 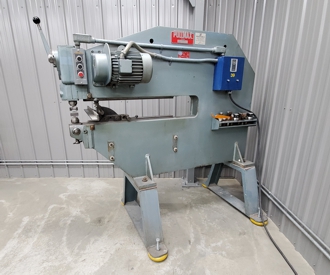
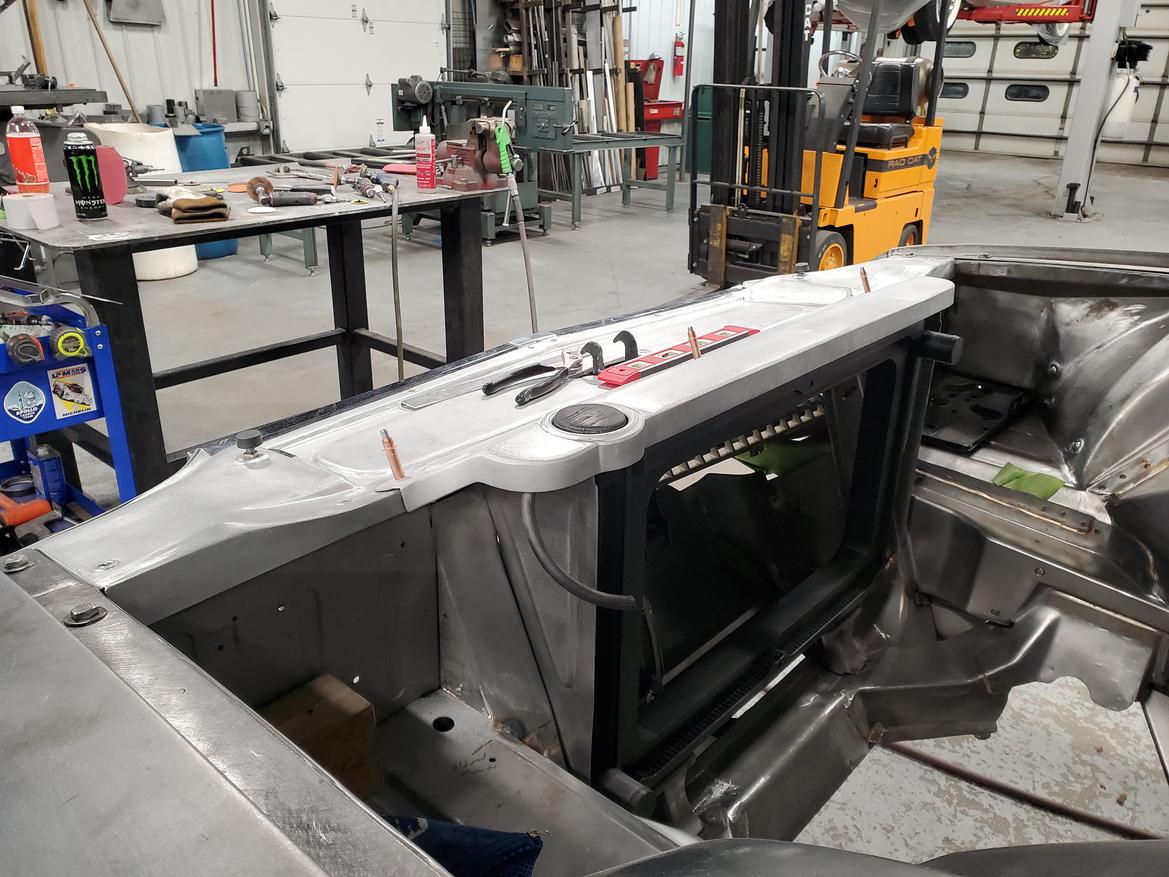
Just out of curiosity. How many hours did it take to build that radiator cover? IMO that cover looks pretty complicated to just be bent into form.

In reply to MyMiatas :
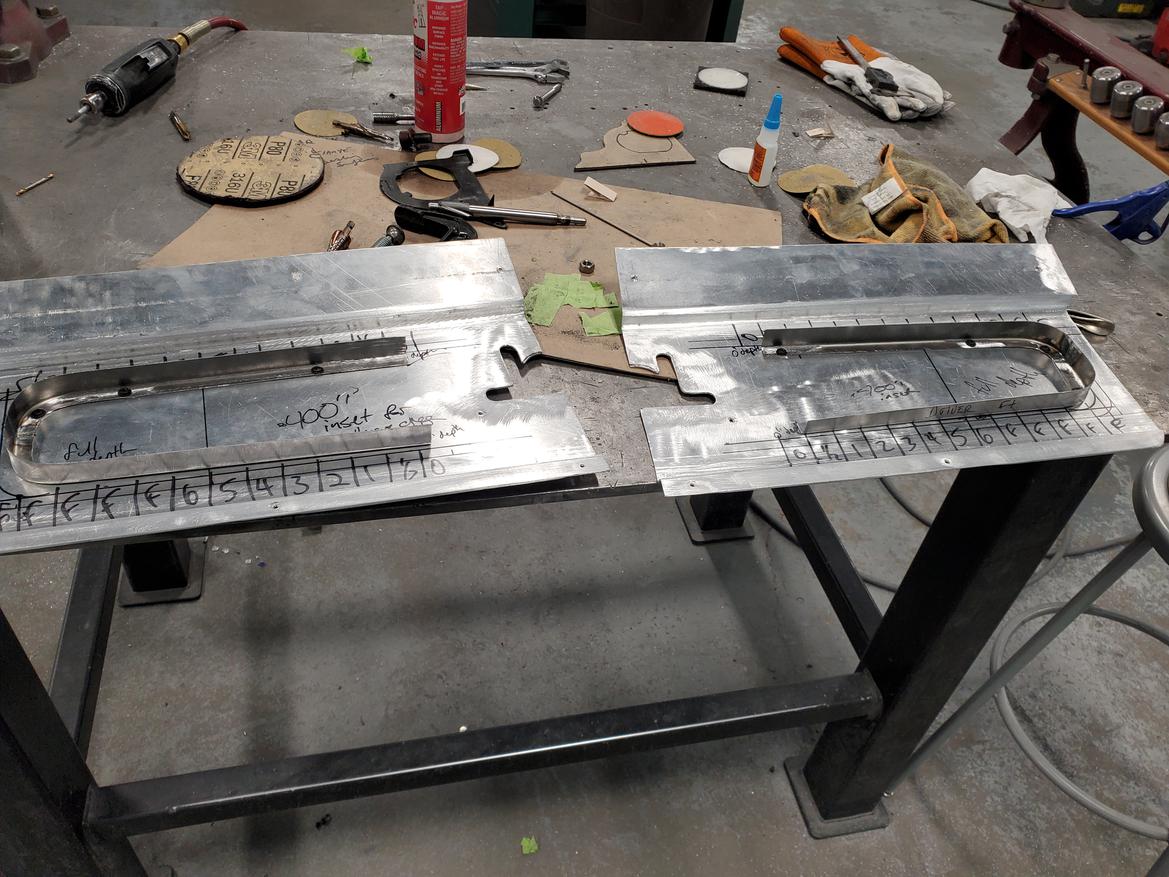
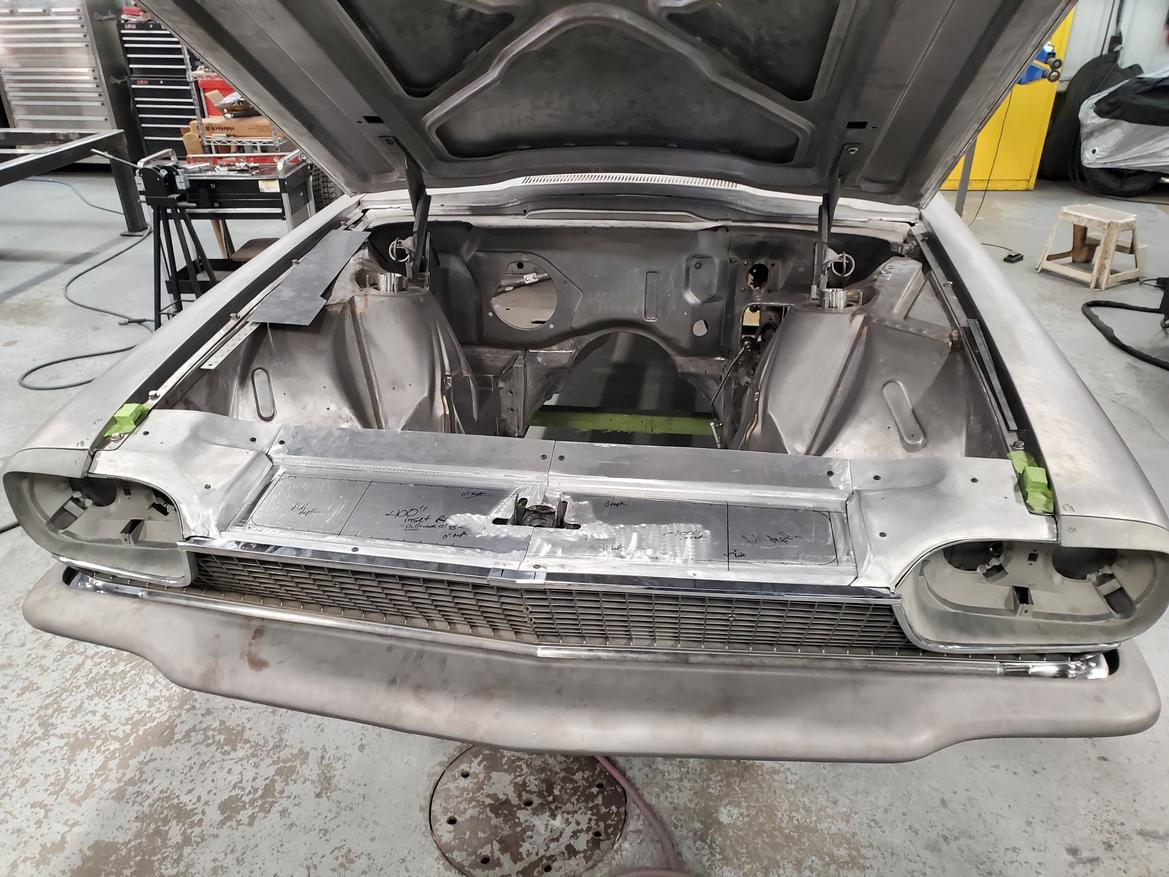
Couldn't tell you offhand. Days. But its a few hours here a few hours there with tons of other stuff interspersed. And it's not all bent in one go. There is a TON of work into getting those raised areas that fade in and out into the panel, same with the raised area for the radiator cap. Goal is to look OE, so the stuff is deceptively simple in appearance...when it truly takes a hell of a lot of work. But it doesn't look like somebody with a bead roller and a brake just went to town this way. It looks like a stamped piece.
Same reason I went back into the latch plate and stamped a recess for this to sit into...so it just doesn't bolt down on top and look like an after thought.
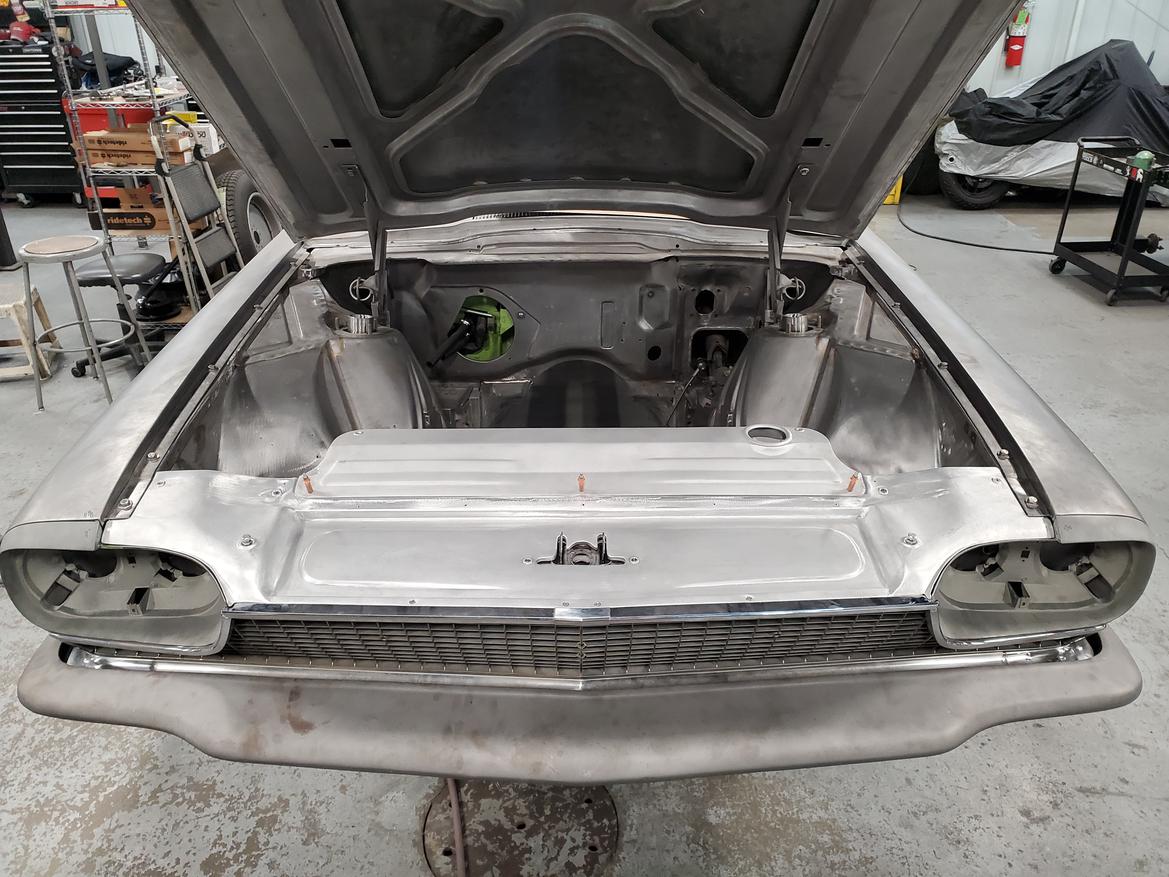
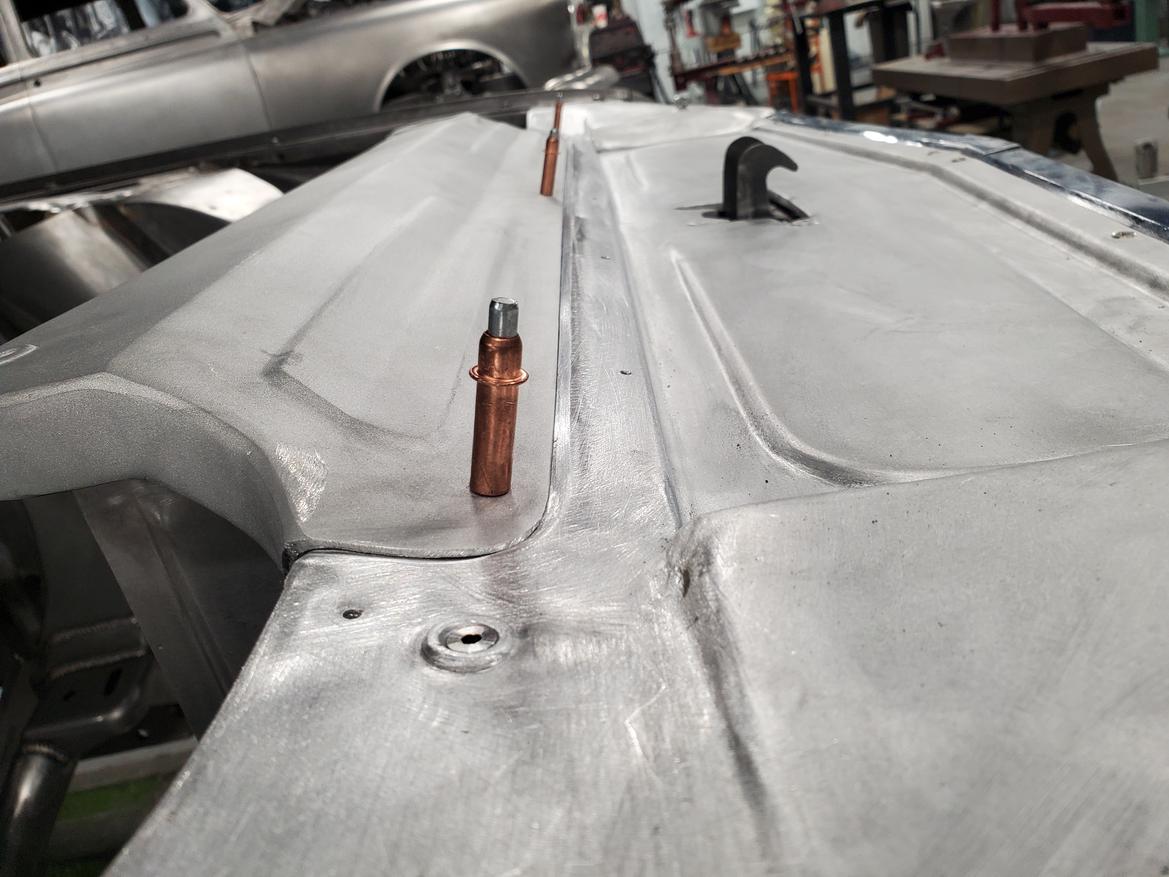
Again there is a ton of work still to go...but you can get a feel for where it's headed.
 dies used
 that's just a fraction of the tooling we have made through the years. There's loads and loads more.
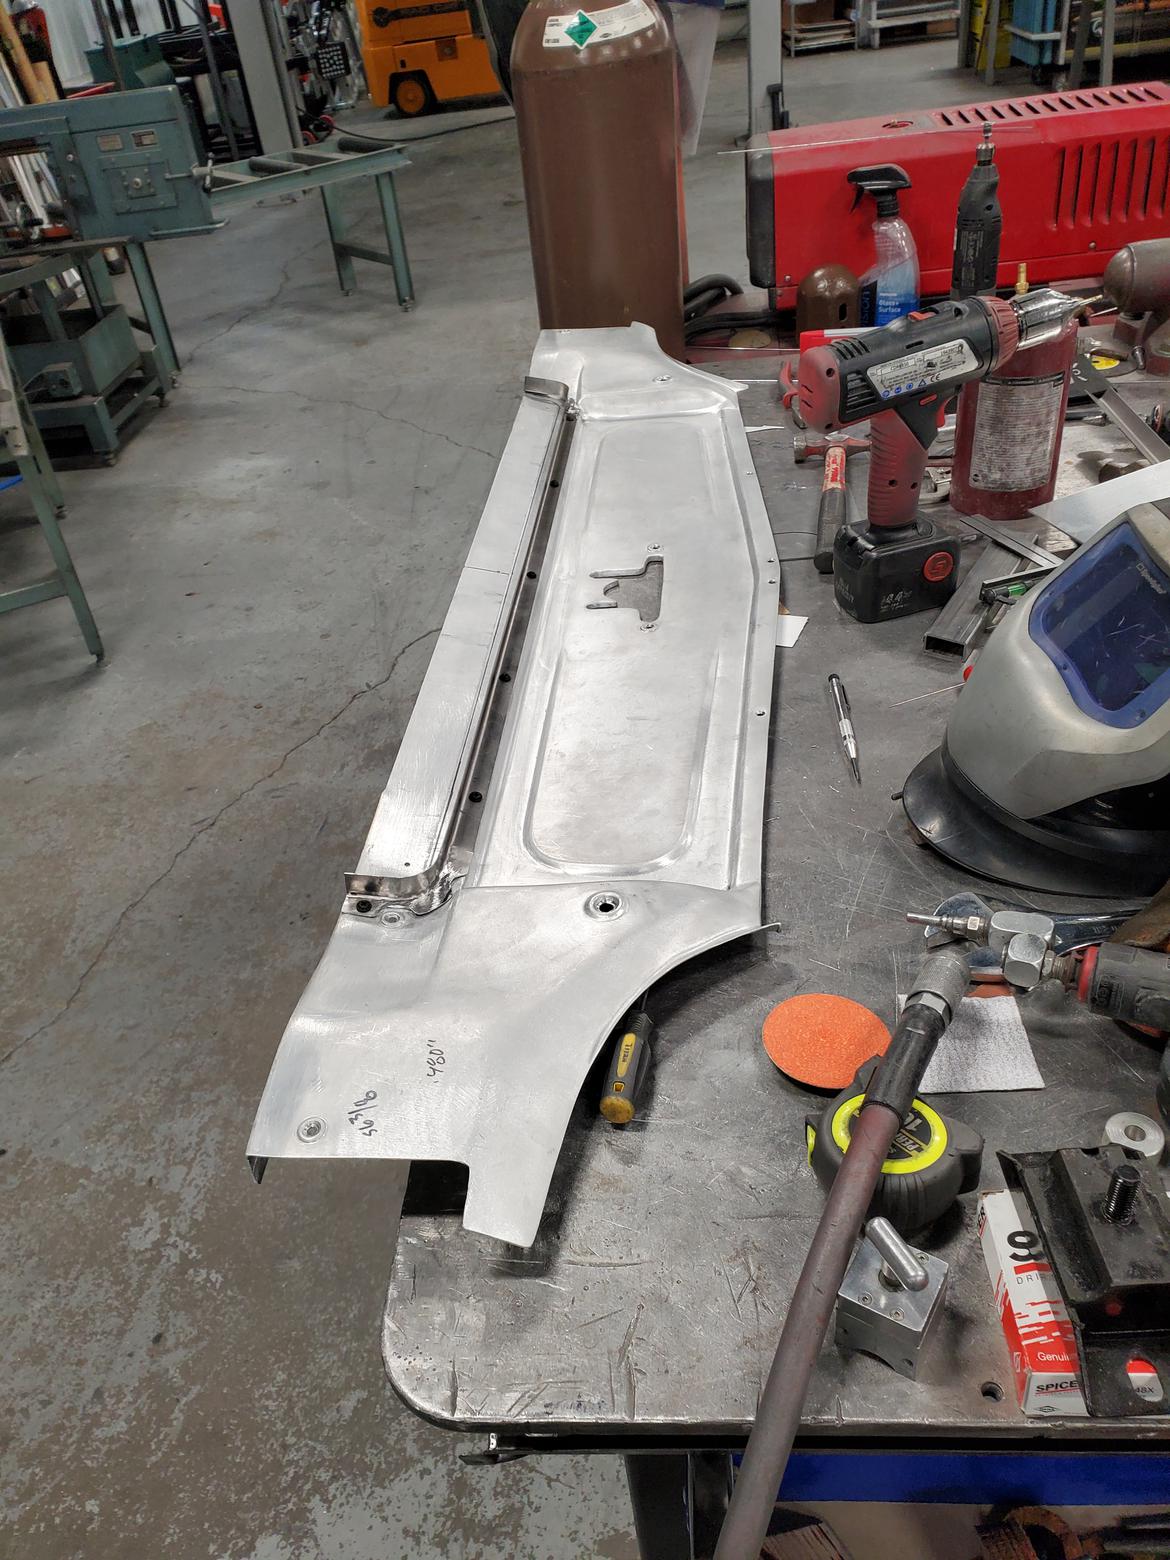
Panel laid out. Made a guide fence. And then stamped. I still have more cleanup to do, but its roughed in, in those earlier pictures.
That cover does NOT look like a after thought or aftermarket bolt on! Very impressive!


 dies used
  that's just a fraction of the tooling we have made through the years. There's loads and loads more.


