UPDATES: 6/5/2011
Note: I apologize for the less-detailed shots, my camera decided it wasn't going to work anymore so I am using the cell phone. Grumble-grumble.
So yesterday was 85 degrees outside and I spent a lot of it working on the Javelin! This was one of the longest sessions I've gotten ever and I made some terrific progress to prepare for the next round of parts.
Painted, too.
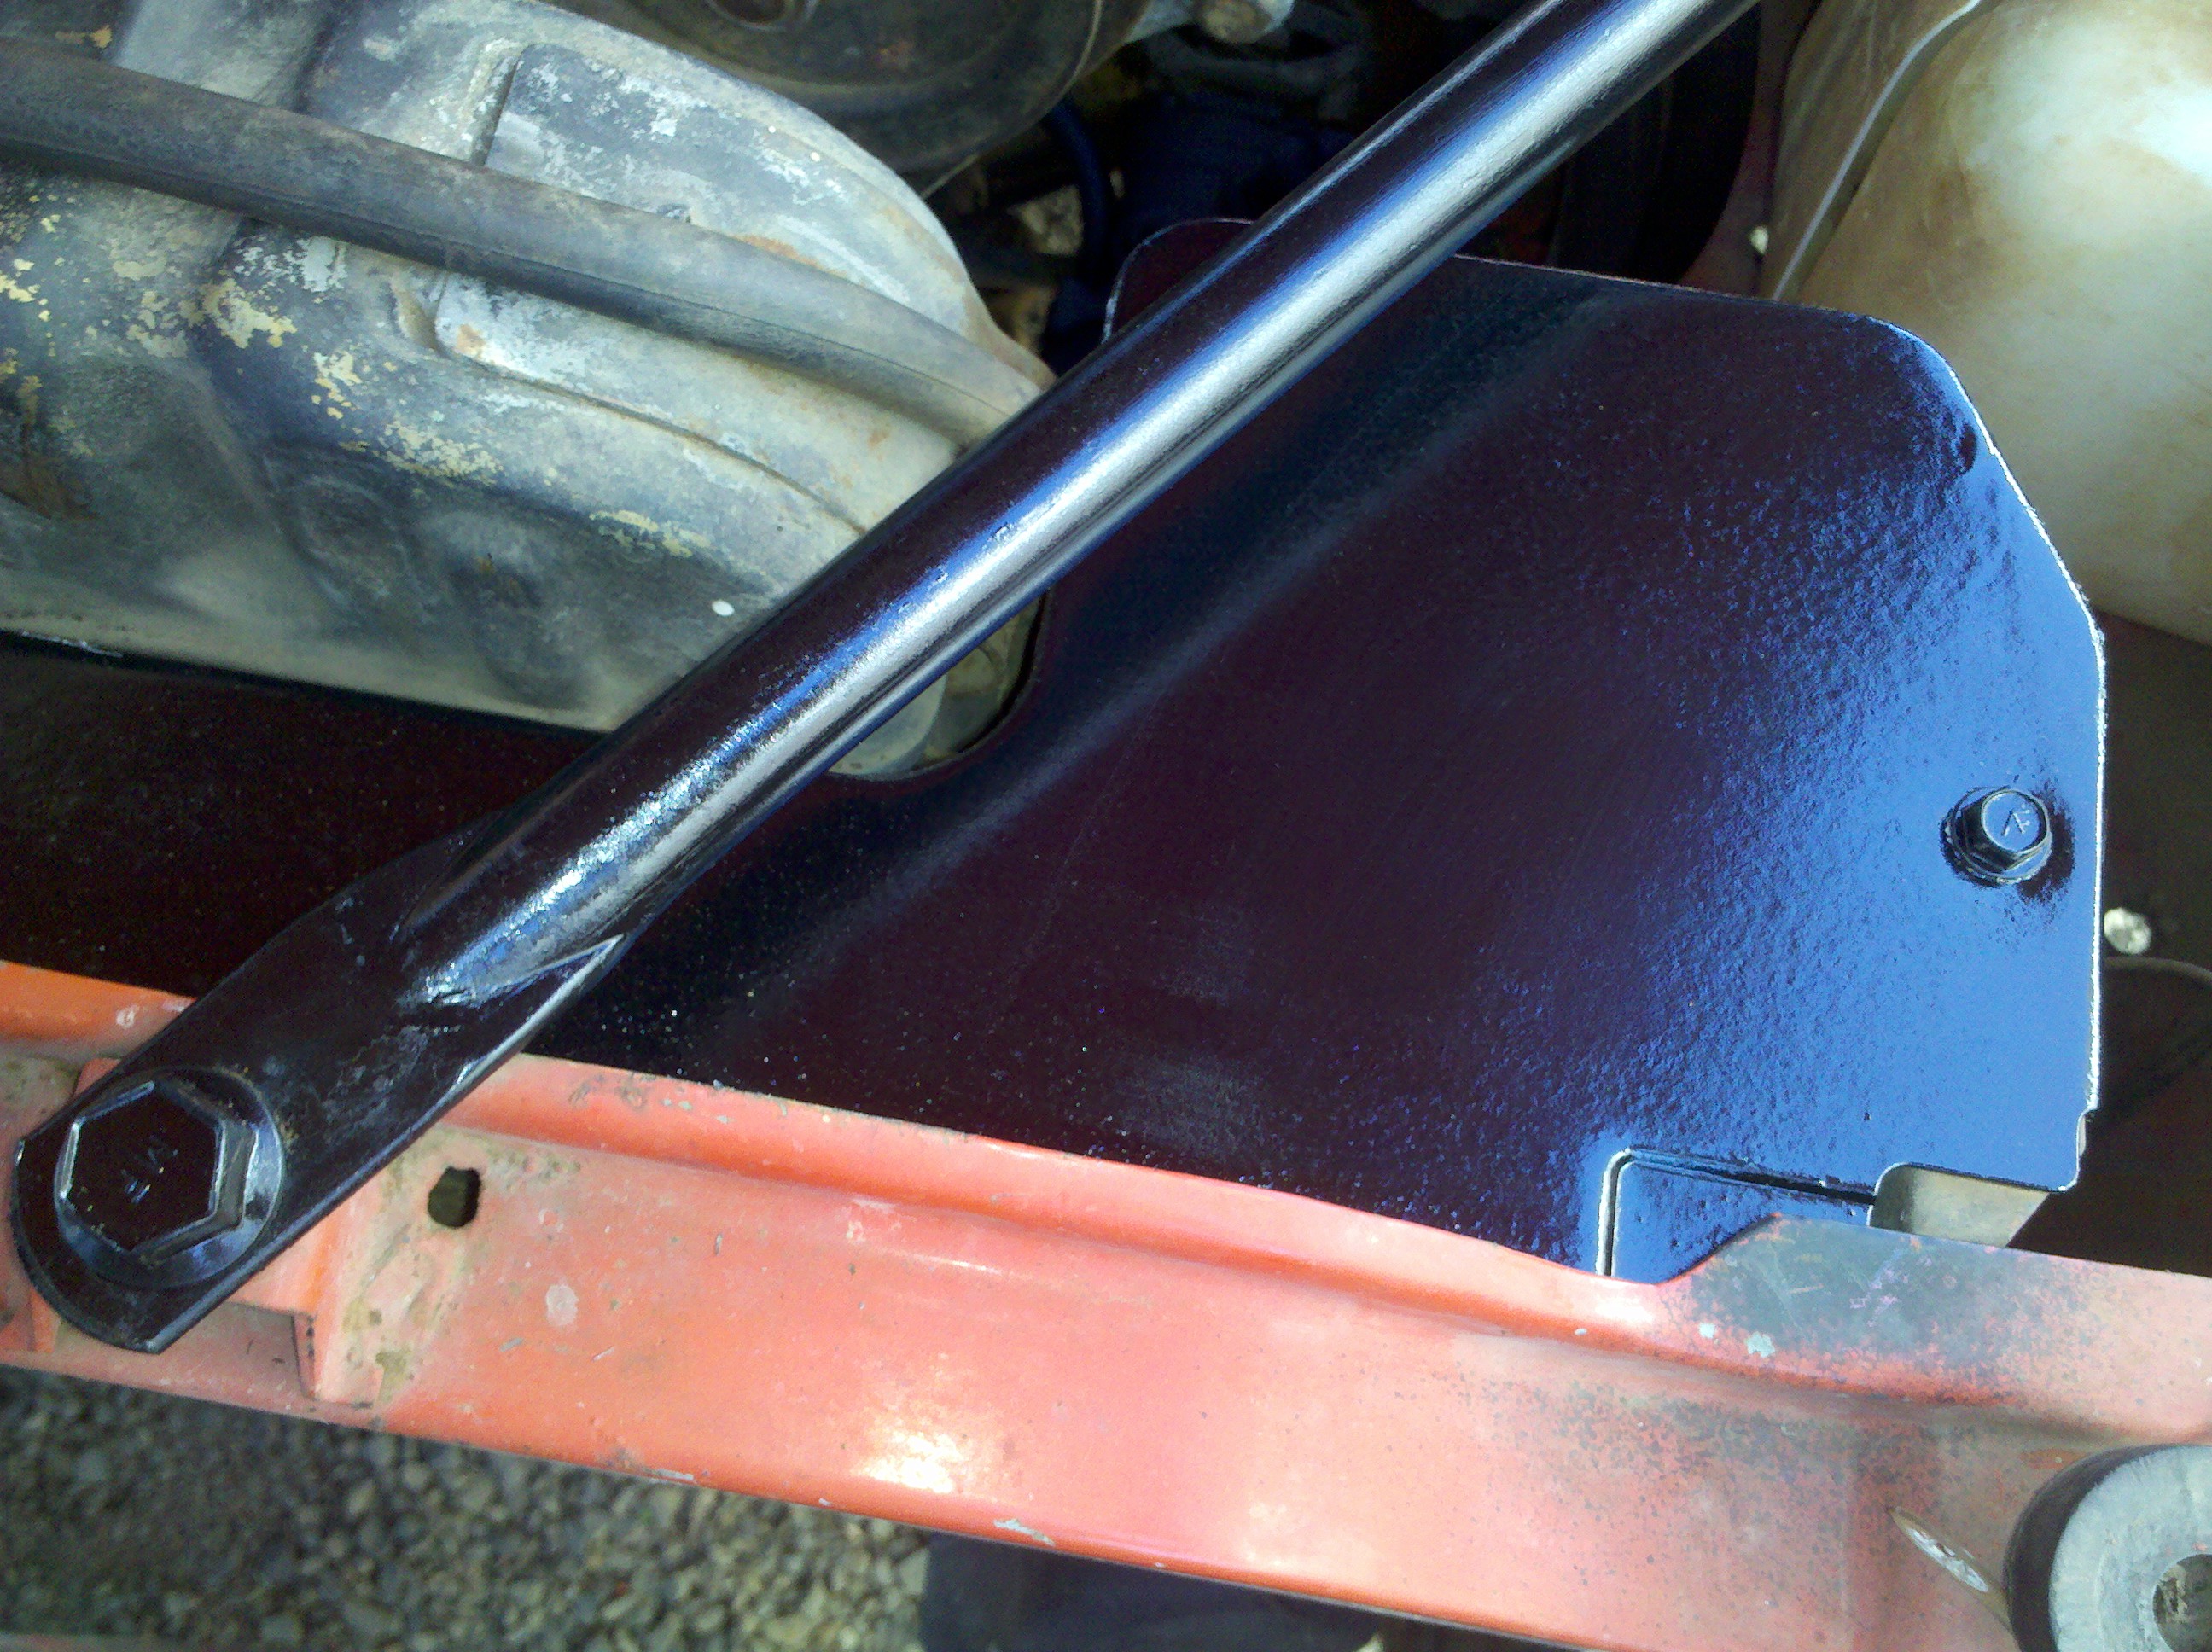
I wasn’t really clear in my last update, but when I said stuff was getting primered I didn’t mean that it was going to stay that way. I’ve been using my makeshift paint booth area to prime and paint brackets and pieces from the car after sanding them down. I’ve been restoring the hardware as well. This is the radiator filler plate and driver’s fender brace, both done in factory gloss black. Yes, I realize the outside of the car looks like poo, but that doesn’t mean under the hood has to.
Rust-B-Gone!
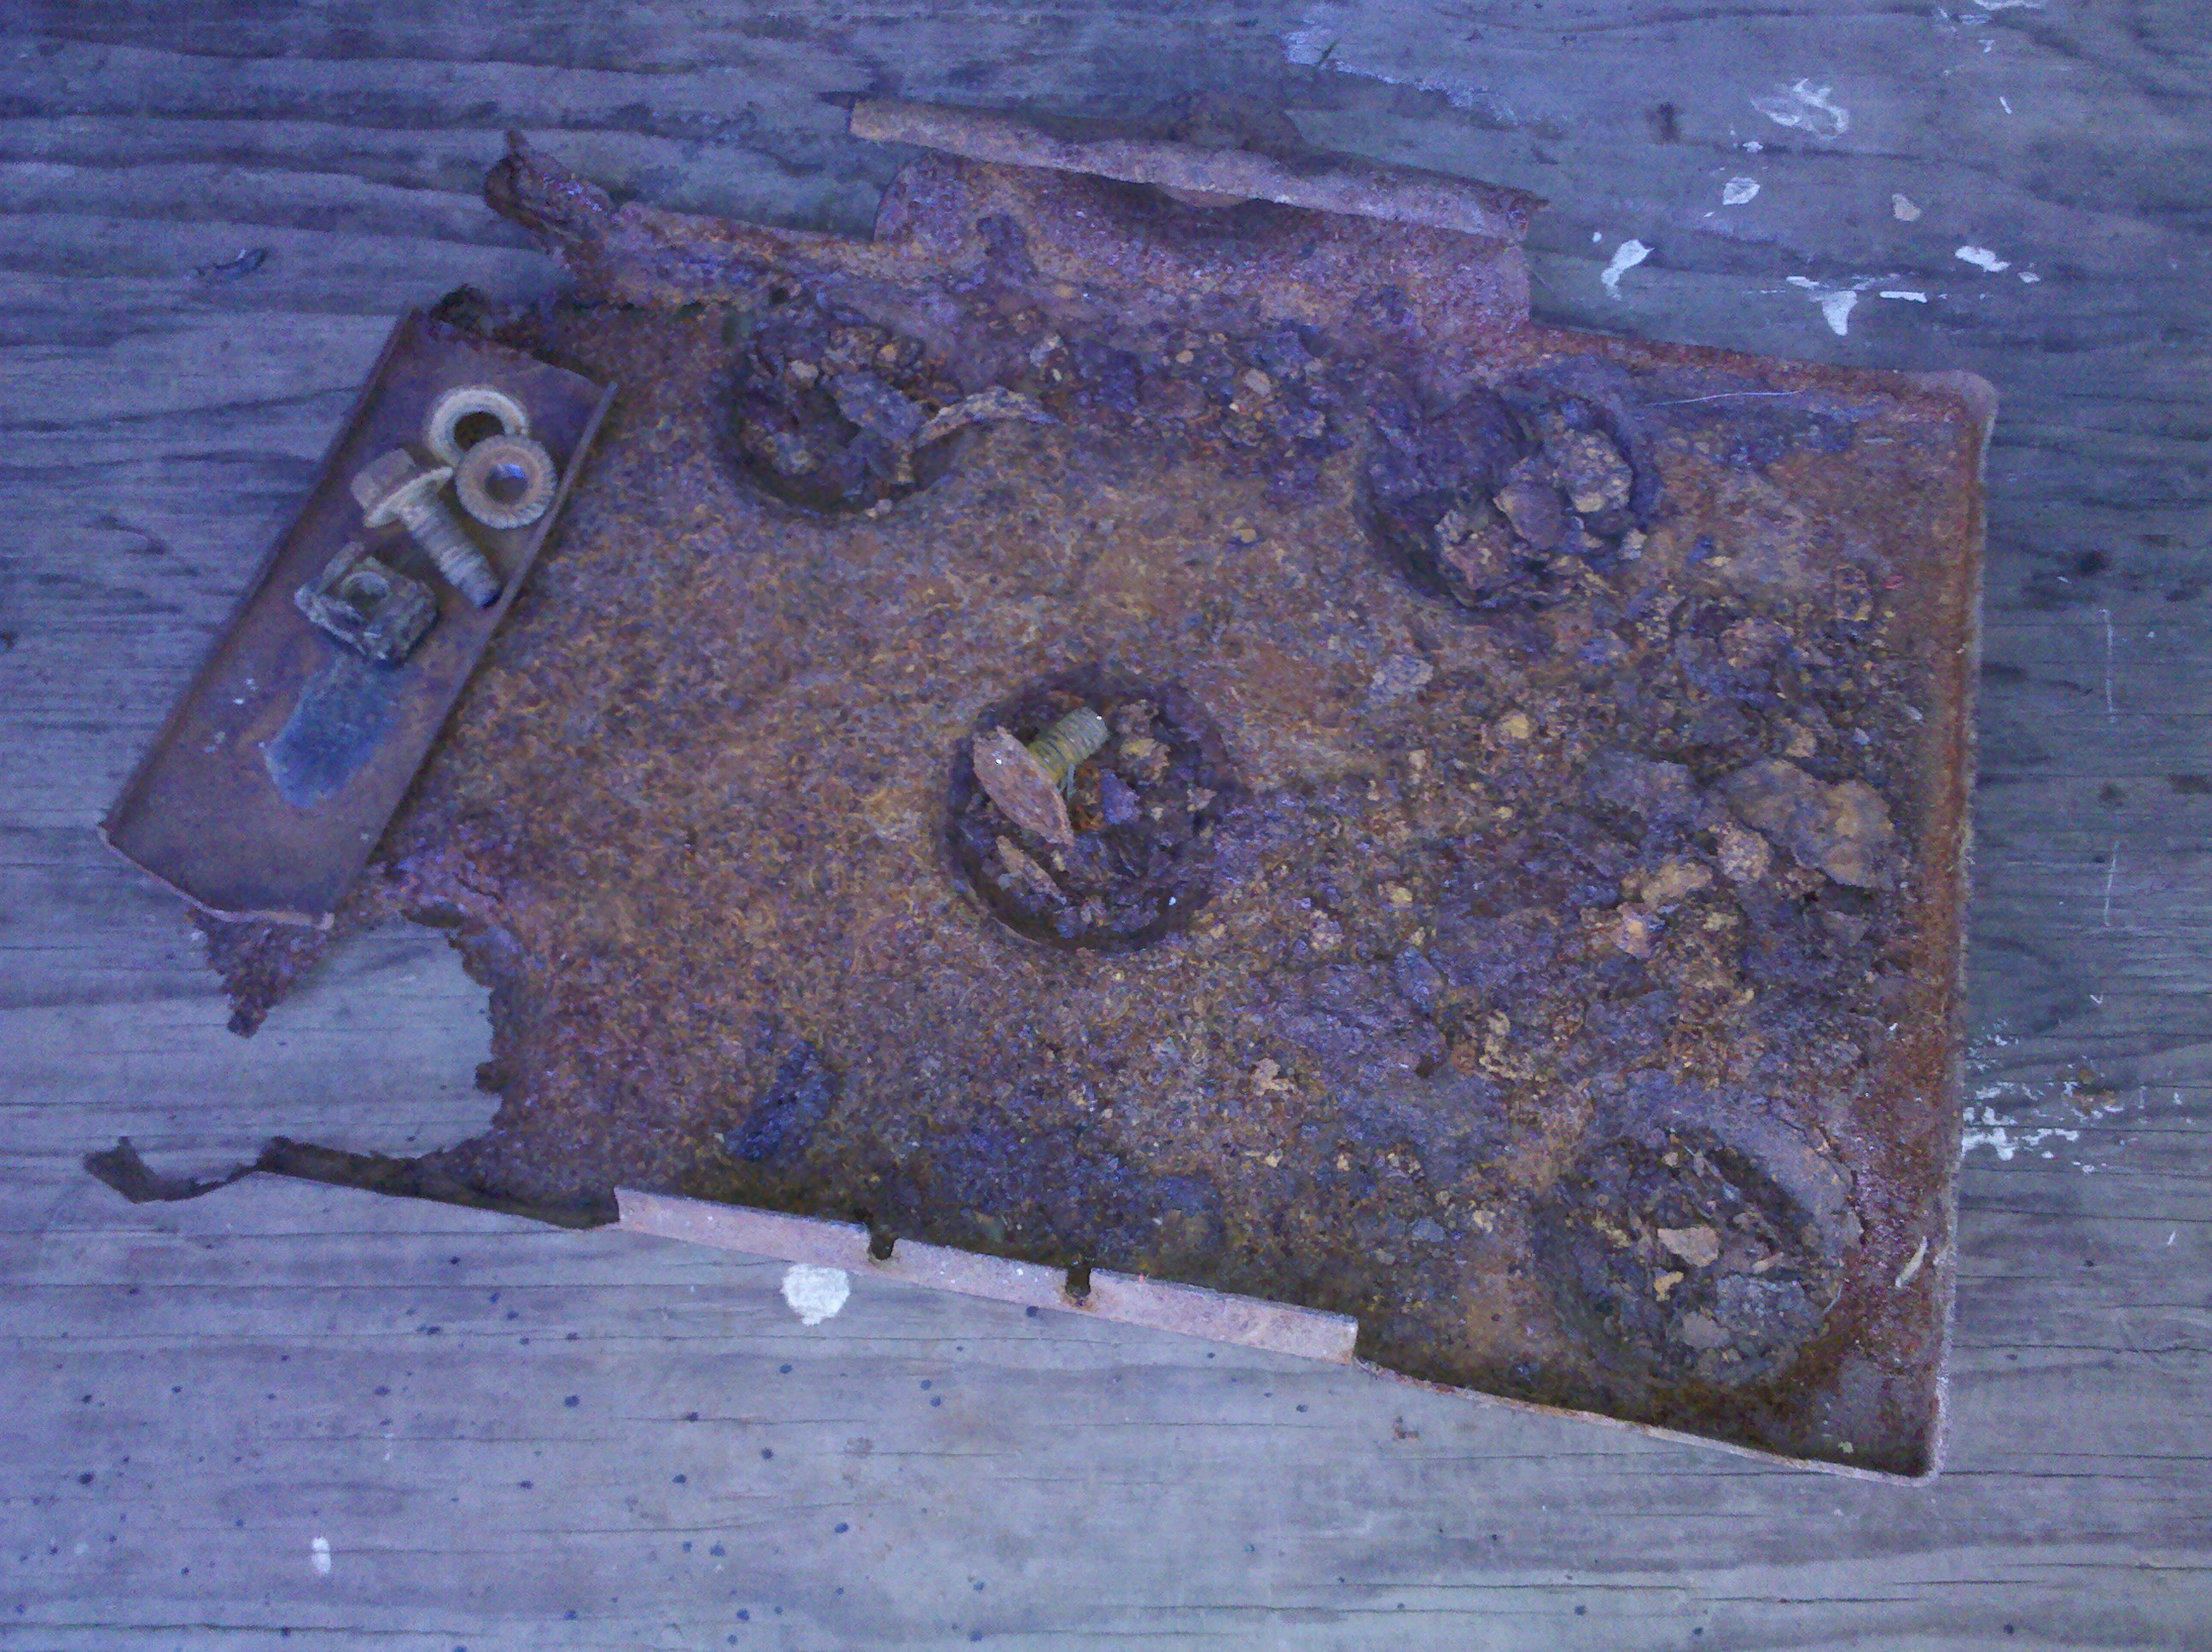
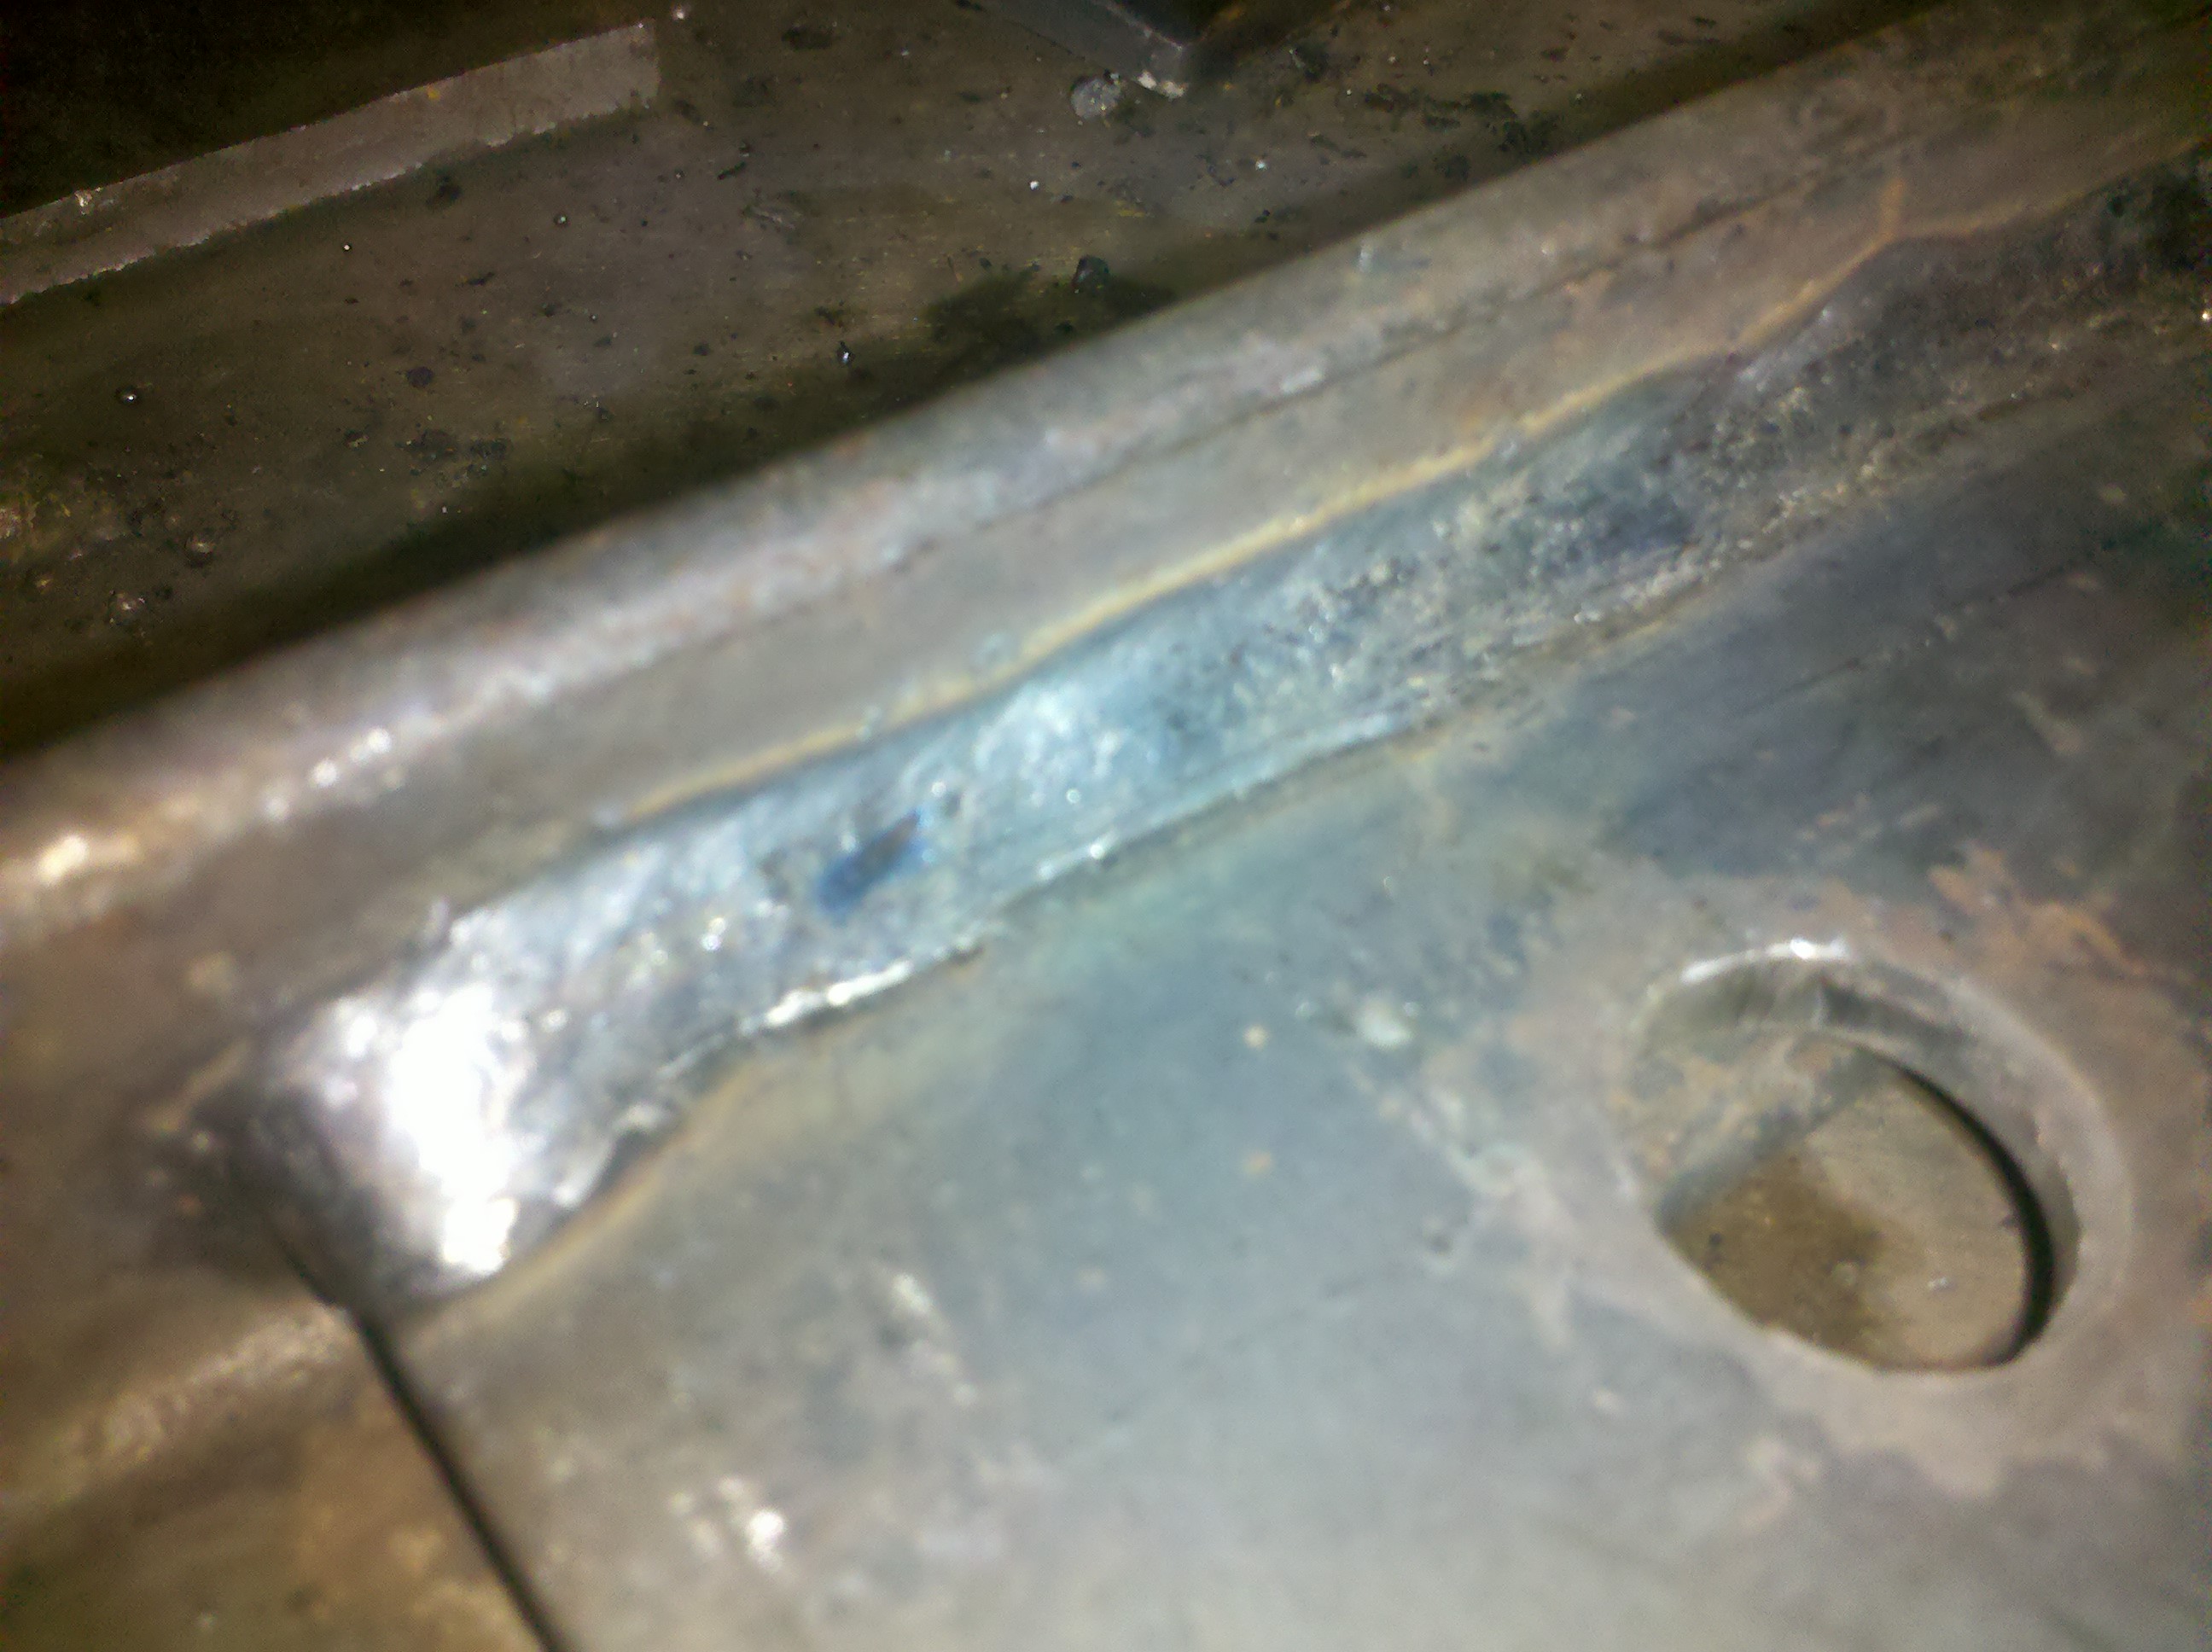
One of the worst areas of rust on the Javelin is pretty common amongst all cars, the battery tray. At some point in it’s life some acid leaked onto it and it was heavily destroyed. Luckily these are both removable and remanufactured. Since my new one is on it’s way I had to remove the old one. Two bolts came out without much grief, but the third and final one required some chiseling, some choice words, and one gouge to my forearm (hooray for cleaning rust out of bloody wounds!) to come loose. It’s all out and prep work on the metal underneath can begin.
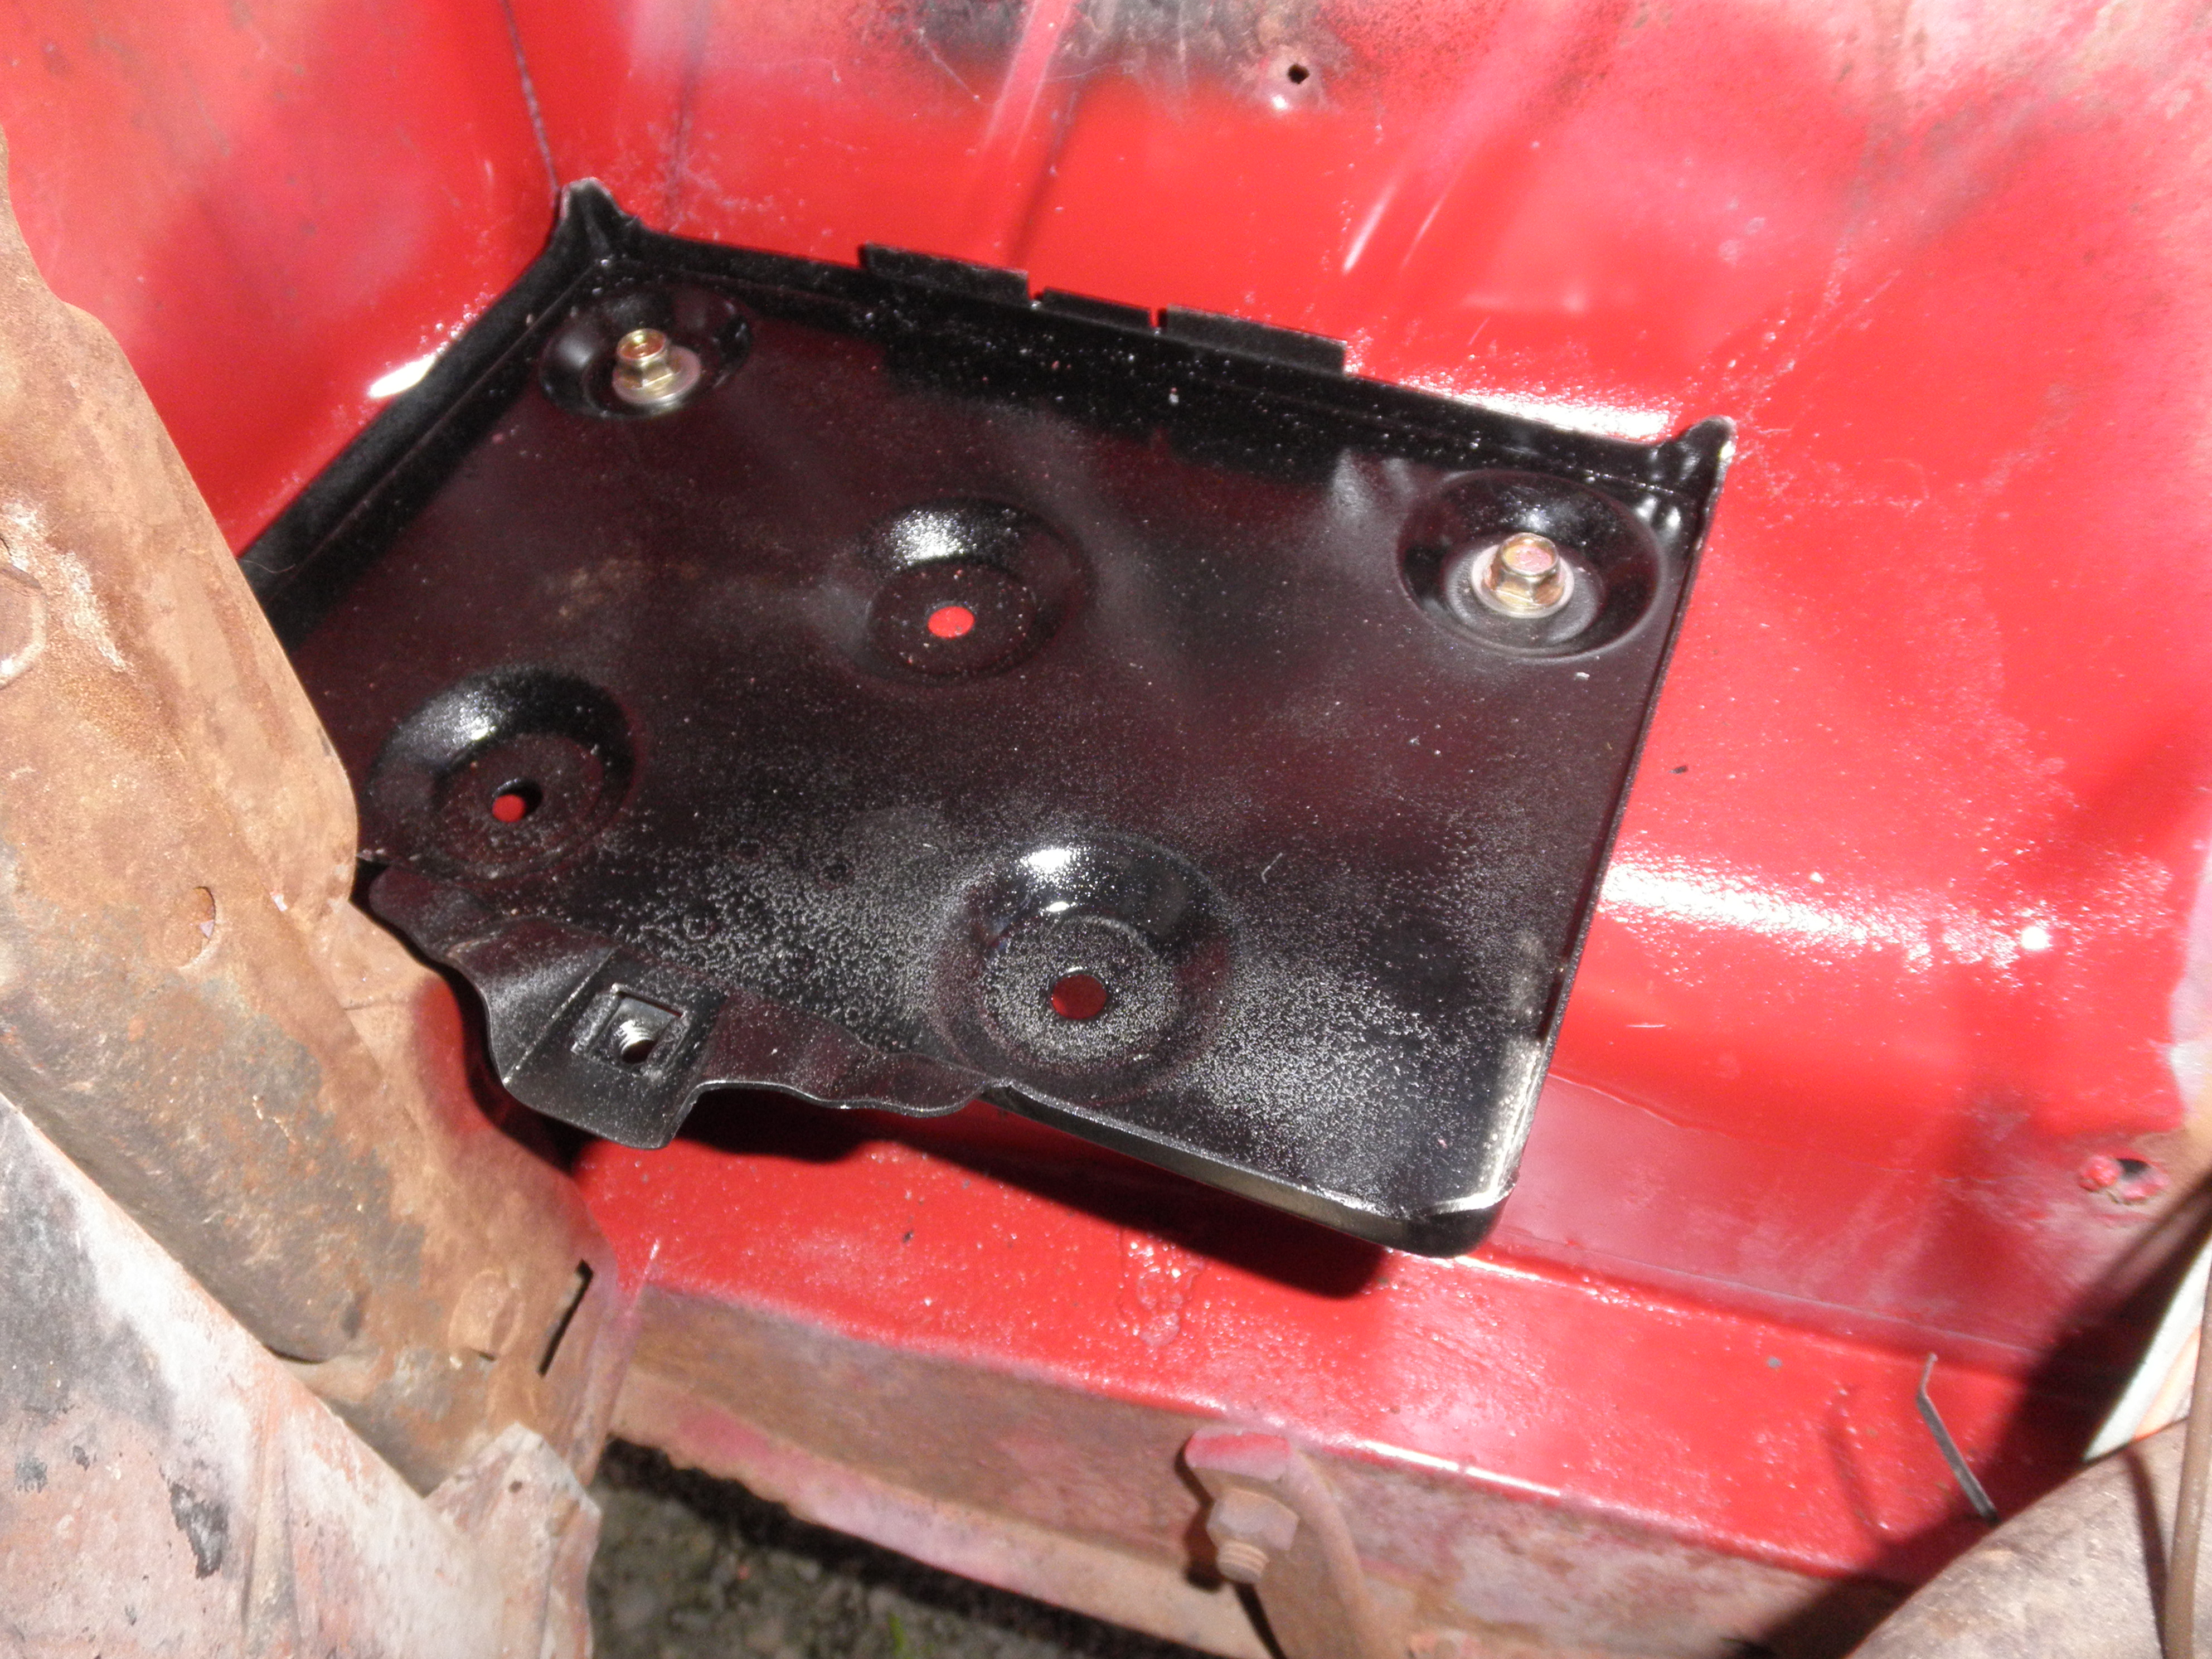
Ready for re-installation
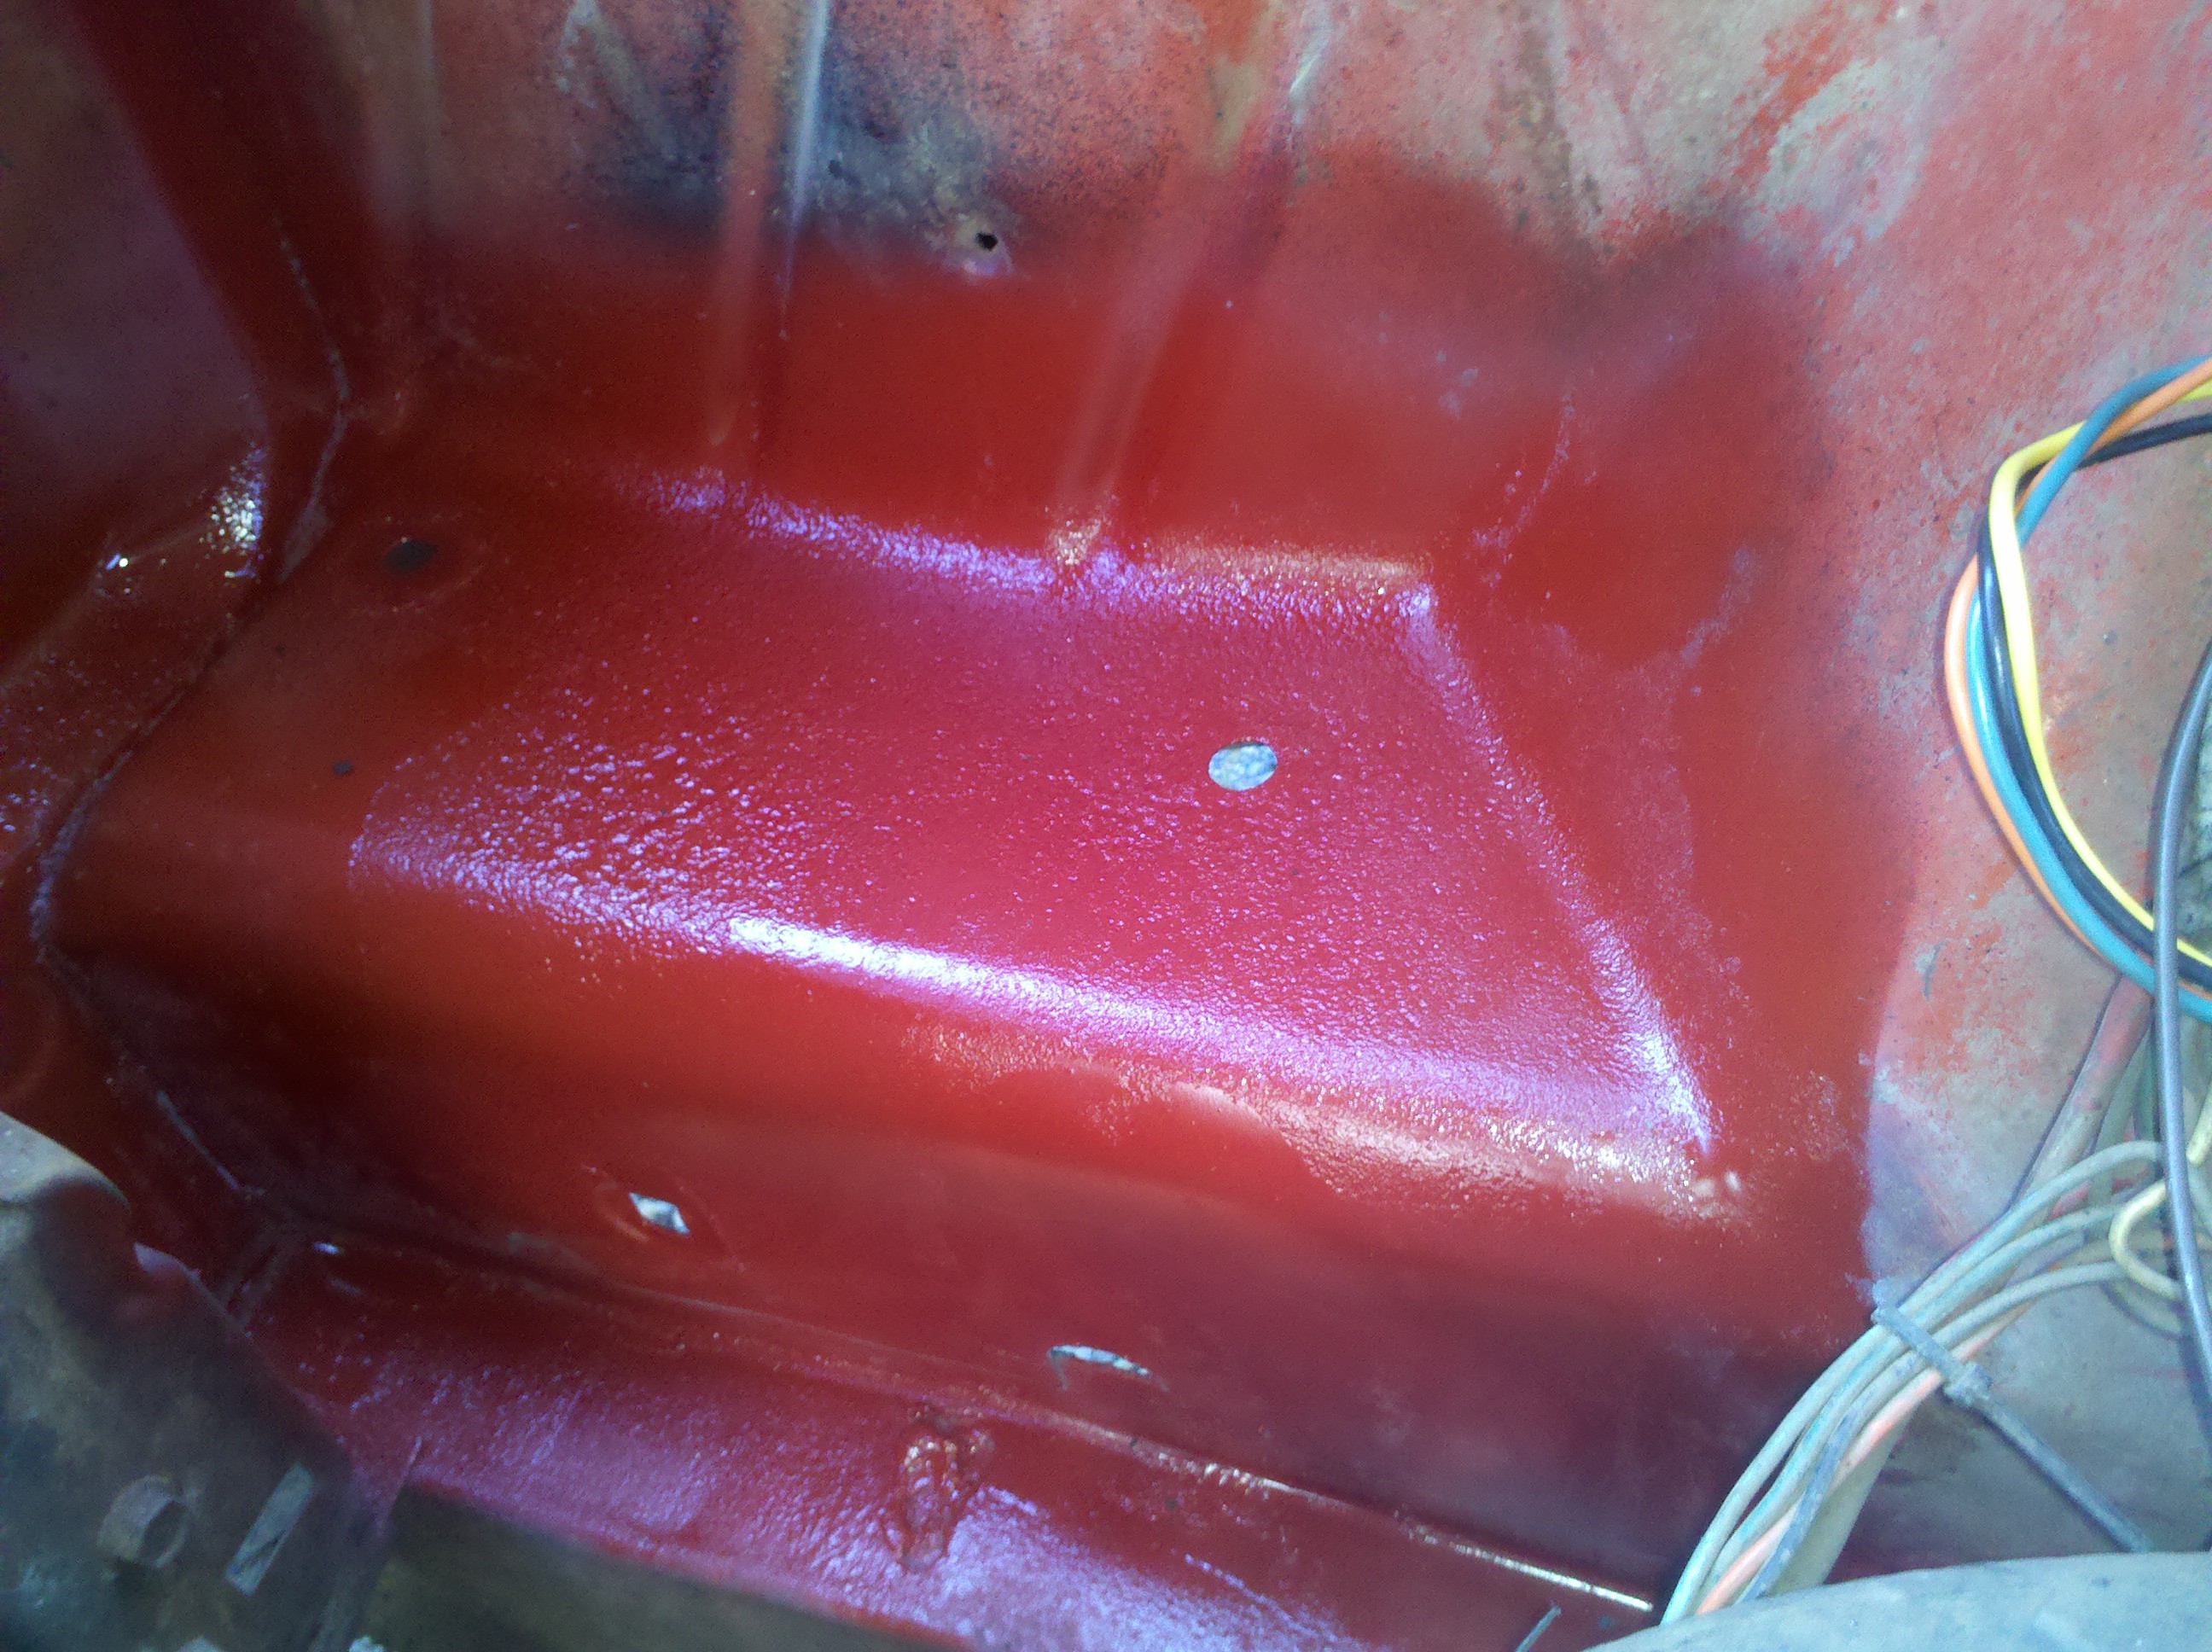
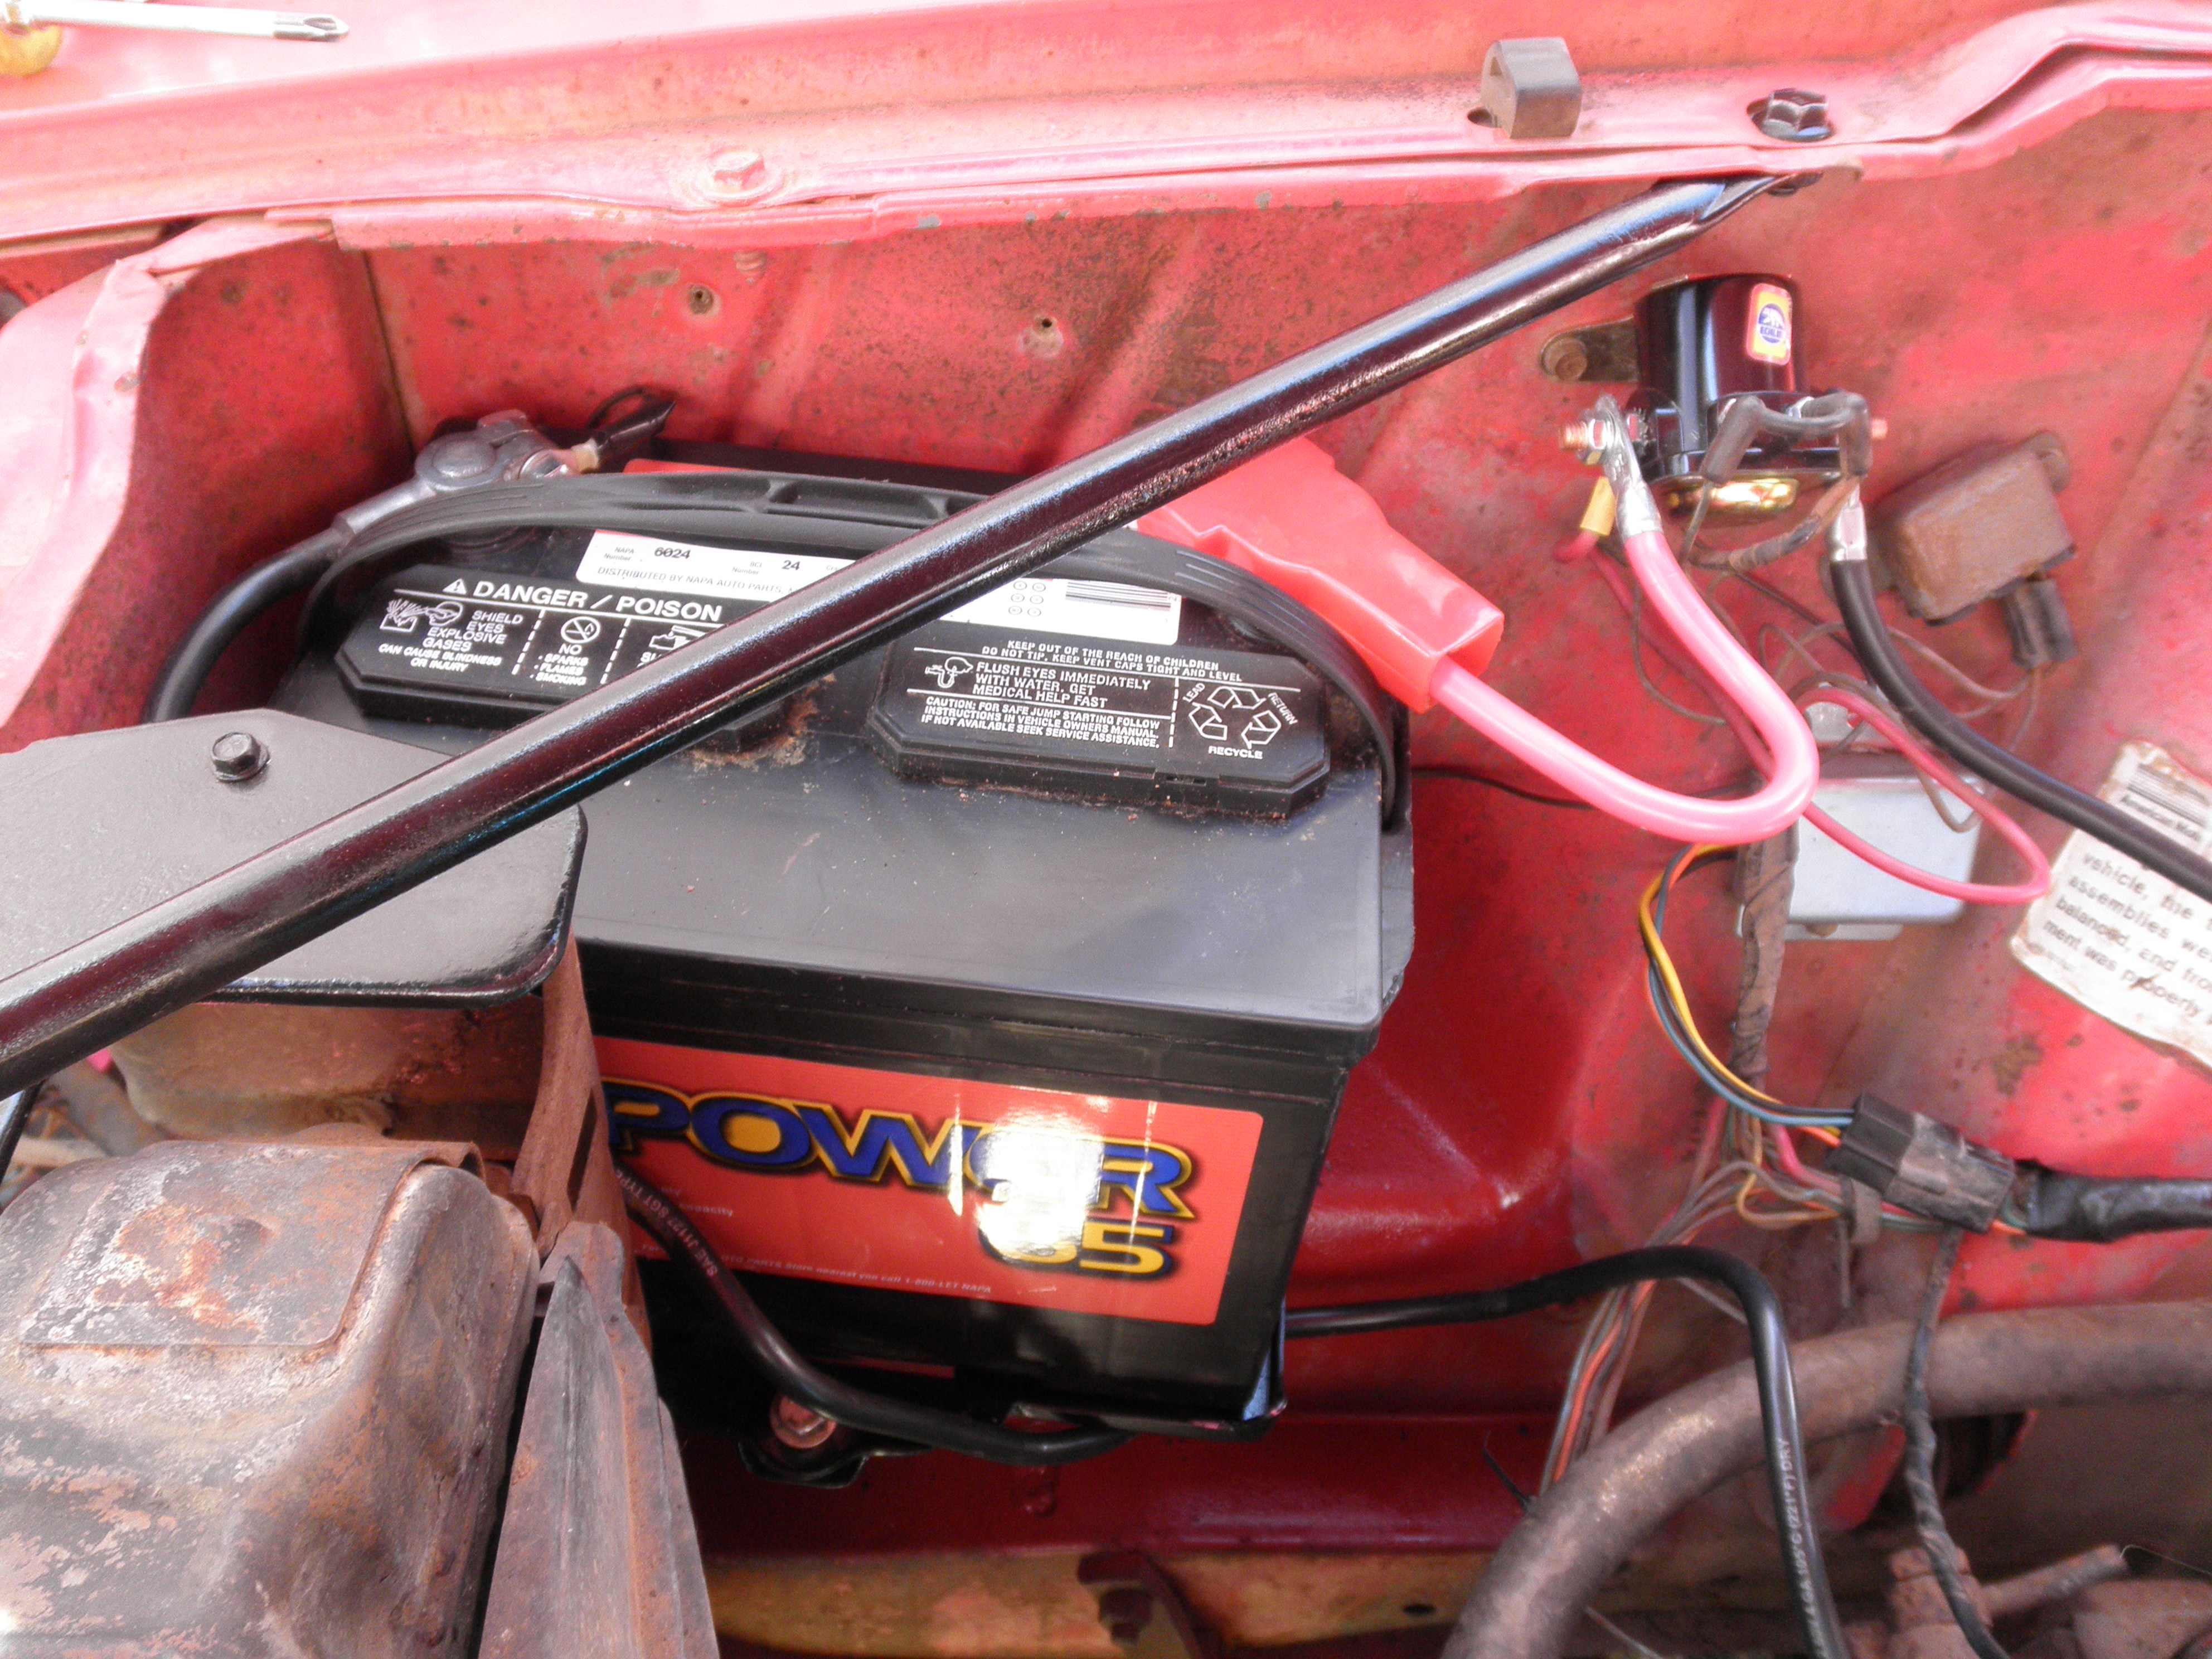
The battery tray bolts to the inner fender apron, and mine was pretty solid underneath. A few minutes with the wire wheel, some wire brushes, and primer and paint and it’s good as new. At some point I will probably move the battery to the trunk but for now the factory location will be fine. I’m just happy that the metal was all in good shape under that horrific battery tray!
A little more blue...
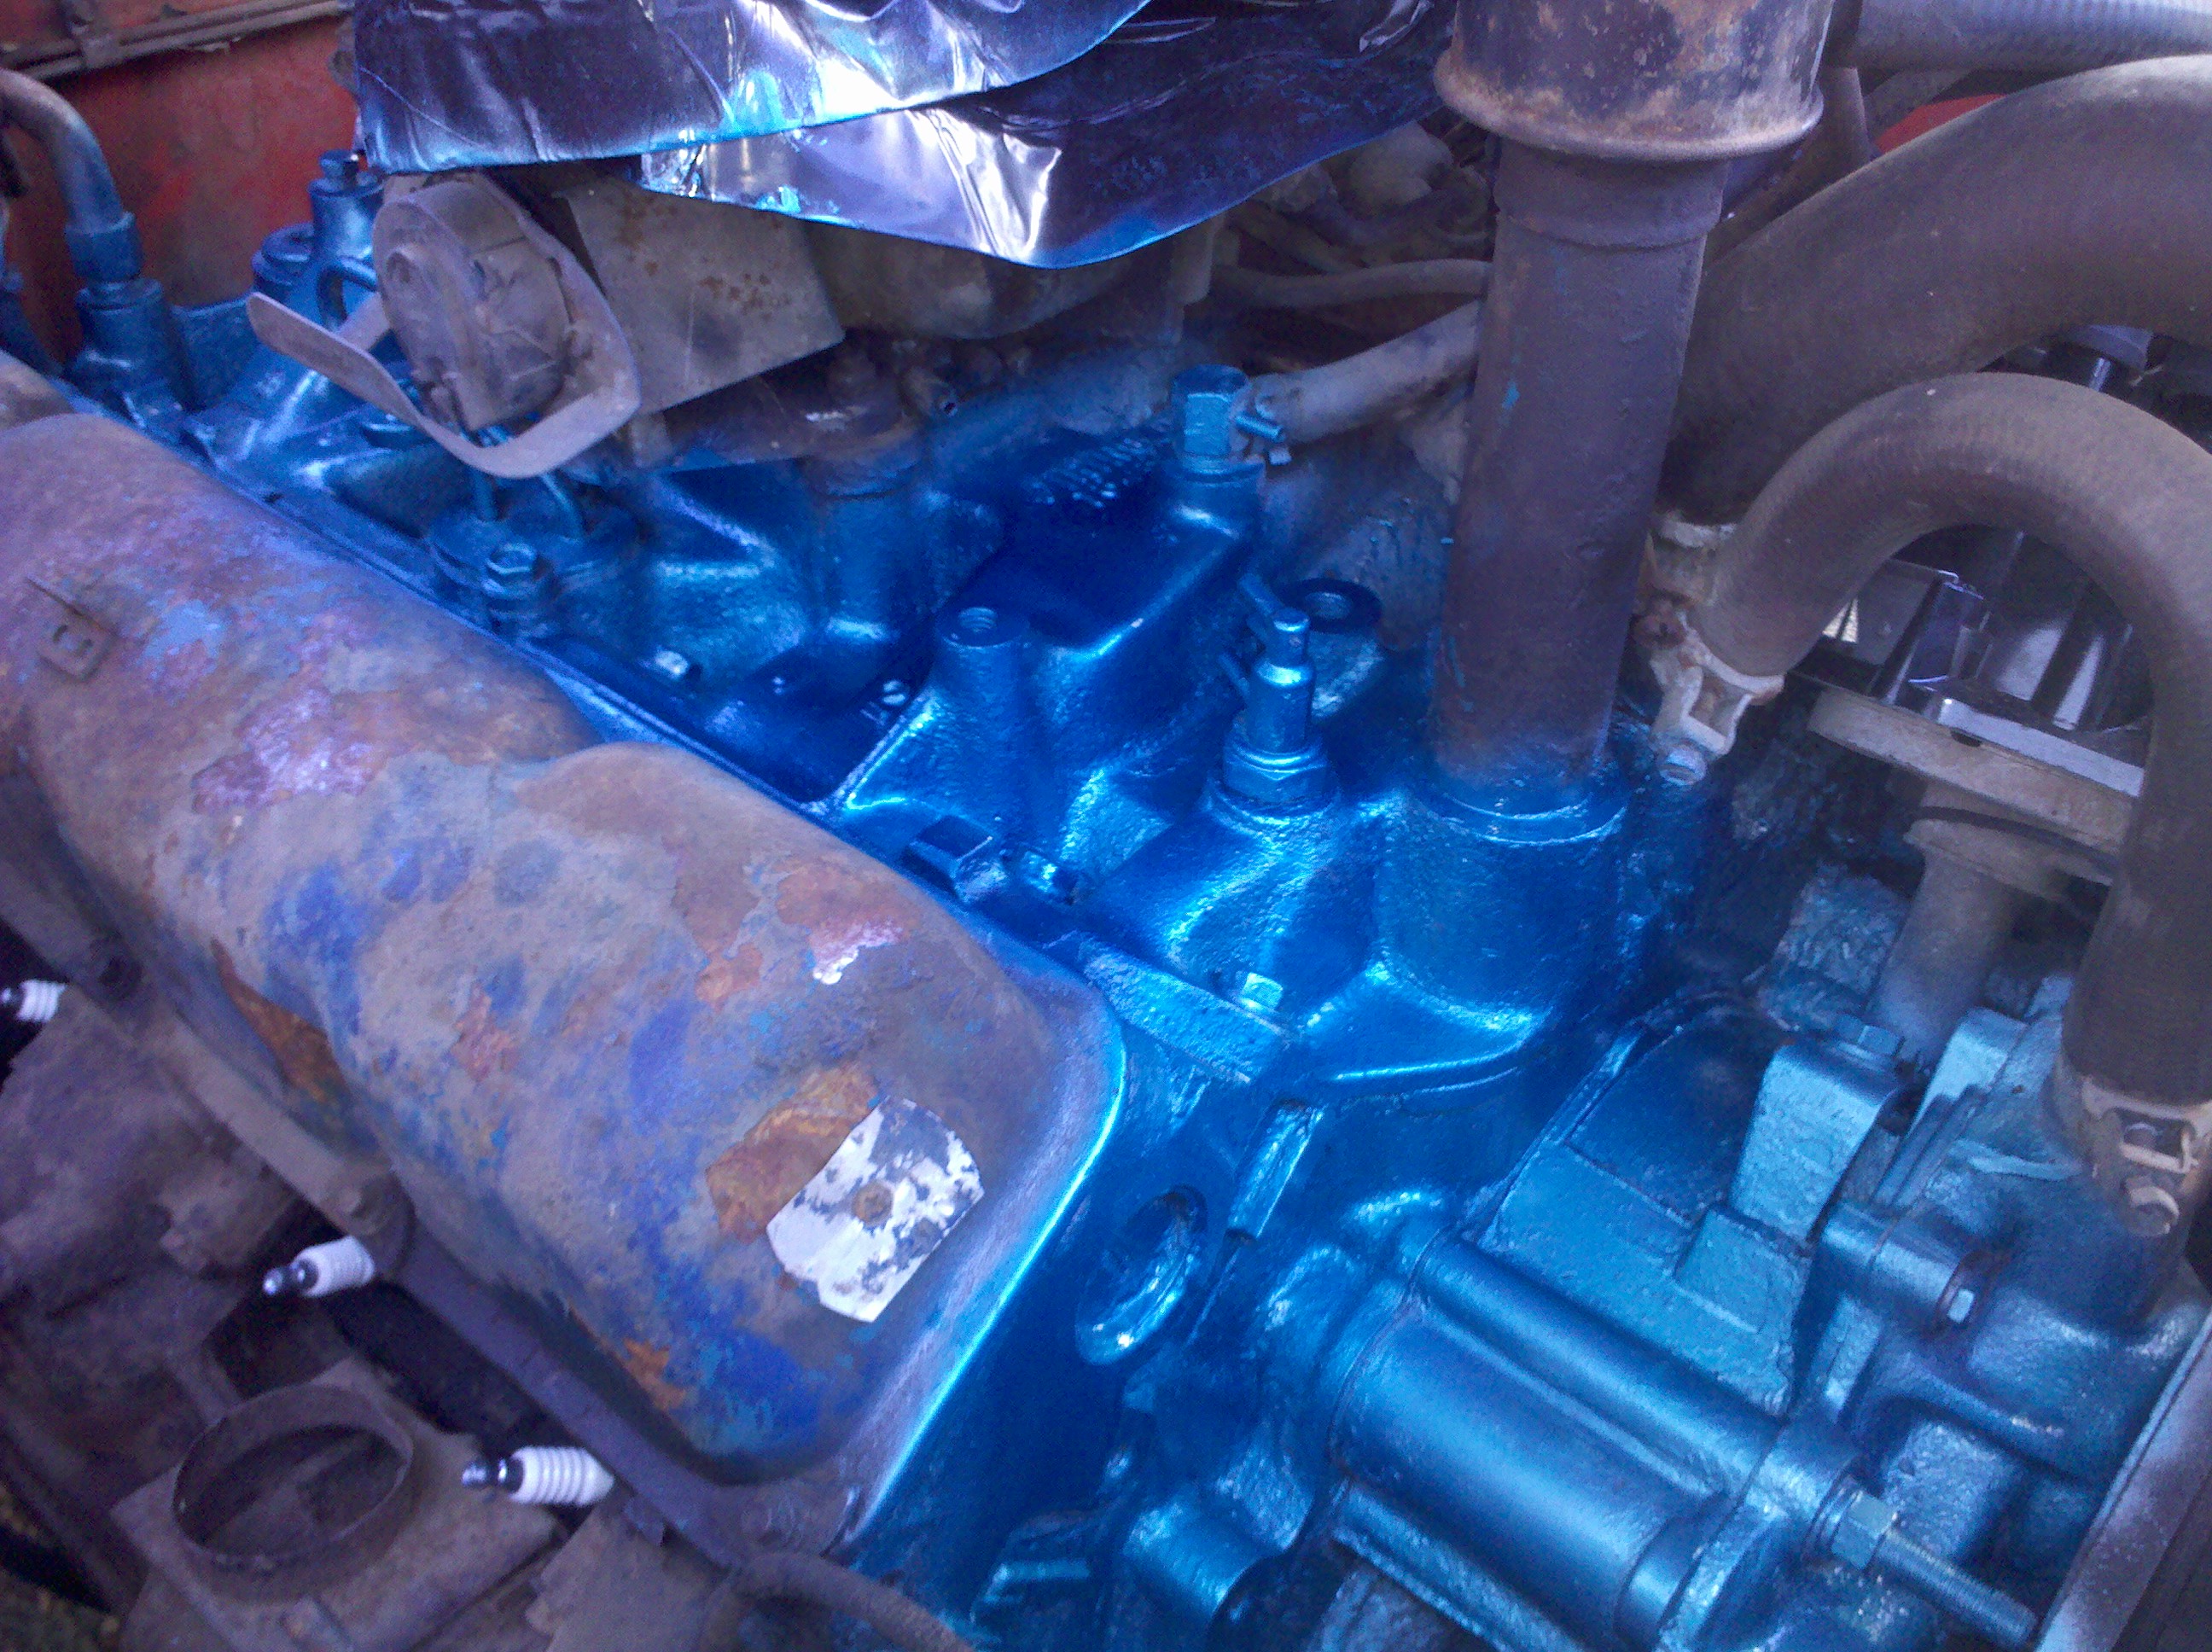
I’ve slowly been able to de-grease the engine and get it repainted it’s factory EN66 Blue color. This is important to me because it’s the one part of the car I can make look better, and I like working on clean engines. Besides, it is helping me identify leaks, broken vacuum lines, etc.
Clean on the outside, clean on the inside
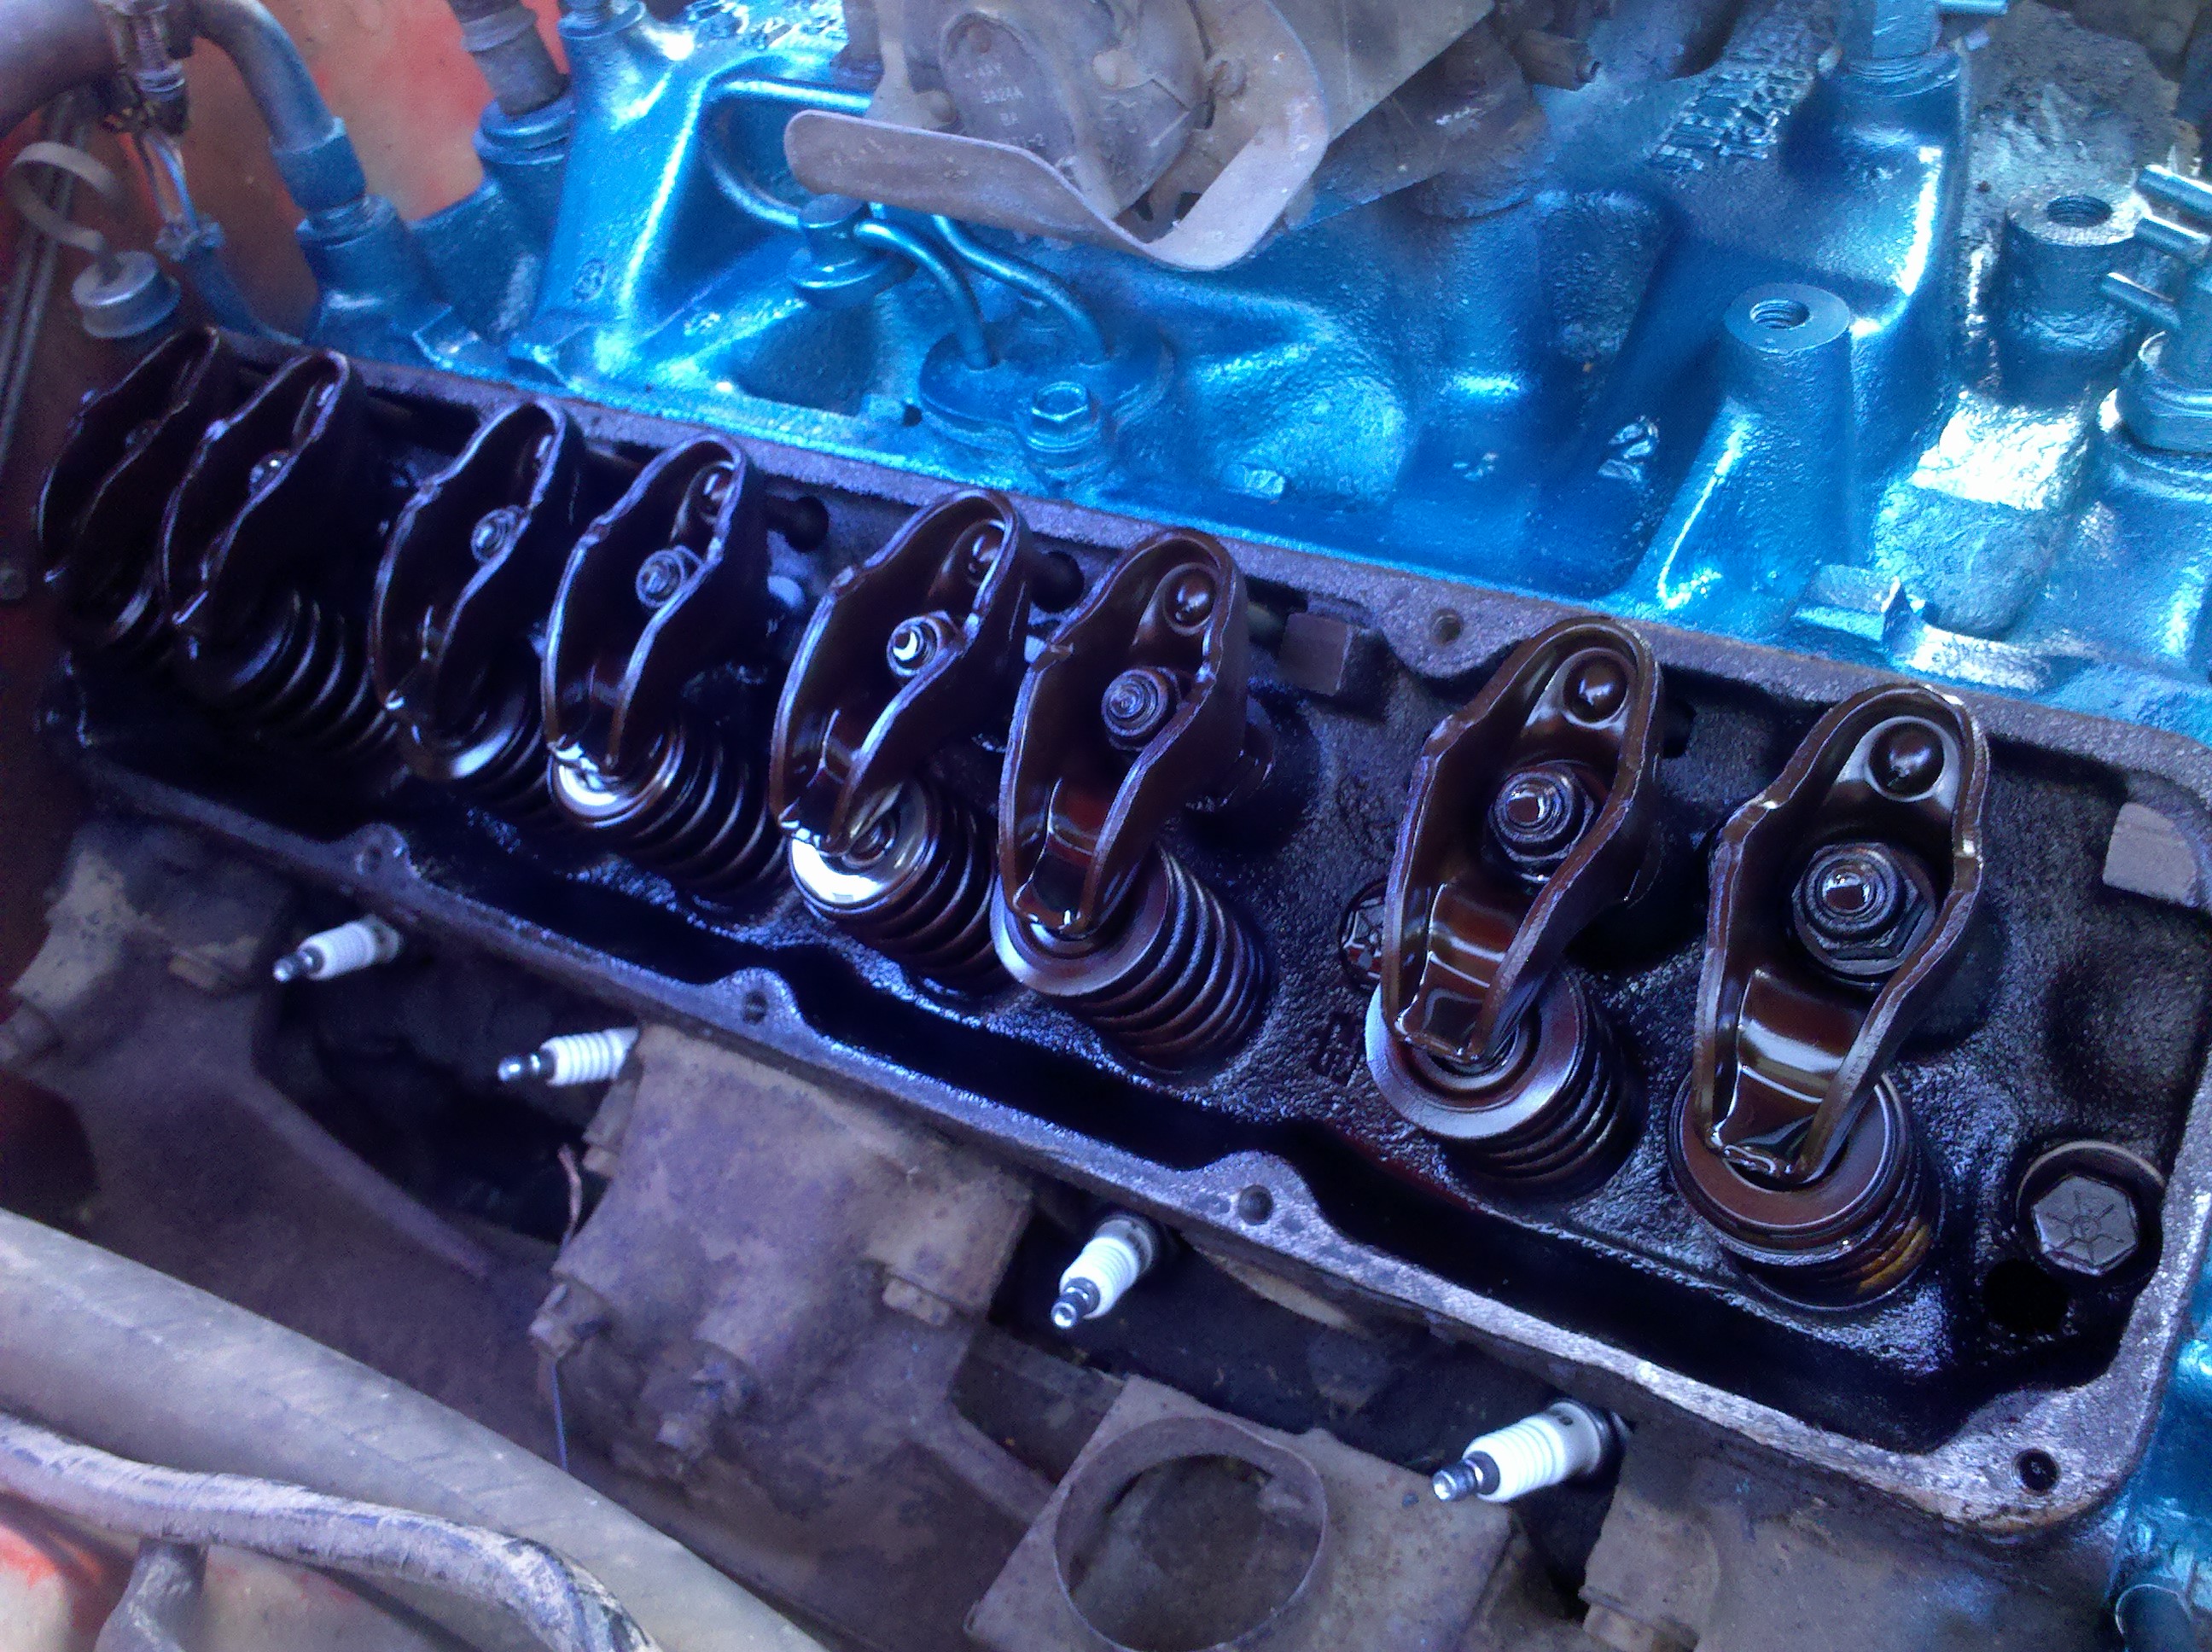
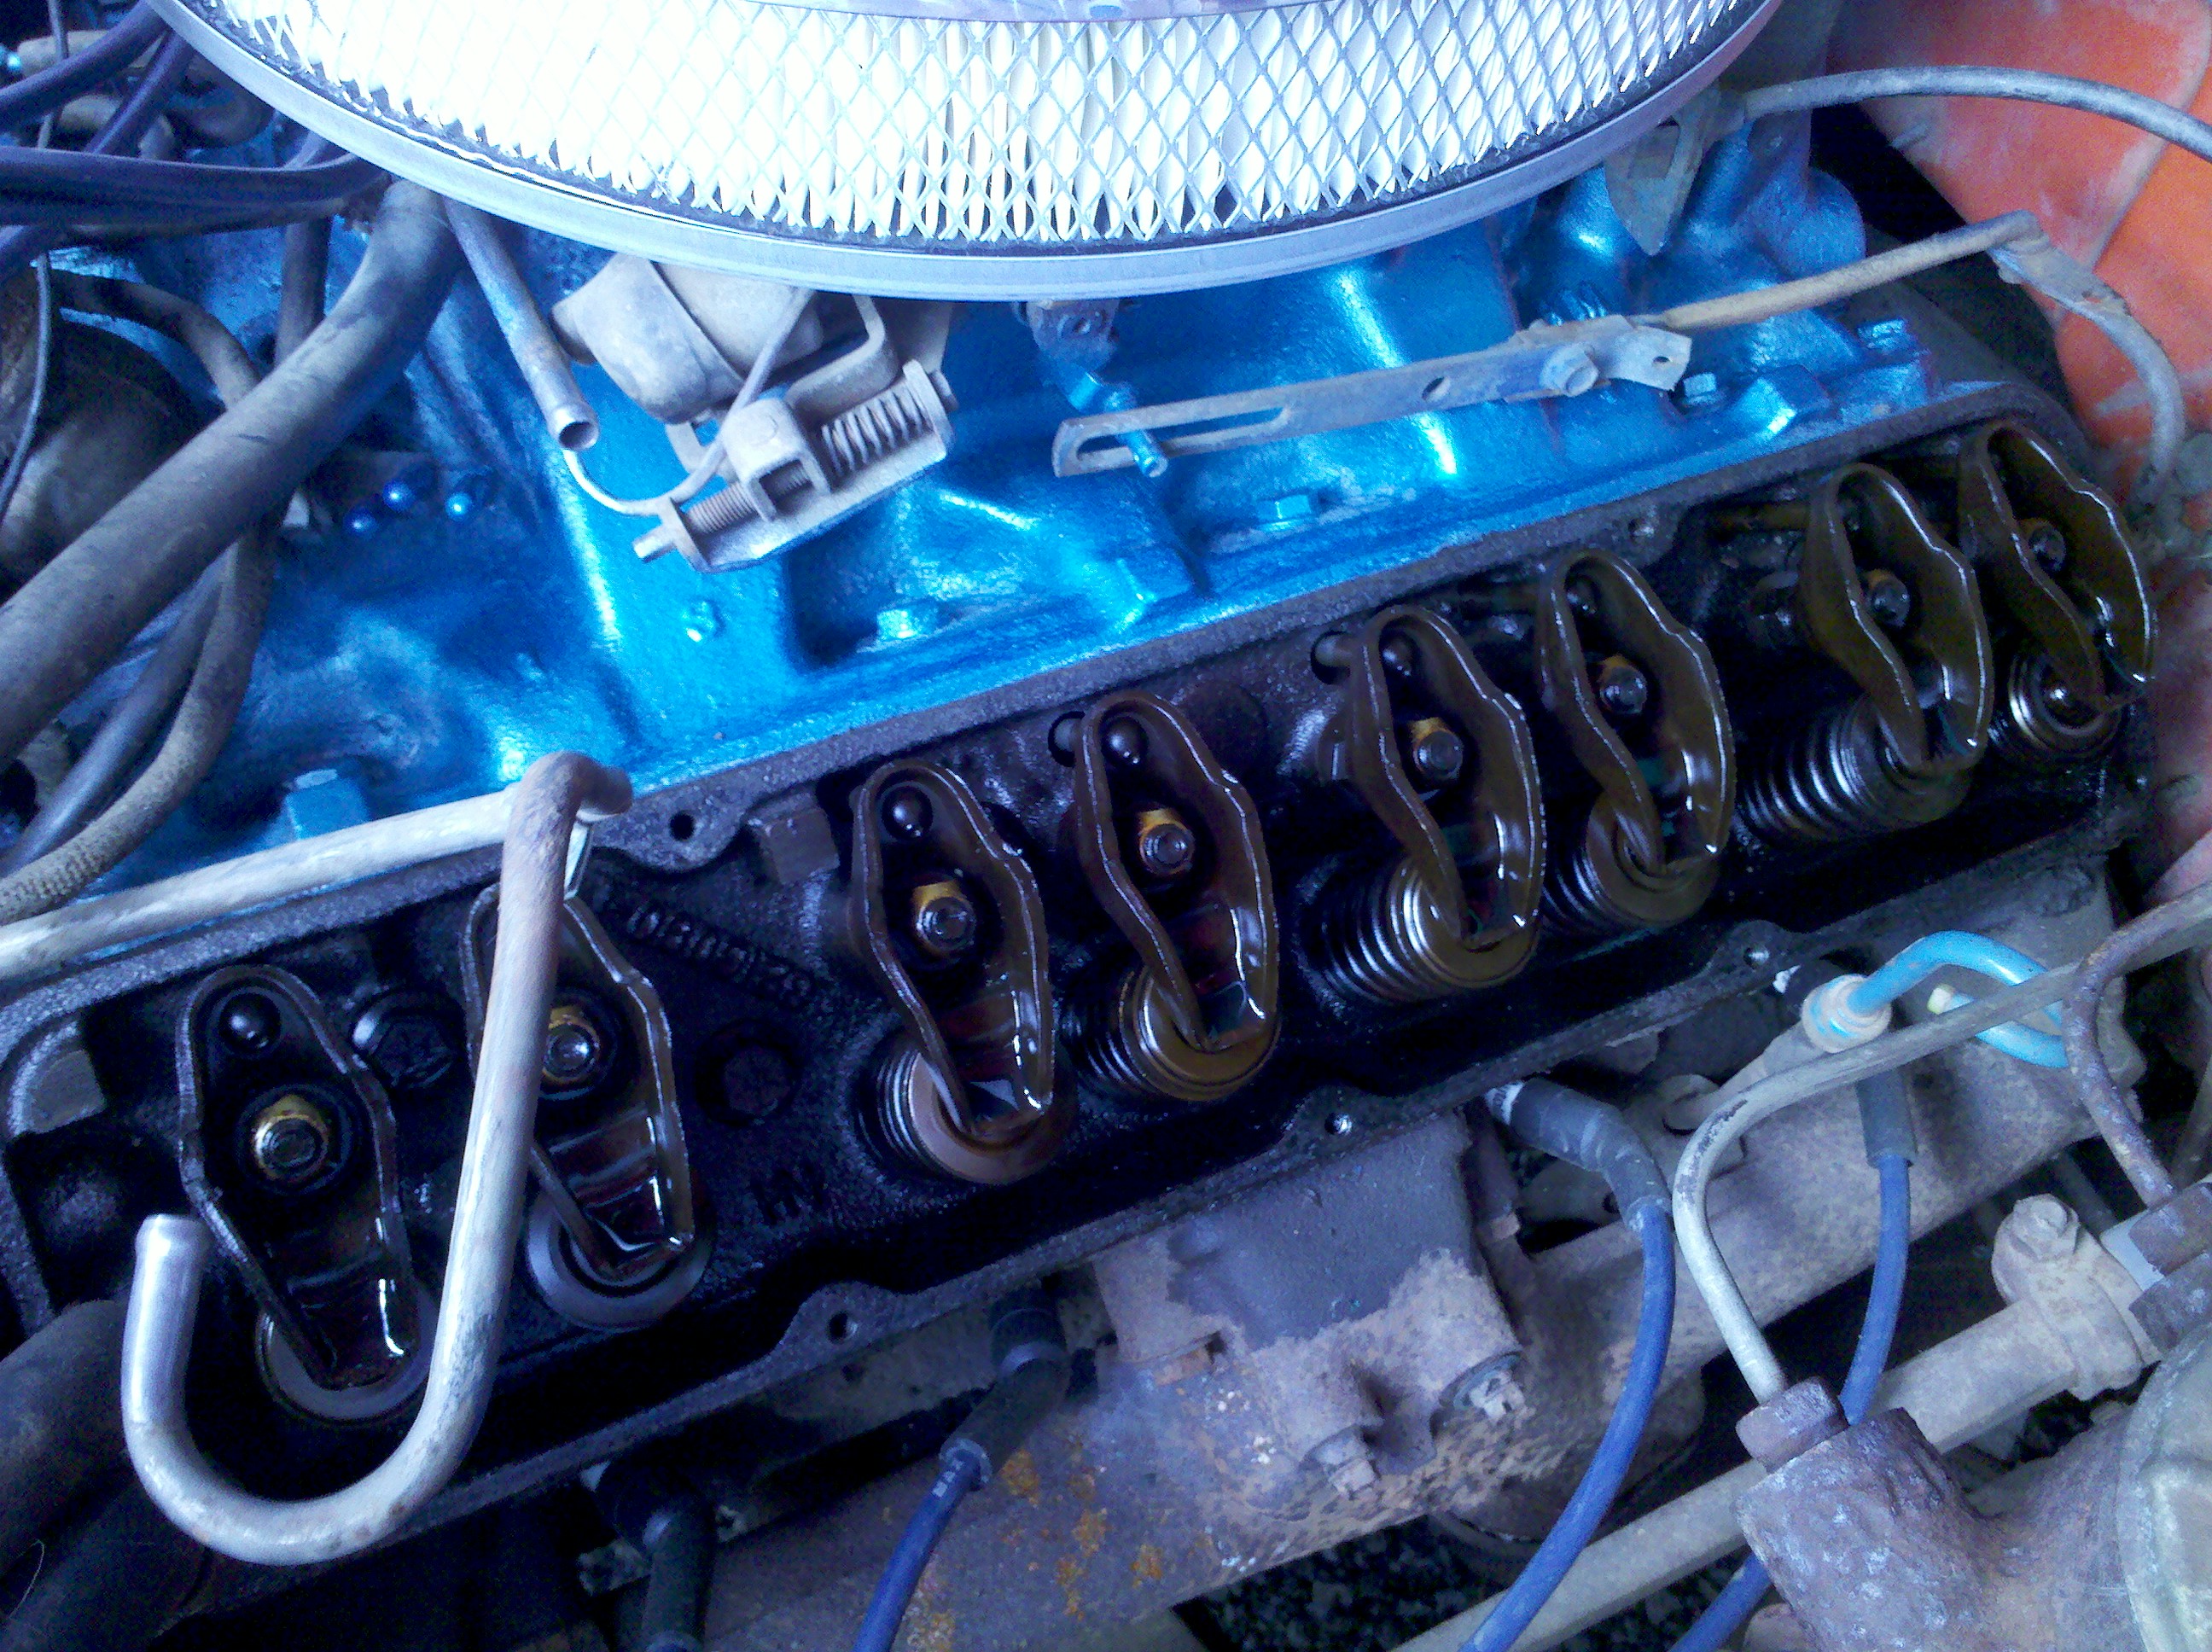
The inside of the engine is amazingly clean! There was no varnish or sludge in the valve cover at all and the rockers all looked clean, no over-heating discoloration, no bent pushrods, no metal deposits. This is exactly what you want to see inside a 38-year-old engine!
6090!!!
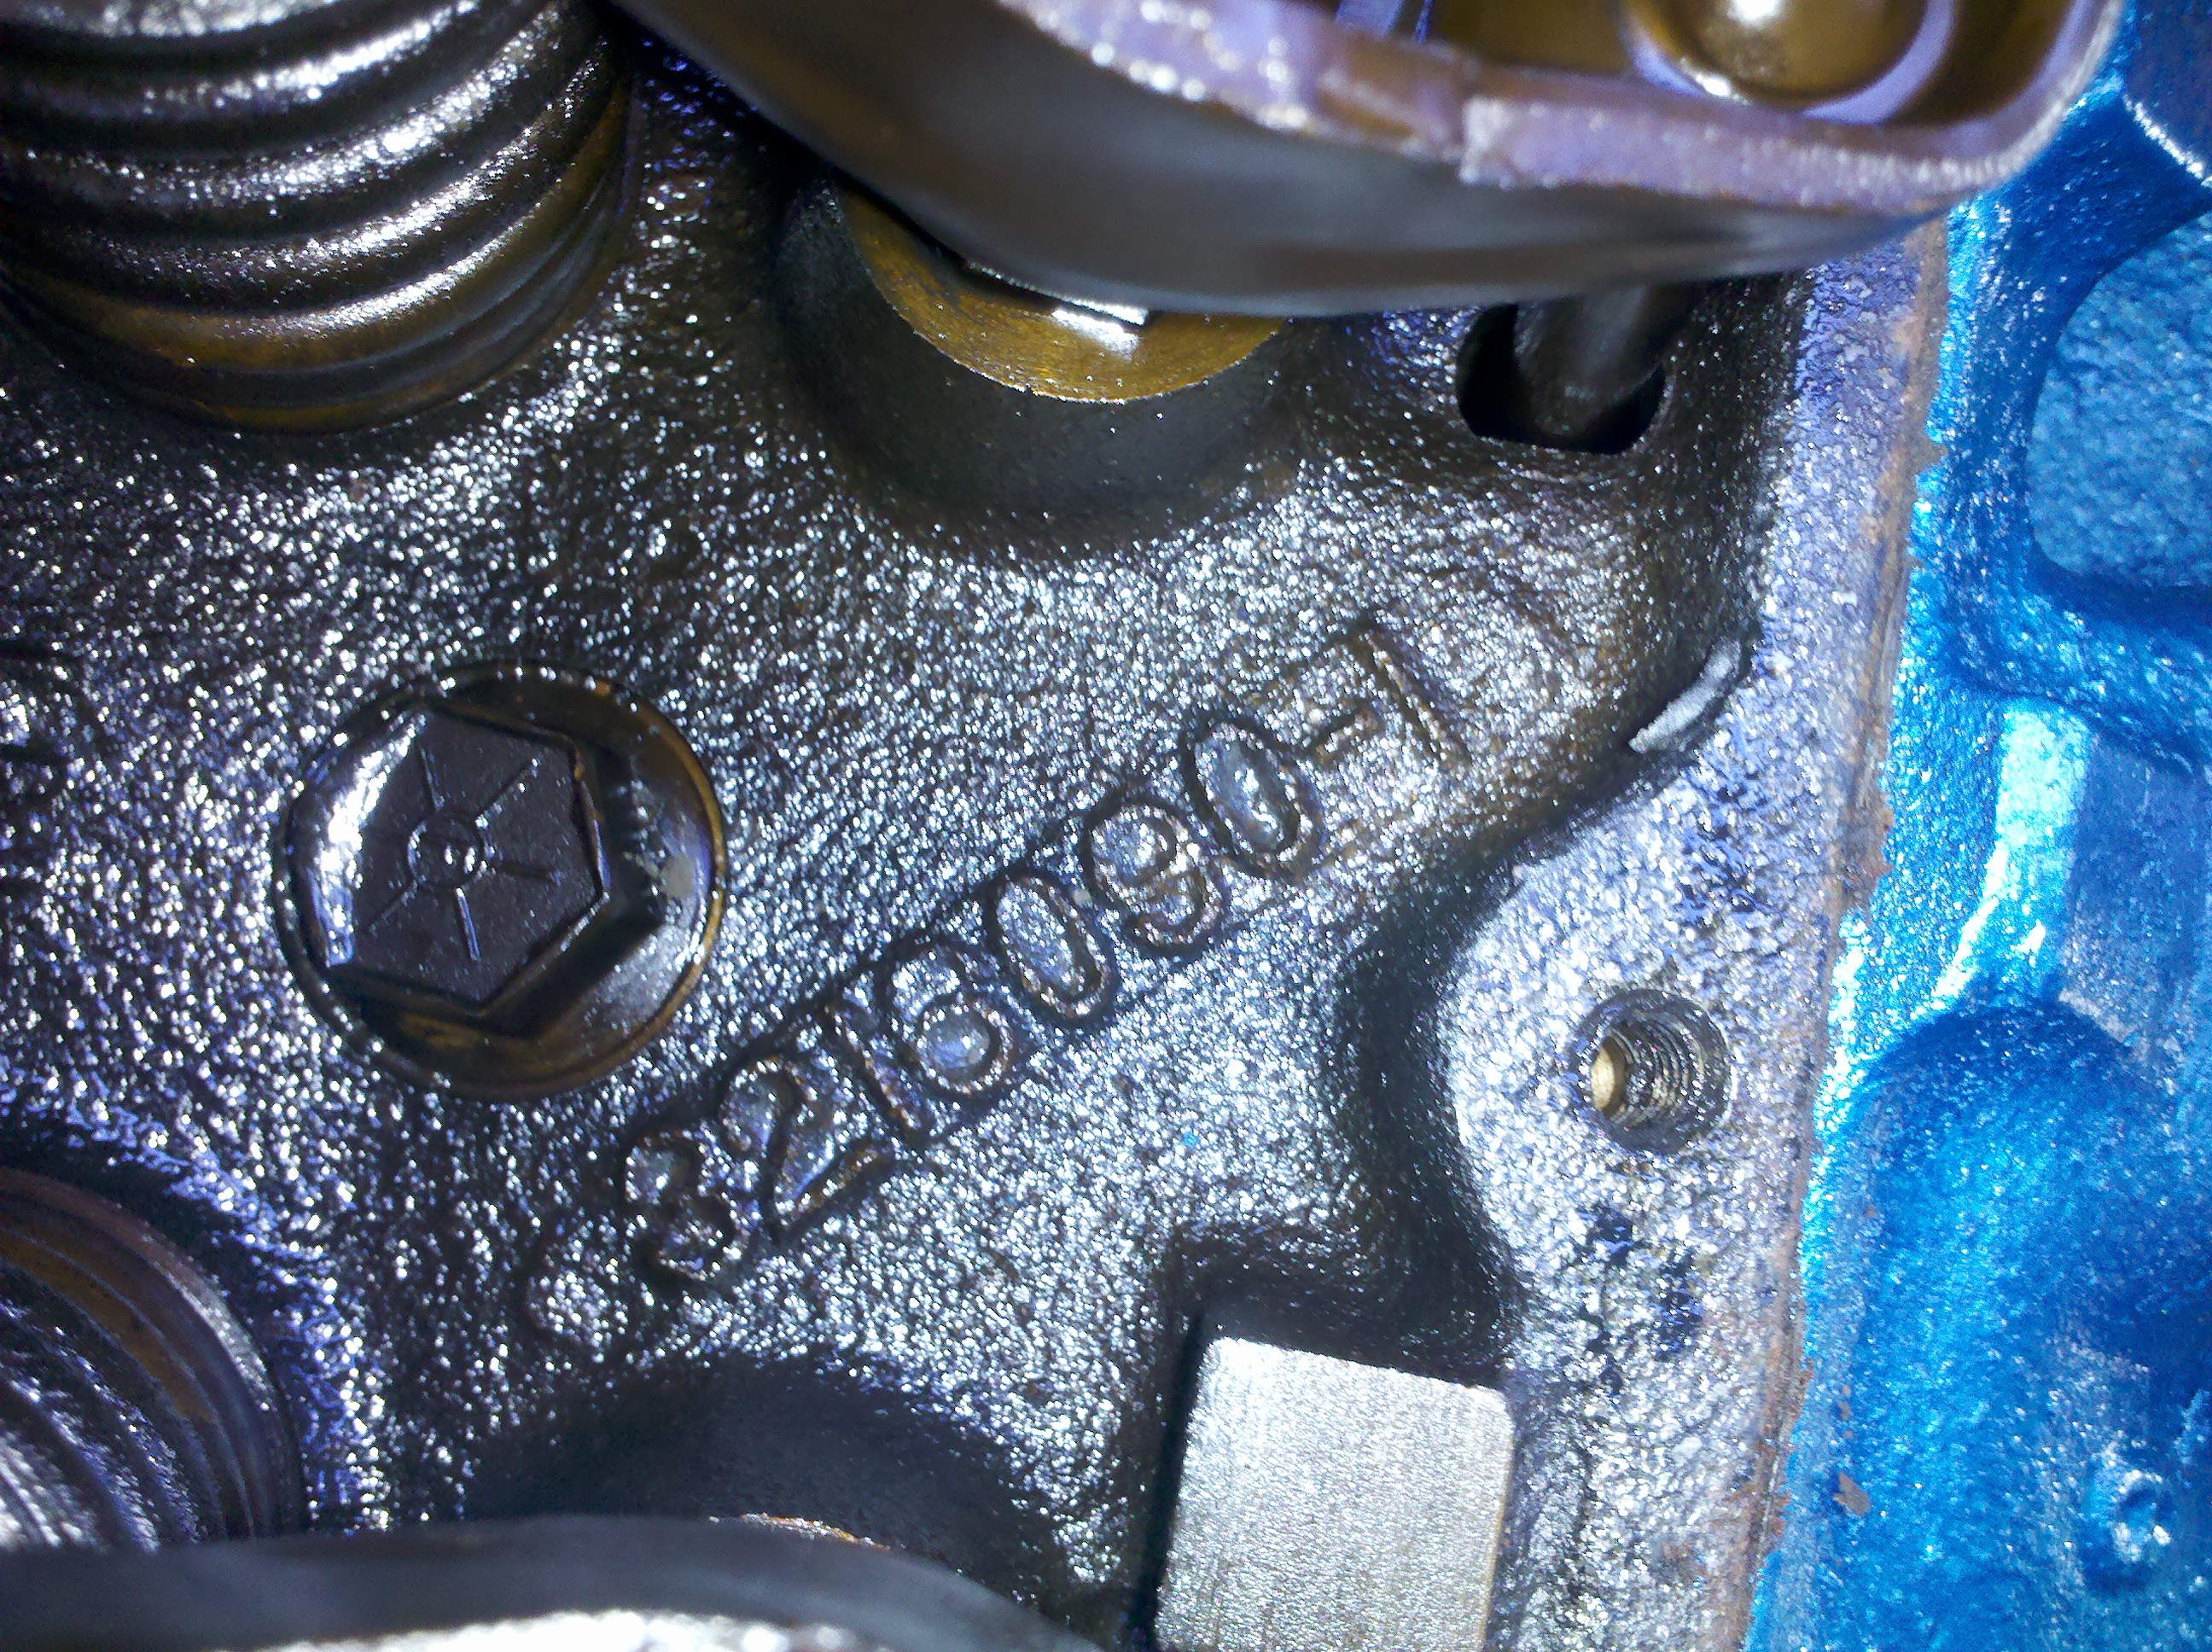
The 6090 (last 4 before the dash) heads are the second-best AMC casting after the 6291’s. They feature the dog-leg exhaust ports that flow more, big 2.025/1.680 valves, and the early style single adjustable rockers with a 57.92cc chamber. This means I can use aftermarket rocker arms (the later heads use a net-lash bridged rocker), and the heads themselves are totally worth keeping. With a few changes to the engine (cam, rockers, intake manifold, carburetor, ignition, and headers) these heads are capable of close to 400HP and 475FtLbs stock! This also confirms that this is the original engine, as the 73 360 4-barrel is the only engine to get them. My car is “matching numbers”.
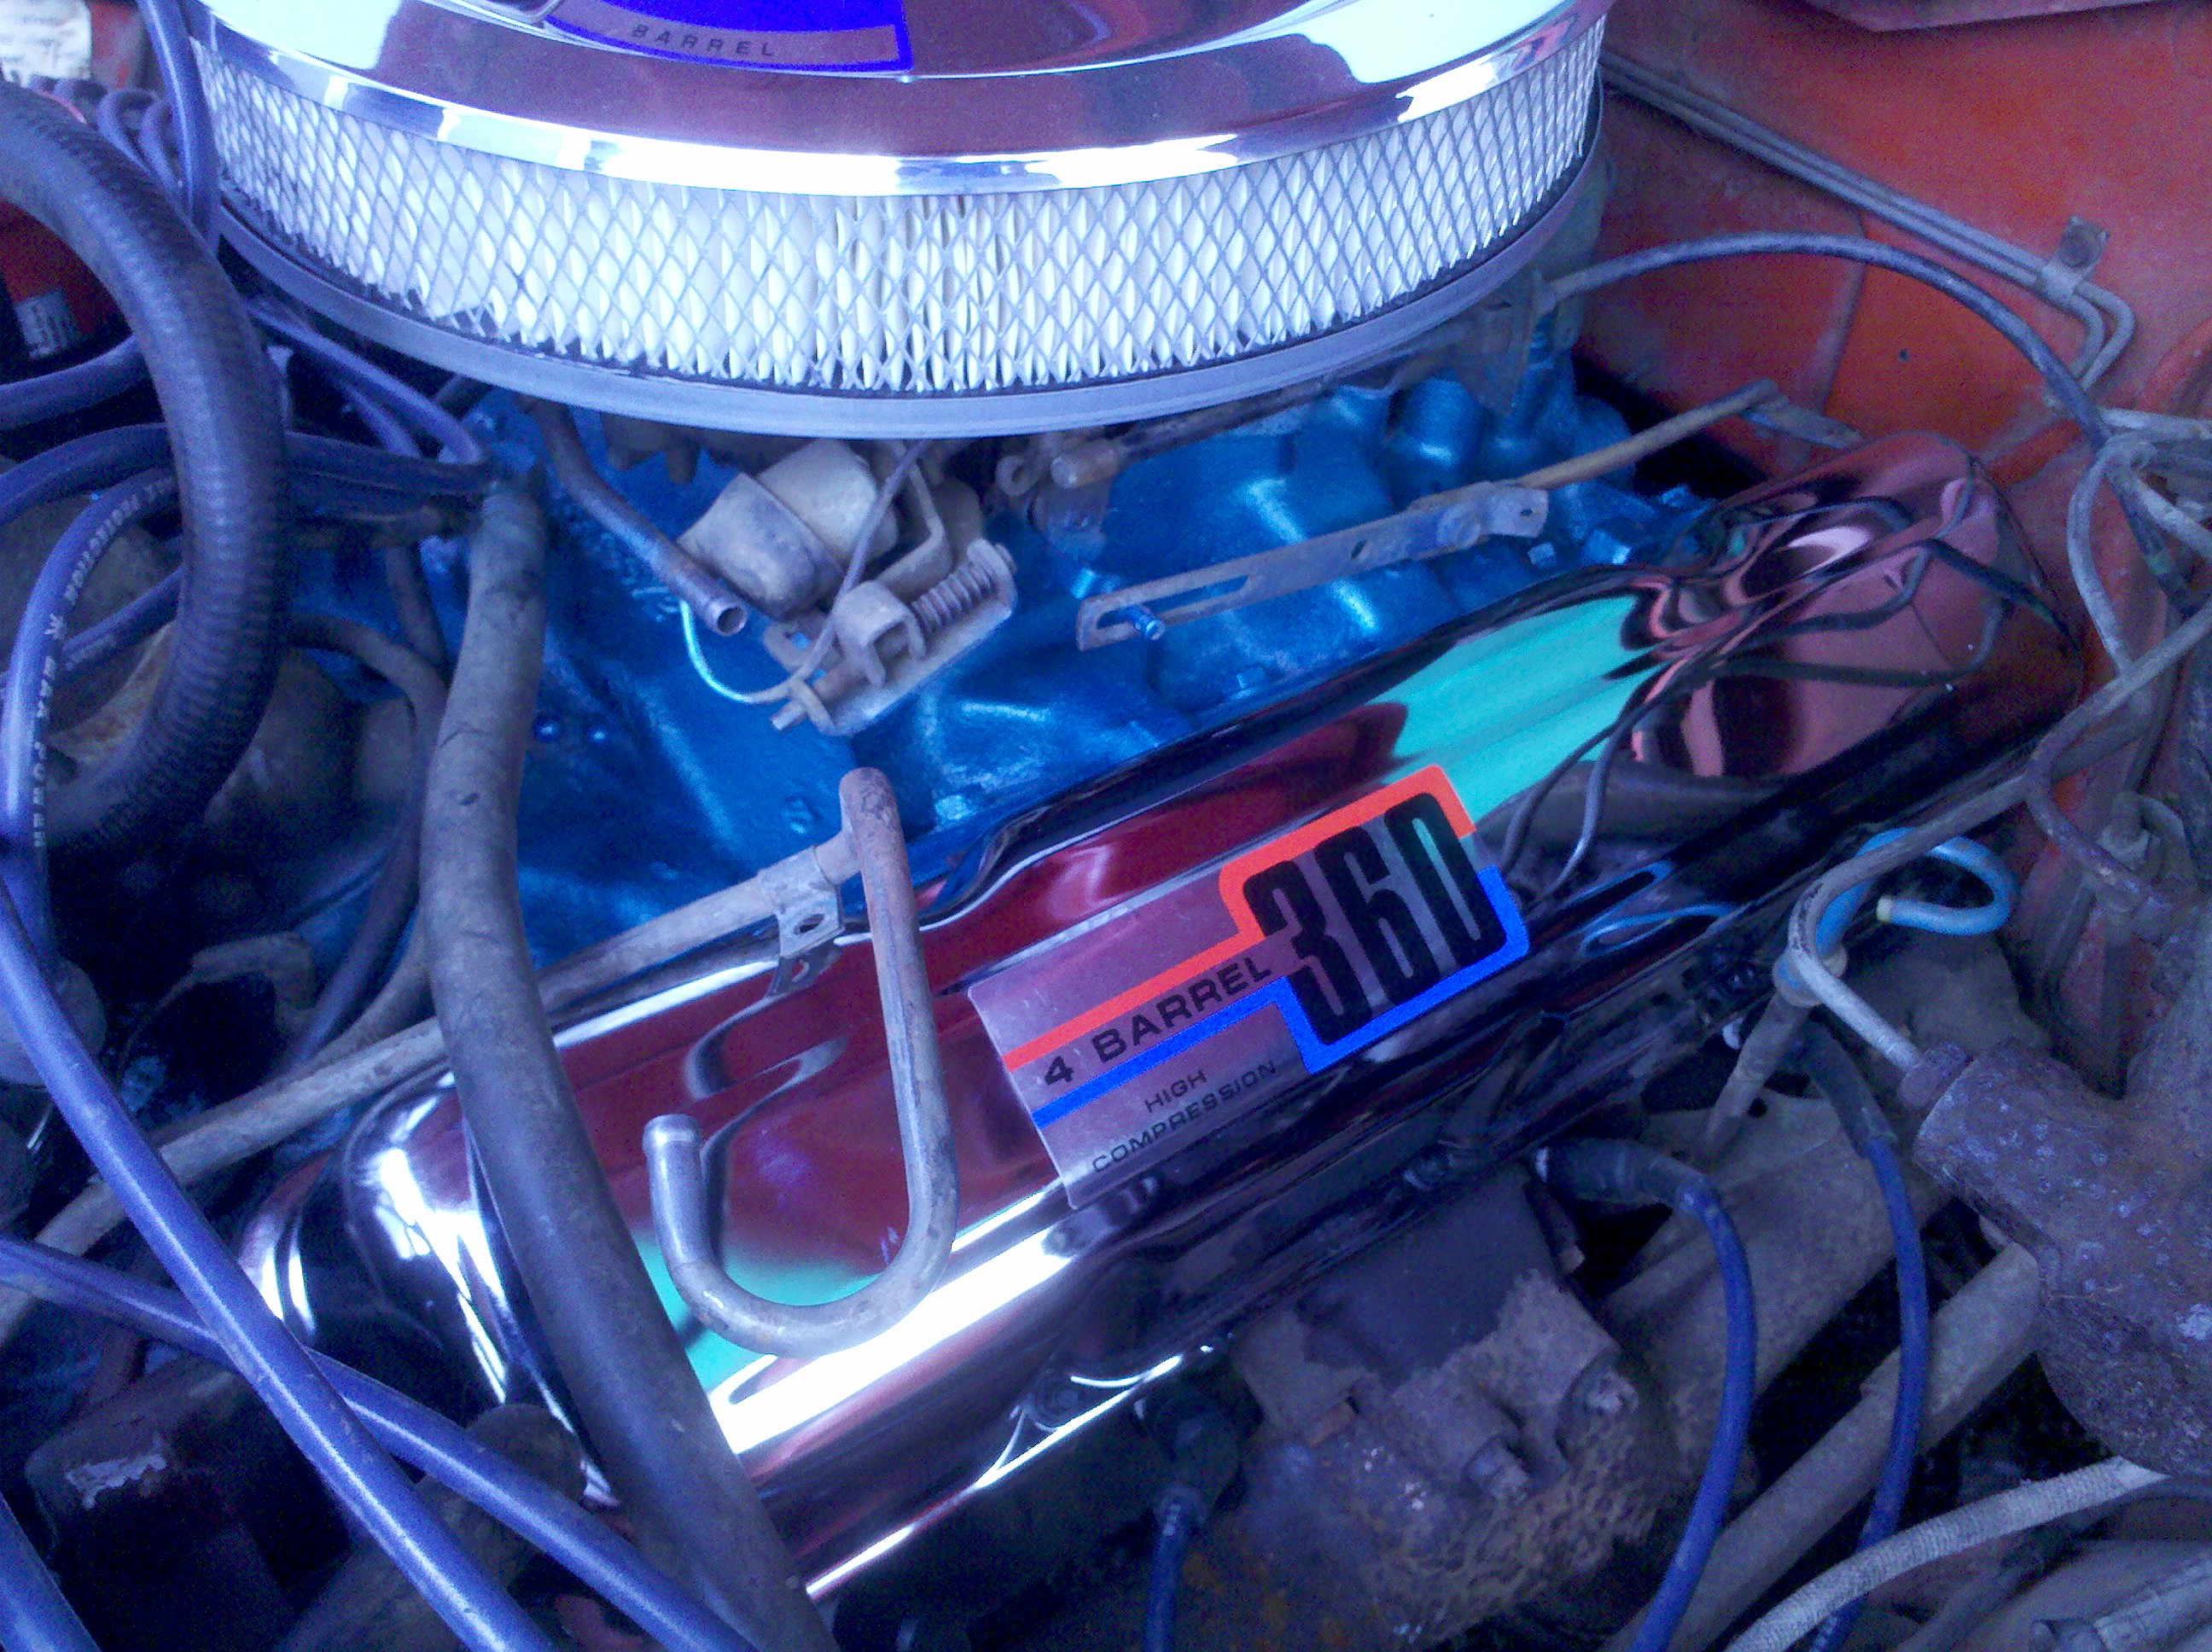
Original decals
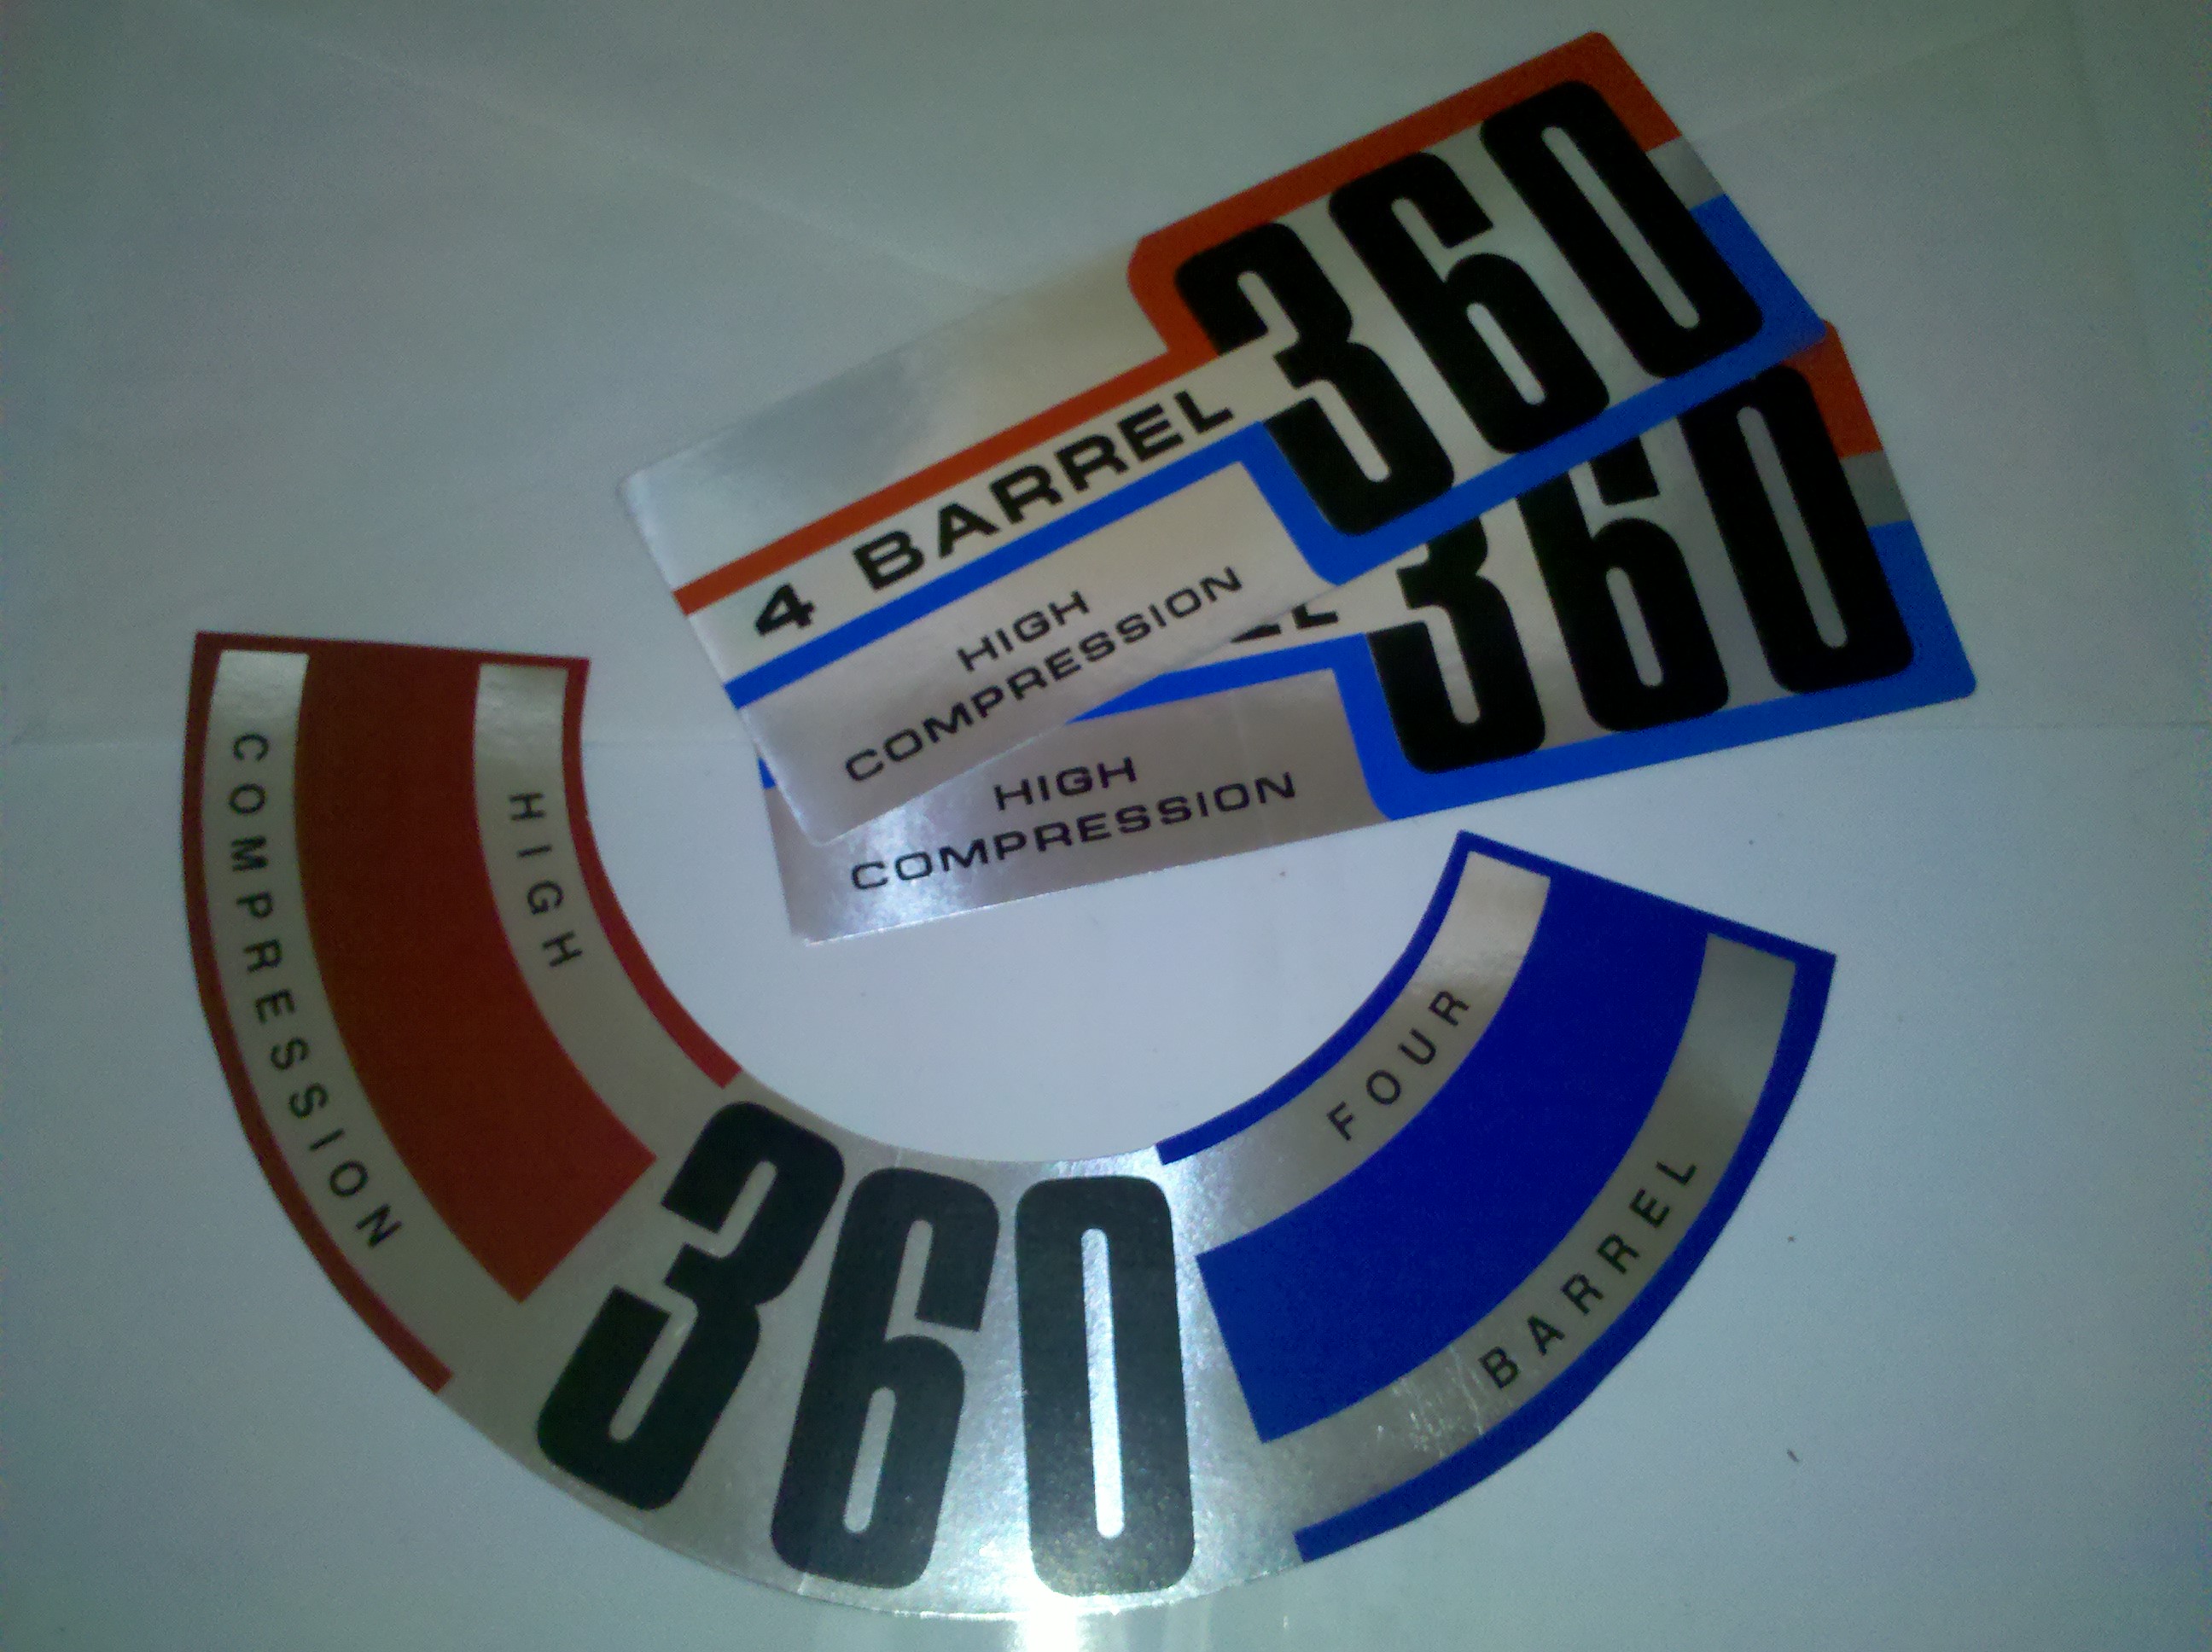
These are reproductions of the decals originally found on my engine. Usually you got either the lid decal on the top of the lid, or the square decal on the side of the cleaner. So why do I have both and two of the side decals?
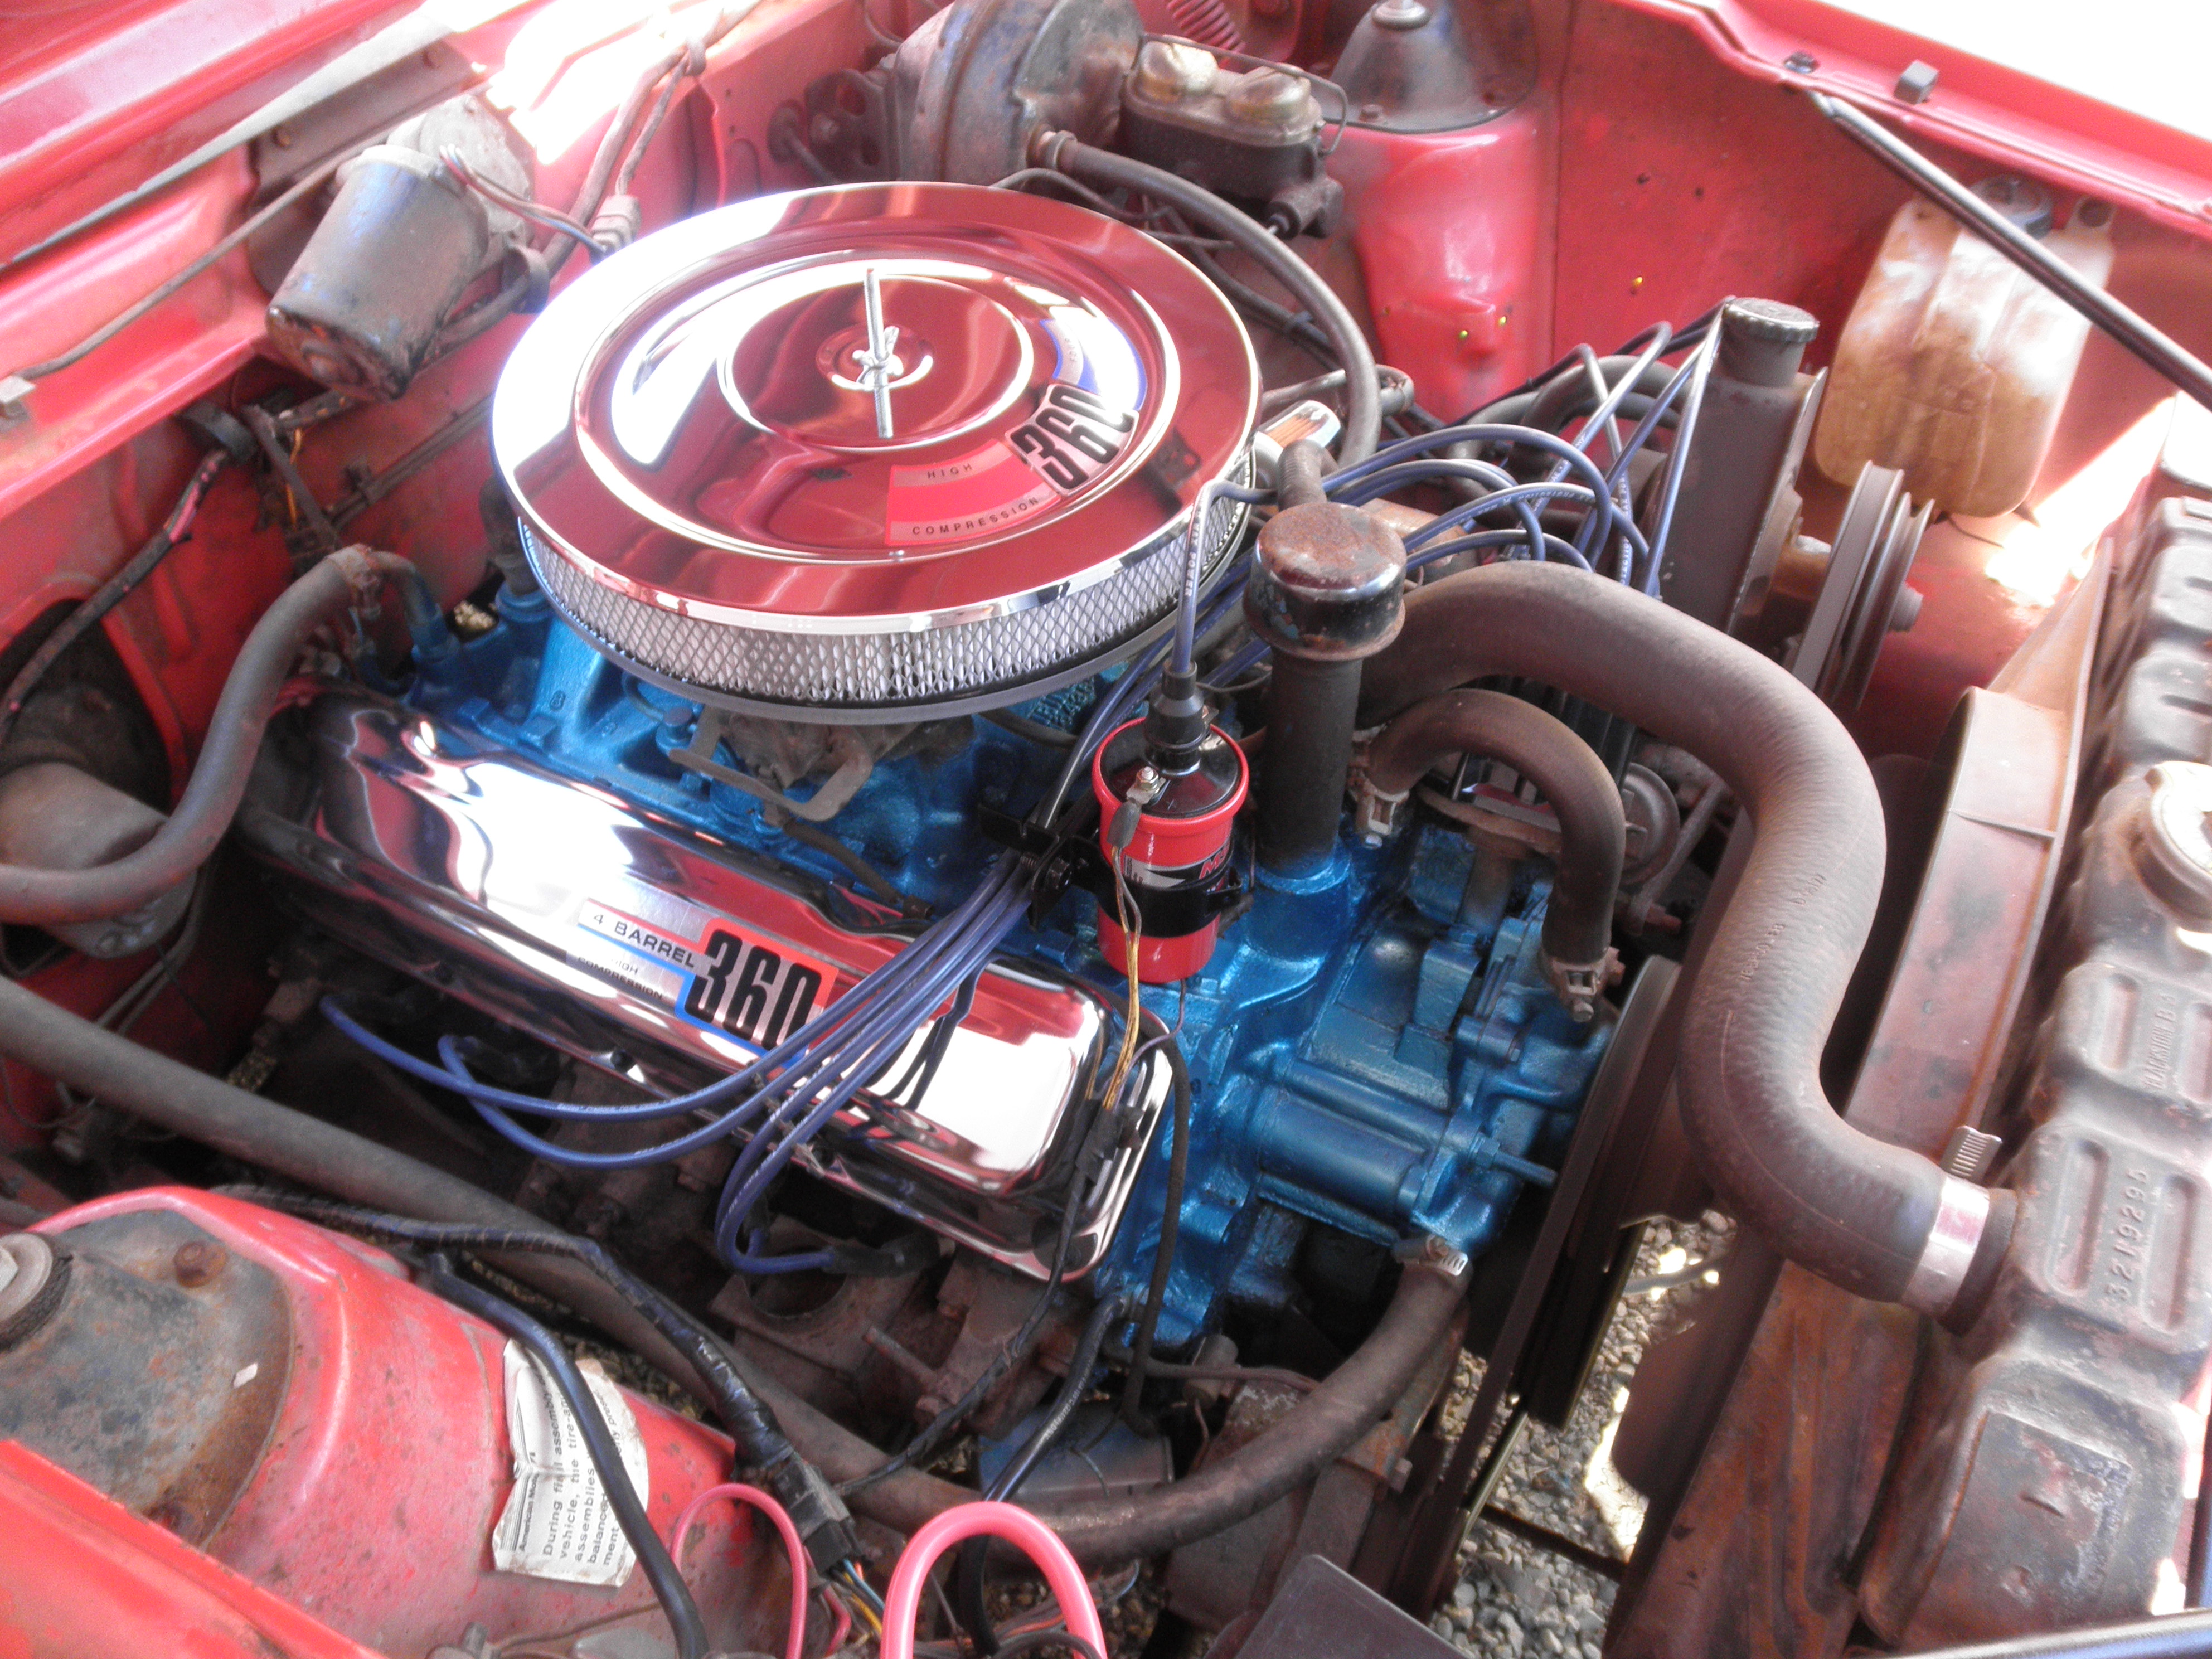
Chrome, I has it.
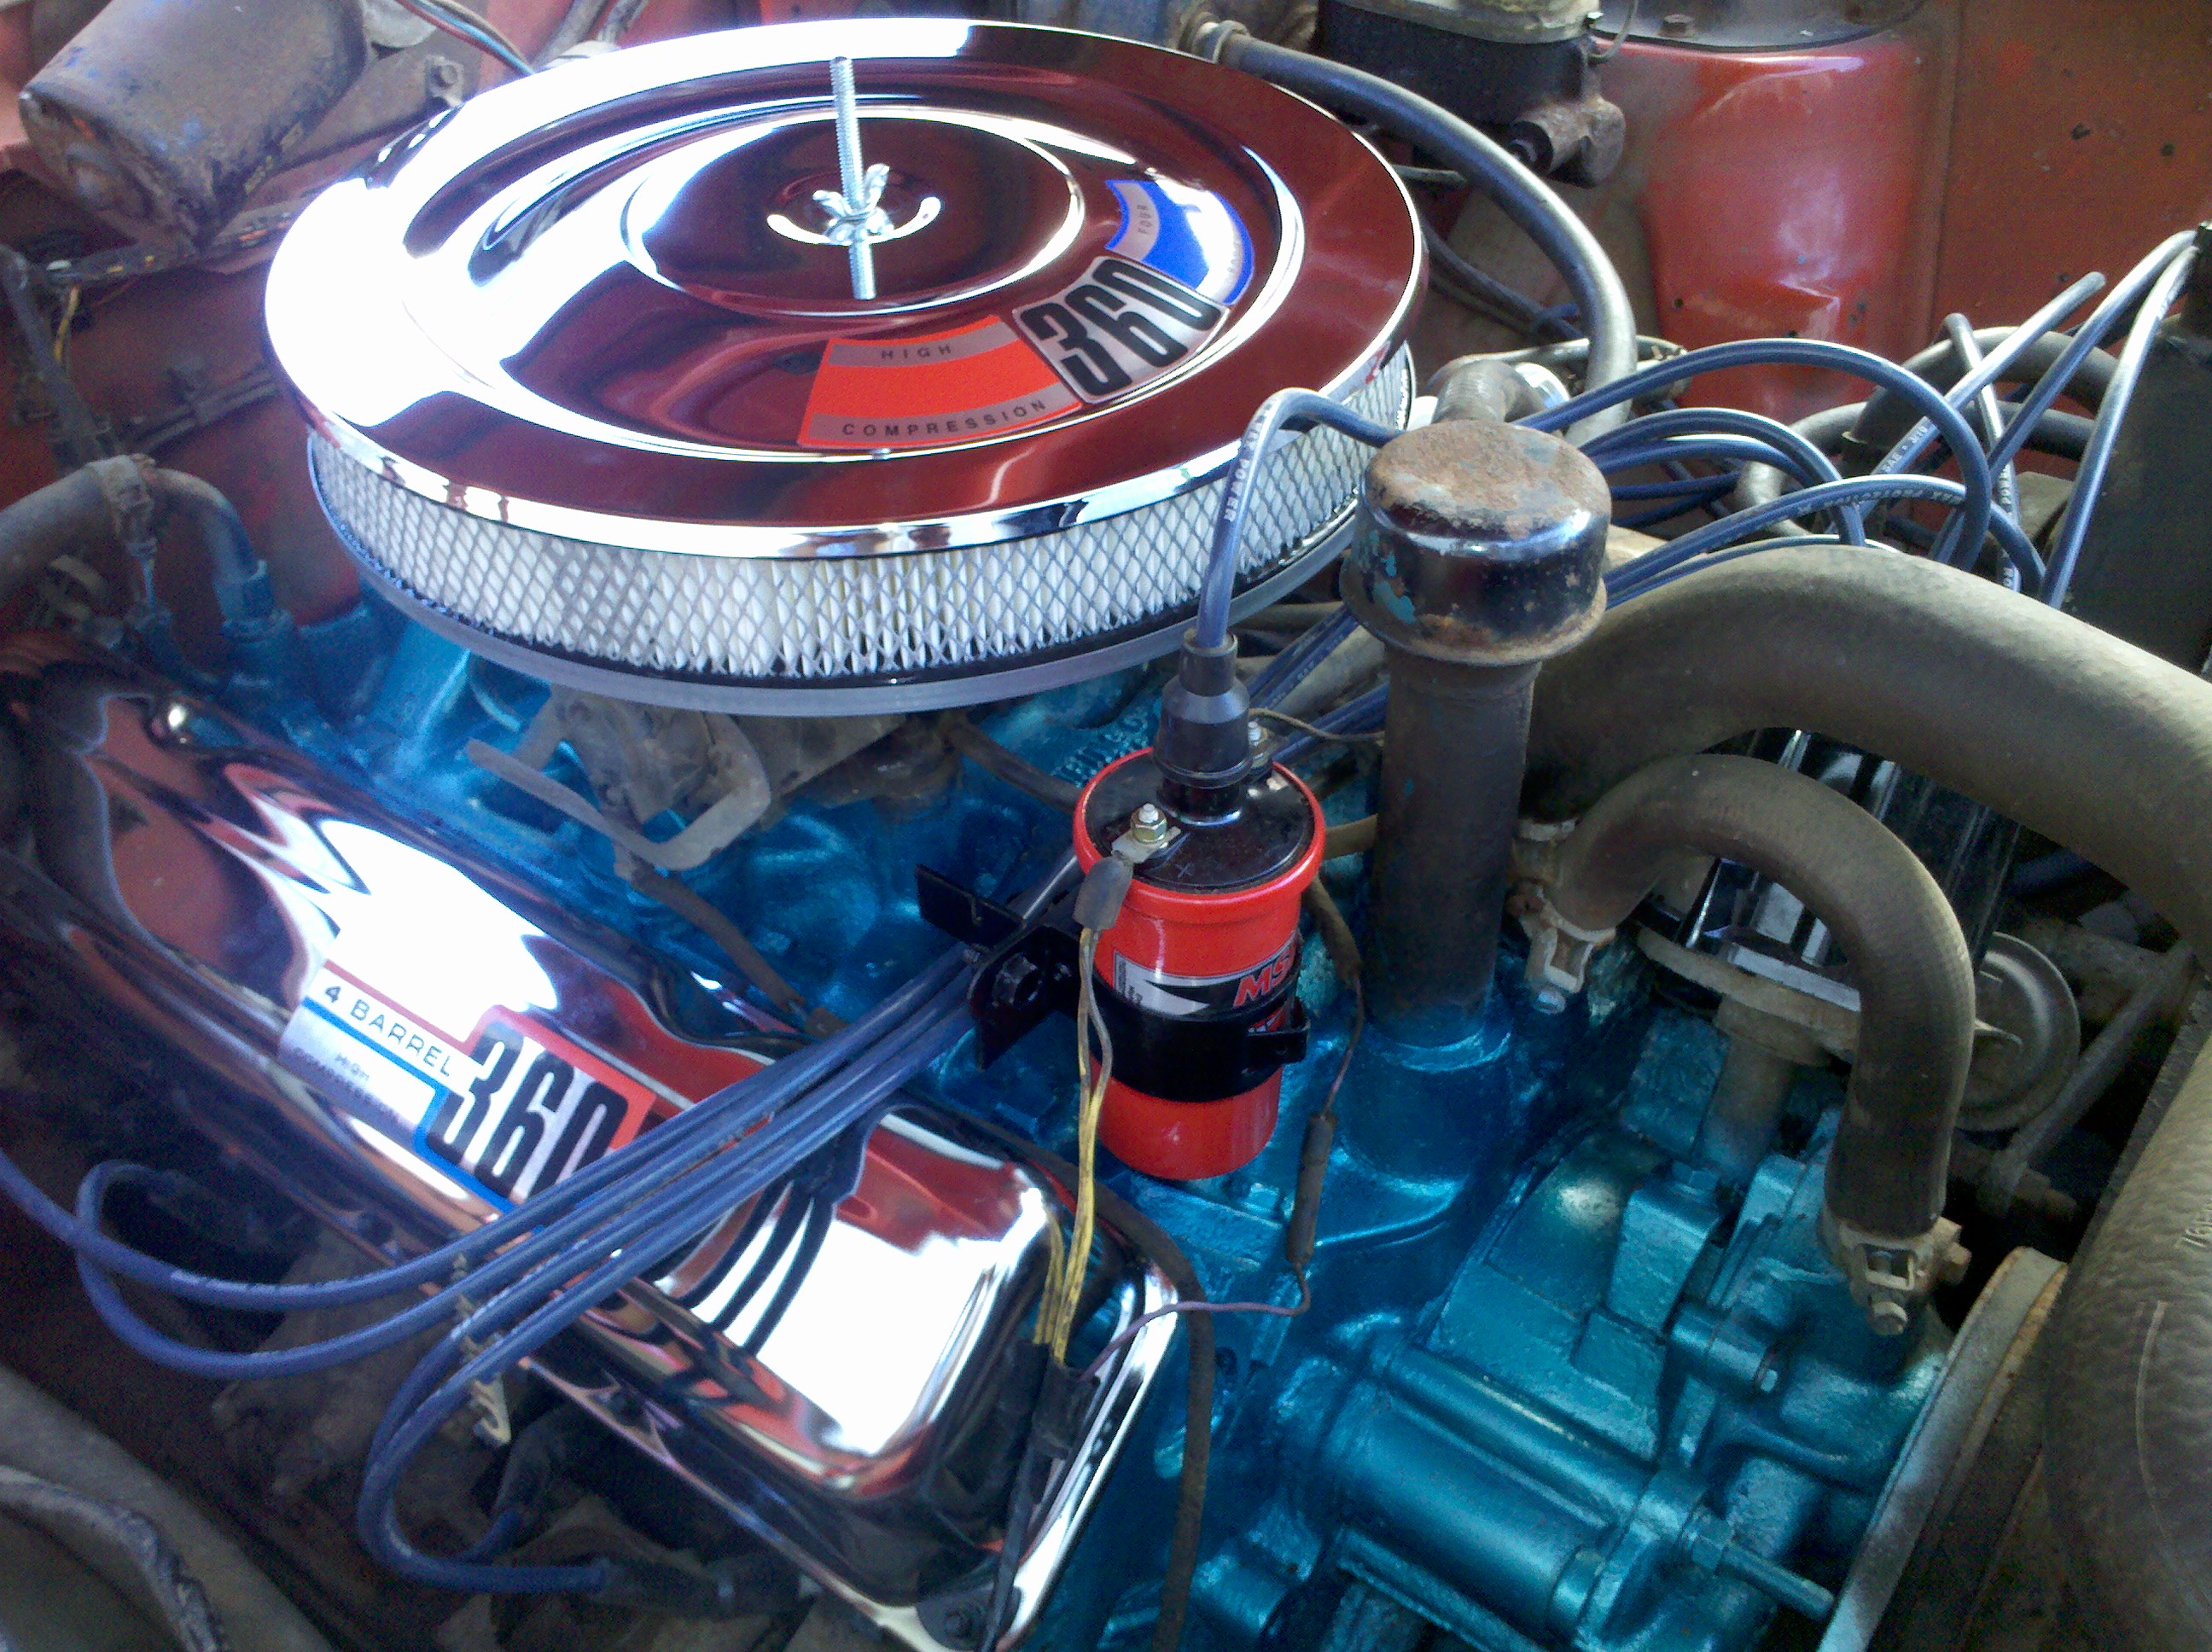
That’s why! After a few hours of cleaning, degreasing, scraping, and vacuuming, I was able to put the motor back together. All of the brackets that could be removed were and cleaned and painted separately (like the coil brackets), the engine bay and other components were masked off, and the engine painted (the passenger side anyways). I then installed the new chrome valve cover with sticker and new gasket, new air cleaner with sticker (note that the tall stud clears the hood and is there for the 4” K&N on it’s way), and generally re-routed wires, ignition cables (that still need nice separators), and hoses. NOW it’s starting to look like an engine!
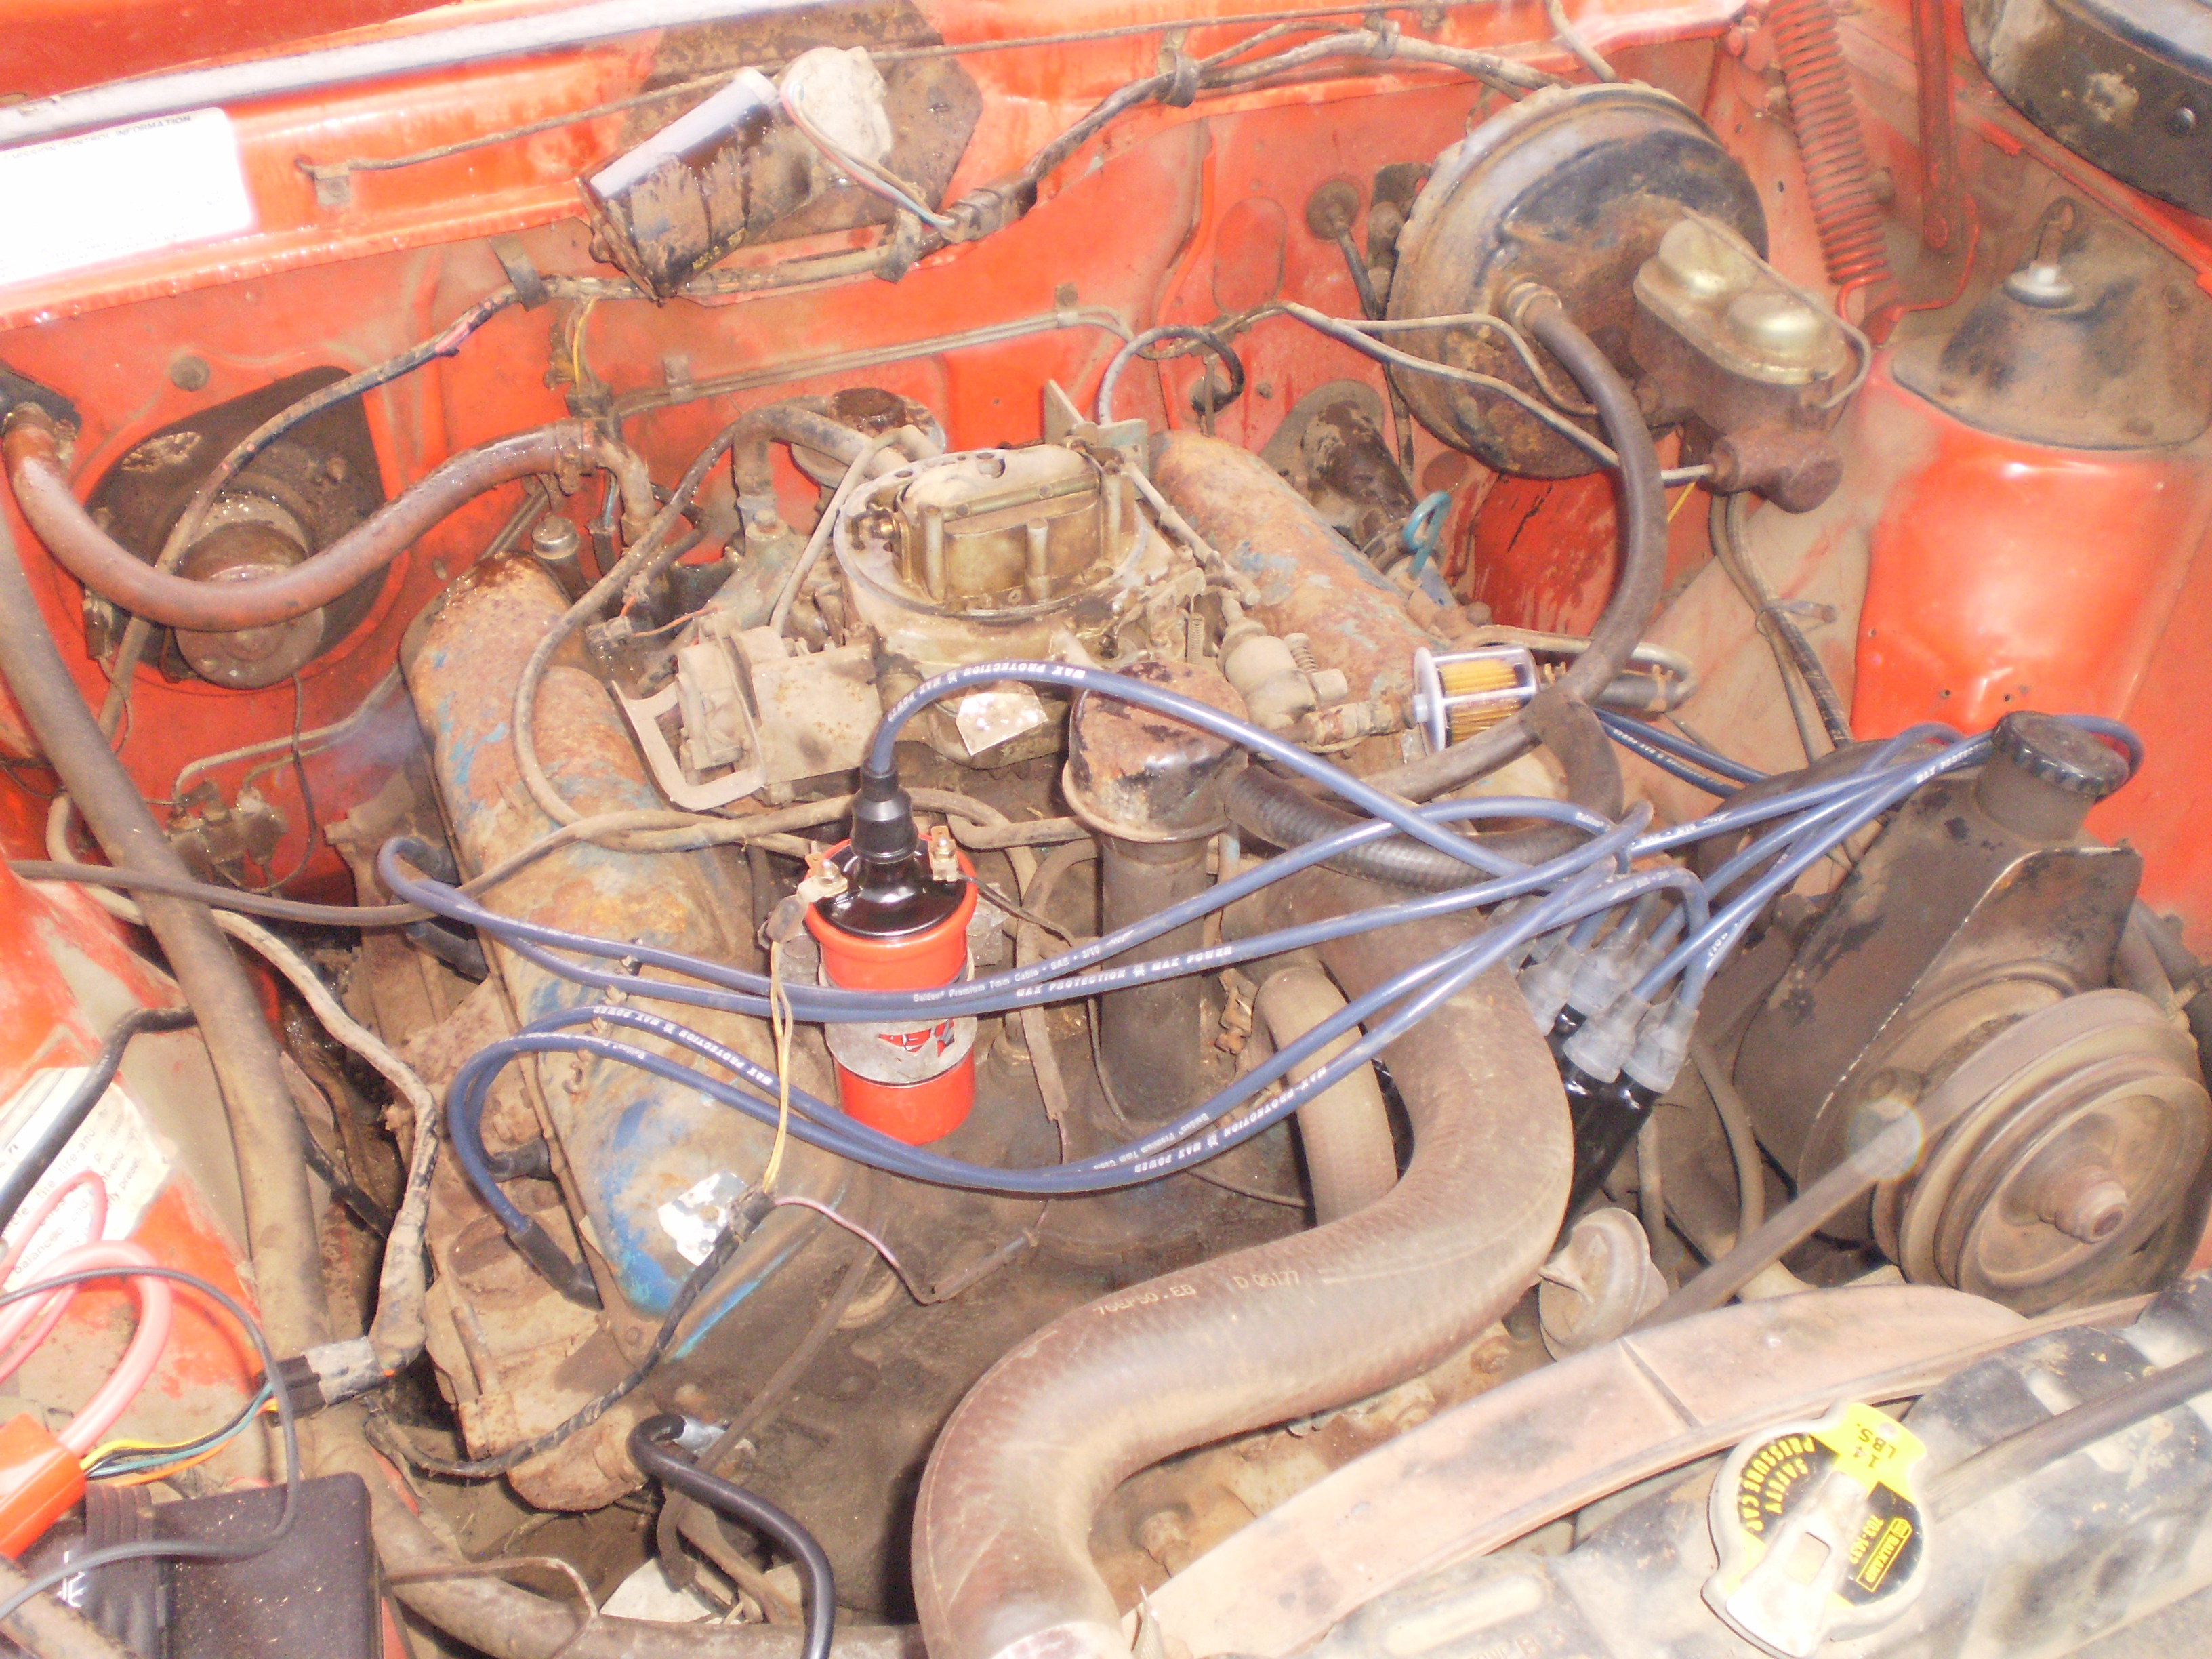
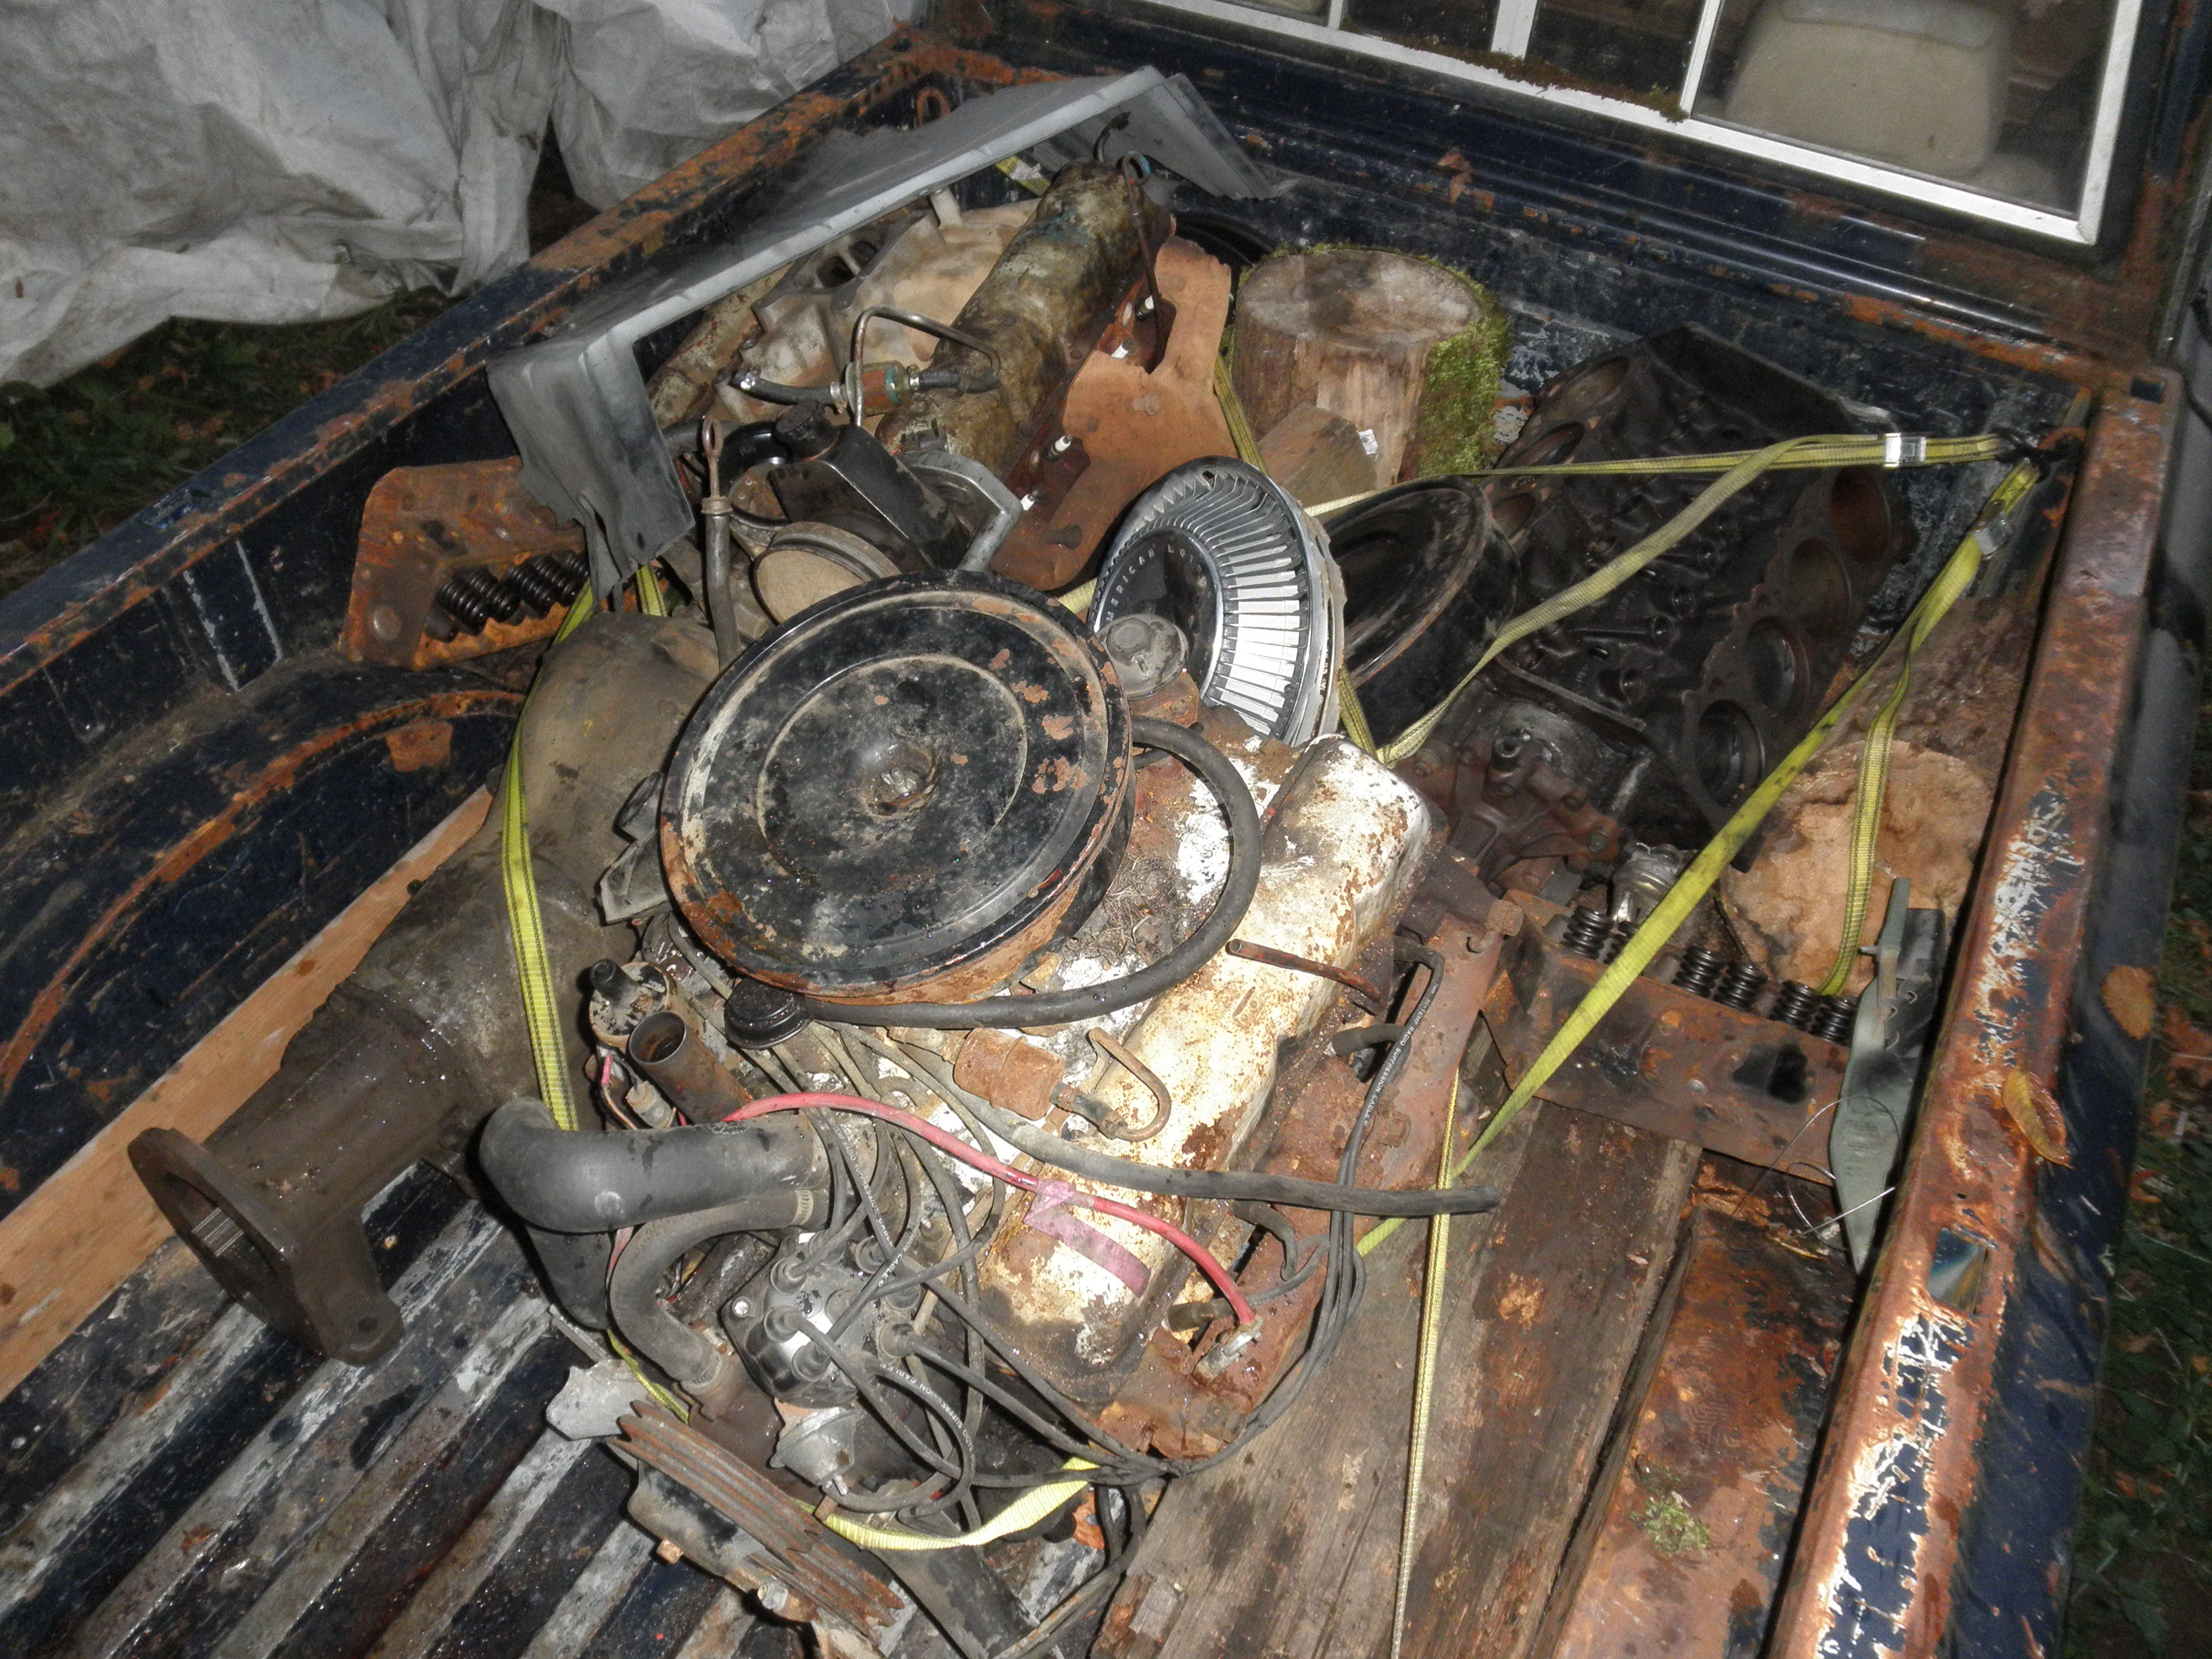
This felt really good to accomplish as it's the first real part of the project that feels like I've made actual headway. You can open the hood and actually see all of the work. Just to re-cap, here's what I started with (after de-mouse-nesting and installing the new ignition):
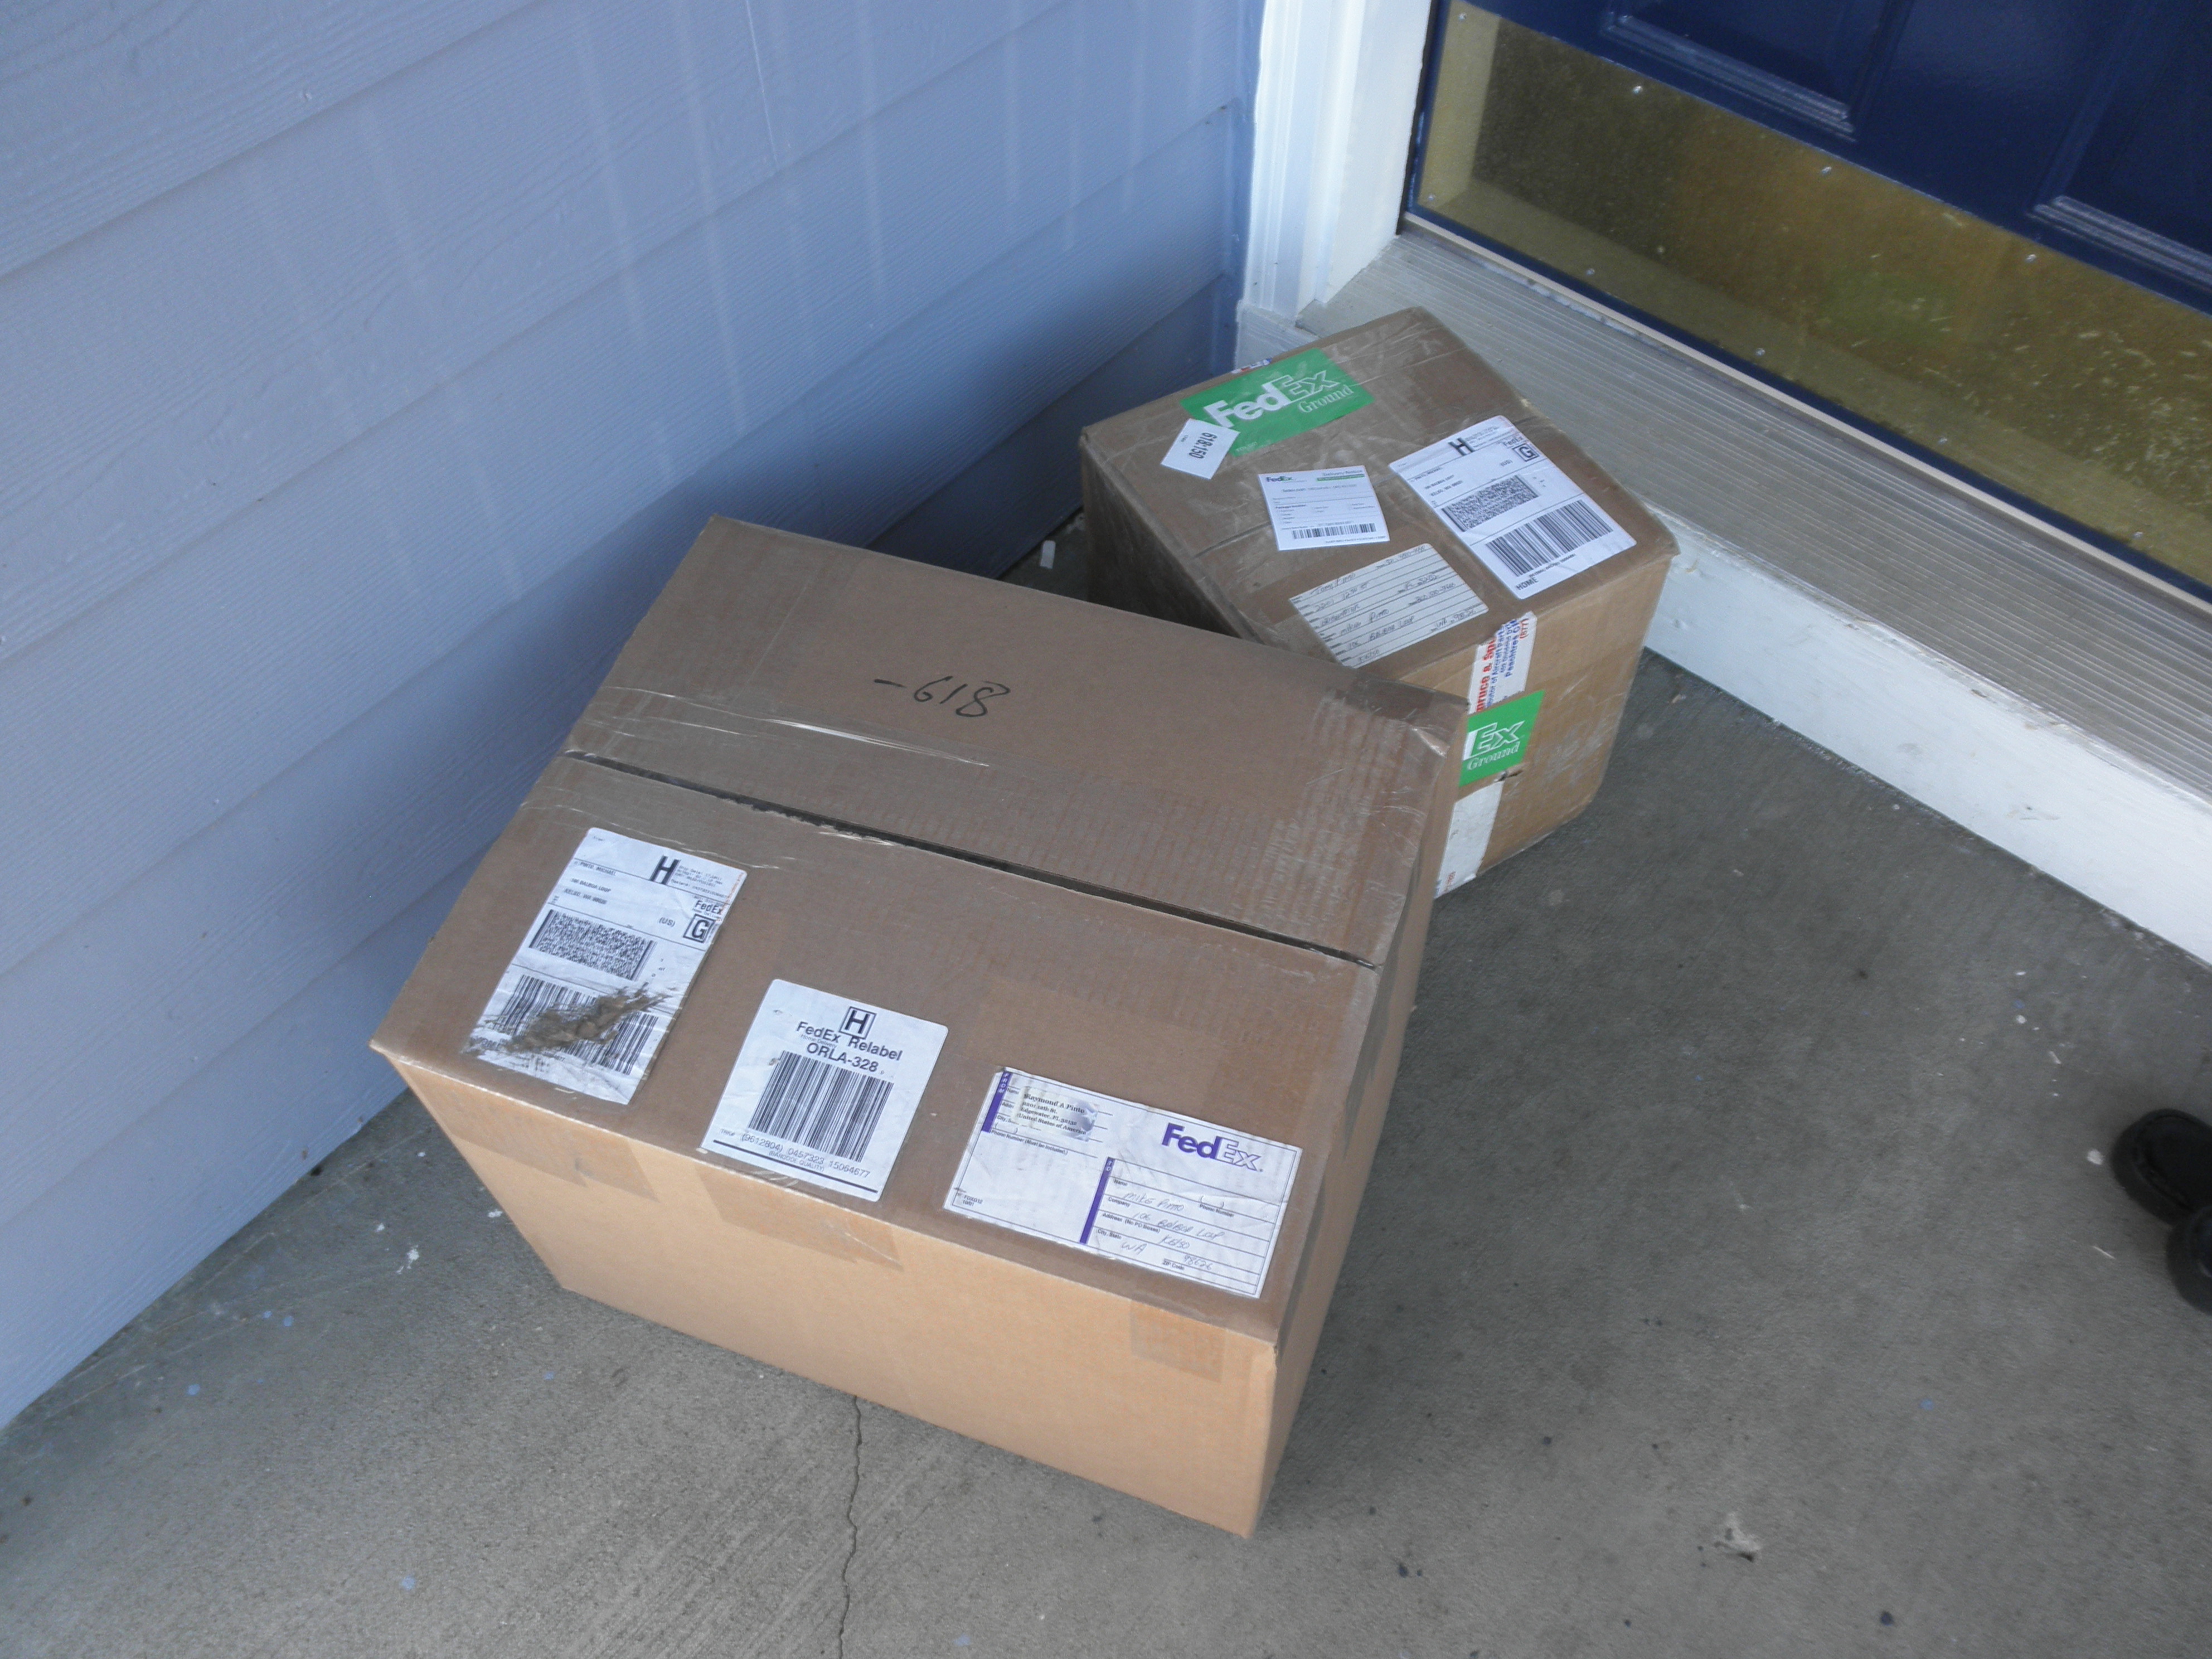
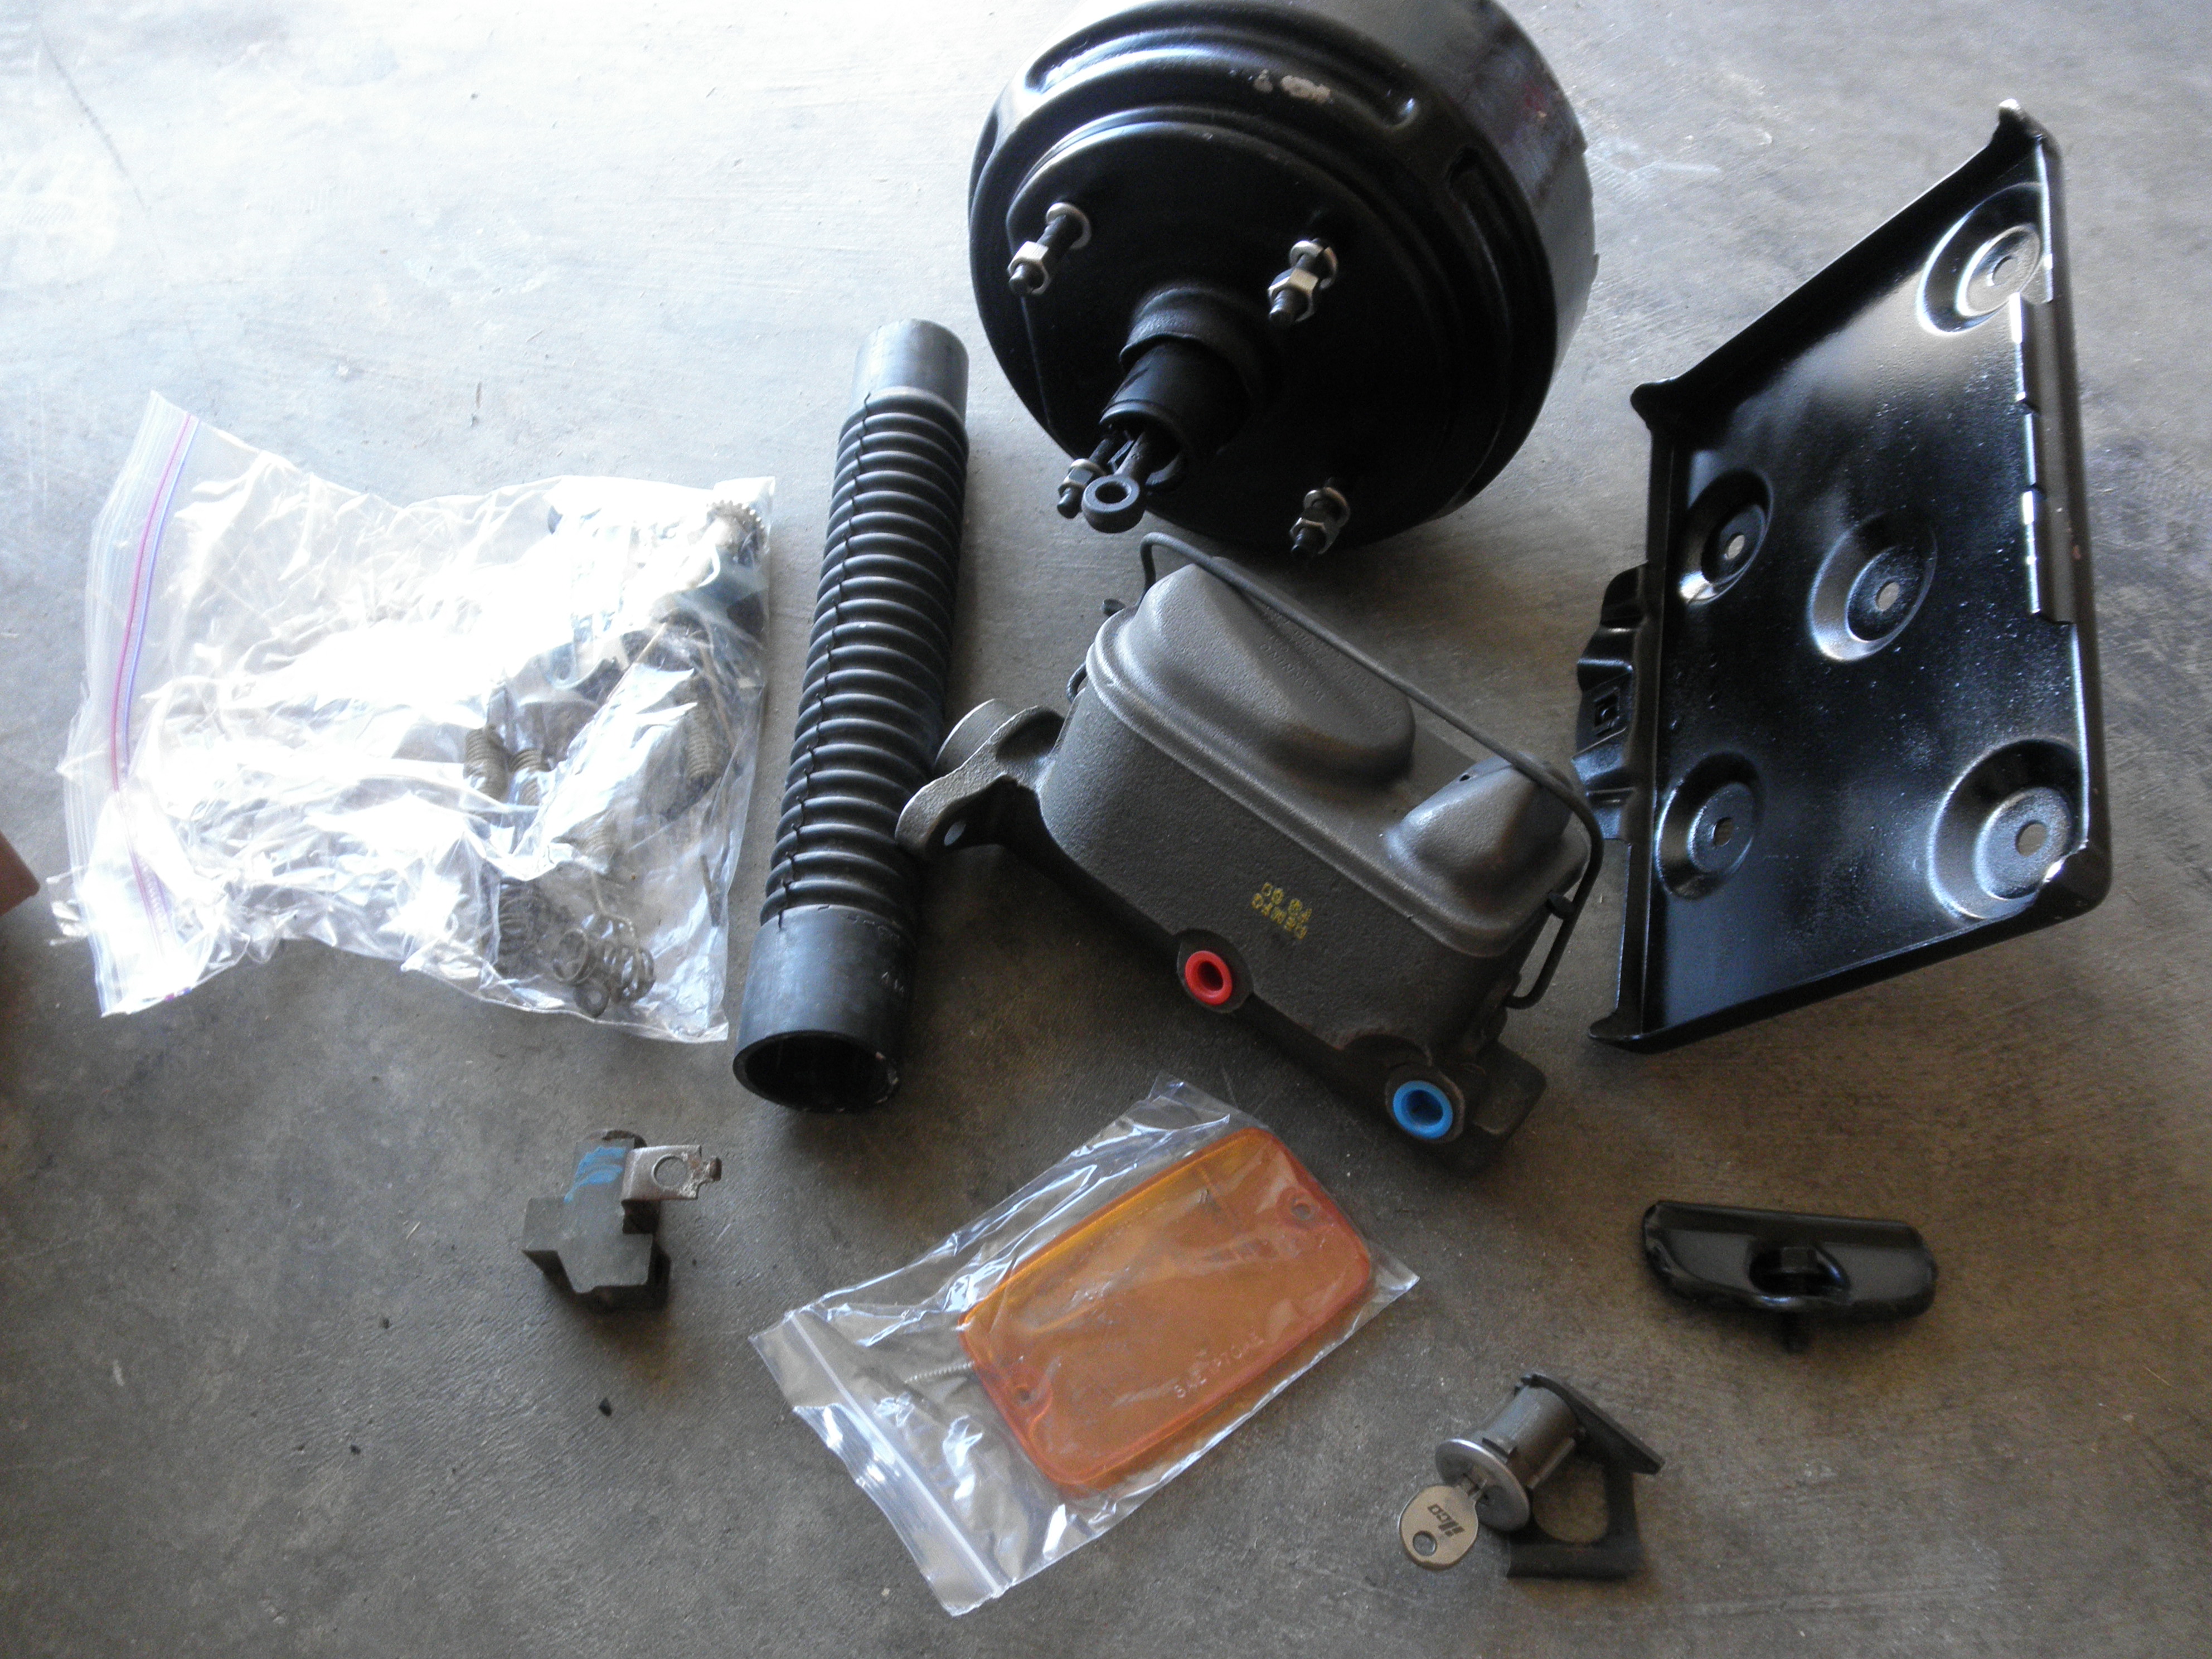
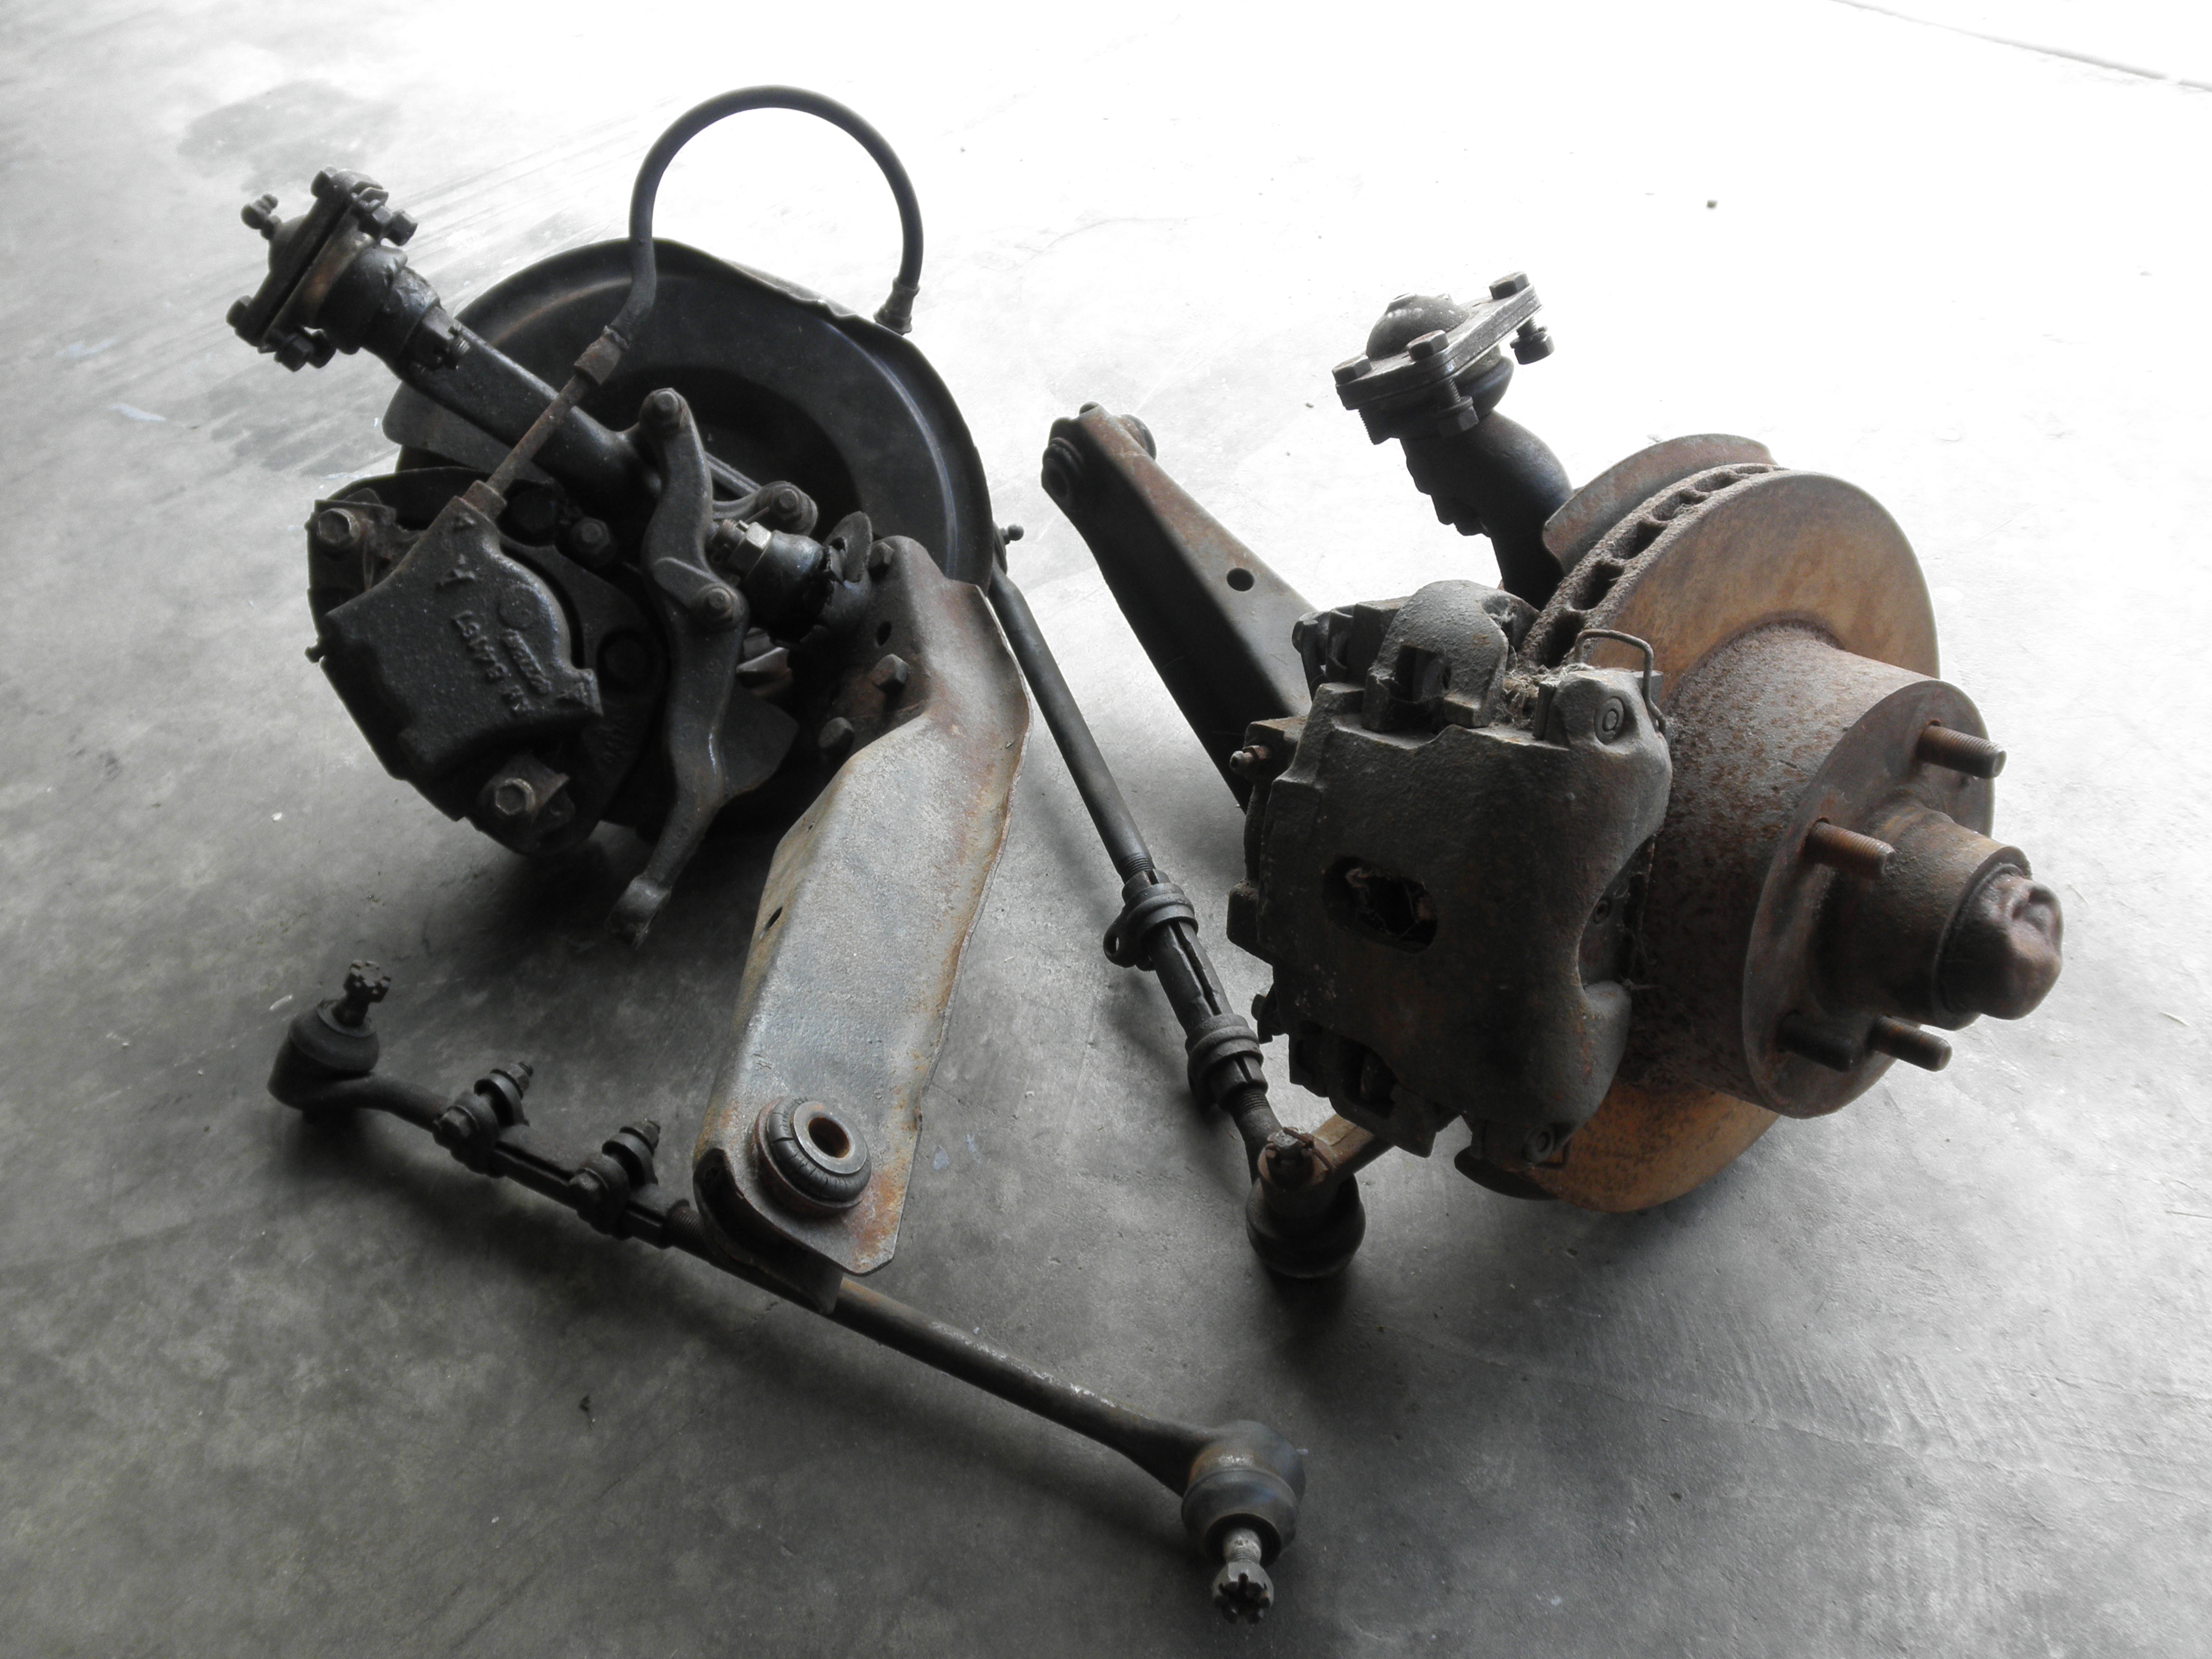
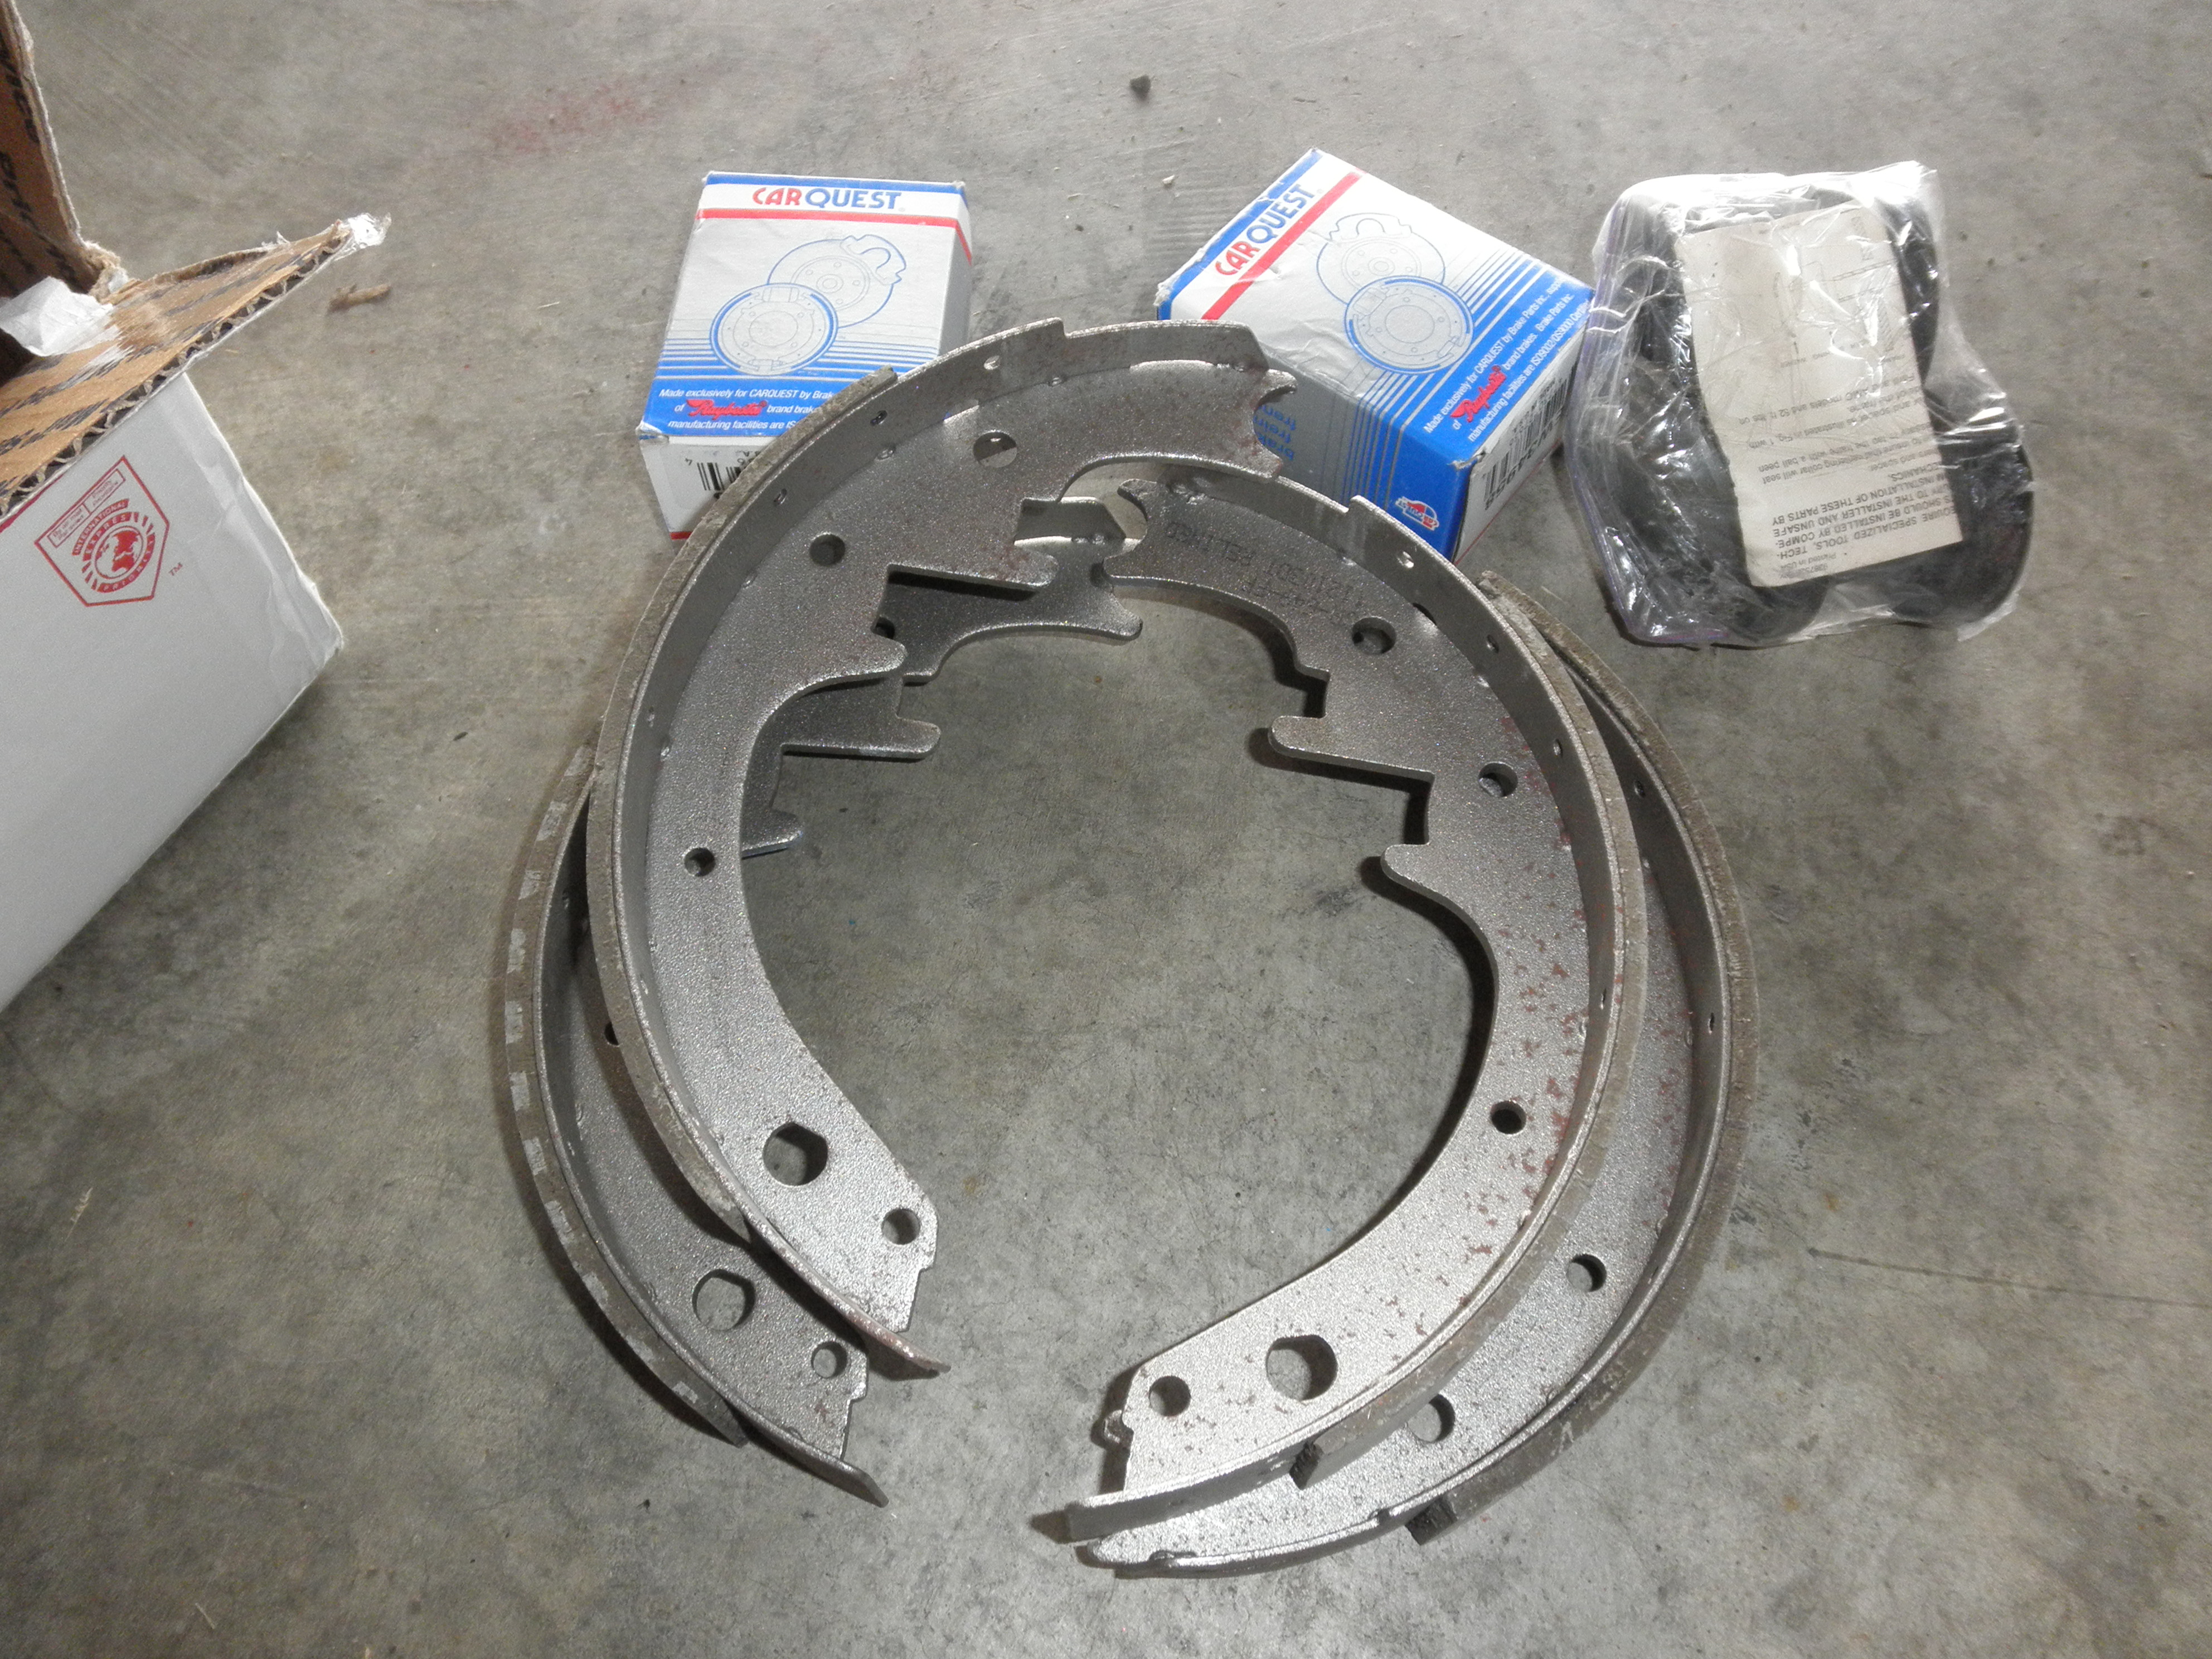
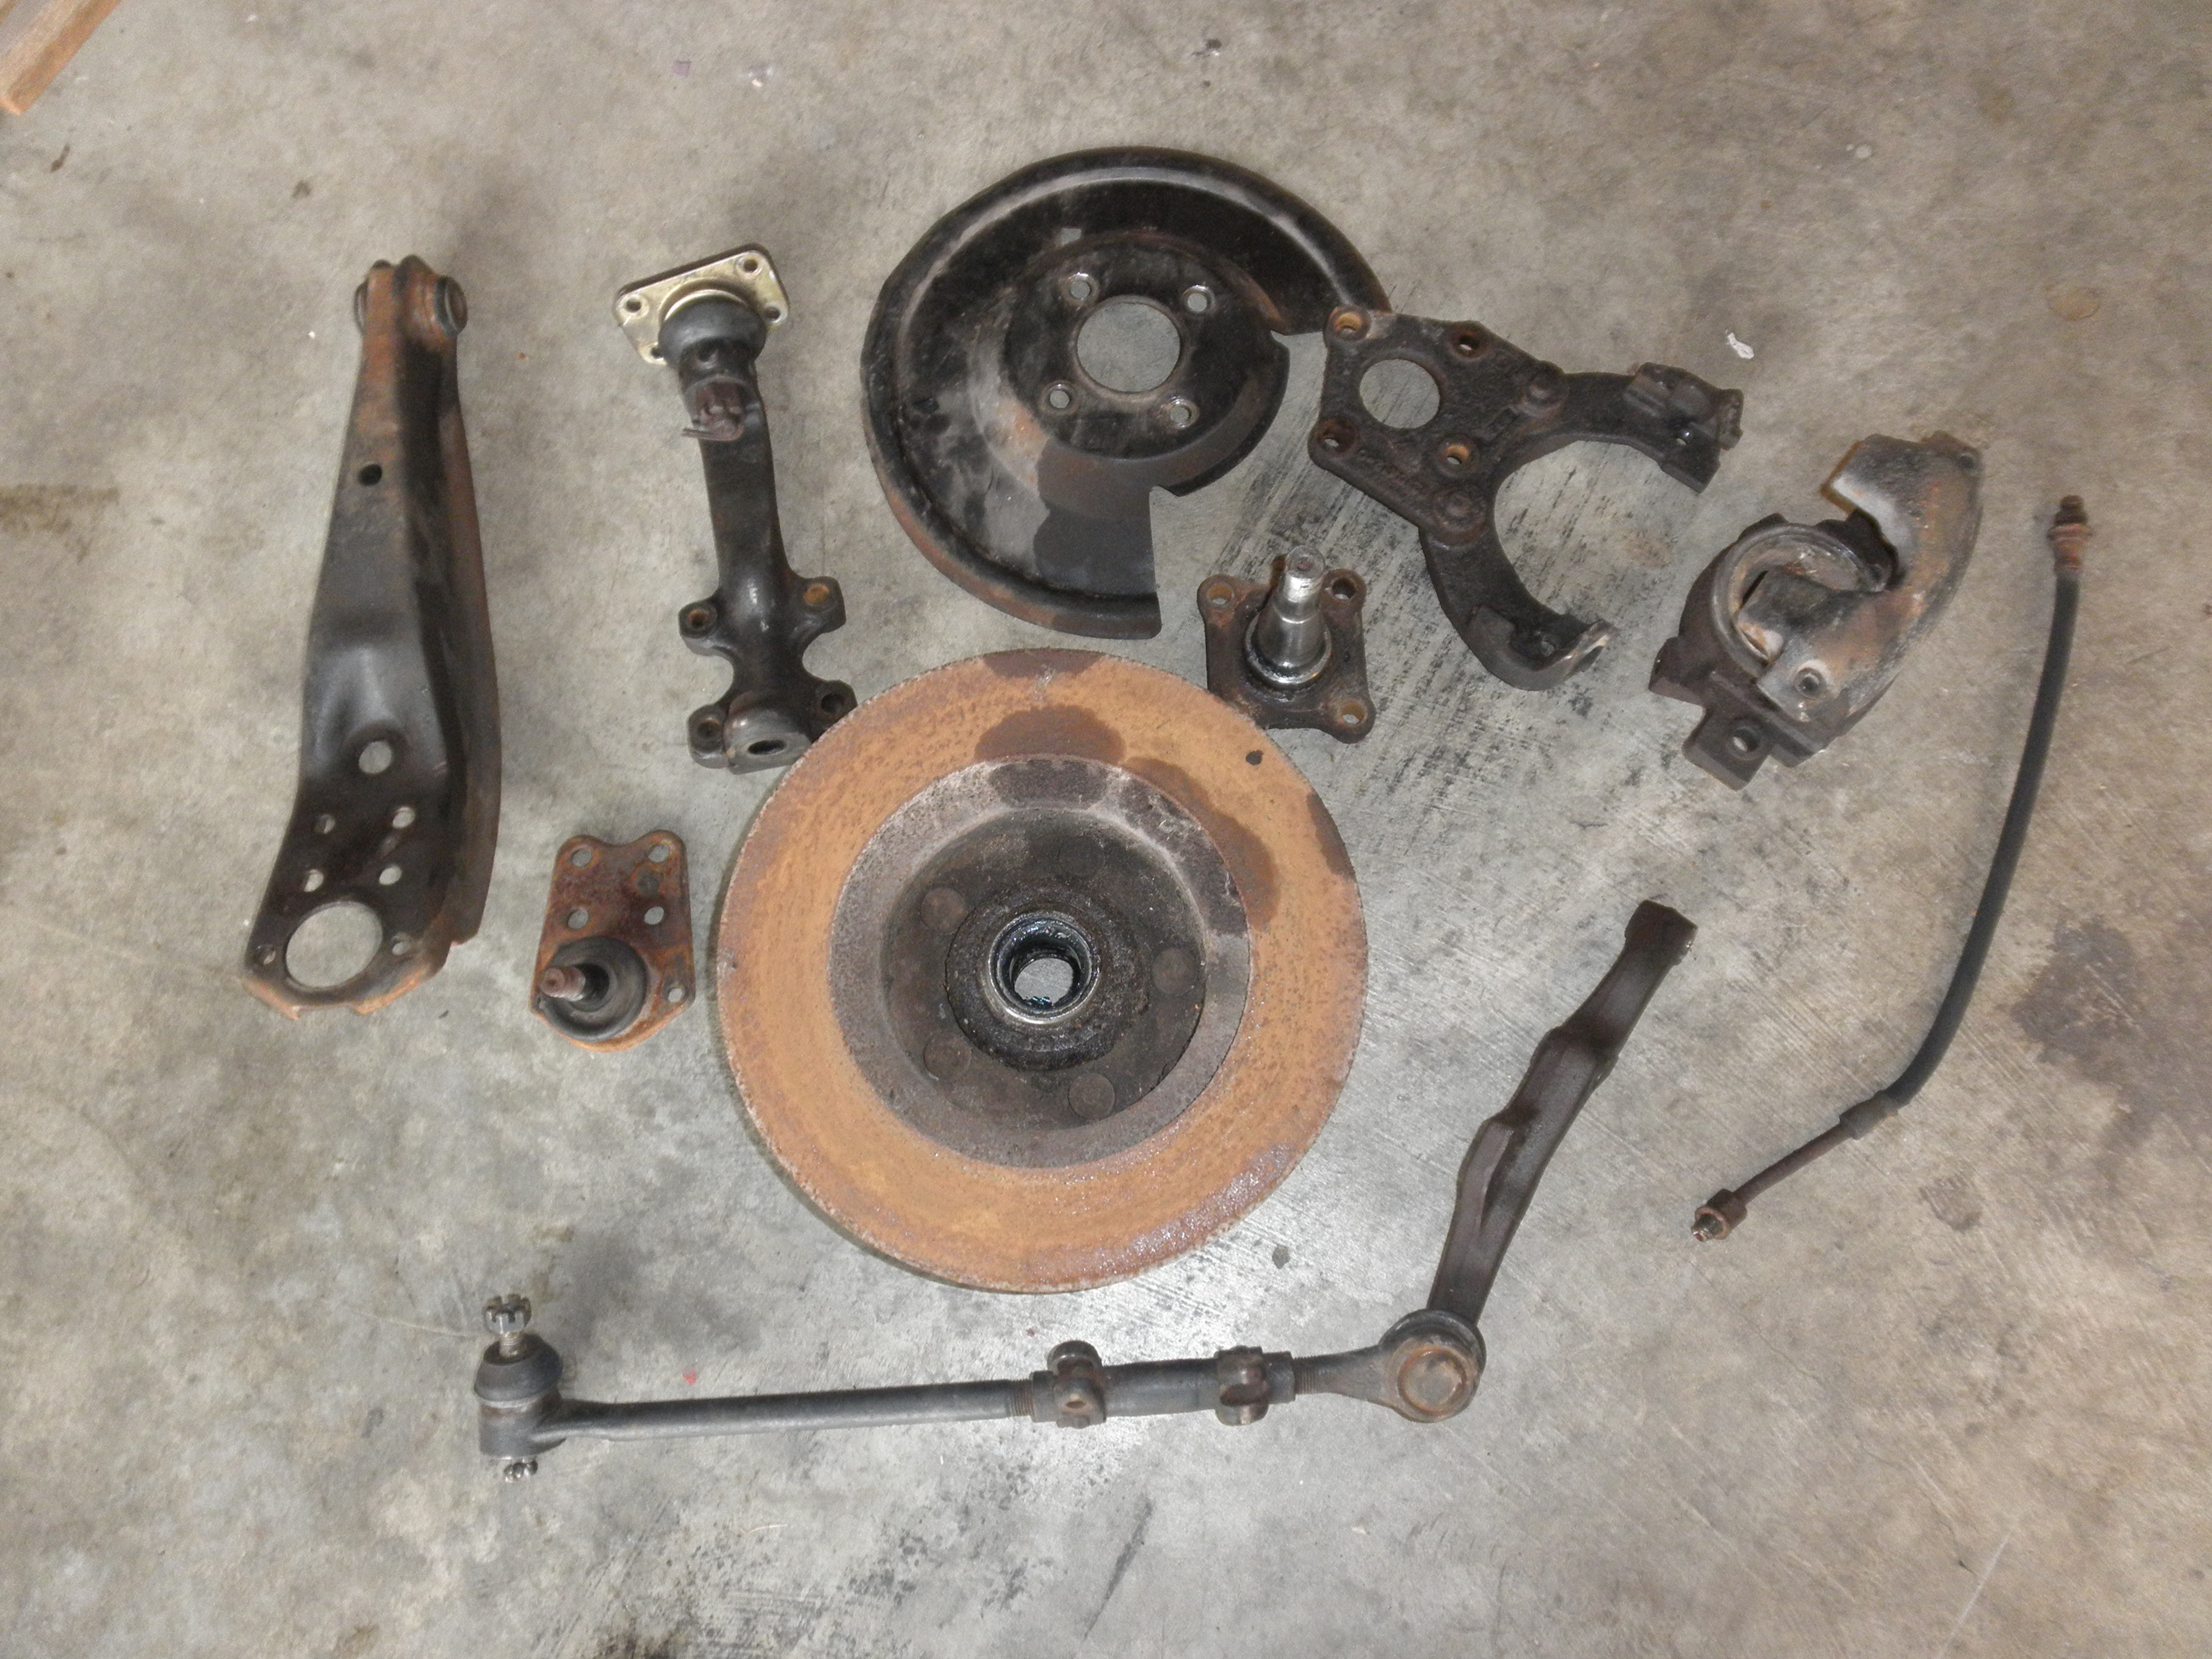
Next I tackle the other side of the engine, the other wheel-house (it still needs it's sanding and black-out), and I'll wrap up dis-assembly of the brake system (master, booster, and lines). Coming in the next box is a complete factory 71-74 Javelin & AMX Kelsey-Hayes front dis brake setup, including new booster, master cylinder, ball joints, spindles, and hoses. I also have the aforementioned battery tray and some other stuff coming as well. Once the brakes are on it will be time to drain the coolant, pull the radiator, and replace all of the belts and hoses.


