


Too slick. ![]()

Too slick. ![]()

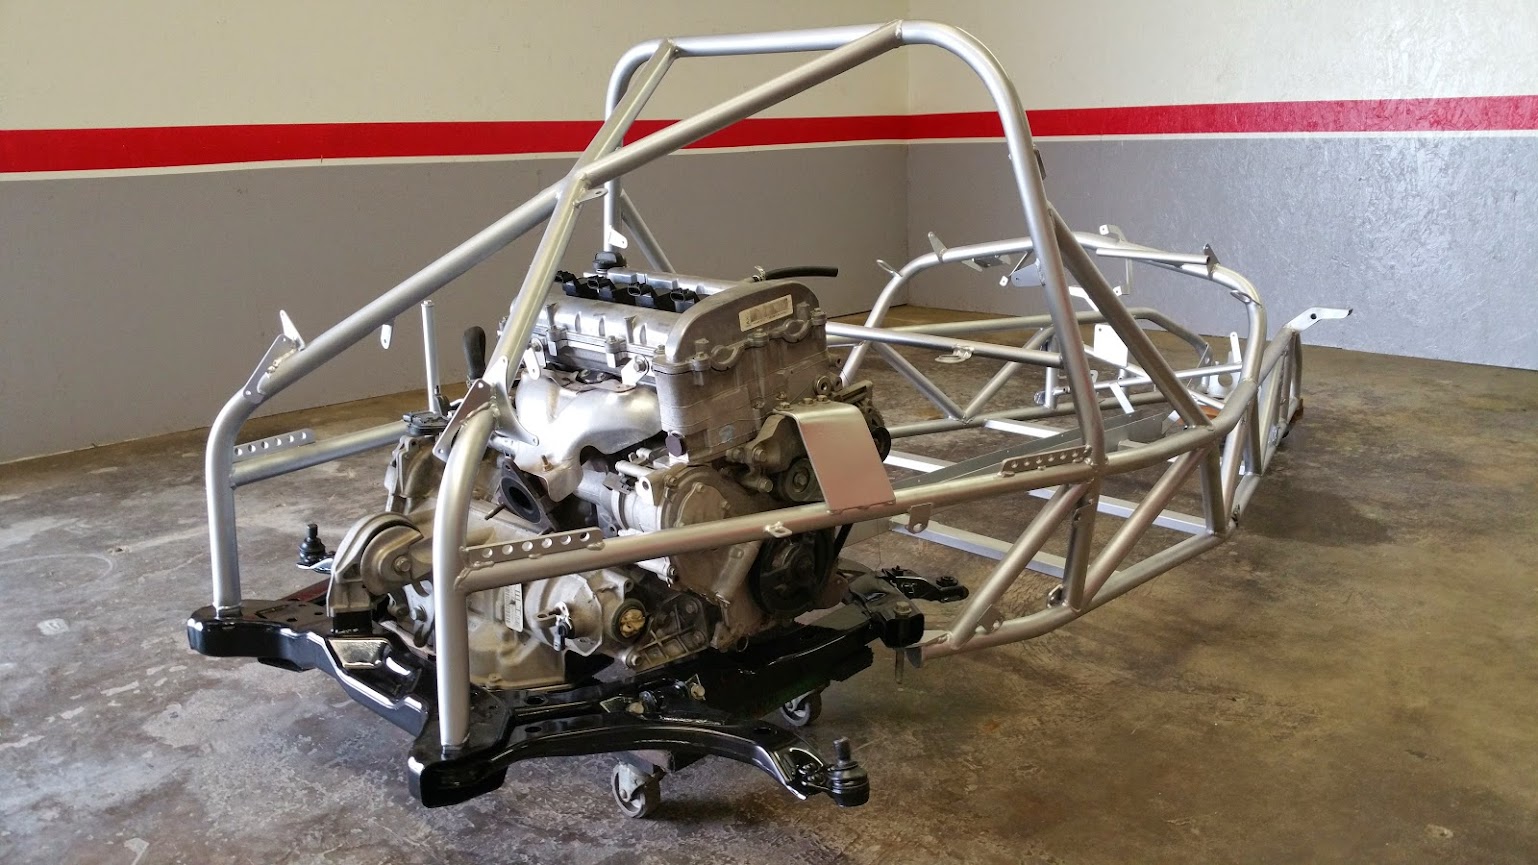
Our goal up to this point was to get everything tacked onto the frame. With the hood latch mounts being the last pieces that needed to be attached (except for some tubes that could be welded in later), it was time to disassemble the whole car to weld out the frame completely.
November 22
We started taking the car apart at 11:00 AM and had everything off the frame by 3:00 PM. It was amazing how quickly it all came apart.
Next we put the frame up on saw horses and got to welding. It took several hours to cover every joint. We also added in the last few tubes.
November 25
After we were sure everything had been welded, we knocked the rust off of the tubes and cleaned off any remaining oils to prepare for paint.

We thought about having the frame powder coated but knew that down the road we would probably have to modify or weld something to the frame. We would have to take off the powder coat in the area of the modification, leaving us with bare metal that there would be no easy way for us to recoat. So instead, we opted for paint.
We primed it with the high solids primer we used on the wood nose and engine cover plugs. After that, we sprayed on a few coats of silver paint.

We are happy with how the frame turned out. It is amazing what a little paint can do. But up next, we would be painting the hard pieces: the hood, engine cover and side panels.

Looking good.
I have a suggestion for painting the fiberglass pieces. You probably already know this and if so that's great. After removing the mold release and wax from the pieces a lot of people start by sanding. With the sanding primer that you (I use it too) it's easy to sand through the primer. If that occurs you will have a ton of pin holes that will need to be filled. So, I scuff the piece then spray several coats of 2 part epoxy primer. Then I start the sanding.
I am not an expert in this and there may be a better way. This is just what I do and it seems to work out well.
jmc14 wrote: Looking good. I have a suggestion for painting the fiberglass pieces. You probably already know this and if so that's great. After removing the mold release and wax from the pieces a lot of people start by sanding. With the sanding primer that you (I use it too) it's easy to sand through the primer. If that occurs you will have a ton of pin holes that will need to be filled. So, I scuff the piece then spray several coats of 2 part epoxy primer. Then I start the sanding. I am not an expert in this and there may be a better way. This is just what I do and it seems to work out well.
We sanded the primer with 600 grit without knowing that it would be easy to sand through. Luckily, we finished without any problems. When we do the fiberglass pieces for mine we'll keep your tactic in mind.
We drew up a couple of paint schemes on SolidWorks. We wanted it took look like a race car but not be too over the top. You guys will have to let us know how you think it turned out.
November 28
We settled on a simple scheme. Running to a local paint shop, we picked up white, black and green. The green was actually a three stage paint: silver first, then several coats of green until the color was to our liking, followed by clear.
The hood was our first target. We wet sanded the primer and put on a coat of white. After giving it some time to dry, we taped off the lower part of the hood and painted it black.


The next part of the scheme was more difficult. On SolidWorks we had drawn on a pair of stripes that swooped out at the tip of the nose. With some trial and error we got two equal width stripes that were inline with the hood. Then we cut a radius on a piece of paper and used it to lay down tape to make the swooping section.

After triple checking to make sure everything was symmetrical, we sprayed on the silver.

The green paint is actually a candy coat. This means that the more layers you spray on, the darker the color becomes. If you aren't careful with your coverage, you could end up with dark and light spots. So we had to make sure that we were laying down a consistent coat all over the stripes.

We were impressed with the result. It's hard to capture how glittery the silver and green are. After we pulled the mask off, we put several coats of clear.

Without a paint booth, we ended up with trash landing on the nose. We will be wet sanding everything and we hope that most of the debris will be gone at that point. Regardless, we think it looks good.
November 29
We hadn't made the side panels yet, so the next piece to be painted was the engine cover.

The scheme on the engine cover was a lot simpler. Following the same steps as on the nose, we quickly had the cover painted.

November 30
Finally it was time to do the side panels. Using the SolidWorks model of the car, we flat patterned the panels and machined them out of .040 aluminum sheet. Then we bent them to match the car.

These pieces were even easier to tape and paint than the engine cover. After priming, we painted them white, taped, painted black, retaped and painted green.

After clear coat and drying time, we connected the side panels to the car with dzus fasteners.


Looks great

This is a sweet build!

Very nice paint scheme. I have a feeling this car might see the magazine sometime in the future
I agree. Very impressive.

You guys are nuts! The pace and quality of work you are doing is just amazing. And I am fully aware that you are somehow running a business in the background while doing all this.
Thanks for all the comments. Glad you like our progress.
Cool_Hand_Luke wrote: Very nice paint scheme. I have a feeling this car might see the magazine sometime in the future
It'd be awesome to get into the magazine. We would feel like we were famous!
NOHOME wrote: And I am fully aware that you are somehow running a business in the background while doing all this.
We've kept the car in a separate building from the machine shop to discourage us from getting distracted. This plan has had moderate success but we do find ourselves working on the car more often as it gets closer to being finished.
December 3
To make assembly go as smoothly as possible, we wanted to have most of the parts ready for installation before we got started. So we spent a few days spray washing, hand washing, taping and painting parts.
We also worked on making the rear suspension more solid. First we eliminated the rubber upper strut mount by making a plate that could be connected rigidly to the top of the stock struts. Then we replaced the worn out rubber control arm bushings with nicer Moog spherical bearings.
The picture below shows most of the donor parts and some of our fabricated or purchased parts.

The transmission pan had a small crushed area that slowly leaked so while it was easy to access, we pulled it off and fixed it by pushing the dent out and welding it up. We also replaced the transmission fluid filter while we had it all open.
We then spent an hour cleaning the engine and transmission with stiff bristled brushes and cups of mineral spirits.
December 5
Seven months after bringing the donor home, it was finally time to start the final assembly.
First we put the subframe, engine and rear control arms back together to prepare them to be attached to the chassis.

Next we lifted the chassis over the engine and slipped the subframe in to place. After tightening the four main bolts and the six engine mount bolts, the subframe and chassis were one.

Total build thread crack. Great job.
December 5 continued
After taking a lunch break, we returned to the shop to continue assembly of the car.
We started off by installing the brake lines. They had already been formed to the car so they dropped easily into the tunnel and we only had to fix them in place with clips and self tapping screws. We are using the original Cobalt lines even though they are far too long. So we just zig-zagged the excess at the front of the car. We installed the fuel line at this time too.
Next I installed the pedals and BCM while my dad put in the steering system (rack, shaft and quickener).

The fuel tank slid into place and we bolted it and the control arms to the frame. You can see the latch mechanism ready to be installed just in front of the battery.

The next photo gives you a good view of where the ignition switch is and shows how the turn signal installs. The turn signal is straight out of the Cobalt column and pops right into the metal hoop on our column. Just to the right of the base of the switch, you can see an aluminum clamp bolted to the column. This is our turn signal cancellation ring (I've included a zoomed in section to show more detail).

When the turn signal is activated, a little ear extends out from the bottom of the switch. As you turn the wheel in the direction you are signaling, the cancellation ring turns too and pushes right past the little ear. Then, when you turn back the other way, the aluminum ring catches the ear and clicks the turn signal off.
The last thing we did that night was lay the wiring in place. We'd be tackling that web the next day.

How will you do your floor boards?
I completely skipped over that part. Thanks for the reminder:
Before we mated the subframe and tube chassis, we used one of our CNCs to cut two floor panels out of .060 aluminum. One piece covers the floor area under the seats and leg area and the other is a smaller piece that covers the floor ahead of the pedals up to the tip of the frame. The forward sheet overlaps the larger piece so that the seam faces the back of the car.
The CNC poked all of the rivet holes for us so we just had to hold the floor to the frame to drill a few holes for Clecos. With the temporary fasteners holding it in place, we drilled the rest of the holes using the floor as a guide.

With the holes drilled, we just have to raise the car up on the lift and pop a whole lot of rivets in. We figured it would make assembly easier if we save this step for later.
In case anyone is wondering, we weighed the frame before starting to assemble the car. It came in at 175 pounds.

Great project. Following.

Are you concerned about corrosion with all of those tiny holes in the bottom of the frame?
Rob R.
P.S. This thing is SUPER badass!

That's pretty much standard procedure for any Lotus Seven style build.

So; does the SS Turbo motor/trans fit in this chassis too?

What a great build thread. Thanks for sharing and great work so far!
Keith Tanner wrote: That's pretty much standard procedure for any Lotus Seven style build.
Is there anything normally done to solve this issue? Am I making too much out of it?
Thanks!
Rob R.
Run a bead of calking between the aluminum floor and the frame, I think. Or even better, some sort of structural adhesive that will also act as a sealant.
Or acknowledge that it's a sunny day car and it's not really a factor unless you submerge it :)
Bah! never admit defeat!
MOAR updates please!

I'd slather the bottom of the frame in a polyurethane adhesive of some sort (PL Poly, window weld, or an actual automotive panel adhesive, in order of cost and availability), then rivet it down, can't hurt and adds a touch more stiffness.
You'll need to log in to post.


