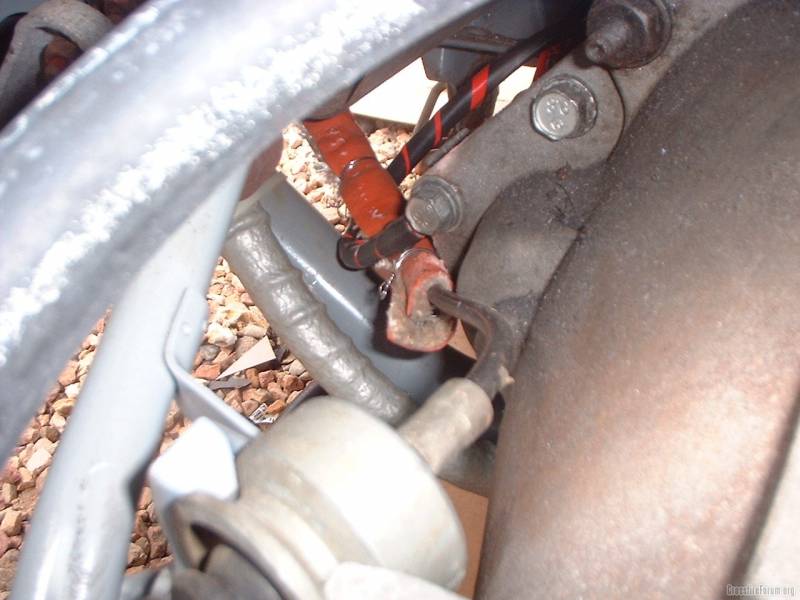
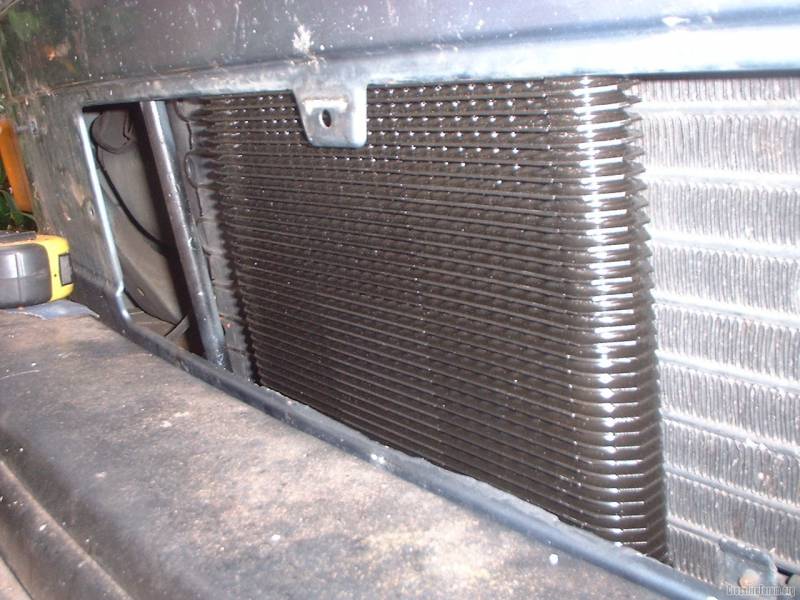
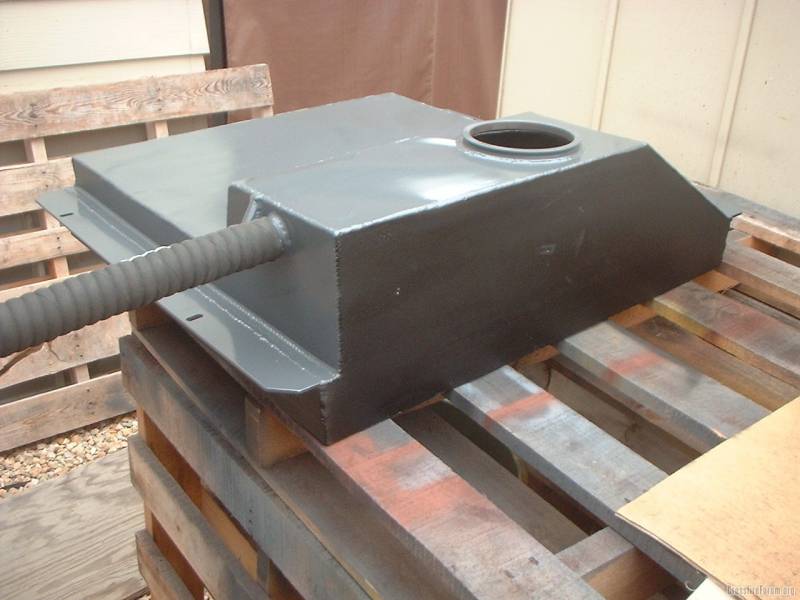
so my machinist is all backed up-- the tank wont be welded for another week--he was drilling my jag calipers for the hydro fitting relocations and mounting. I am driving around with this stuff on the cargo floor of my 90 vanagon subie. july 10 sunday I go get my lugs at the long beach swapmeet vets stadium. he will install those too. I am having him make adapters for the rear beamer lugs because I need spacers for the ronal wheels anyway- I can get away with 6061 aluminum .75" thick. it'll be cool
Seeing those stock downpipes brings back horrible memories.. I hated those things on my intrepid but never got around to replacing them. Im pretty sure they were costing me ~20hp at high rpm.
And for the people who havent seen them, the worst part is out of view on the pic. They collapse down to ~1.5" or so.
Based on the weight and acceleration of the intrepid i had, i think this thing may surprise you with how quick it will be. I did a few things to mine and was able to harass a lot of older mustangs, along with stomping most other fwd family cars. The drag on the van will be much worse but 0-60 should be relatively unaffected by that.
I got the chrysler brake/speed control switch in today

I just want to use that lockup converter on the highway. I am mopping up little structural details in final prep for the wiring symposium. well splash shields, intake ducting, heater hoses, harnass hangers and the tcm bracket rework [it is too close to the battery] I have so much stuff in limbo that I am discouraged, like a dog when its owner goes to work for the day, except that it's been a year now. little results keep me going, and there just arent any lately. I just dont want any distractions when I turn to the wiring. I want everything else done or waiting on wiring.
I am interested in the tweaking you did to yours--I have heard about larger throttle bodies, but performance upgrades for this engine are hard to find out there. at least in my type of application.
As far as acceleration is concerned.. i had dual 52mm tb (stock is ~46?), dual cowl induction intake, dual exhaust with flowmaster 40s (stock downpipes, no main cat, 2 or 2.25" pipes to the mufflers), '2.7 gears', 3300 stall converter, and slightly shorter tires.
So basically i had a decently upgraded intake side, a half-ass upgraded exhaust side, and the rest of it was torque converter and gearing. All told, a huge difference, though.![]()
the starter pigtail got mallory pyro sleeving and the shifter cable too.
my ambient temp sensor is finally in and the heater hose adaptation is almost done [3/4 to 5/8]- I replaced the first choice cooler above with this one from empi with the fittings already on it- apparently, when you try to tig fittings onto a soldered component, it falls apart- 72 pass cooler is better anyway.


 I have continued my ident catalogueing of the wires so I can start morphing them together. it gets even more boring now--
I am building a stainless heater hose pipe around the engine to replace the stock one and route it around the bell housing instead of over it. But I got a dog today!! she is a beauty--30 lbs english cocker spaniel, similar to my avatar. her name is halley, 3 yo. great teeth and nice clear eyes. friendly and playful and gentle. gorgeous! I am stoked! I havent had a dog in ten years.
 my hossfeld bender came in handy-- even though i have no concrete floor

 I played hell threading ss wire through my mig-- I had to take the gun apart and the wires were pulling out of the trigger. nobody has narrow spade connectors, so i had to recycle and solder them with shrink tubing-- an extra half day. stuff


 now the heater hoses are finished
Your dog looks so sweet. Spaniels are really nice dogs.
The work on that heater hose pipe is great! Really impressive.
Excellent skills you've got there :)
thanks everyone!! I"m about to learn how to parkerize the inside of my fuel tank, like the firearm industry does. I figured I'd have to do something in there. Locating 1/2 fuel hose for the filler vent is lengthy. napa stocks it but is out now- next week- soI guess I'll treat the innerds of the tank [overnight process with diluted phosphoric acid]. I am gathering all the tools and seals together to finally replace all 3 forward shaft seals on the engine. A chrysler line mech told me how to do it yesterday.
fuel tank needs parkerizing inside, so i will do that overnight with water and a quart of phosphoric acid as soon as it arrives. it will passivate the welds from rust, similar to what is done with firearms.

I have a quart of 85% phosphoric acid coming and it will need dilution with water in the tank. all of it goes in and stays for 24 to 48 hours- the heated industrial version takes 7 minutes. it can be neutralized with baking soda in the end and rendered harmless for disposal.
thummmper wrote: I have a quart of 85% phosphoric acid coming and it will need dilution with water in the tank. all of it goes in and stays for 24 to 48 hours- the heated industrial version takes 7 minutes. it can be neutralized with baking soda in the end and rendered harmless for disposal.
remember, add acid to water, not the other way around.
I know caustic soda will explode when water is added to it--the process requires that I pour the quart in first, slosh around and then dilute until full and leave for 1 to 2 days.
thummmper wrote: I know caustic soda will explode when water is added to it--the process requires that I pour the quart in first, slosh around and then dilute until full and leave for 1 to 2 days.
as long as it's a known process, i guess i'd go along with it. i'm very interested to see how this (and the rest of the van) turns out!
 she didnt blow--this is right after I topped it up--and within 2 minutes there were bubbles coming up.
and the wheels look and fit well

You'll need to log in to post.