Hey Tim,
My dad has a 1984 GTI Rabbit and I've been wanting to bring some life back to it. This project of yours has given me some great inspiration! Thanks.

Our 1984 VW Rabbit GTI was running nicely and looking better. Now it was time to really detail the car. While it still wore its original paint, it definitely needed some love and expert attention.
That expert would be Tim McNair of GP Concours. Tim regularly details cars for top concours events and will gladly share secrets. The trick, he notes, is taking the time to actually apply those secrets.
Tim always starts with the dirtiest part of a car first. That way he doesn’t track dirt and grease onto the cleaner parts of the car.
We had already gotten the engine compartment in pretty good shape by cleaning off the undercoating and replacing—or cleaning and painting—every part as we did the mechanical work on the car. So, Tim began with the wheel wells.
He has started to use a new product on wheel wells: Griot’s Garage Foaming Tire Clean. Once they were clean, he went over the plastic wheel inserts with Pro Honda Spray Cleaner & Polish.
Once he had the underside of the car clean, he turned his attention to the paint.
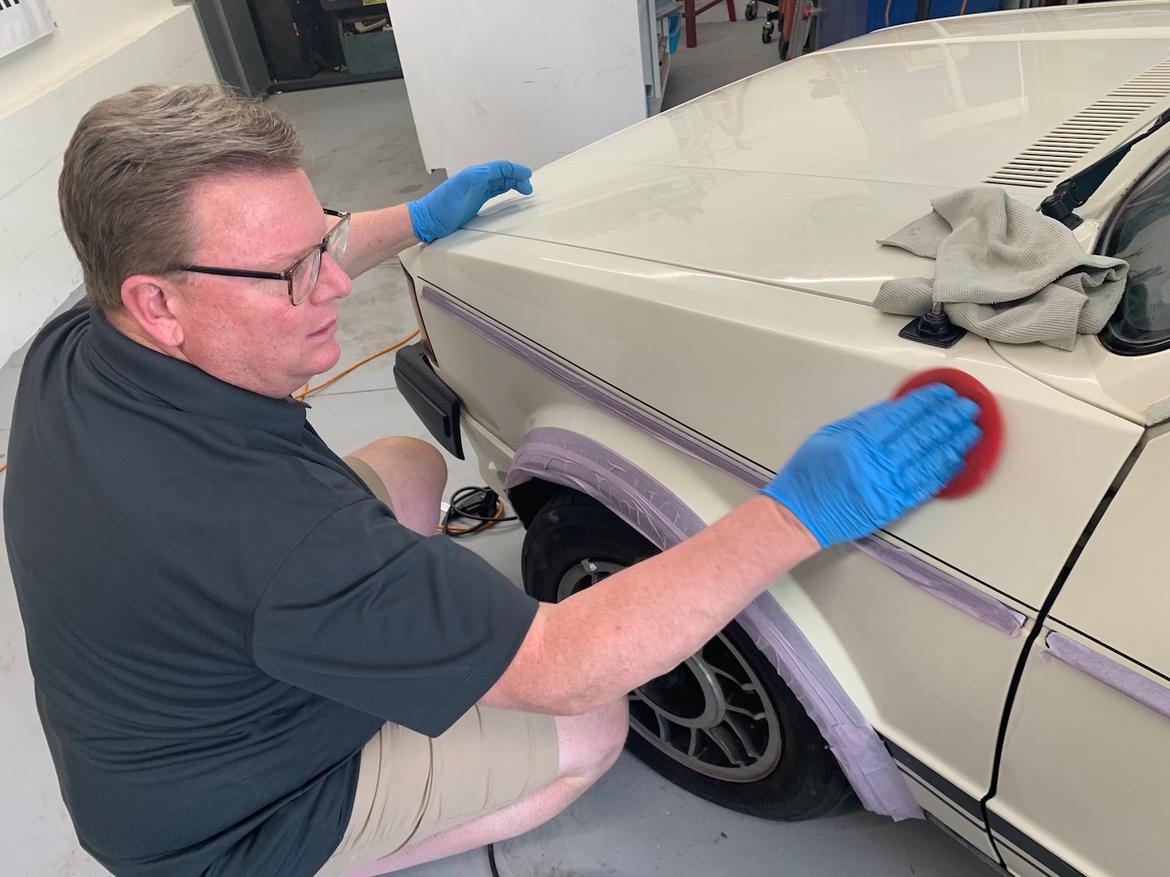
First, he wiped down the entire car with a quick detailer. This gave him a clear view of his starting point. He then masked off the black trim (that we had just painted) to make cleanup much easier.


From there, assuming the car needs it—most do, including ours—he clay-bars the painted service to remove stains, bird droppings and the like.

On a car like our GTI, one that really needed its paint brought back to life and not just touched up, Tim used an orbital buffer to compound the paint. On our GTI, he used Griot’s Garage Correcting Cream on a Griot’s BOSS compounding pad.


At this point, our GTI started to look brand-new again. Tim next went back over the car with with Griot’s Perfecting cream and a finer polishing pad, then waxed the entire car by hand with Griot’s Garage Poly Wax.


As for badges, you can either replace them or restore them. Tim taught us how to restore the chrome badges used on many ’80s cars with a simple chrome pen.

Inside the car, the process was a lot more straightforward. First, the car was thoroughly vacuumed. Tim has collected a whole bunch of variously sized brushes to fit in every crevice, and he brushed out all of the places where dust likes to collect: around the air vents, the radio, etc. Tim explains that this doesn’t really take talent, just time and patience.

If the carpets are stained, try a carpet steam cleaner or just a can of Resolve and a brush, Tim advises. Taking out the seats reveals hidden dirt and stains.
With an interior cleaner and protectant from MPT Industries, Tim finished off the GTI's cabin.

As you can see, our GTI is now looking very clean and is about ready for some fun.


Hey Tim,
My dad has a 1984 GTI Rabbit and I've been wanting to bring some life back to it. This project of yours has given me some great inspiration! Thanks.
Displaying 1-2 of 2 commentsView all comments on the CMS forums
You'll need to log in to post.