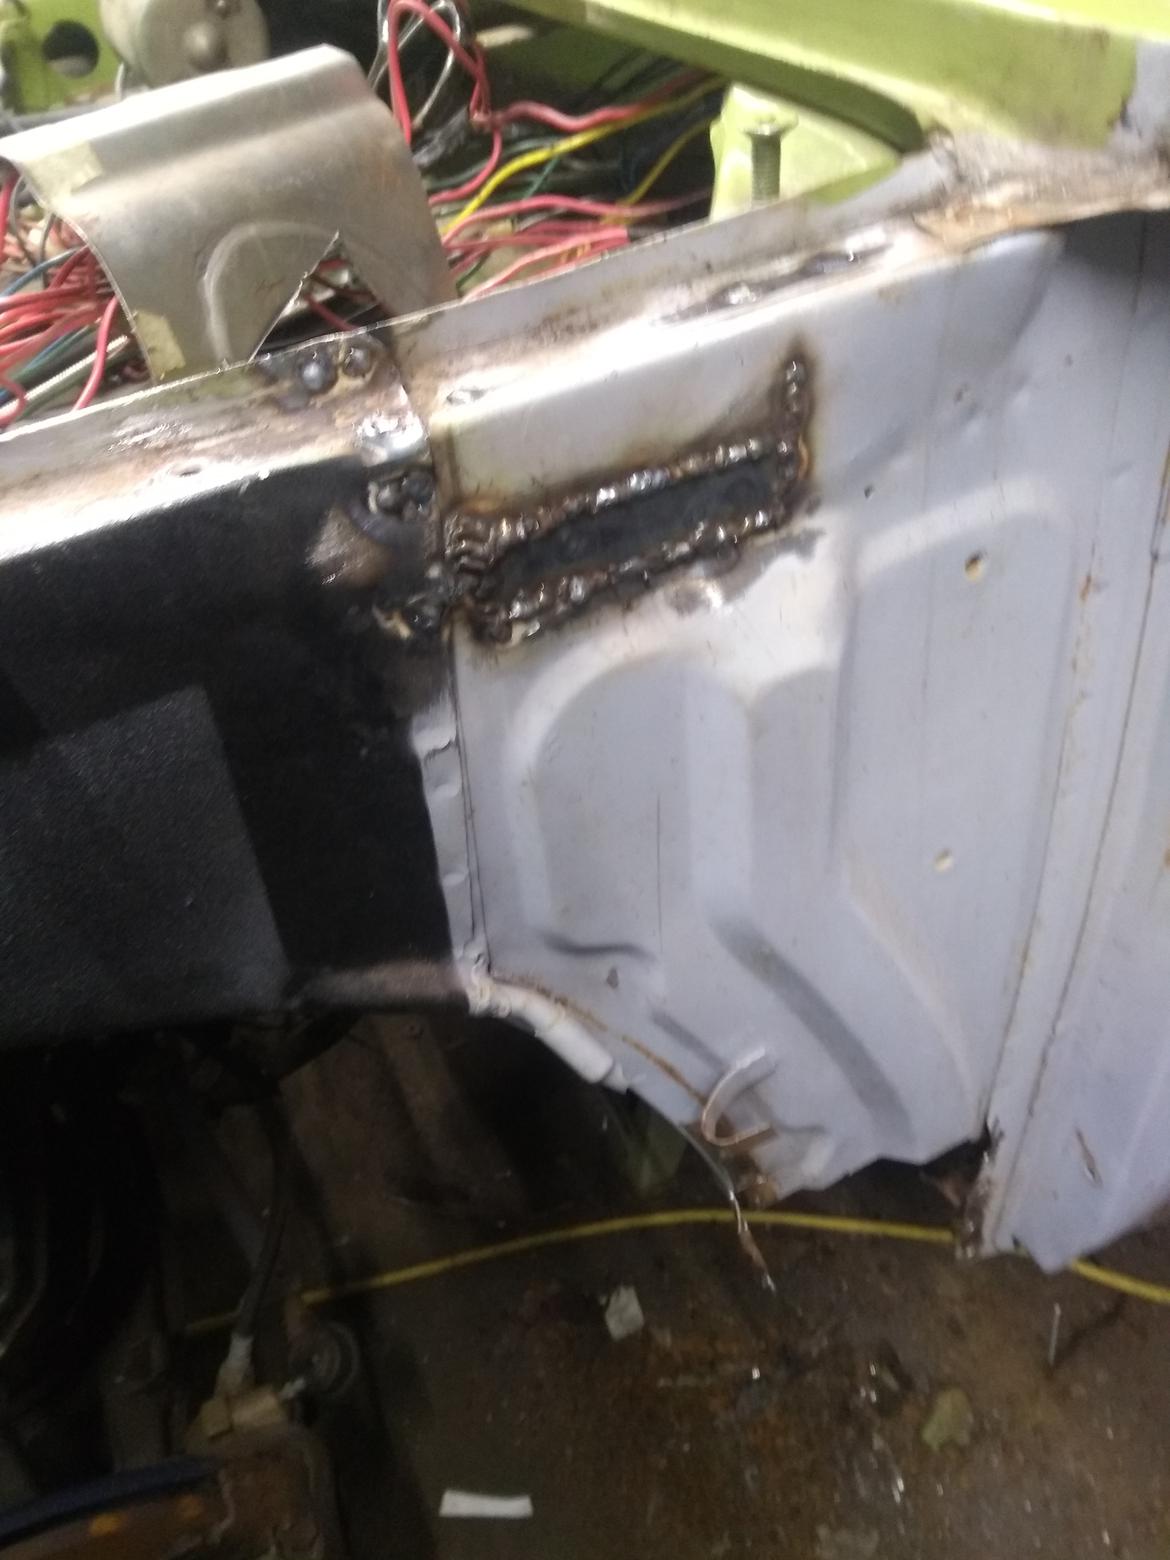
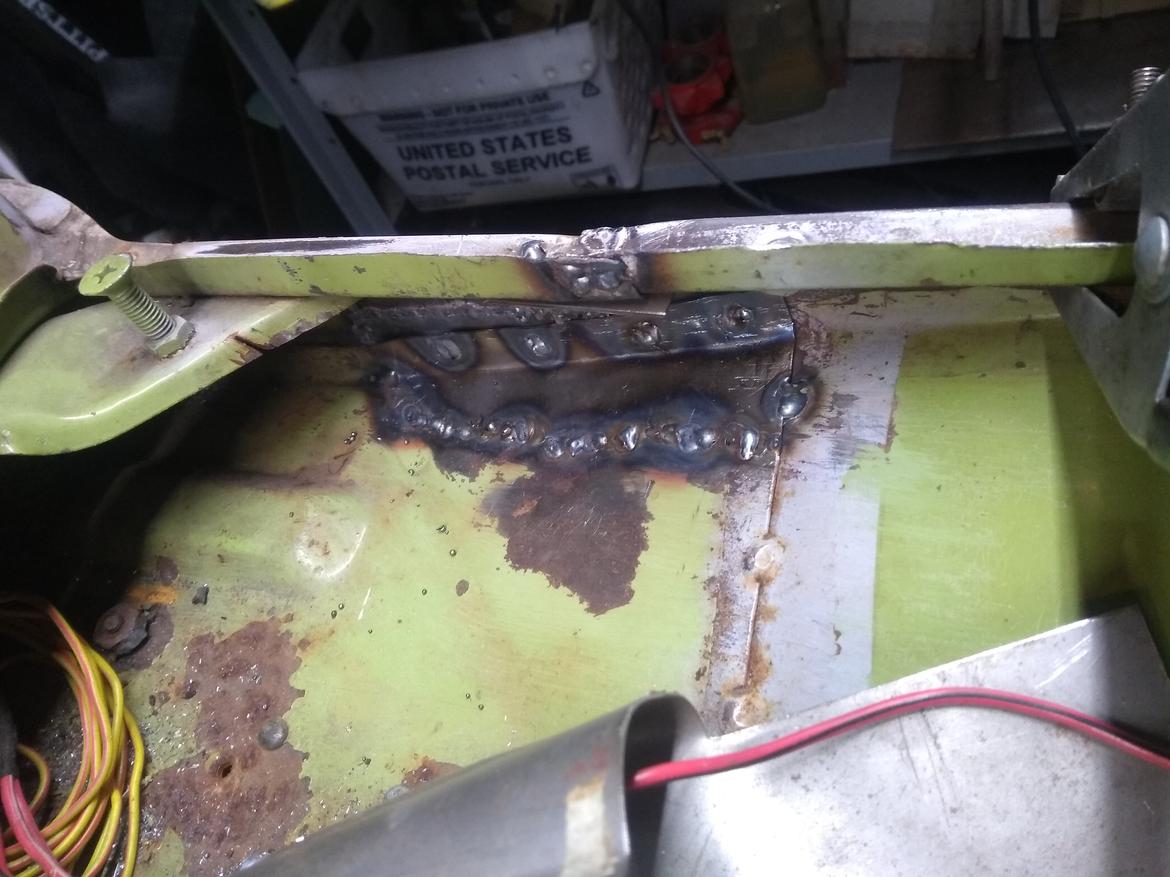
2 small patches formed and welded in tonight. These fill in the area on top of the firewall that collected water and rusted out, leading to the floors rusting out previously. In theory, with a little seam sealer, I'm now watertight!
Hoping to dig in further to the floors/inner rocker tomorrow.
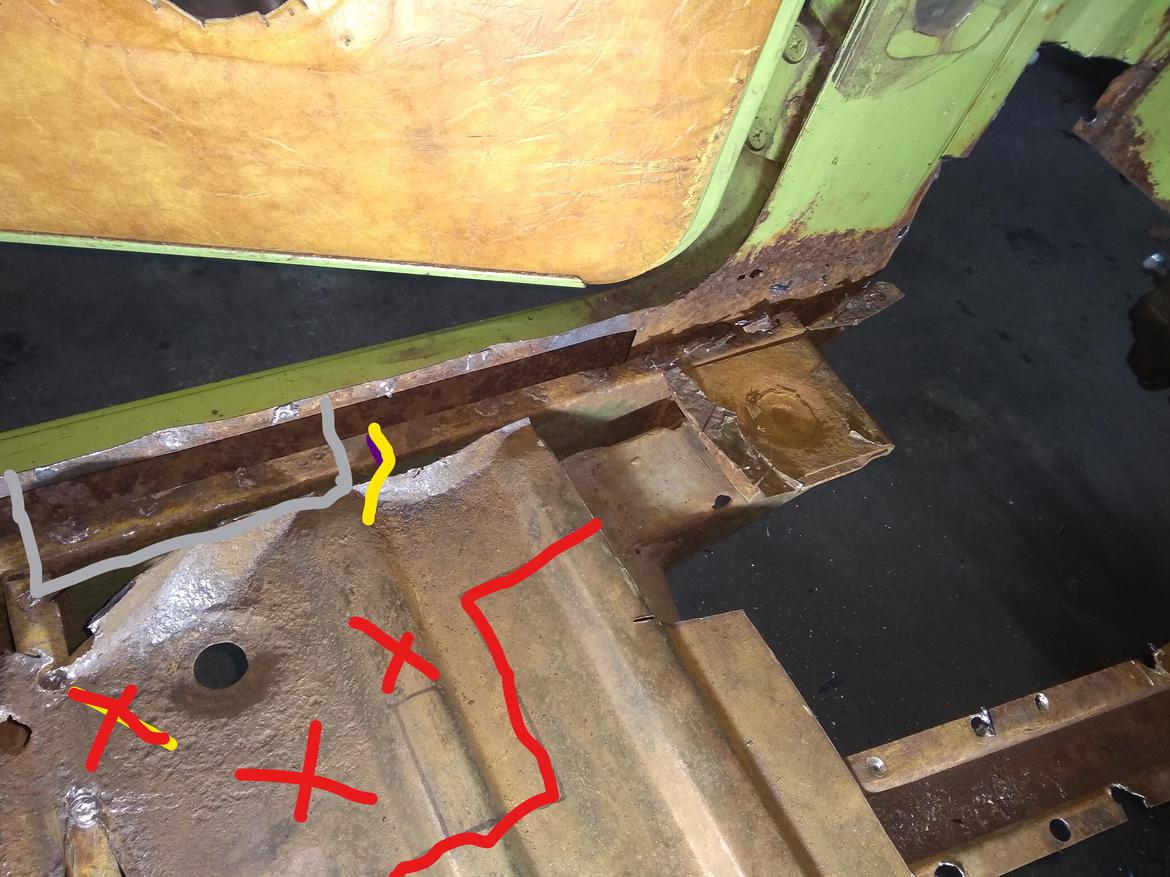
I have been templating, and cutting some more metal out. I also decided that to tackle that really rough portion of the inner rocker, I'm going to go ahead cut out the inner rocker to gain access. I have drawn my cut line in Yellow below, and the Grey represents where I'll support the underside of the rocker with a 2x4/bottle jack while I have this out. The actual patch panels should be easy enough to make out of 16Ga, My only concern or expectation of difficulty will come in swapping the body mounts back onto the new patch piece, which could be a little tricky to line up. Hoping to get some more floor cut out this week, and attack the patch panels saturday.
Little more progress today, using a sawzall, grinder and spot weld drill bit I pulled out a section of inner rocker/body mount and reinforcement that was crusty!
I will hope to drill the spot welds on the body mounts and transfer the mounts to the new inner rocker and reinforcement panel once I cut those.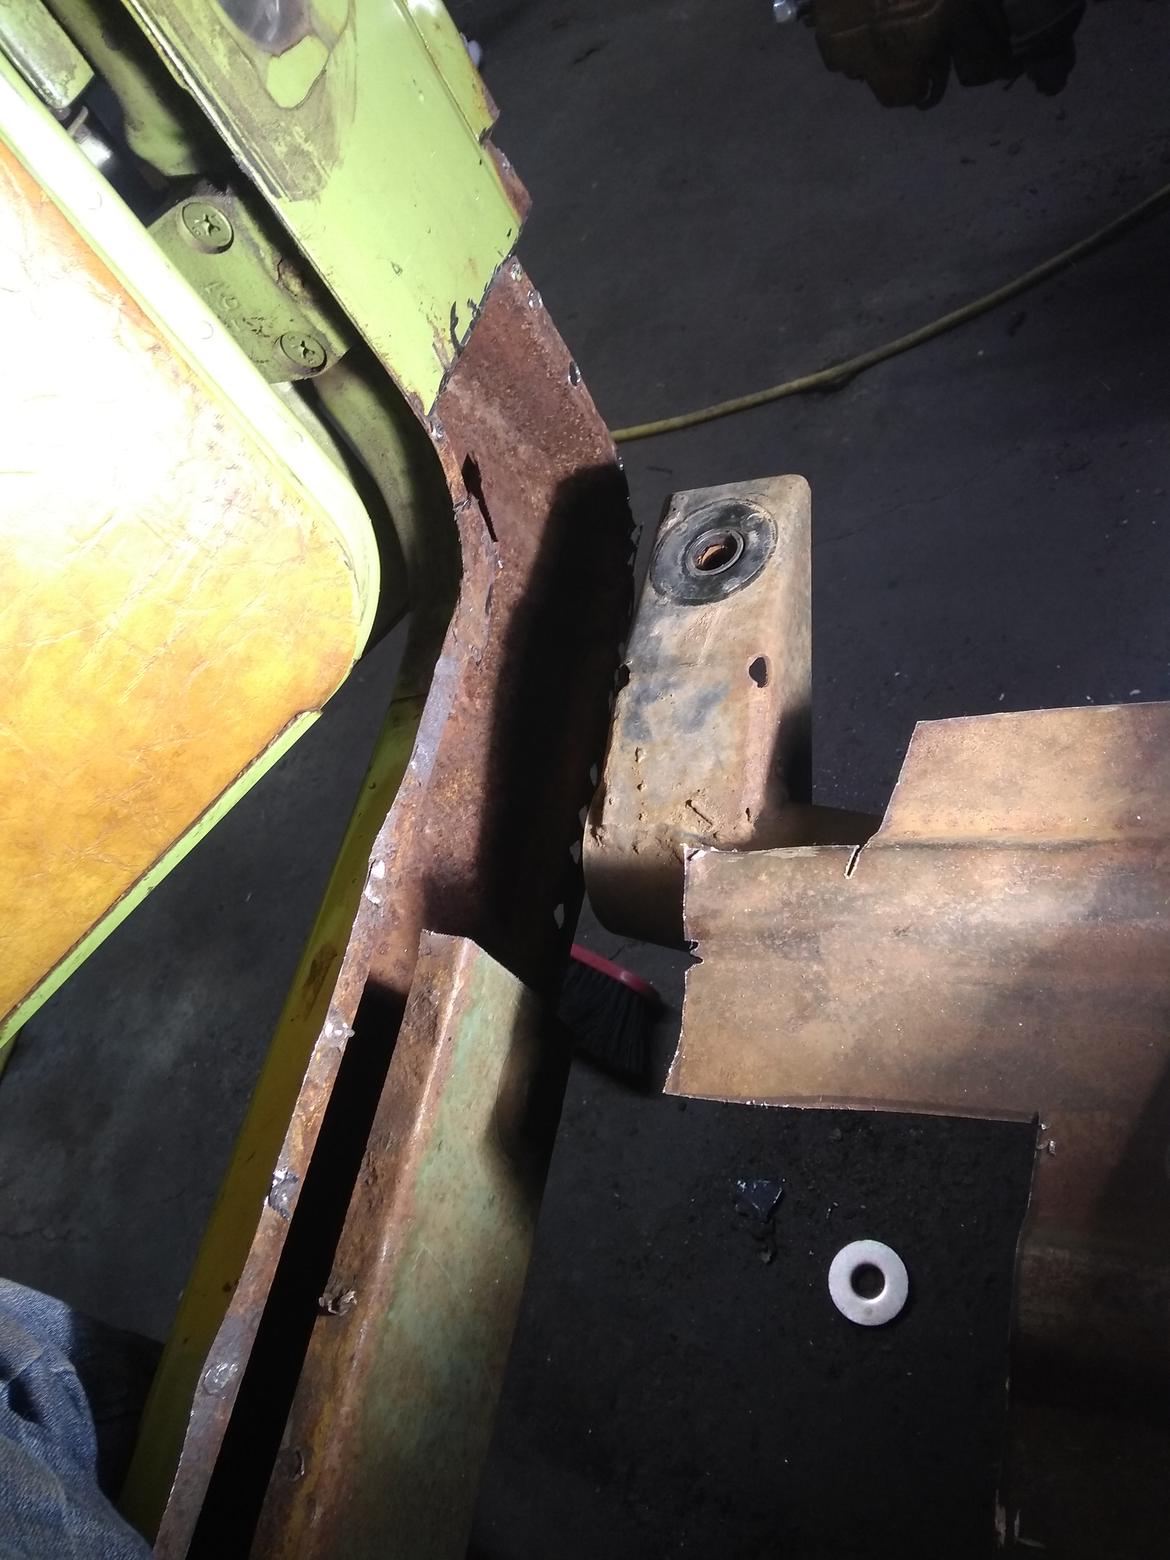
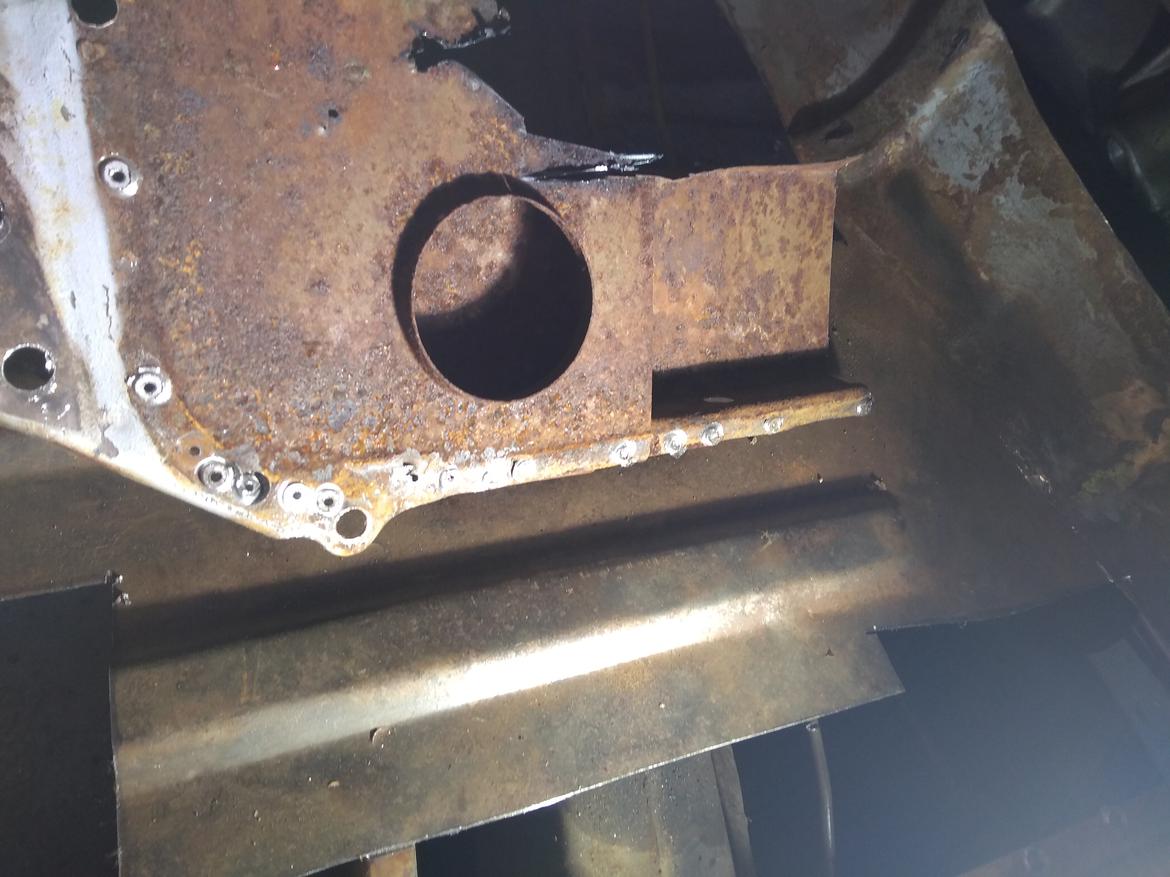
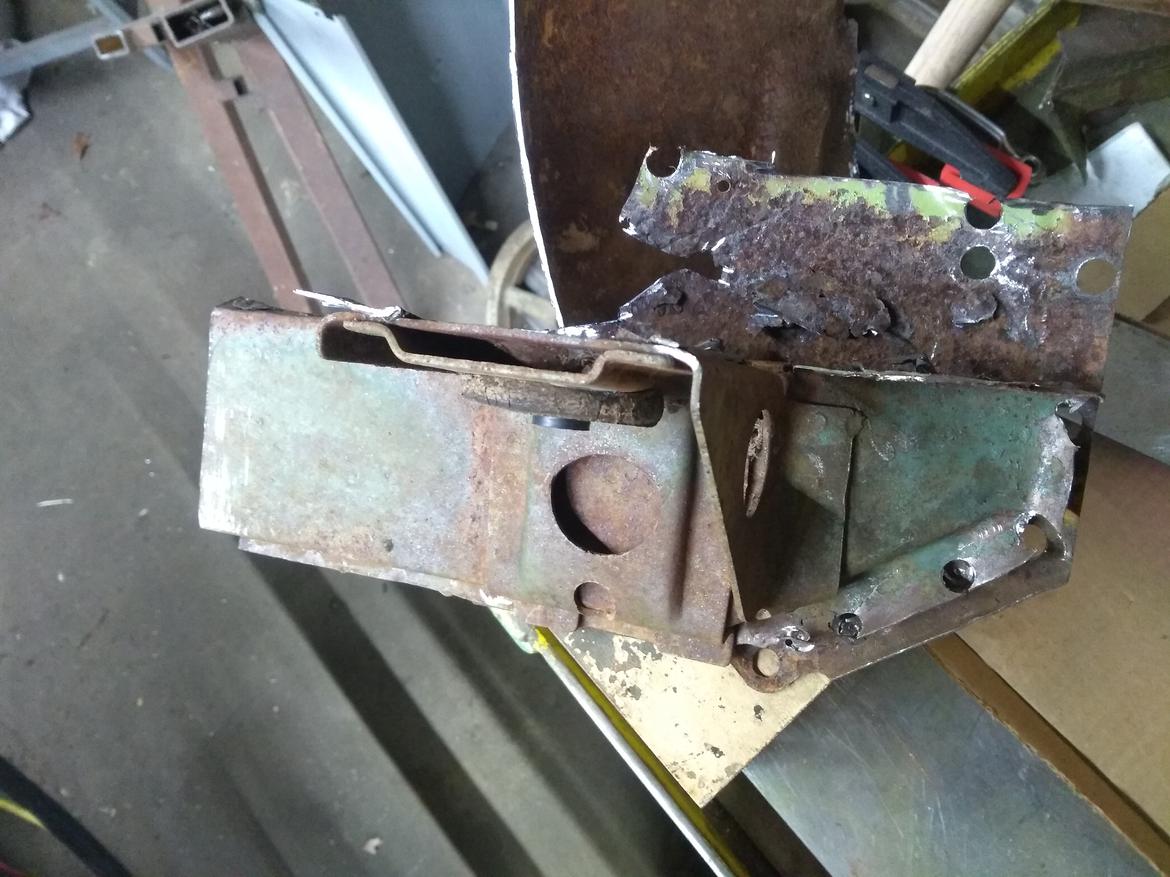
Got the body mount removed, new inner rocker panel and reinforcement made today. New rocker I'm really happy with, but it doesn't line up quite right with the body mount so I'll have to do some more work to it before welding everything in place. I'll also wire wheel and spray some rust reformer on the remaining rocker before welding this in over it!
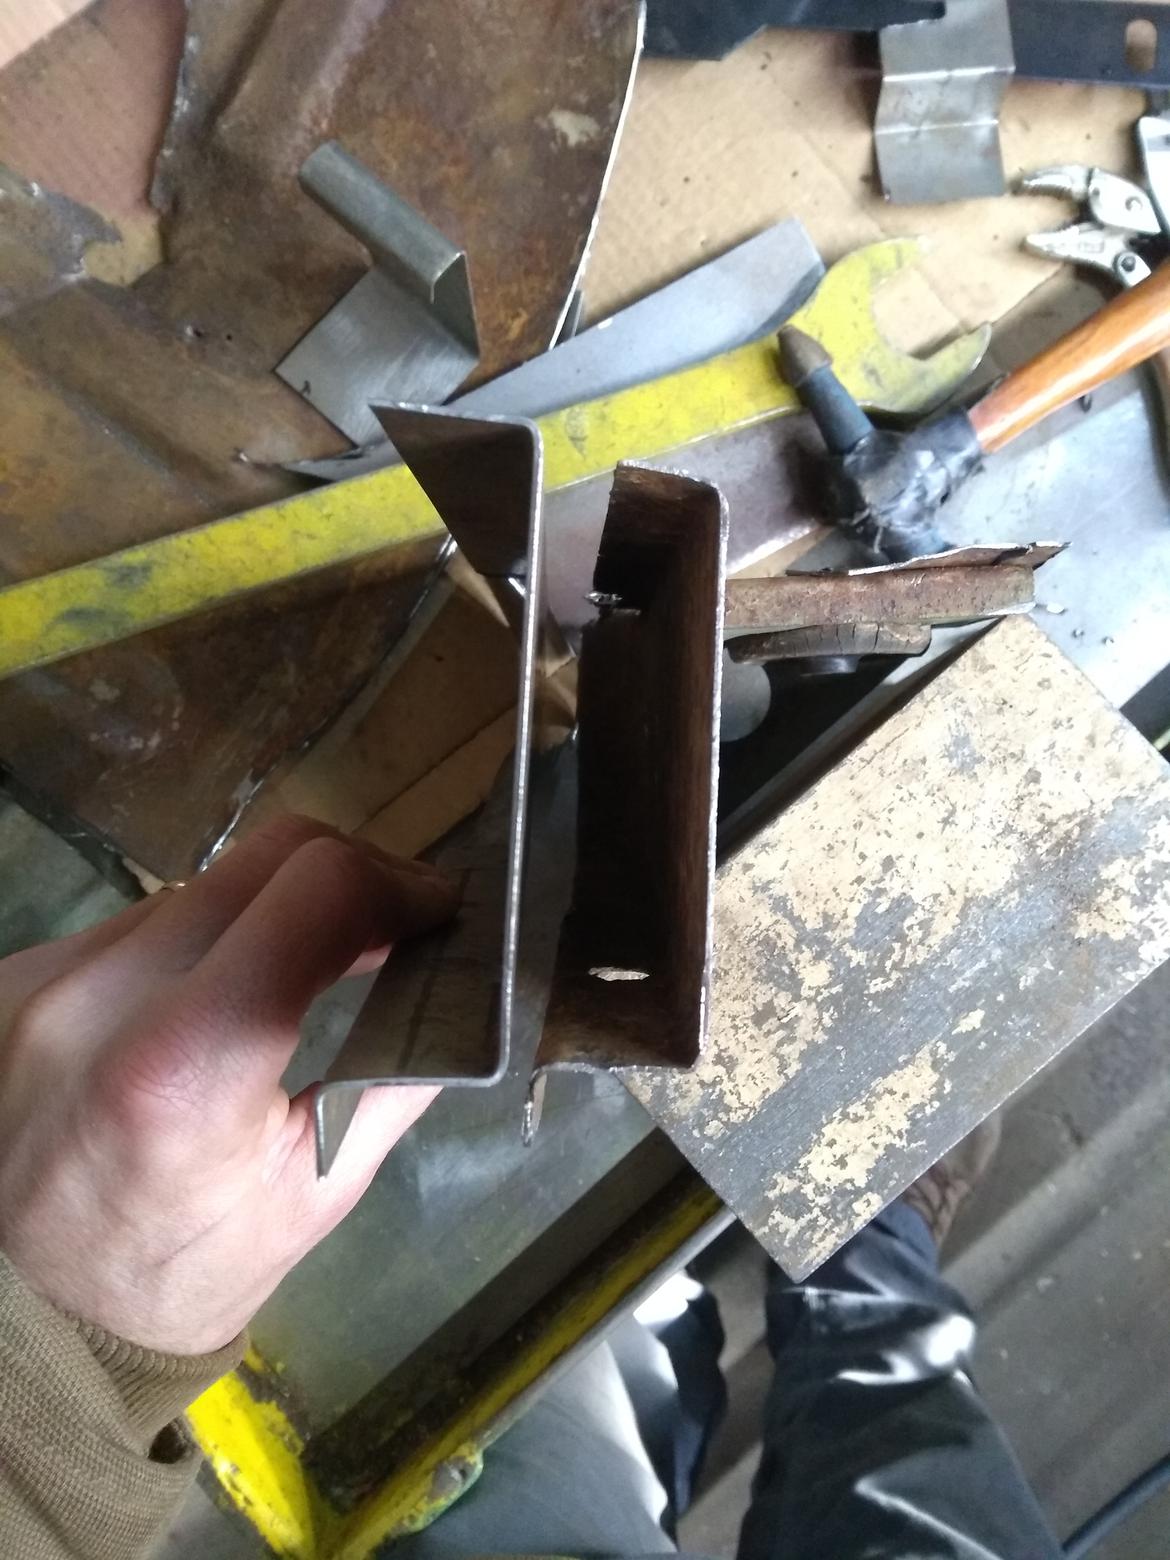
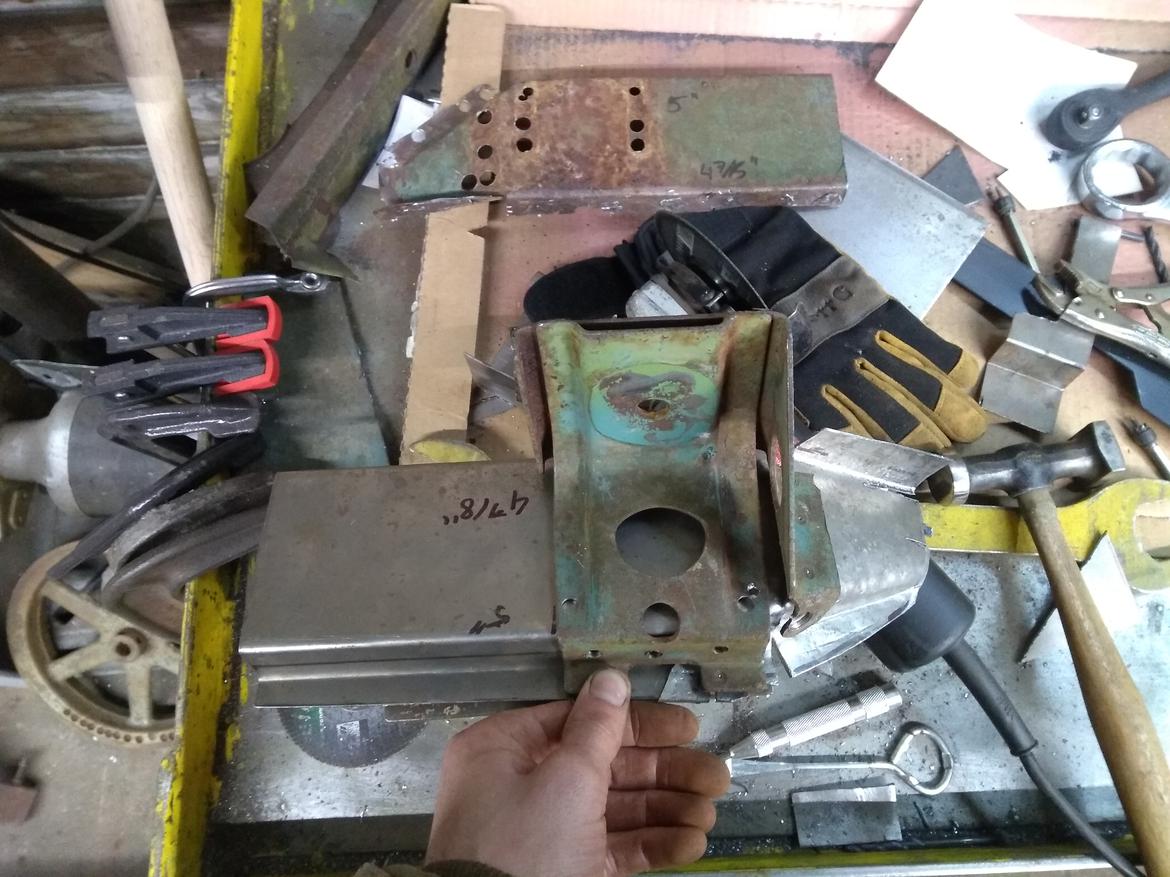
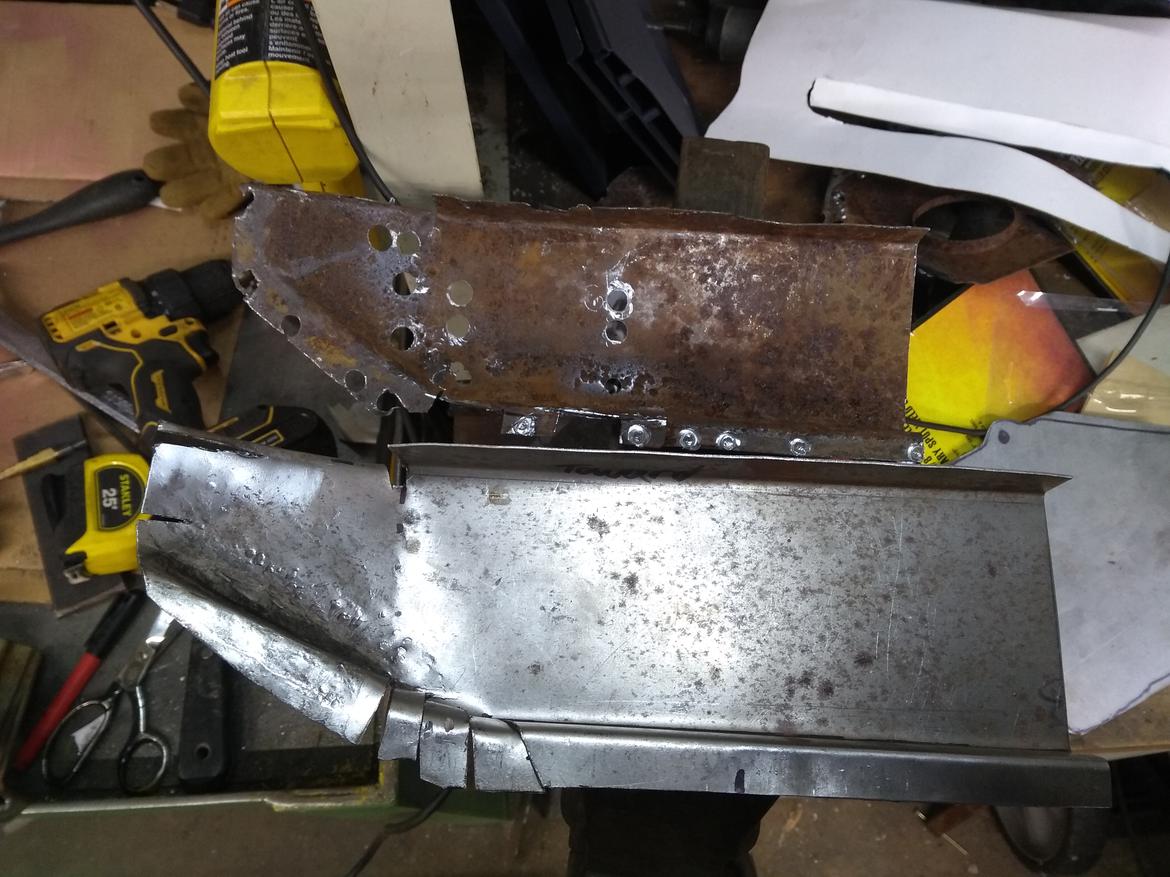
2 patches in tonight, should be a quick process to get the 3rd in tomorrow, but it was getting late!
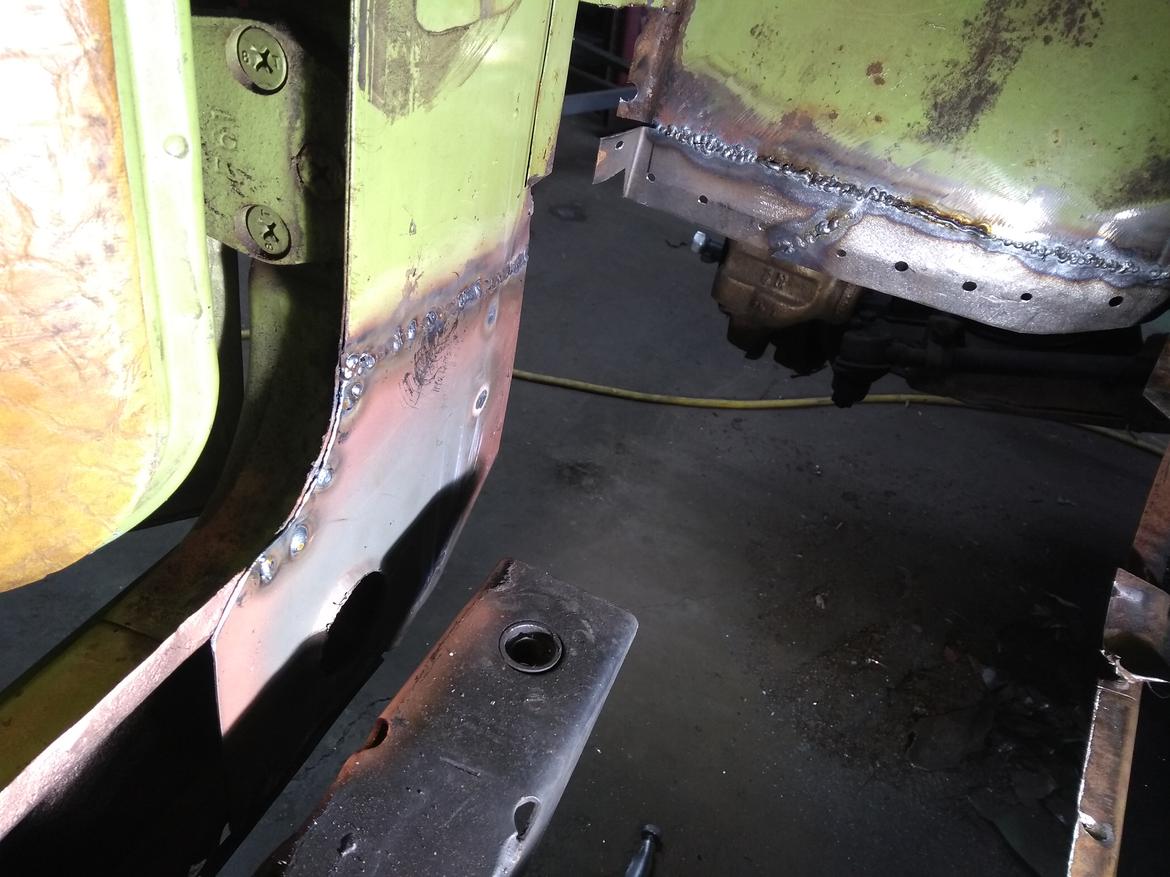
Edit for pic of body mount on rocker.
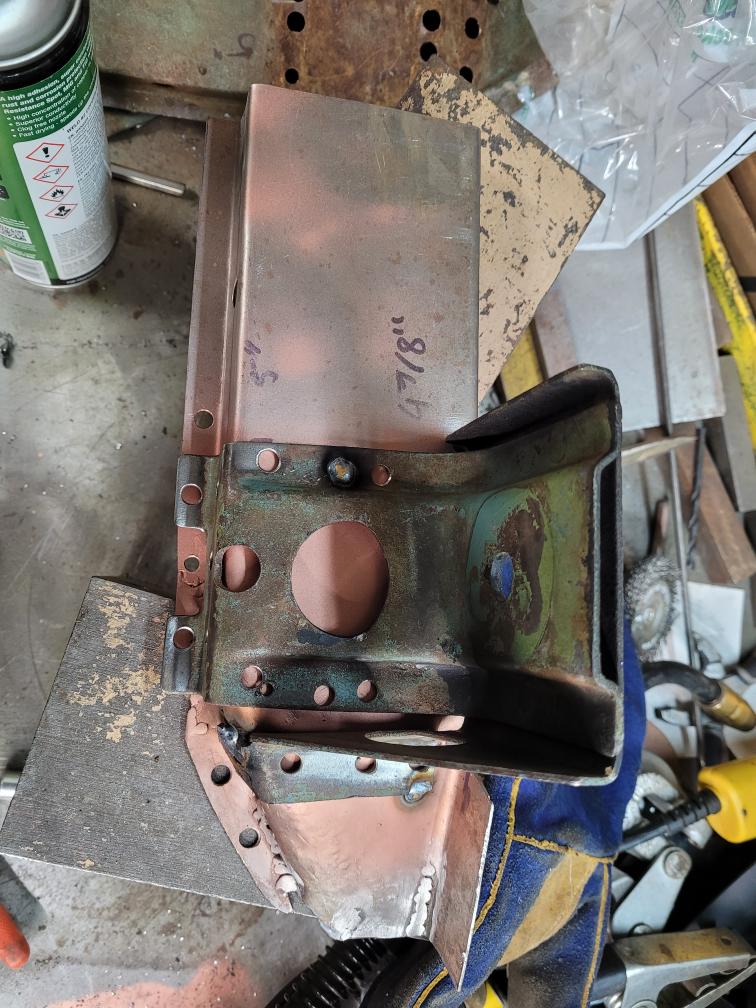
Inner rocker + 1 more unexpected small patch, and forward a-Pillar welded in place!
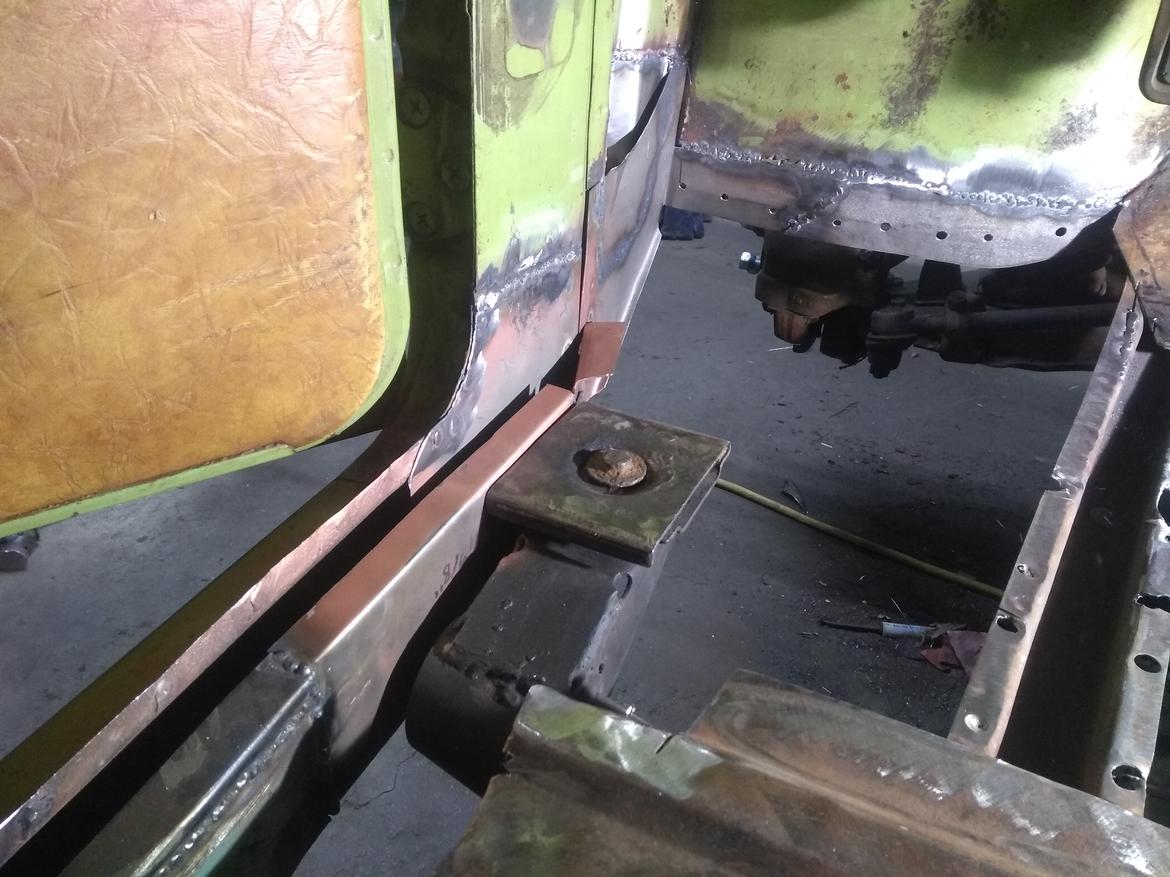
I'm getting close on the floor pan, but it still needs some bends and tweaks. Starting to look like a car again, though!
In reply to classicJackets (FS) :
Nice work, kid!
Just gonna bump back up here, no pics for tonight but hopefully more soon. I got frustrated trying to get the driver's floor in one piece like I did for the passenger side, and eventually realized it's not going to happen. SO - a few months ago I cut down the side that mates up with the pillar and maybe 6" inboard, so that corner will be nice and clean. I welded that in tonight, and it welded to the wheel well patch as well. I'll keep working on this through the winter. Probably not at the same pace I was working on the Riggamort since that was unsustainable, but definitely faster than I was working on this before.
So, kept working, got frustrated with how un-livable I had let the garage space/everything automotive become. Sold a car, a work bench, a set of wheels, a gas tank, and a bunch of other stuff is either sold or listed to get me space and cash back.
I also found a nice 1/8" steel shelving unit on the curb - added casters and bracing and it's already awesomer than what was there. After getting things pretty rearranged today, I went ahead and got my new floor piece partially in. It's a small piece, but it's more forward progress, In a much better working environment.
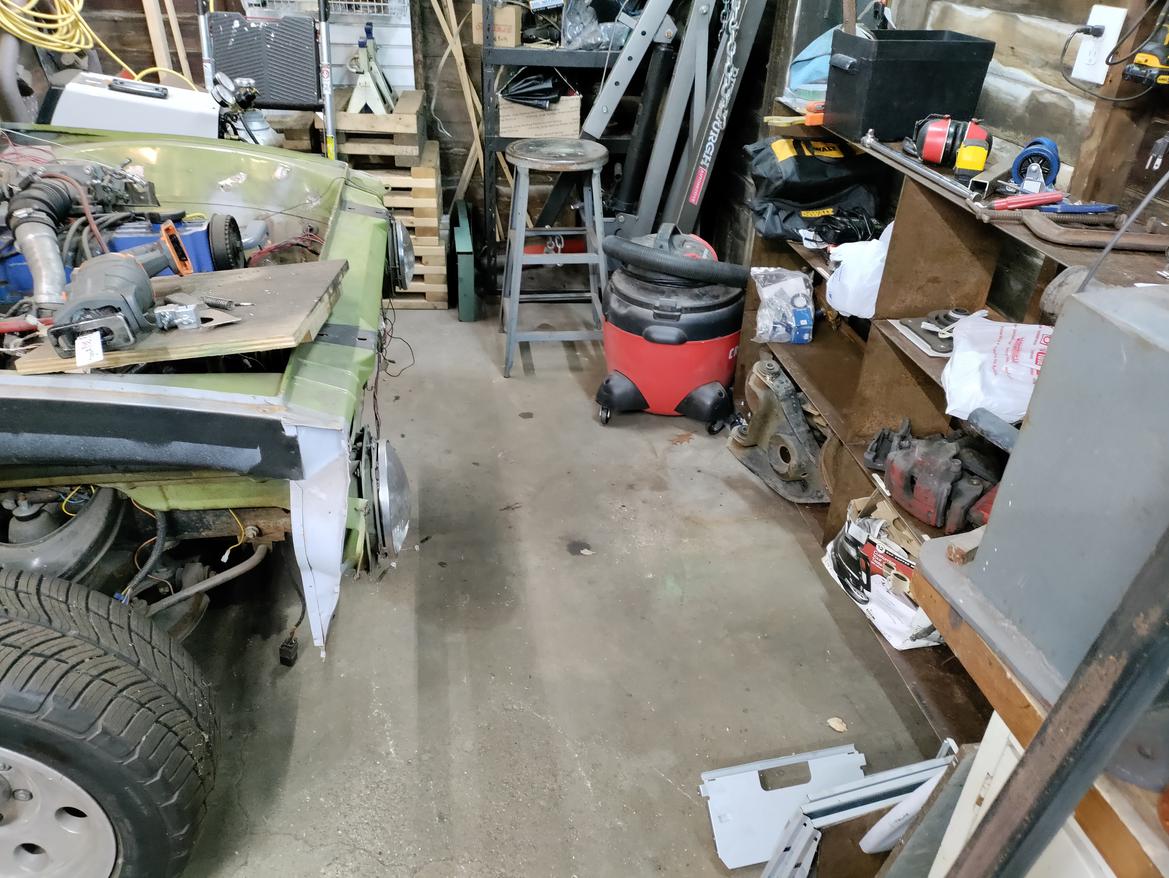
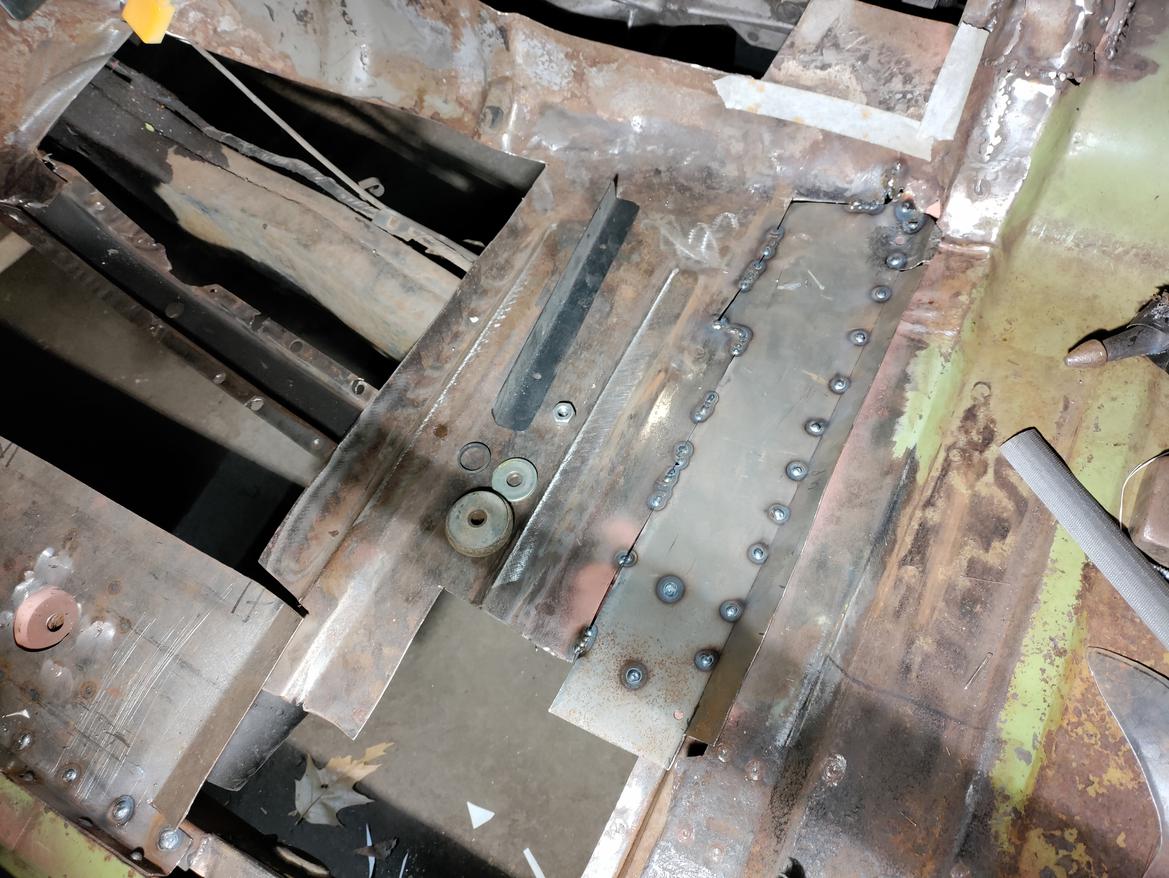
Got my patch from the other day finished! I have some more openings already cut that I need to patch first, but then I'll have to think on how to patch this rear area in the cab that was still good on the other side. Might be a little tricky.
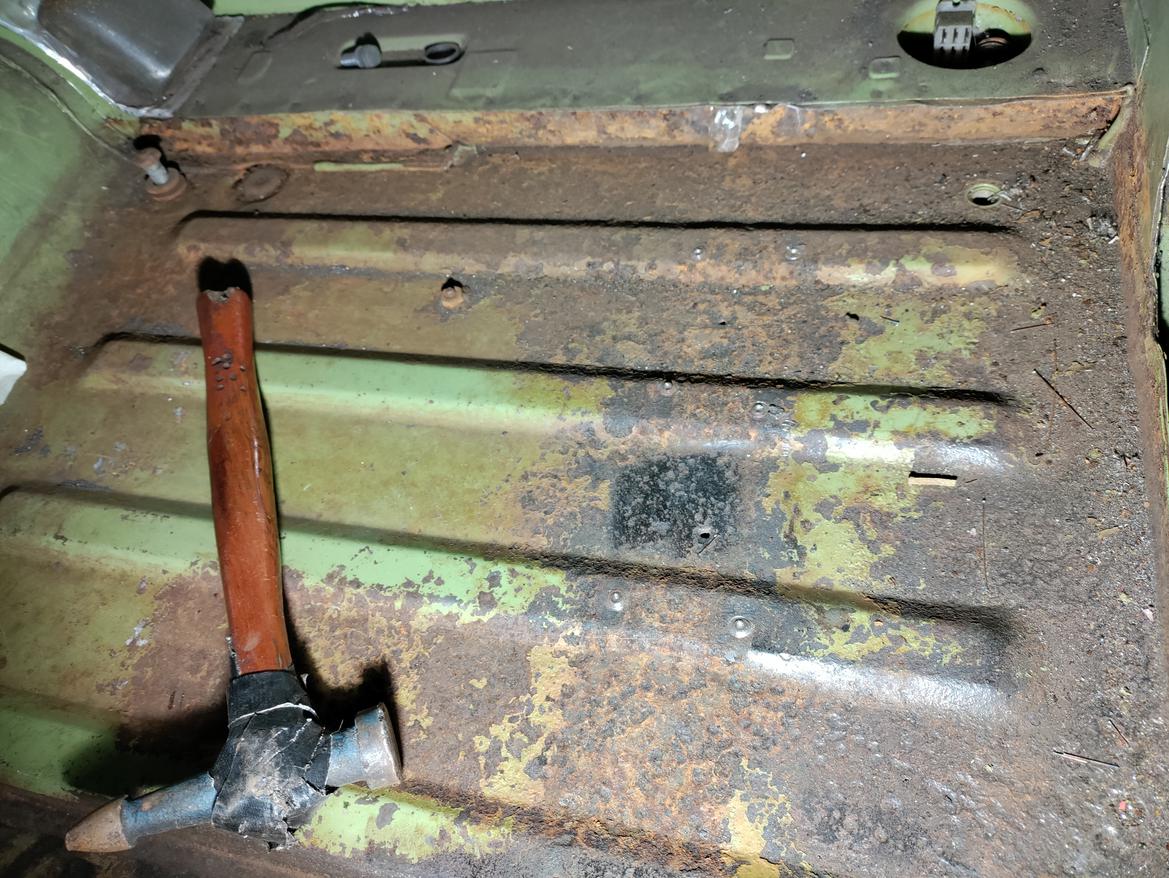
I decided my floor pan needed some more area under the curve, so I threw a turbo at it.
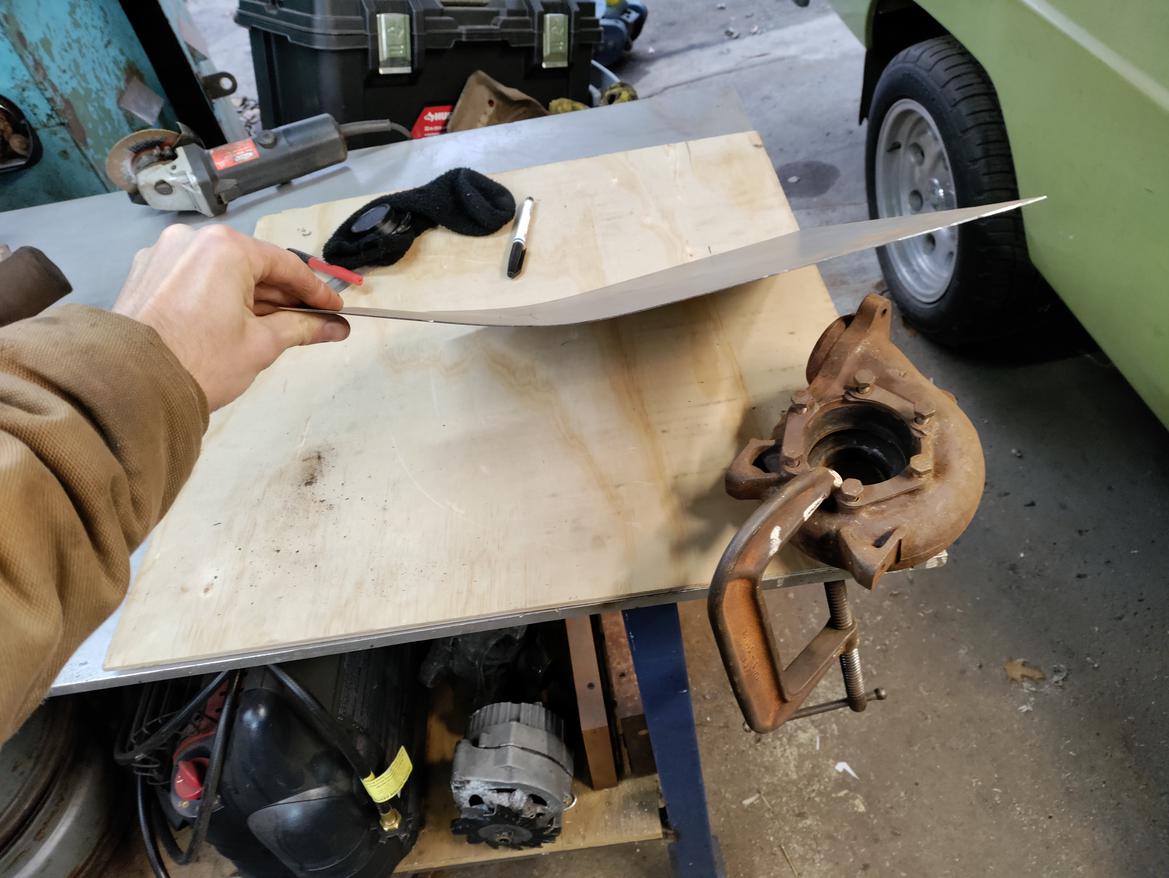
In reality, this hot side seemed like about the closest radius thing I had to the floor, so I used it to get an initial bend in the floor. We'll see how much more/less it needs.
Part of my motivation is looking at this, every time I walk by what should be a green truck.
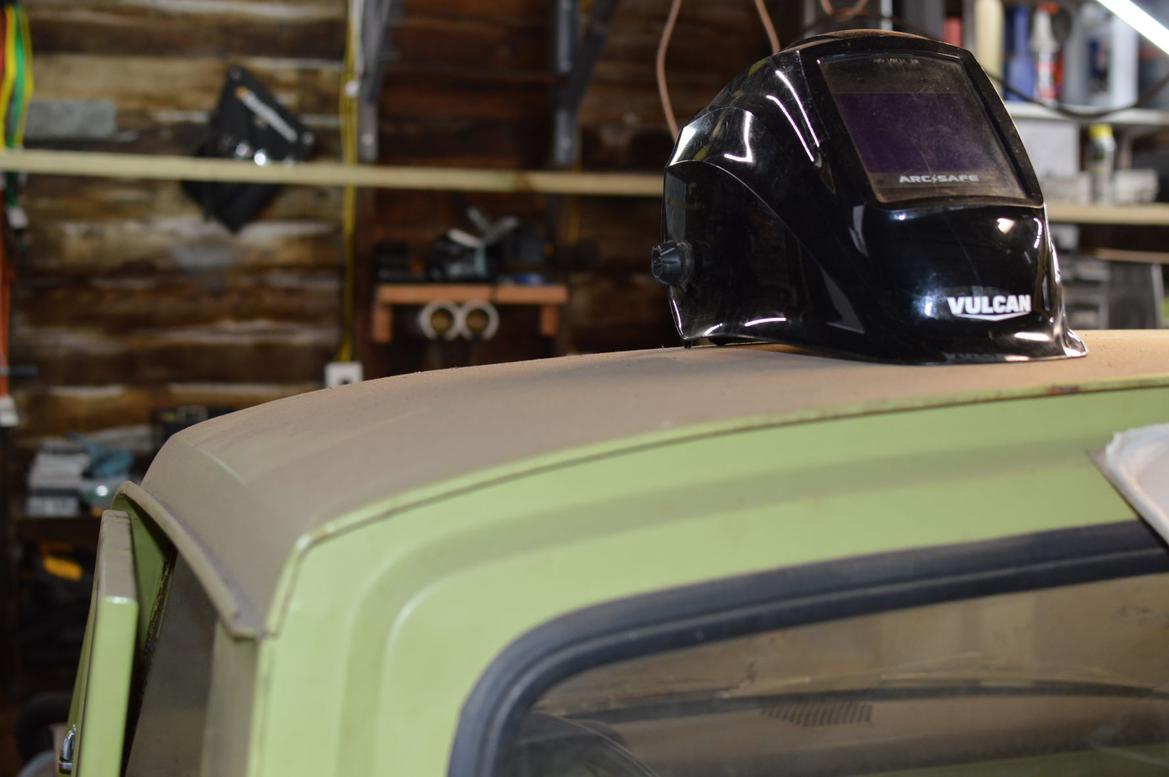
Got frustrated today trying to fettle the single-piece pan into place. I already will have more (quantity) patches on this side than I want, but I need to get them done.
I ended up cutting a single piece for the flat part, and I'll do another patch for the curved front edge and where it meets the wheel well.
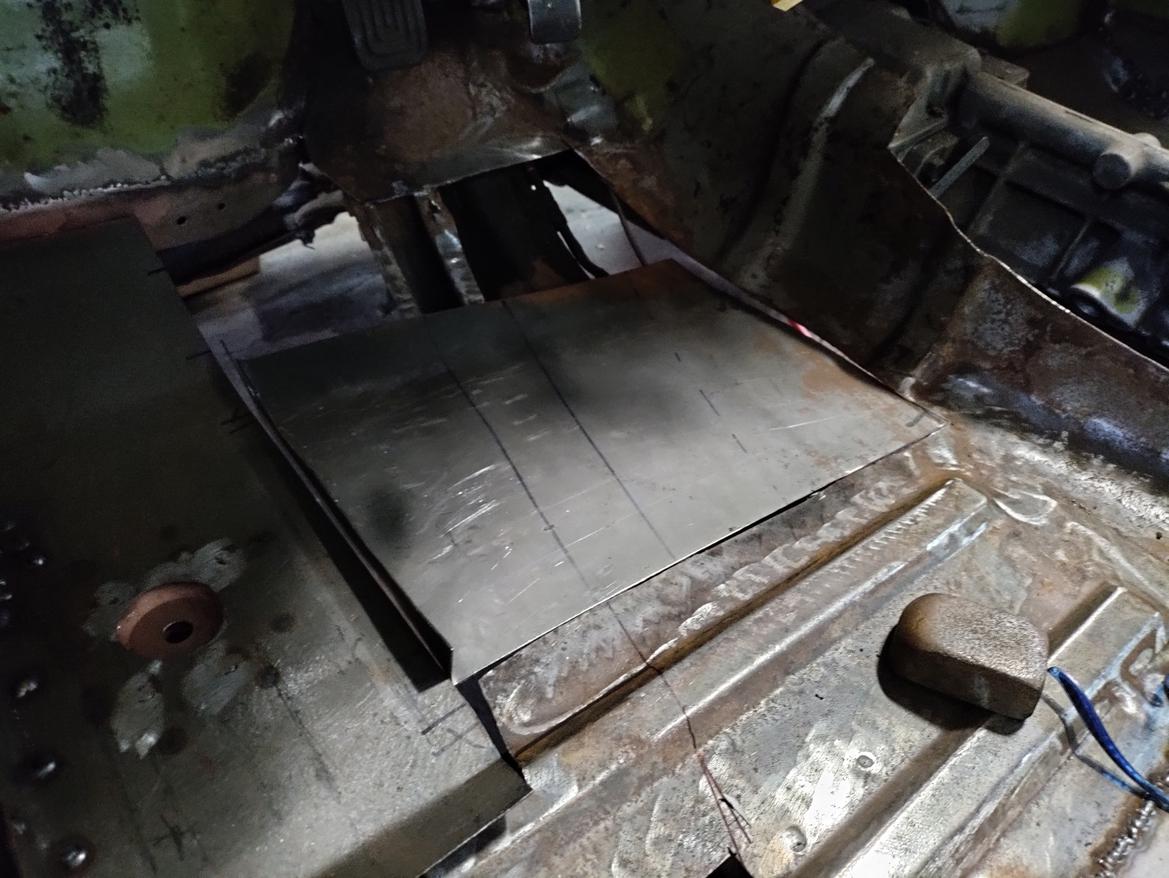
The floor doesn't know how many pieces it's made of, nor does it care. Function is God. Make it so.
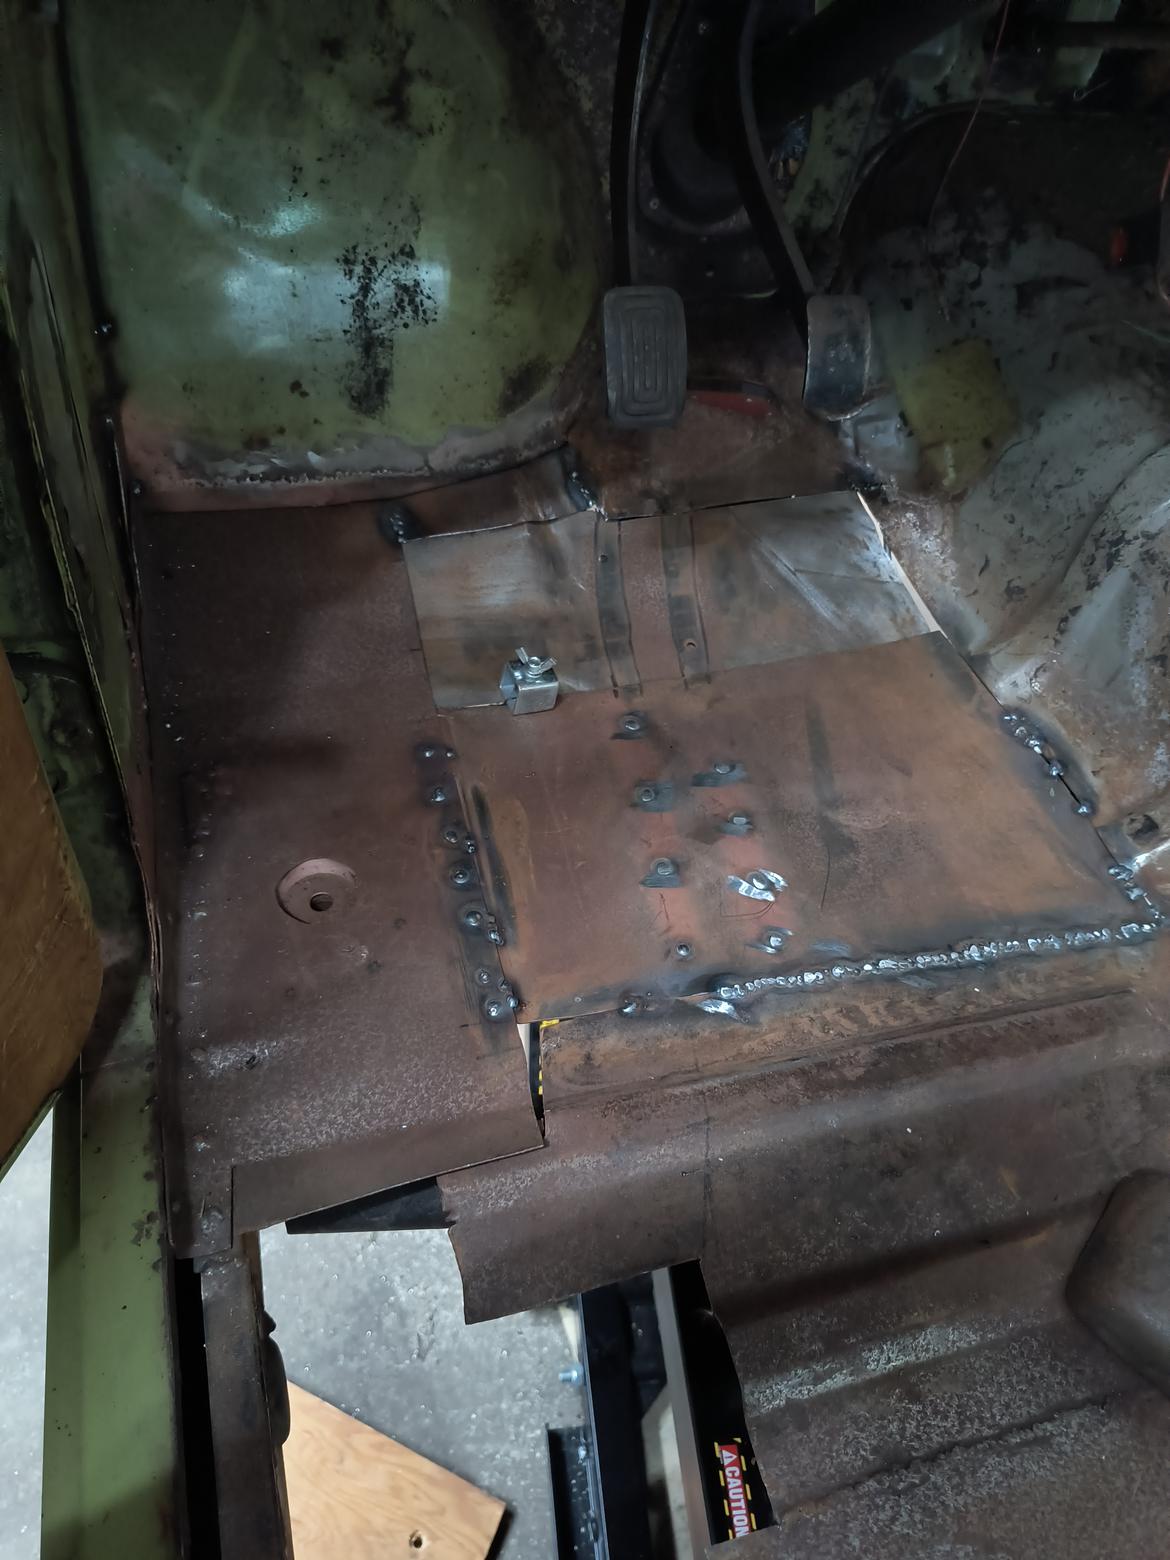
Literal years since updating, but this has taken back-burner to much of the Datsun Project and the 2 kids I've had since the last post. Crazy.
Anyway, I have continued to be frustrated by the ugly little patch panels, but I need to get them in. So I started back on welding today.
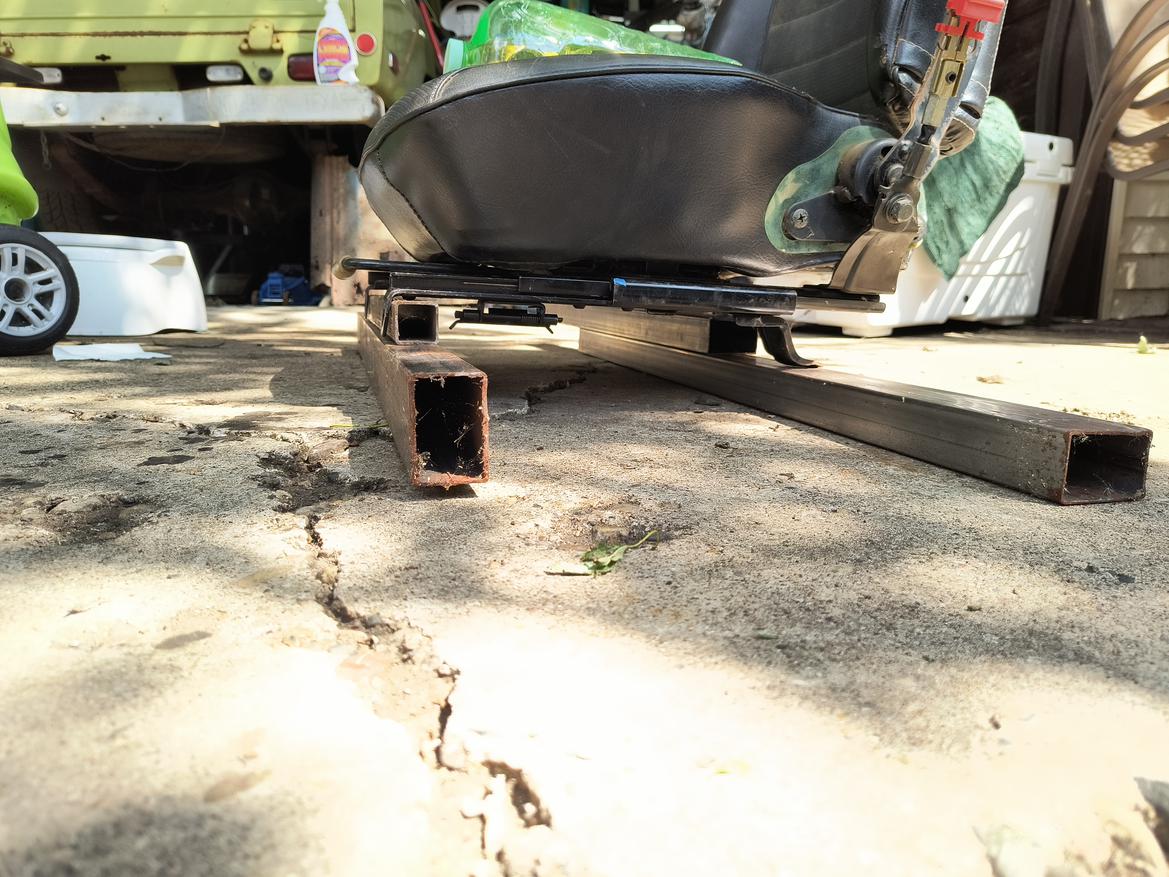
I'll also need to figure out my seat mounting, so I had the Datsun seat up on rails the other day to see what it'll need to look like.
Stoked to see this thread back on page 1
Ooh, another Mini-Truck thread!!!
We had a blue '74 when I was growing up as a kid with a camper shell on it. Me and my 2 brothers traveled thousands of miles in the back of that thing! Great memories!
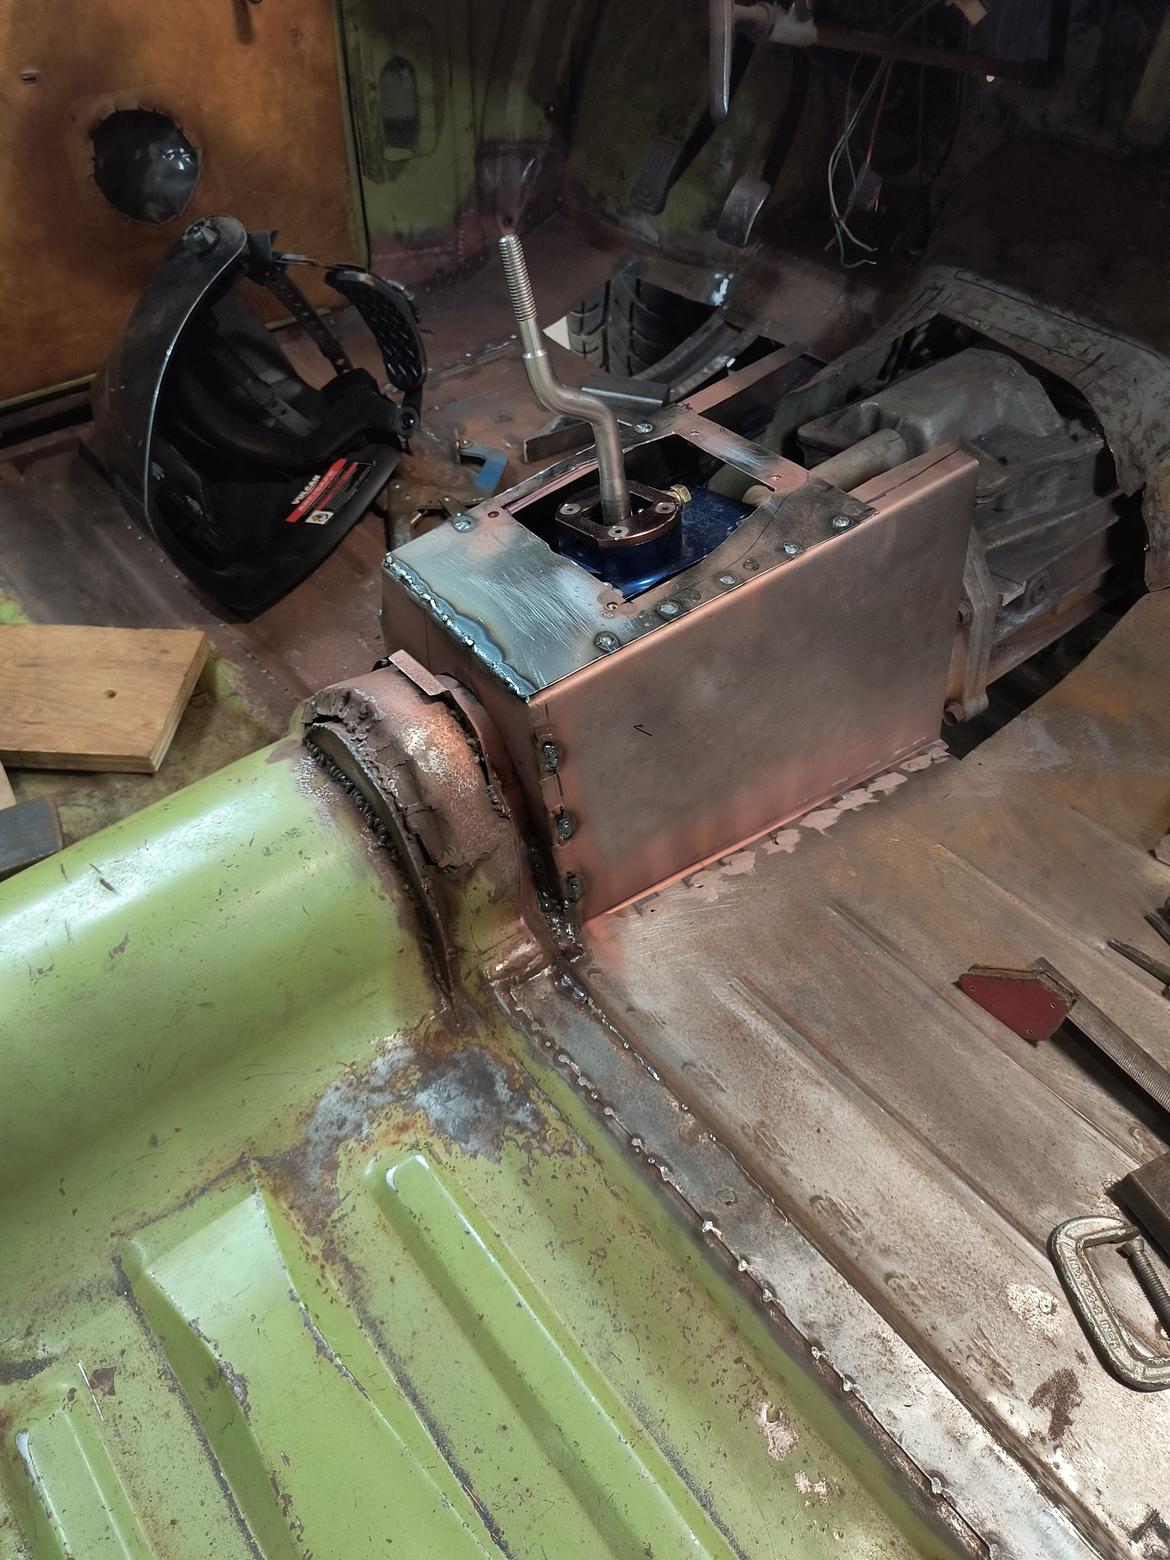
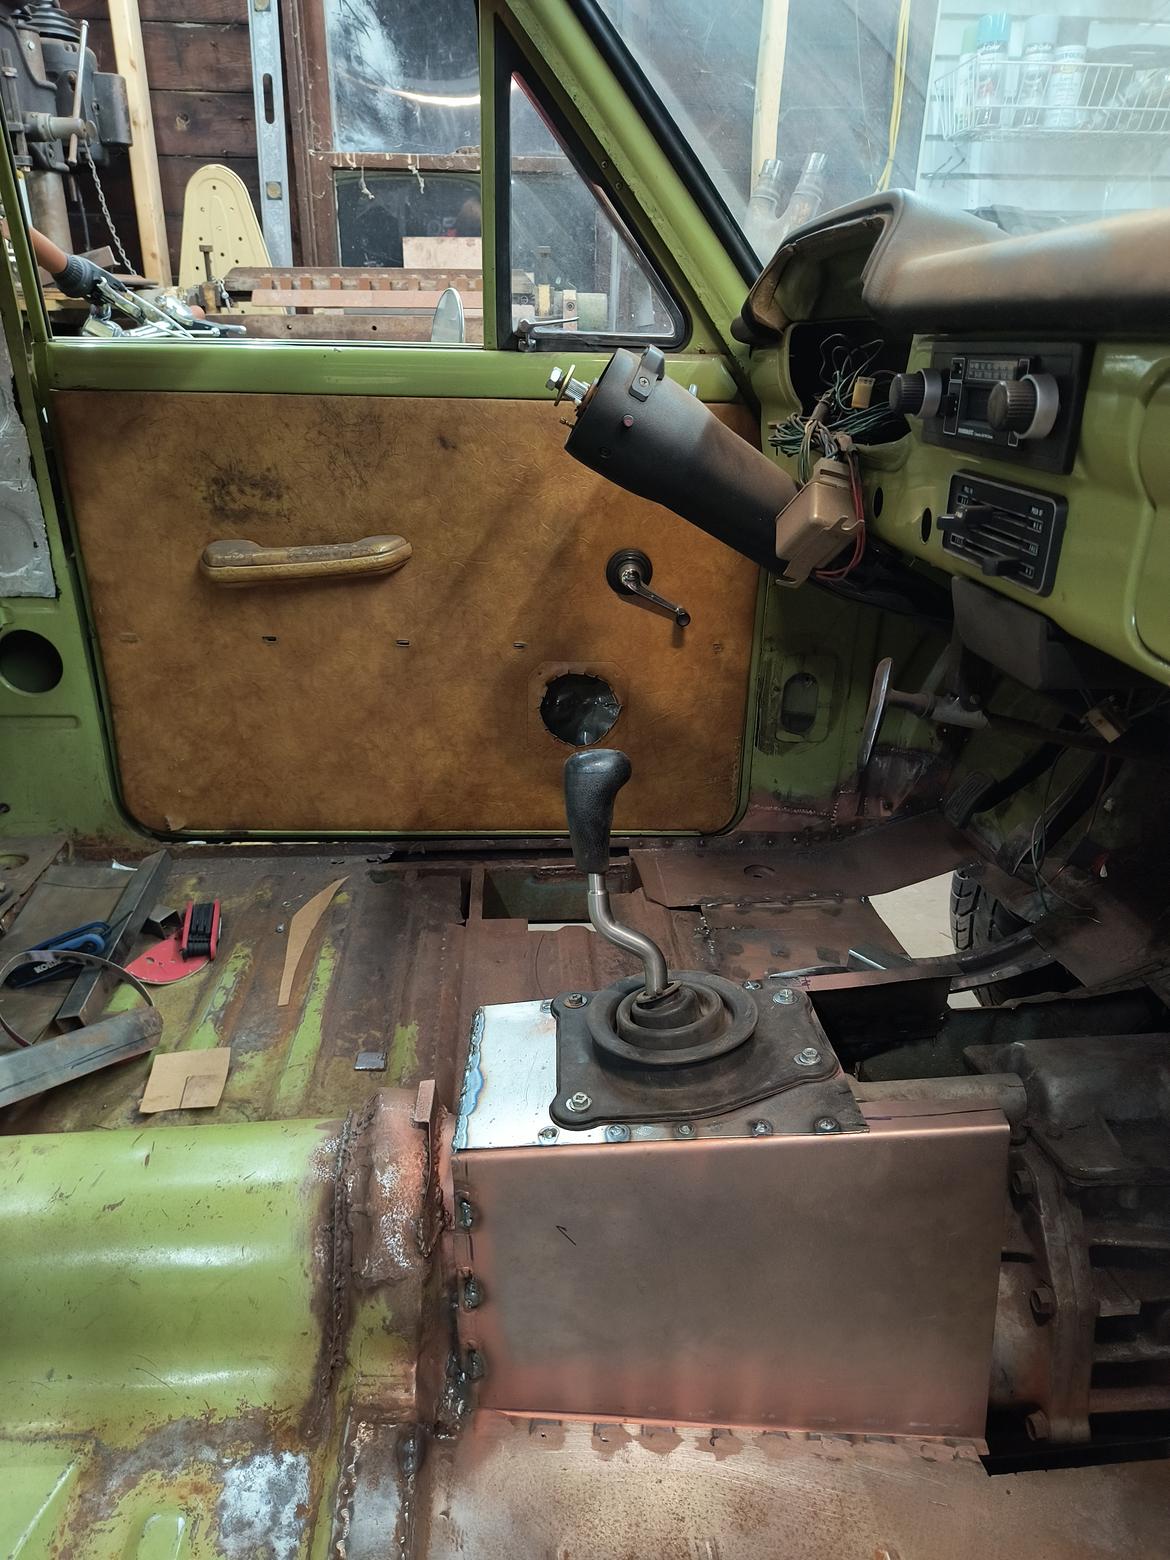
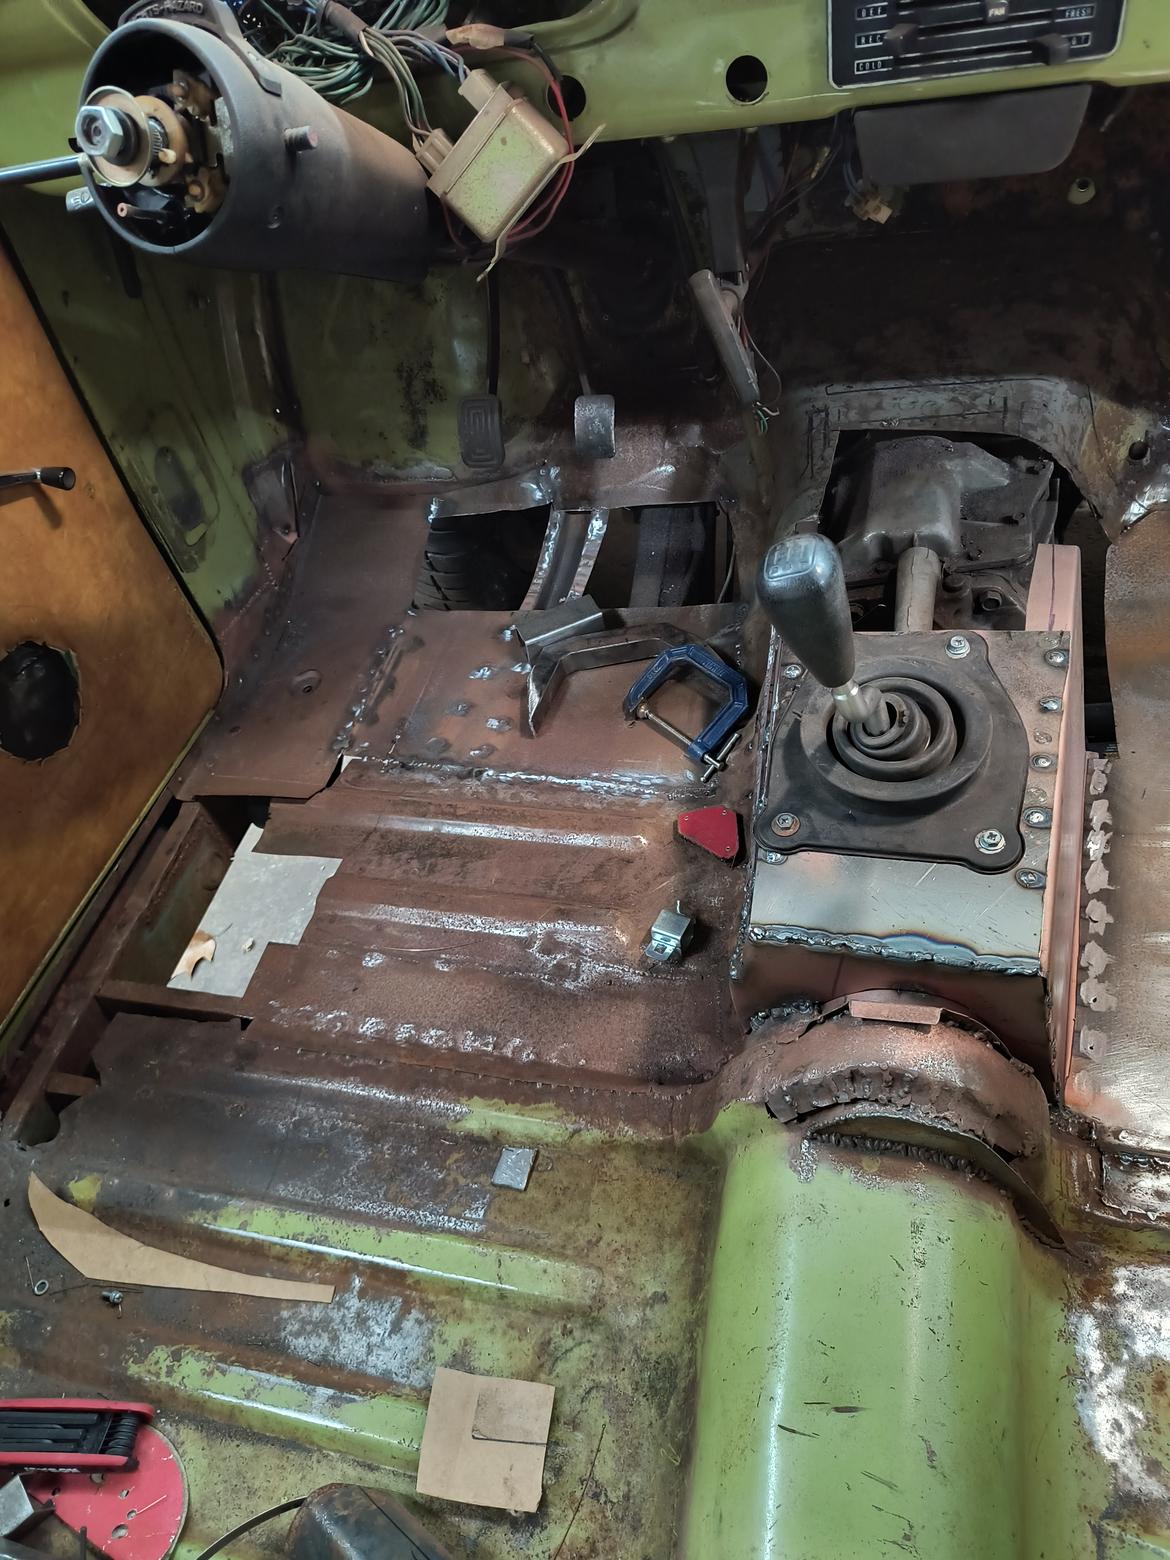
Been working in the trans tunnel the last few days, as I finally got hit with some inspiration on something that I felt could be acceptable, if not pretty. Lasers are involved so there's still an attempt at "accurate"
Driver and passenger side are bent up, drivers needs cut down some more and then both welded in. Plus a block off plate at the back. Miata shifter boot will go in.
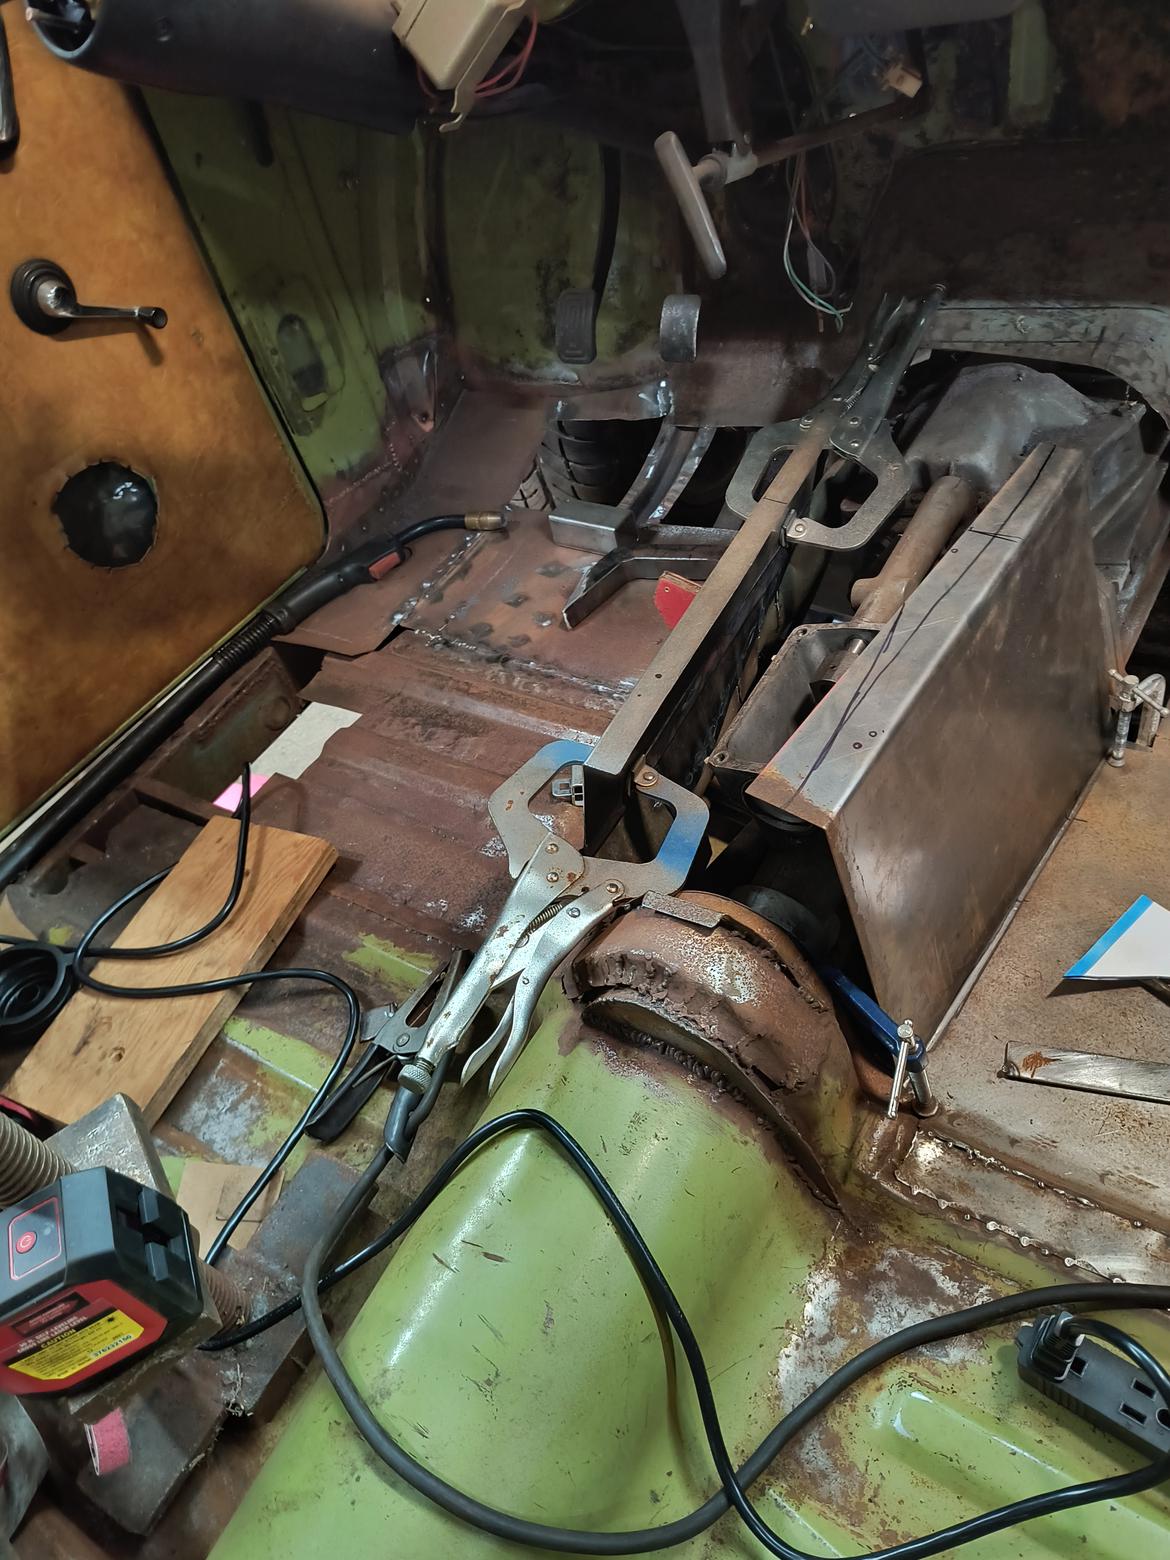
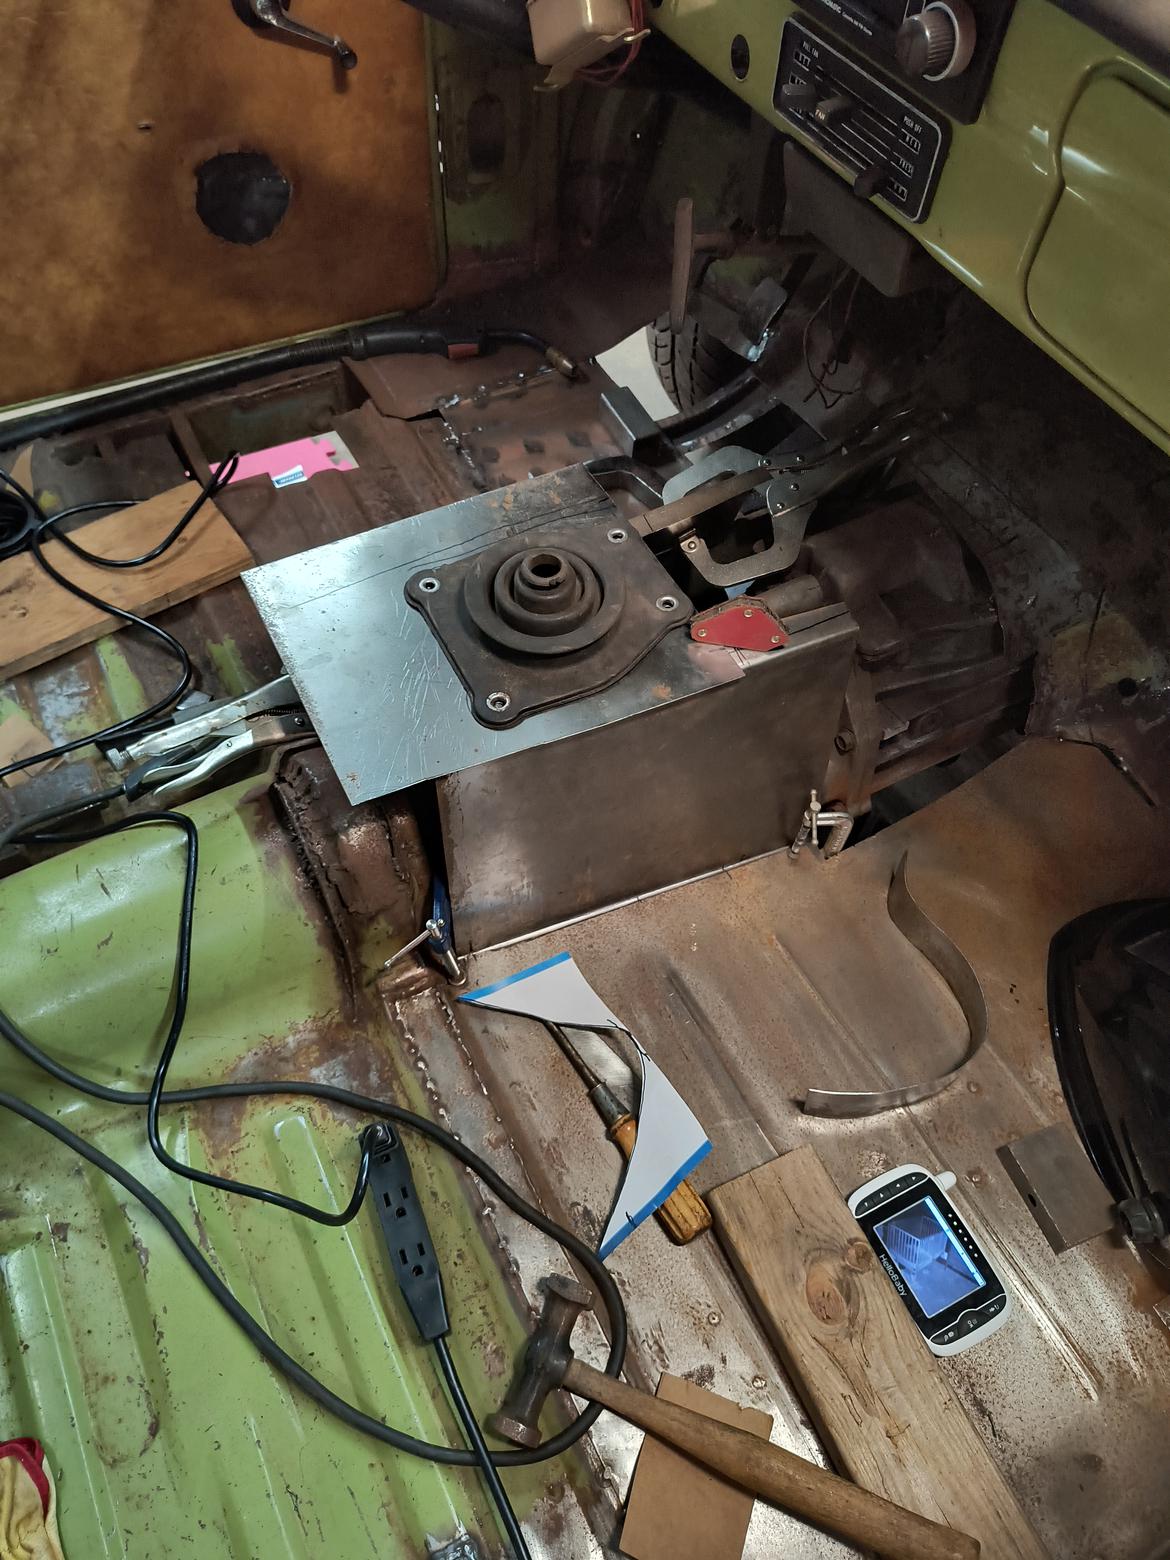
There will be plenty more tunnel to fill after, but at least I'll be able to get the shifter mounted.
Been throwing entirely too much time at this, but I really wanted it to be right. Needed full coverage from shift boot but still accessible shifter bolts and shifter removal, and hopefully not really ugly. Little bit conflicting since this boot was intended for a Miata and not a T5.
I think I got all the pieces there now, and I got the weld-thru primer sprayed. I am going to hope to weld them in this weekend and would like to finish the tunnel next week. Big aesthetic (read:emotional) progress to have a shifter and tunnel in.
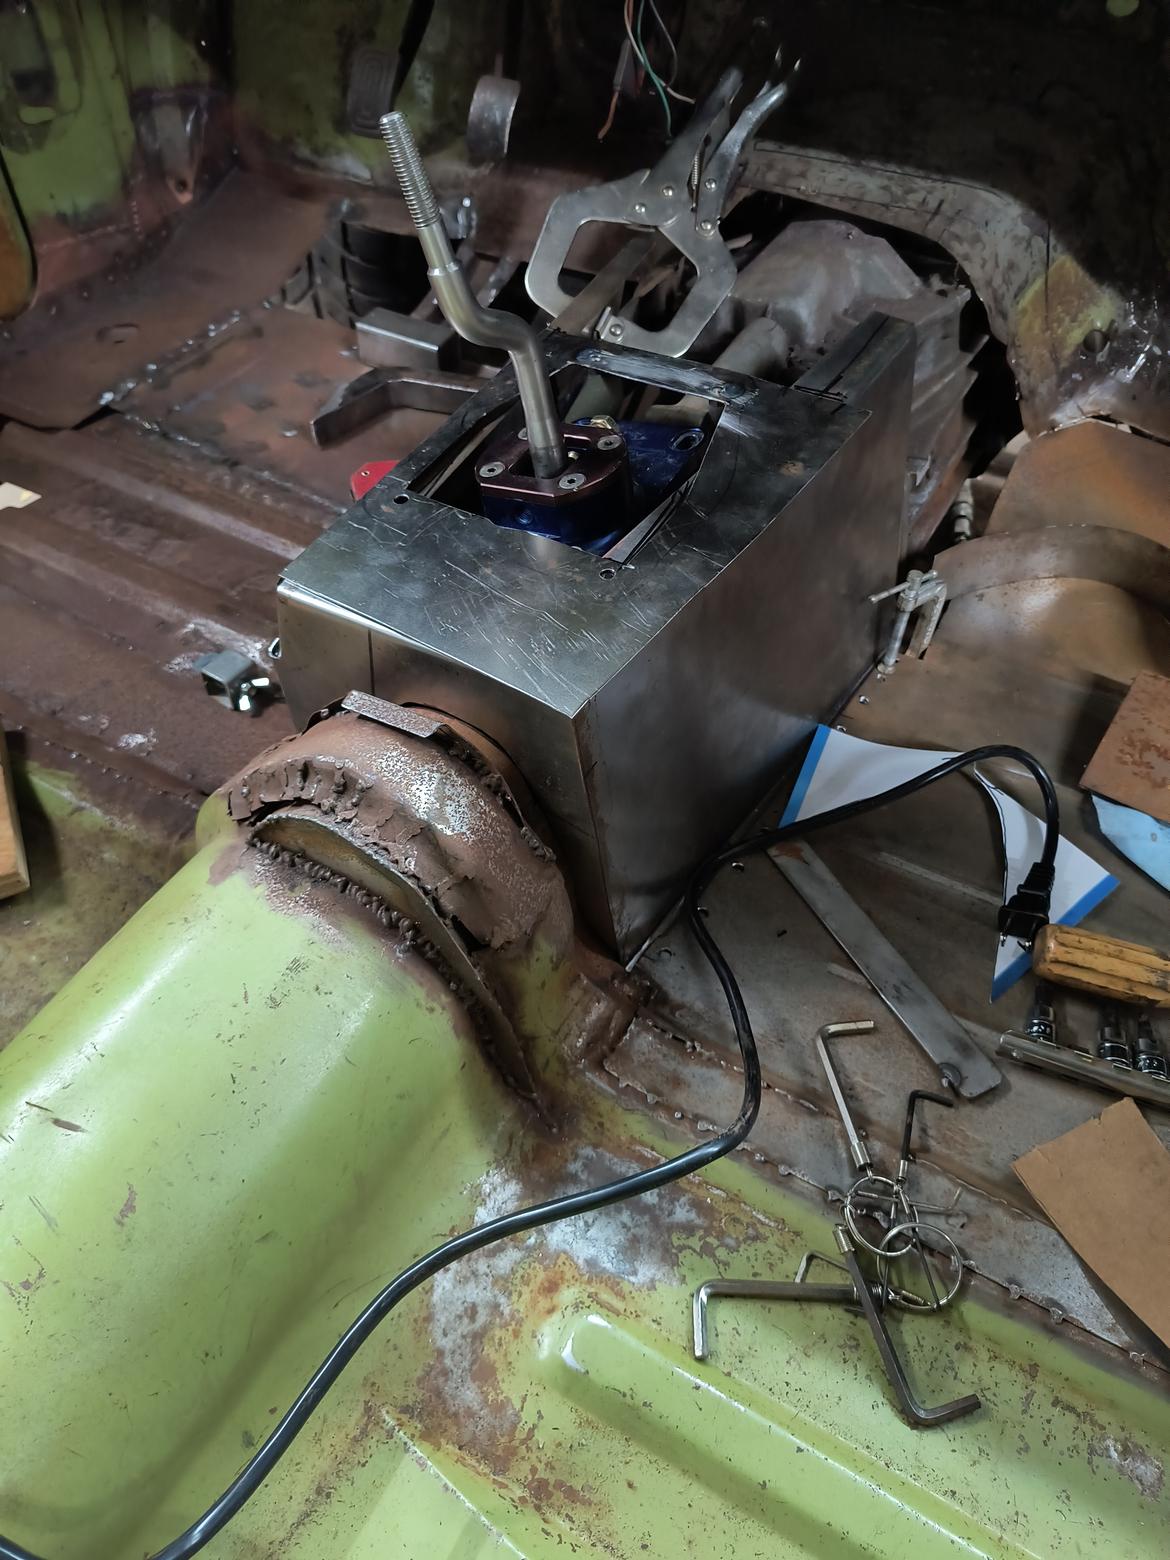
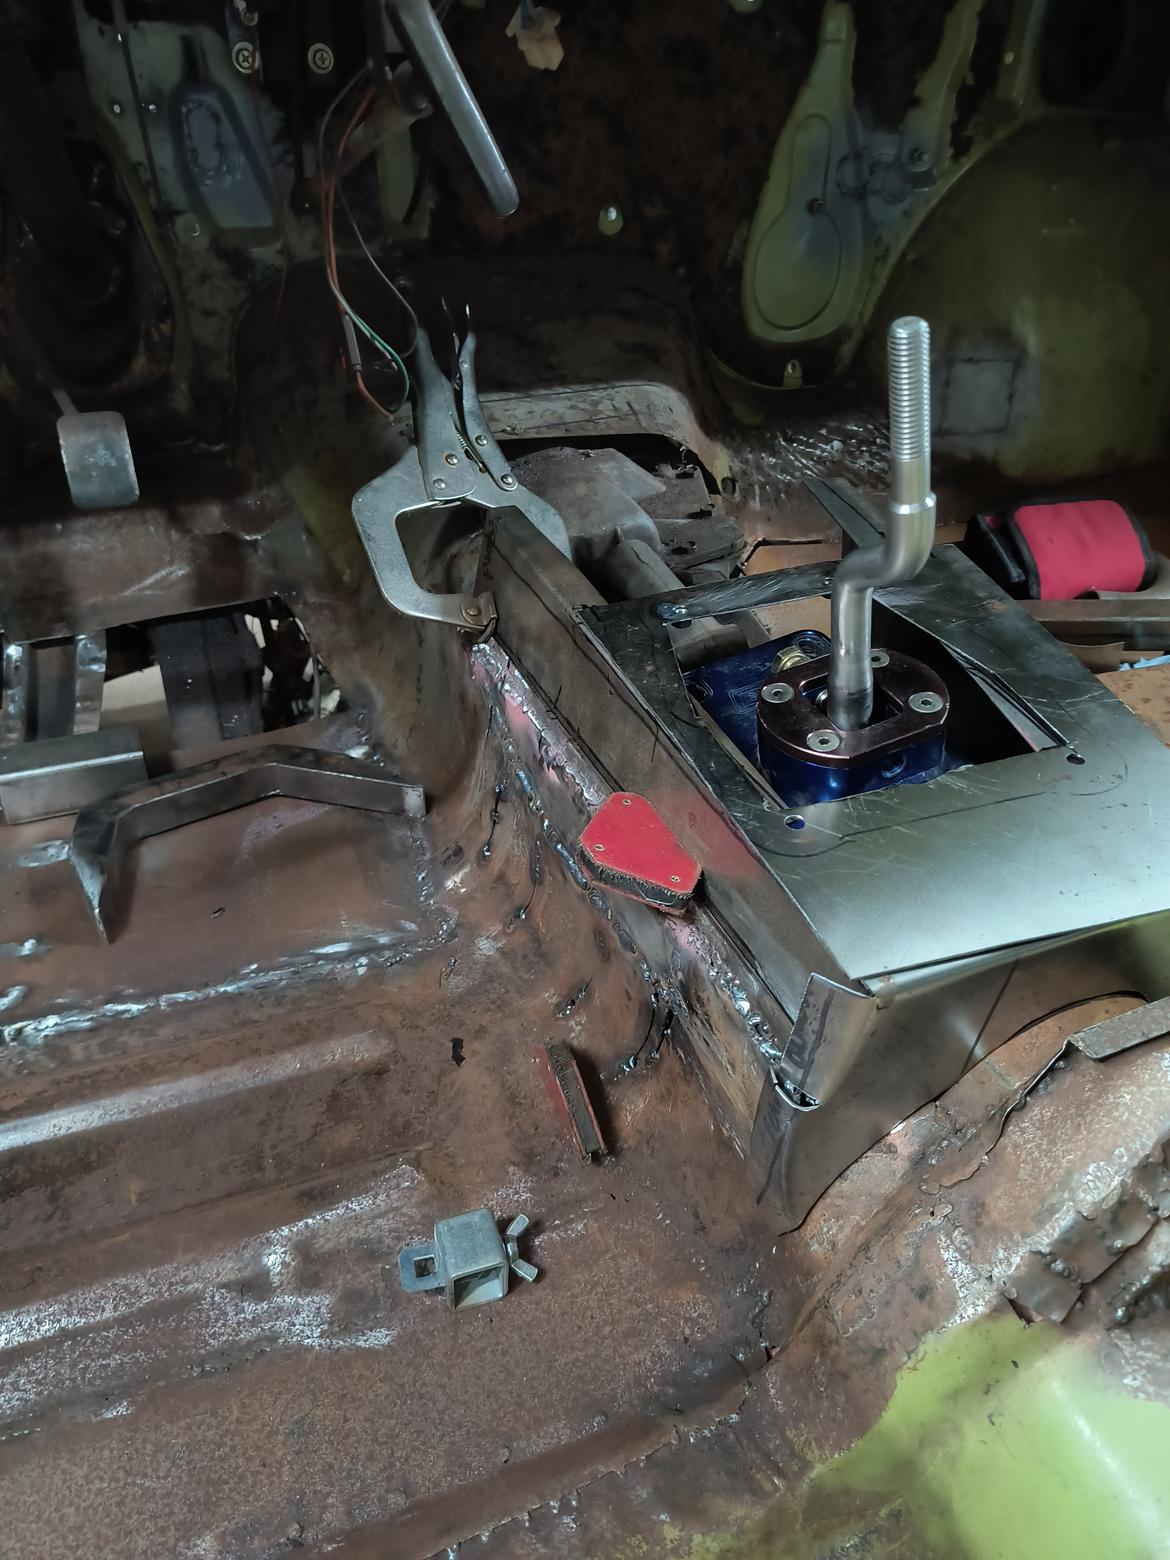
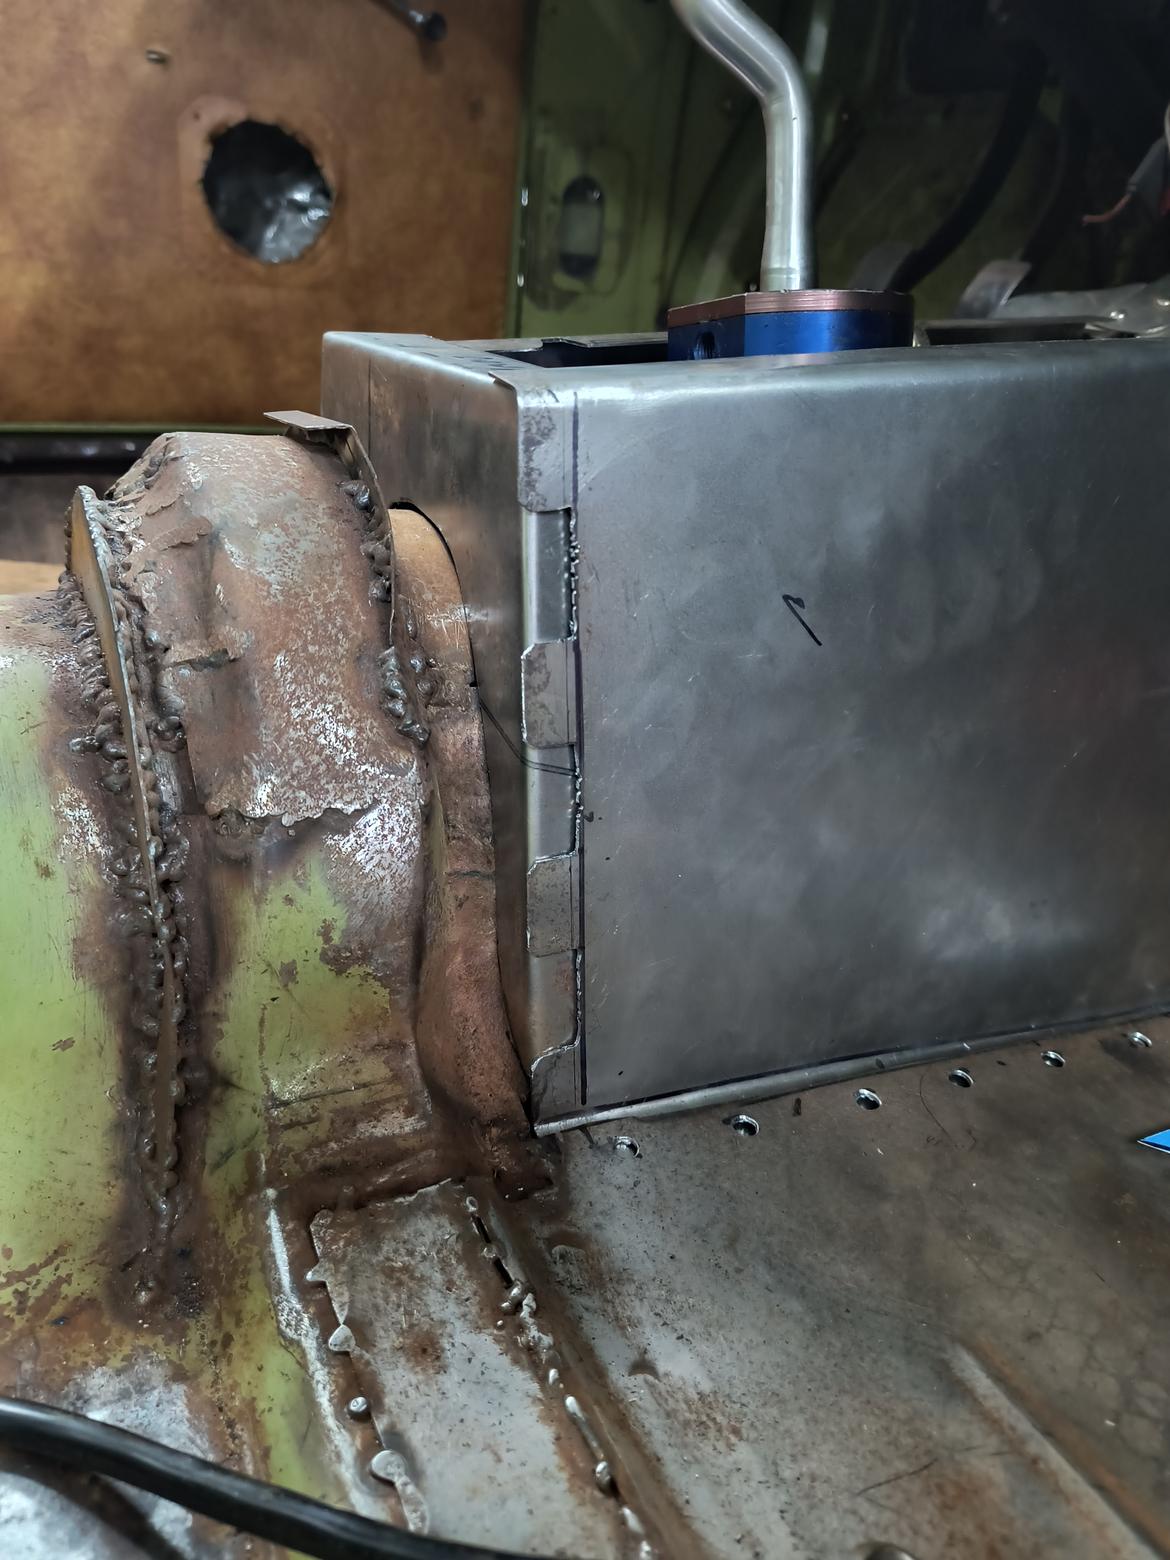
I made weld tabs on this side as I don't always trust my spot/plug welds, and this seems easy enough.
I did end up taking 2-3" of height out of the tunnel, and everything looks much better.
In reply to classicJackets (FS) :
 Moving forward & making progress
Nice!
In reply to classicJackets (FS) :
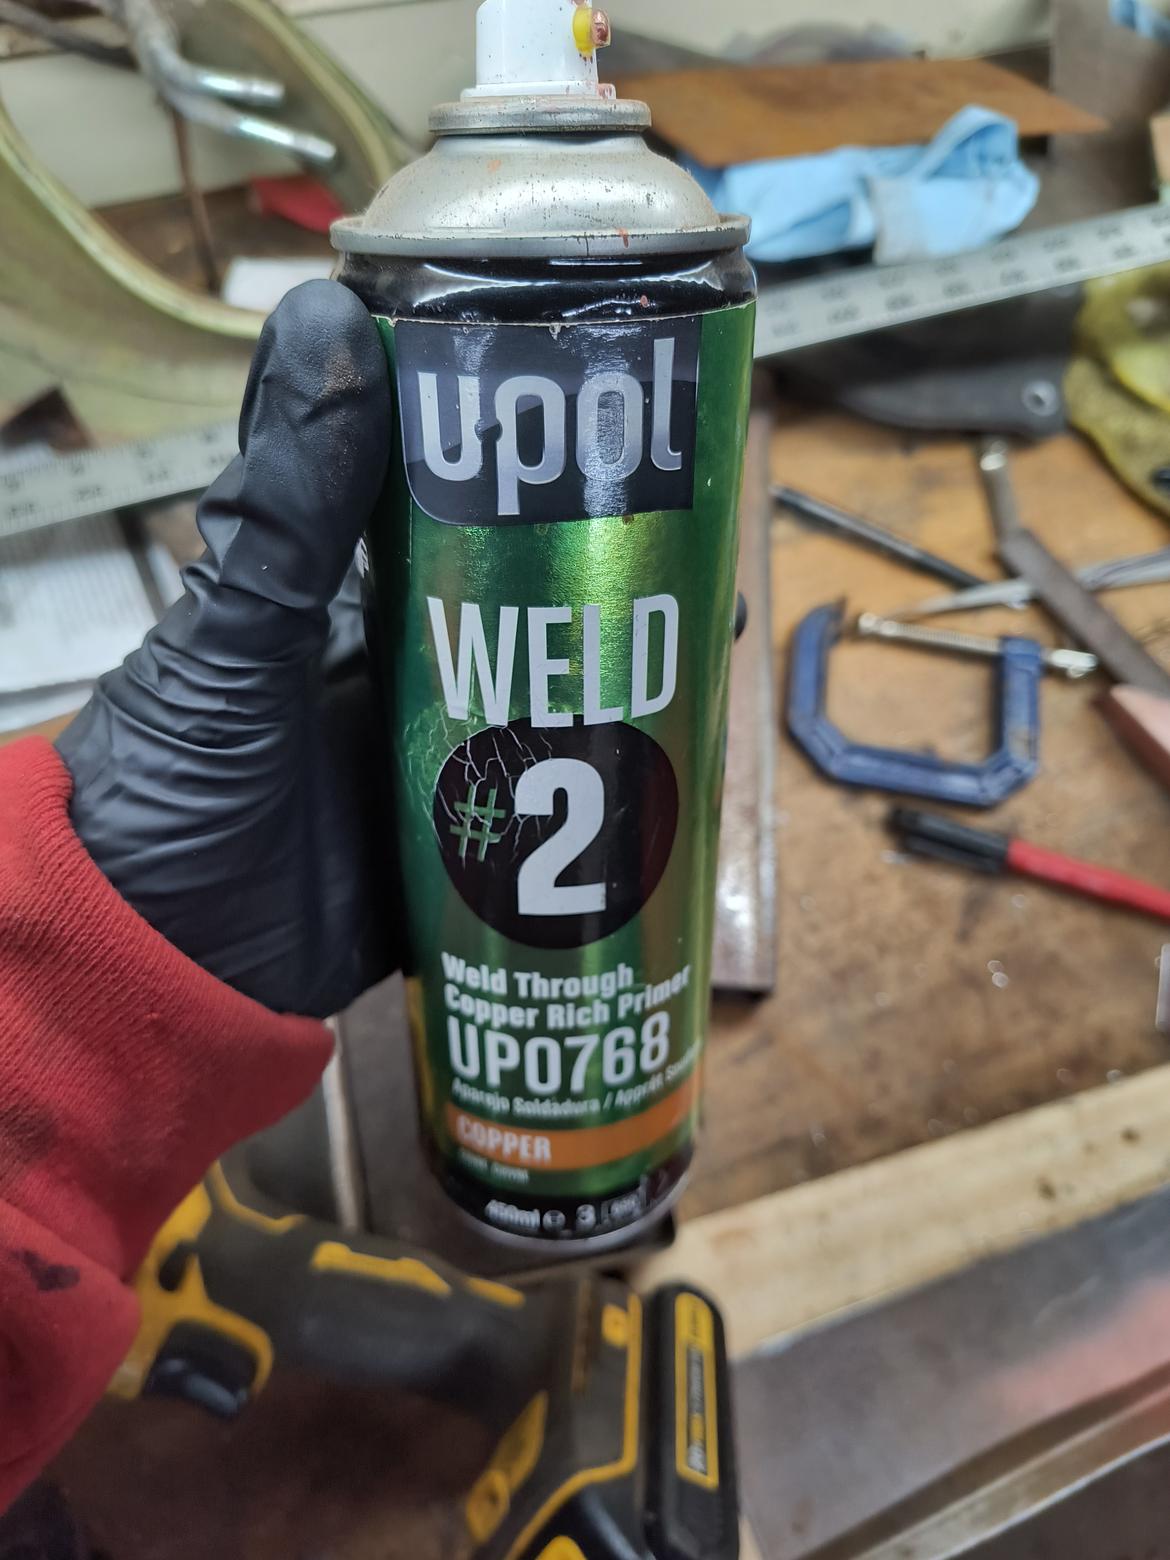
What are you using for weld thru primer? Is there a GRM friendly option?
In reply to RacetruckRon :
It's not very GRM friendly but I bought this can like 2 years ago and it's lasted me a lot of welds..
Okay - stuff is welded in! Could use a little more on the back cover, but it's really solid already. I'm happy - I think with the skills I have, this is as good as it could go.
