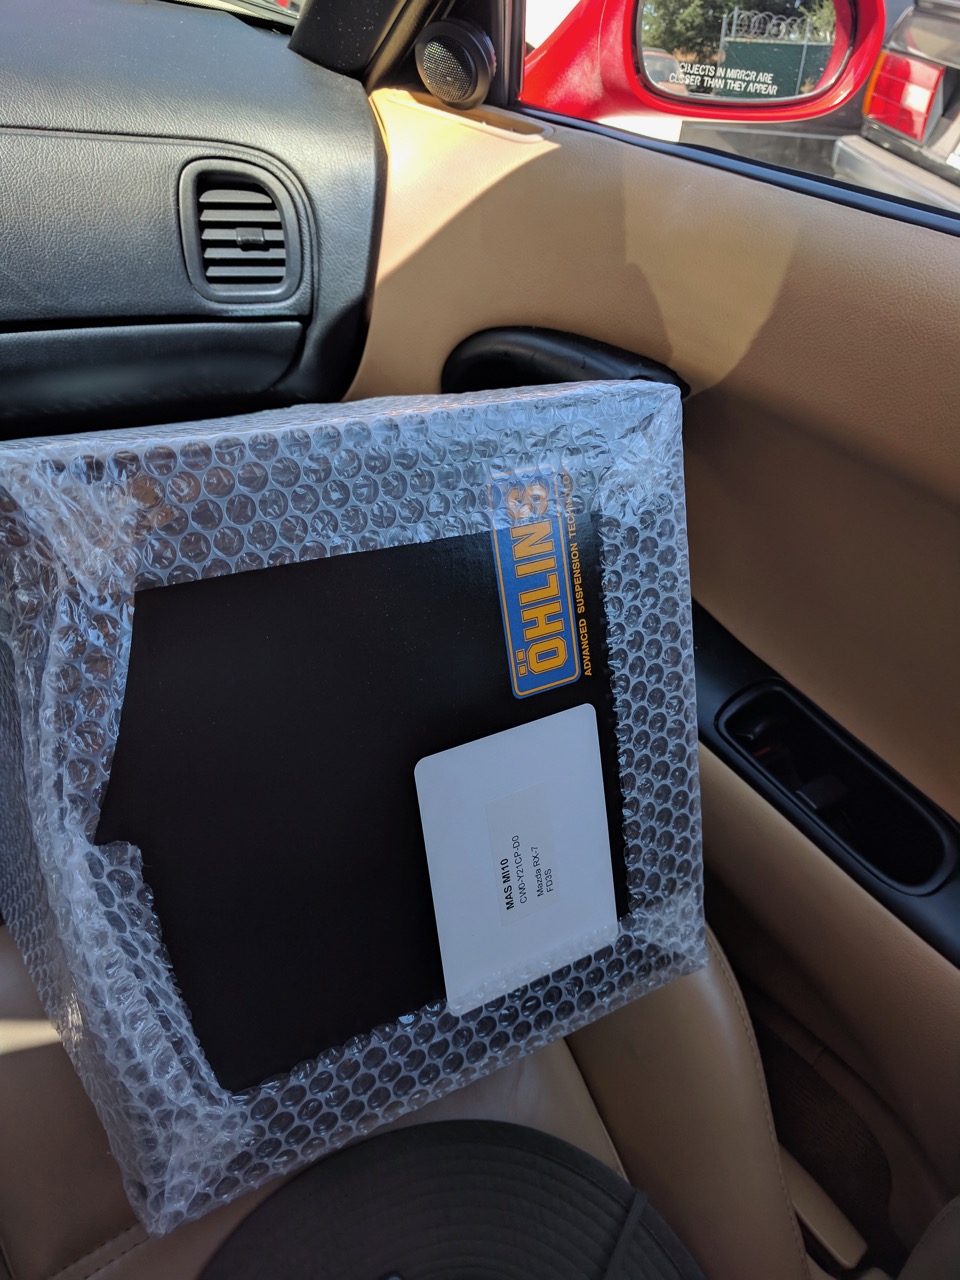
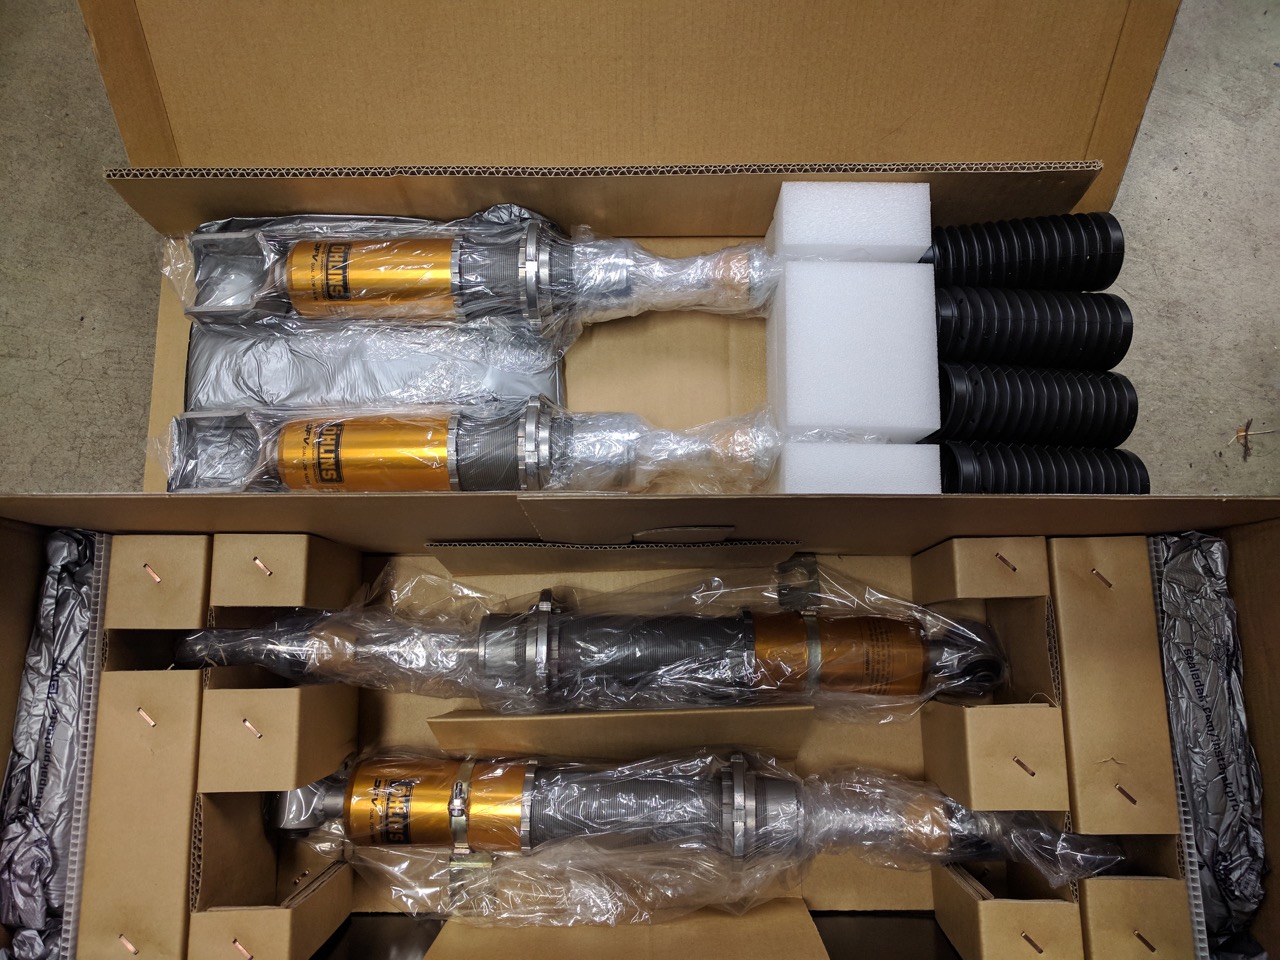
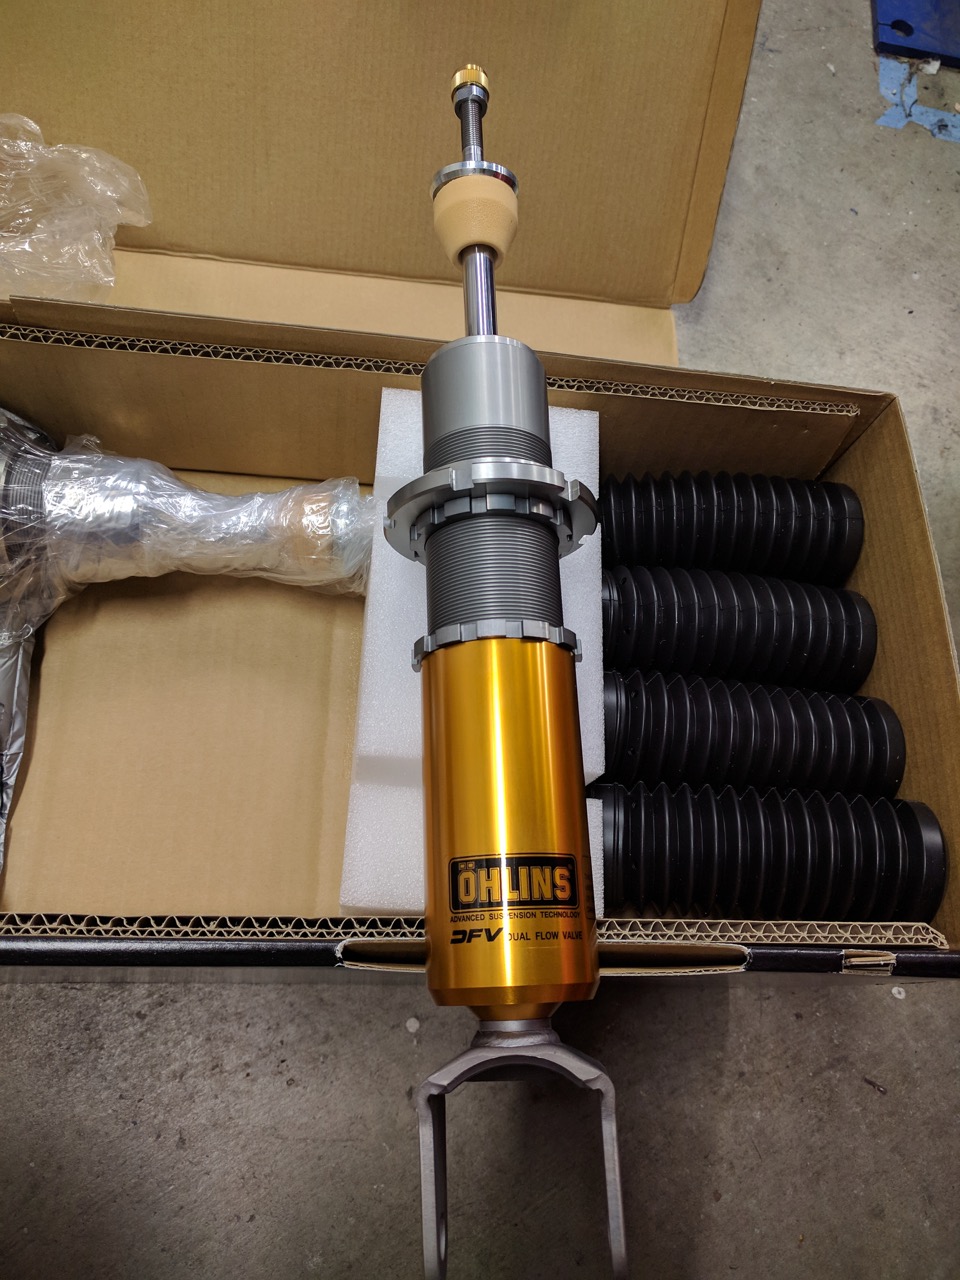
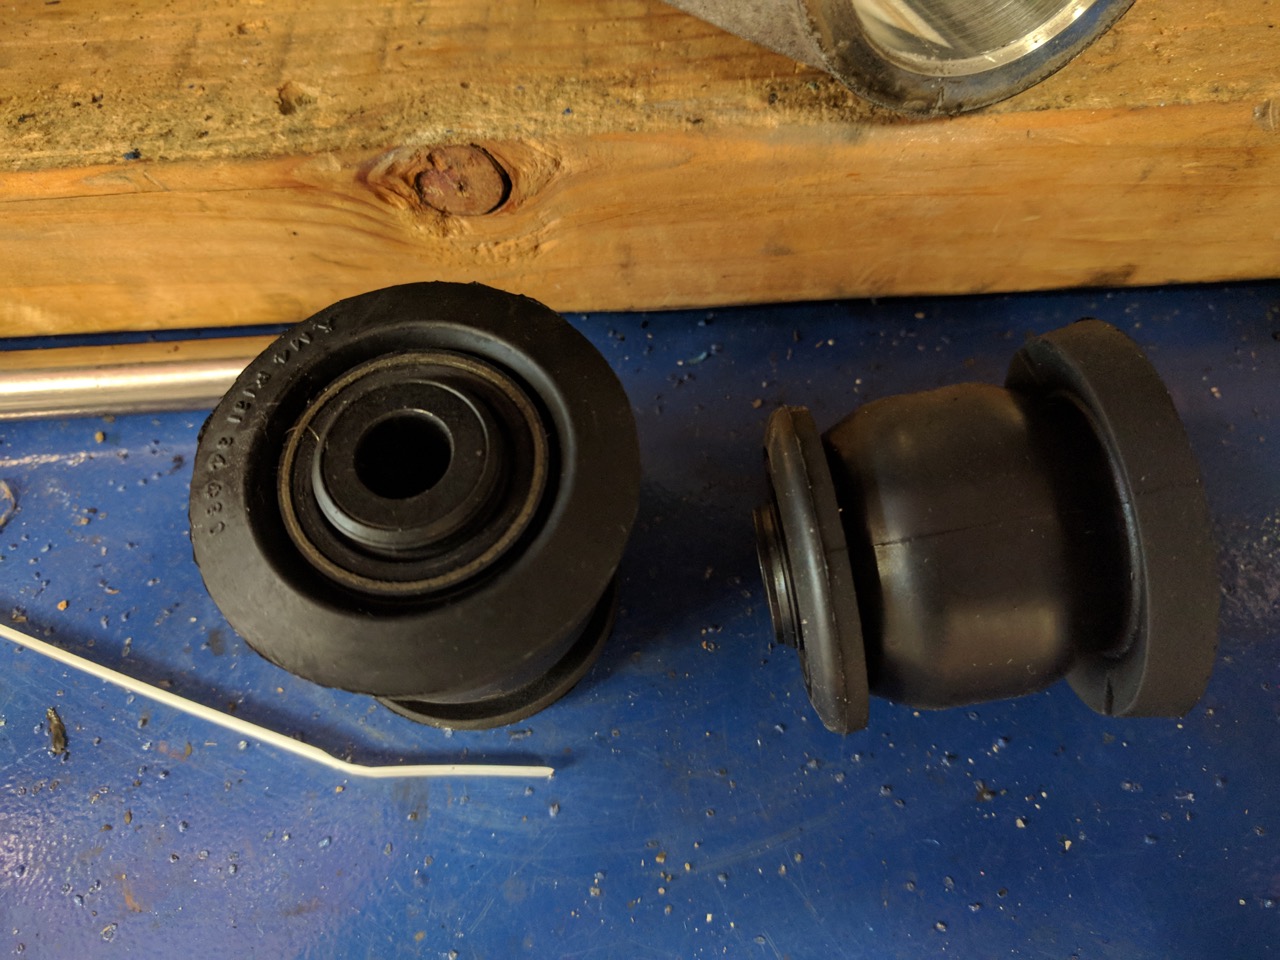
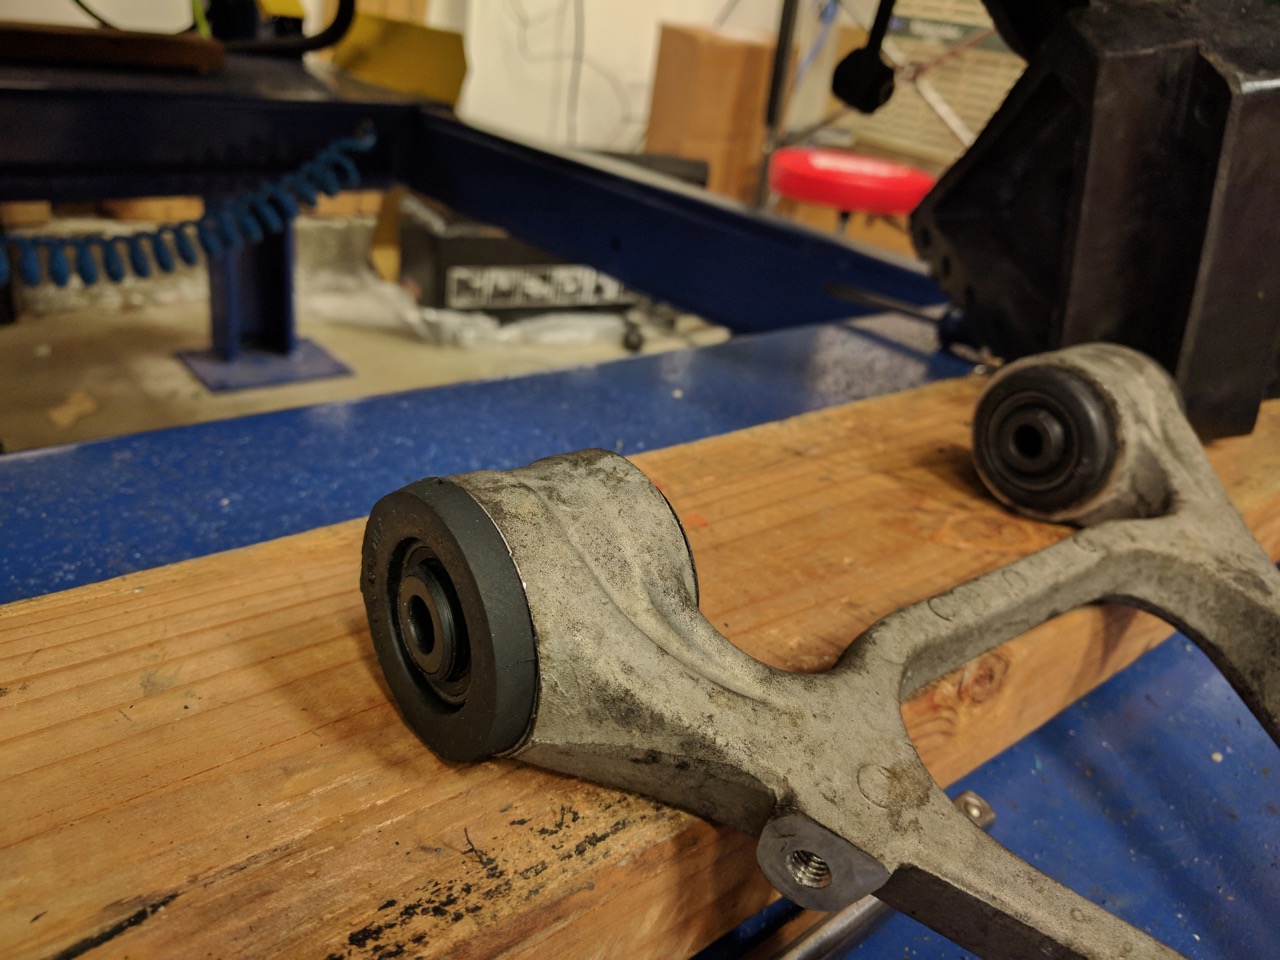
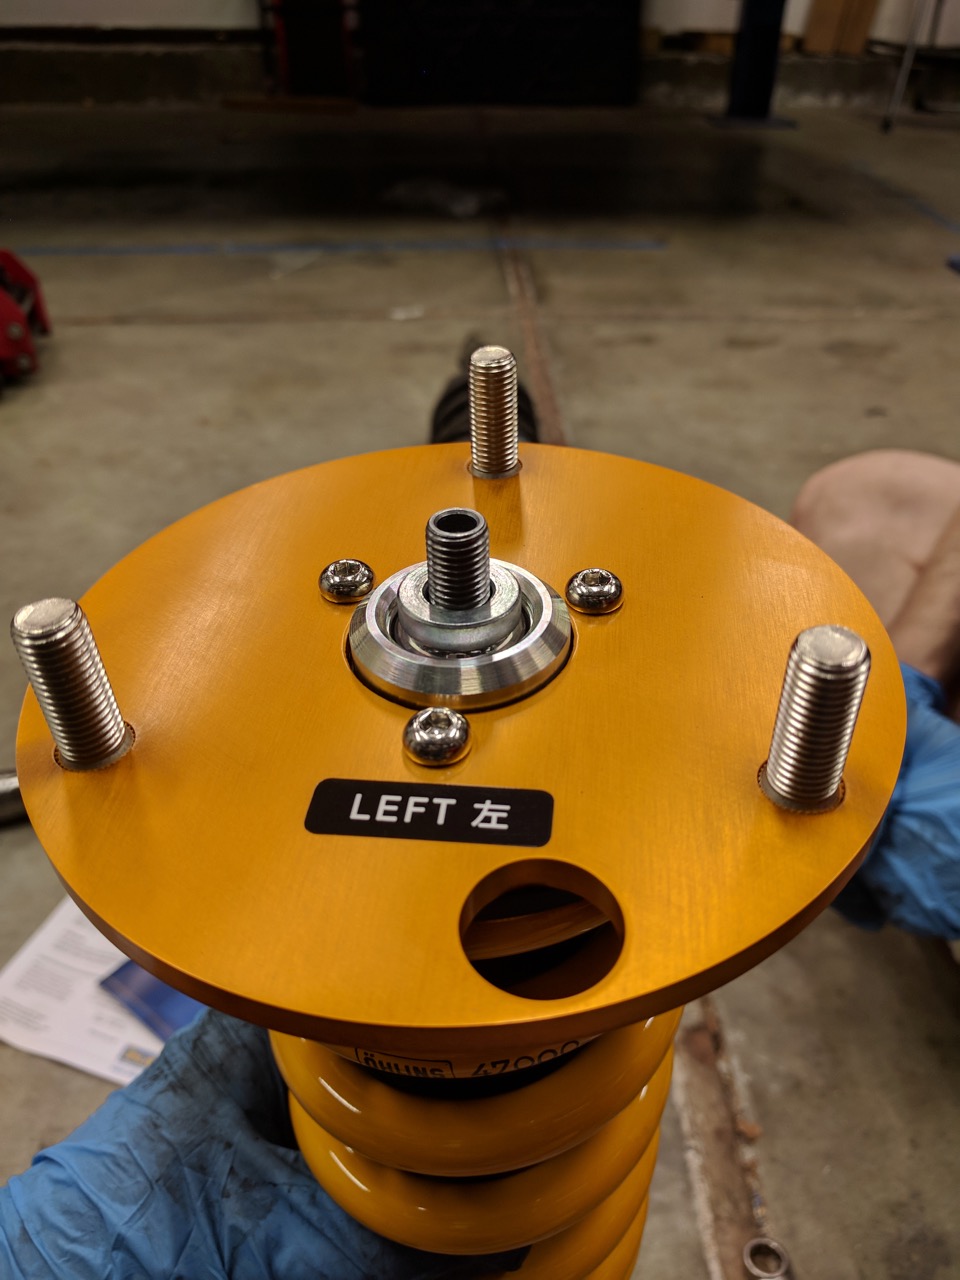
Off to assemble the Ohlins. Each shock has a bumpstop, upper washer, boot, spacer, spring, upper perch, insert spacer, locknut, and adjuster. They come with the bumpstops, upper washers, and adjusters installed, the rest of the parts are separate in the box. The spacers come in 2 bags, each with 2 straight and 2 insert spacers, but it's critical to note that one bag is for the front shocks and the other is for the rears, and they are NOT THE SAME. Nor are they marked. So it's very easy to put it together with the rear spacers on the front shocks -- guess how I know?
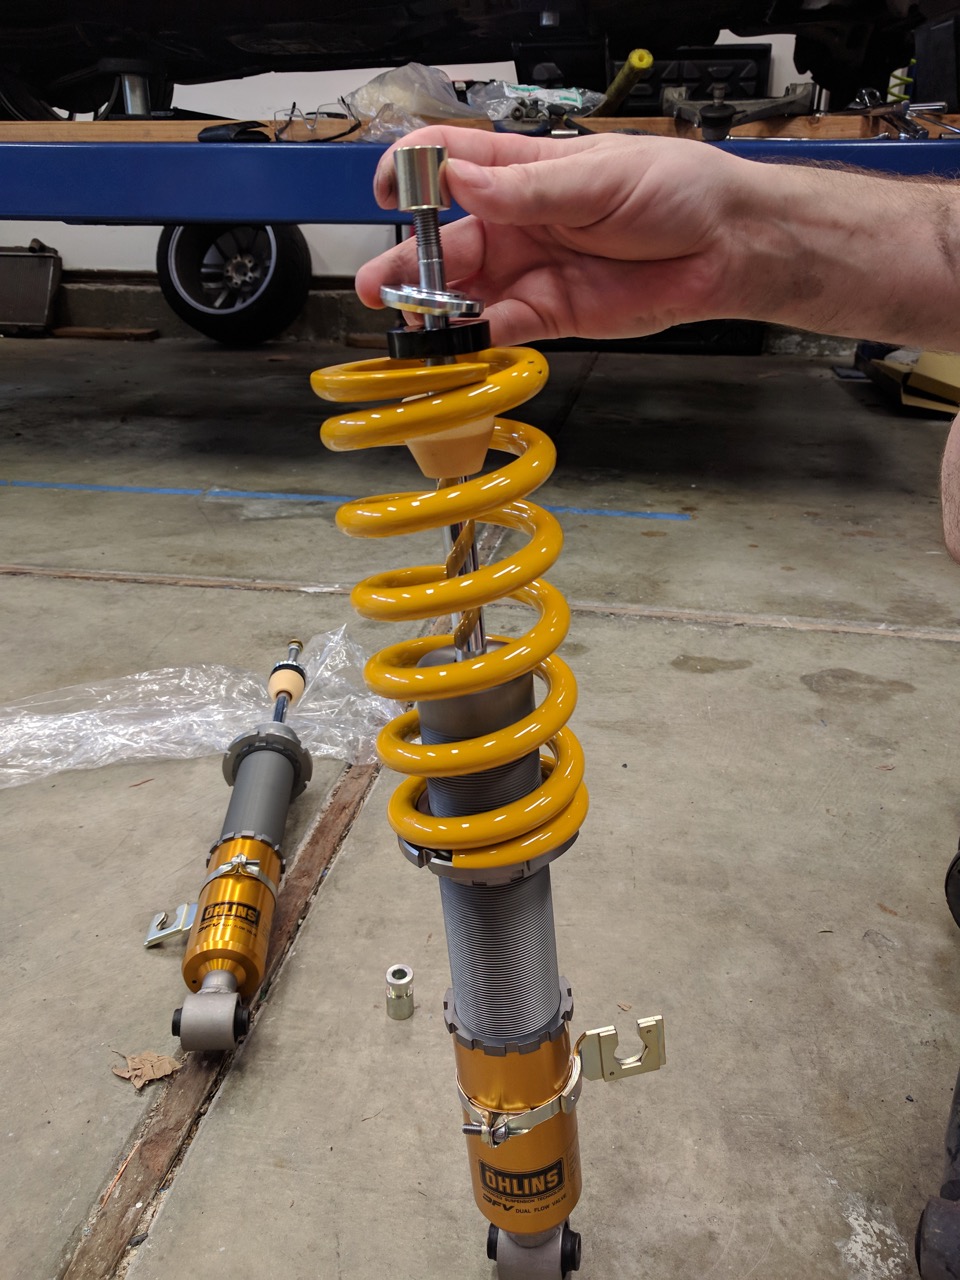
Shock, spring, bumpstop, washer, and (wrong size) spacer:
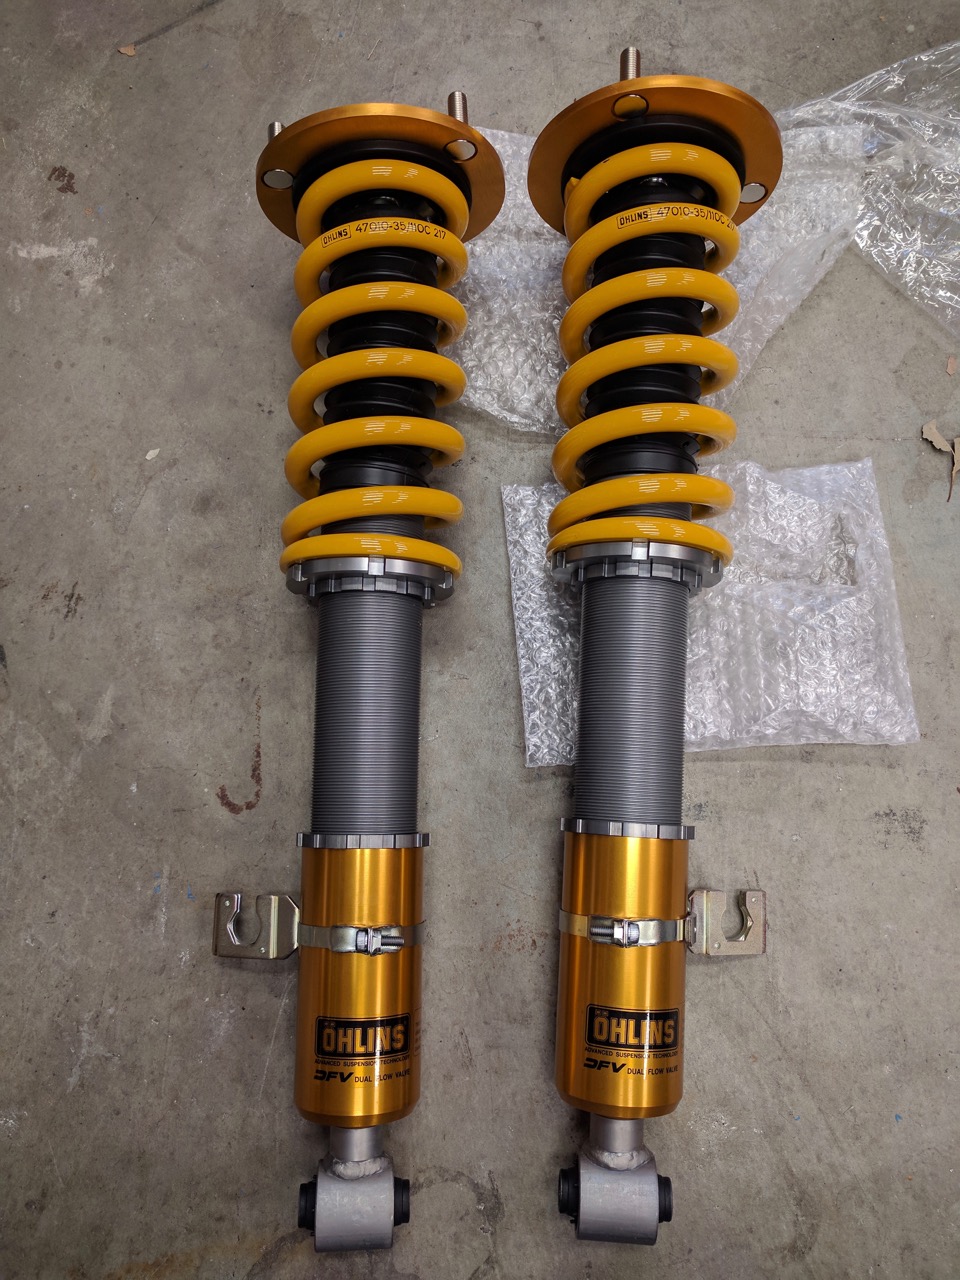
Fronts assembled:
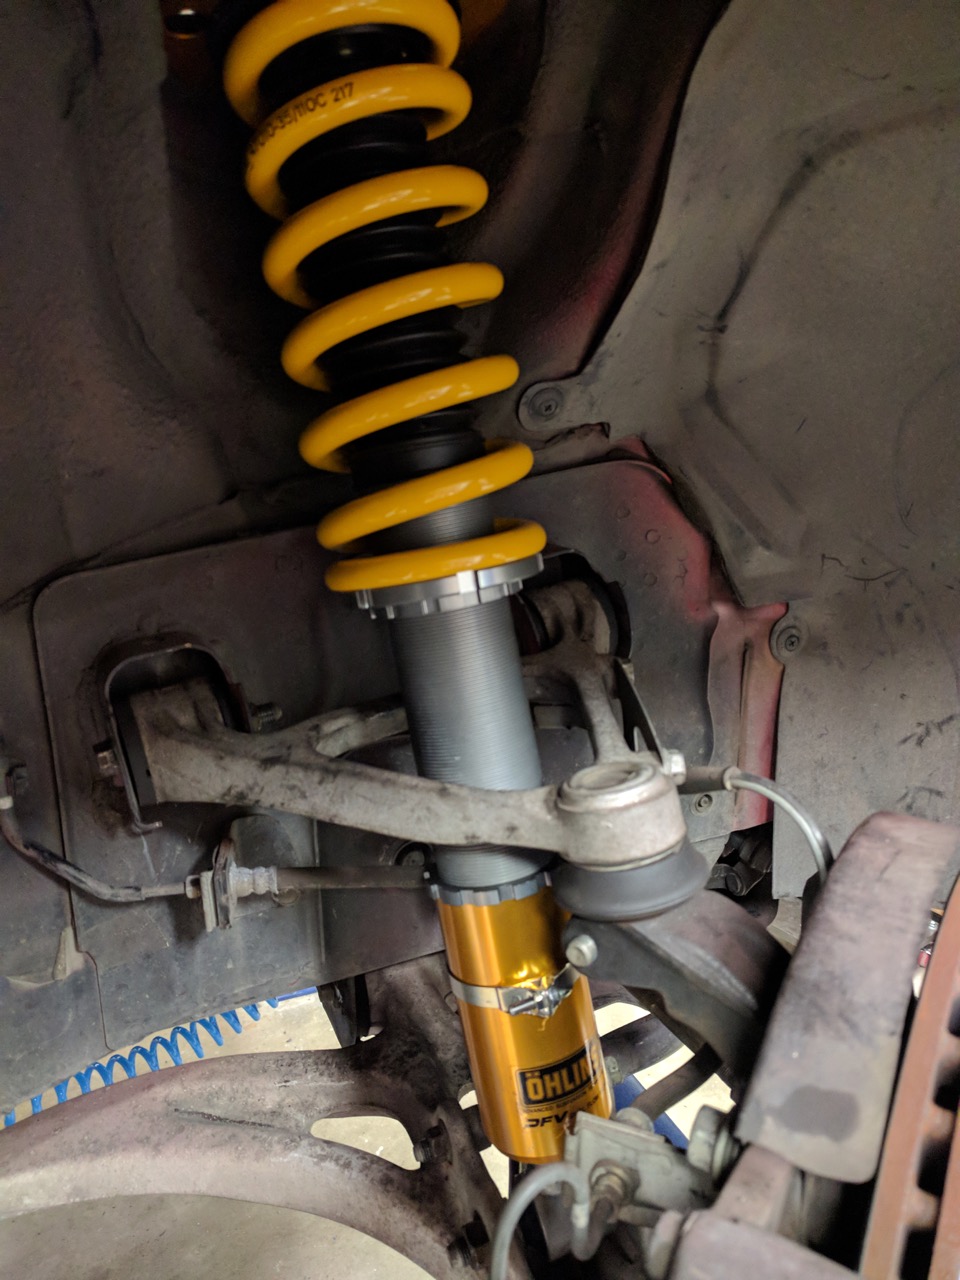
Installed on the car. Getting the upper A-arm bolts to align was moderately a pain. I still need to go back and retorque them with the weight on the wheels.
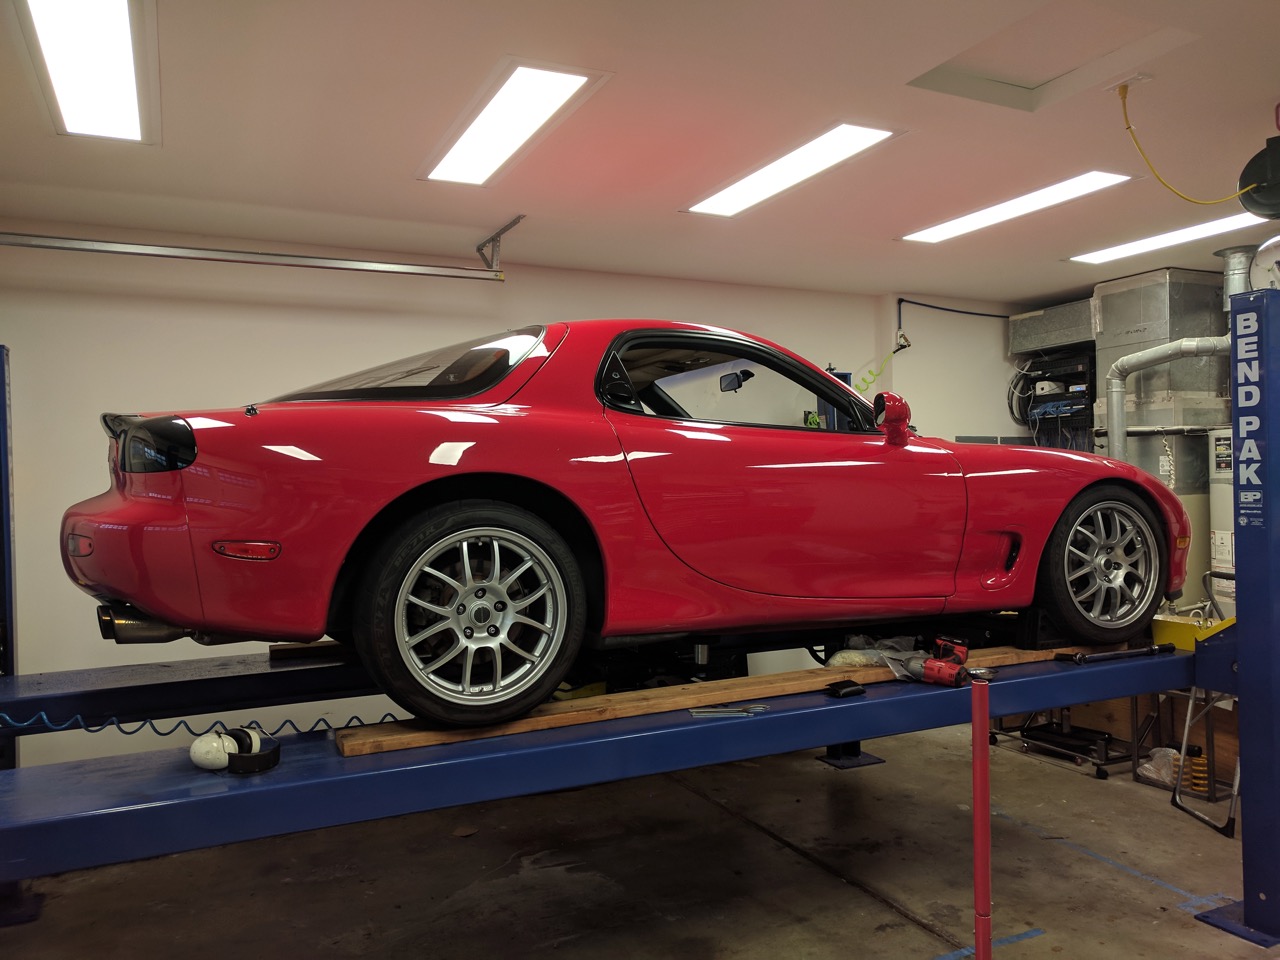
Assembled, the fronts wound up with very little droop travel, the adjuster sticking way up into the engine bay, and the front being VERY low. The instructions say to set it up with 2mm of preload on the spring and 10 clicks back from full stiff on the damper (adjustment is for both rebound and compression, although it changes rebound somewhat more). That's supposed to give about a 3/4" to 1" drop from stock -- this was WAY lower than that. The rears are still stock in this photo, which is why it looks jacked up like a drag racer, but the front is much too low. We hadn't figured out why yet.
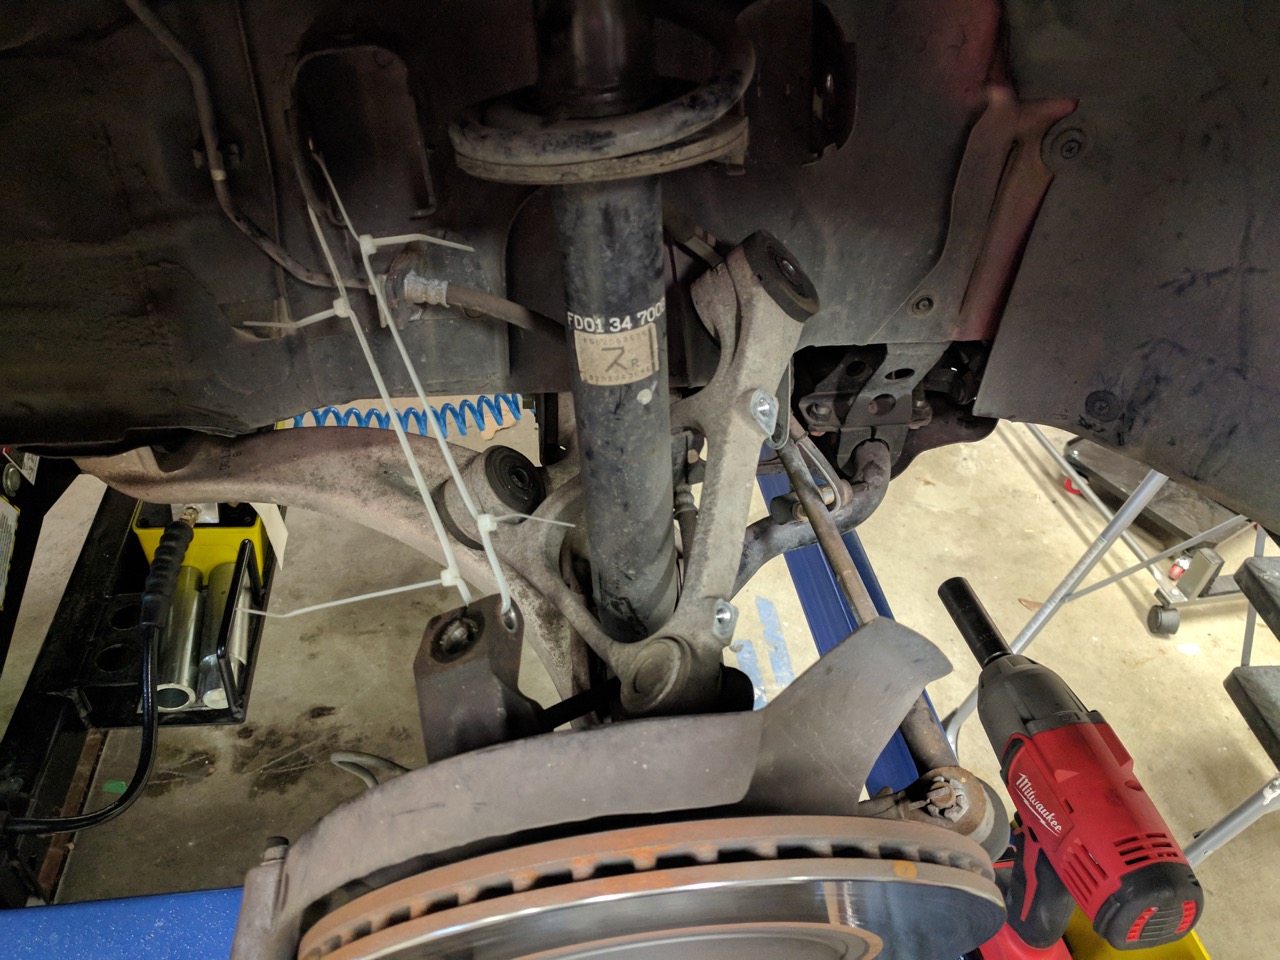
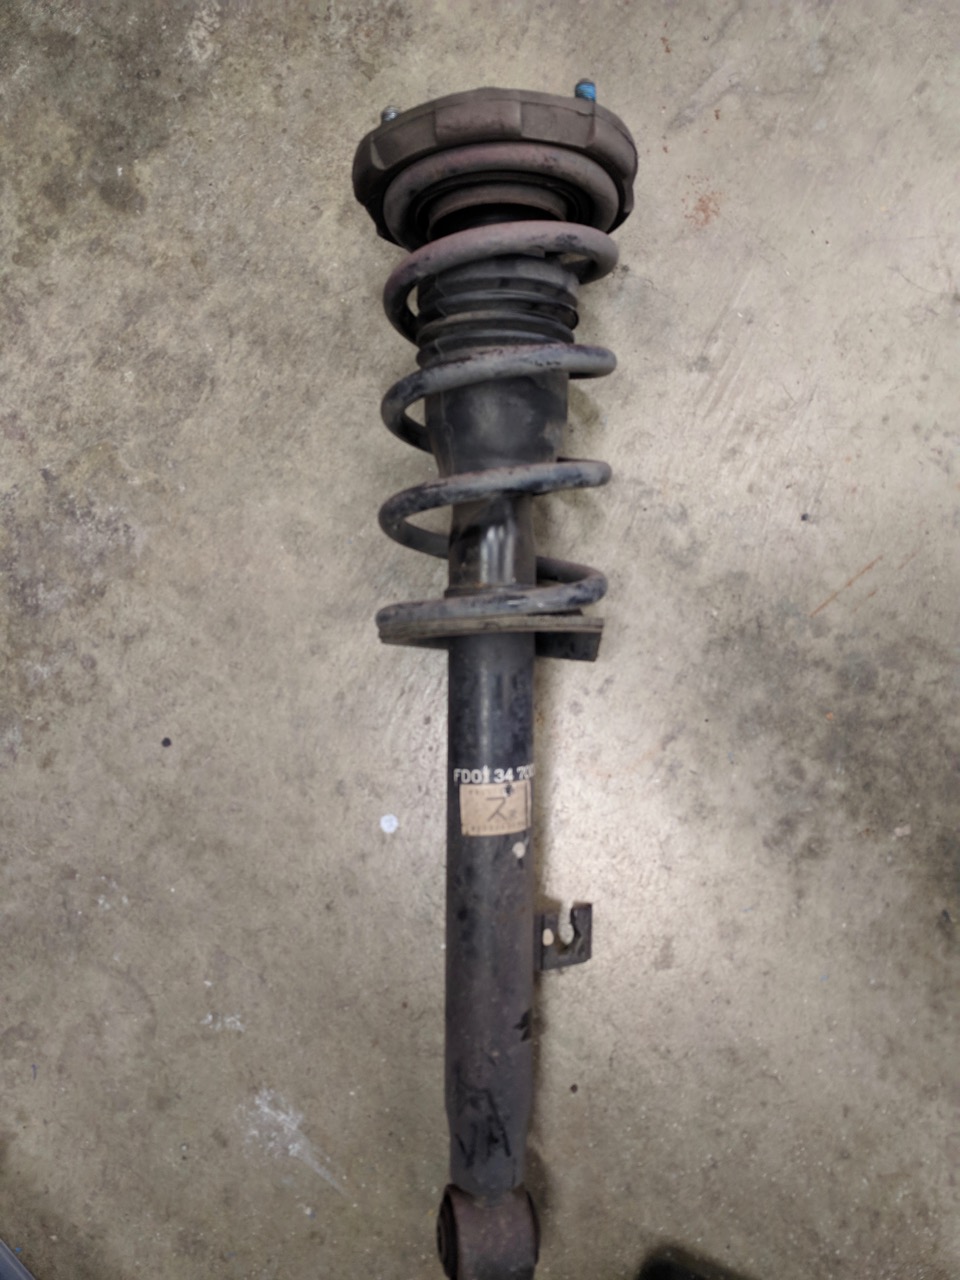
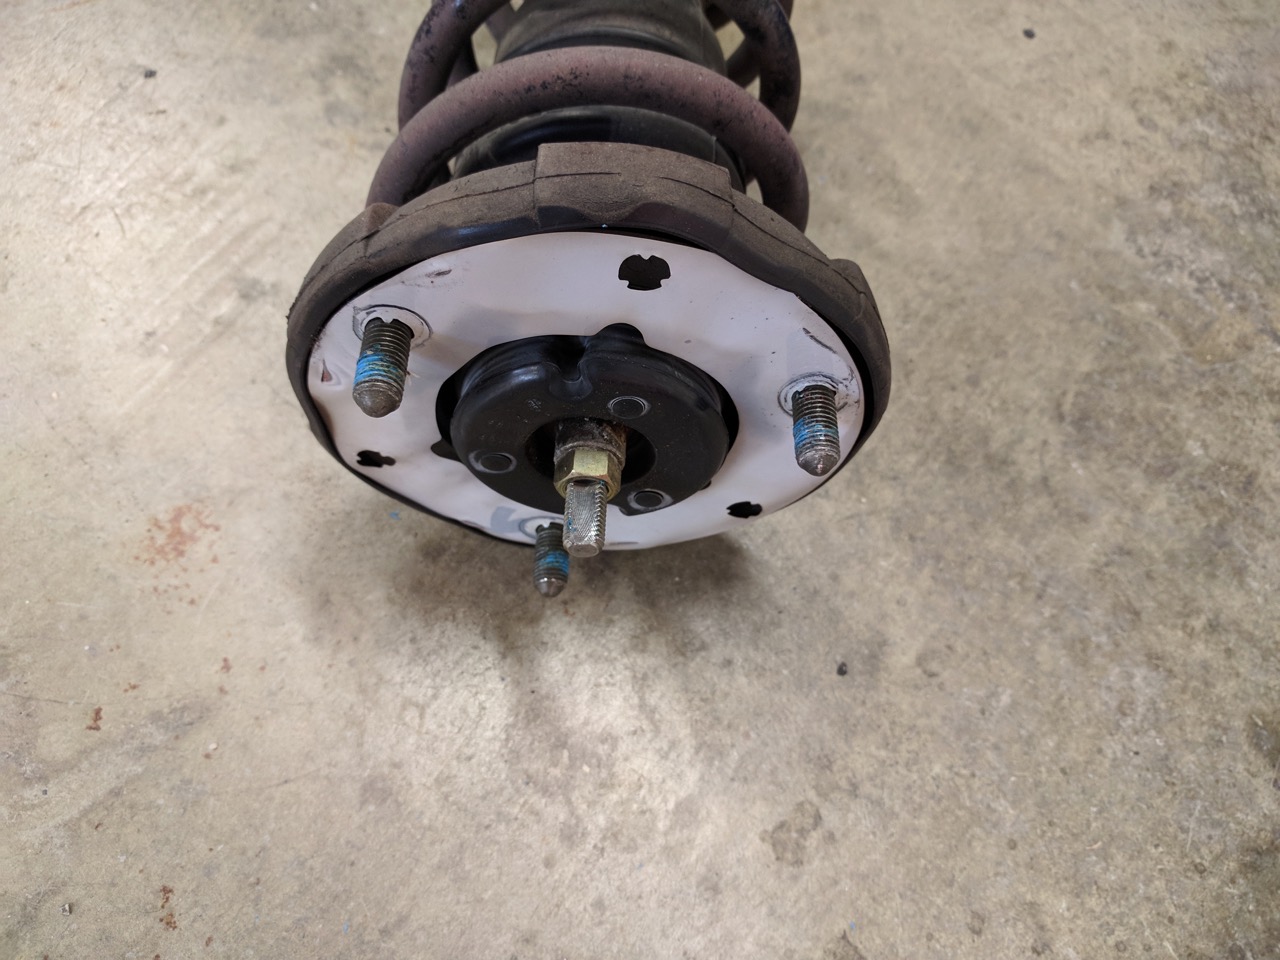
So on to the rears. The FD's rear suspension is pretty different than the Miata's. No lower A-arm, so the shocks mount to the upper arm instead. This makes them pretty short. This time I got a "before" shot:
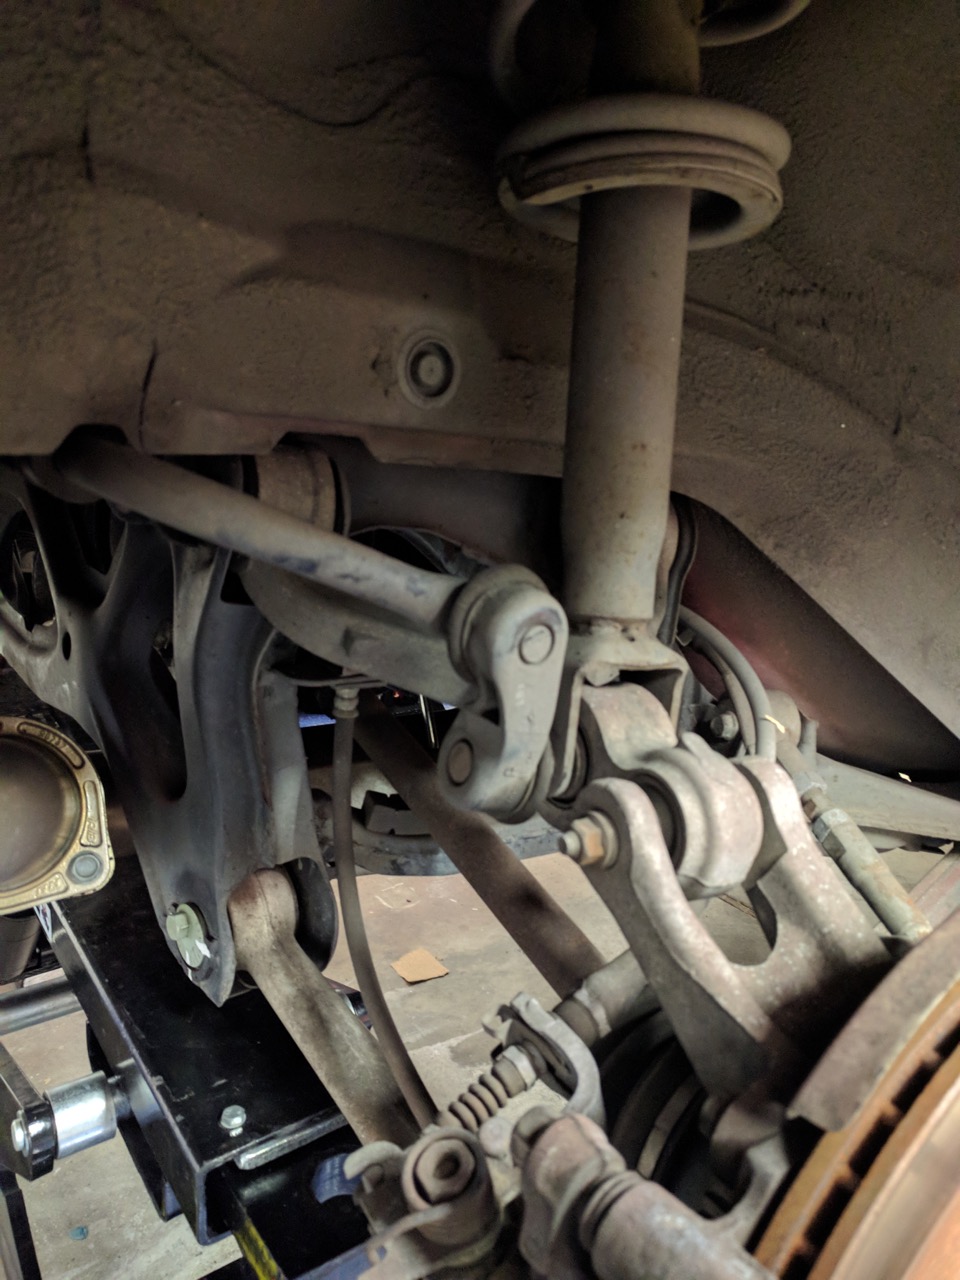
Basic idea is to pull the single bolt holding the lower mount and the 3 bolts up top (along with the rear shock tower brace) and it falls out. For some reason my passenger side one didn't want to come out, so we pulled the bolt attaching the upper arm to the upright as well, and then it was easy.
When it came time to assemble the rear Ohlins, we figured out what was wrong because the longer spacers meant that there weren't enough threads to get the adjuster on. So we had to go back and take the fronts apart, although not all the way. Rather than pulling them all the way out, we set the dampers to full stiff, removed the top nut while it was still in the car, and then one person pried the shaft down while the other swapped the spacers. Not something you could easily do without a friend, though. With those swapped, all the problems I mentioned above went away.
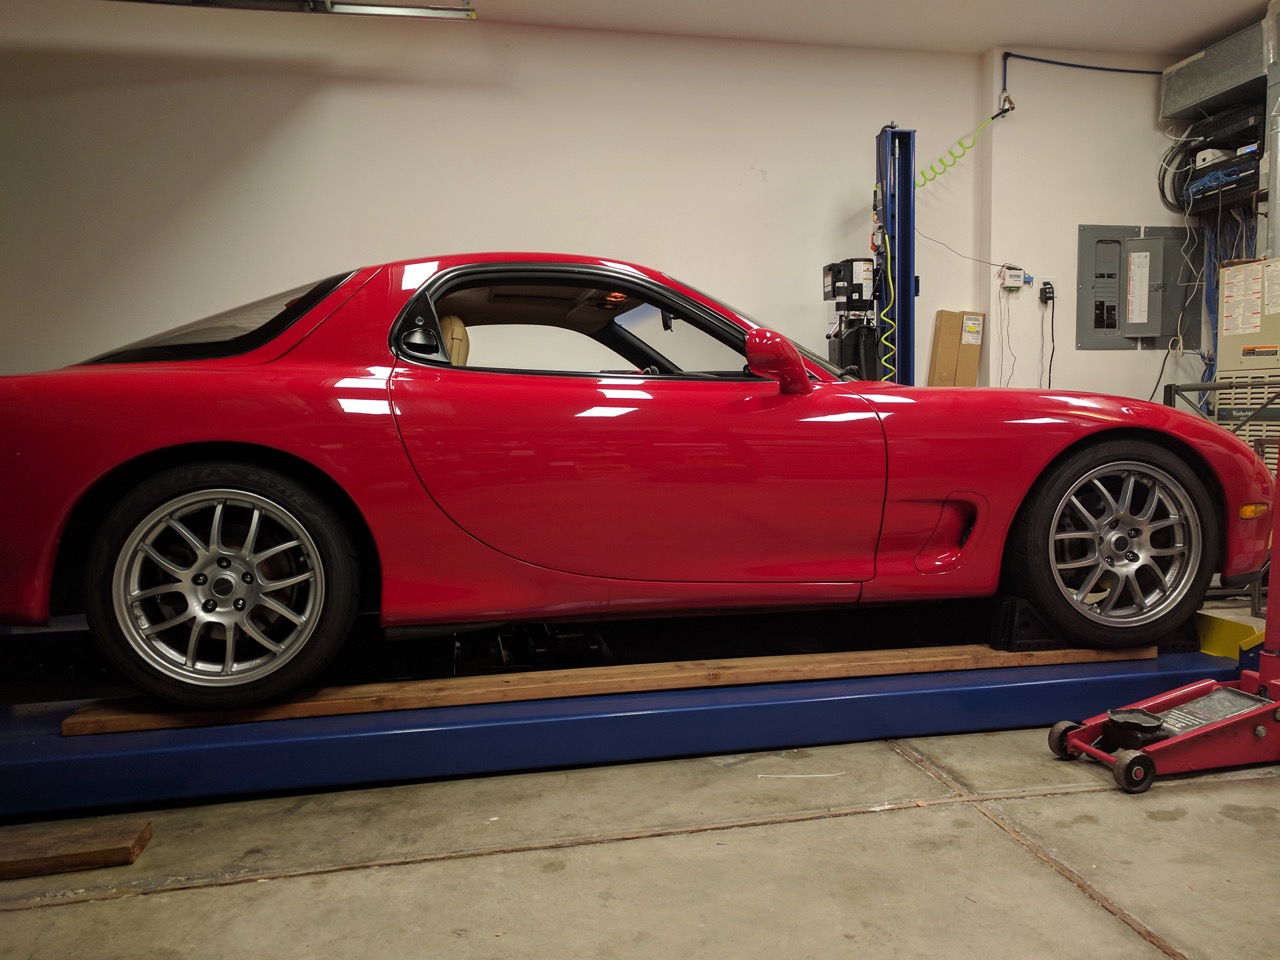
Car is back on its wheels, no more drag racer look!
By this point it was 9PM, so we took it to grab some dinner.
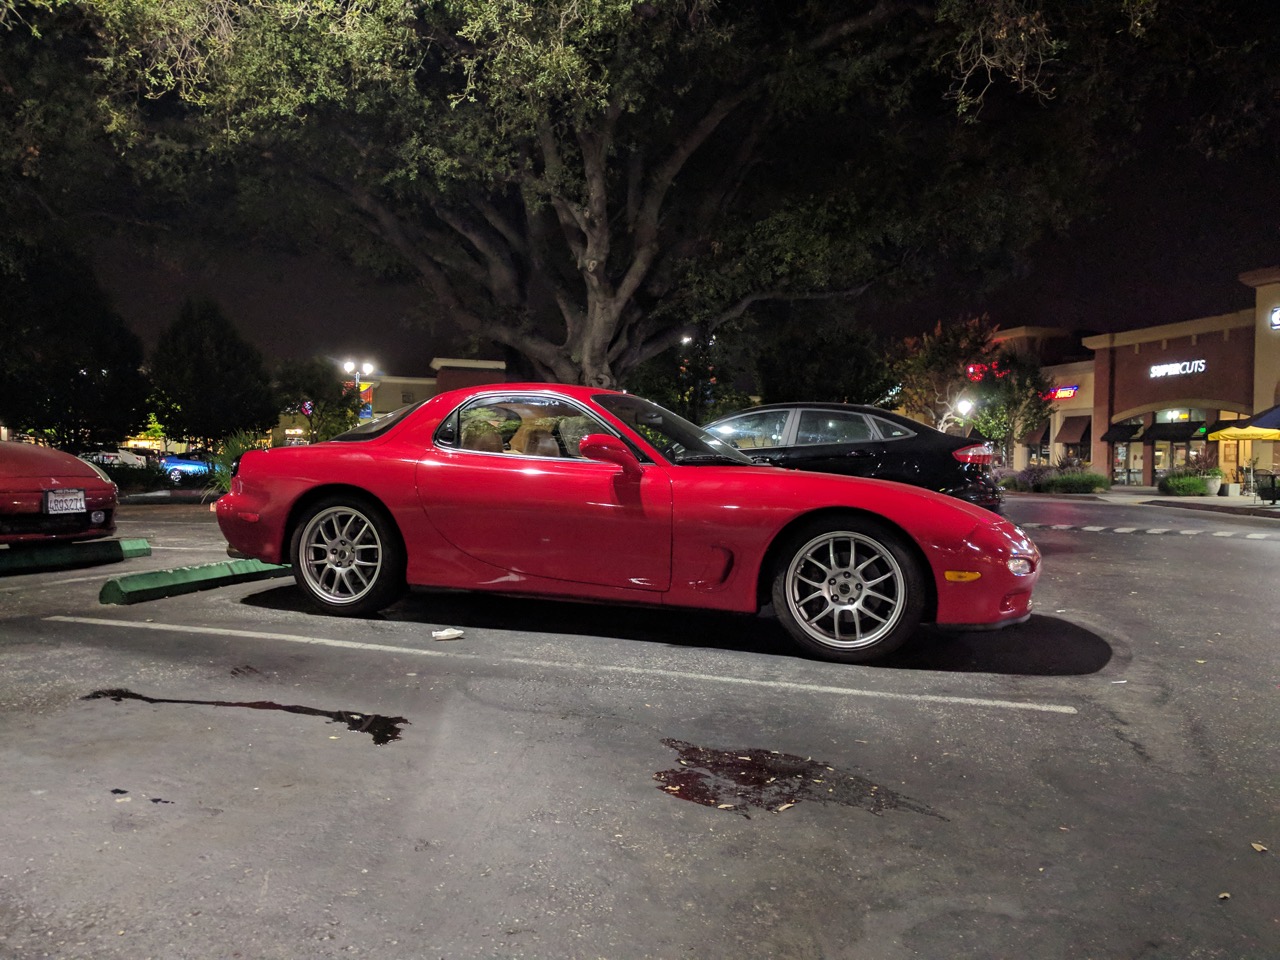
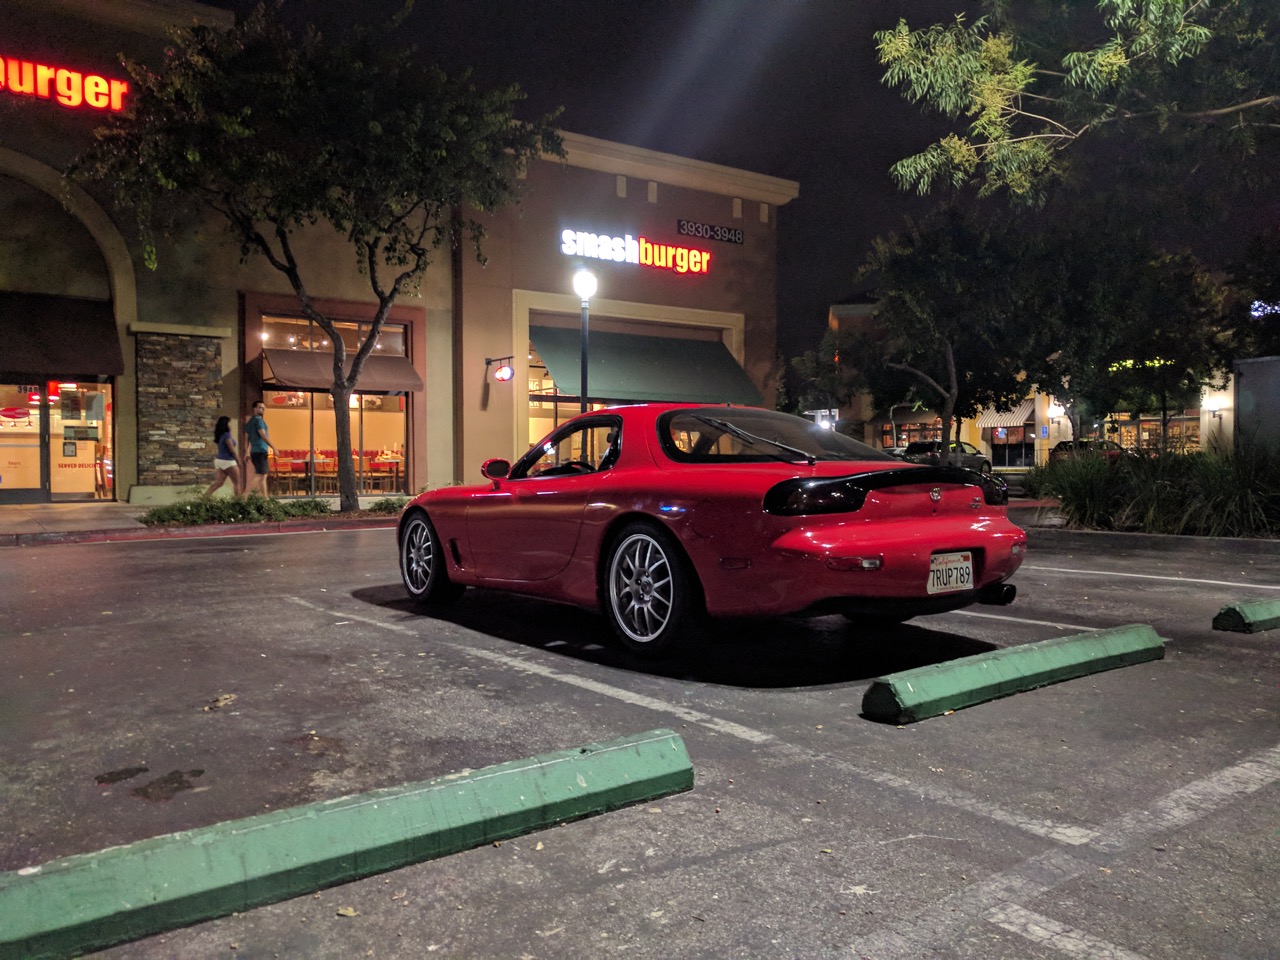
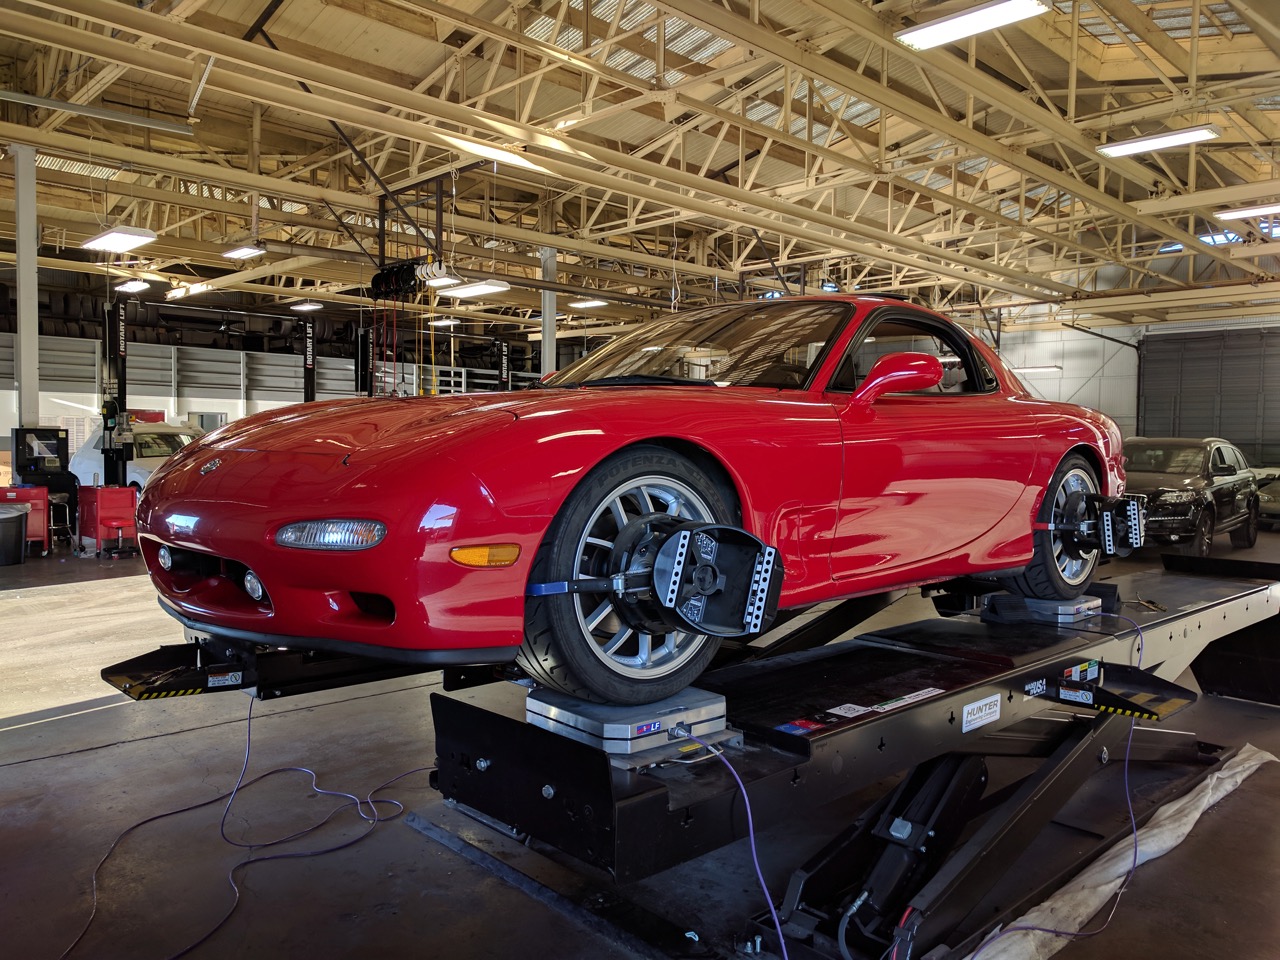
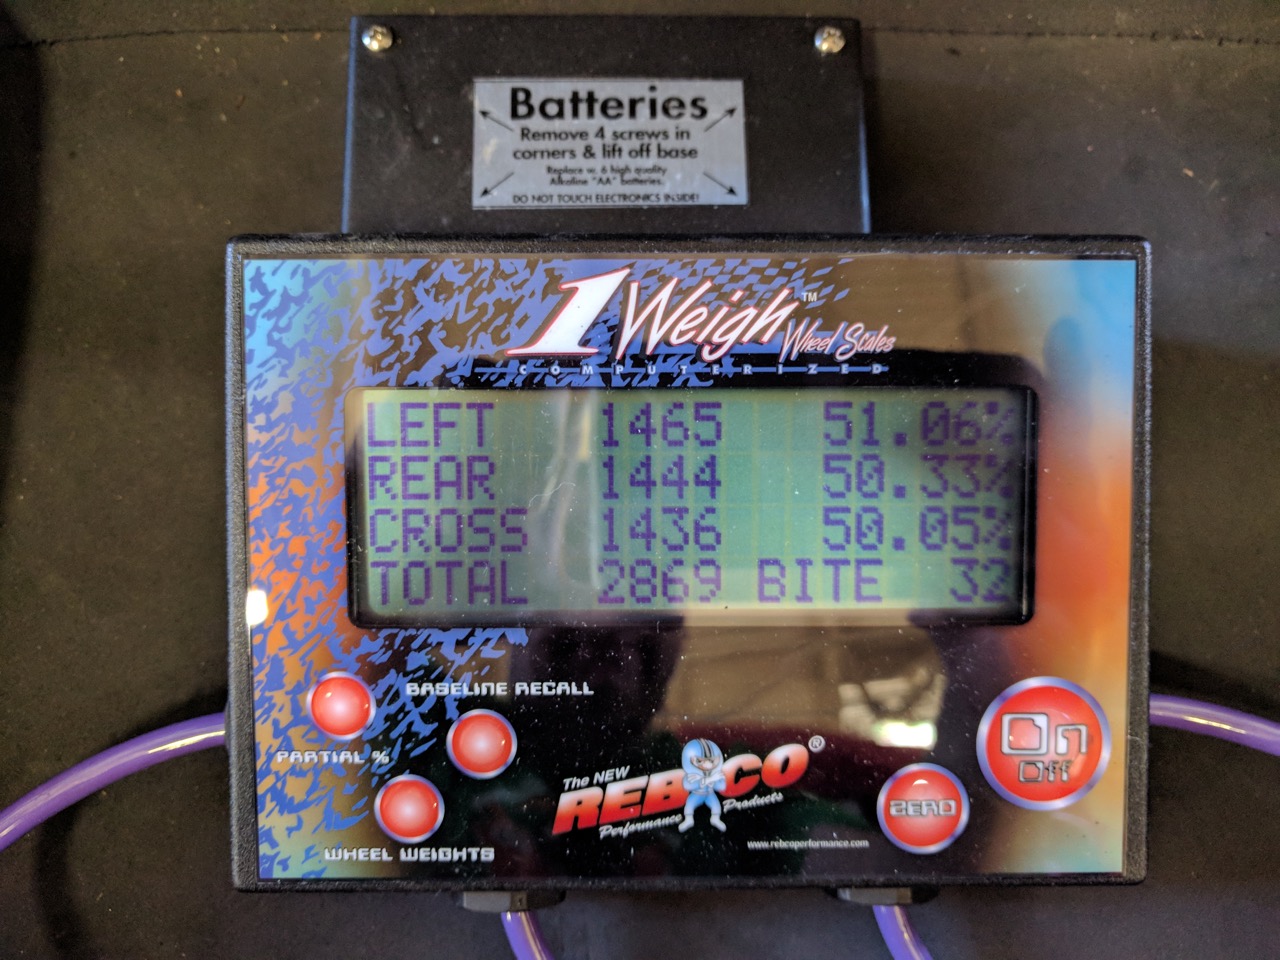
So how does it drive? Well, I didn't take it around real corners because it needs an alignment -- lowering it added about half a degree of negative camber at both ends, and the rear is now toed in. I'm very pleased with the ride though, I was initially concerned that the supplied spring rates would be too high (they're about 3-4x stock rates), but it's actually really reasonable. You can definitely tell that it's got higher rates, but it's not painful at all. Body roll, dive and squat are obviously much reduced, and it feels much more alive. I like it a lot.
Unfortunately the guy I usually take it to for alignments is in Nebraska for Nationals right now, so it may take a couple weeks til I can take it up to the mountains.


