
Jack finished the fan.
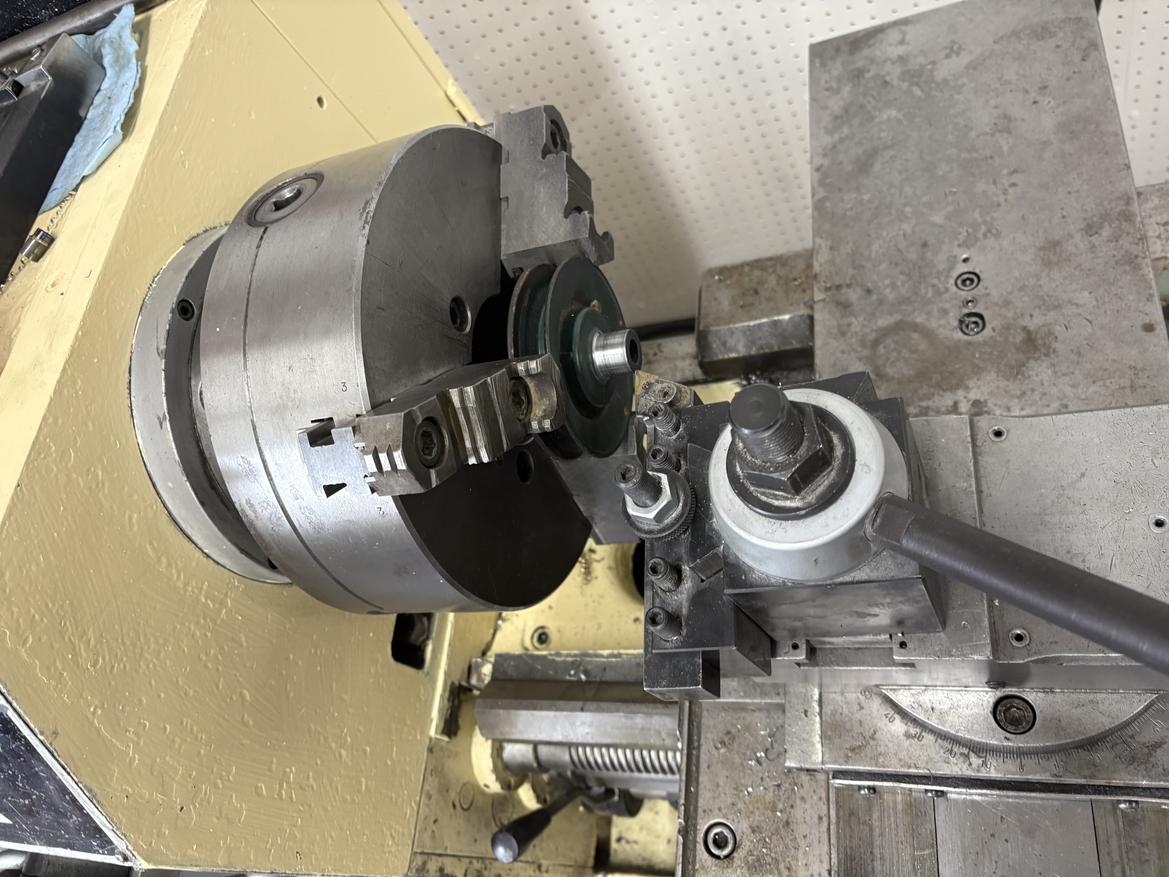
The water pump pulley is cast iron and pressed onto the water pump shaft, then pinned in place. Machining a whole new pulley with a fan mount would be a fair amount of work, so what many people do is press a fan adapter on the "nub" of the water pump pulley and then pin the fan adapter to the shaft was well. We decided to do the same thing--it's a little creepy, but this thing will rarely see more than about 2000 RPM, and it's working for other 'banger people. The first step was to true up the "nub" as it had a bit of a taper.
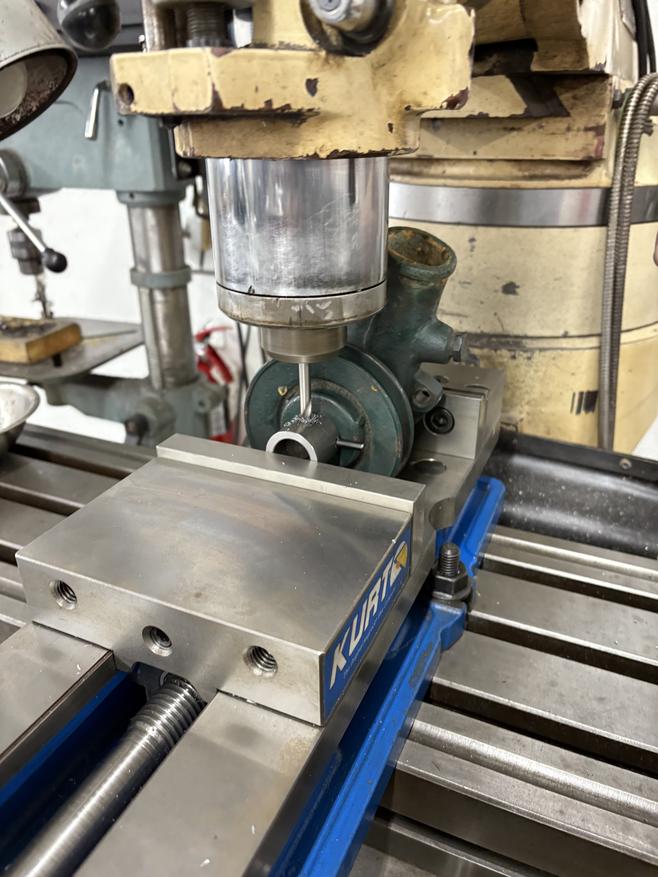
Next, Jack made the piece that presses on top and drilled it for the 2nd pin.
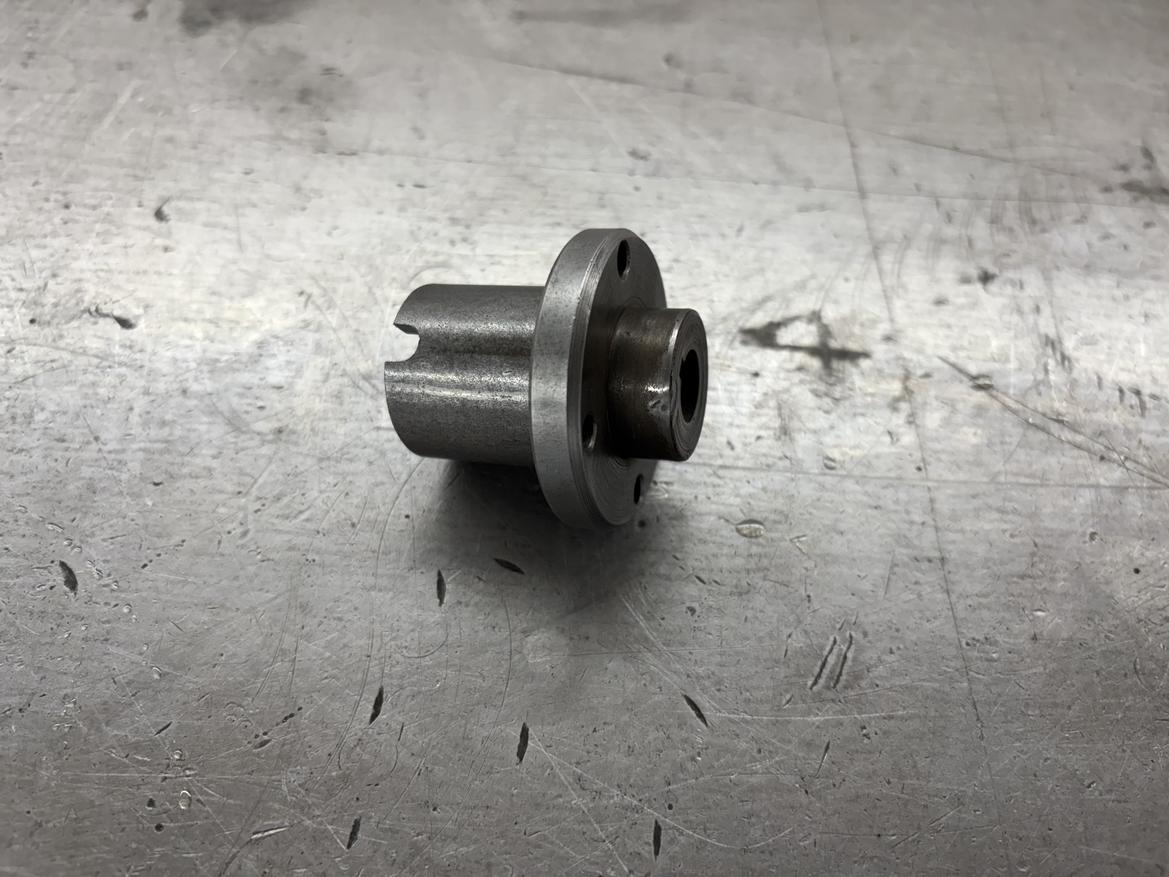
Rather than make the fan mount, he drilled out the fan mount from the original Model A fan and TIG welded it to the press-on piece. The welds are on the back side so don't show up in the picture.
Here's how it all looked before the pins were trimmed.
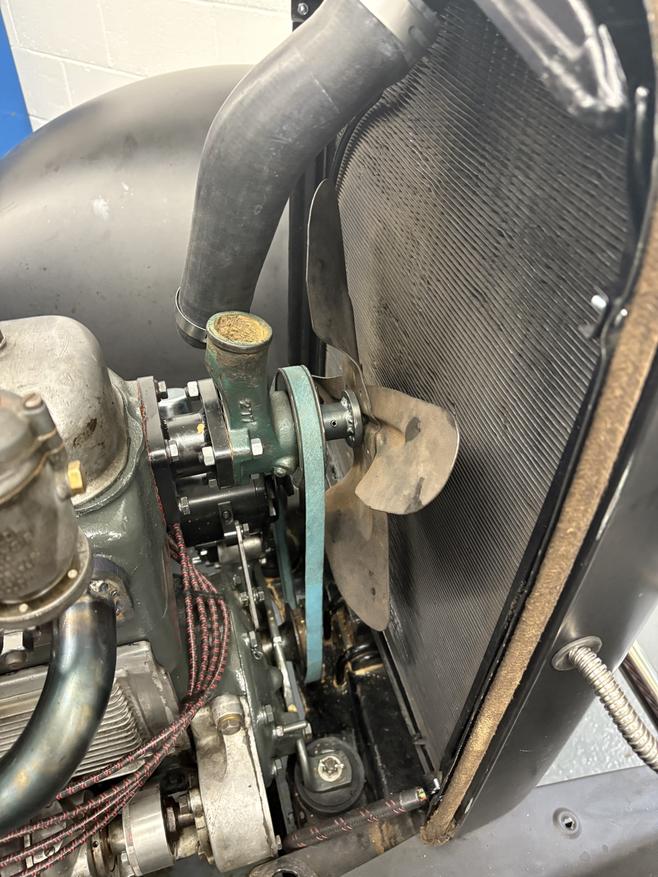
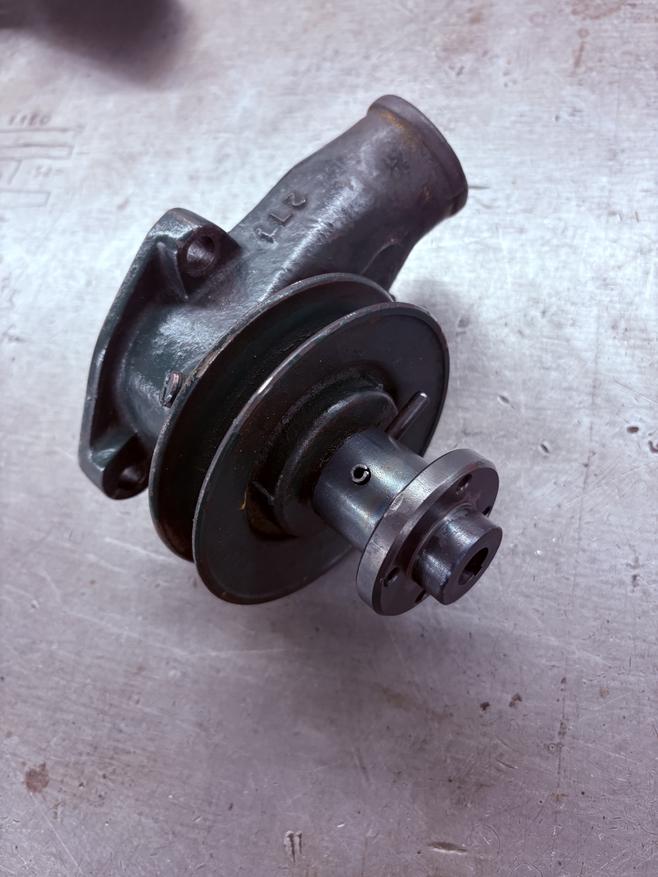
And here it is back on the engine. The welds are just barely visible on the back side of the fan mount. We chose to use 10-32 screws/locknuts to hold the fan on instead of the original 3/16" rivets. With rivets, we'd have to remove the radiator to get the fan etc. off. This way, things can come off with the radiator in place.
The rivets were only there for cheapness, not any kind of mechanical superiority so good riddance. Amazing how a relatively small but important aspect of the car consumes so much time.
Jerry From LA said:
The rivets were only there for cheapness, not any kind of mechanical superiority so good riddance. Amazing how a relatively small but important aspect of the car consumes so much time.
I'm not sure I'd agree about the cheapness part. They were hard rivets, which expand very tightly into their holes. Bolts/screws have some tolerance in the hole so we are concerned that the holes may oval over time.
I will agree that the little stuff takes most of the time. Most engine swaps I've done took longer to get the throttle to work properly than to mount the driveline.
Jack spent a lot of time the past few days fussing with the carbs to stop the minor leaks and seepage. There were multiple minor issues, with the the main one likely being too much fuel pressure from the electric pump. Rather than mess with one of those adjustable "regulators" made by Holley and others that are just needle valves, Jack made up a restrictor to put in the fuel line and it seems to have done the trick. It's still runs fatter than we'd like, but it's better. We took some nice test drives and decided that it was time to move it from Eclectic to the home shop.
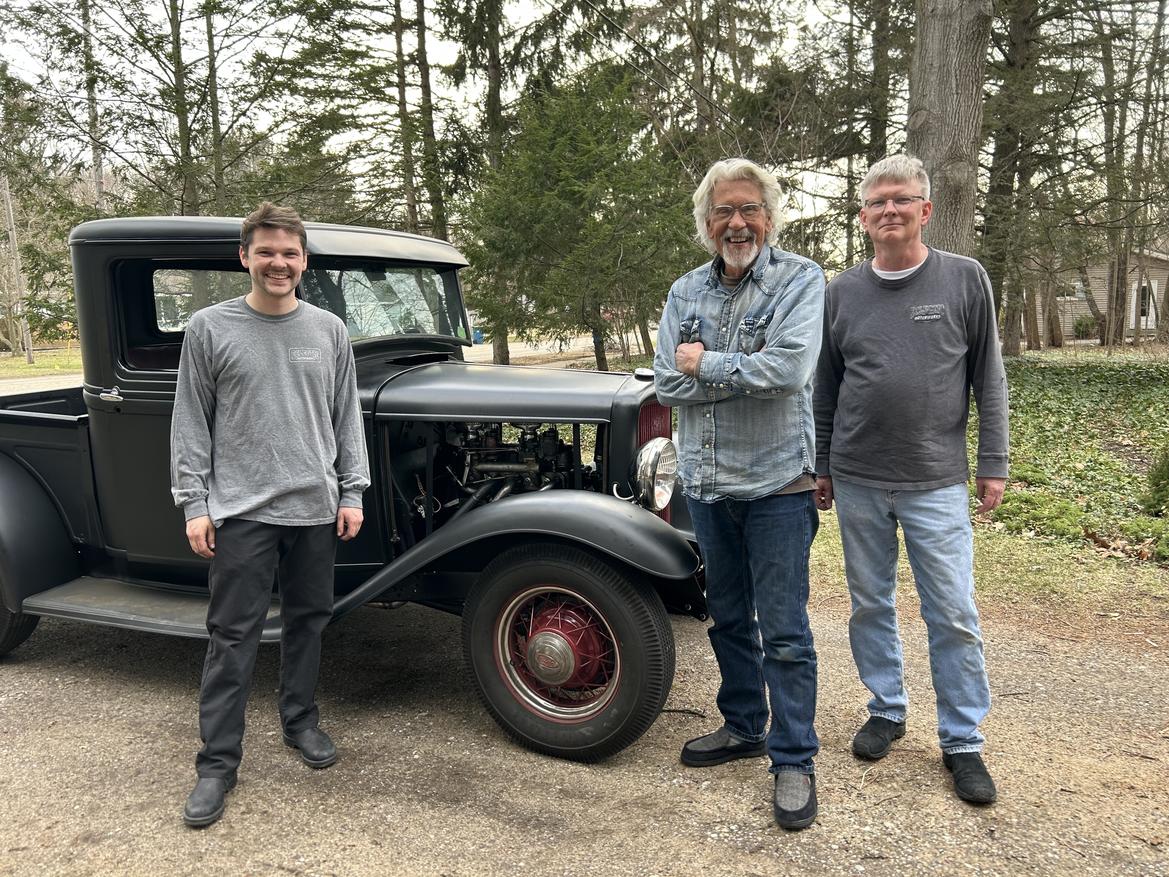
The home shop is a couple of miles from Eclectic and Nick's house is a couple of miles more. So we stopped to take Nick for a ride. He was all smiles and said it never ran that well when it was in his truck.
After that, we parked it in the home shop. We'll be driving and sorting for a little while, but we're feeling good.
And the exhaust note? It's pretty unique and fairly loud when the hammer goes down. At part throttle it's pretty docile. Mission accomplished there too.


