Progress!
Me: Hey, it's monday night, want to weld in a roll bar?
Me: Boy! Do I!
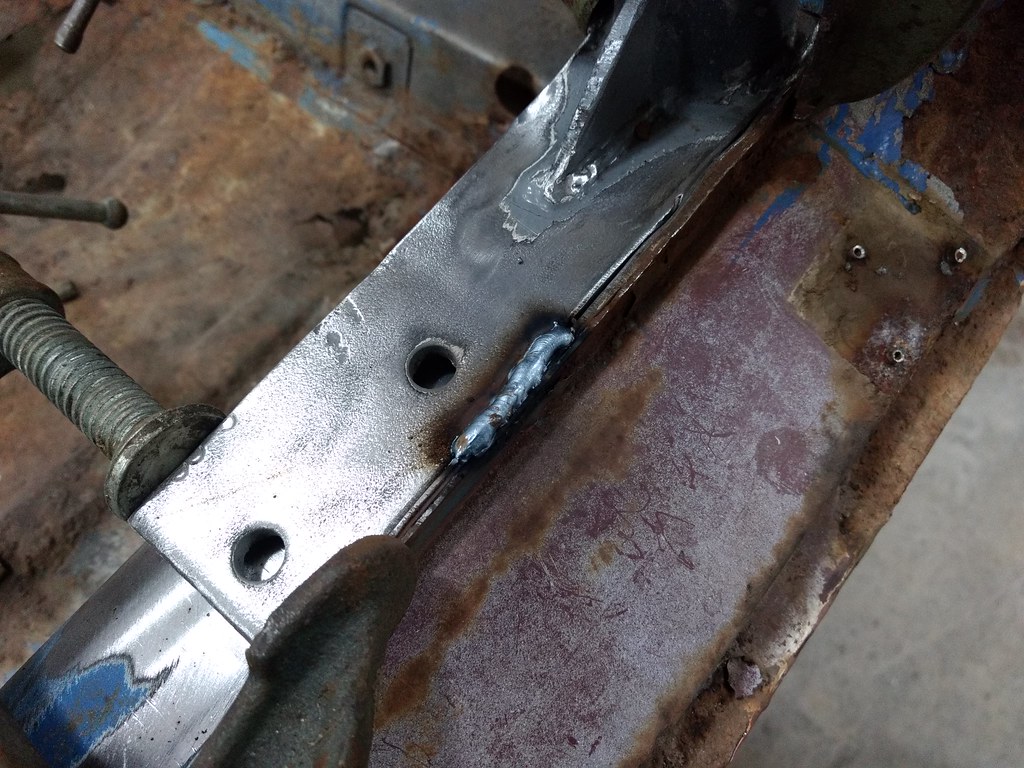
Clamp it in
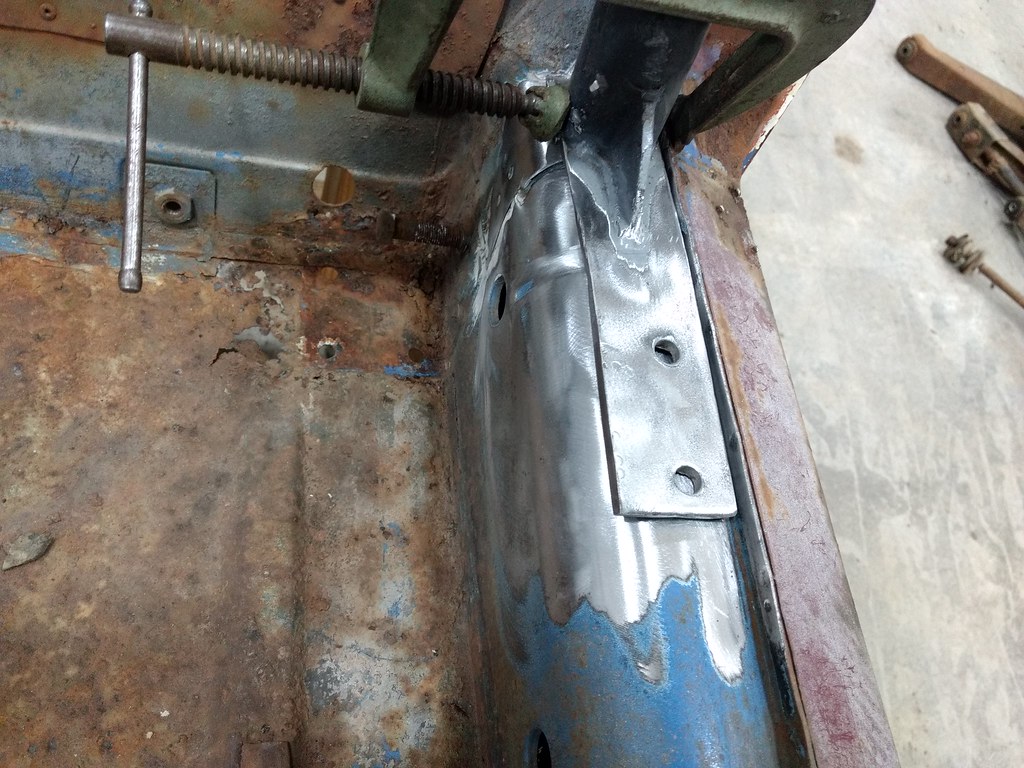
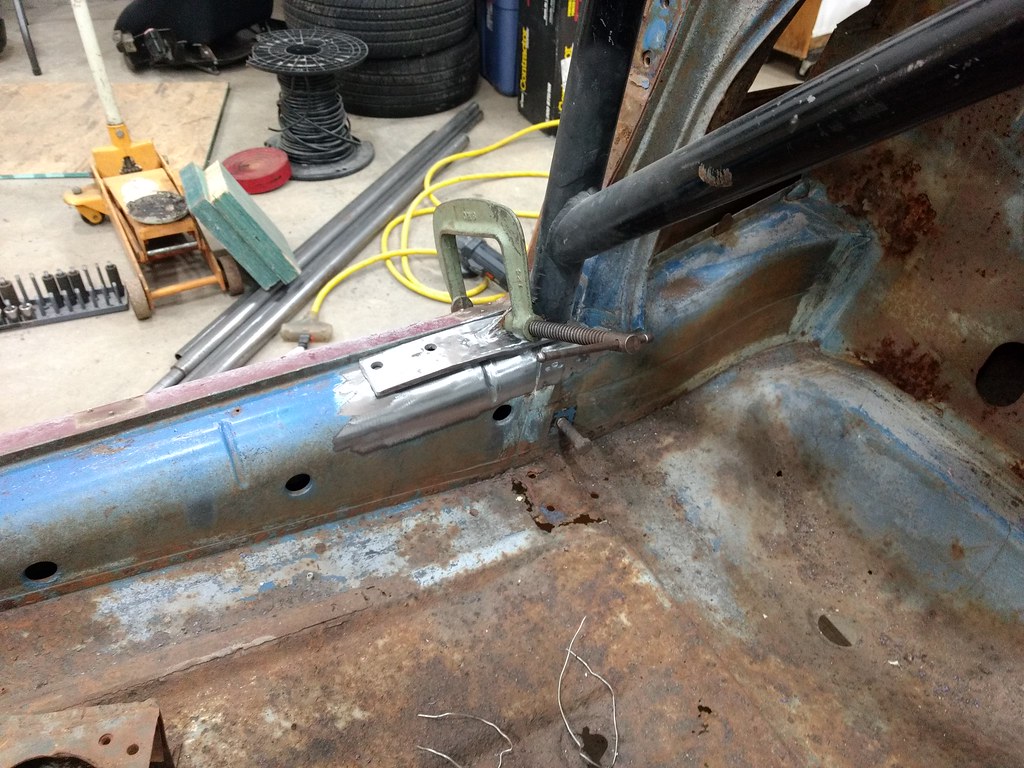
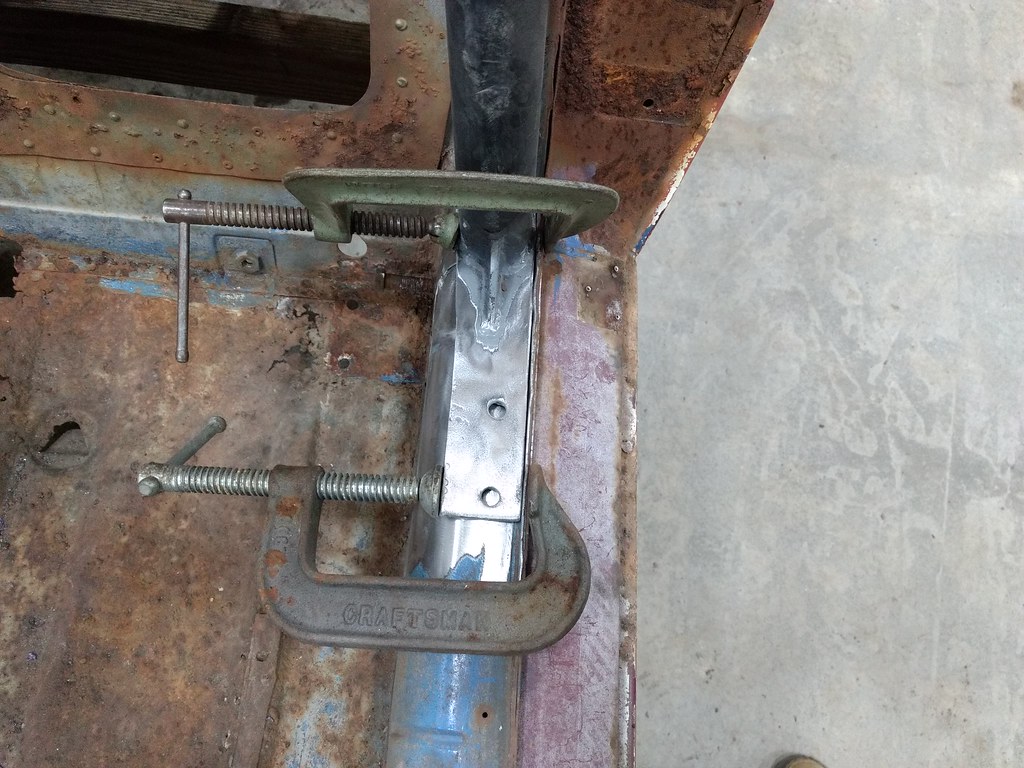
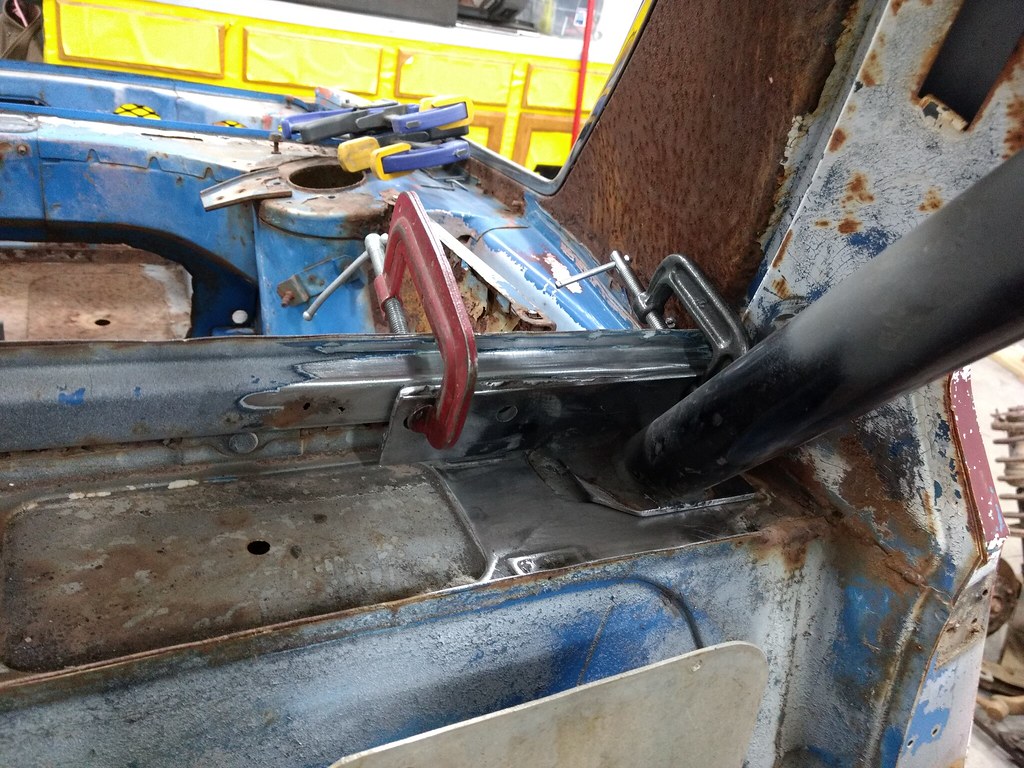
First bead ever on my MIG machine with actual gas... I've only ever used it as flux core before. This is much nicer!
Cleaned up with wire brush
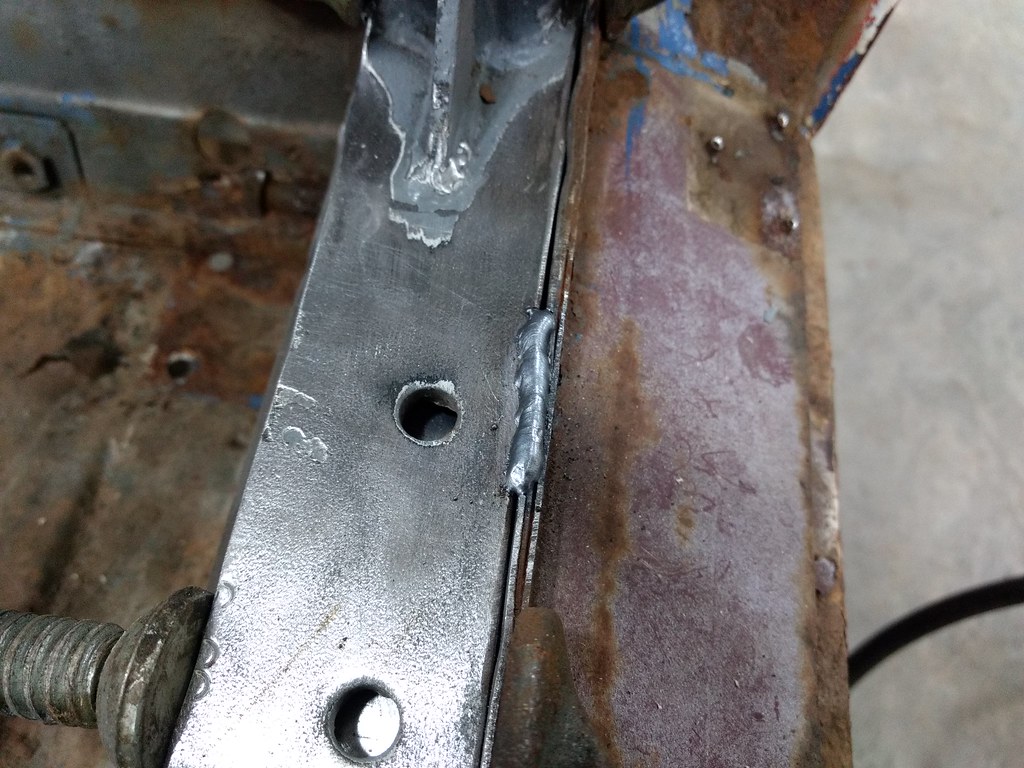
On with the welding shots. Some were good, others not so much, but hey, it's in for now!
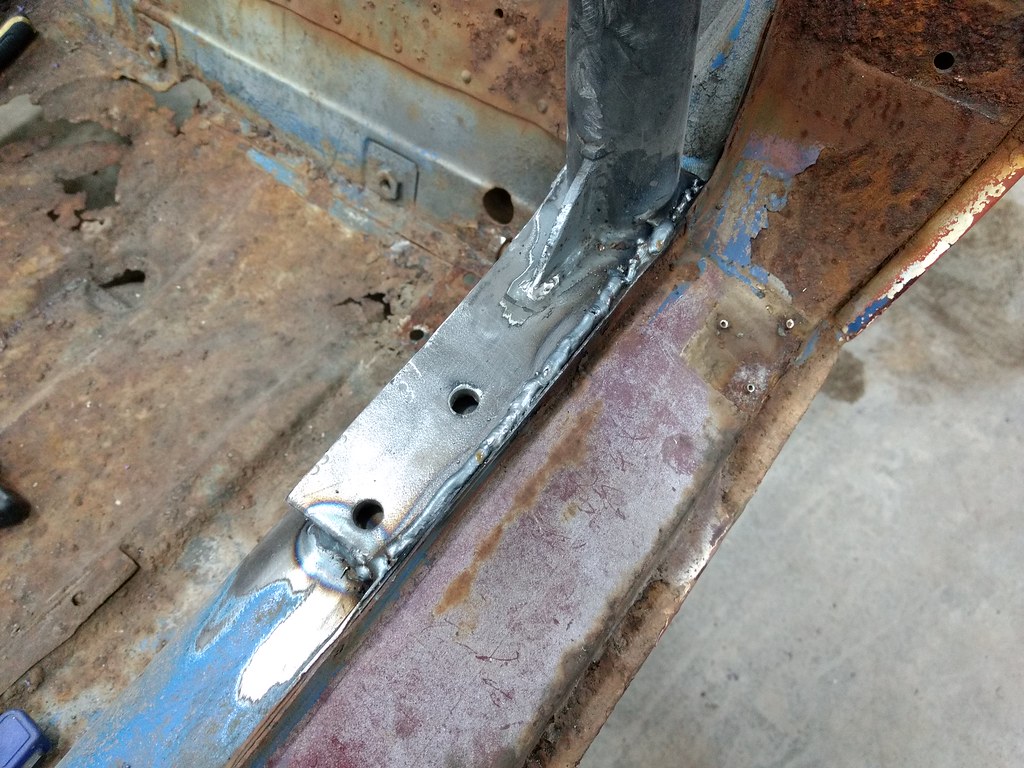
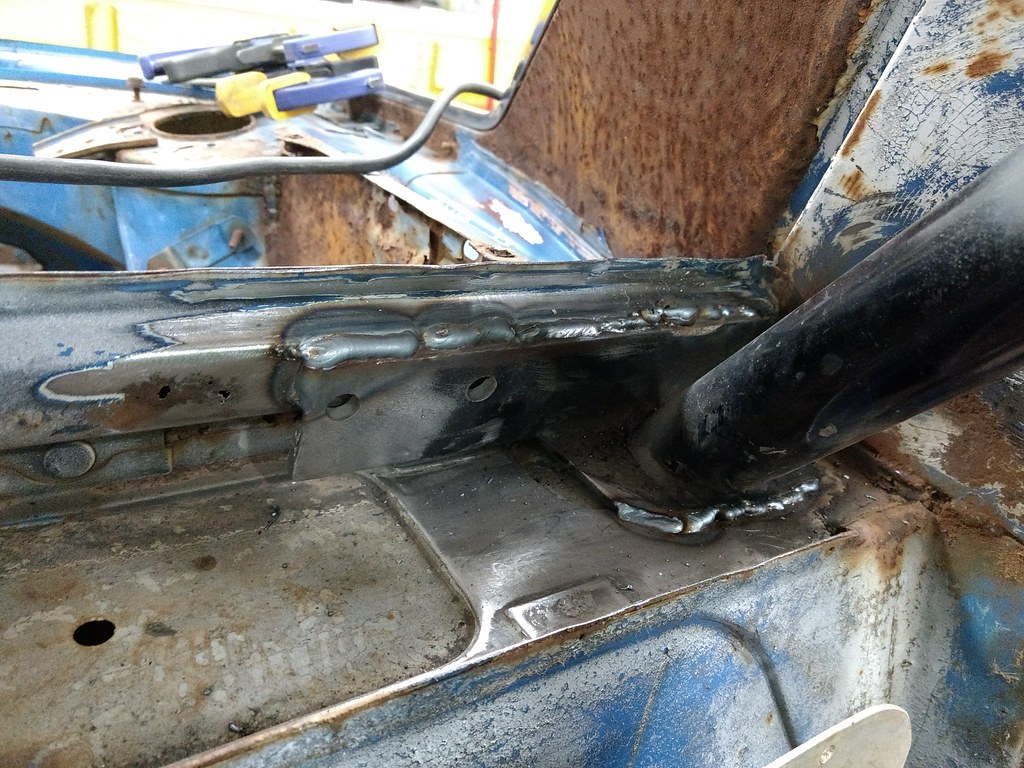
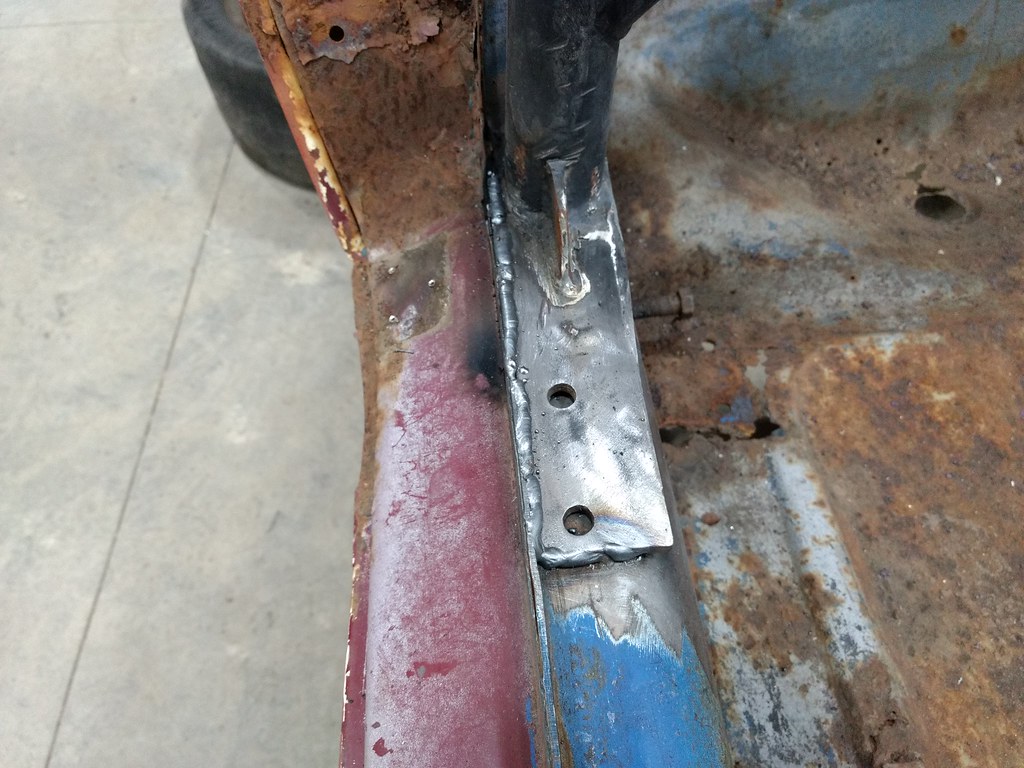
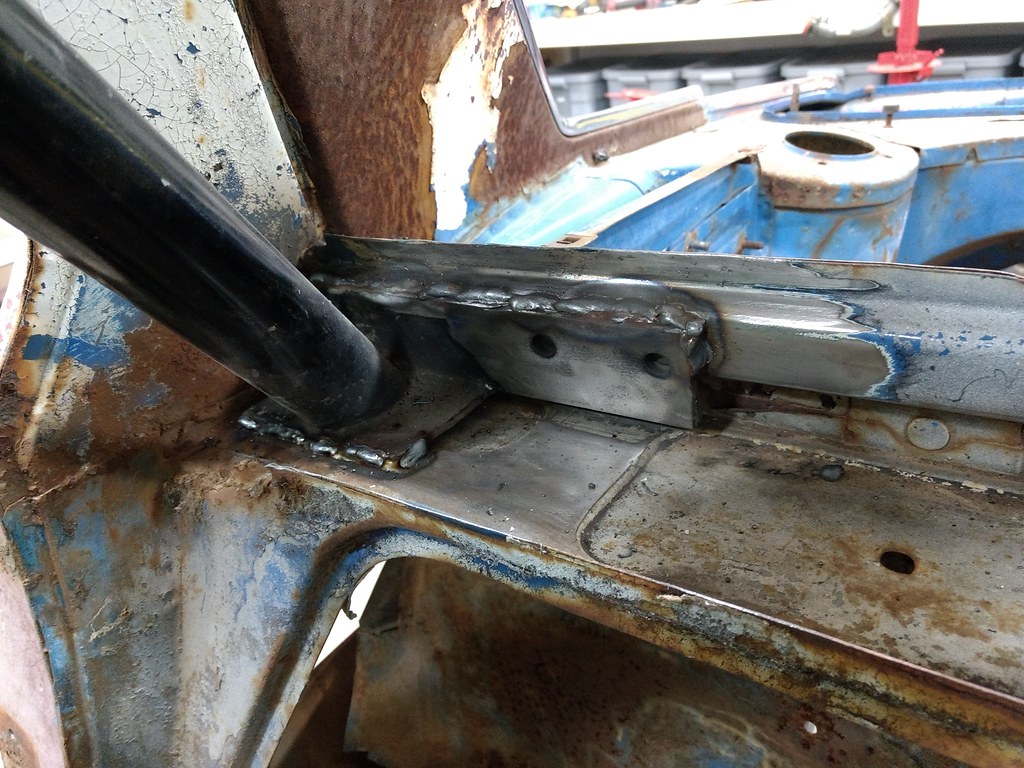
nice and straight
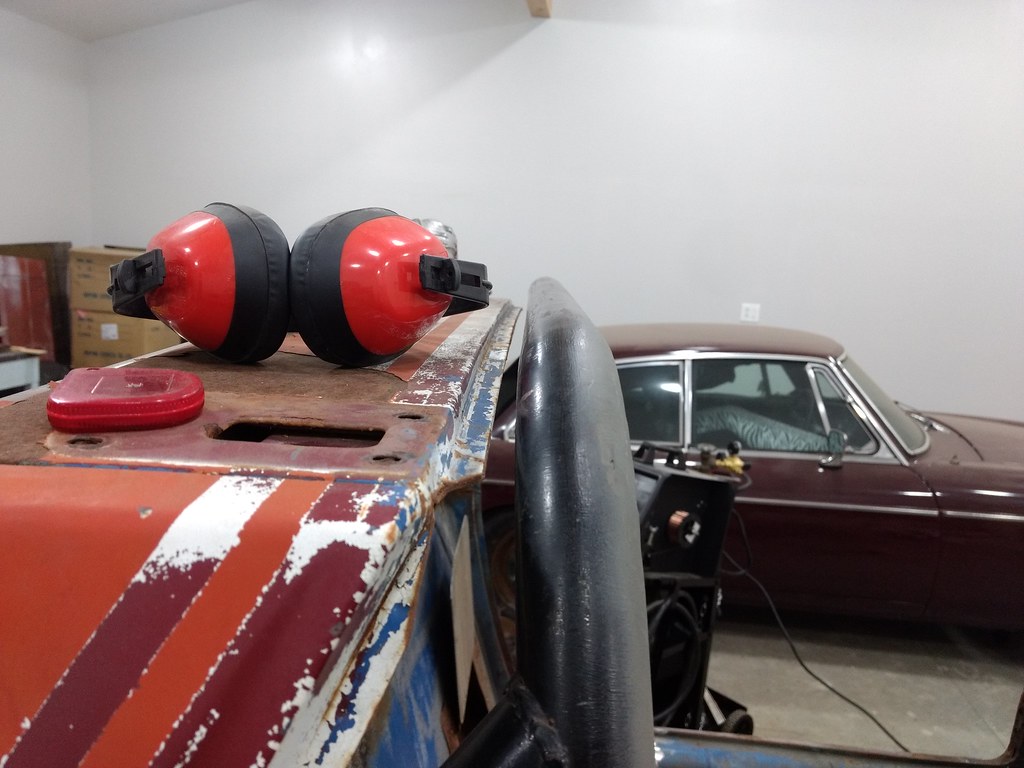
Job done!
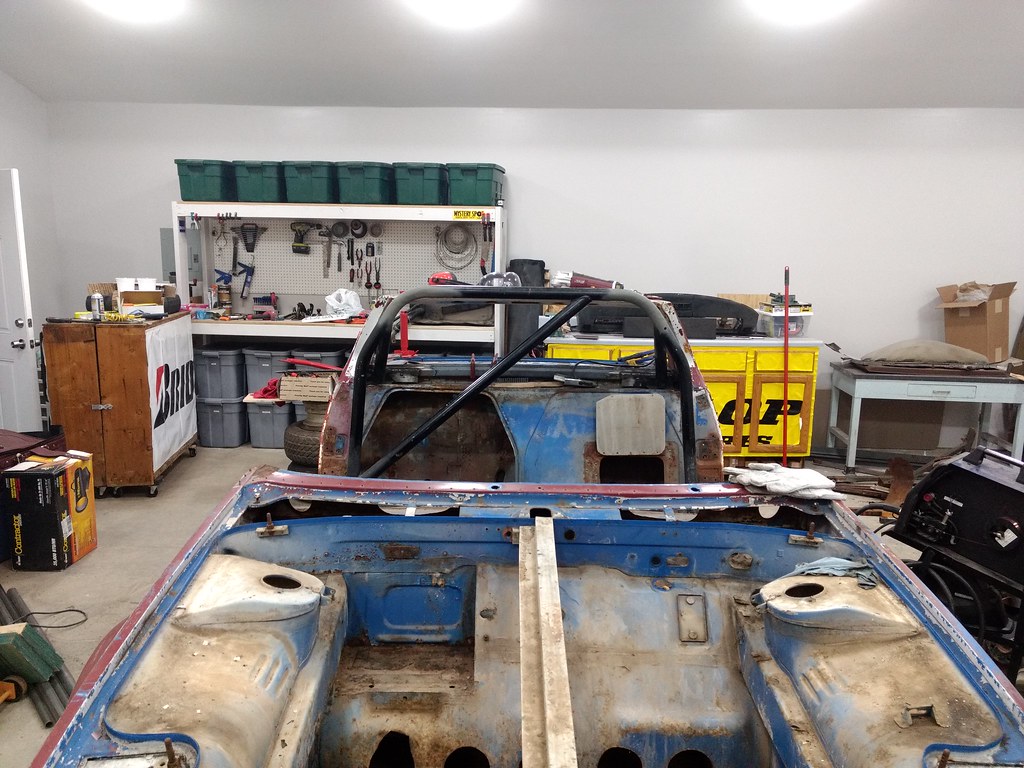
I'm next going to add some forward tubes that go down at an angle, just like the forward bar in the NHRA roll bar diagram. I'll do one on both sides though.

I also have to finish the inside sides of the weld plates for the base of the main roll hoop. The sill of the car bends away from the bar plate there so I will have to add a filler plate as the gap was much to big to weld.
Good looking welds man! keep it up.
My work craziness is about over so I can start working on my answer to this beauty.
Started on the forward bars:
And this has only taken me 1 hour to cut so far... With work still to go. I really need to practice my tube cutting skills.

In reply to Robbie :
I haven't done any tube notching yet, but have been researching and this guy has some pretty helpful info.
https://www.youtube.com/watch?v=mHBanmfn_CA
Reverse-
Stand alone starter motor and a driven gear on diff. To engage reverse, starter motor bendix throws starter gear out to engage diff gear, starter gear retracts out of the way when not in use.
Sorry if someone already posted this potential soluion
In reply to AWSX1686 :
I did watch that video a few weeks ago and tried to follow his method (which I think was 1/3 of the tube diameter). Still hard to make the cuts line up with my planned cut line.
I should watch the video again though.
Good progress today!
I got both side bars in, so I'm going to call the roll bar done for now.
I got much better at 'fishmouthing' the second tube. Hit it almost perfect on the second try. Some photos:


Commence work on real center seating setup:


here I split the console and mocked it up (flipped l to r and r to l) as is my current plan. Note gas pedal mounts to console side, and these will give some support back to dash bar.
Why would I cut the floor out of a perfectly good car?

Cut out the motor mount on the right side and made a crossbar (not welded in yet but that is likely the final position)

Started mocking up the engine cradle with wood (much easier to drill holes!)

Transfer templates

Test fit to motor

Test fit in car (looking good!)

Start lining er up


At this point we had a binky "tea break" except in the Midwest tea starts with "c" and ends with "oors light". Much discussion was had about what bolts in, what welds in, which direction mounts go, etc.
At one point, I took two measurements (which should have been equal) and exclaimed, "18 and 3/16, and 18 and 4/16; that's probably as close as it'll ever be". My engineer friend and my machinist friend could not stop laughing. I thought it was pretty good!
I've built lots of cages and to pass (unibody) they had to be welded to 6"X6" .125 plates welded on the floor. I'd bend them to fit the needed contour, but still 6"x6".
Early on, once drilled a 1 5/8 hole in 6"x6" floor plates to drop the cage down and weld the top of the cage. Then raised it up and welded the cage over the floor hole. Would not pass and had to grind out the plates and slide a complete 6"x6" under and reweld. It was a pain.
Love the car and hope this helps. T
In reply to Gasoline :
Yeah, I see the rules for the plates. The metal I used was .125 (or thicker on the main hoop), but not full 6x6. Fronts are about 3x6 and rears are 2.5x8 or something, but they are as wide as possible while staying on top of the sill. I am probably going to add in the rest but it will be vertical.
Also, I'm not making a full cage and trying to stick with just the rules for a roll bar, I think both scca and nhra make a distinction and roll bars are significantly less specific.
Mock up motor mounts

Tack and remove for more welding

Back in car to check fit


Spent a lot of time fabbing rear brackets only to realize they won't work, so grabbed some zip ties.

Motor hangs!

Headers almost fit (a little contact with the oil pan made for cars):

But front fit is great!


Looking at the welds. Not that I expect them to fall apart, but just for E36 M3s and giggles, try experimenting with a bit more heat or a bit less wire feed.
Do a test weld on a piece of scrap tube, just run a 4" long bead along the length and then cut the tube so that you can see the backside of the beads. Your bead should be pretty apparent from the backside, if not, add more heat.
Pete
The header looks well within the "dent with a hammer " range. And as roadkill taught me, the dent dont decrease power.
NOHOME said:Looking at the welds. Not that I expect them to fall apart, but just for E36 M3s and giggles, try experimenting with a bit more heat or a bit less wire feed.
Do a test weld on a piece of scrap tube, just run a 4" long bead along the length and then cut the tube so that you can see the backside of the beads. Your bead should be pretty apparent from the backside, if not, add more heat.
Pete
Thanks! Yes, I do need to experiment a bit, I am not an experienced welder by any means. I am also having issues with my helmet, I think it is set a bit too dark. As soon as the weld starts, I have trouble seeing the joint, so often I found myself 'welding off the road'. I can try to grab a picture, but I do see heat penetration through the back, even on just the tacks.
Dusterbd13 said:The header looks well within the "dent with a hammer " range. And as roadkill taught me, the dent dont decrease power.
I agree! however, these headers are titanium (stock GSXR woohoo!) and they are FREAKING HARD to dent. You can see some dents in the front from me cranking the primaries down in my vice as hard as I could. I have also been able to make small dents with a 3 lb hammer...
The other problem is one dent needs to be right at a welded joint where two primaries 'y' together, and I think that will be the hardest place to dent. I was thinking of trying to bend the whole header down a bit would be the best solution, but when I got it cranked into my vice I started busting the vice out of the benchtop. I really need to get my better vice mounted to something really solid and try again. The vice im currently using is the one I have mounted to a mobile woodworking bench - it's not optimal.
Couldn't you bolt the headers to some scrap or a large workbench and then just bend the whole thing down 1/2"?
BirgerBuilder said:Couldn't you bolt the headers to some scrap or a large workbench and then just bend the whole thing down 1/2"?
That's what I'm hoping to do, but it is proving much harder than I anticipated. I think the titanium might have something to do with this ;)
Heat. You're a yankee. You have a torch.
Heat it and beat it. We used a harbor freight weed burner hooked to mapp gas for bending headers in the amc. (Ain't asking how dallas pulled that off. Im pretty sure it wiuld have been categorized as a weapon of mass destruction)
Another option would be to hild the header down with a car, use jack on the collector to bend. Use a heavy car. Probably have to have two jacks. Lift car with one. Place collector on the second, locate bend point under ture and position jack amd header accordingly. Lower car onto header. Use jack under the collector to adjust angle if the dangle.
Robbie, you gotta redneck MacGyver some E36 M3 up sometimes.....
You'll need to log in to post.