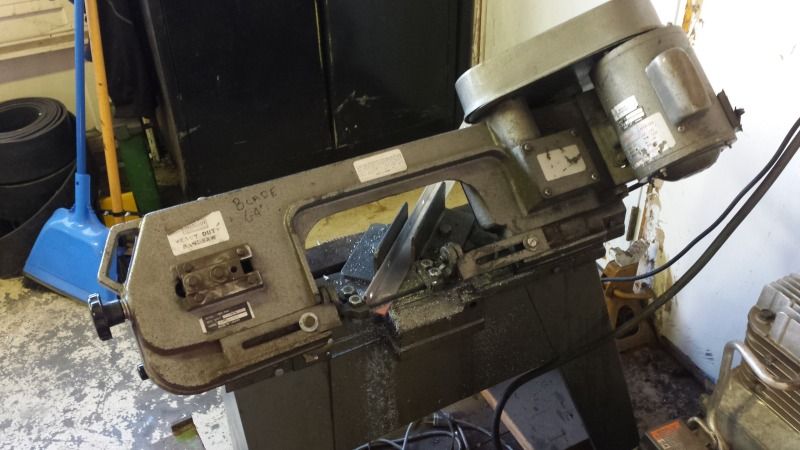
In reply to nocones: just know that this is my first flat 4 rebuild so if I do anything stupid feel free to disregard the info 
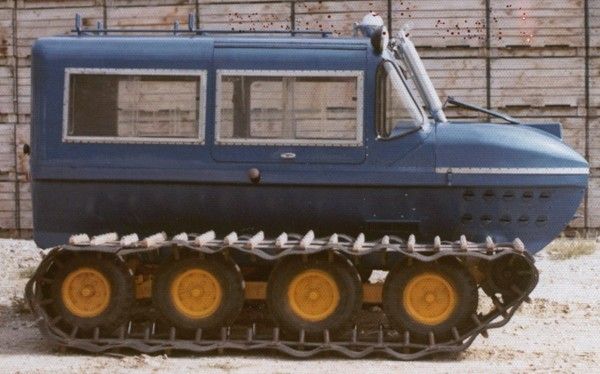
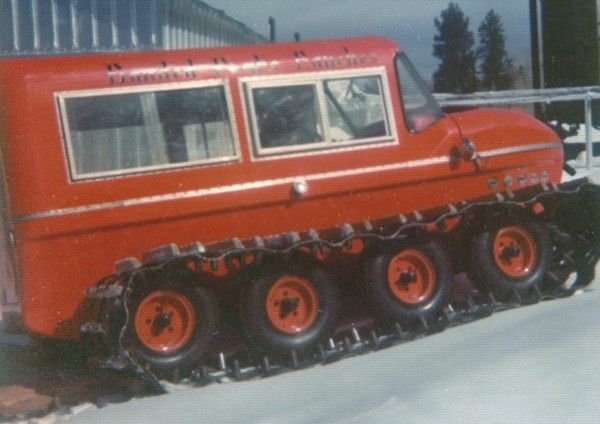
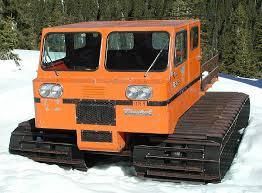
In reply to Kenny_McCormic: it's a mechanical transmission with a tractor differential that has 2 bands used as brakes, one for each side. I'm sure someone on here could explain it better with the right descriptive terms but yeah. It's essentially a fiberglass square back with a tractor transmission and ski lift suspension 
In reply to Troglodyte:
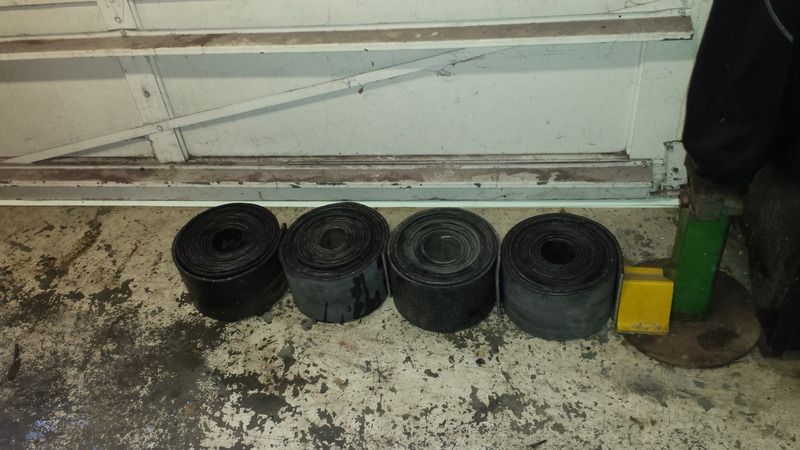
I have looked over the rubber belting and while it is definitely gross and dirty, it seems to be in fair shape. No dry rotting or cracks. Just covered in dirt and a little oil on some spots. It's a little thicker than what was on the machine last and conforms to all the requirements listed in the track plans. After getting all the drive belts out of one roll, and I have 2 rolls of each size, I bet I have enough to make 2 full sets of track belts. I wish it was new, clean belting but hey, it was free.
Got the floatation belts all cut today. I also wasted a bunch of time scrubbing them clean in hopes that the rest of the process will be easier if it's cleaner.
If I do it again I'll just buy it cut to size  My hands still hurt
Cleaning is inspection,time well spent. What will you splce the belt with?
I like the alligator lacing style best because I can install it with a hammer on the trail if needed. That's most likely what I will go with
Inventory day
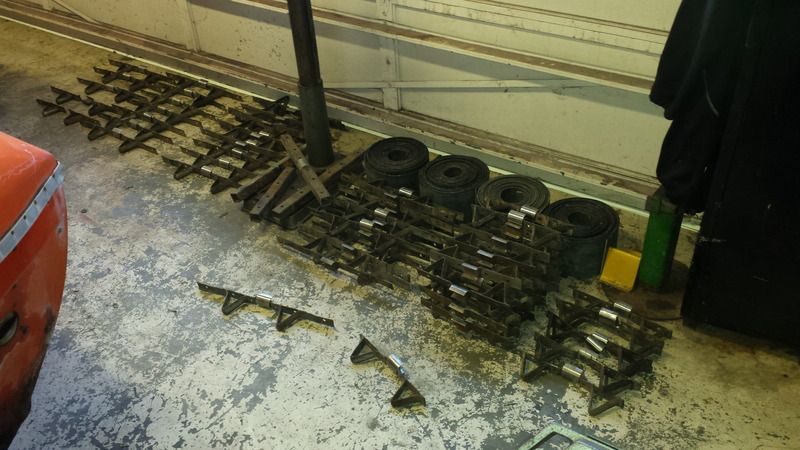
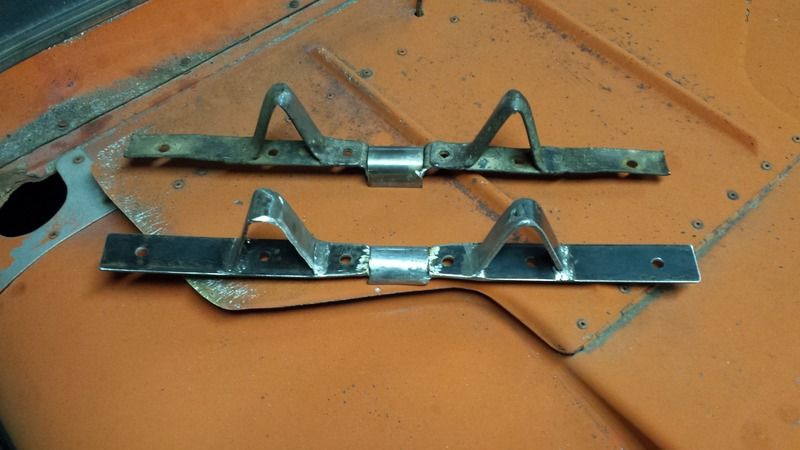
I went thru and straightened every long guide and a few short ones but I've got a day of welding ahead of me tomorrow. Over half the long ones are cracked or broken in 2 along with a few shorties. I was worried I might have to make some from scratch when I found the drilled square tube (sitting on the drill press) but I should have just enough once they are all whole again.
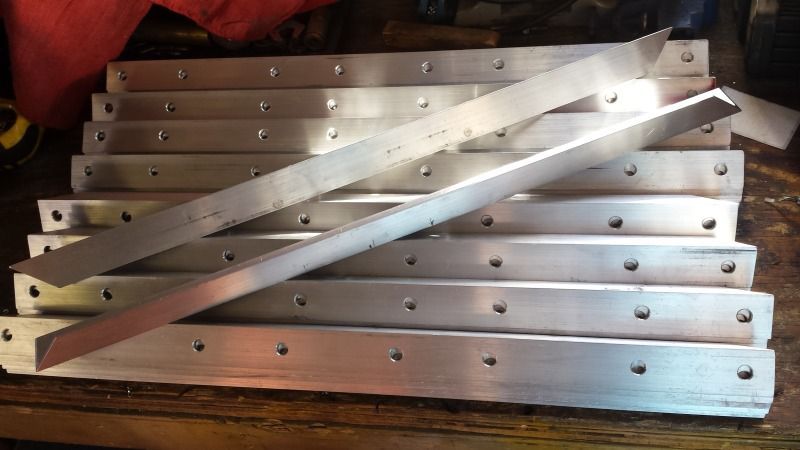
 I have enough cheap wood to do the original style wooden cleats with a metal bottom plate (not pictured) but I still think billit angle will be better. Going to get a price tomorrow.
I love this! We really do have to meet up one day...
In reply to sobe_death: if you want to come ride with us your more than welcome.
My plan is to have it on the snow this season. I'd like to do a shake down test on the Grand Mesa because it's close, flat and high elevation. Then if it all goes decent we will likely take it to camp hale for some actual backcountry riding. How far are you from leadville? 
I agree the aluminum is better, but I think the wood has an advantage if you ever get to rocky sections or pavement. It will give a a little unlike the aluminum. If you will be in deep snow only aluminum is the way to go.
In reply to 2K4Kcsq:
I live in Denver, but regularly drive up and stay in Breckenridge so not too far from Leadville most weekends. The main thing is I need some backcountry gear 

In reply to java230: the thought has crossed my mind about the ride quality. But I feel like that and price are the only pros in the column.
Did some welding yesterday. Only 2 guides left to fix and I will need a little material first.
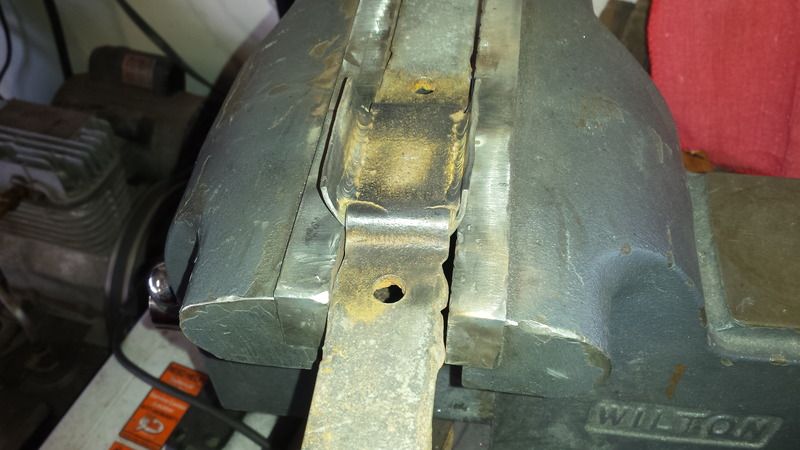
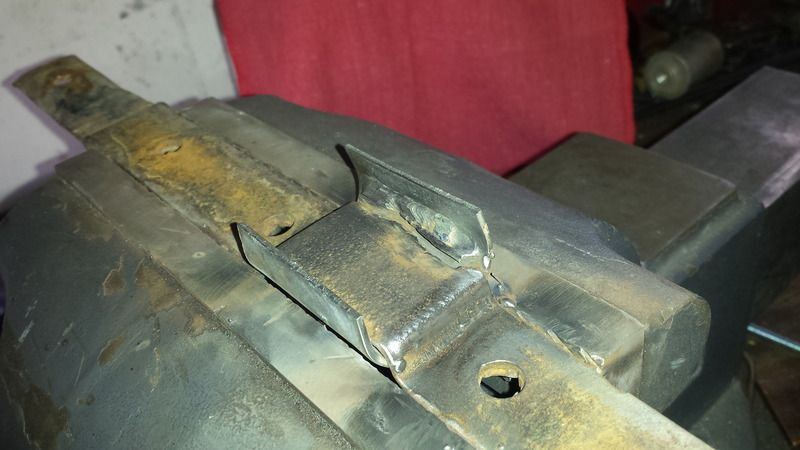
I noticed as I was fixing the broken ones that if I add 4 tac welds on each guide near the failure point it adds a lot of strength and stiffens them quite a bit So I will be doing that to all the good ones aswell.
This combined with a stronger cleat is how I'm trying to avoid track issues in the future, which brings me to my next problem. . . I call it Kristi Curtains
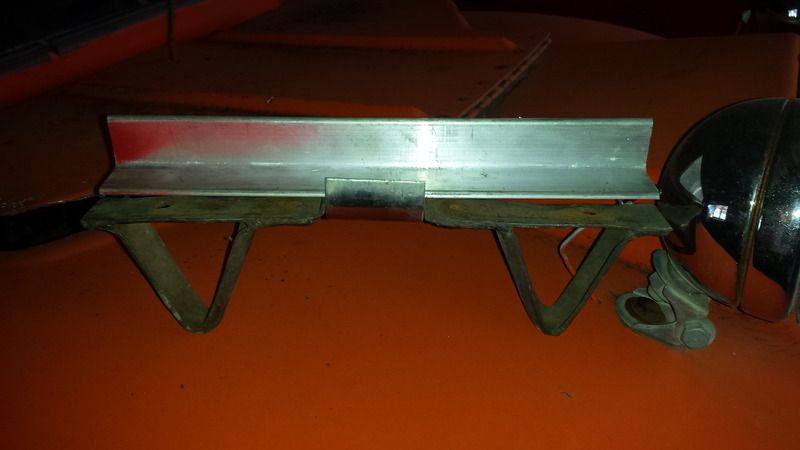
They may or may not have designed them like this for flexibility and more float but I hate how the outer belts are only held on with one bolt every other guide/cleat. Even on refurbished running machines they look like they are falling apart. I think I will extend the long cleat all the way to the end of the float belts like a more modern track seen here
if the tracks don't wrinkle I will be happier
2K4Kcsq
HalfDork
1/13/16 10:18 a.m.
I lied. Counted guides again after fixing all the broken ones and I am 1 long one short but I did pick up all my 1.25" angle for the restomod tracks.
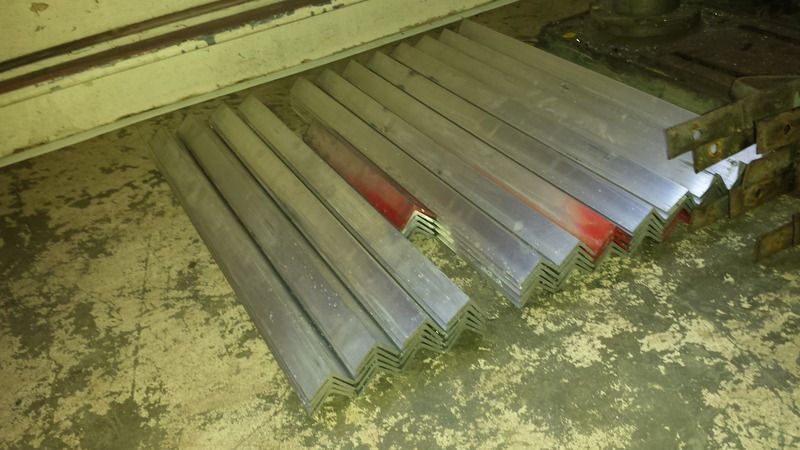 The stacks on the left still need cut in half
125' turned out to be exactly what I needed to get 84 pcs. 42 24" long and 42 12" long. I was supposed to be short a few pieces but the 5 sections of drop came out to 11.25" I can live with a few being 3/4in short.
Today im planning on "seam welding" all the remaining never broken guides and then I get to make one completely from scratch. Should be fun.
Sweet! Hopefully the aluminum helps keep the guides from cracking again also.
In reply to java230: I was thinking the same thing. Taking my time to make sure everything fits together tight. Hopefully less movement will prevent future cracking along with the stiffer aluminum backbone
2K4Kcsq
HalfDork
1/14/16 10:51 p.m.
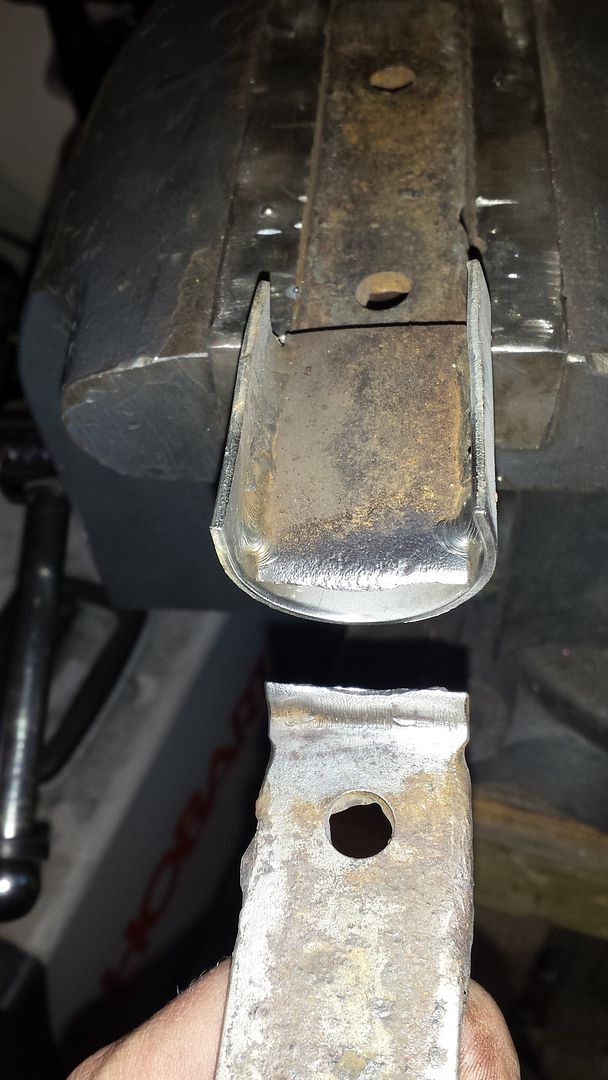
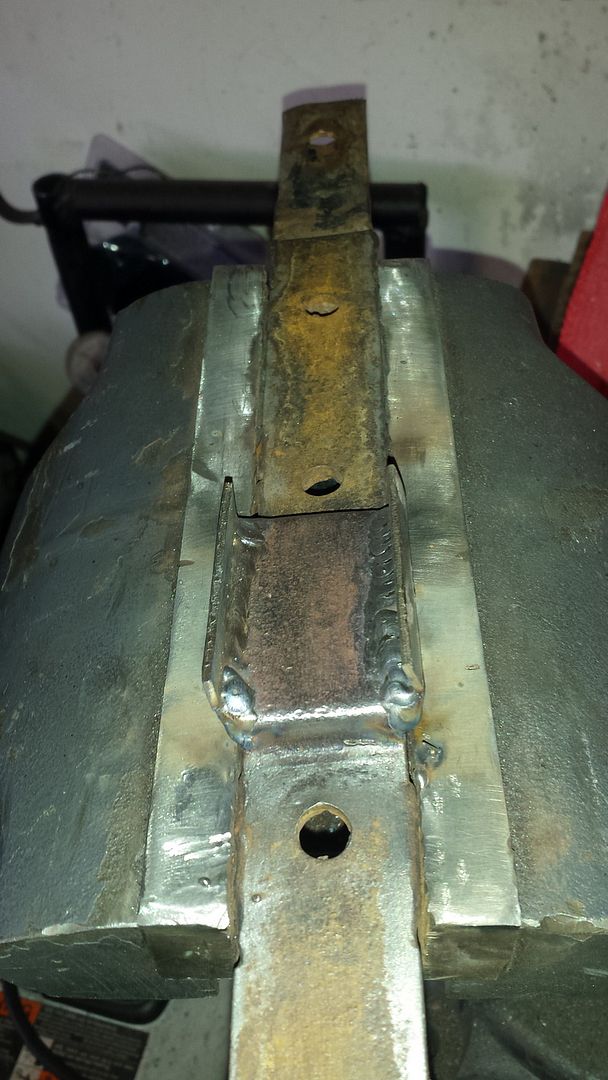
3 solid work days of welding and grinding. Guides are finally ready for blasting & powder coating
Here is my built from scratch guide next to an original. Not pretty but it should function.
looks awesome jay. getting stuff done!

NOHOME
PowerDork
1/15/16 5:56 p.m.
That is a E36 M3load of work!
2K4Kcsq
HalfDork
1/15/16 10:14 p.m.
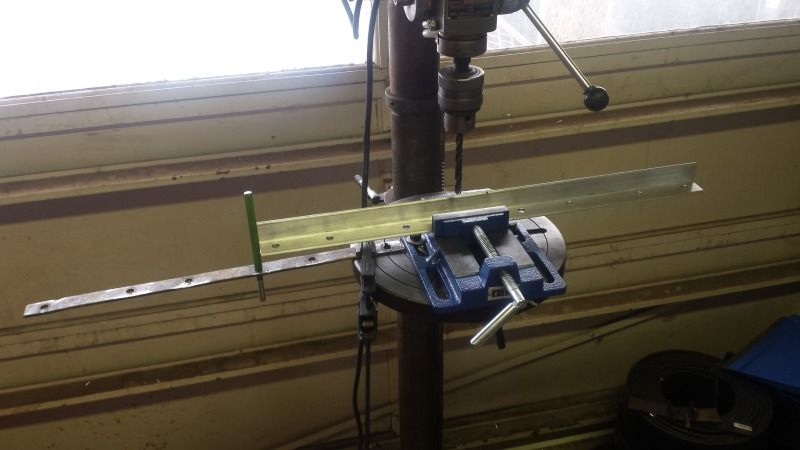
Cut, drilled and deburred the short cleats today. Used a basic work stop setup on my drill press to streamline the whole thing. Worked out well.

I'll have to get more creative for the 24 inch 8 hole version 
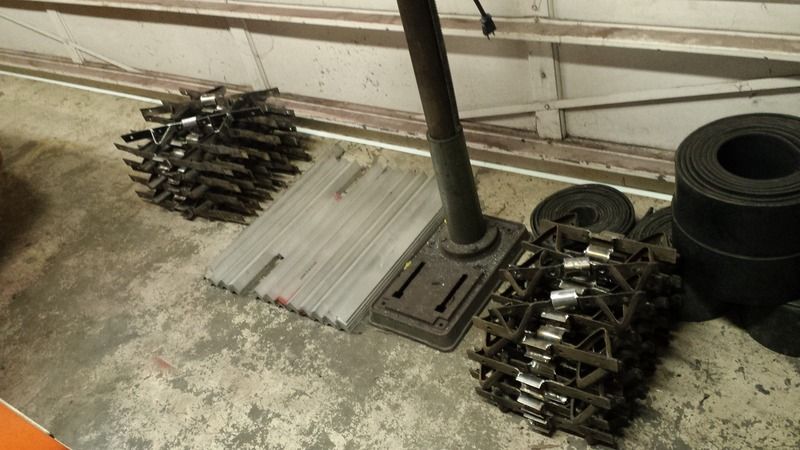
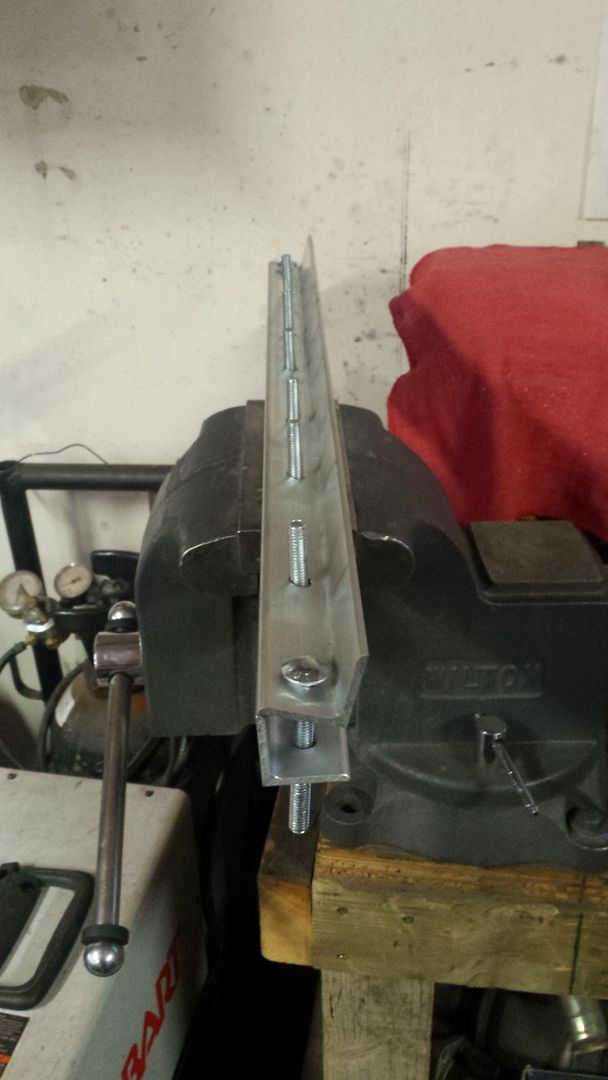
I believe the cleats are finally done. Over 600 holes drilled and 120 something cuts made. This was a pretty big manufacturing project for one person. even for me.
8 hole work stop
Quality control

Engine parts are beginning to arrive. Still waiting on the main pieces.

tuna55
MegaDork
1/21/16 10:51 p.m.
Weirdest build ever. Love it!
your quality control is on point!

java230
HalfDork
1/22/16 11:12 a.m.
Sweet!! Cant wait to see them bolted together. Did you count how many bolts you would have to put in yet?
2K4Kcsq wrote:
Engine parts are beginning to arrive. Still waiting on the main pieces.
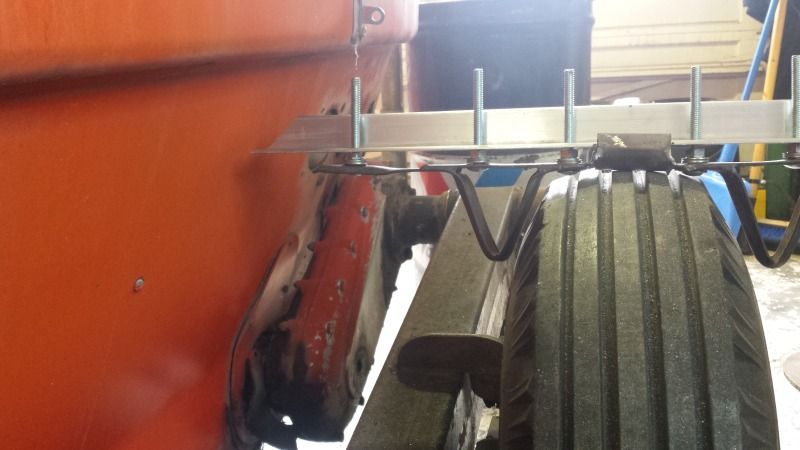
maybe its just the angle of the picture but it looks like that piece might be a little close to the body and if the tread flexes to the side at all it may contact it?
2K4Kcsq
HalfDork
1/23/16 10:00 a.m.
In reply to edizzle89: it looks worse than it is but the main reason I did the angle cuts was because of that. It has over an inch of room with the guide aginst the tire and that clearance is only tight when the ride height is bottomed out. Should clear but I will know for sure once they are put together and on.
In reply to java230: just over 500 5/16 carriage bolts are needed. Got a sweet closeout deal on those and locknuts from the fastenal website. Just need to get washers.
Just came across this forum. Very cool! I am in the process of becoming the proud new owner of a 61' KT-3 and looks like i'm going places you've been to. I will become more active here once i have the Kristi on site. I like the aluminum angle approach. Are you planning to run this Kristi on snow exclusively? I wonder about the durability of the aluminum if you encounter dirt/rocky terrain.
In reply to mountainben: that's awesome man. Been waiting for another Kristi owner to come along. I am a bit curious myself how the tracks will hold up on thin rocky terrain. But I still think it will be more durable than the factory wood pieces. Also the corrigated steel trailer might be hard on them. I may line it with some extra belting that I made the tracks out of.


