mad_machine
mad_machine MegaDork
8/9/16 4:55 p.m.

I grew up around the water. Rota Spain is a major naval base on the med where I was born, from there we moved to Ocean City NJ when my father was re-stationed to Lakehurst before finally being discharged due to medical reasons from the Philadelphia Naval Hospital in 1975.

Growing up in Ocean City, the beach was 5 blocks in one direction, and the back bays 3 in the other. Often times in the spring and summer, the two would meet in our front yard, so it is of no surprise that I have a affinity of Salt Water.

FastForward a few years and I started to row competitively for my High School. I never did well due to my own issues with Crohnes Disease, but I enjoyed being on the water in a very slender and very fragile human powered boat. It was much different from the sailing and power boats I have been on before that.

So fast-forwards again and I am in my 40s and starting to build up more fat than muscle. It just sorta creeps up on you, especially when the food they feed you at work is high in all the stuff you shouldn't be eating... and lo and behold I find "Chesapeake Light Craft" on the internet and discover that I can either buy their kits or just buy the plans for their extensive inventory of kayaks, rowing vessels, and sailboats.

So, $100 later and I have the plans to the Expedition Wherry in my hands. While I could have saved myself time and bought the kit, I am cheap and this is GRM. I discovered from visiting CLC that they get their wood from a place here in NJ. I also know that my local mill has much of the same wood, so I assume that they both get it from the same place.

the kit for the Wherry comes in at $1300.. including the price of the plans, I am now $600 into this. That includes wood, plans, and epoxy.. but no paint. Even with the kit, the oars and sliding seat mechanism are extra (and cost almost as much as the kit itself). So all told, I am way ahead of the game and it allows me to make a few changes to the design.

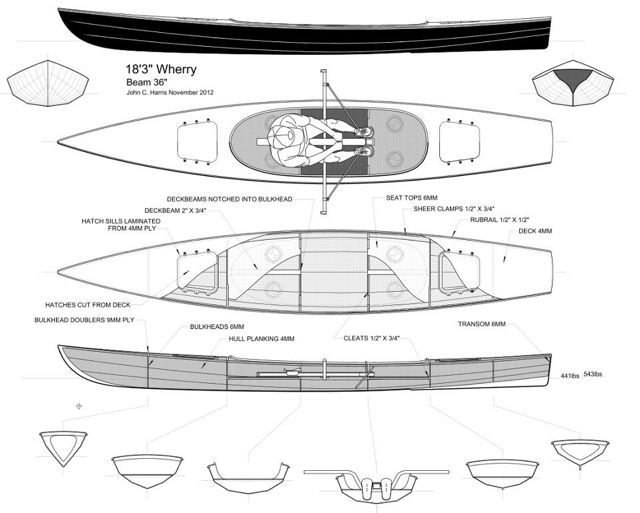
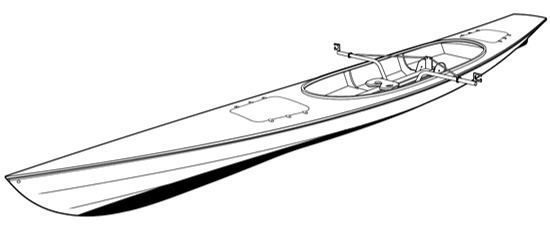
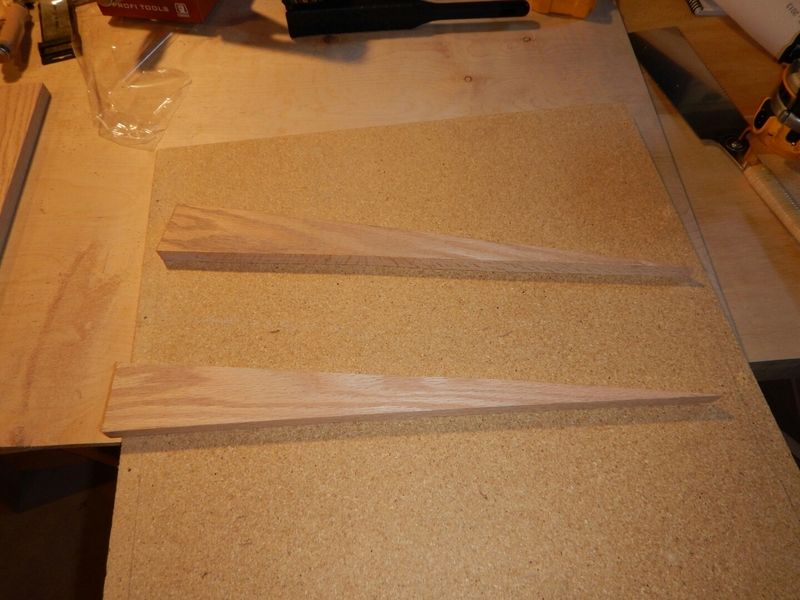
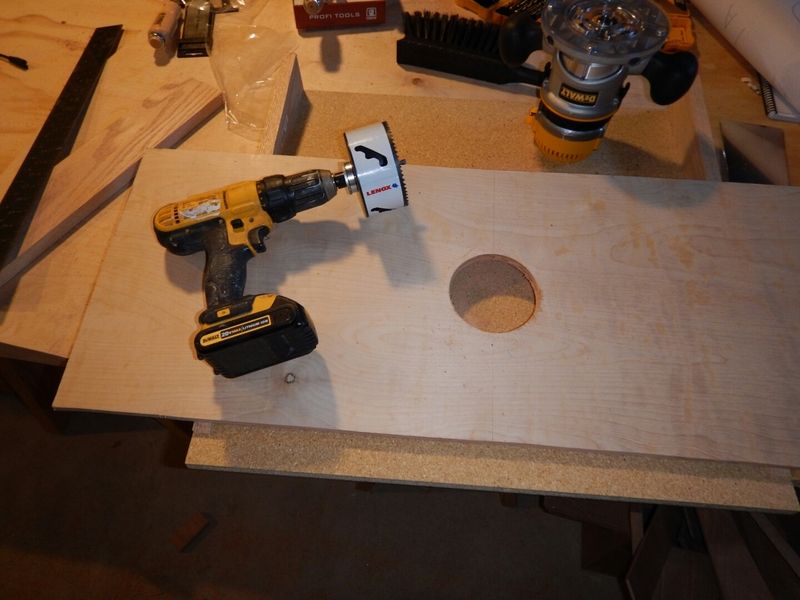
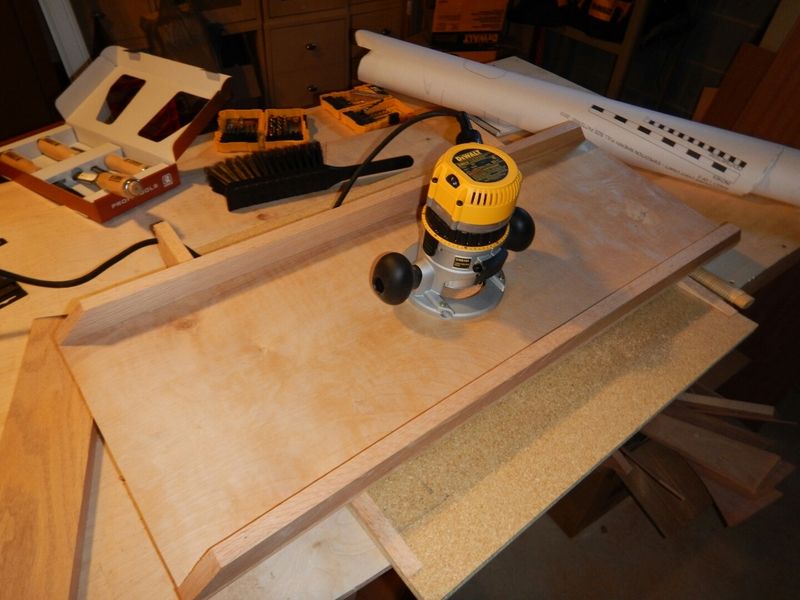
So.. the Expedition Wherry: This is an 18 foot long decked rowboat that appears to be the bastard child of a recreational shell and a Kayak. It is wider and has more freeboard than a shell, it also carries more weight and has storage that a shell lacks. On that same token, it is heavier and narrower than many kayaks. It can also not be rolled like a kayak. For some it would be the worst of both worlds, or to other the best. I personally like a rowing craft that can take some chop and might allow me to do some "camp cruising"

ultraclyde
ultraclyde UberDork
8/9/16 6:26 p.m.

looks very cool. I love boats that are kind of odd because they're very utility focused.

mad_machine
mad_machine MegaDork
8/9/16 7:15 p.m.

The first part of any build is finding a place to do the work: I don't have a garage (I do rent one, but it is filled with saab and fiat parts) and my shed is far too small to do much more than store my bicycle and all the miscellaneous odds and ends that yard work entails. So to the basement!

I have a fairly large rancher (three bedrooms, two baths) with a full size basement. When I mean full size, I mean 8 foot ceilings. It's unfinished, but cool in summer and cooler in winter. It's full of stuff from the previous owner and my mom (I need to get some of his stuff into the attic) so staking out a corner and cleaning It out was prime factor one.

Once that was done, it was time to build a work table:

It may not look like much, but it is 18 feet long and 3 feet wide. built with a 1/2 inch plywood top screwed to 1x3s. I used sawhorses to hold the whole thing up so it would be stable (yes, the legs are screwed to the top) and could take some weight.

With all things, whether automotive, aquatic, or aeronautical, there are always some specialized tools. As boats have been around a lot longer than cars and planes, some of them are a bit more simple.

In my case, they have been the "picker" and a pencil.

Seen here with some bulkheads getting ready to be cut out, it resembles an icepick, but has a finer point. It is meant to "prick" through plans so you can play "connect the dots" with the pencil.

Another tool that is more high tech, but still not something you can buy off of the shelf is a "Scarfing jig"

to properly join shorter lengths of wood into longer lengths, the strongest and best way to do so is to "scarf" them. This involves cutting the wood at an angle to the direction you wish to make it longer. It is best to use an 8:1 ratio.. so a proper jig is needed to make sure it all comes together properly when you glue it up.

I made mine from MDF, plywood, and some oak I had laying about. The Base is MDF, it's a stable structure unless you get it wet, you can easily screw into it with even handtools, it's heavy, and it's cheaper than plywood. To this I measured out and cut two "ramps" out of oak. These were designed to give me a 32mm long cut on a 4mm thick piece of ply. I can use it for thicker, and it will work to make even stronger scarfs.

Then came the plywood slide that I screwed my router too. After discovering you can seriously hurt your wrist with a 20v dewalt drill when the 4inch hole saw grabs and tries to rip your arm off before attempting to beat you to death with it, I was able to mount the router with little fan fair. To this slide I added some more oak "Stringers" to keep the plywood from flexing as I ran it over the plywood I am cutting.

You'll need to log in to post.

Our Preferred Partners
b4EXxA7FVRRry9bv1w4LGSbRxWDthELiE0tF5t58jGDht0Xzhr0gIpirsRncmRz3