


In reply to captainawesome :
Yeah, the eBay hinges are the ones I was admiring. How thick do you think you could have the cushioning and keep it able to close forward? 3-4 inches?

In reply to captainawesome :
Yeah, the eBay hinges are the ones I was admiring. How thick do you think you could have the cushioning and keep it able to close forward? 3-4 inches?

In reply to Mr_Asa :
I think so. I'll know for sure in a few days when I get them in. I ordered some seat cushions that are 2" thick plus either 1/4-1/2" thick ply base, so hopefully they work as intended. I'll post some dimensions for you when they get here though.
Gracias
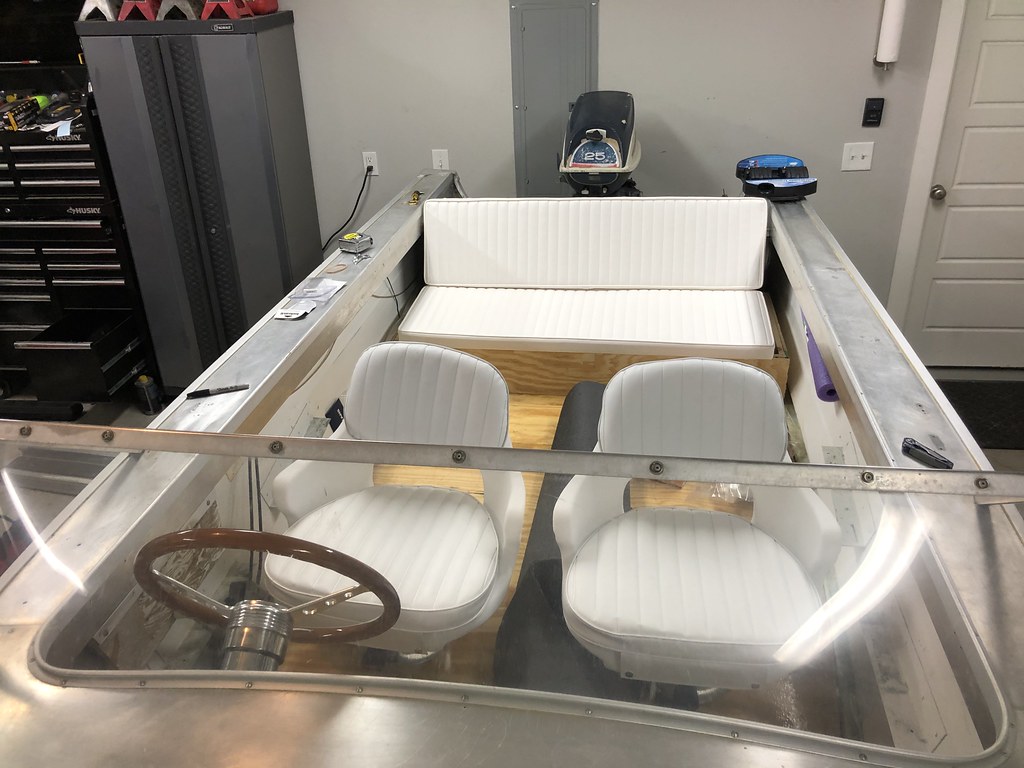
Seat pads came in today. I ordered up a 48x12x2 for the back and a 48x16x2 on the bottom. Both are sold through ebay, so I got them to knock around $35 off the total price since I bought more than one. I couldn't wait to see how they look, so I threw them in place real quick like. They don't color match the fronts, but at this point I'll live with it. Maybe this winter I'll have the front covers redone to match as the material is much nicer with these newer pads. Brackets should be here this weekend I think, and double hinge by Monday. I really like them though. They look good and fit my planned vision rather nicely.
 Untitled by hatchethairy, on Flickr
 Untitled by hatchethairy, on Flickr
 Untitled by hatchethairy, on Flickr
I was discussing seat placement for my boat with some of the older boat guys I hang out with sometime. They pointed out that the more weight you have to the rear the harder the boat will be to plane. With kiddos it shouldn't be as much of an issue, but I thought I'd mention it in case you wanted to take another look at the placement of that rear bench. Might be worth a test ride before you lock everything in.
In reply to Mr_Asa :
I'm pretty committed at this point to it's current location. I could move it forward a few inches, but doubt that will really help much in shifting weight.
Didn't get as much done this weekend as I had planned. Or at least I didn't do what I planned to do. I knew my seat brackets were coming in, so I really wanted to finish the seat base and back setup. Well, the seller of the brackets sent me the wrong set...
 Untitled by hatchethairy, on Flickr
These hinges require a gap between the butt pad and the back, but the ones I tried to buy didn't. So no real seat work. Dammit.
Instead I spent a ton of time prepping for paint.
The inside of the hull is sanded and ready for primer.
I whipped up a new control board since the old one was on it's way out.
I sanded the seat base for a while, then sanded and assembled the kick board.
There were some super high spots on the epoxy for the floor deck that needed sanding flush, so it got sanded.
Filled and sanded some more holes with JB Weld.
I feel like I'm typing sanding too much.
Also removed the steering line from the spindle. I haven't a clue as to how it all goes back together, but that's a problem for another day.
 Untitled by hatchethairy, on Flickr
 Untitled by hatchethairy, on Flickr
 Untitled by hatchethairy, on Flickr
 Untitled by hatchethairy, on Flickr
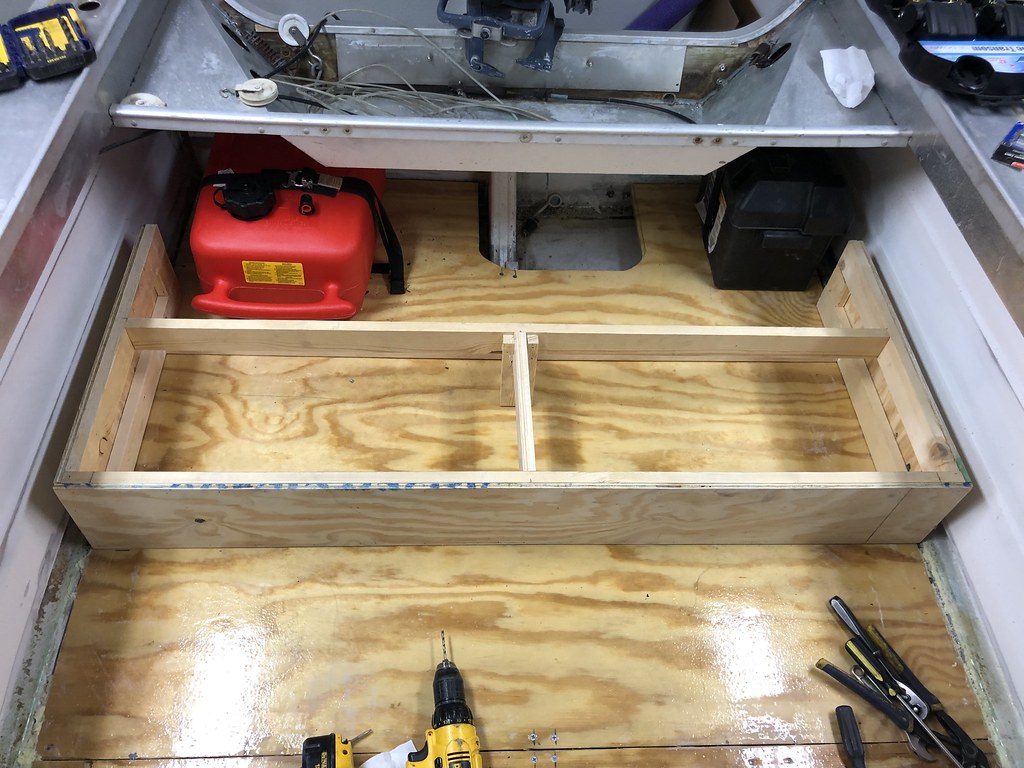
Then started officially mounting the gas tank and battery straps. After getting the tank strap in place, I tried to open the feed line cap on the tank to re-clock the position. It snapped flush with the top of the tank! WTF! So off to Academy Sports for a new tank. Luckily it fits within the area without needed to move my straps.
So all in all it doesn't look like much is done, but I'm getting so close to putting first coat of primer on. This week I just want to focus on getting one or two sections scuffed and prepped for paint each night. I think that's a reasonable plan that won't have me burnt out by the weekend.
 Untitled by hatchethairy, on Flickr
 Untitled by hatchethairy, on Flickr
 Untitled by hatchethairy, on Flickr
When you do re-run the steering cable:

In reply to Mr_Asa :
The problem is the way it was spooled on the wheel spindle. It's one cable that loops through the spindle and back on itself to the other side. Tough to describe and the only pic I took before disassembly was super blurry and useless.
Looks like this:
 maxresdefault by hatchethairy, on Flickr
That loop that runs parallel to the axis of the steering shaft? The middle of that is the mid point of the entire length of the steering cable. Wind it like this and give it a steer left and right to figure out which cable needs to run to which side of the boat. Use a good amount of slack on the ends to make sure you can trim it right
Start at the left and move to the right. Get it nice and tight

A lot of tedious stuff was done over the holiday weekend. Sort of. I look back at it now and it doesn't seem like much work.
My main goal has been to get ready for paint, so it was time to just remove anything else in the way. I spent a few minutes removing the steering assembly from the dash followed by the controls.
While removing the controls I was confronted by some L brackets that are riveted to the hull. From what I can tell they were for mounting seats, but some had some cracks starting and they are just in the way. I really wanted to just leave them but since they no longer have a purpose and like to remove skin, it was time to say goodbye. So I taped up around the bracket and shielded with a piece of cardboard. Spent some time with a cutoff wheel, sanding disc, a file, and then hand sanding until smooth enough to cover with paint. Much better.
 Untitled by hatchethairy, on Flickr
 Untitled by hatchethairy, on Flickr
 Untitled by hatchethairy, on Flickr
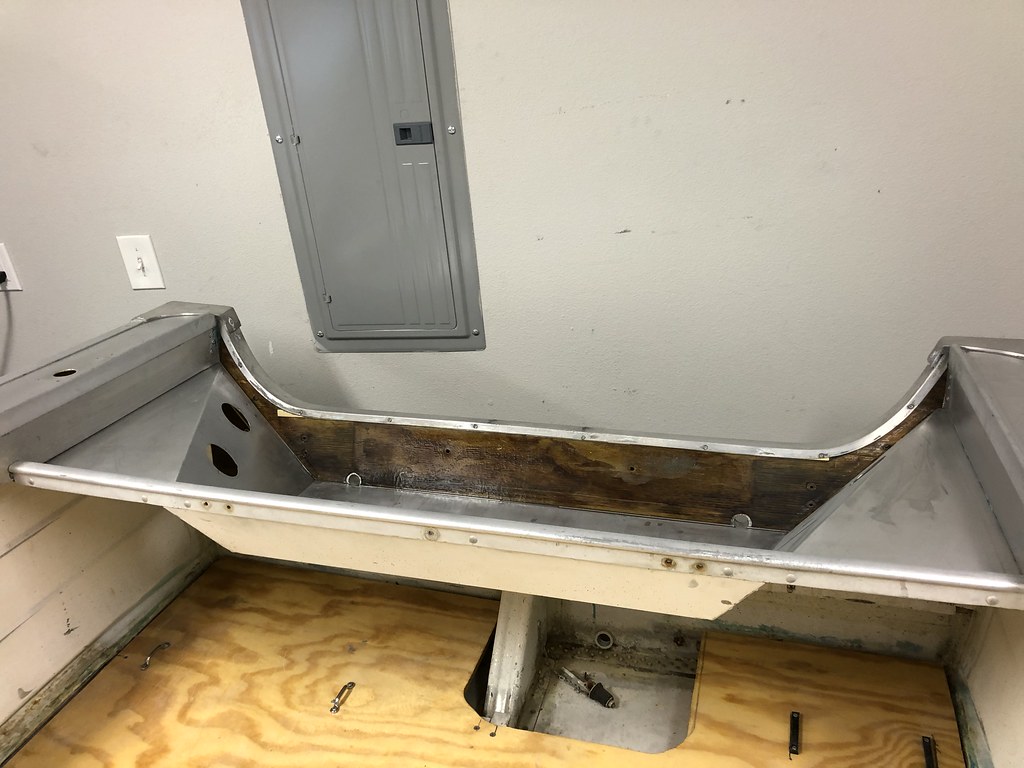
I then moved to the splashwell by the transom. There was some thick silicone caulk that needed to go. It was lifting some, and just looked super skanky. It took some effort, but I finally got it all out. I whipped up a batch of epoxy, and put a thick coat on the exposed transom wood above and below the splashwell. I think I do another coat on the topside this evening. To reseal the seam, I'll be using some Vulkem 116 before paint.
 Untitled by hatchethairy, on Flickr
I then spent quite a bit of time cleaning up any old paint on the topside where the rub rail meets the hull. Tedious stuff. With that out of the way I started sanding the whole topside and then on to the stern. I've been using various blocks and by this point my arms were getting tired. My motivation to finish was pretty strong, so I moved on to the starboard and port side taking breaks in between. My arms were shot.
To take a break from sanding I filled some holes in the dash. I originally planned to stain, then decided to cap with aluminum, and finally to just paint it. I hate to do it, but it's pretty rough.
 Untitled by hatchethairy, on Flickr
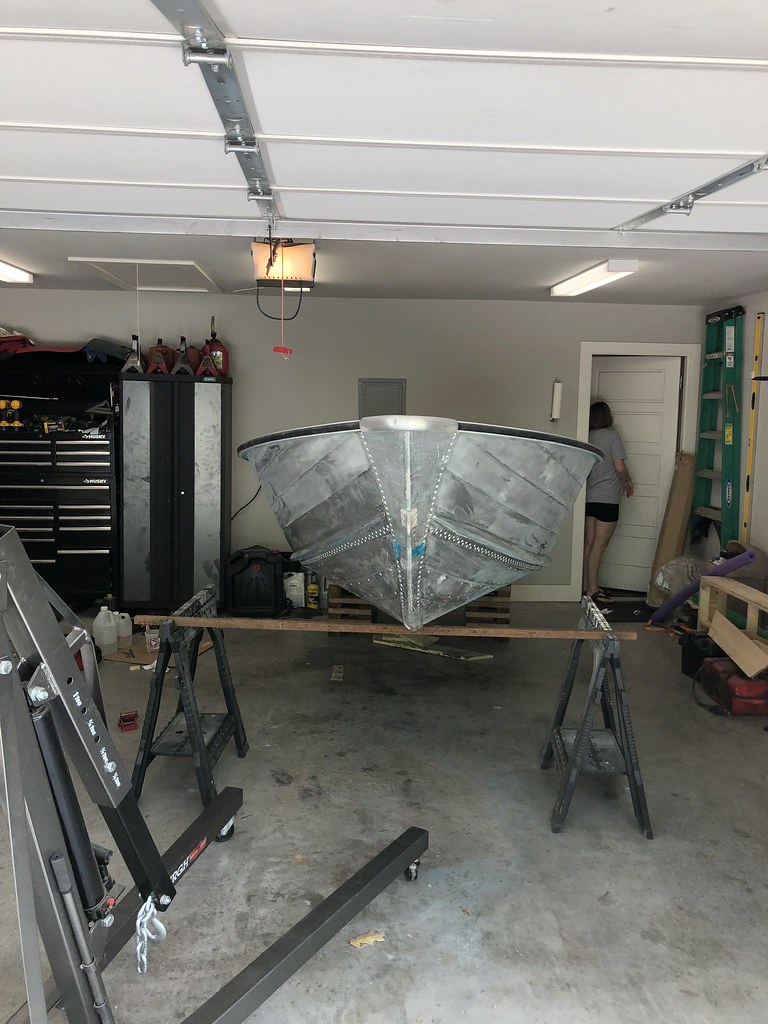
It was at this point that I realized this thing is going to be a pain in the ass to paint with the trailer underneath, so I lifted the front of the boat with a cherry picker. Two sawhorses were slid in place and some scrap square tubing held up the front. I then had the wife slide the trailer out while I lifted the rear by hand, then she slid some wood blocks in place.
 Untitled by hatchethairy, on Flickr
 Untitled by hatchethairy, on Flickr
I felt like that was enough action for the weekend and so I got cleaned up for dinner. After sitting around for 15 or so minutes I decided to apply more paint stripper to the areas I previously couldn't get to with the trailer in the way. I figured I could strip it off the next day, but after returning from dinner I noticed it was ready to be scraped off. So another hour or so of sweating and scraping got it finished up for the evening.
Today I plan to pick up a palm sander. For whatever reason I can't find mine, and I was too stubborn to leave the house to pick on up over the weekend. It should make quicker work of the bottom, and then I'll be ready for my first coat of primer. I'm hoping to have the hull painted this week, and in between coats get the trailer prepped/painted. I'm wore out, but this is the last stretch. Time to just get it done.
 Untitled by hatchethairy, on Flickr

Keep pushing! It looks awesome.
Like all plans, they tend to fall apart as soon as you make them. Monday night I spent my evening filling a roll off dumpster for my lovely Mother. Mostly posts with concrete attached at the base from a previous fence she dismantled. I got a workout, so not terrible. I need to be more active anyway.
Because I can't seem to ever just finish one thing, I pivoted on the next task at hand.
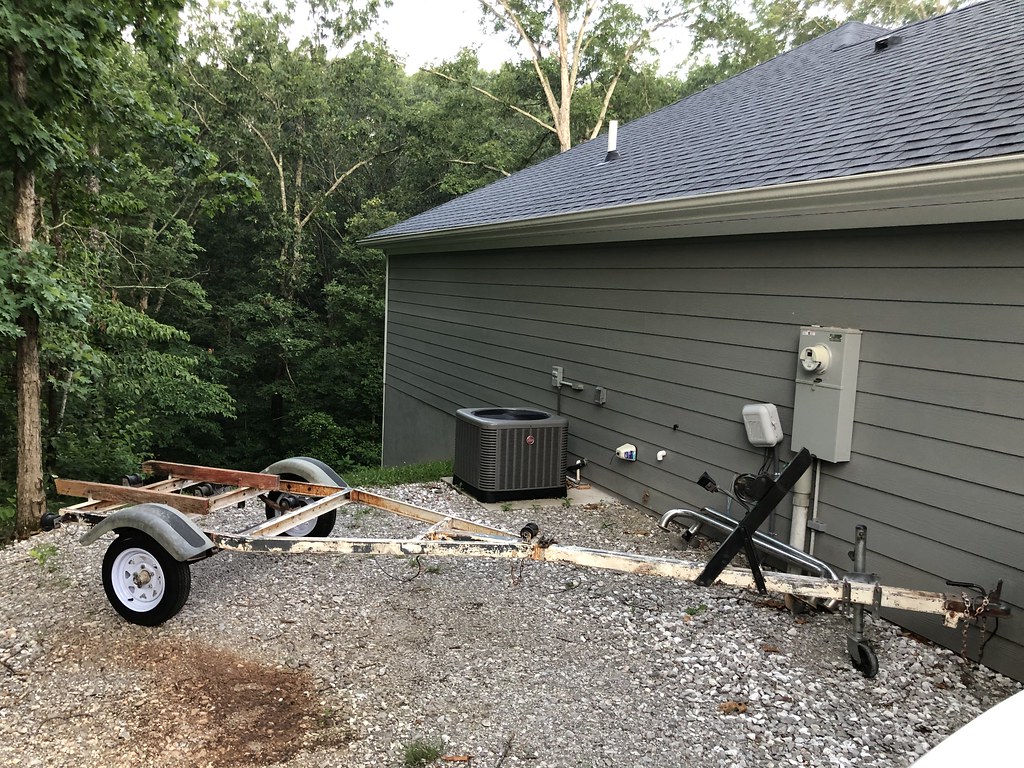
The trailer.
It's sitting in the gravel, and I know it needs some paint soon so the boat has a place to rest when the hull is painted. So I spent a few minutes spraying all the hardware for the bunk boards, fenders, winch, lights, rollers, etc. to get them out of my way. All the bolts/nuts broke loose with ease so it was time for paint prep. I started scraping the trailer with a 2" putty knife to knock some of the scale off. I don't know if it was from previously using some Citristrip or not, but the paint was almost effortlessly jumping off the metal. After an hour or so of scraping nearly every inch of paint that was loose, I pulled out the corded drill. Chucked up a wire wheel, locked the trigger, and tried to clean up what was left. It didn't seem to do as much as expected. Hoping to get a bit more work done with less effort the orbital sander was put to work with 220 grit. It performed as expected, and now I have most of it prepped for a coat of primer.
With dark closing in, I cleaned up my tools and mess. It would have been nice to get some sanding done on the hull, but I was pretty wiped at that point. Tonight I'll do a quick wipe on the surface, roll on some primer and get back to the boat.
Oh, almost forgot I did put another epoxy coat on the upper transom. That's something right?
Before:
Untitled by hatchethairy, on Flickr
You guessed it, the after shots:
 Untitled by hatchethairy, on Flickr
 Untitled by hatchethairy, on Flickr
 Untitled by hatchethairy, on Flickr
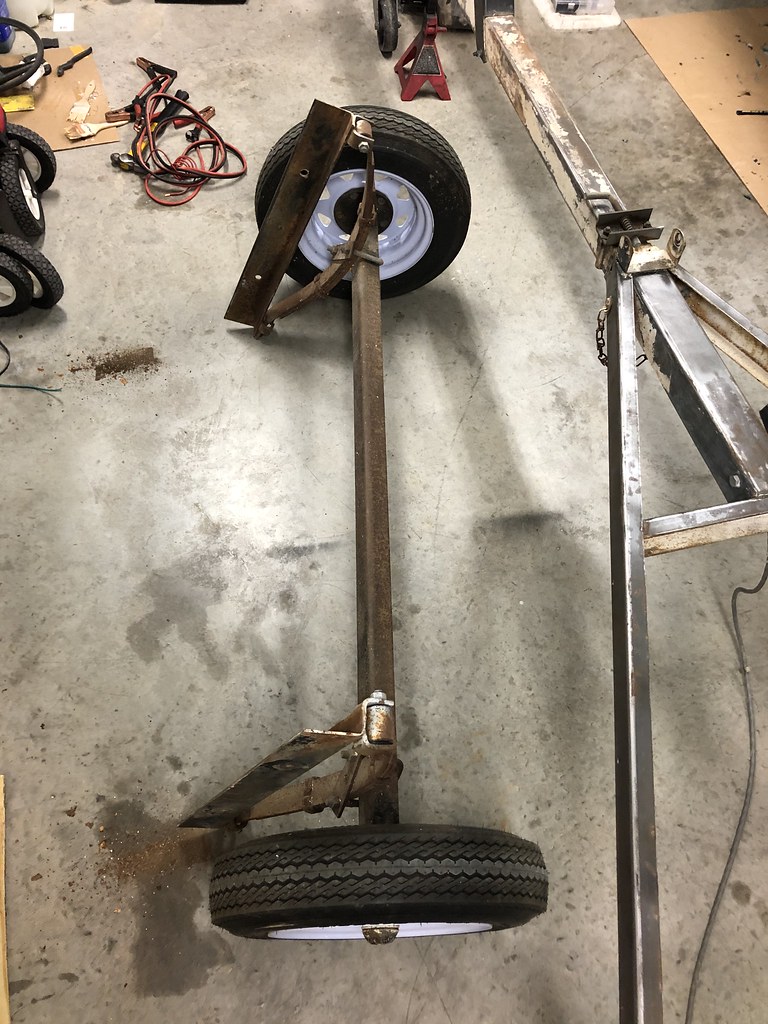
When I did mine I removed the suspension cradle. Bit of a pain in the ass to move it around once I did, but the painting was a lot easier when I did.
In reply to Mr_Asa :
I was thinking of doing the same as well as removing the jack. The springs and axle itself could use a coat of paint as well, probably easier to do so when removed from the frame. Part of me says screw it, just put some paint on it. It's just a trailer. The other part says there's no rush. I want to do it right from start to finish, but I also want to be on the lake at this point. I'm a bit conflicted.
I say that you should send it. One of us needs to get one of these damn boats on the water.
There will be plenty of time to disassemble the whole thing and do it more thoroughly in the off-season. If there is any area that is bad I'd knock it out, but overall I'd prime it and get 'er did. Only thing I'm doing with mine is replacing the bearings and putting the rubber on new wheels so I can sandblast the originals when I have time. Hell, the only real reason I'm doing the bearings is because the originals were quite literally the loudest bearings I have ever heard
Like all things, if I don't have time to do it now, I certainly won't have time to do it later. That's my biggest fear. I always start a project with grand plans. Usually I'll get all the mechanical stuff knocked out, but the "make it pretty" details fall out of favor. I want to do this one right, but is the trailer axle a part of that? Probably not. Realistically it's just a trailer, and no one will bat an eye at half of the minutiae. I just don't want to start getting lax with the boat.

Ask future you if he will be disappointed with present you for not doing the axle when it was as easy as it is ever going to be.
I agree with that 100%, I would also agree that the trailer is a different beast than the boat.
Finish the boat properly, if you're waiting on stuff to dry or whatnot I'd work on the trailer.

If you have the momentum going, may as well clean up the axle and springs now. (it wouldn't be a bad idea to clean and repack the wheel bearings while you're at it, too.)
Yeah. I think I'll just go ahead and at least half ass try to get the rear axle and springs cleaned up. At this point what is another hour or two of work?
Frickin starter pooped the bed on my Montero yesterday when I tried to move it. I just wanted to put the trailer in the garage to shield it from rain, and it was in the way. My wife's h3 has been slipping a little or at least it feels like it, so we kinda need the Montero to run until I sort that out. My FRS needs an oil change and fresh brake fluid before a track day next Friday at Heartland. So instead of doing much about any of those things, I took the night off to drink beer drowning my sorrows. I did manage to get the trailer in the garage, so that is something.
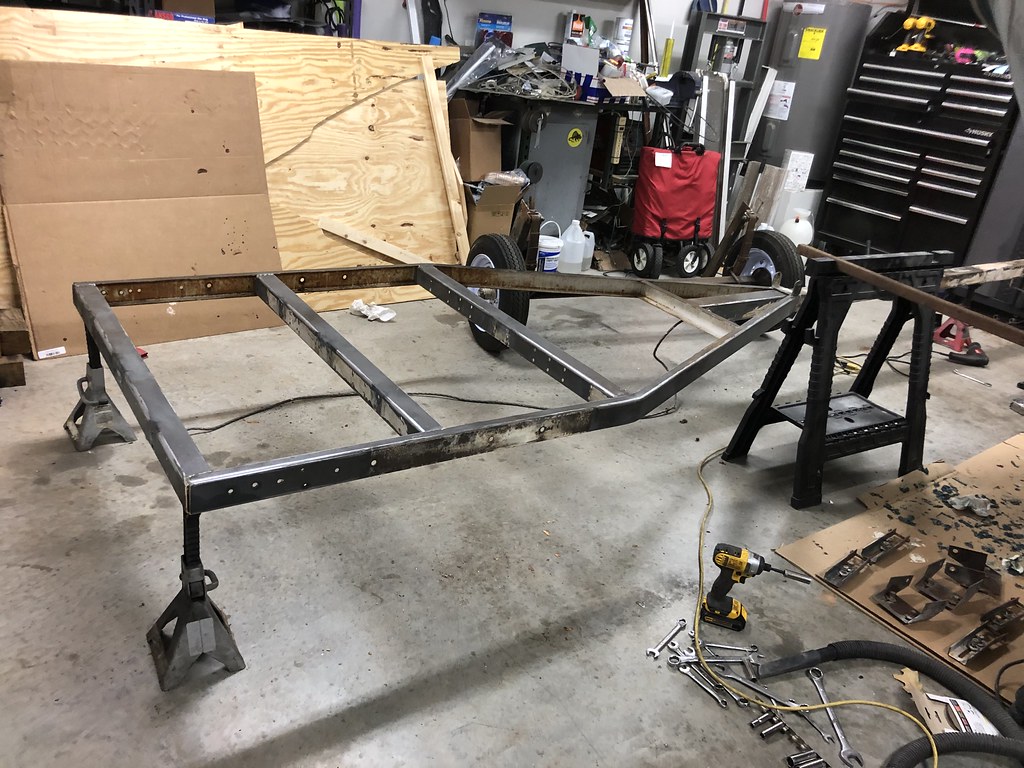
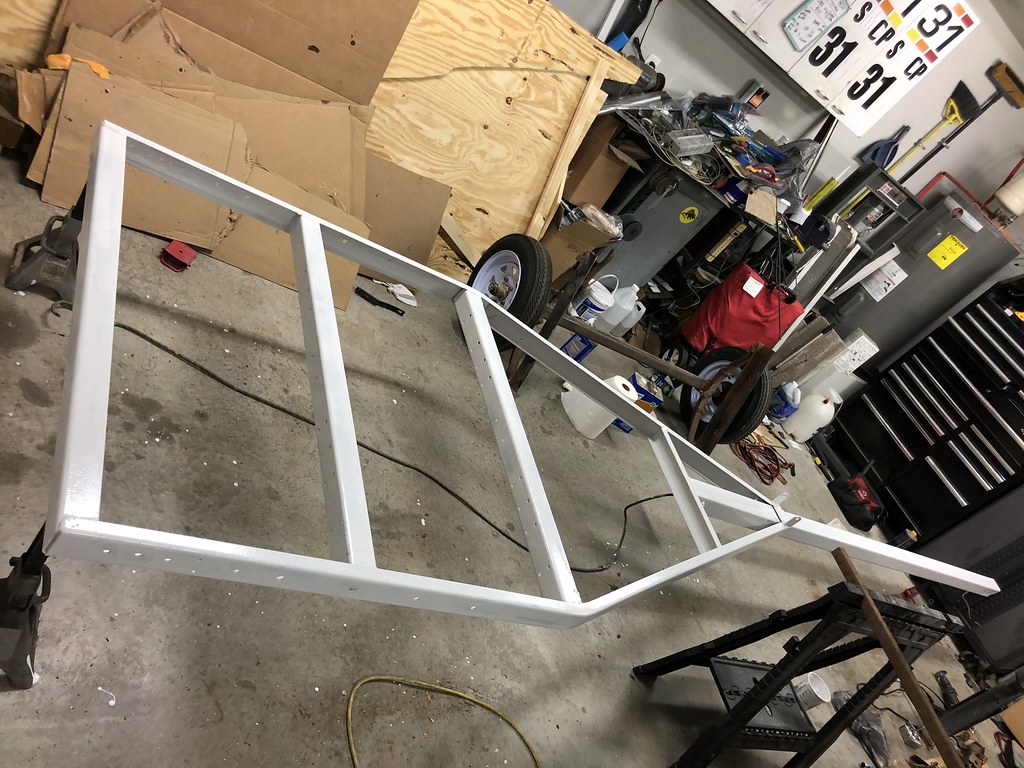
To make up for last nights failure, I pulled the suspension cradle and all brackets to put on the first coat of primer. I brushed the inside channels really well, vacuumed the dust, quick wipe down, and finally put on some paint. I'm glad the trailer is first so I can kinda get the feel of how thin this stuff is. All of the brackets, chains, suspension will get sprayed, but I'll brush/roll the frame. Most of the brackets were galvanized, so I don't think the paint will stick too well from what Rustoleum says. Any tips on that front are appreciated.
 Untitled by hatchethairy, on Flickr
 Untitled by hatchethairy, on Flickr
 Untitled by hatchethairy, on Flickr

This is turning out quite nice...I love the tortured process we follow in order to arrive at "Do it right".
My Dad's golden rules:
"Doing the harder of two choices will seldom lead you wrong."
And " Don't waste your breath on truth with women cause creatures who wear make-up want no truck with the truth".
Pete
In reply to NOHOME :
Thanks!
A large percentage of past projects I've justified doing something later for multiple reasons. None of that stuff ever happened later, so hopefully I can eradicate this mentality to future endeavors.

In reply to captainawesome :
Lots of hard work, but the trailer will be better than it left the factory! Give the wheel bearings and seals a good look when you go to reassemble also. In my experience they are always neglected by PO's and dunked in water all the time.
You'll need to log in to post.


