6 7 8 9 10
wae
wae PowerDork
3/13/23 4:41 p.m.

In reply to More Tools Than Sense :

The feed is fairly low, but it can go down some more so I will give that a try on my experimetal sheet.  I do know that I have the power down pretty far - it might be as low as the machine goes.  If I've got to grind it back off, it would be much better to not put it there in the first place!

wae
wae PowerDork
3/13/23 11:46 p.m.

Knocked the wire speed down all the way and touched up some holes.  Not done yet, but too tired to continue.

More Tools Than Sense
More Tools Than Sense Reader
3/14/23 3:47 p.m.

Looks good man! I've also found that "weld thru" primer can be welded through, but bare metal is still preferred. I usually shoot the primer on the back if I won't be able to get to it later but leave the front side bare metal till I'm done with the welds. Others might disagree, I'm not an expert, Keep up the good work!

wae
wae PowerDork
10/6/23 5:22 p.m.

I wish I could say that I've been diligently working on this, little by little.  But I've been more or less aggressively ignoring it.

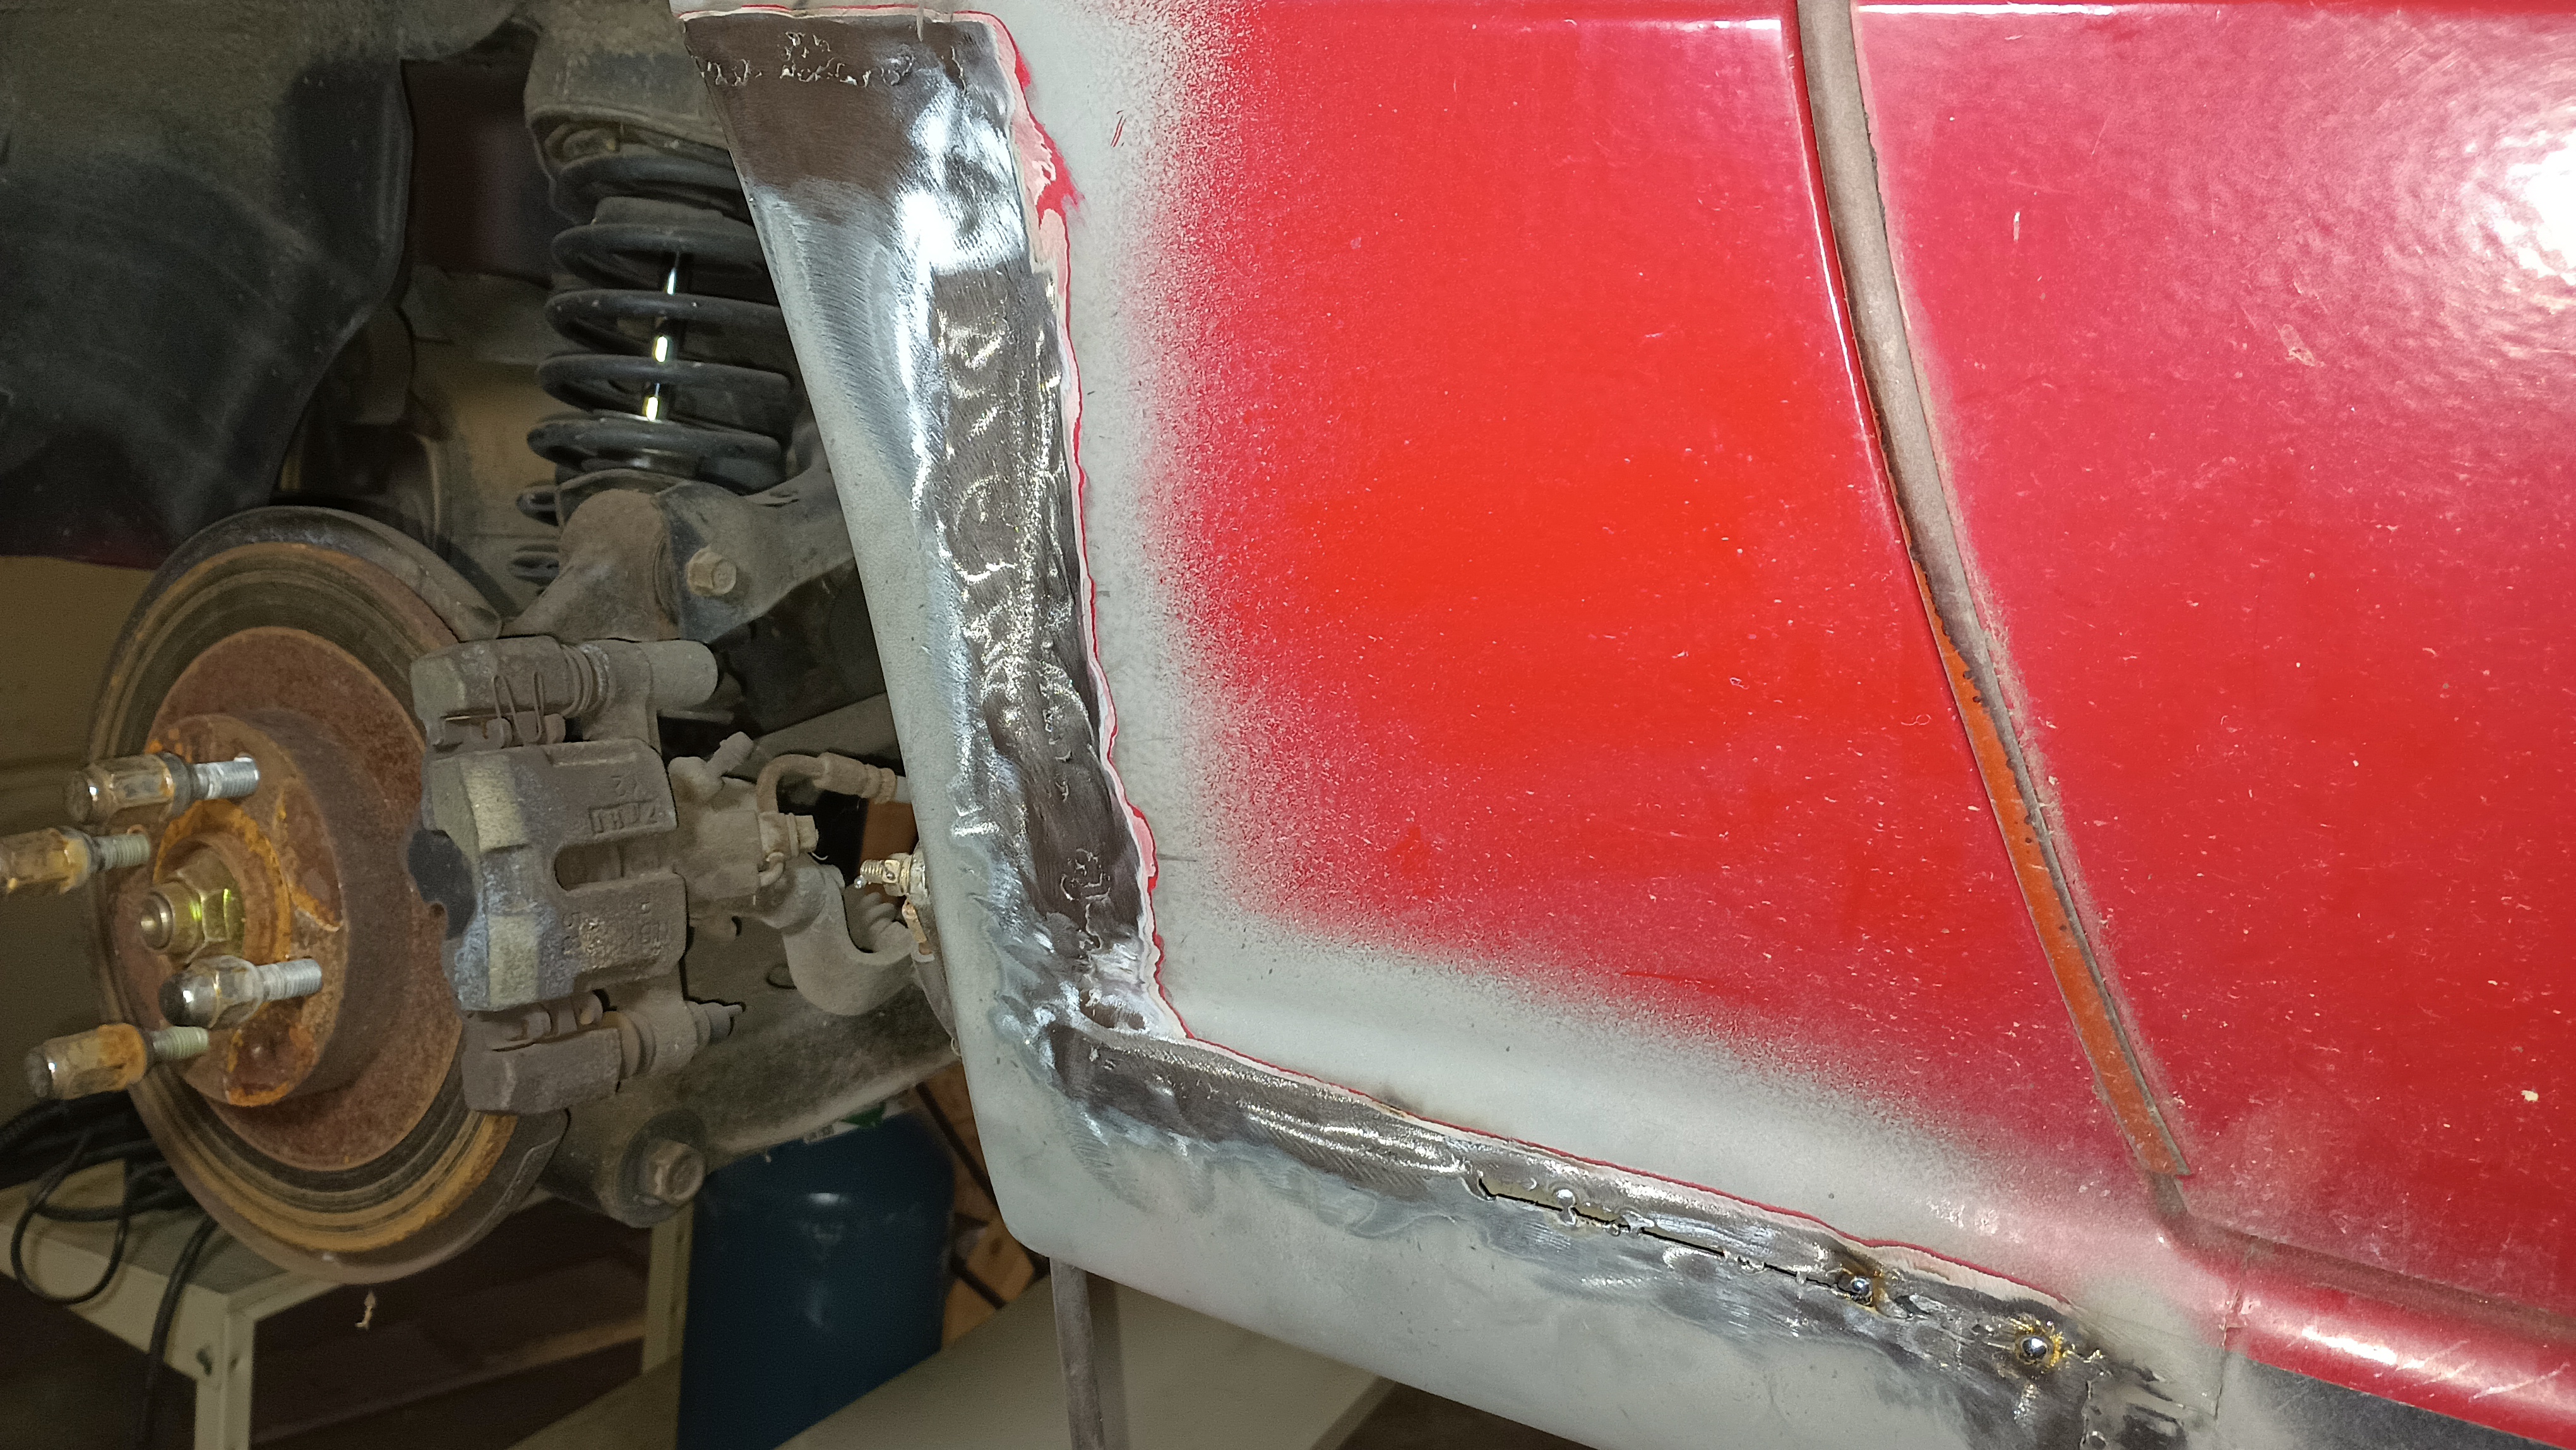
The left side is getting close to where it needs to be before I hit it with filler:

Today, I got the right side cut, so that's kind of major progress!  Relatively speaking, of course.

Pete. (l33t FS)
Pete. (l33t FS) MegaDork
10/6/23 6:23 p.m.

That is crazy good for no filler yet!


I love Mazdas but I hope they used a better steel than they did in the FBs.  Every time I go to weld bodywork I get frustrated and doubtful of my abilities.

wae
wae PowerDork
10/7/23 12:11 p.m.

In reply to Pete. (l33t FS) :

I think the lighting is proving to be quite complimentary there, but I'm not displeased with how it has turned out overall.

I've been using a method of putting the MIG gun to the metal, snapping the trigger, then blowing the spot with compressed air.  Then I move as far away from that spot as I can and give it another quick zap, blow to cool, and then find another spot and so on.  It's tedious, but it seems to work well enough.

wae
wae PowerDork
10/8/23 10:40 a.m.

Throughout my life I have frequently found myself gaining decent wins due to procrastination.  Had I put the hurry-up on this, I would have covered up this section and it would have caused pretty big problems internally before I ever noticed anything:

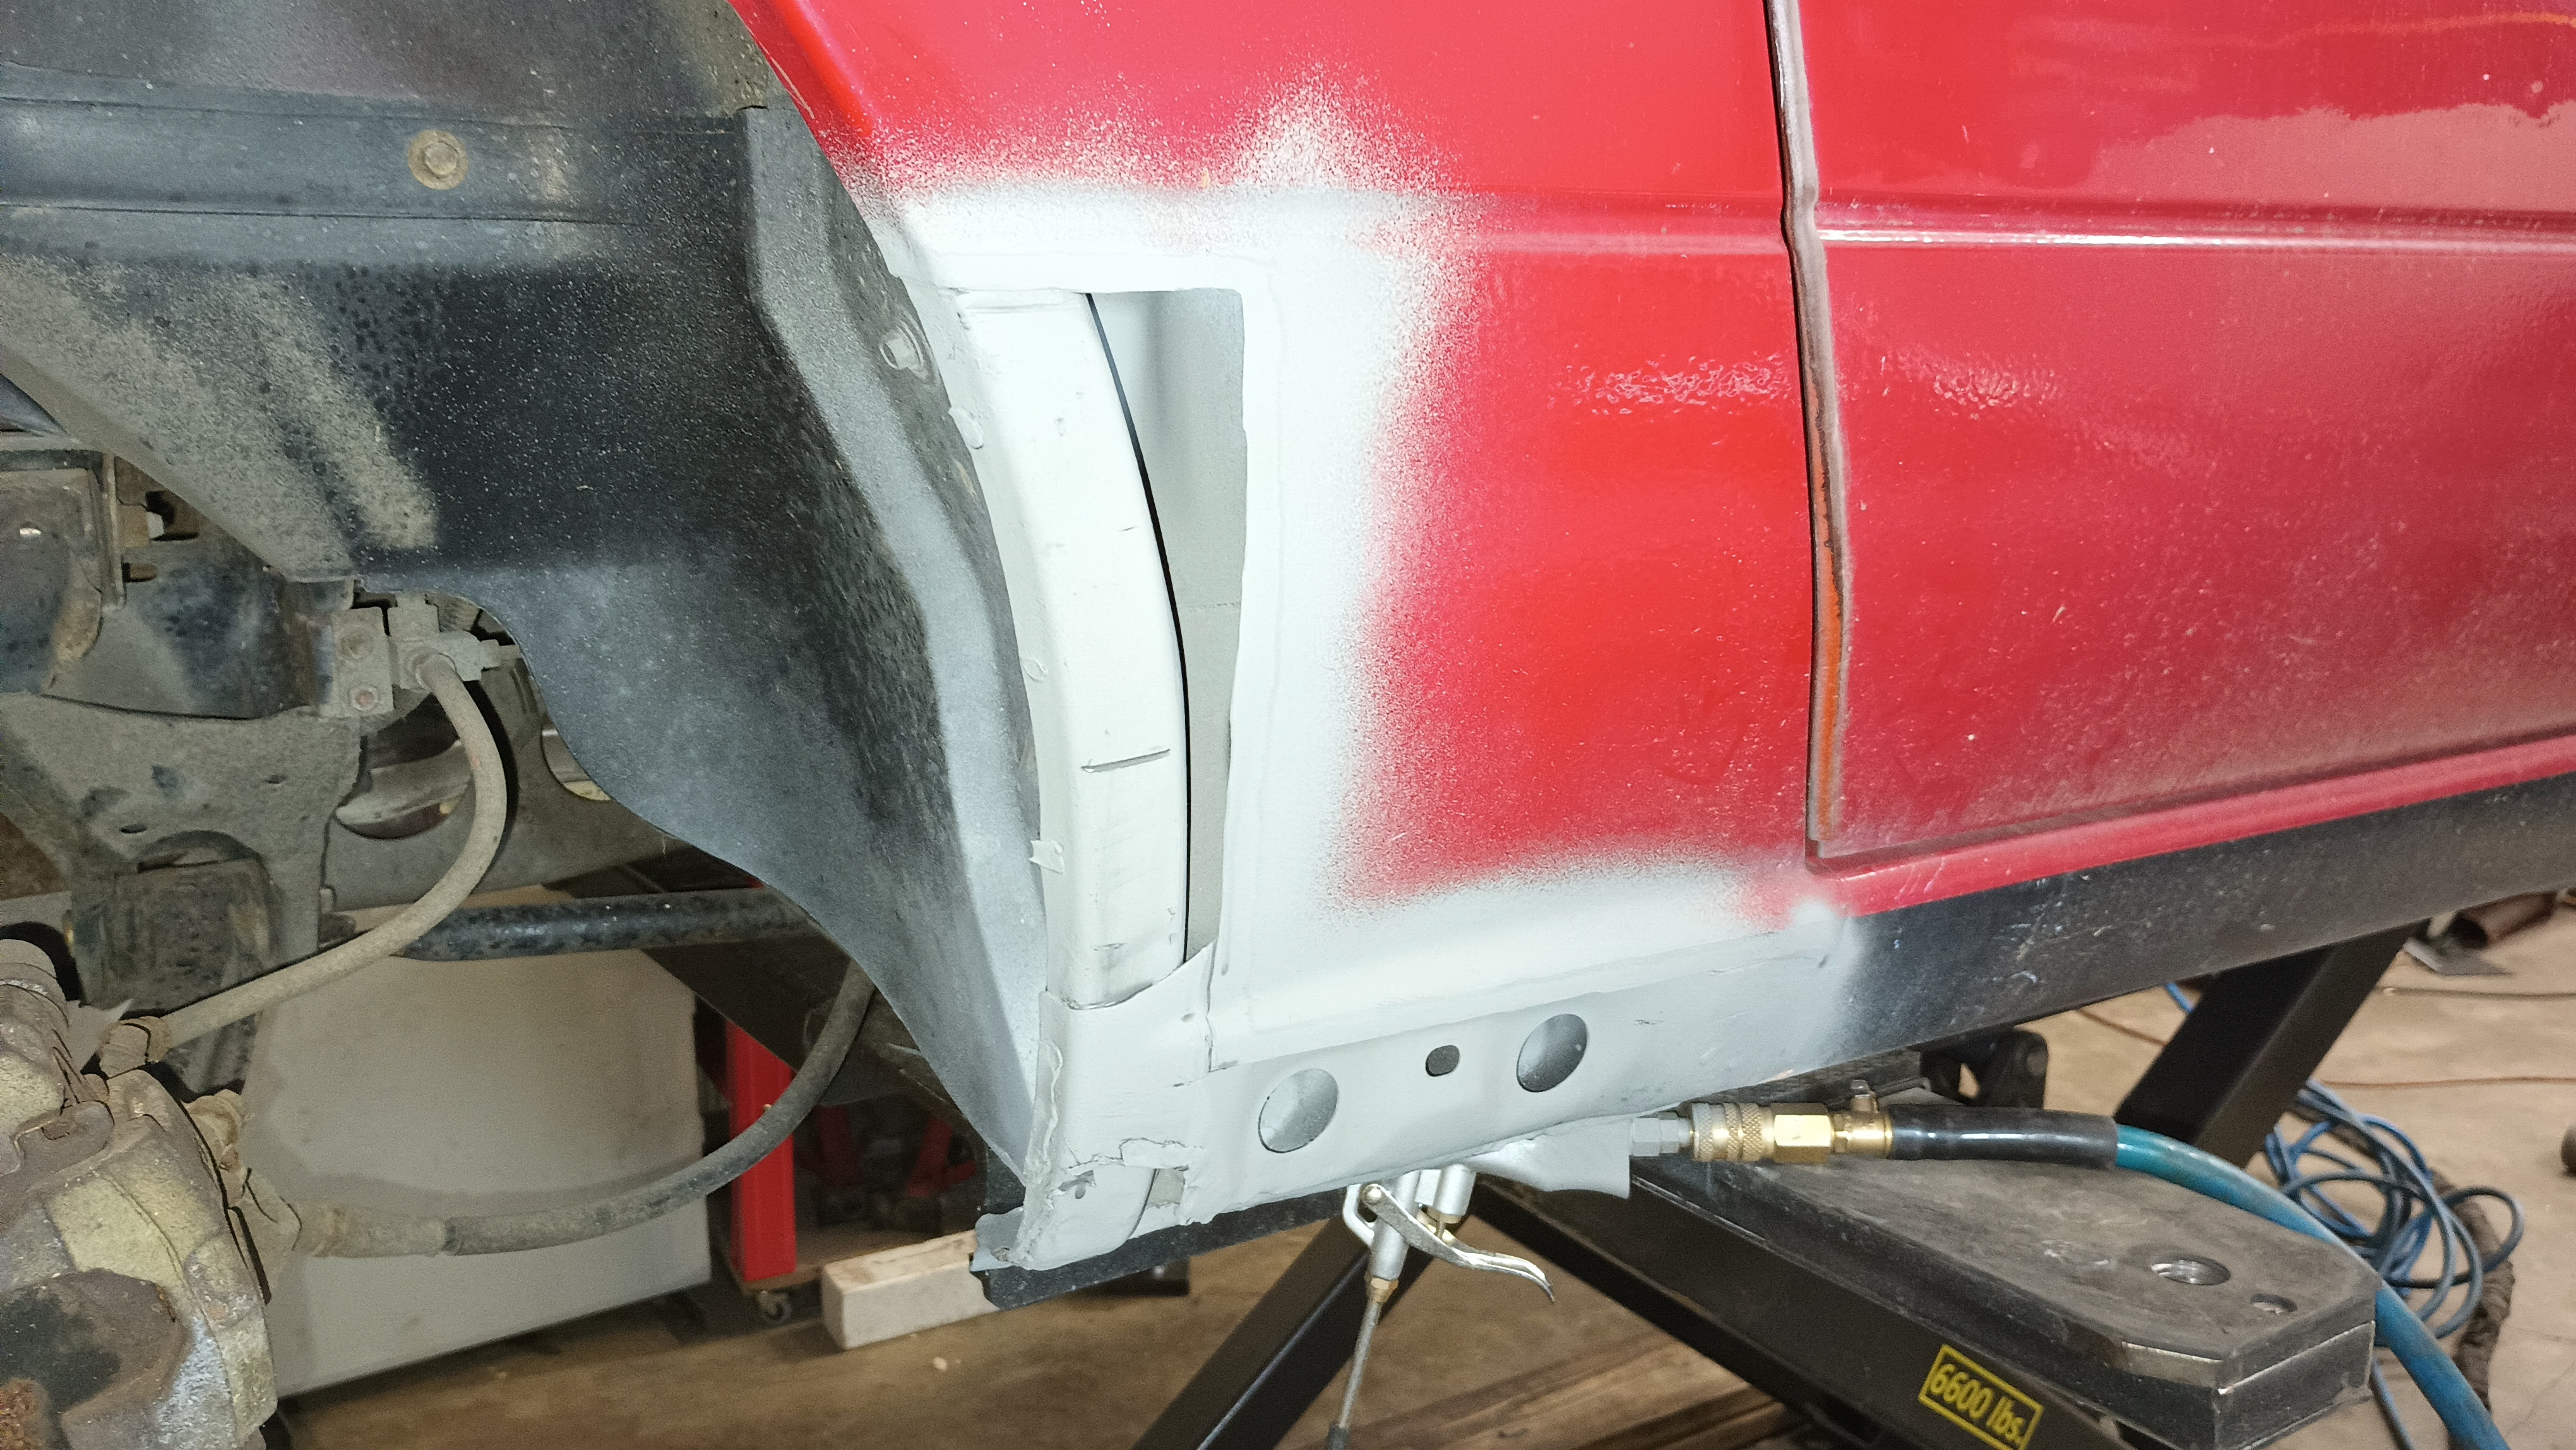
The right side had a few rust spots coming through the primer and I thought it was just some surface rust from sitting outside for a while.  But peeling back the onion, as it were, leads me to see that there was some untreated rust underneath. 

I've ground down a bit on the right side and will get in there to clean that up before starting to weld.

On a cleaner note, I threw some paint on the backside of the patch panel.

wae
wae PowerDork
10/13/23 2:37 p.m.

Peeling the onion back a bit, this is the extent of the remaining rust:


I'm going to treat that with the POR15 rust treatment prewash stuff and then hit it with POR15 proper.  Then I'll get the Eastwood inner frame rail coating in there on top of the POR15 since I can get the hose/nozzle up there further than I can a paintbrush.  Once that's all coated and protected, I'll be able to start welding in the patch.  I've kind of started a thing where I work from the shop on Fridays since Friday evenings are the work sessions for the Challenge car, so this gives me a chance to chip away at this project instead of letting it languish for months on end.

wae
wae PowerDork
11/20/23 2:29 p.m.

I just realized that I didn't take any pictures after treating that remaining rust, so you're going to have to trust me that I took care of it.

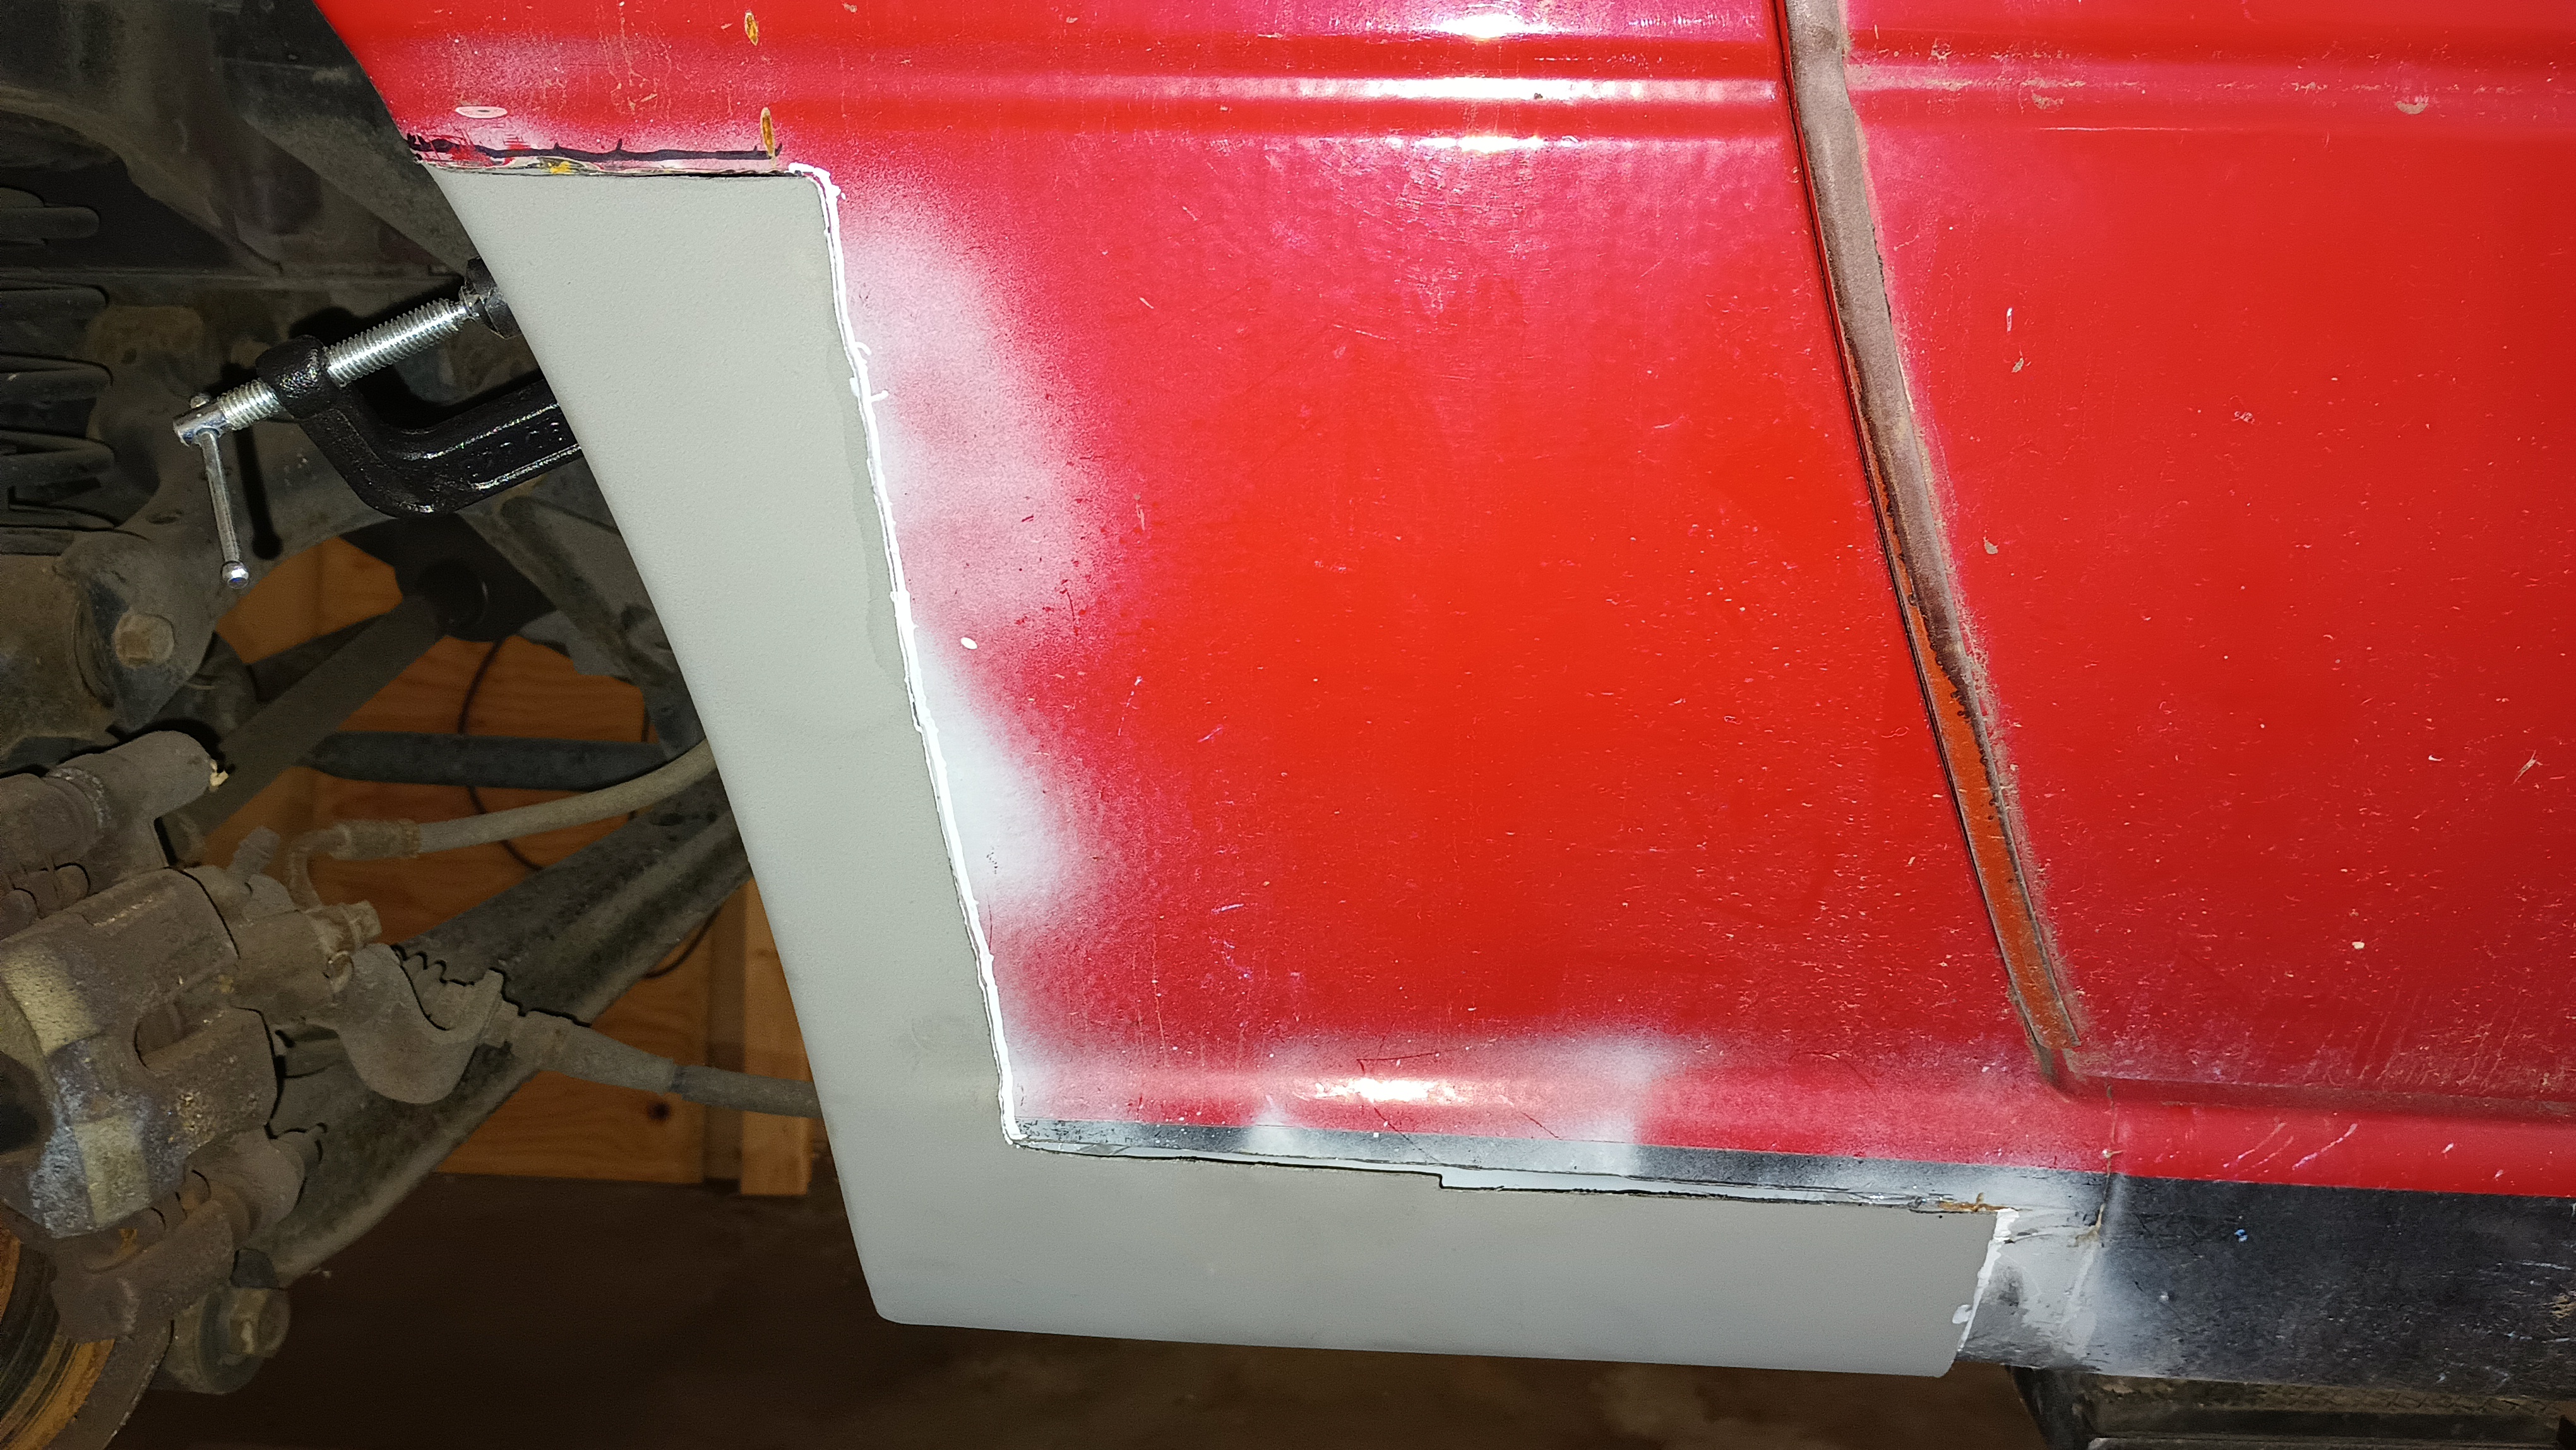
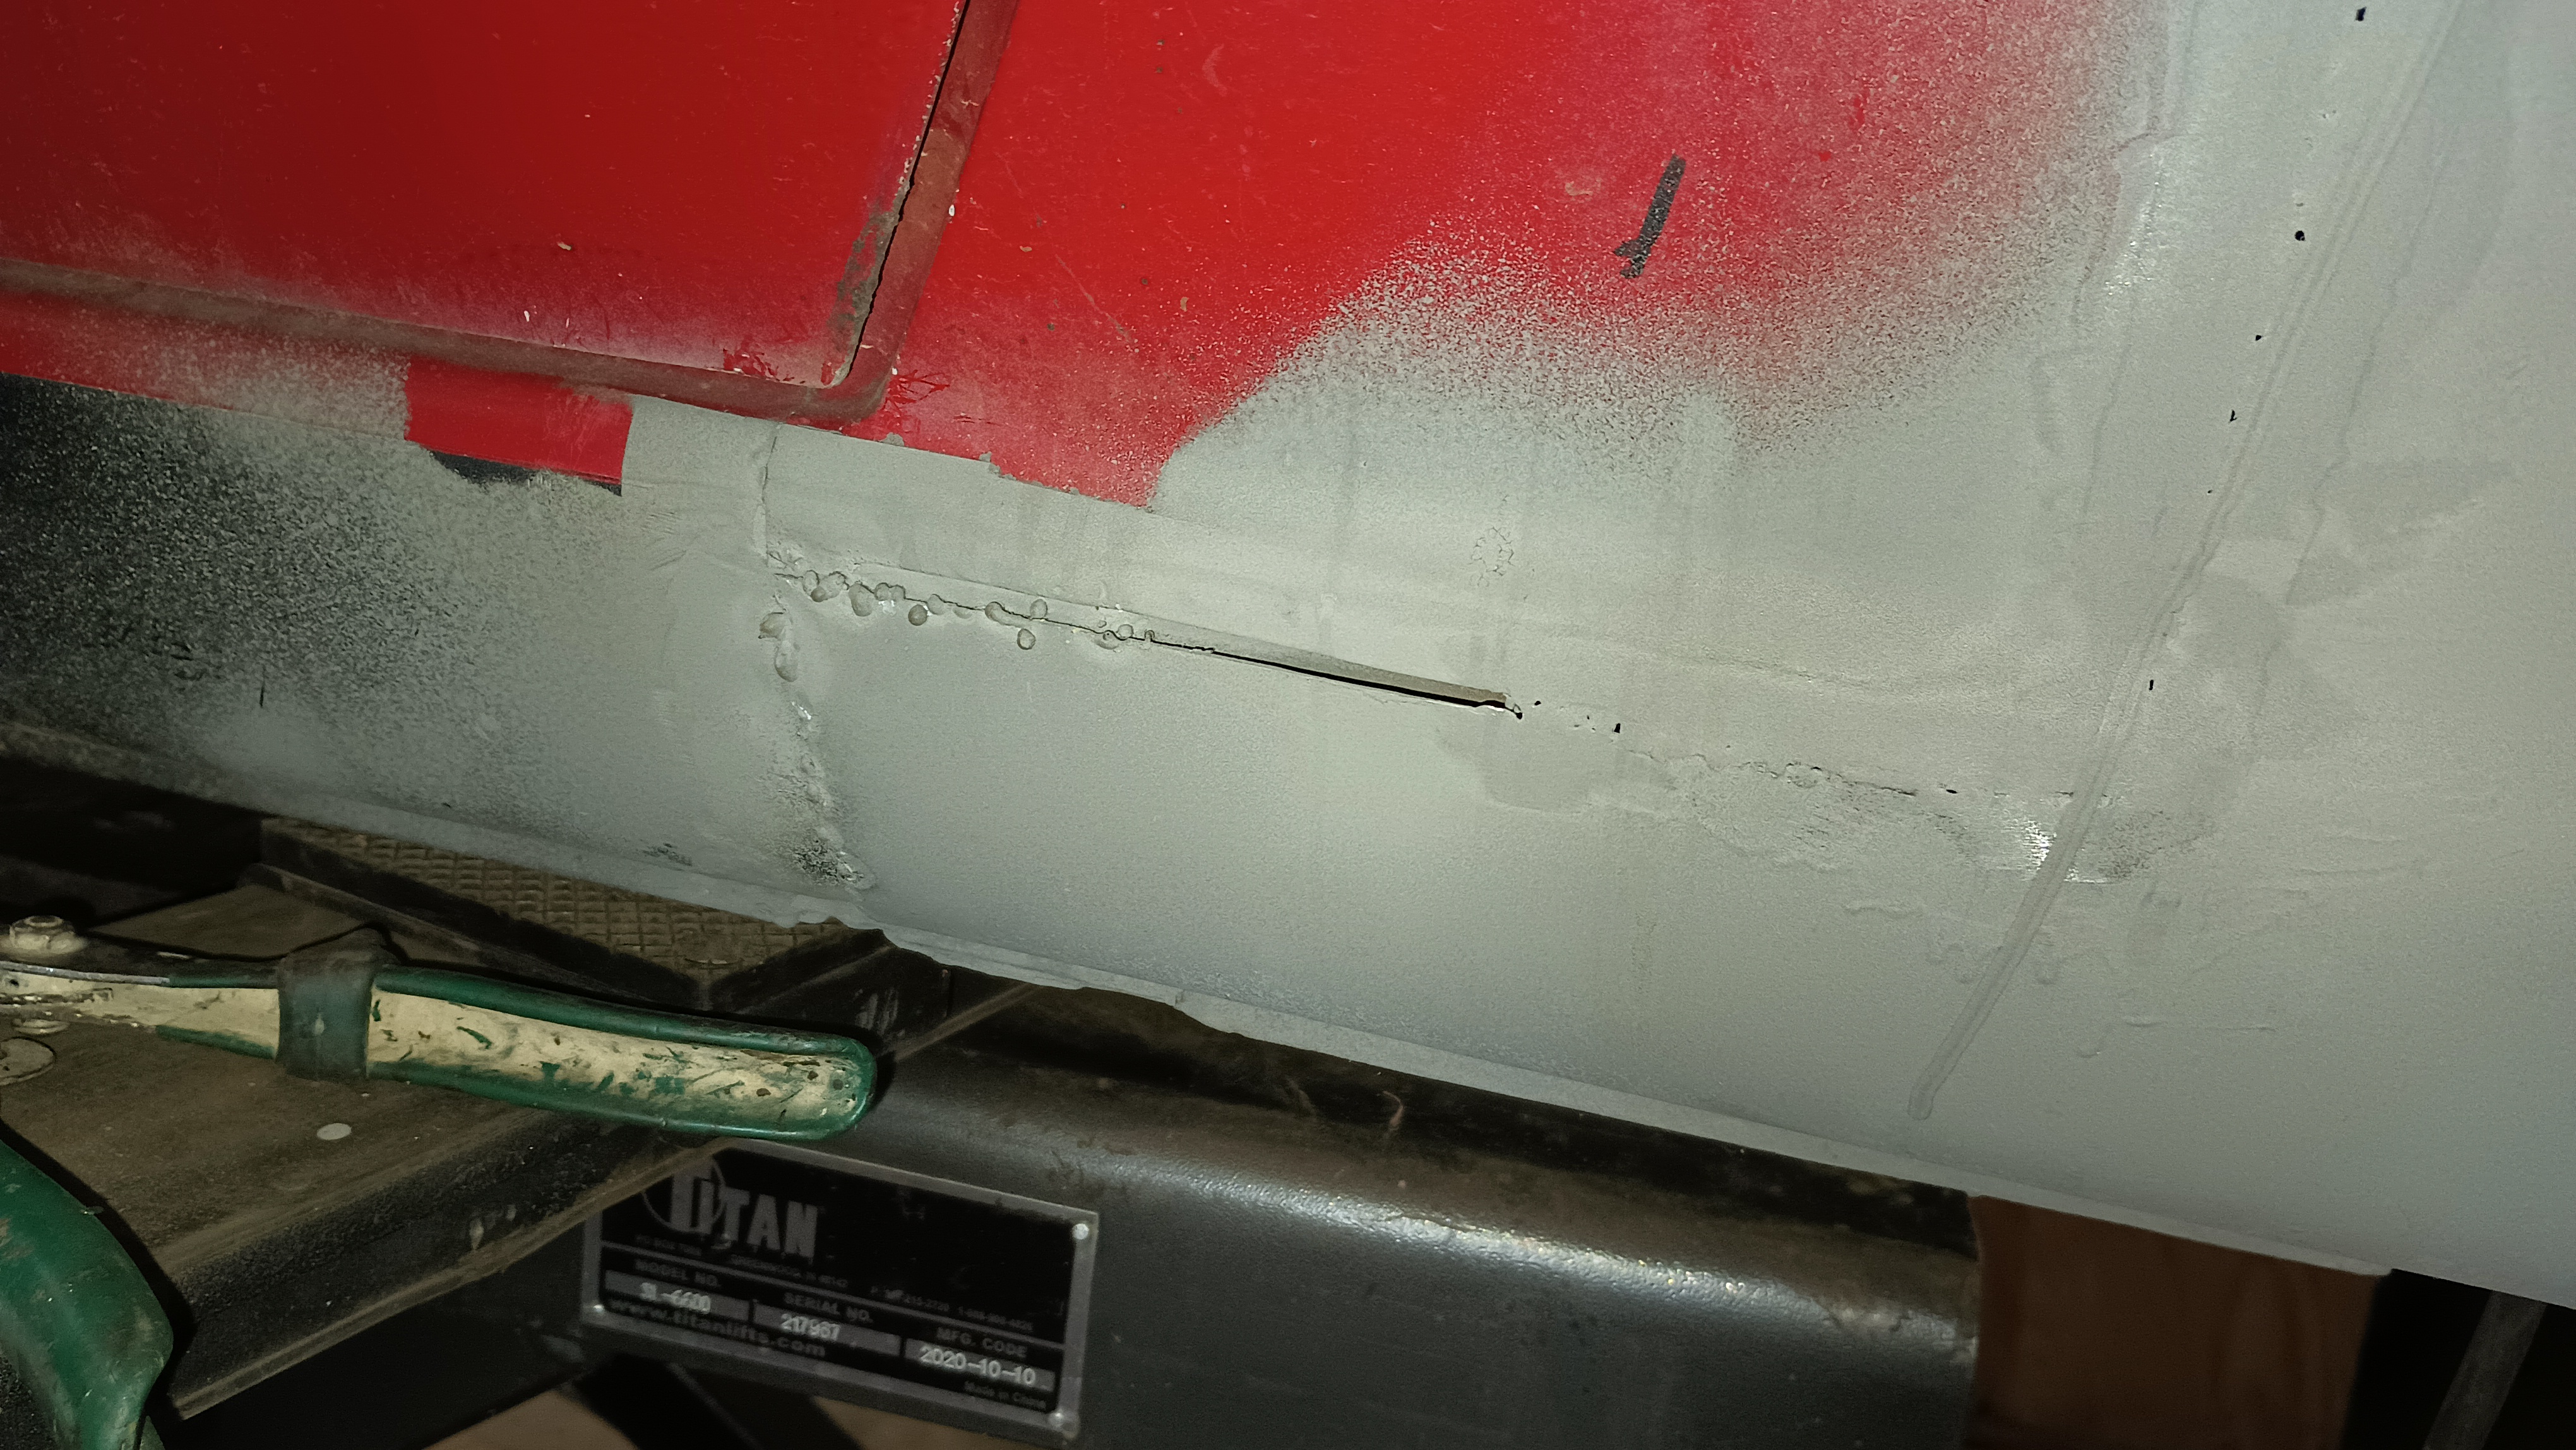
With the day off today, I had a couple small things to do to button up the fuel tank on the Challenge car - it's pretty much right next to where I need to weld and grind on the Miata!  Once most of the fuel hoses were re-attached and the remaining ones were wrapped in wet rags, I slid a sheet of plywood in place to protect all that and broke out the welder.  I needed to do a little final trimming for the panel to fit:

By tracing along the edge of the panel with a white paint pen I was able to easily see where to trim the original metal back a little.  Once it was trimmed back, a flap-wheel removed the paint, and I hit the whole thing with weld-through primer, just in case there was any part that I might have knocked down to bare metal that wasn't going to get welded.

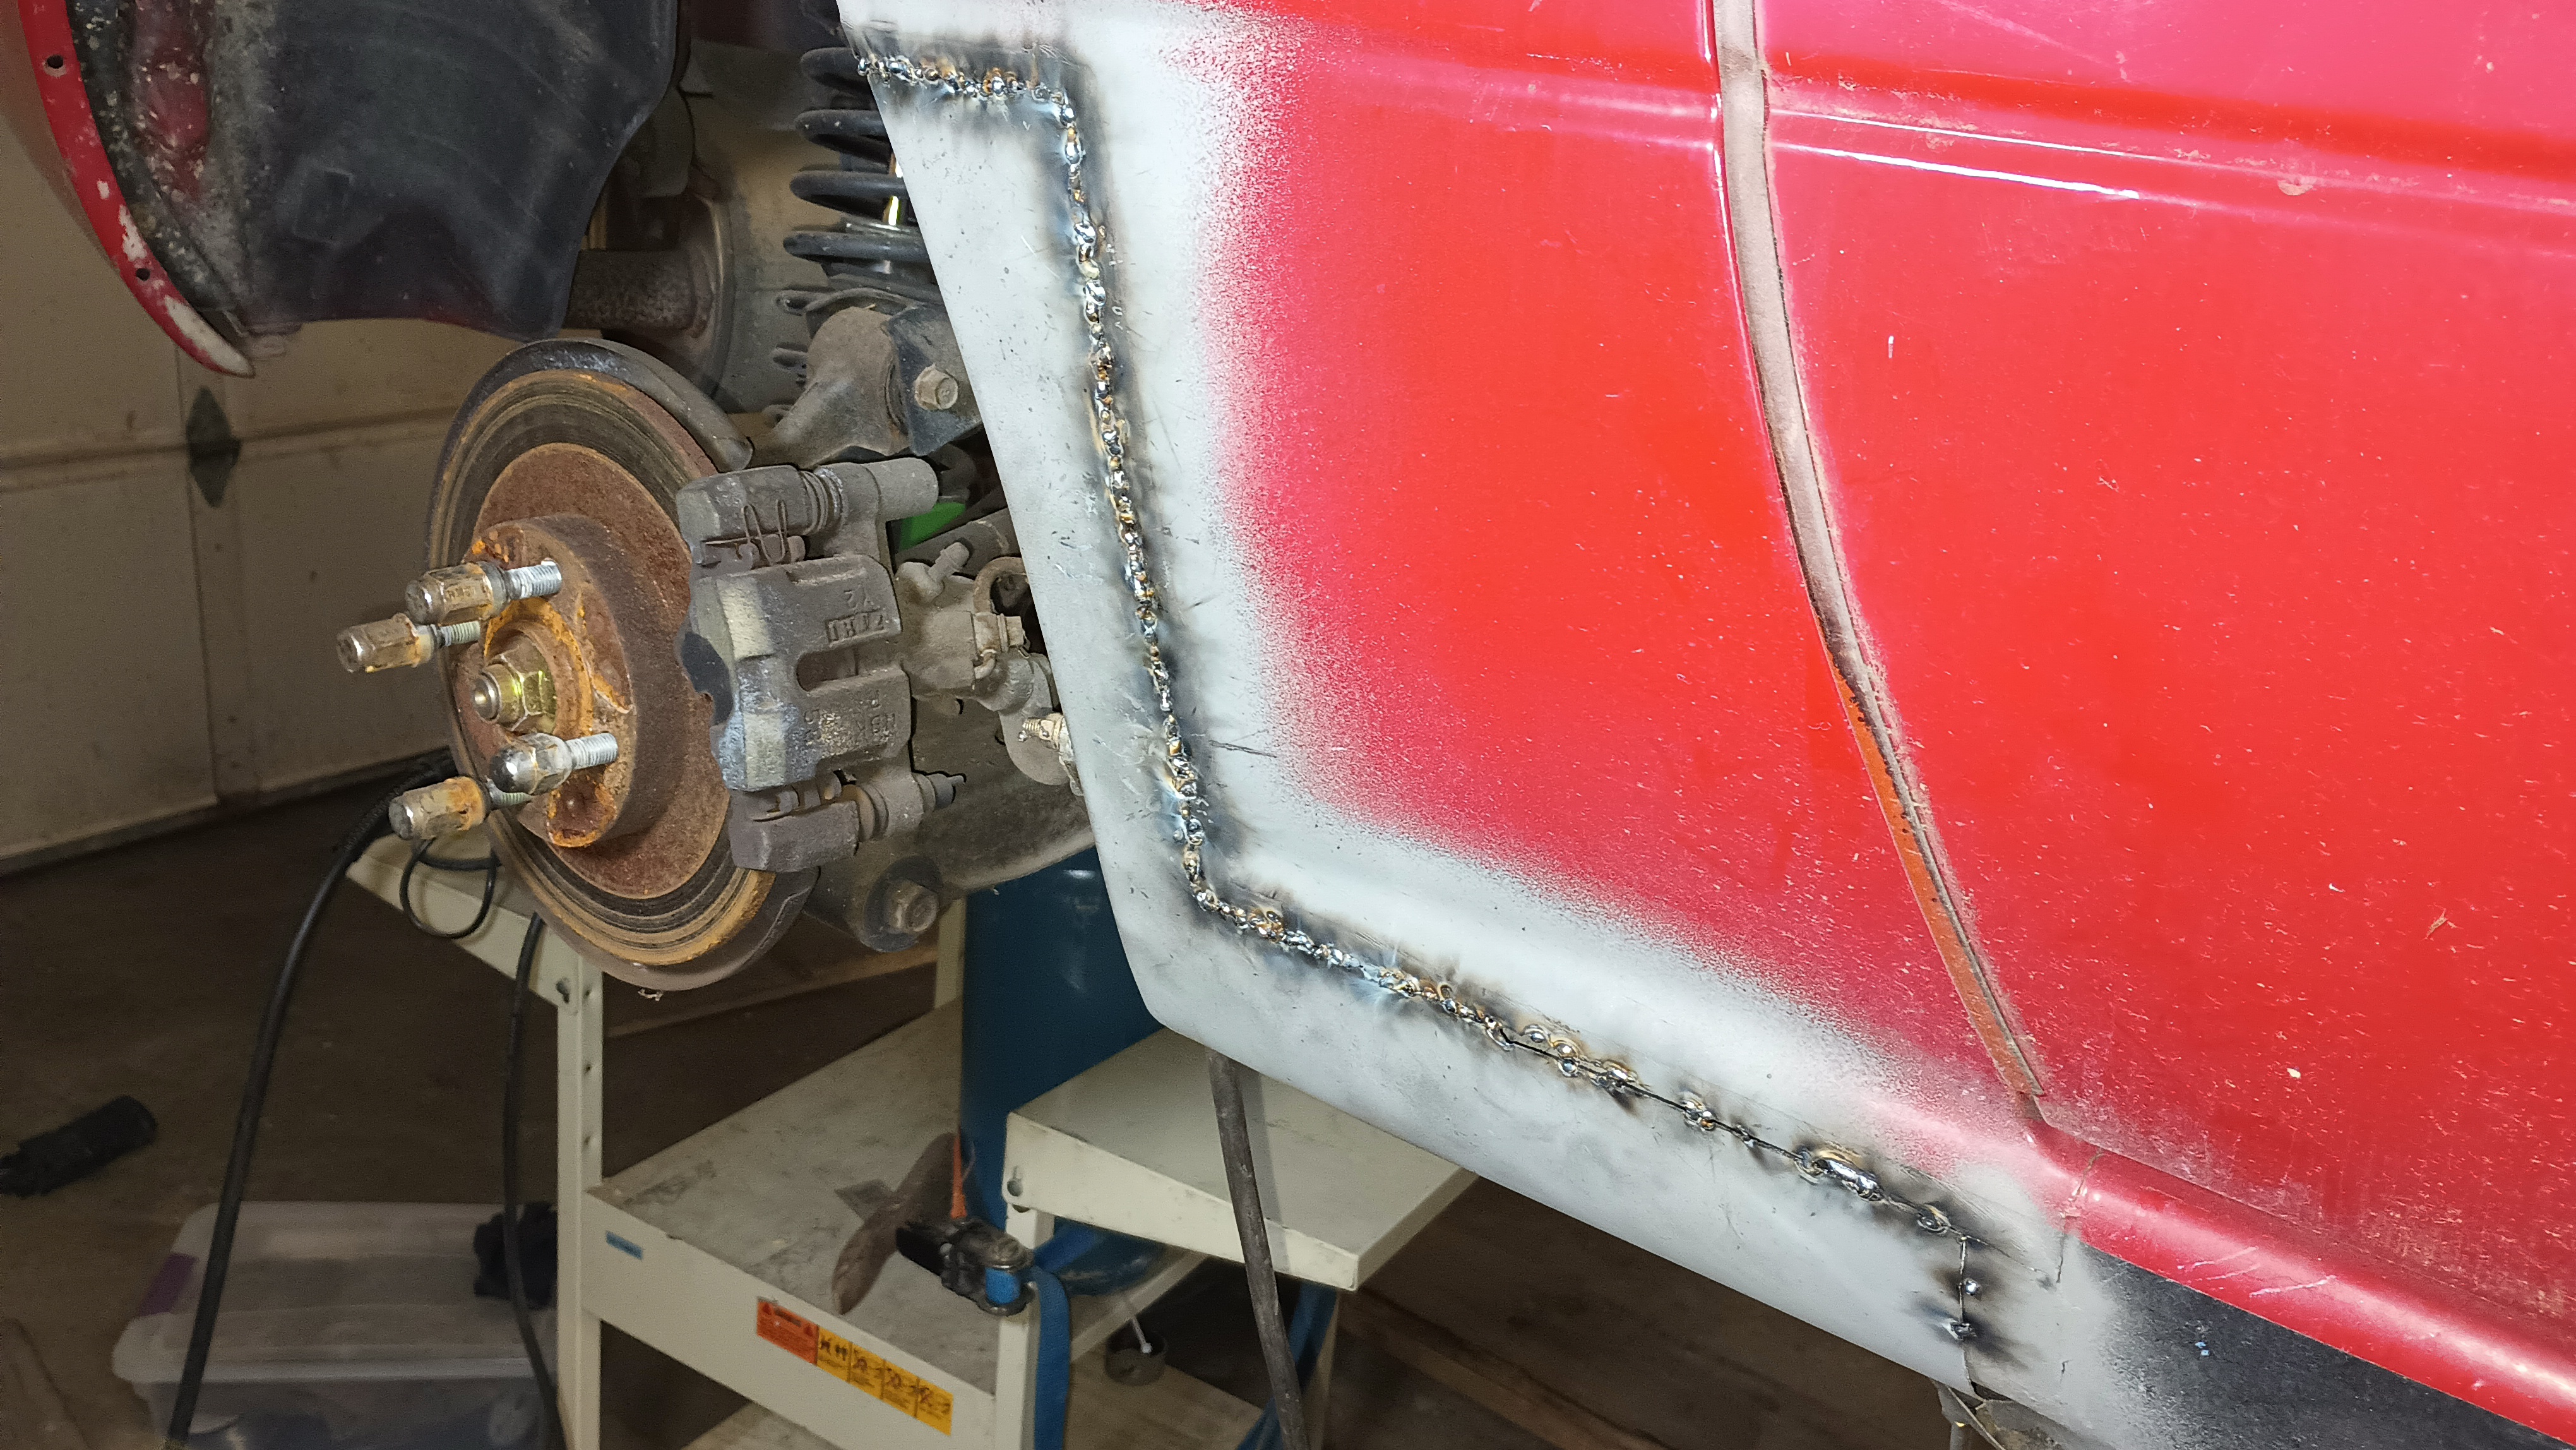
It's a slow process, but I got a whole bunch of little zip-zaps all along the joint.

There will certainly be spots that need to be hit still, but I used the flap wheel to grind down the welds and make it obvious where I need to hit it again.

There is one spot along the rocker where I waaaay over-cut the patch panel leaving me with a decent gap.  I think I'm going to try to cut a small scrap to fill the gap since it's a little much to try to build up with welding wire. 

It's such a relief to have been able to make some progress with this.  I know I said I was going to spend a little time each Friday on this, but I haven't really been able to get the time to come out and work on it.  Since I've got use-it-or-lose-it  PTO to burn before the end of the year, though, I decided to make it a point to come out here today and spend some quality time.

wae
wae PowerDork
11/22/23 11:29 p.m.

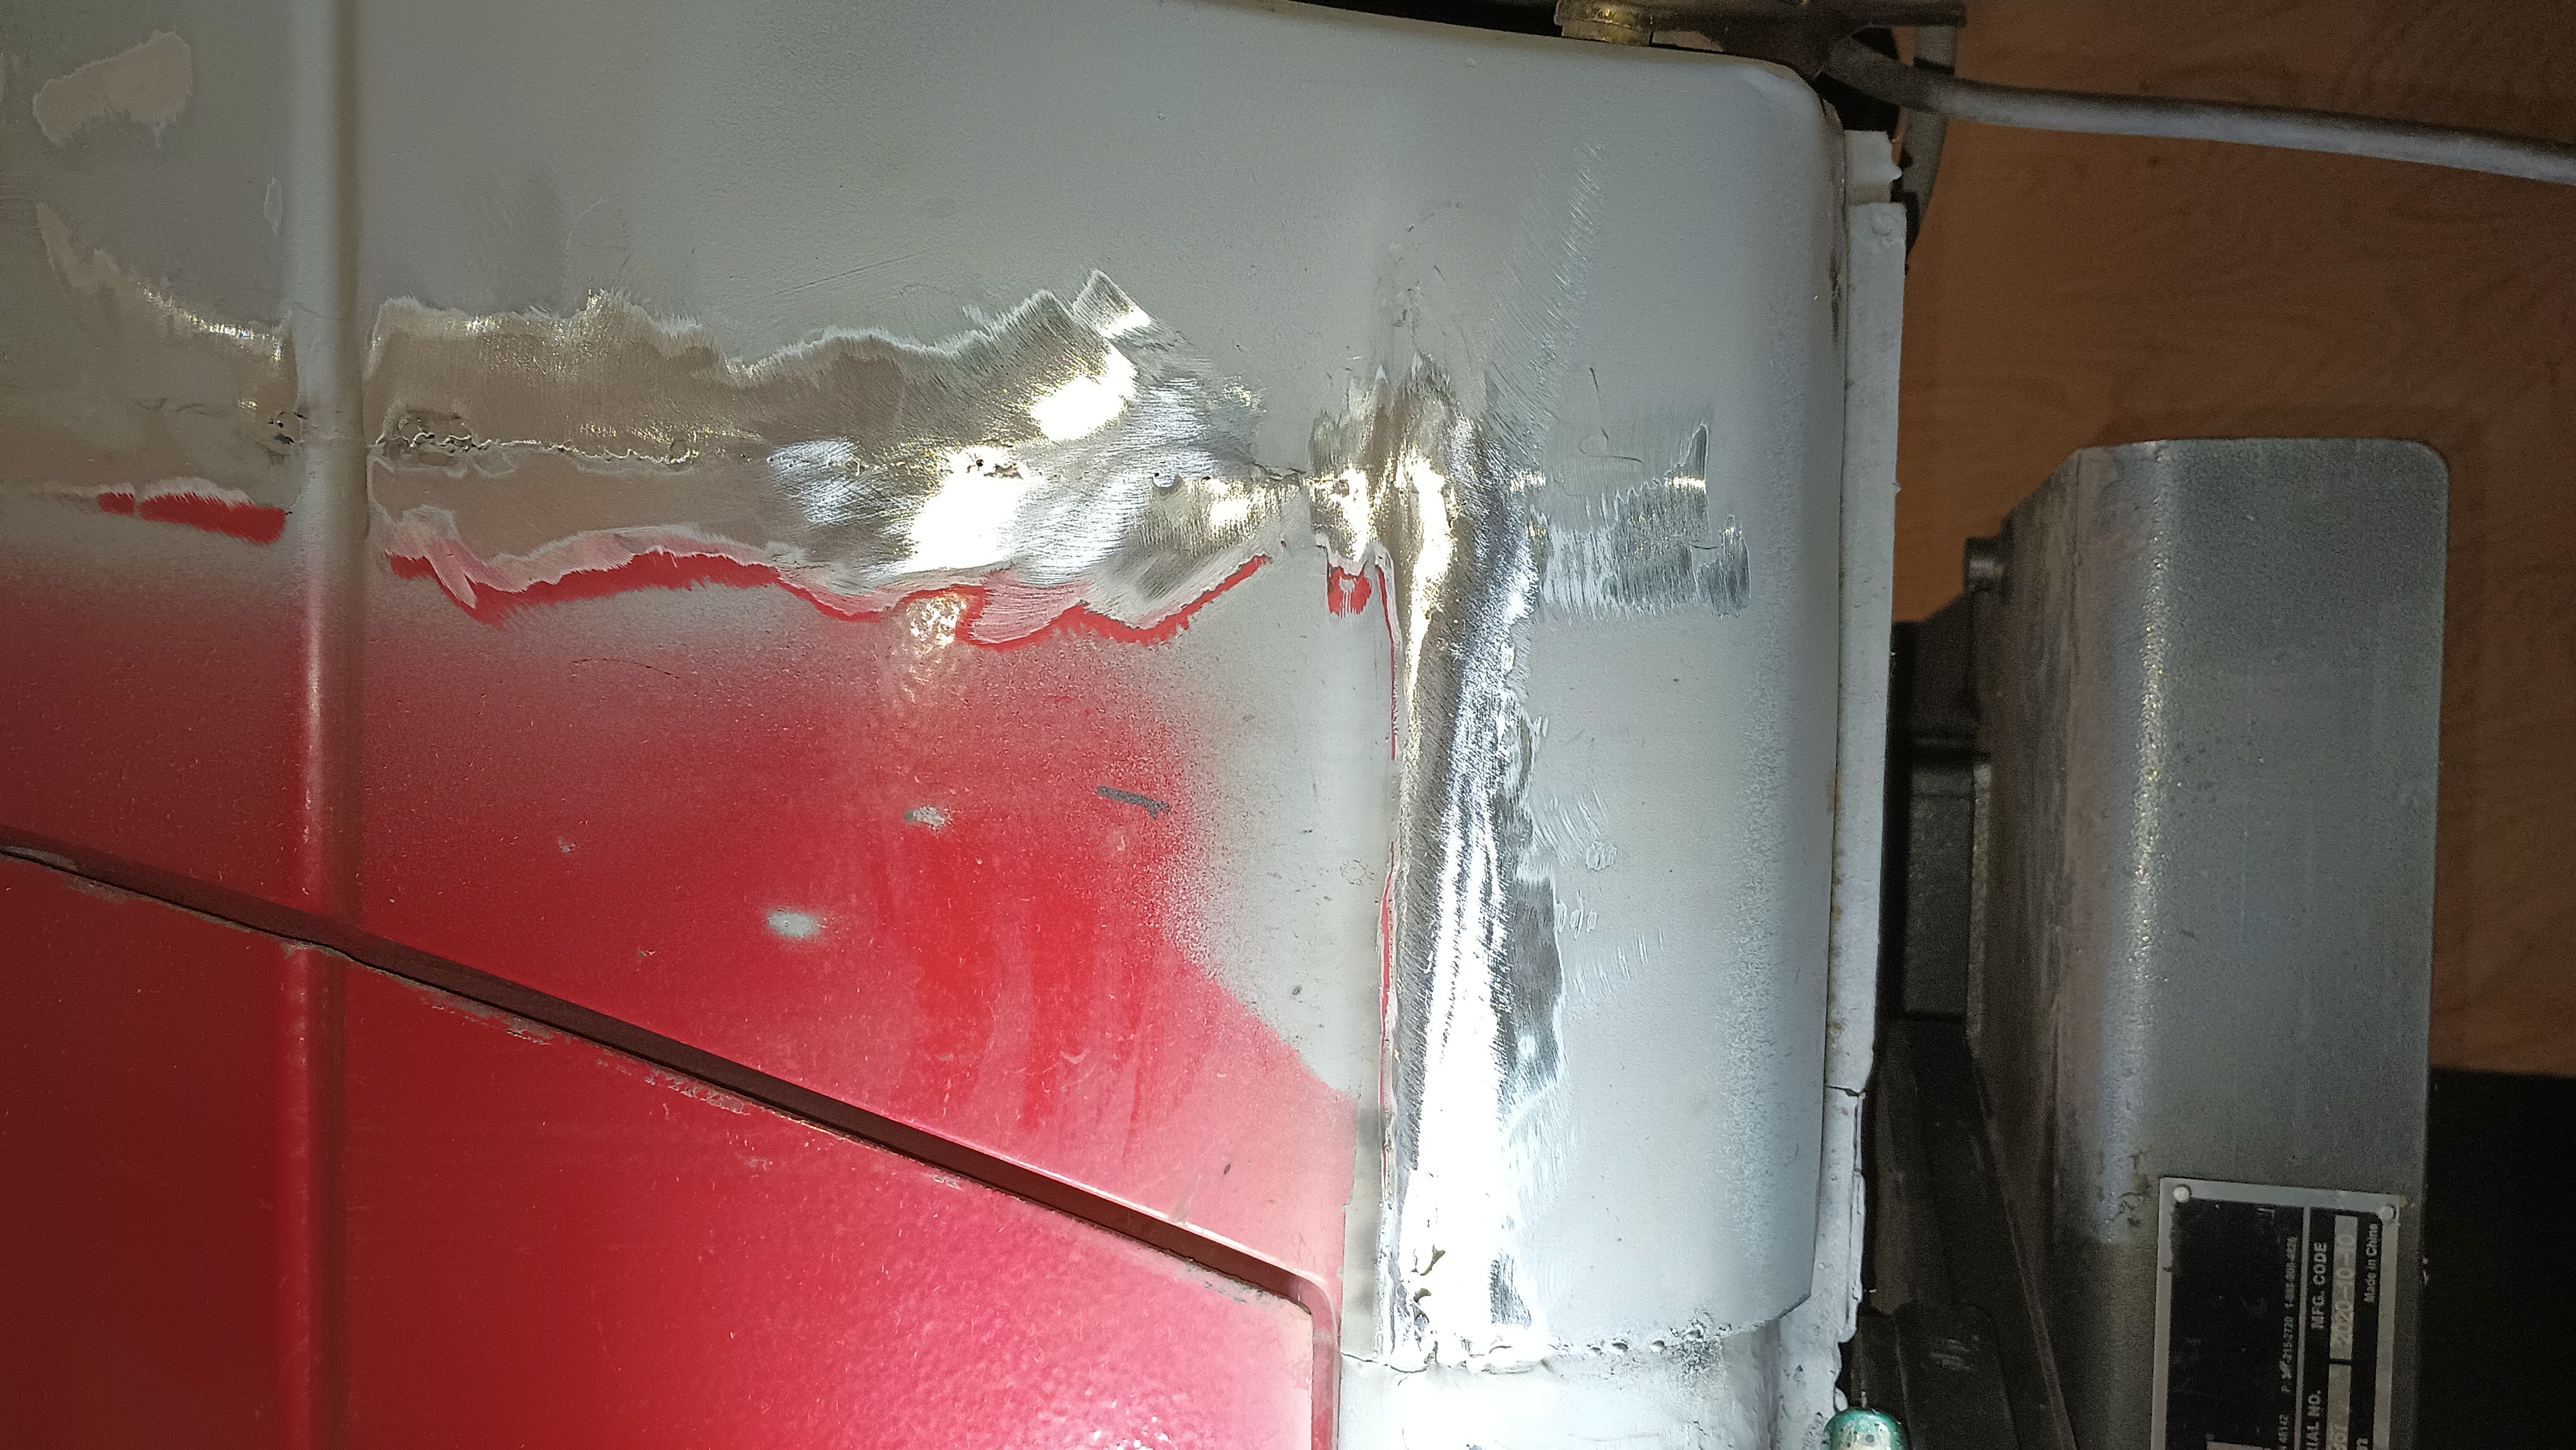
Grind... weld...  grind...  weld...

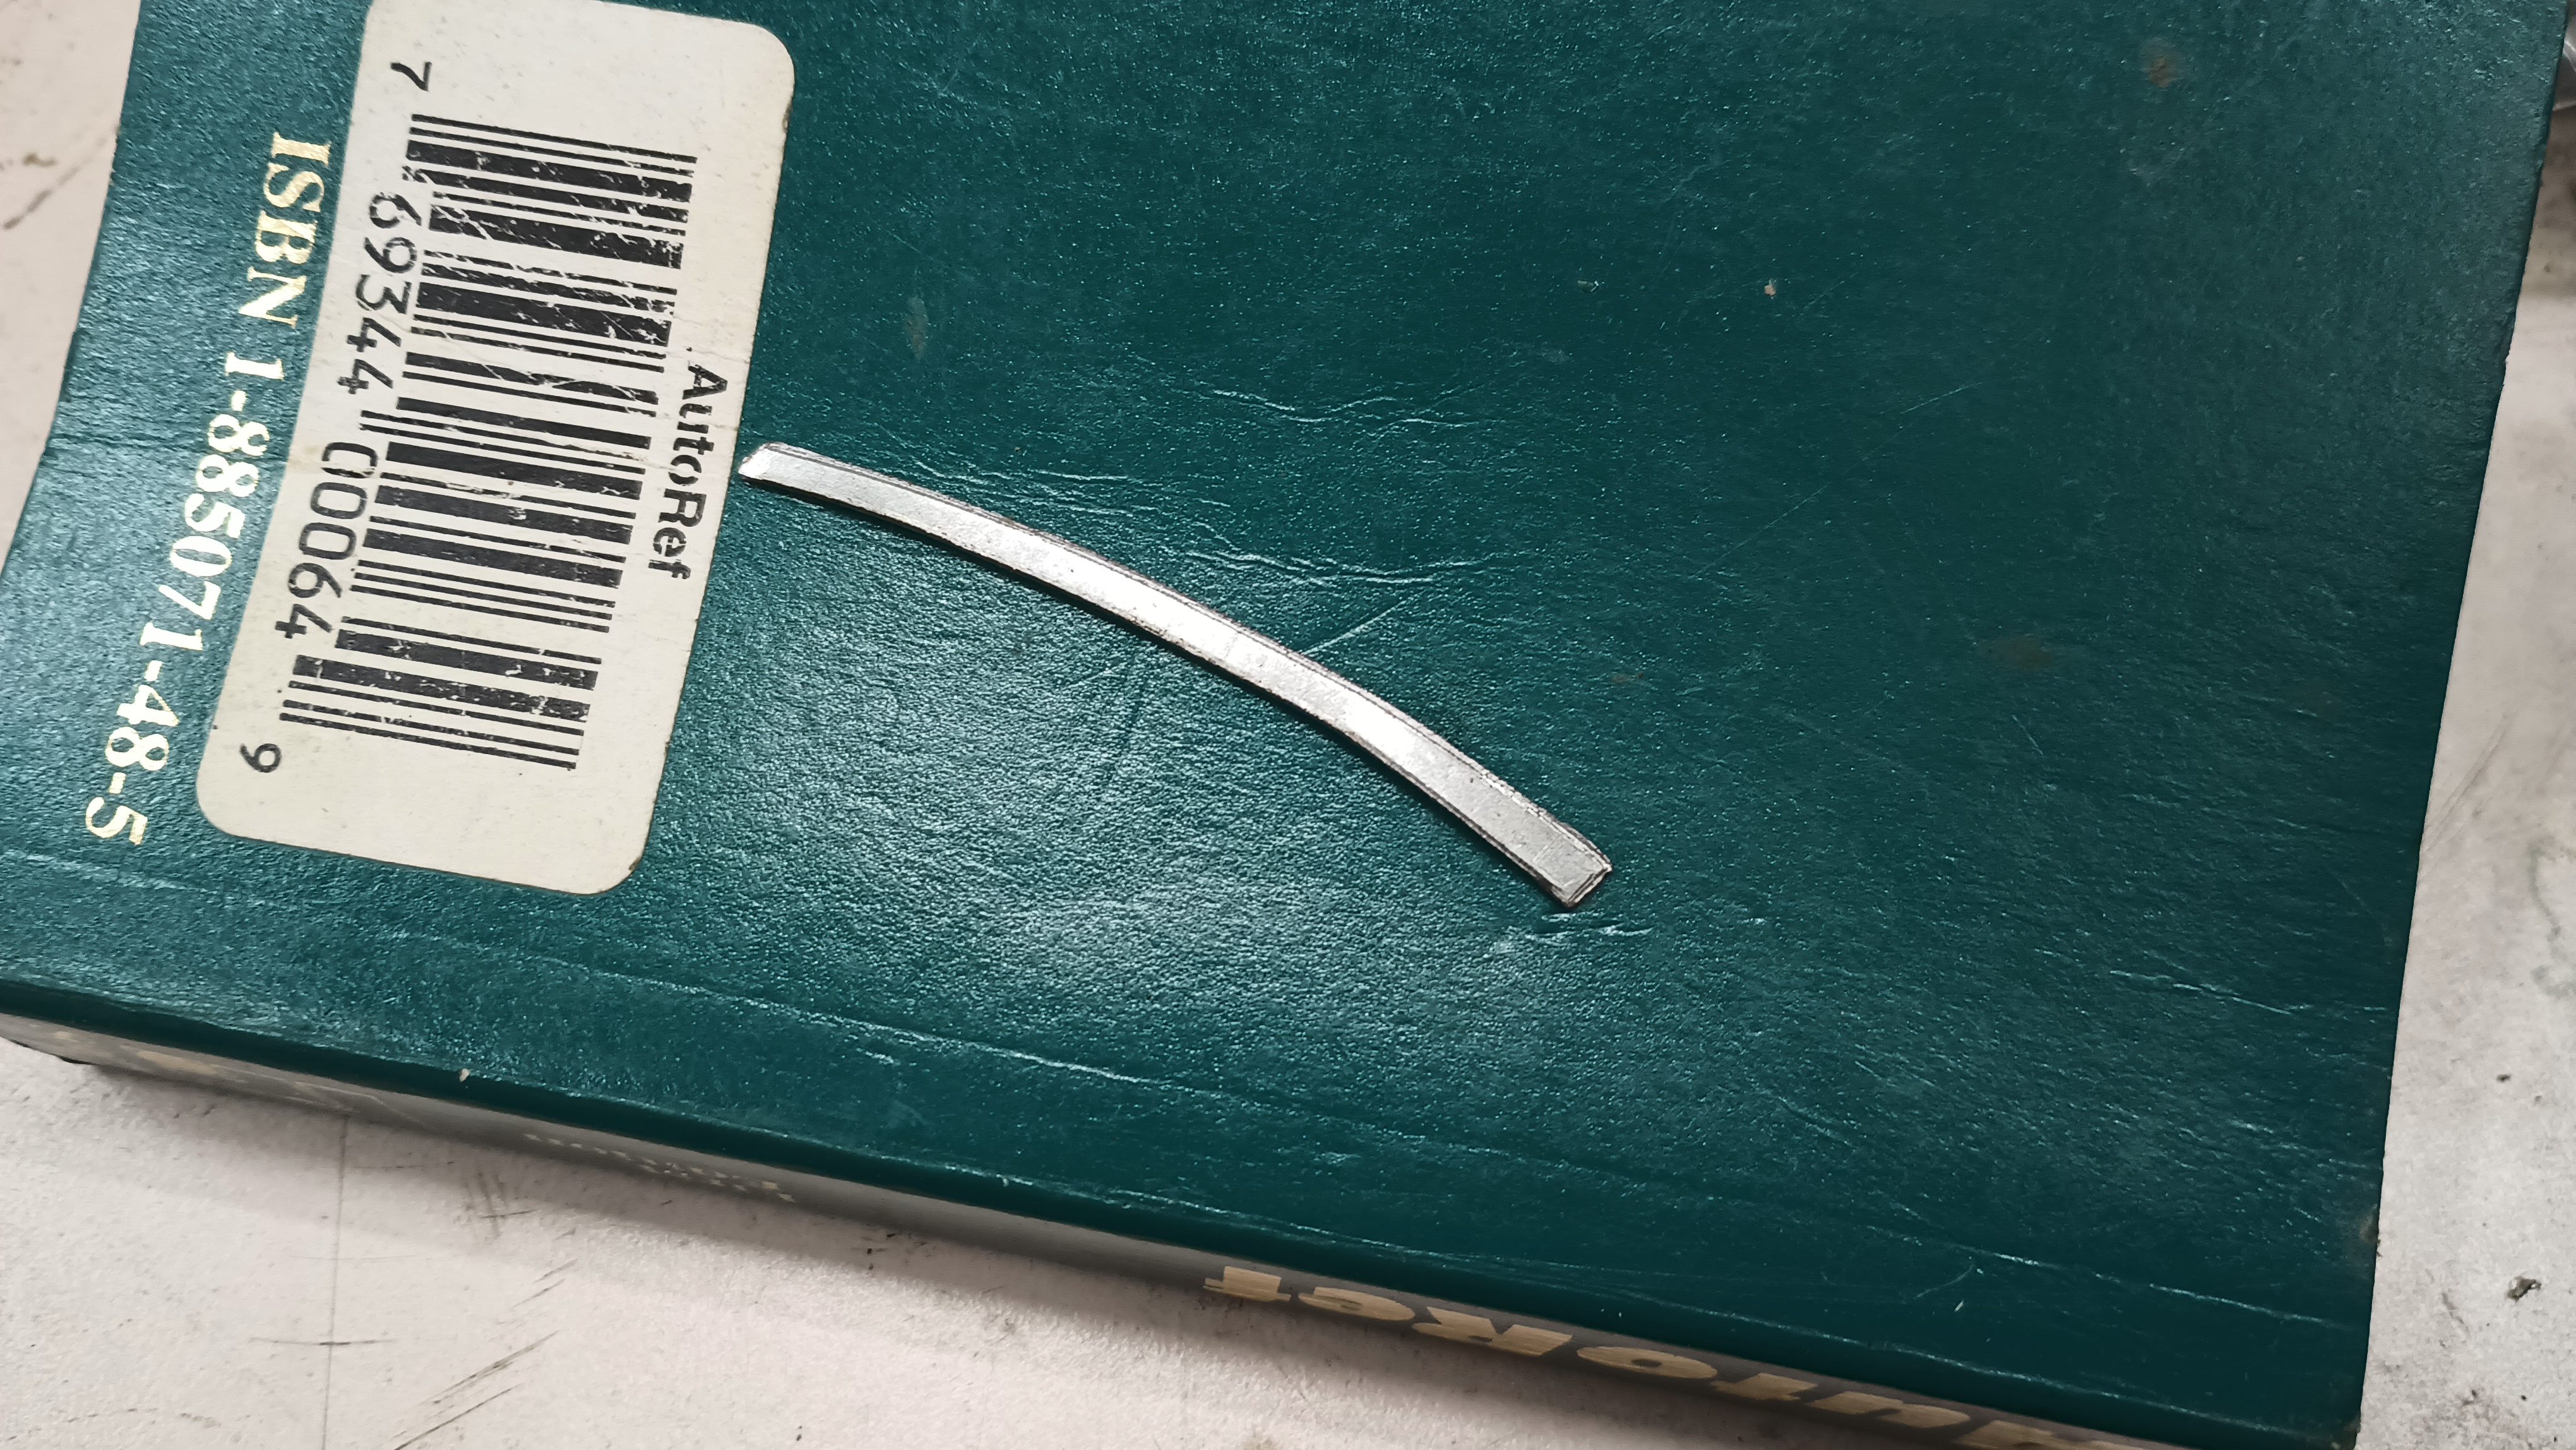
I cut the panel incorrectly and left a bit of a gap.  Using the electric shears, I got a couple little strips of the fender patch metal.

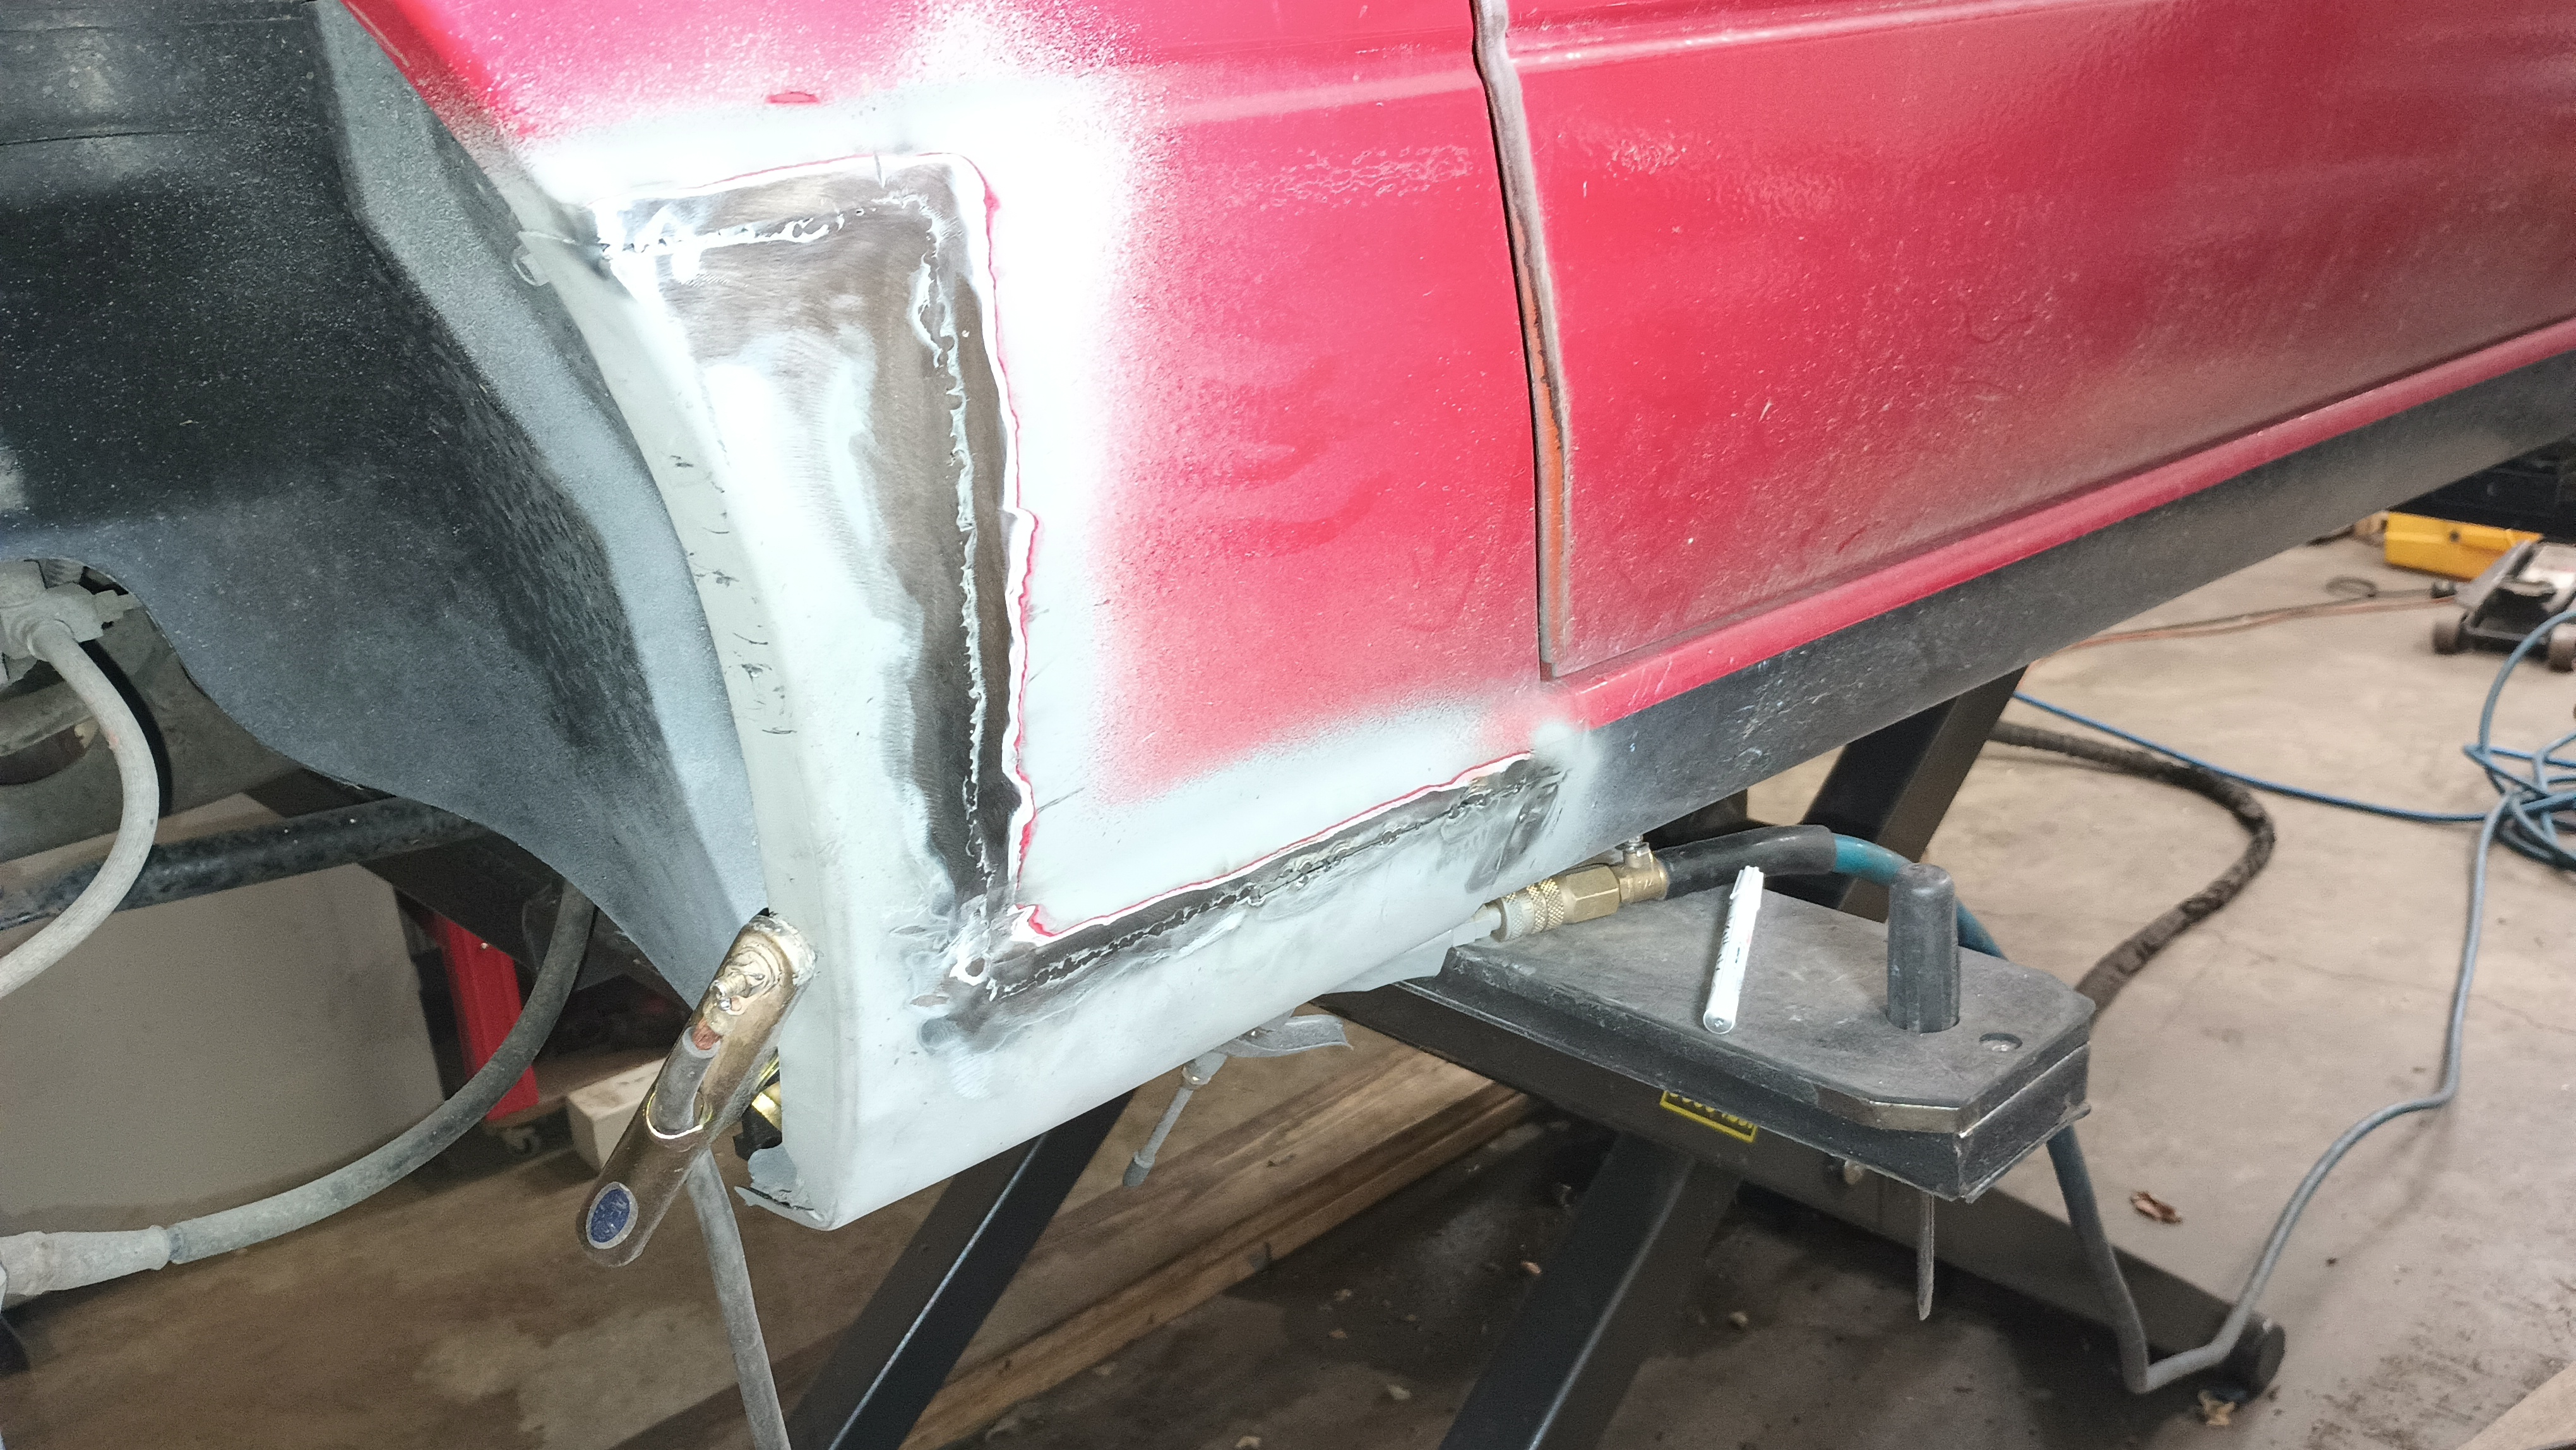
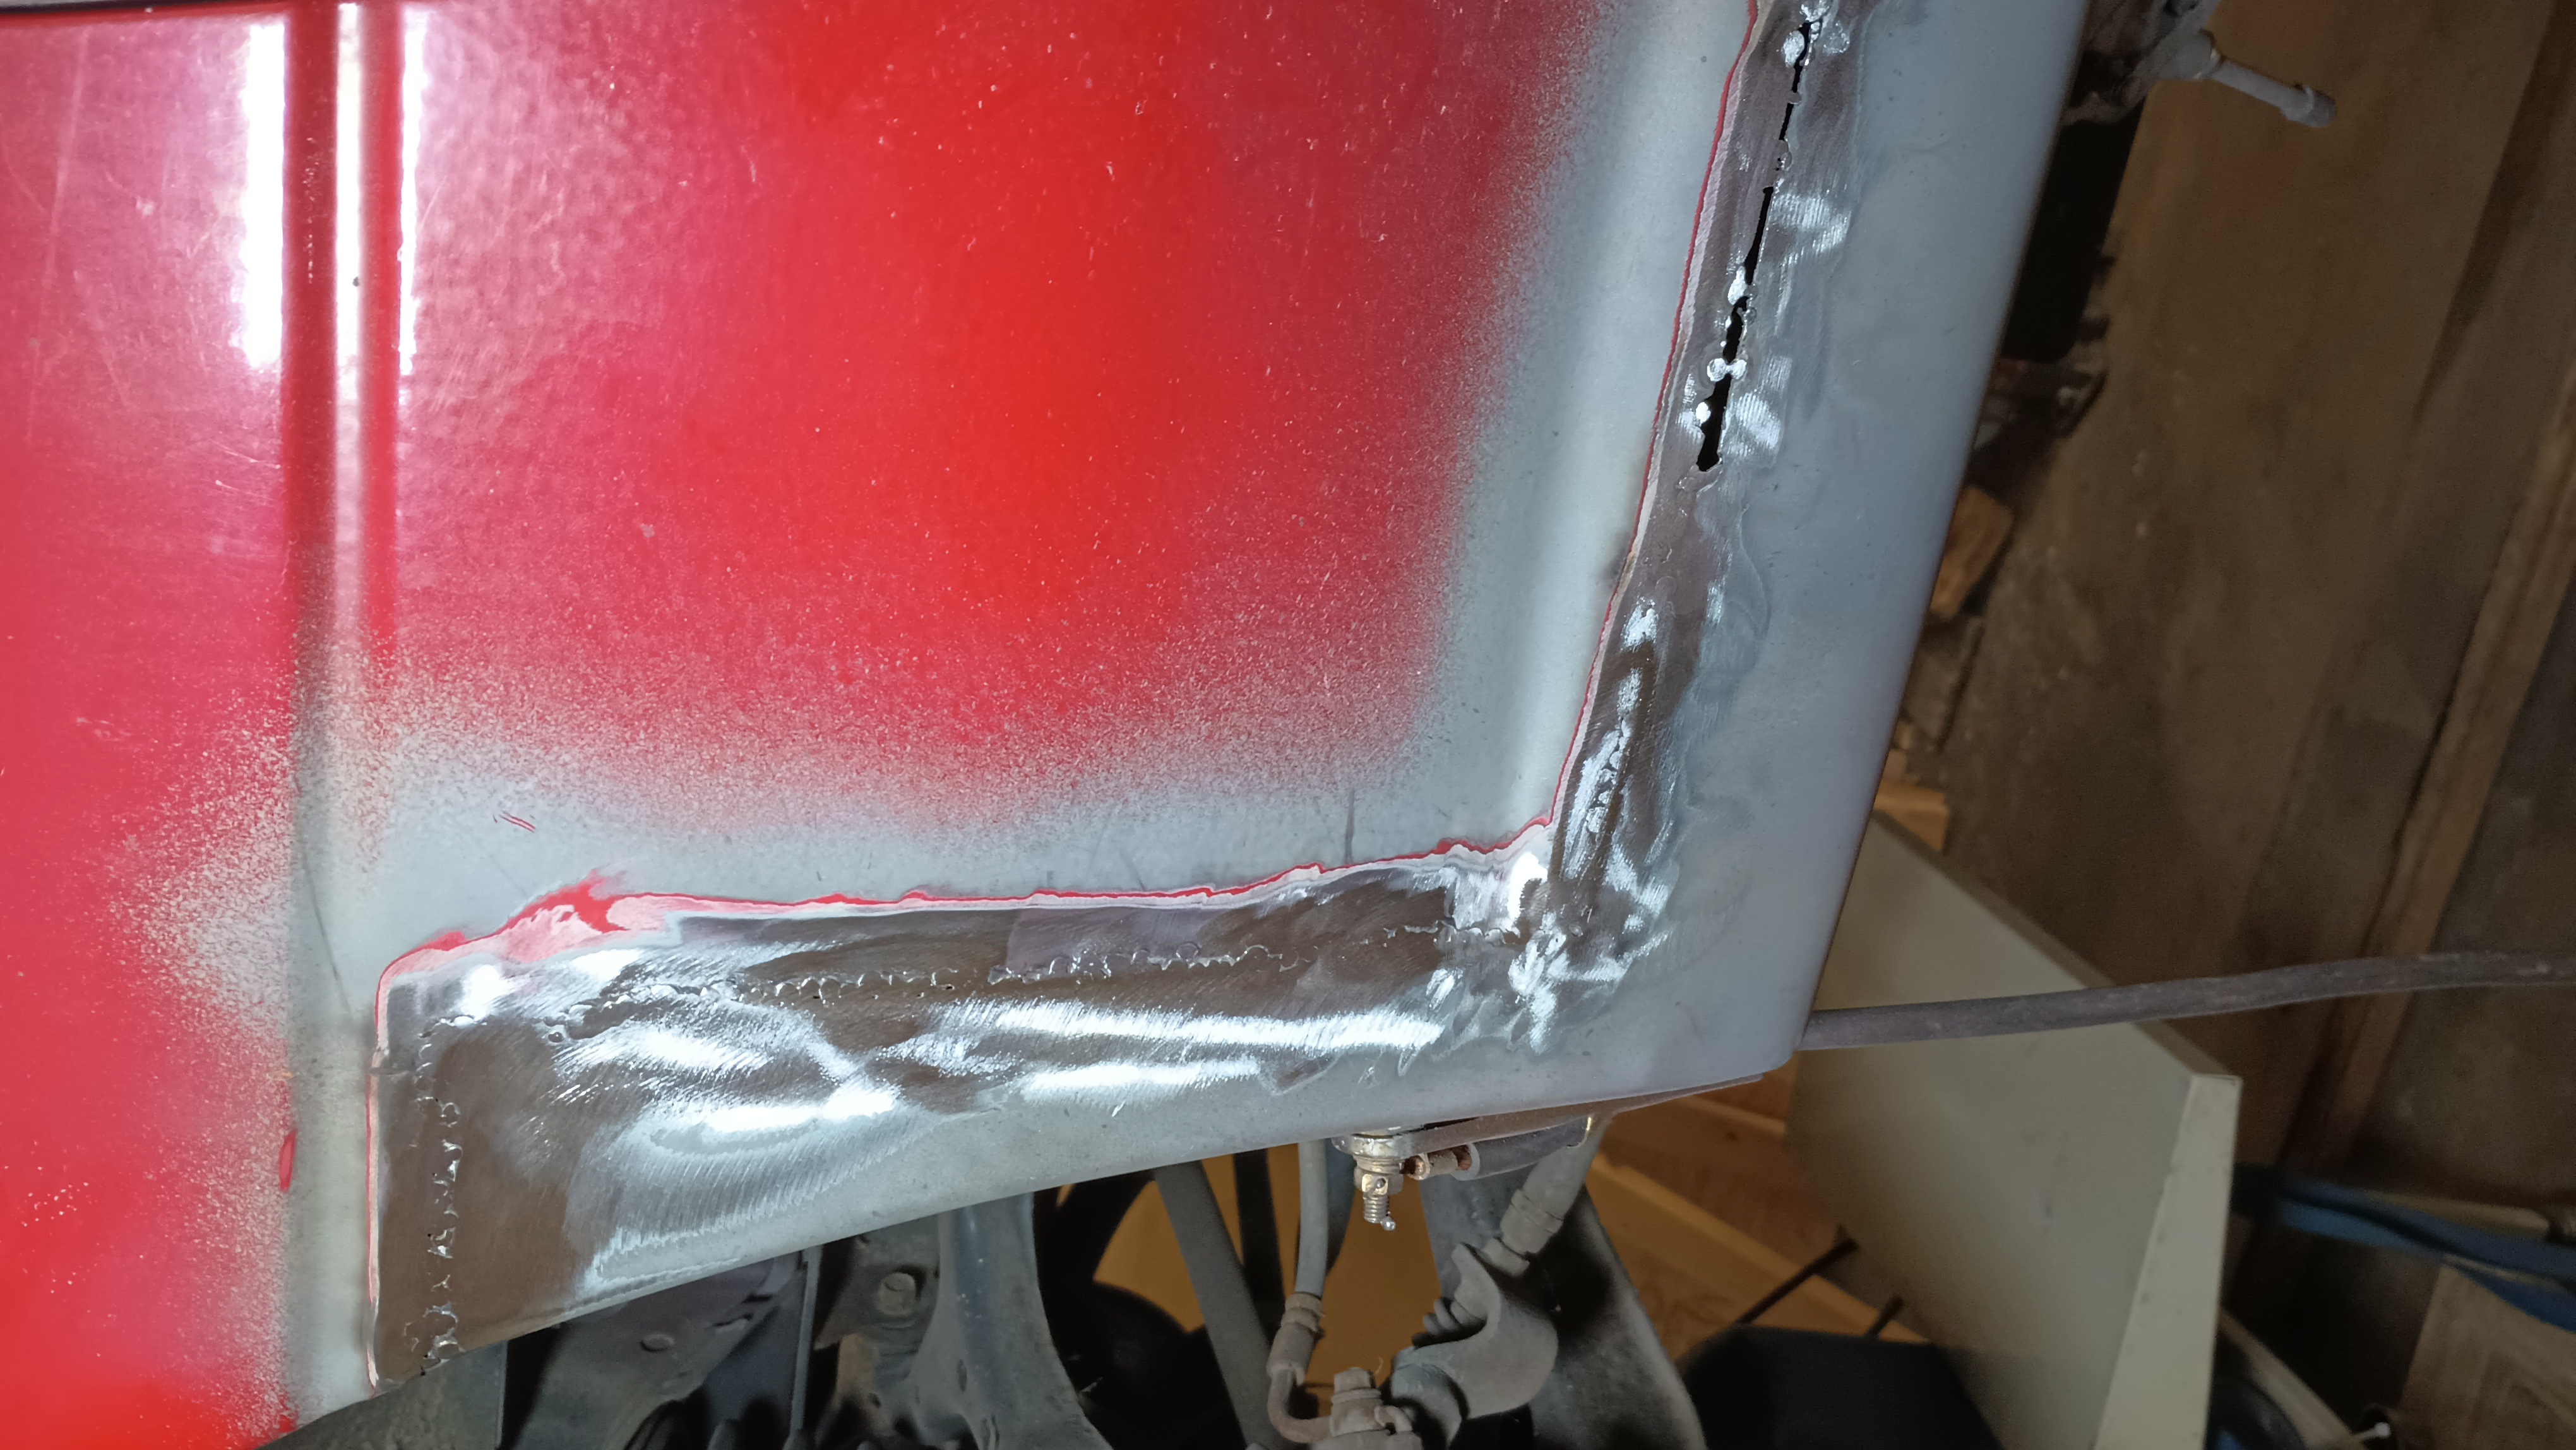
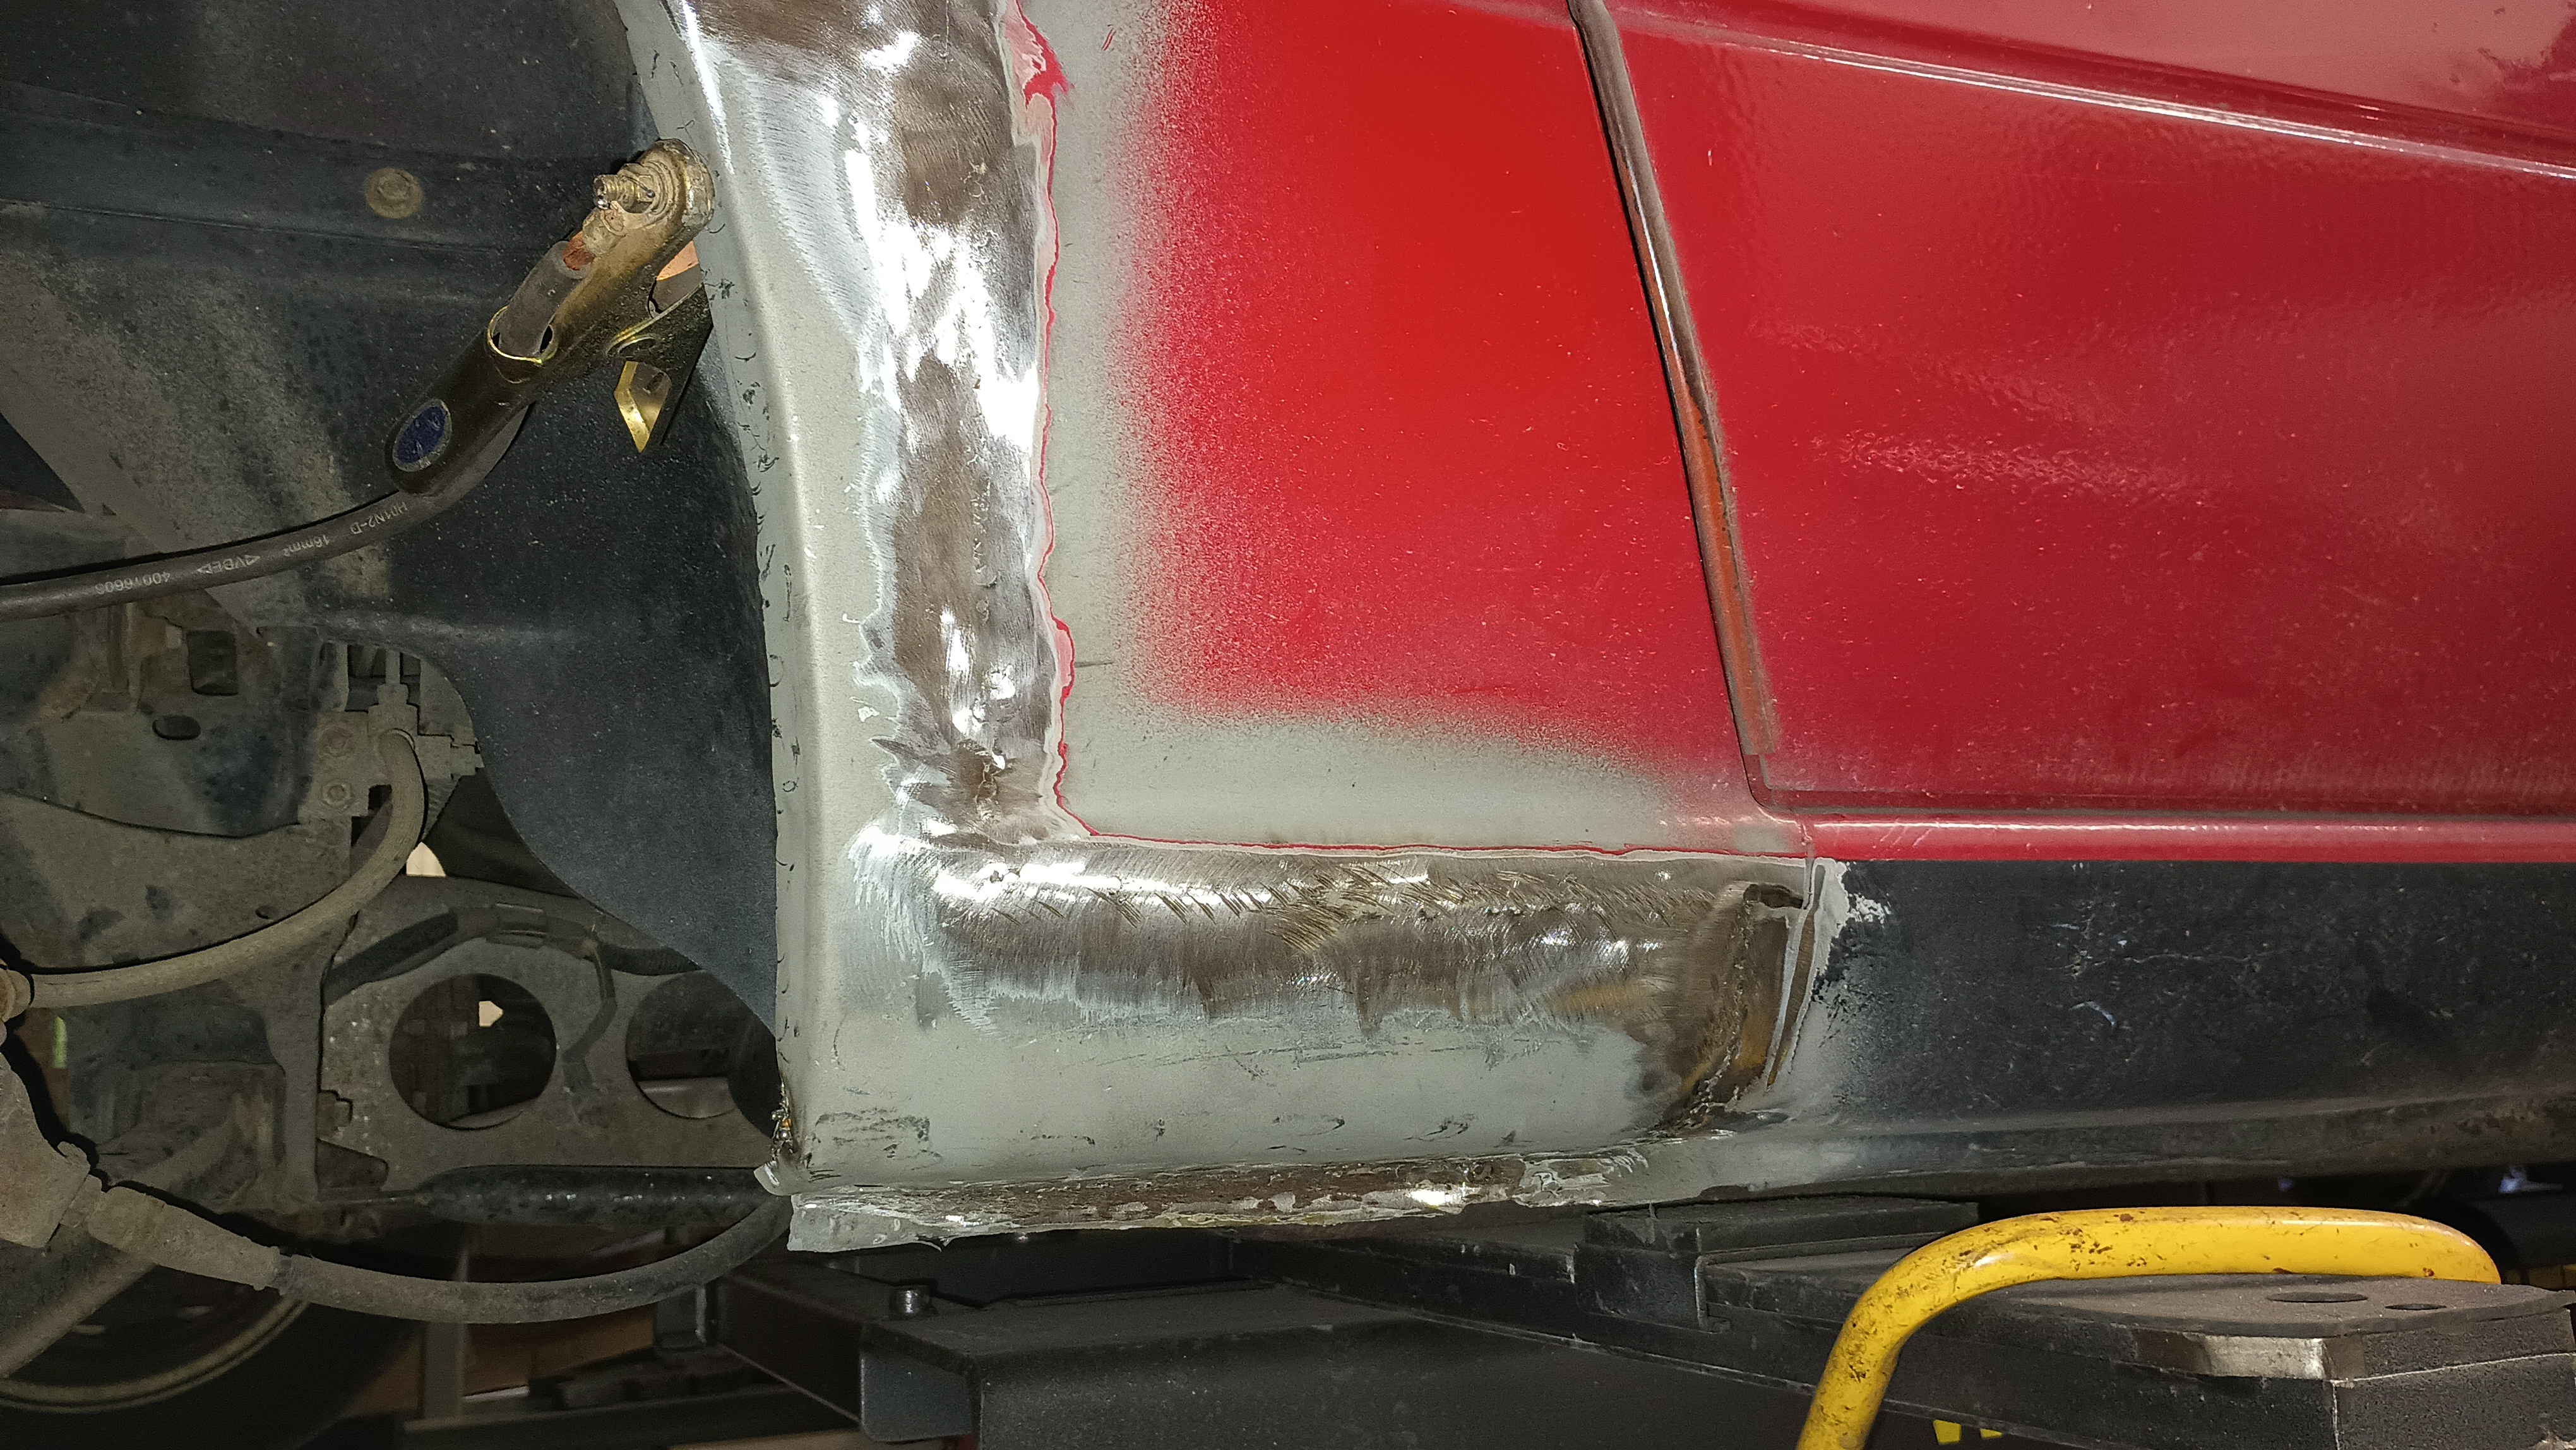
And after a little bit more weld...grind...weld...grind, I was left with this:

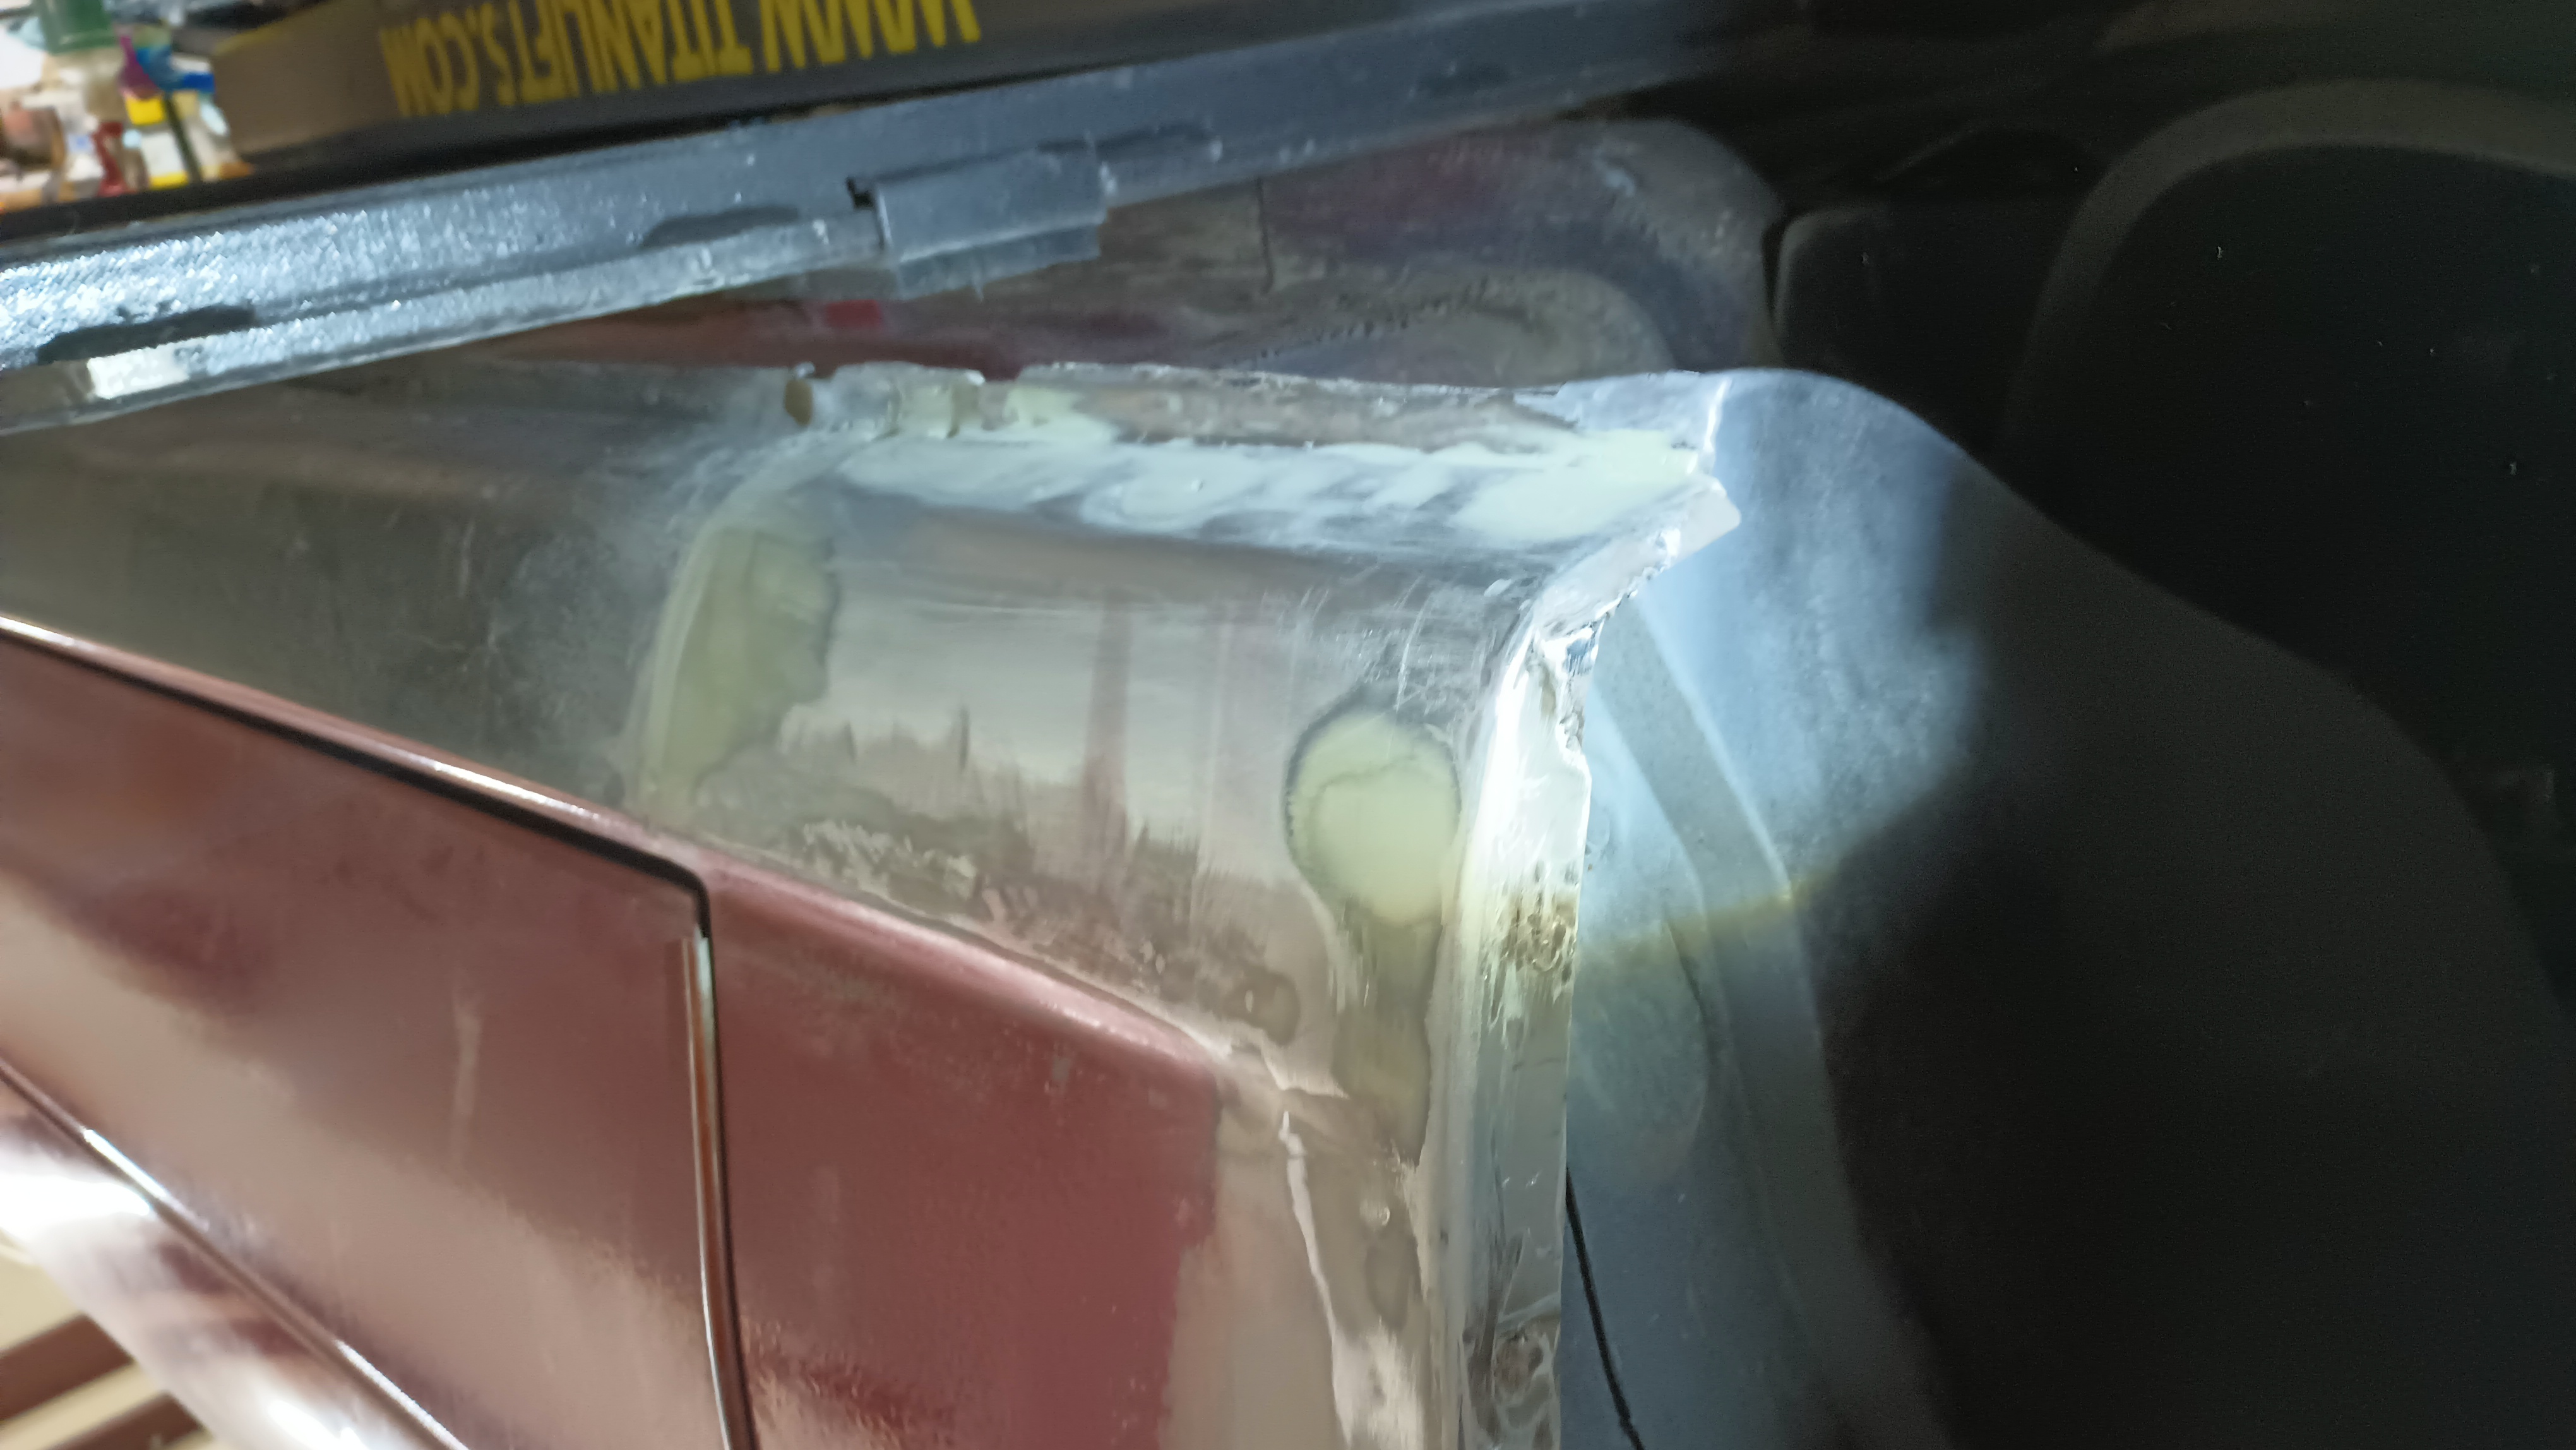
It's hard to photograph, but the bottom section needs to be touched up a bit still (more weld...grind...weld...grind...) and I need to close the gap inside the wheel well.  Once that's done, it'll get a skim coat of Evercoat and I'll be ready to call the right side body work finished.

The left side still has a little bit of a gap that needs to be filled, a few pinholes that need to be addressed, and the bottom and inside wheel arch sections need to be finished.  Since I am already set up on the right side, though, I figured I might as well finish this up first before moving back to complete the left.

If I can keep this up, I just might be able to drive this poor little car come springtime!

wae
wae PowerDork
12/9/23 8:23 a.m.

Bit more of weld grind weld grind.  I think I'm ready to call the right side metalwork complete.  I just realized that I have no pictures of it, though.  I drilled some holes in the wheel arch portion to get a spot weld effect and zapped up the rest of the holes.

Returning to the left side, I used the snips to make some thin strips of quarter panel so I could fill in this:

After a bit, it looks more like this:

The bottom curve needs to be massaged into place and zapped down, but that's about it for the metalwork on the left side.  It doesn't look as great as I had hoped, but it's better than I feared.

I ordered up a can of Rage Gold to do the fill work and then it should be ready for paint on its hindquarters.

The front fender still needs to be dealt with, but I may just go with a fiberglass backing and some filler.  If I'm remembering the damage correctly, it's all located where the fender wraps down under the car and is mostly a series of small holes as opposed to a giant missing section.

wae
wae PowerDork
1/3/24 11:05 p.m.

A few minutes here, a few minutes there...

Maybe one or two more skim coats and the right side will be finished.


wae
wae UltimaDork
4/10/24 1:53 p.m.

Funny story - if you look closely you can see the reflection of a Maserati Biturbo in a bunch of the photos there!

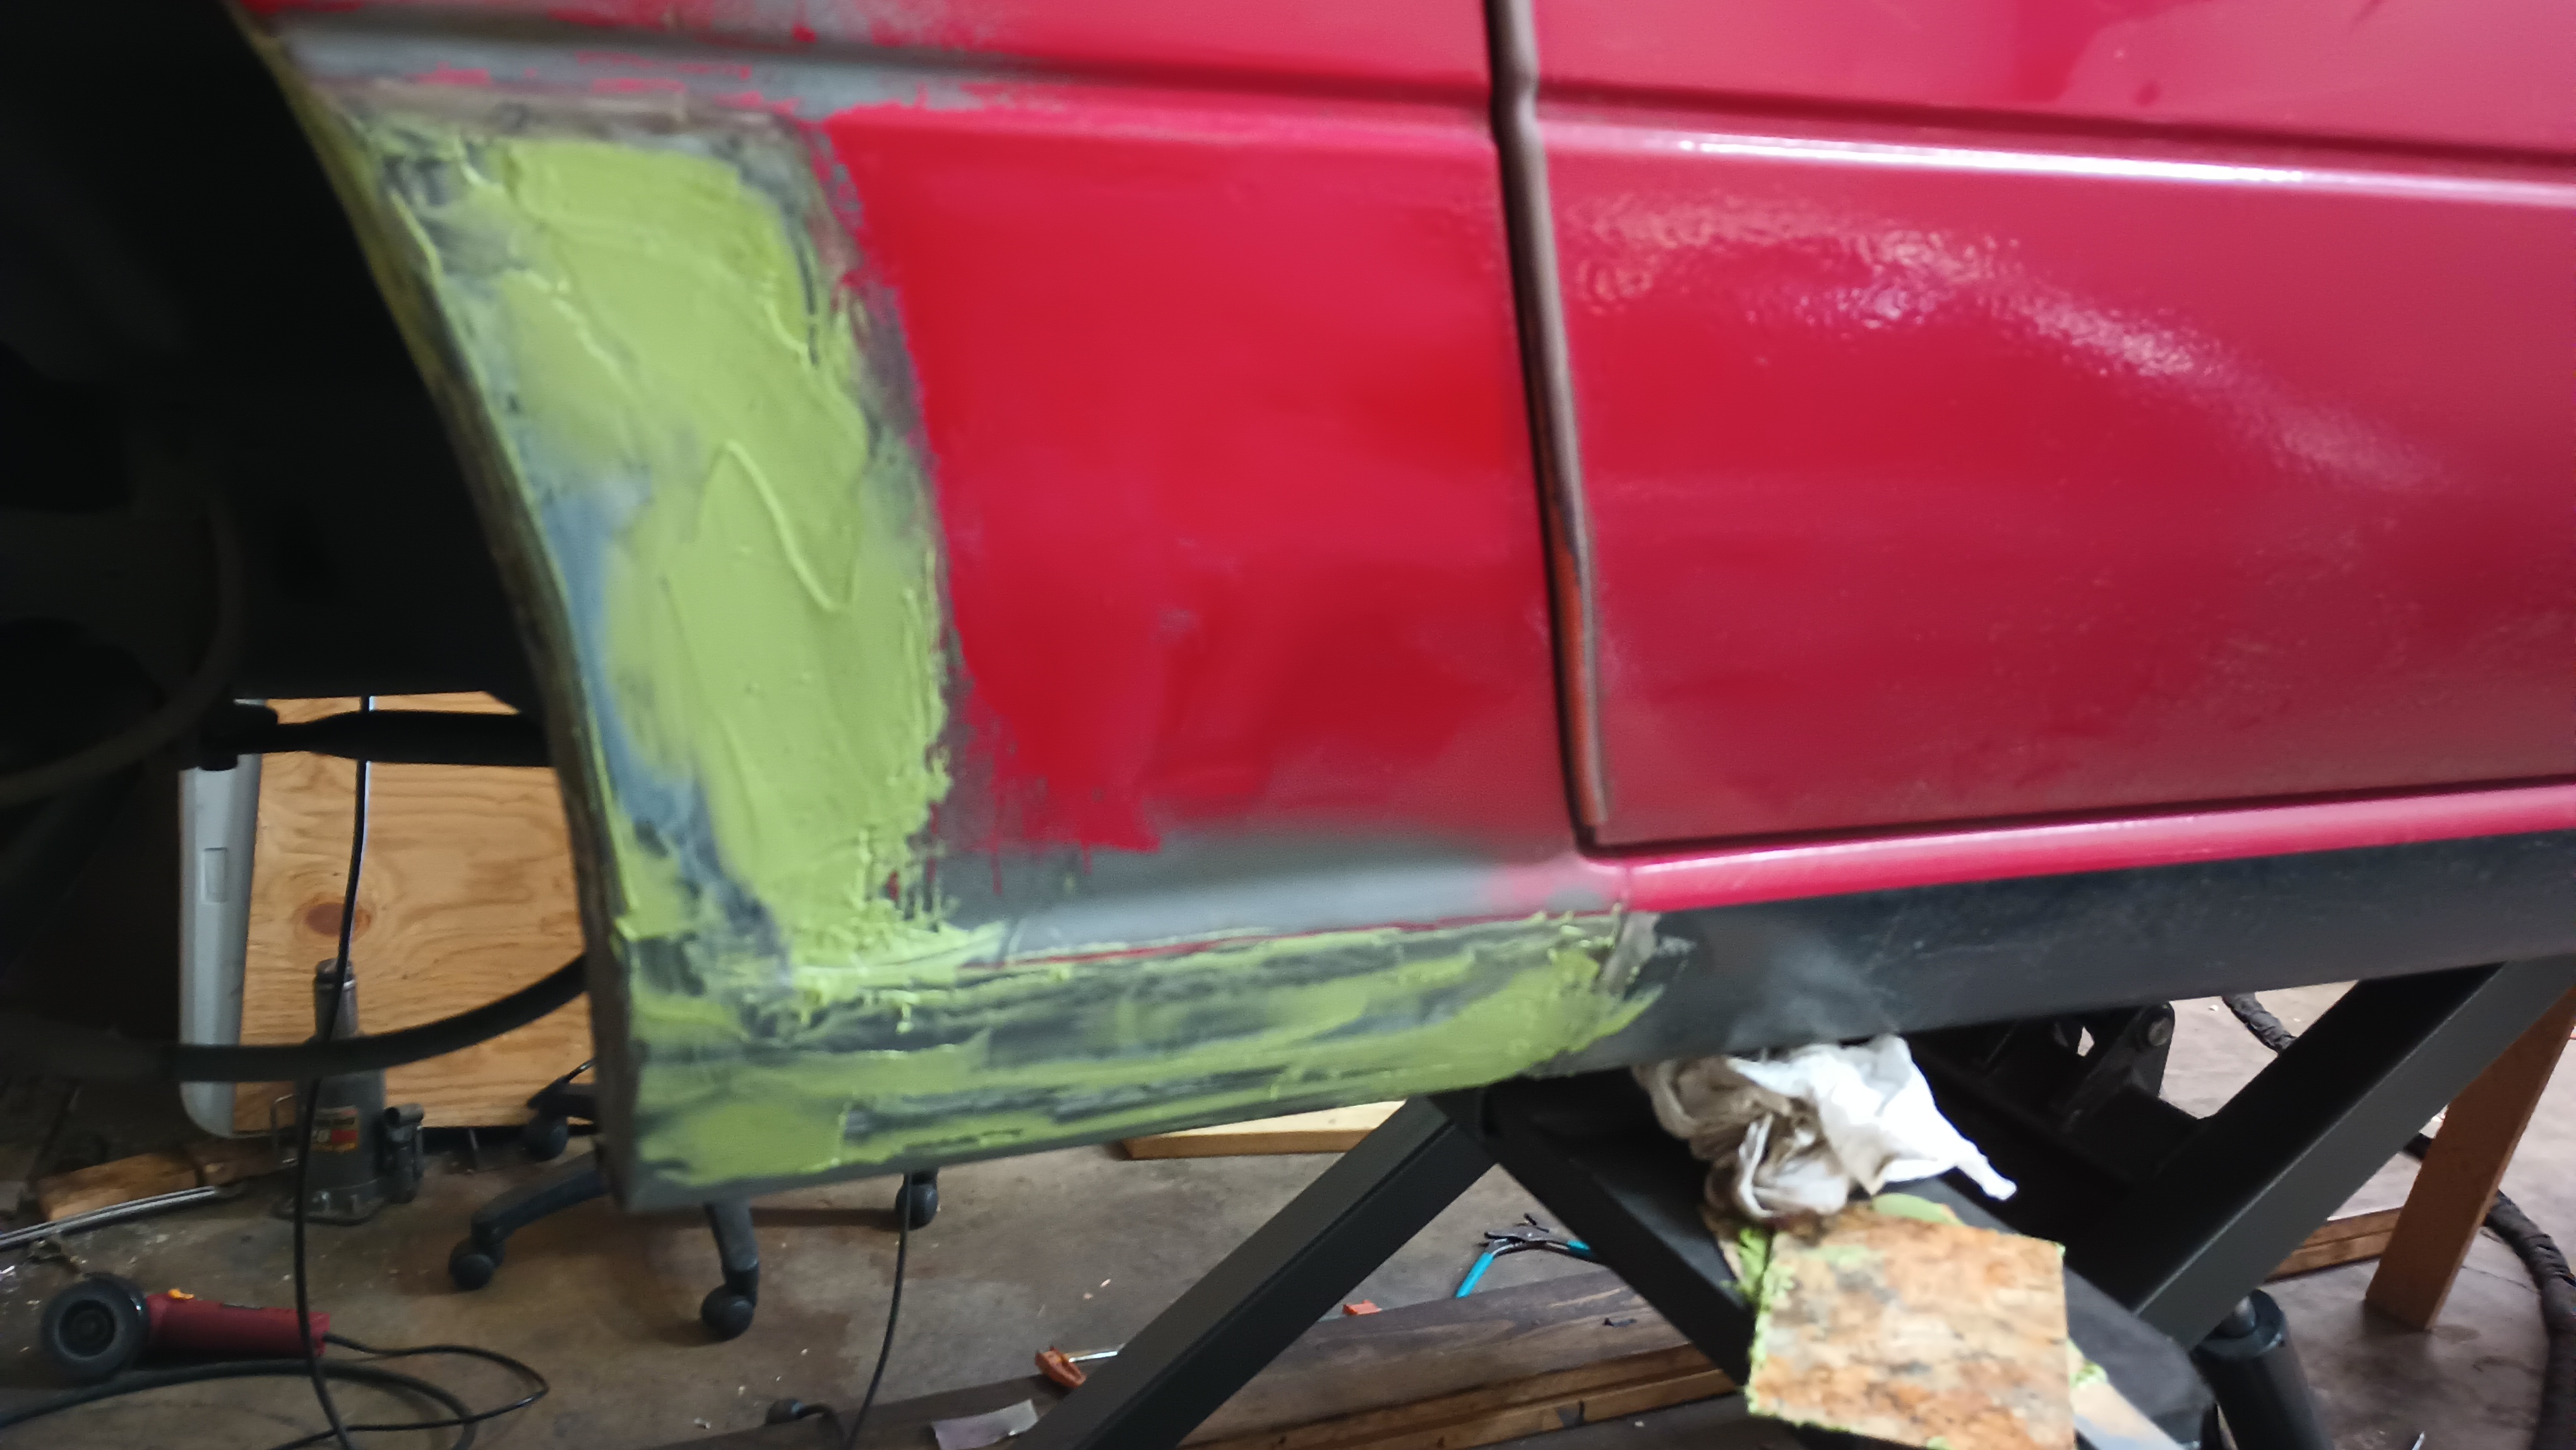
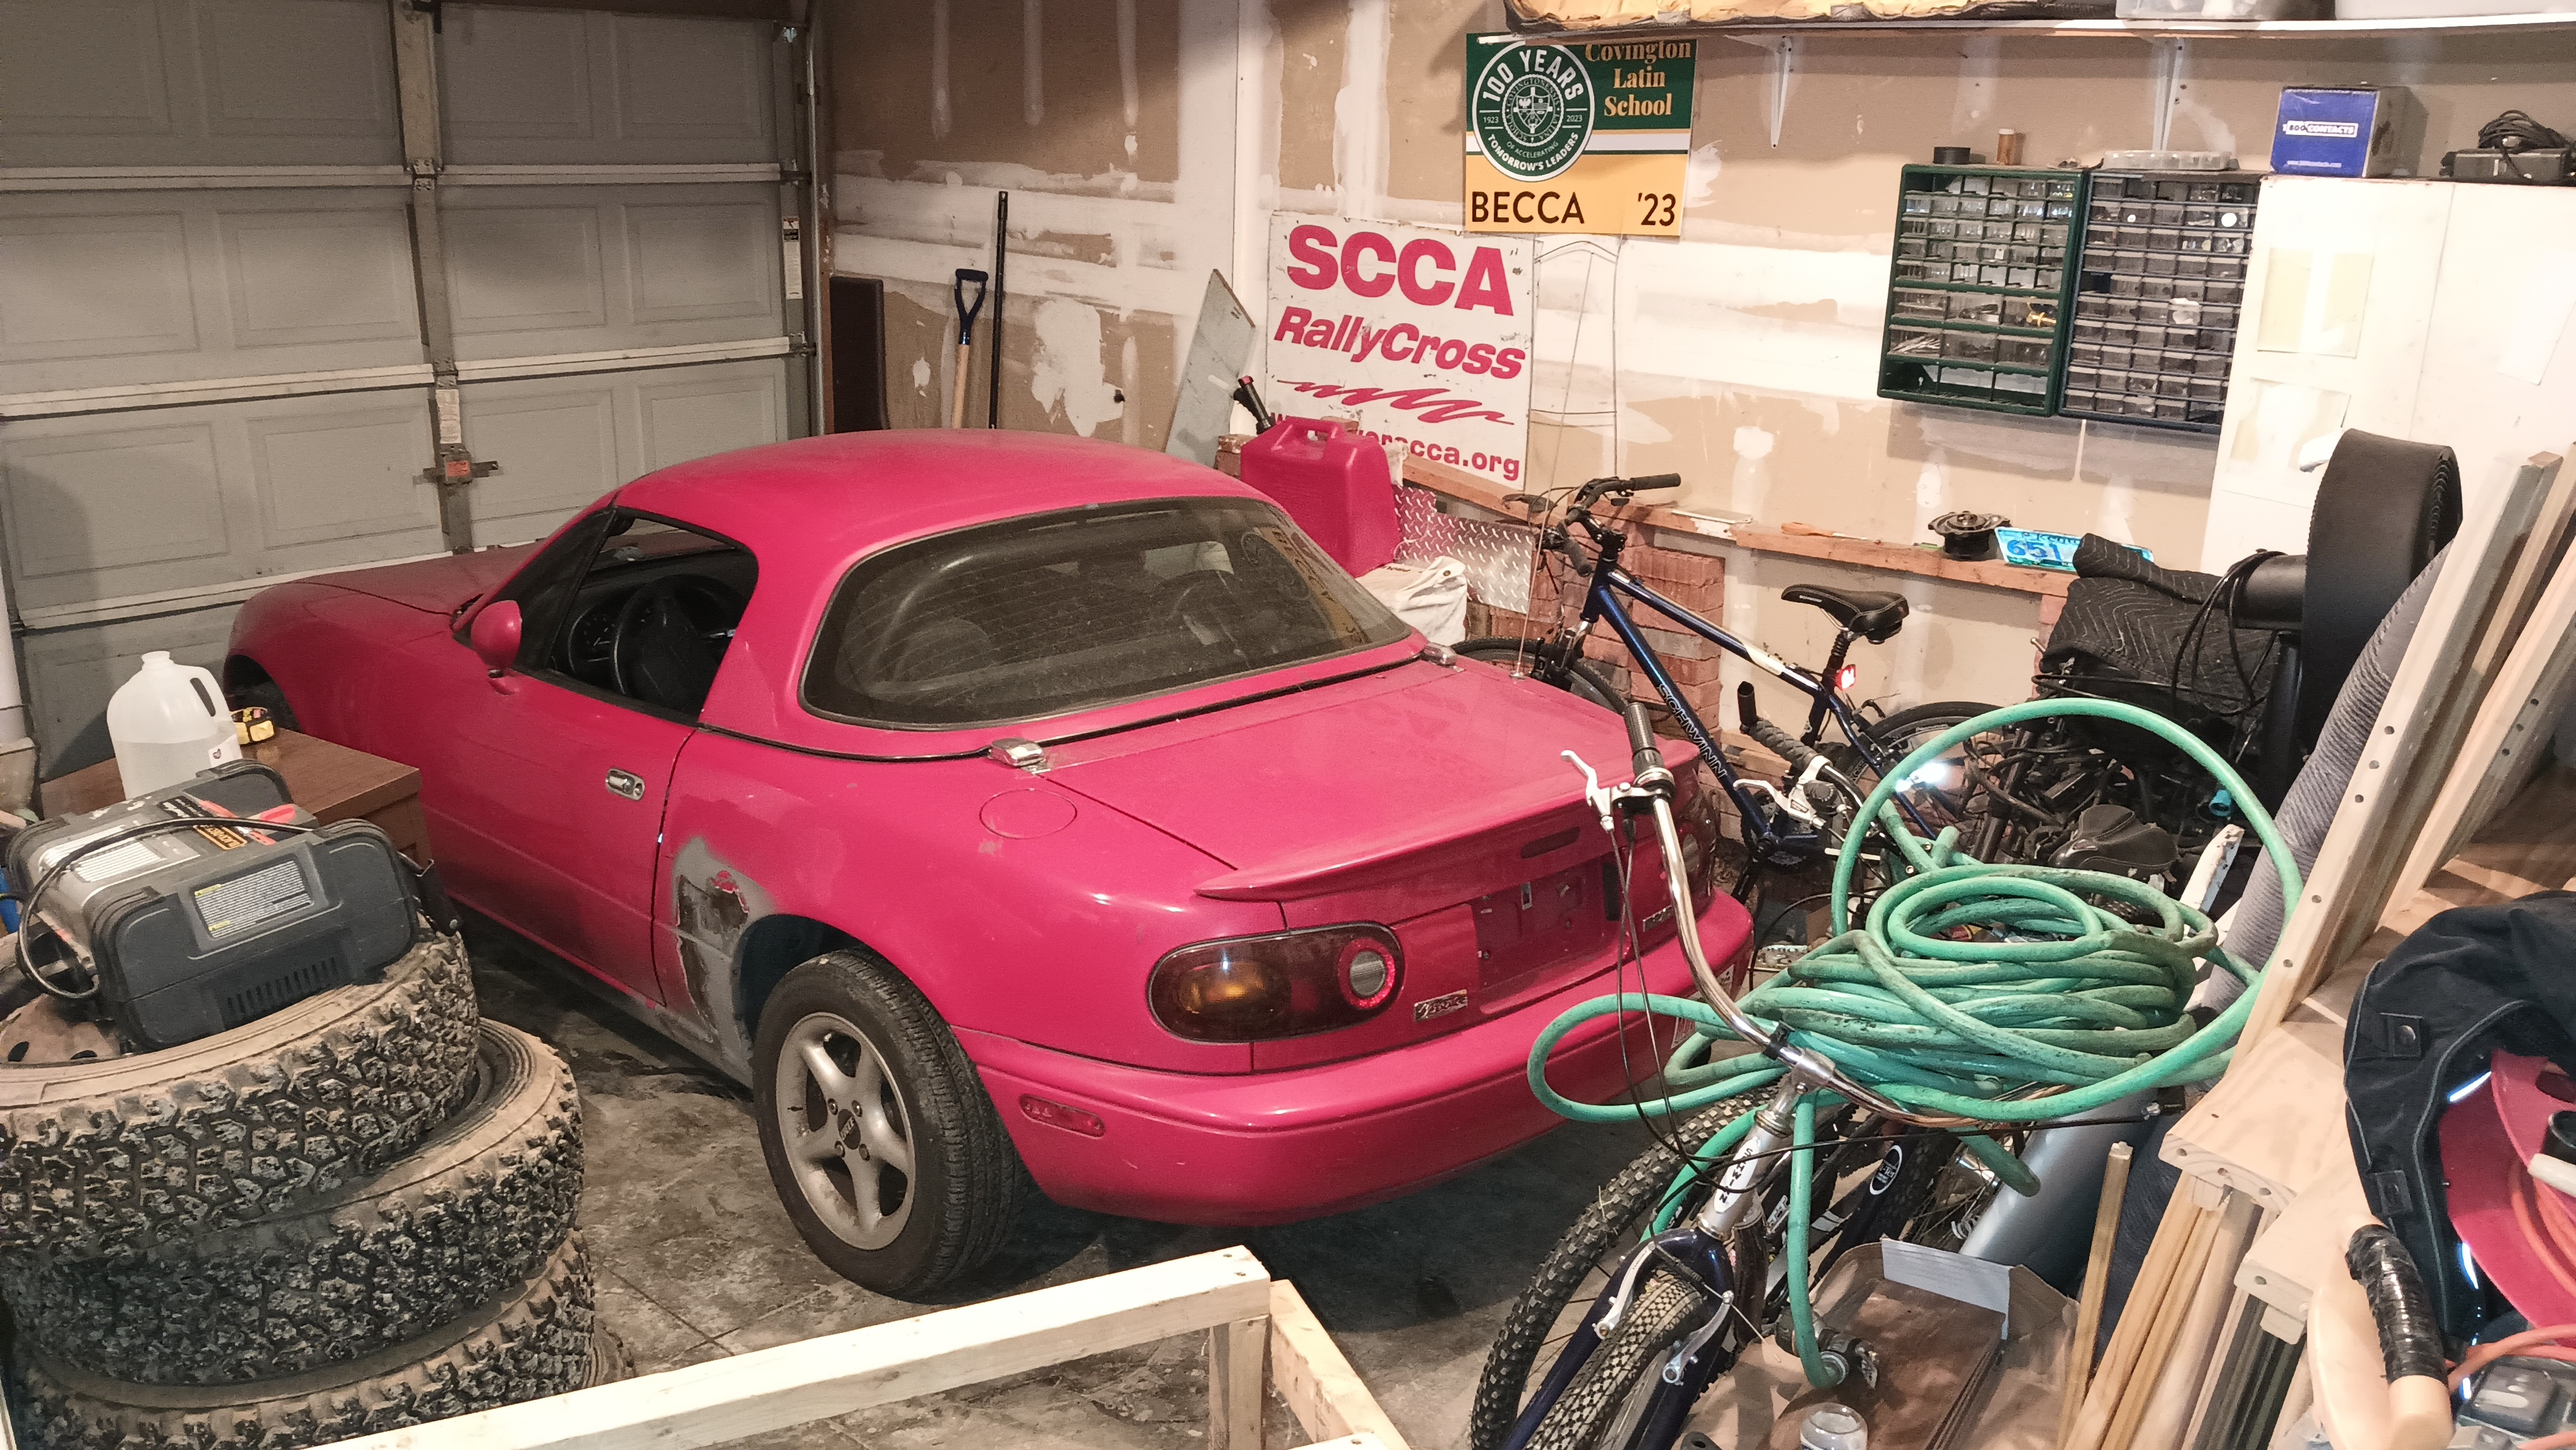
Catching up..  To make room for the Saab after its unfortunate introduction to a guard rail, I cleaned out the garage at home, popped the Miata onto the trailer, and took it back home with me.  Along with the Miata, I brought the pail of Evercoat, some sandpaper, and some sanding blocks. 

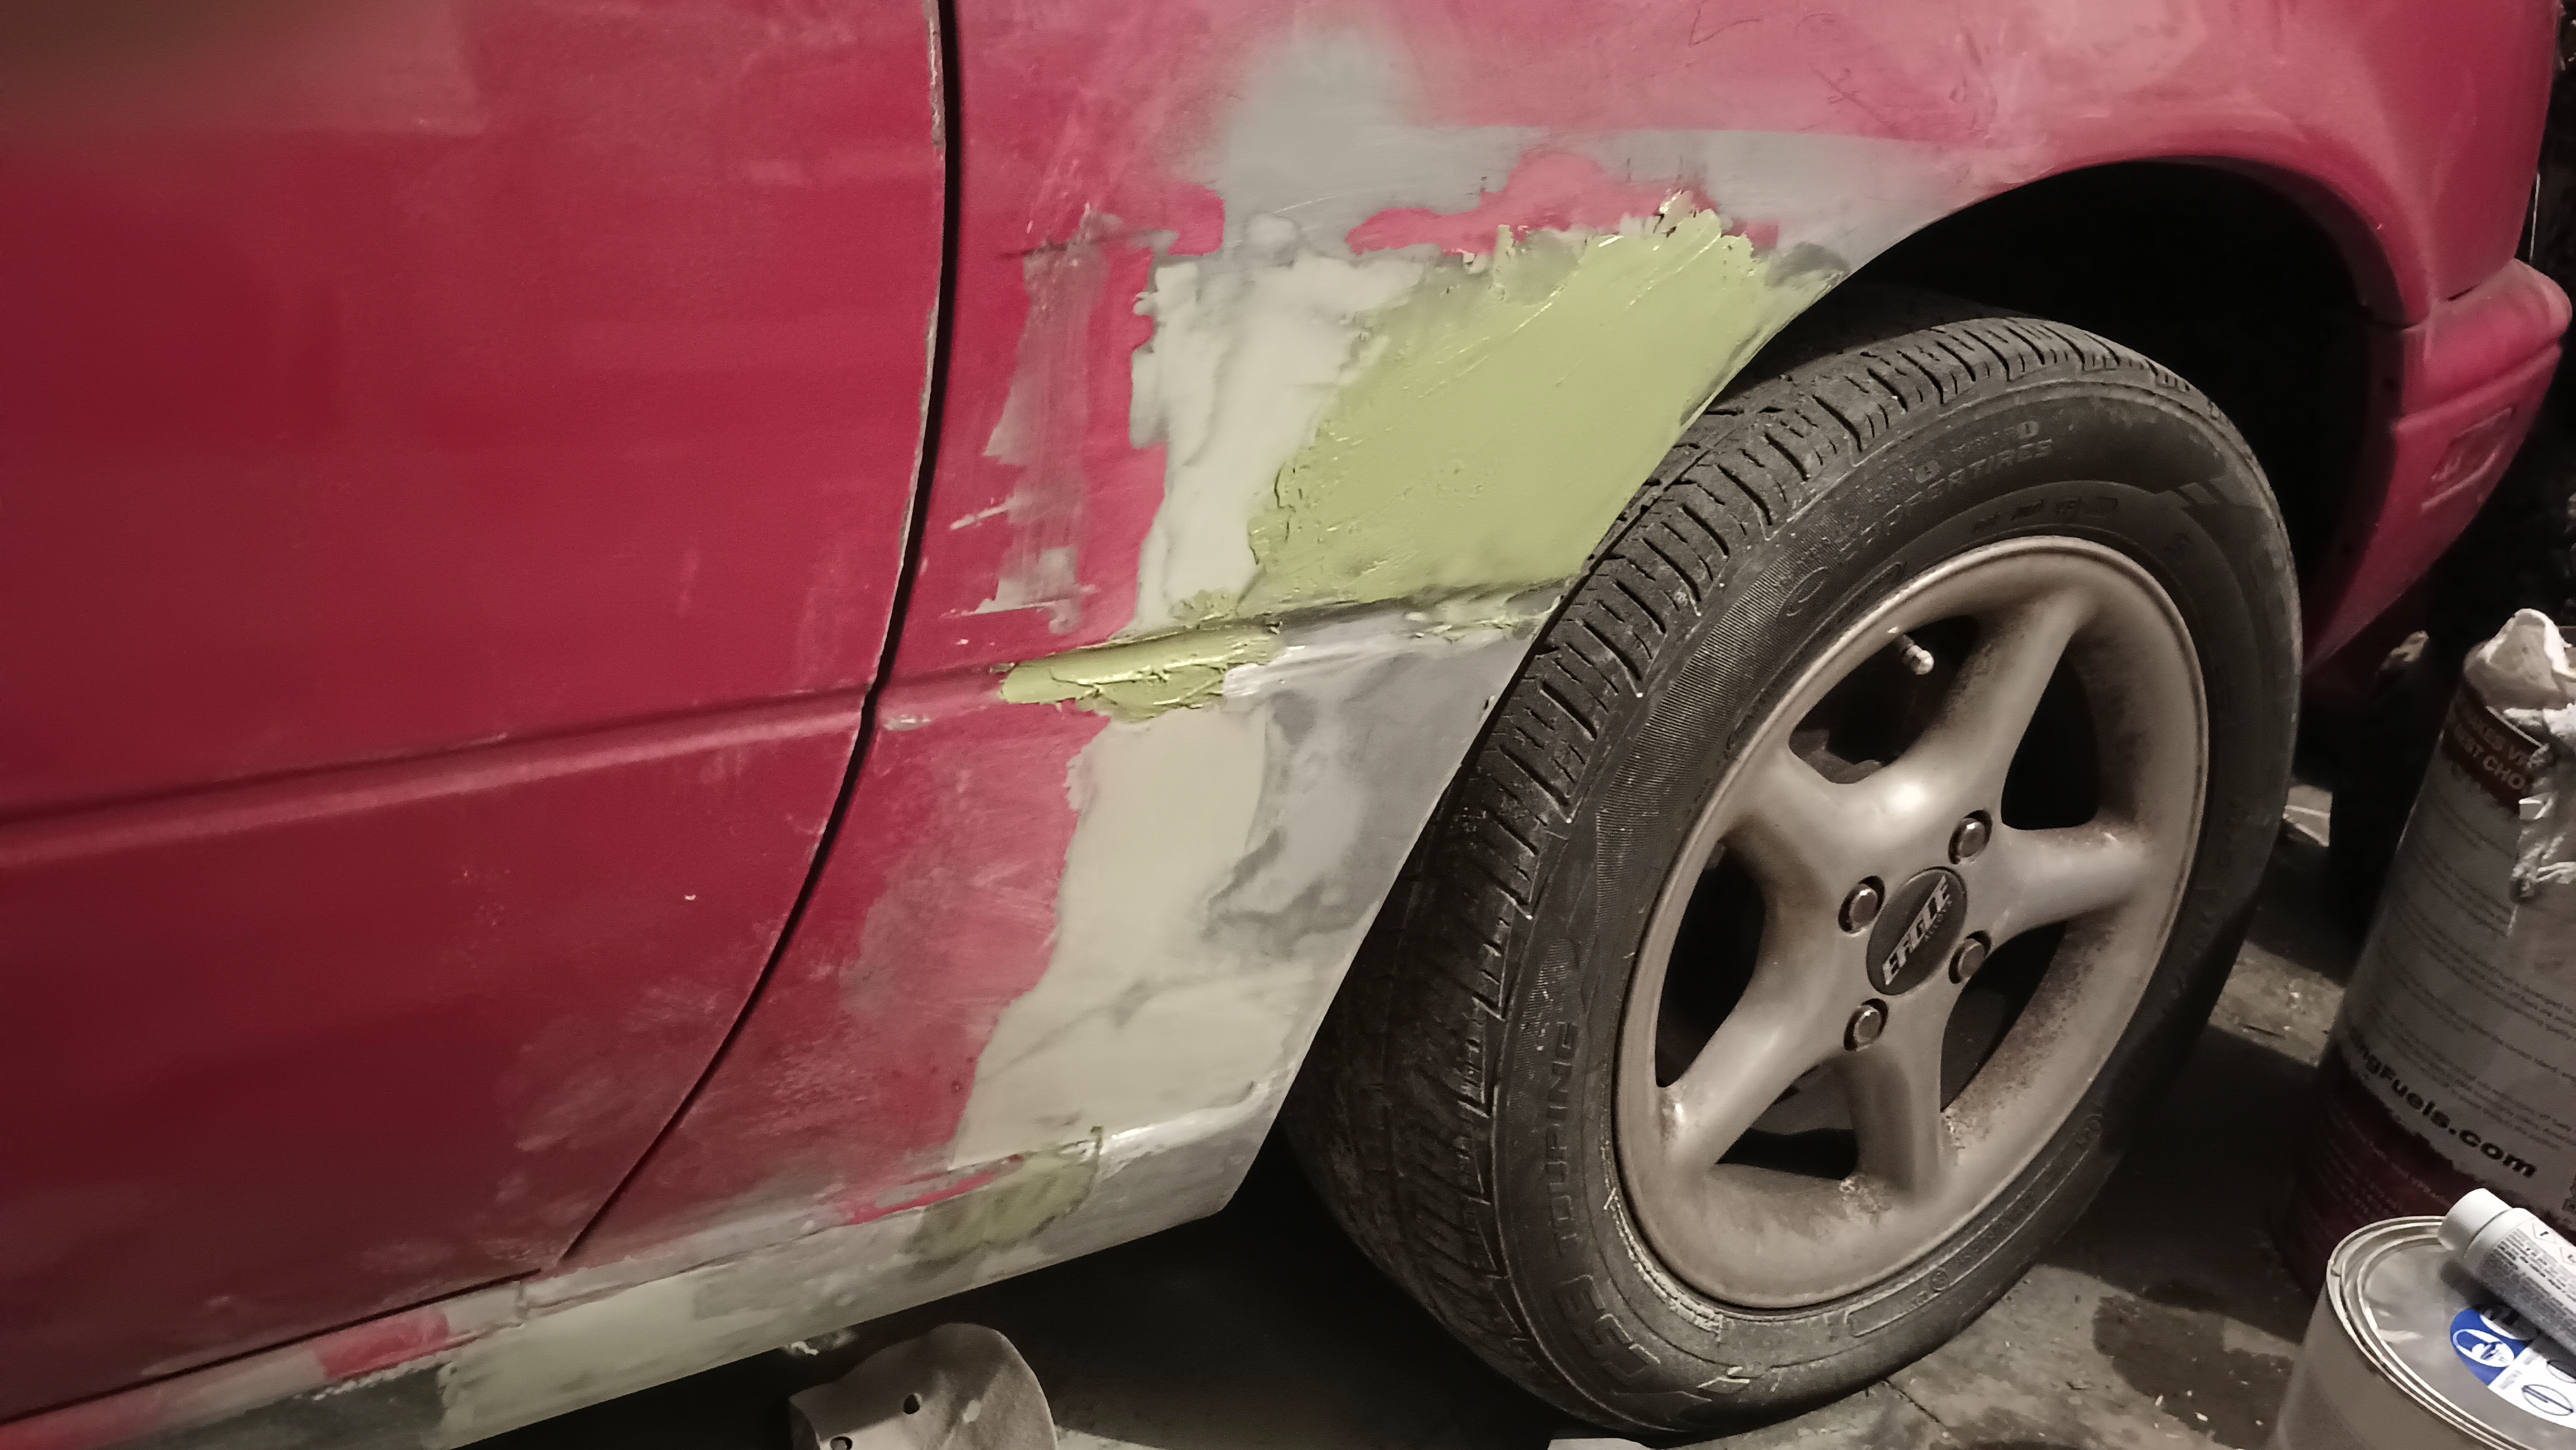
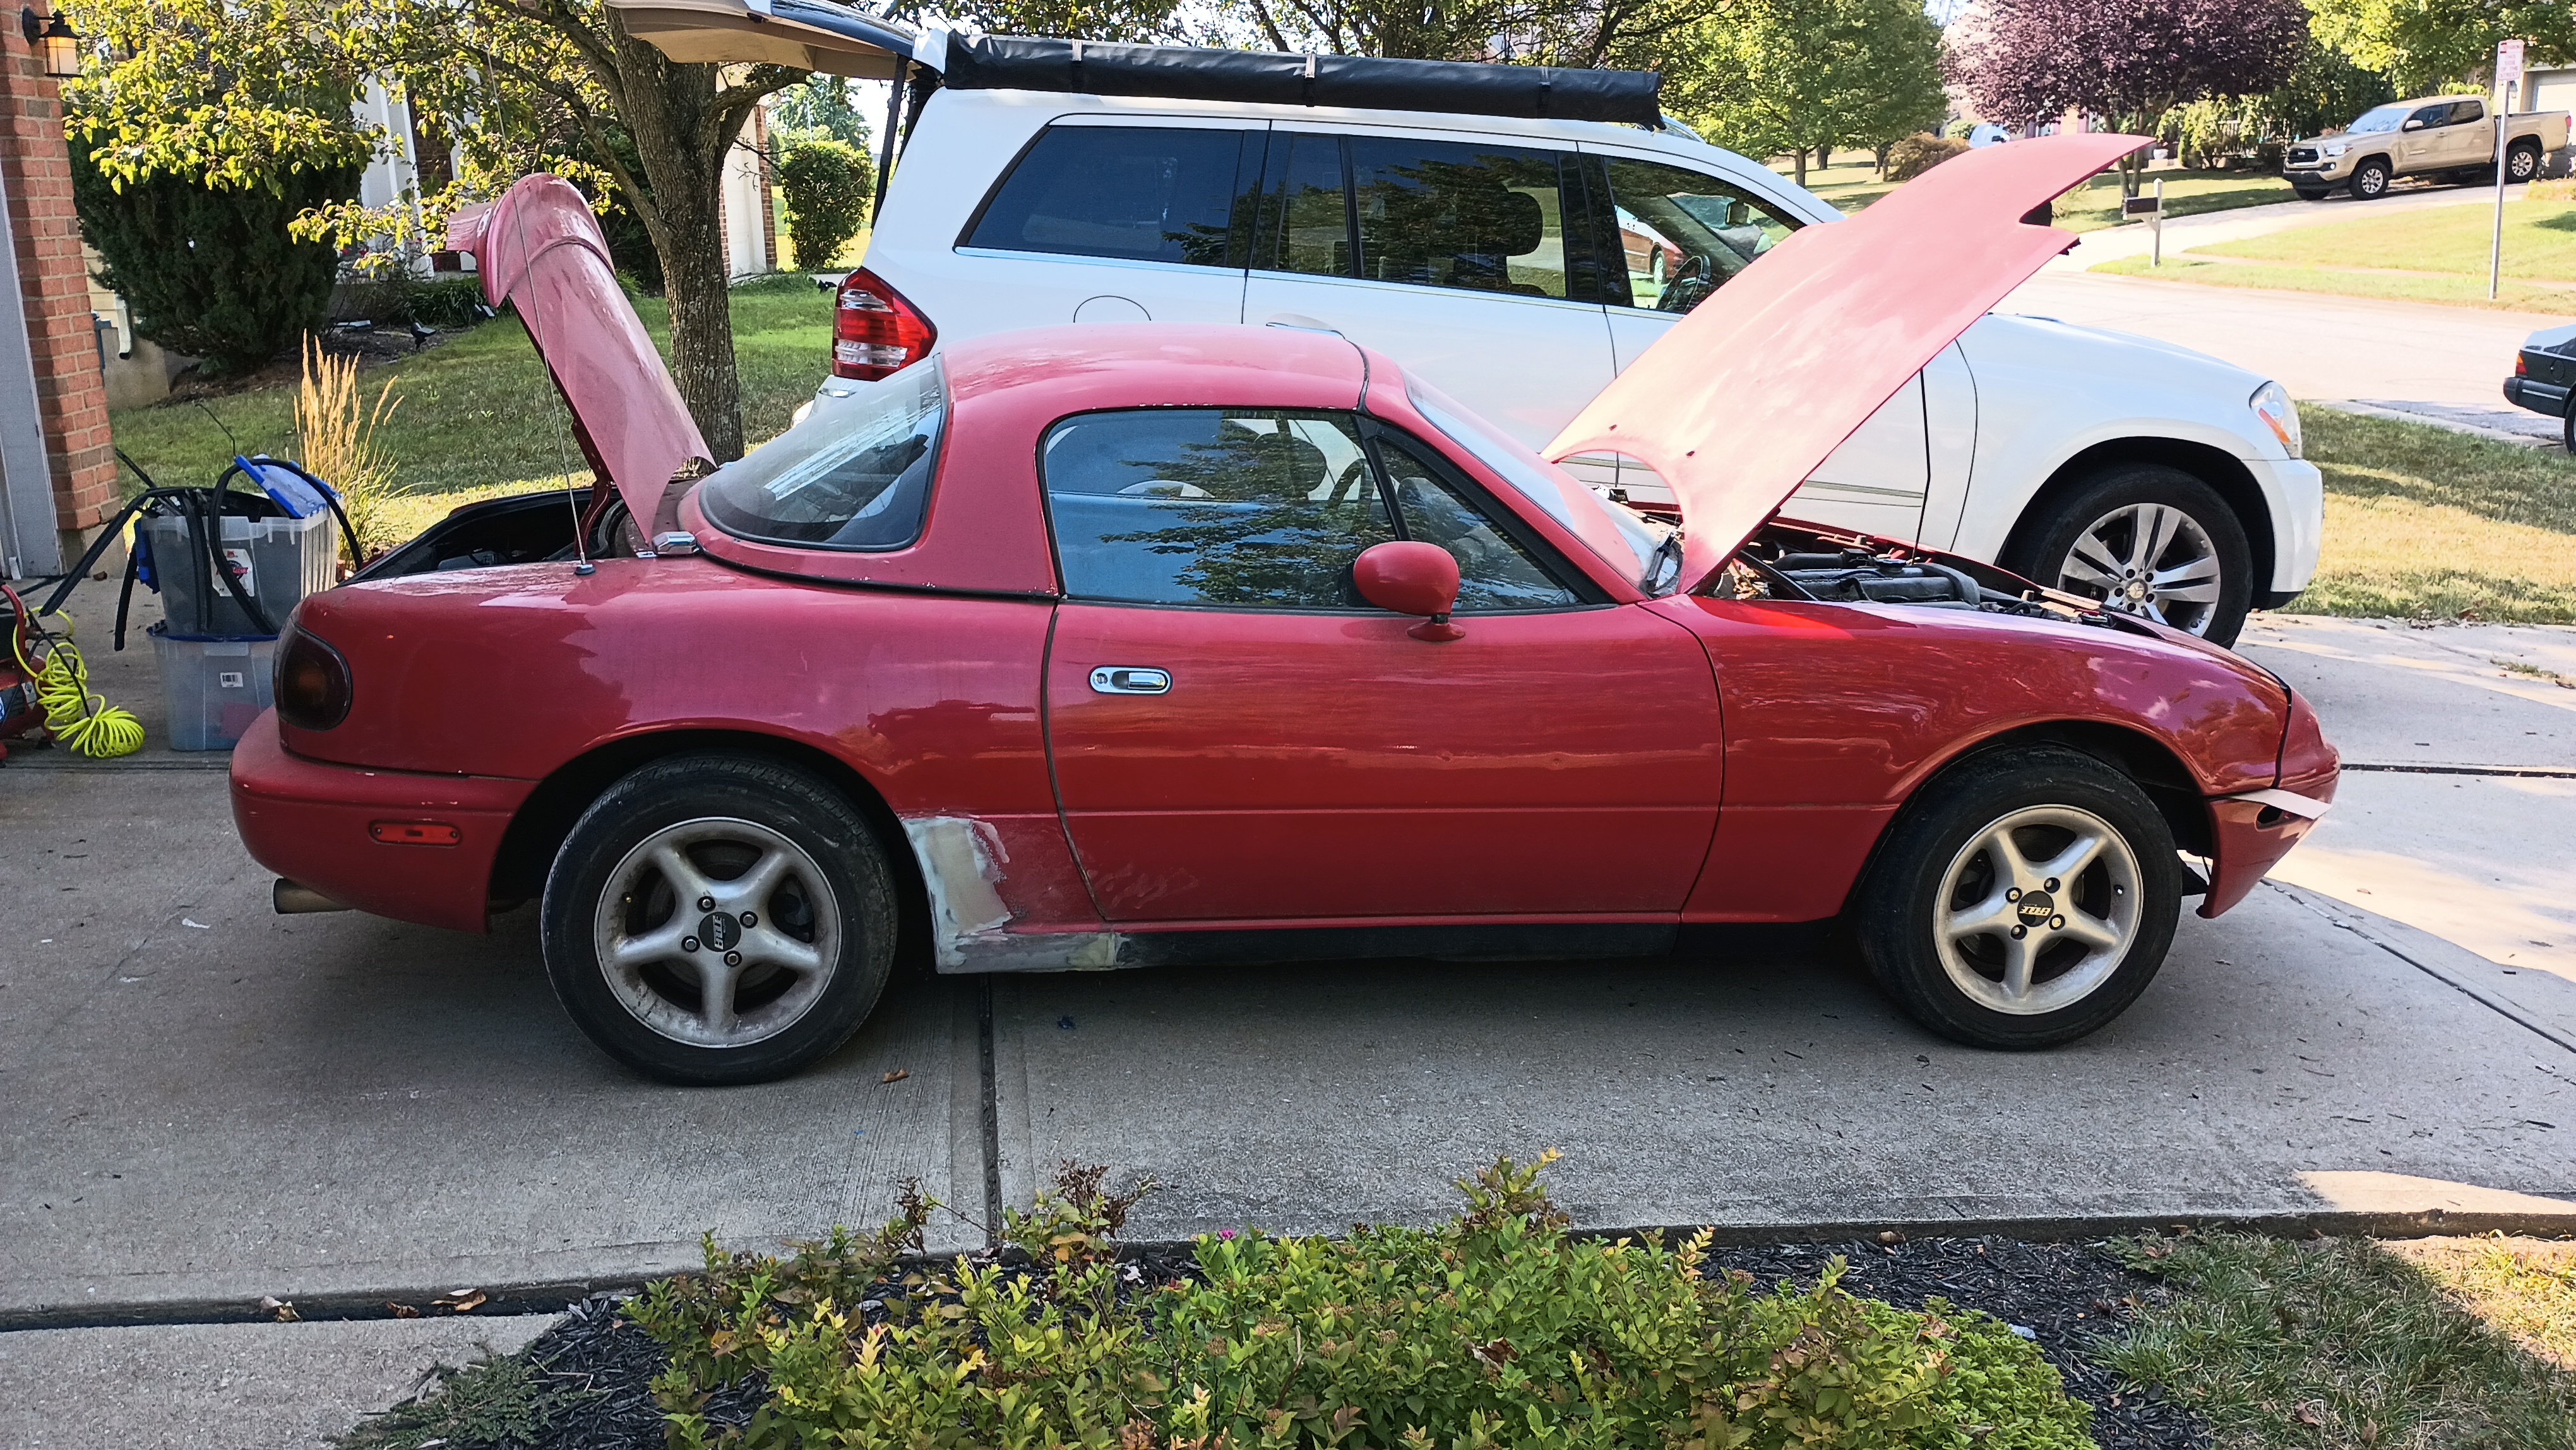
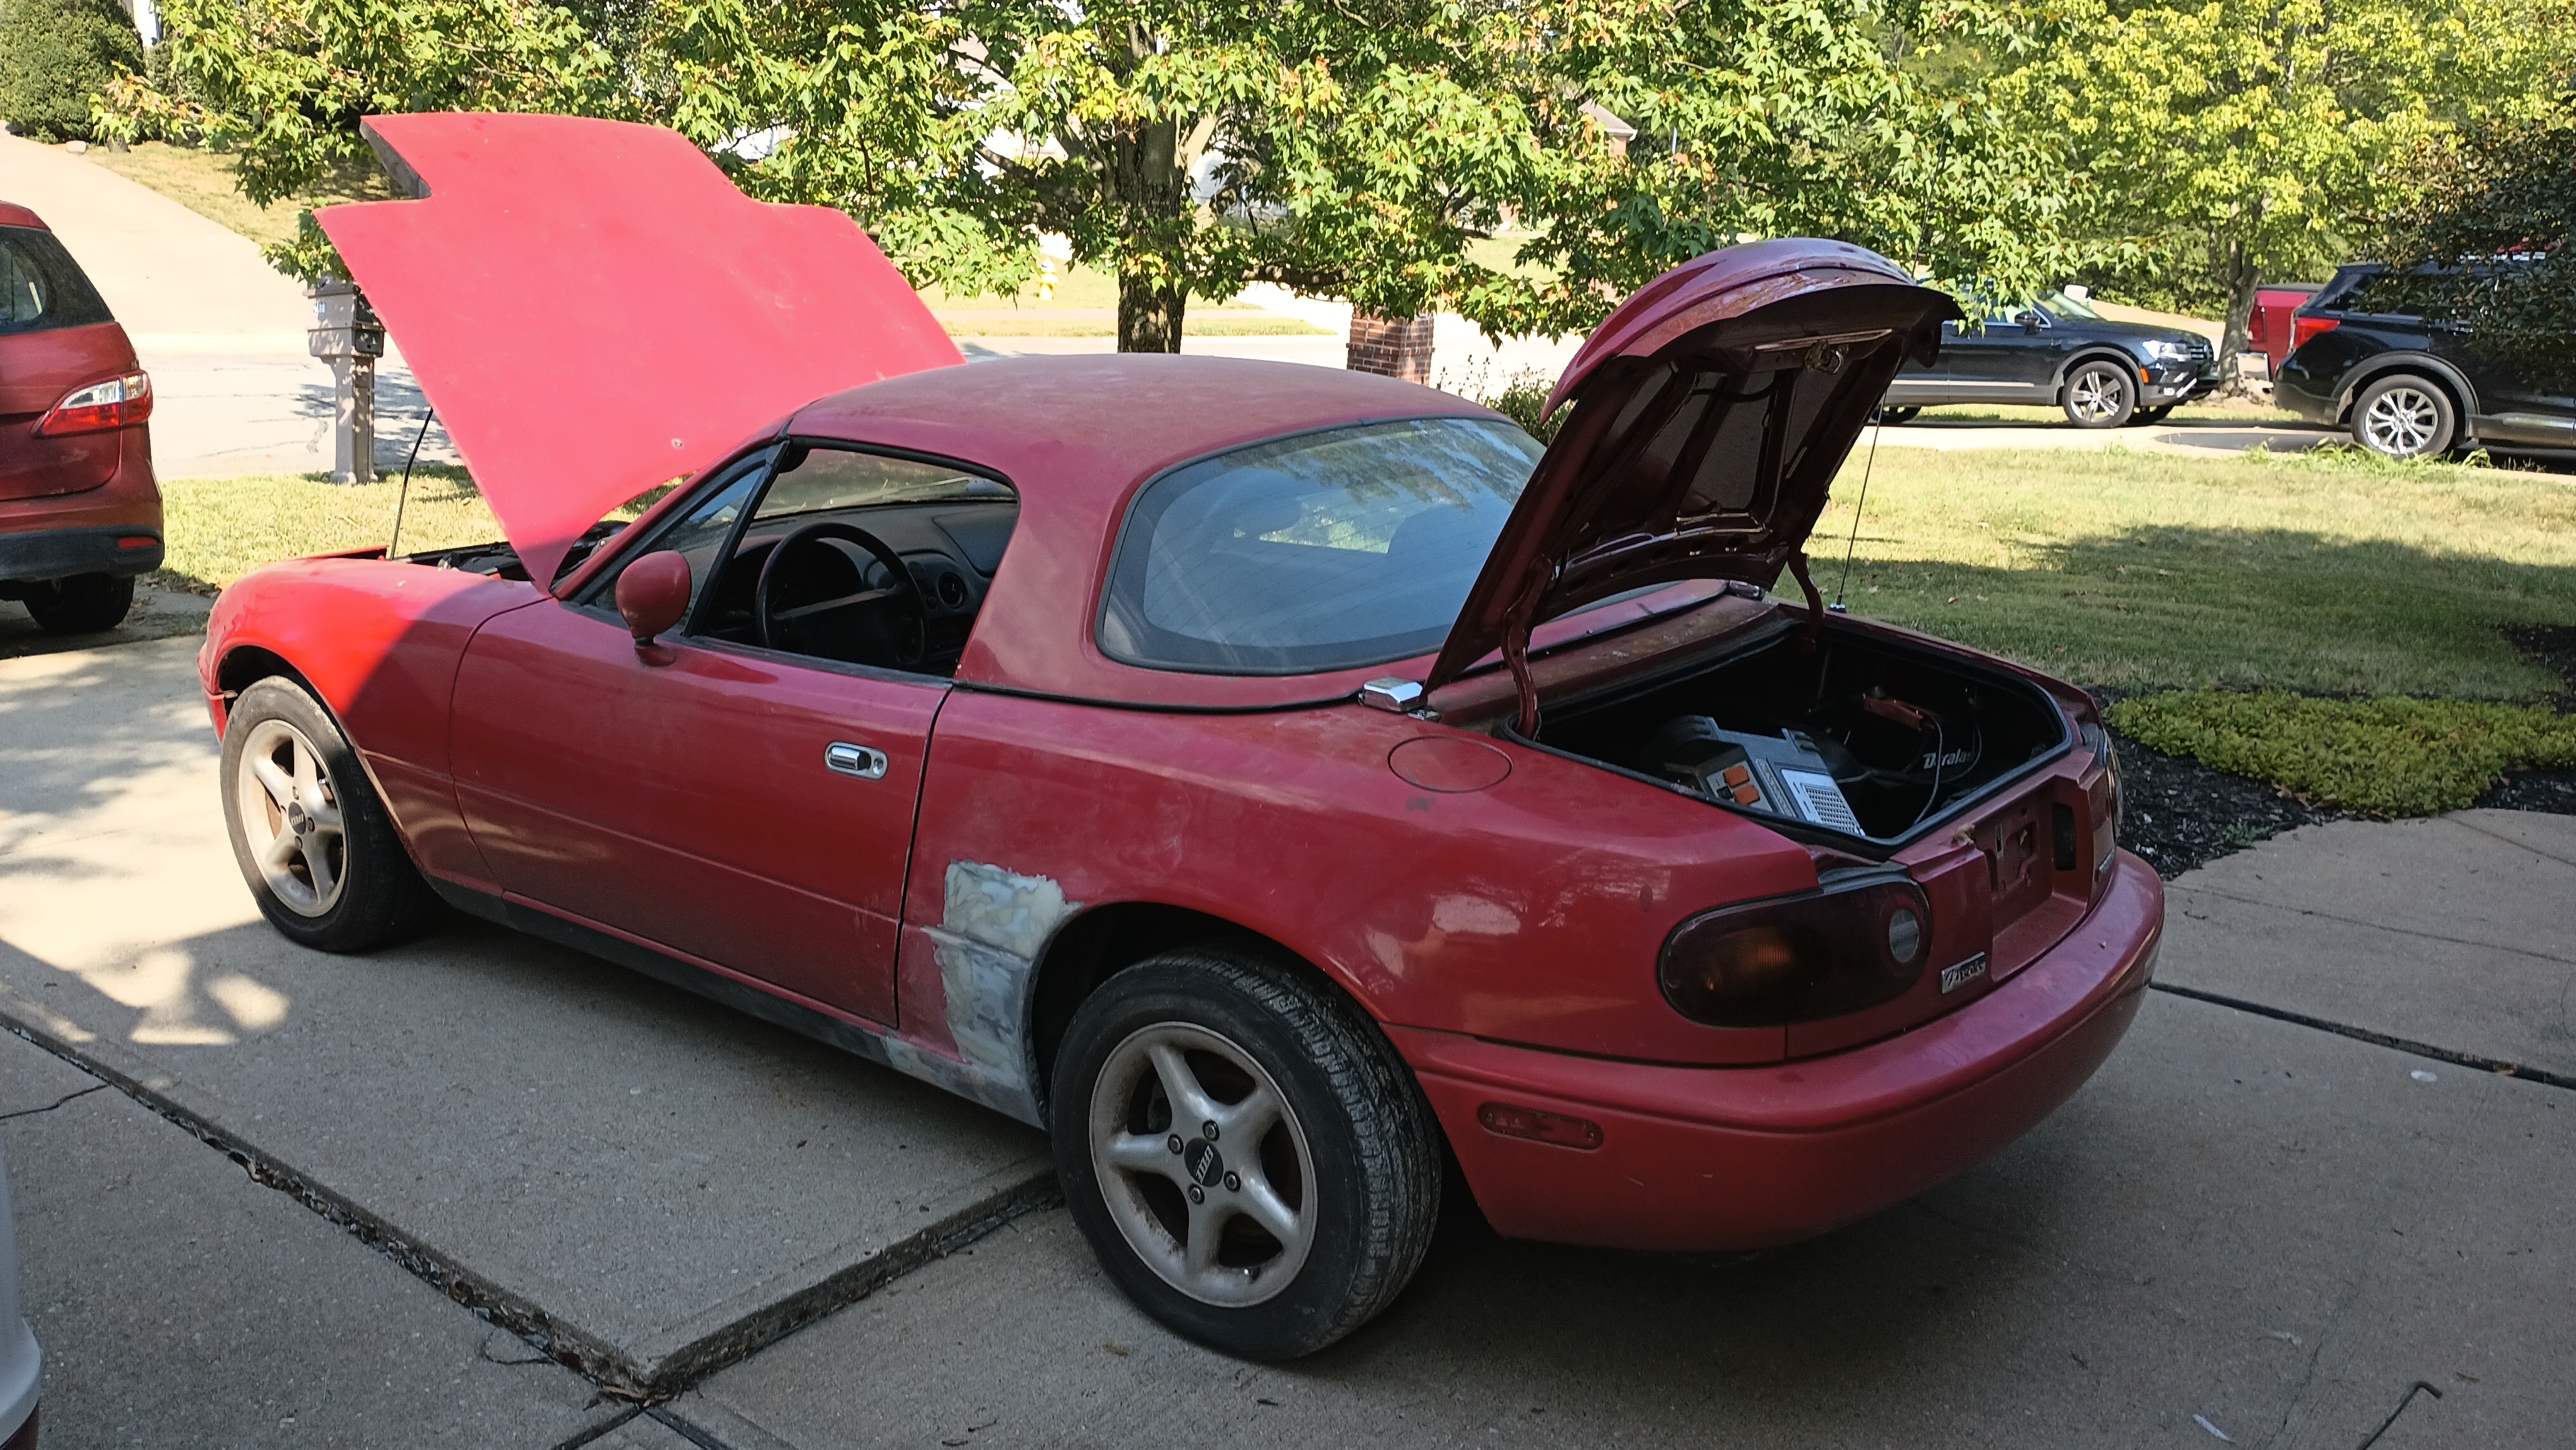
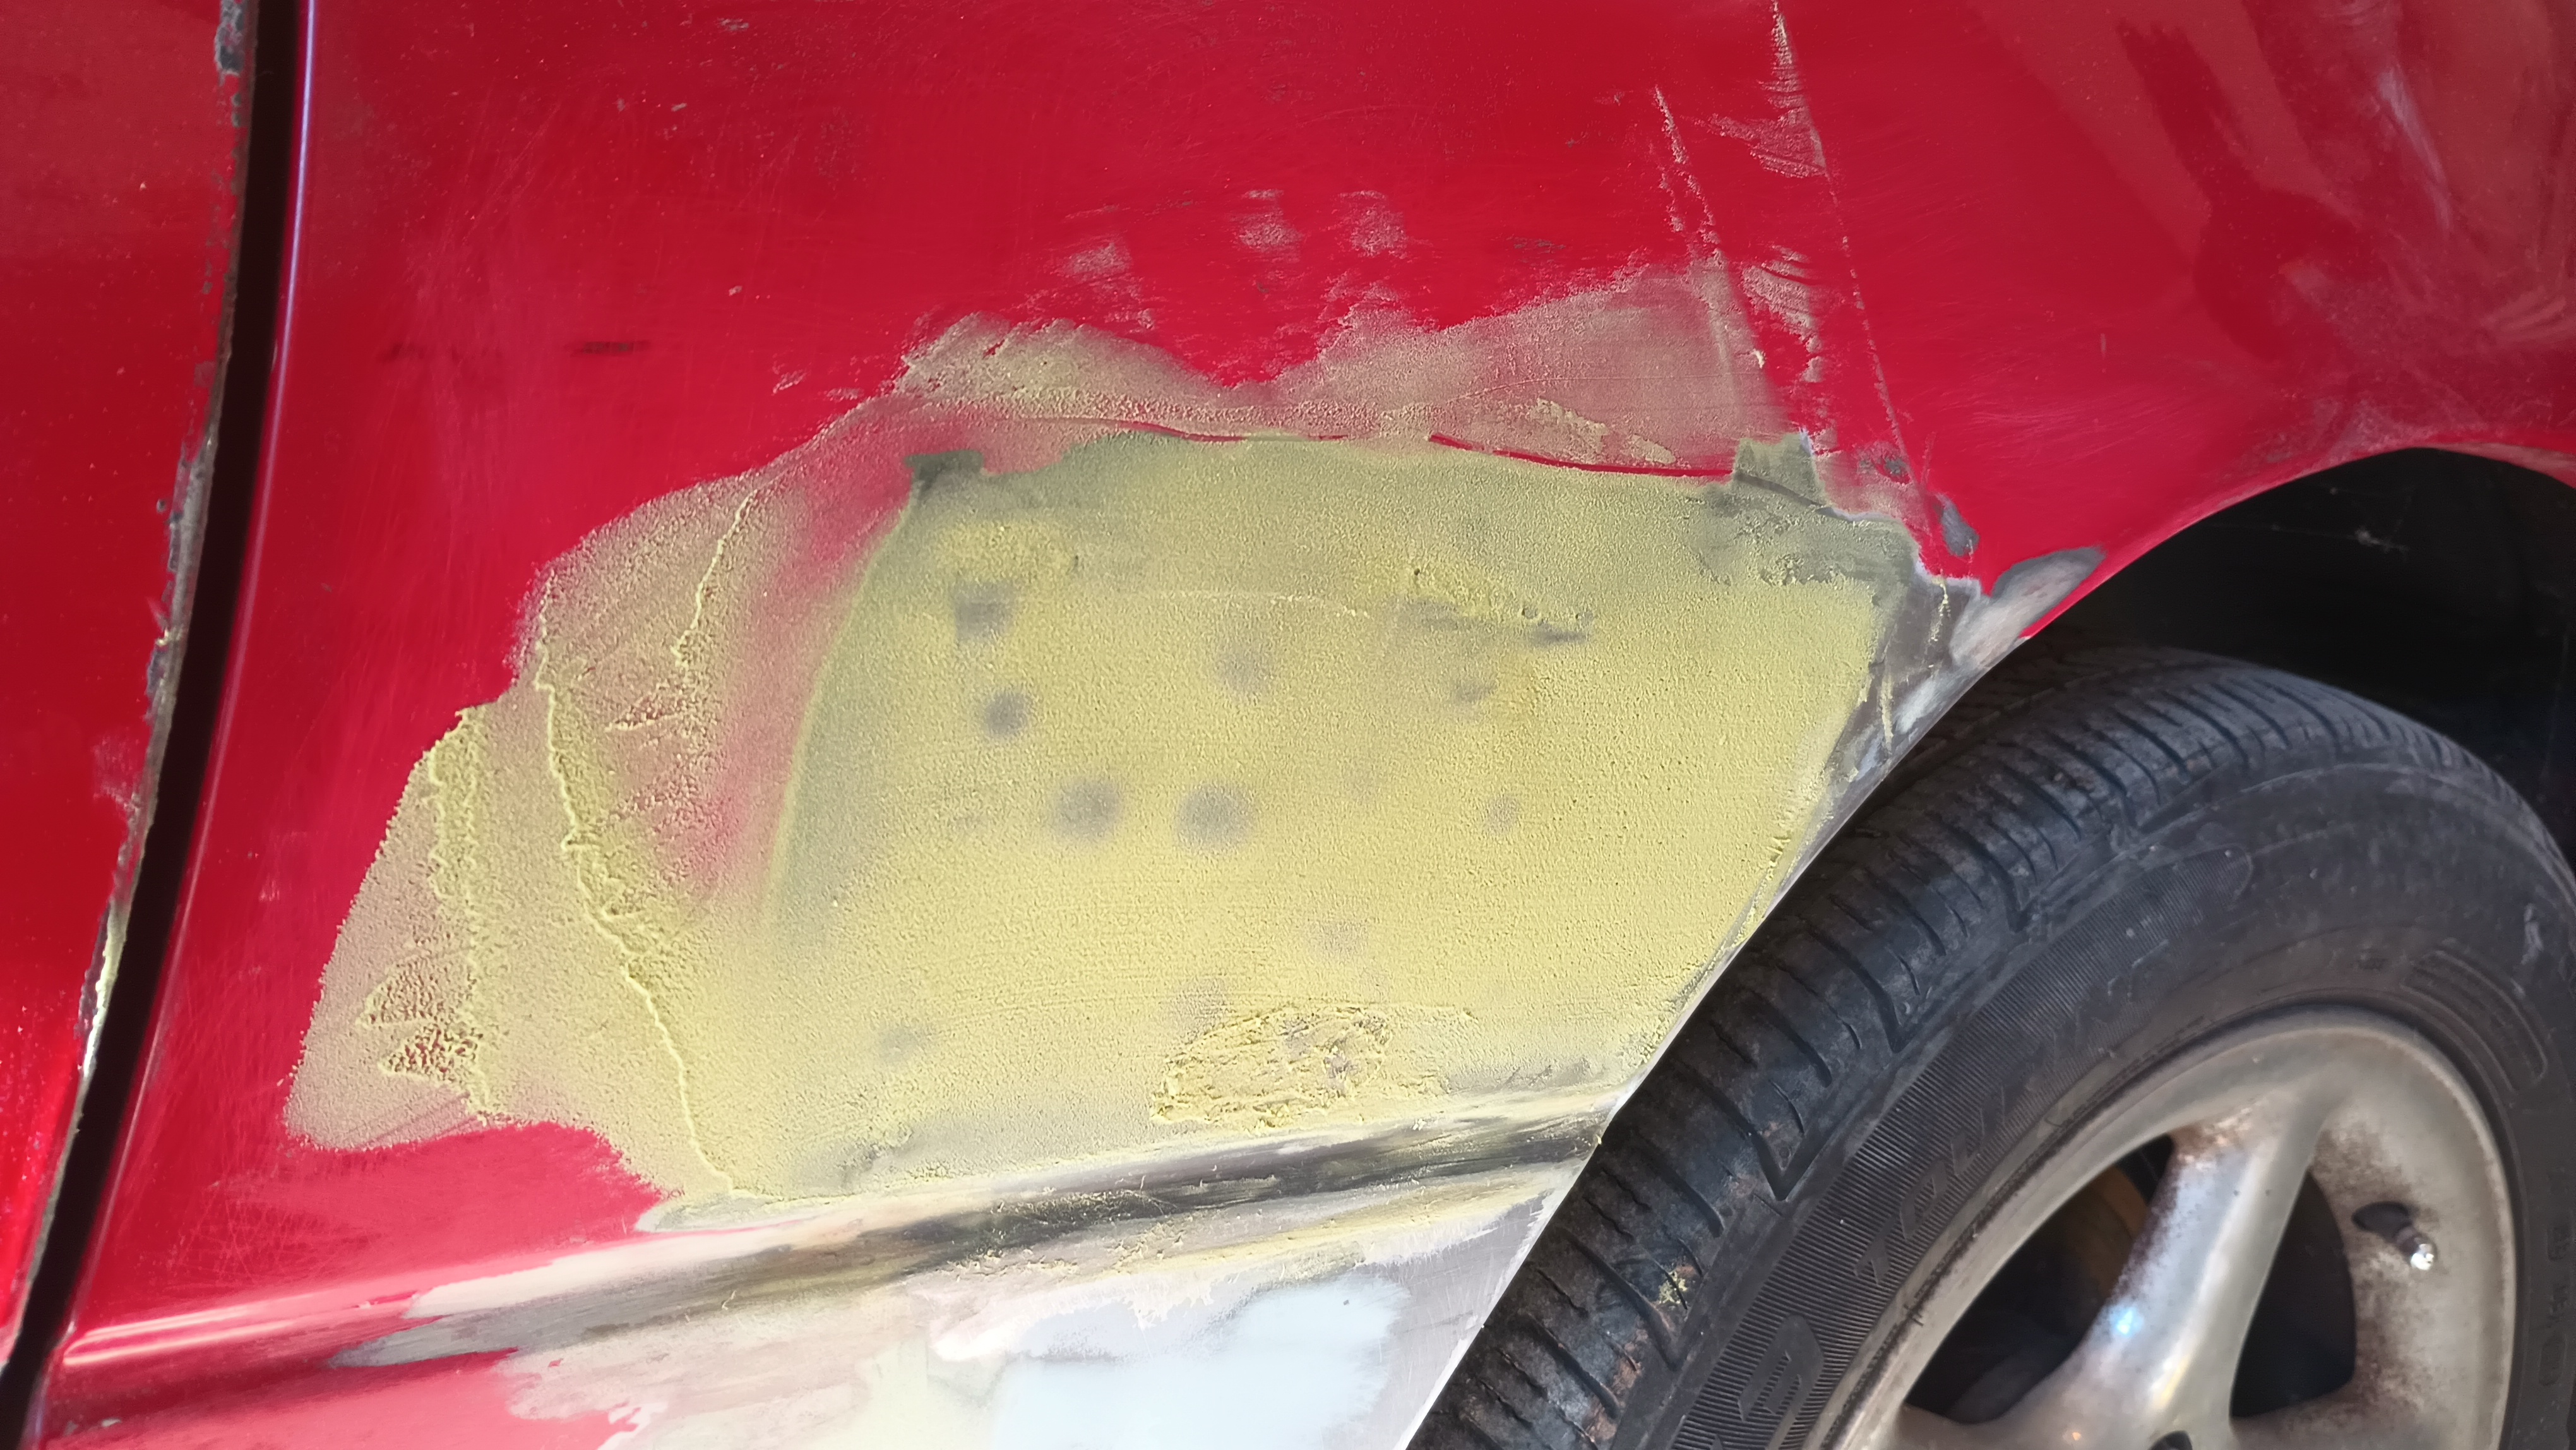
Over the last couple months, I've given it a little bit here and a little bit there.  This is where it stands as of now:

The tricky part is trying to compensate for a slightly high spot which is what the big glob of filler is that's still wet in that picture.  When I get a little bit of a break, I'll go out and knock it back down, trying to make a smoother transition down to the trim line.

I'm extra anxious to get this ready to go somewhere for paint.  As I mentioned in the Biturbo thread, I've got this awesome shift knob that my daughter bought for me and it's going to find a home in the Miata.  So I've got to get it ready to drive!

Once it's off for paint, I'm going to get the Biturbo sold and that will fund finding a set of daisies, putting some new tires on them, putting on new shocks, and fixing the A/C.

Pete. (l33t FS)
Pete. (l33t FS) MegaDork
4/10/24 6:02 p.m.
wae said:

Funny story - if you look closely you can see the reflection of a Maserati Biturbo in a bunch of the photos there!

In the industry, we call this "foreshadowing" smiley

wae
wae UltimaDork
4/29/24 12:57 p.m.

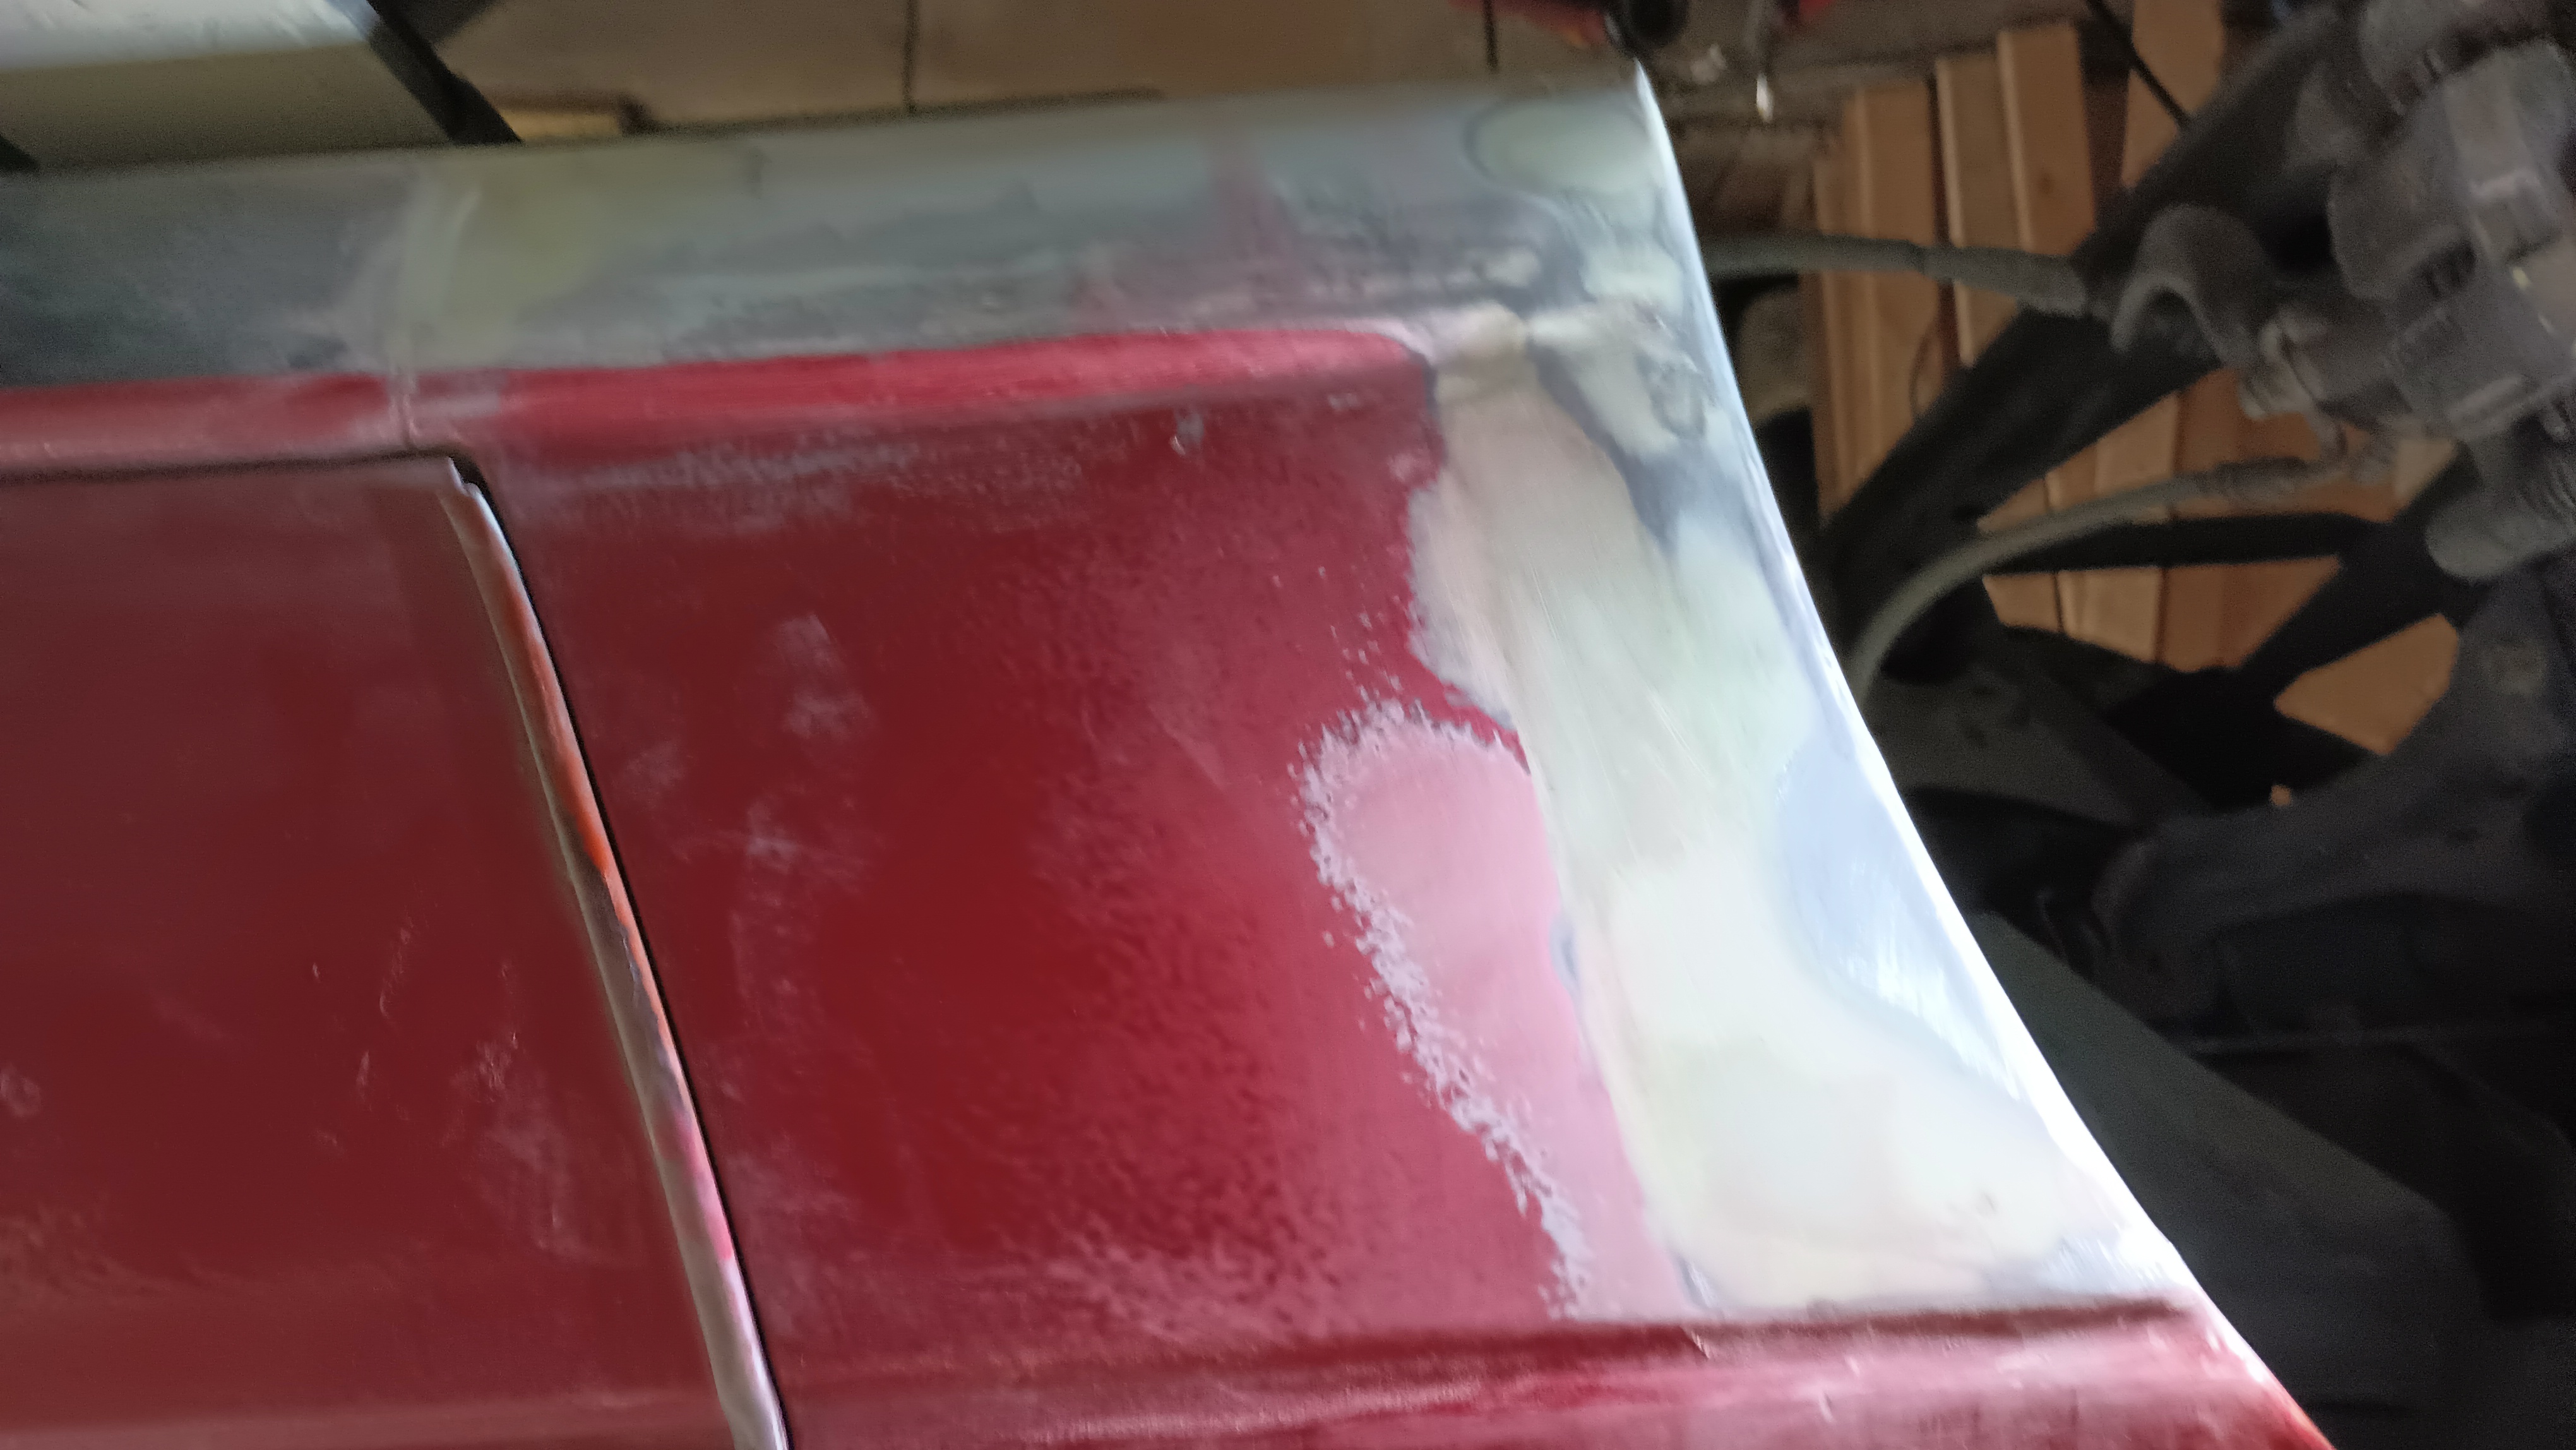
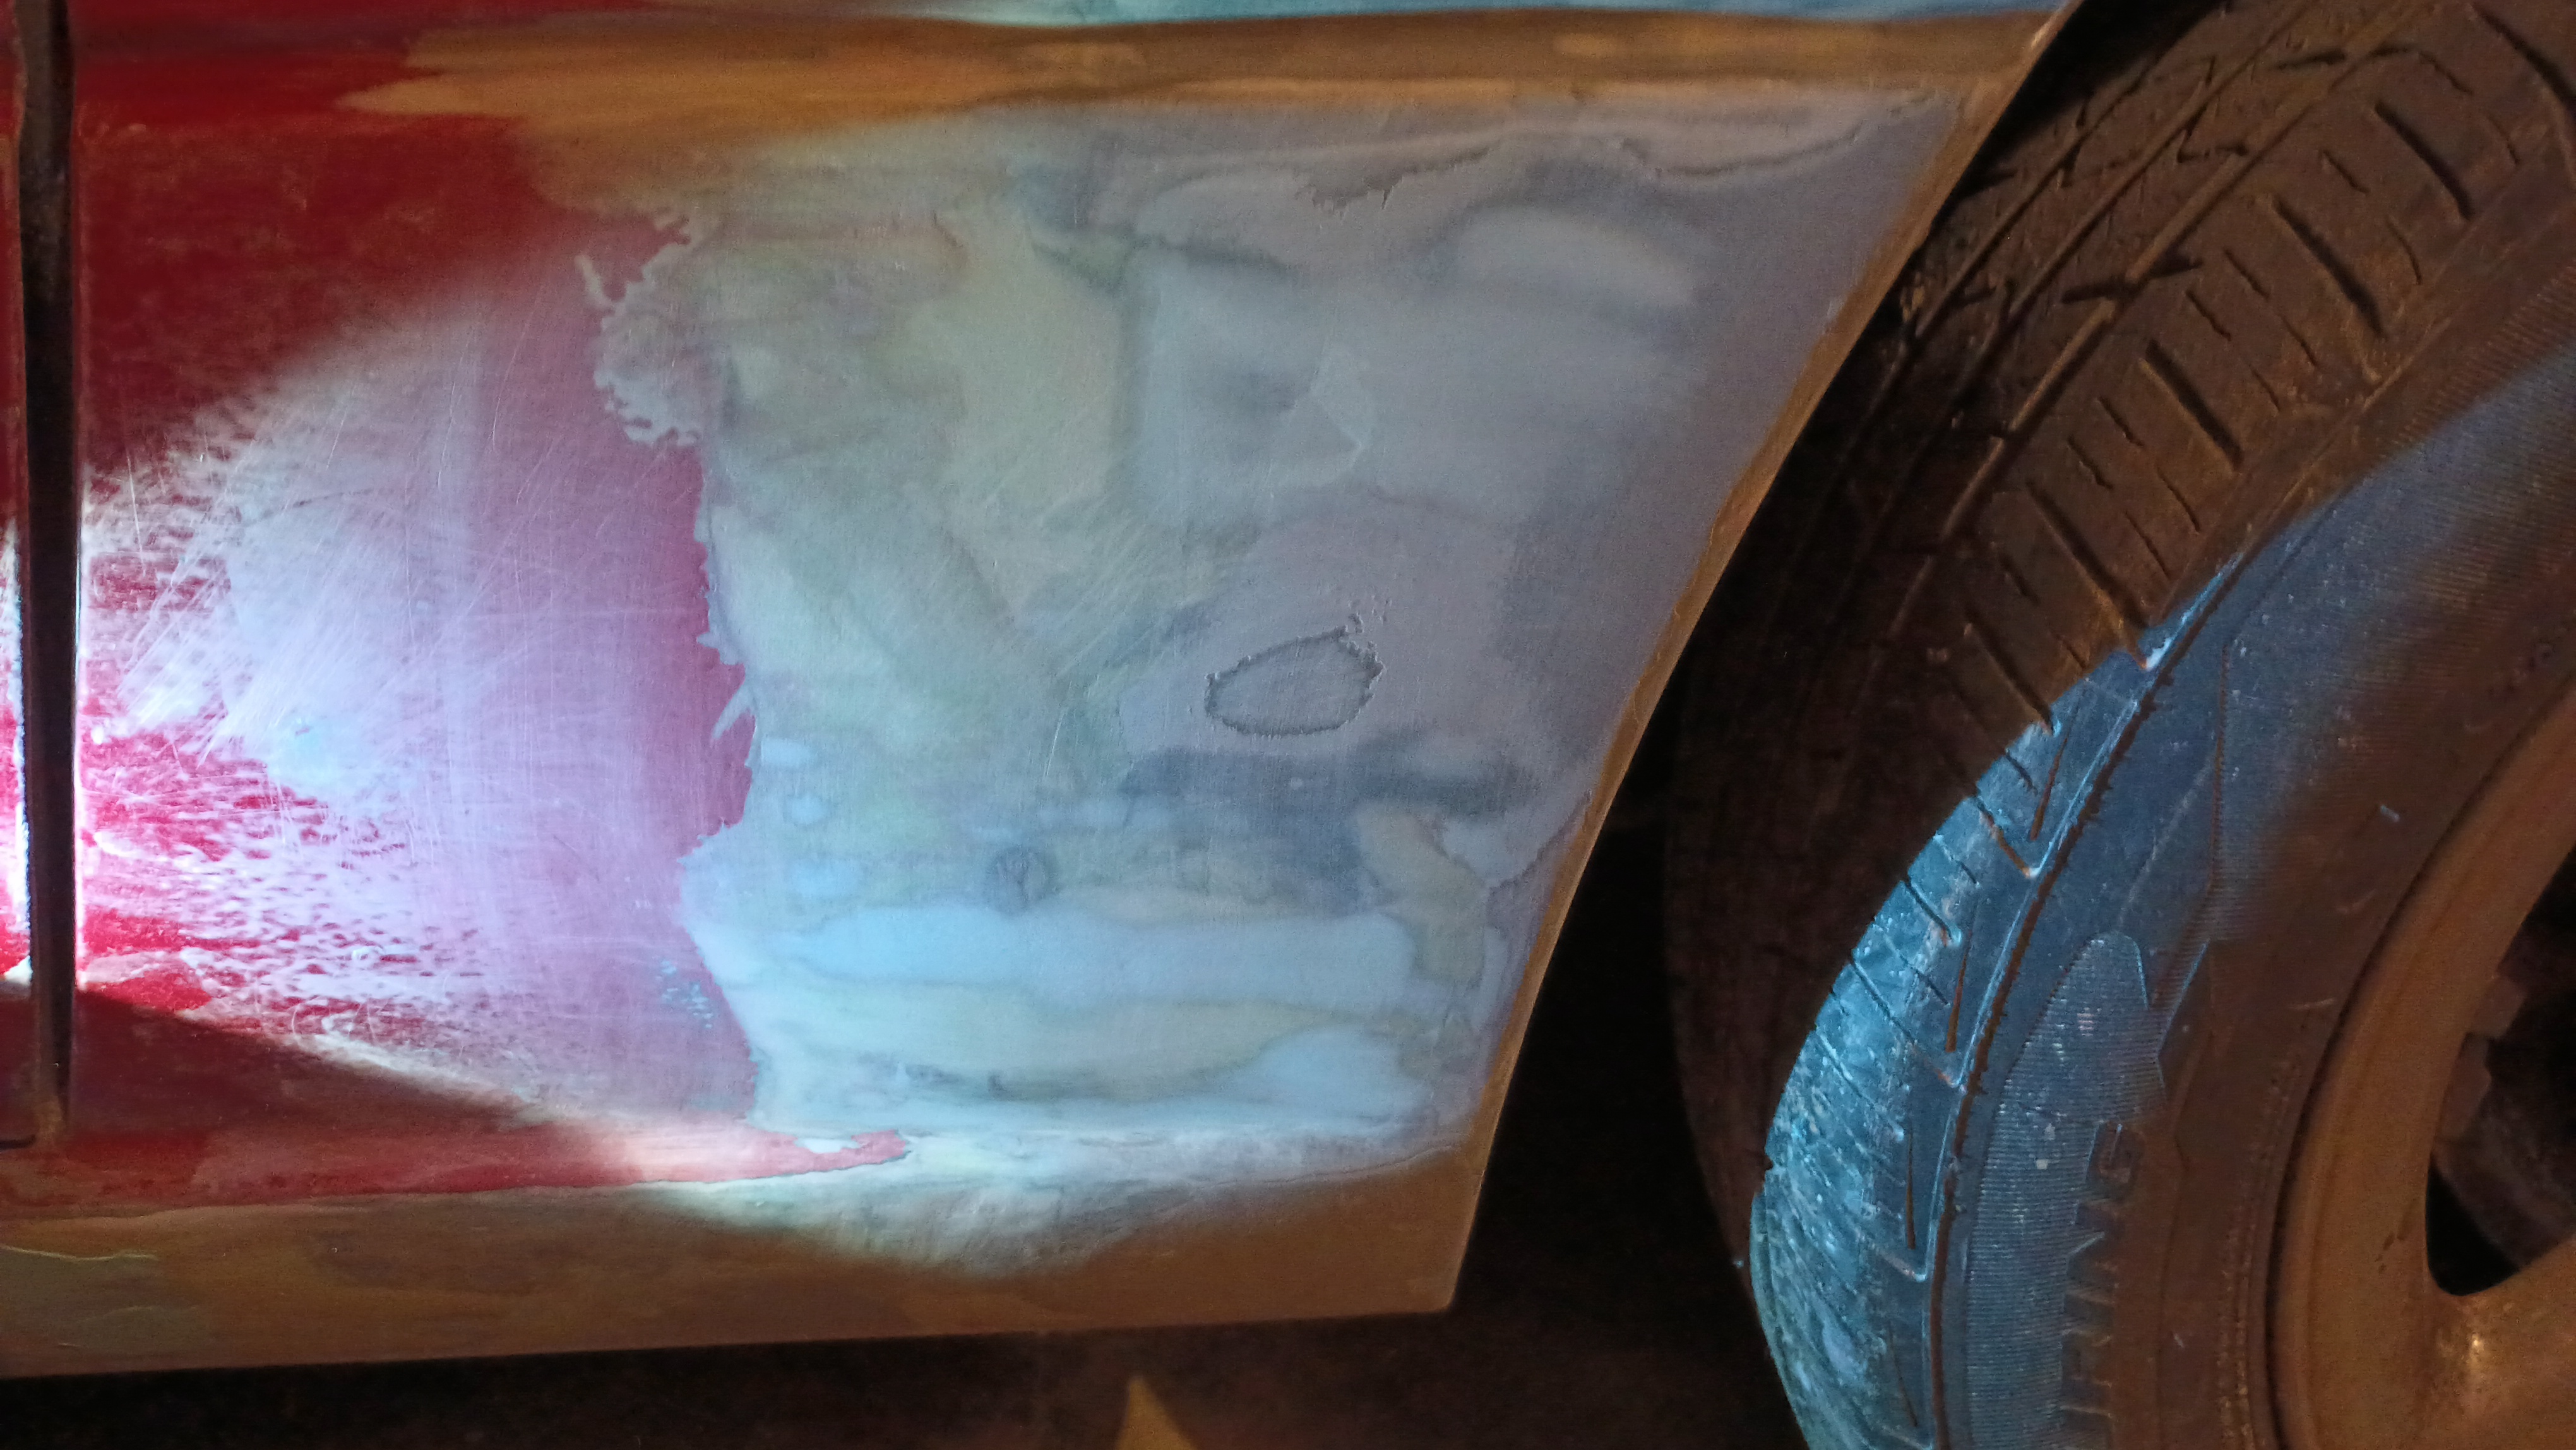
I thought I was way closer to being finished than I am.  I finally got the glazing putty to use for a final skim coat to fill in the couple of pinholes and whatnot and the left side is looking just about okay enough.

The right side, however, is a horror show.

This is mostly the textured part of the paint below the trim line there, so I can get away with the left side I think.  But the right looks great until I start putting shadows on it. 

I'm going to give the right another coat of the Evercoat but this time I'm going to get a much wider applicator to try to level the whole section and blend the original metal to the wheel arch opening better.

EvanB
EvanB MegaDork
4/29/24 3:45 p.m.
wae said:


Once it's off for paint, I'm going to get the Biturbo sold and that will fund finding a set of daisies, putting some new tires on them, putting on new shocks, and fixing the A/C.

I have a set of daisies but no center caps for them.

wae
wae UltimaDork
4/29/24 5:23 p.m.
EvanB said:
wae said:


Once it's off for paint, I'm going to get the Biturbo sold and that will fund finding a set of daisies, putting some new tires on them, putting on new shocks, and fixing the A/C.

I have a set of daisies but no center caps for them.

I'm interested!  Let me know what you want for them and the next time I pass through your town or if you come up to Joe's in June I can get them from ya

wae
wae UltimaDork
8/18/24 9:22 a.m.

Well, I got the right side redone a while ago:
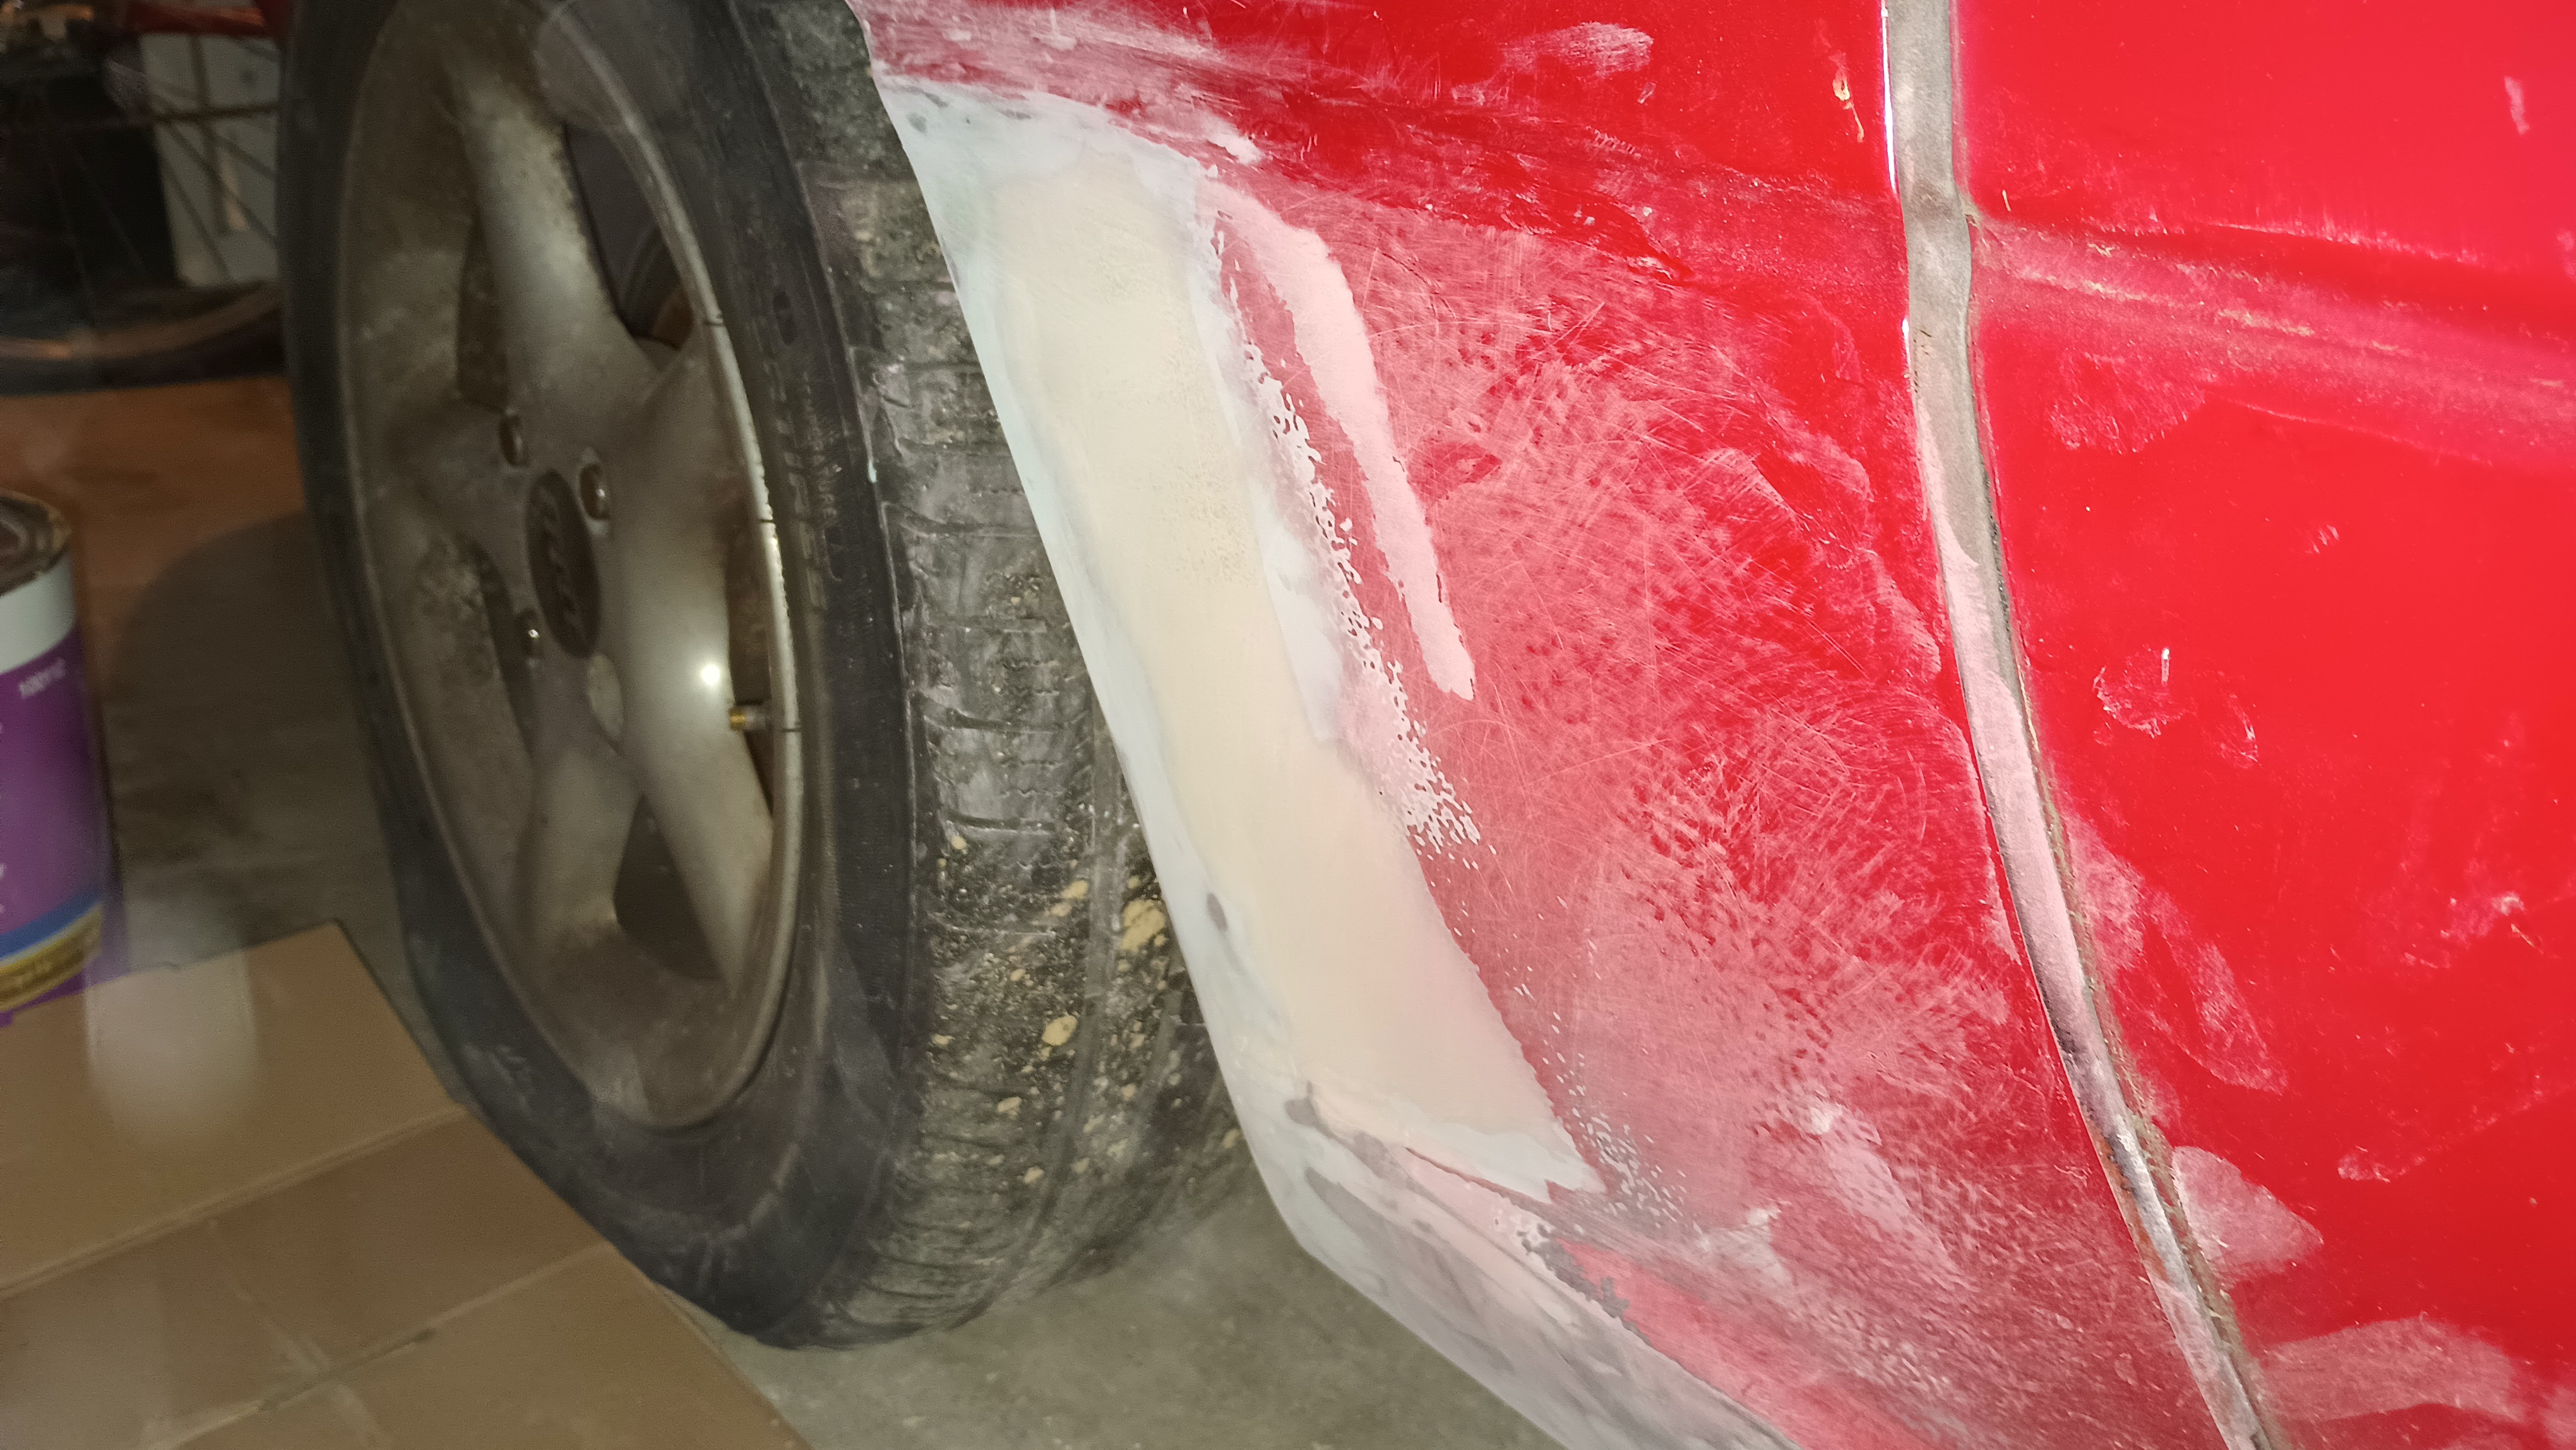
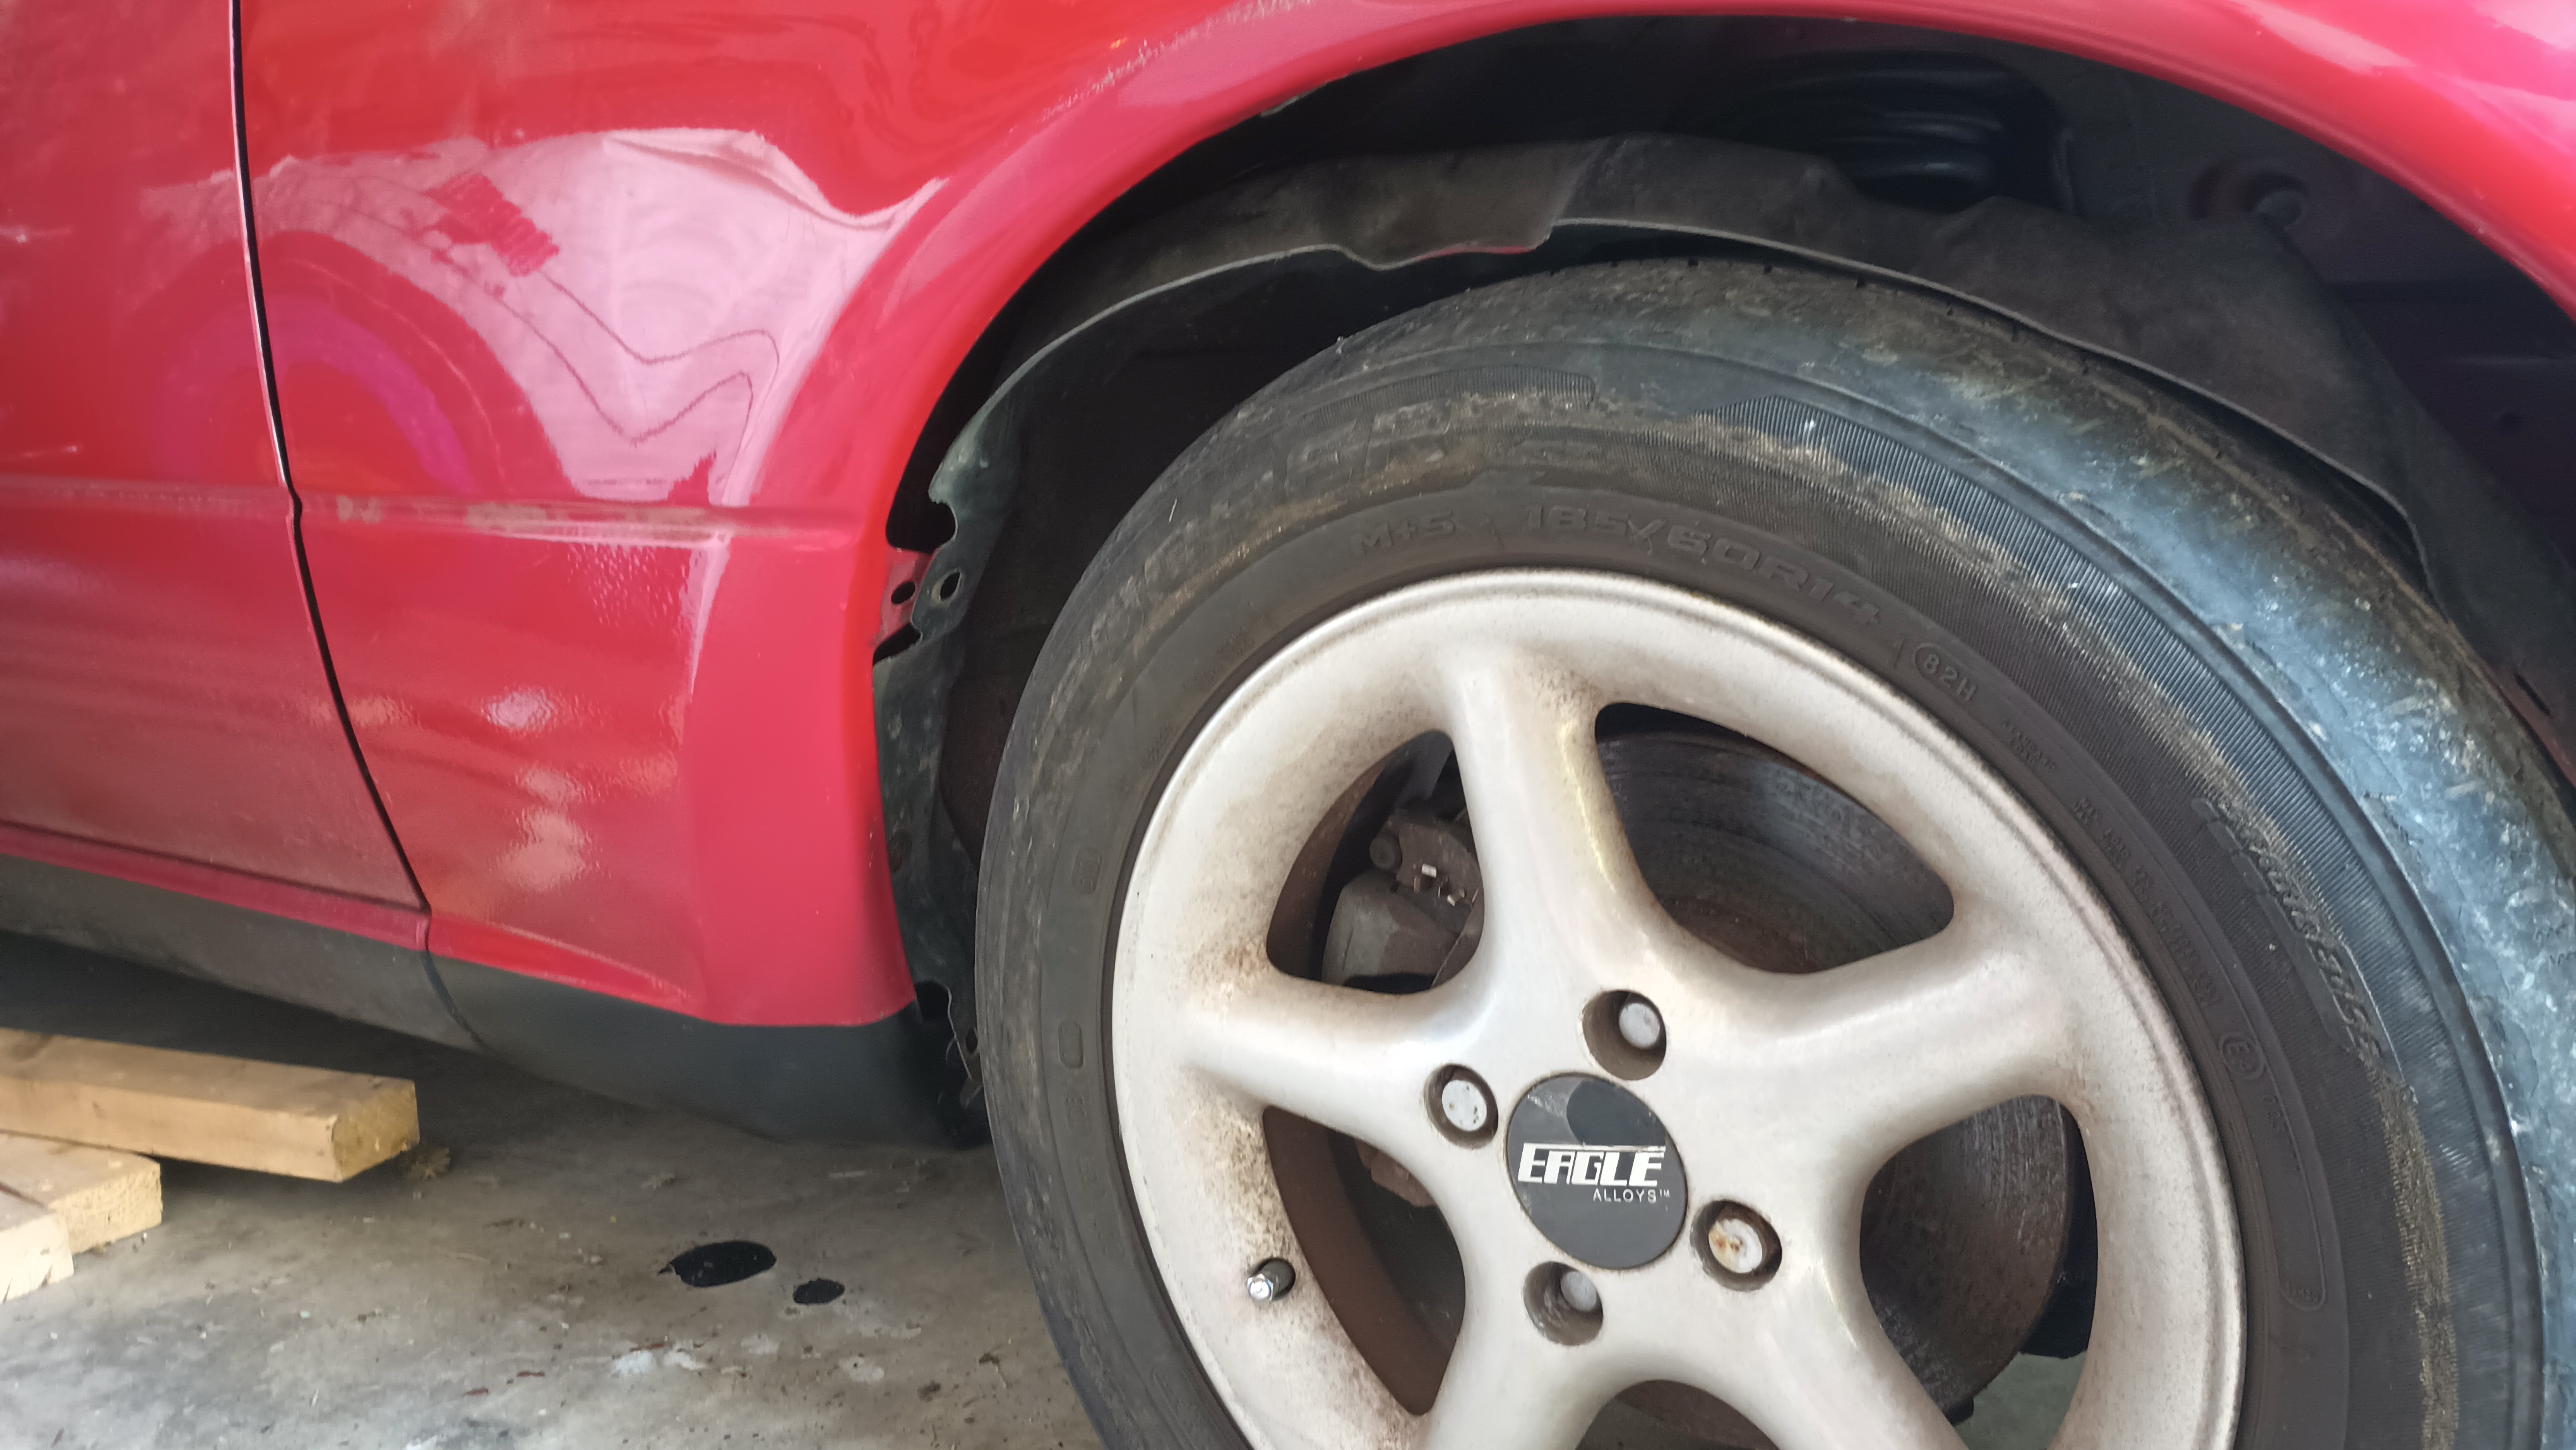
I used a giant drywall mud applicator and that got the filler to lay correctly and blend into the existing structure.  With that basically ready to go, I needed to work on the front fender.  As a reminder, the bottom of it looked like this:
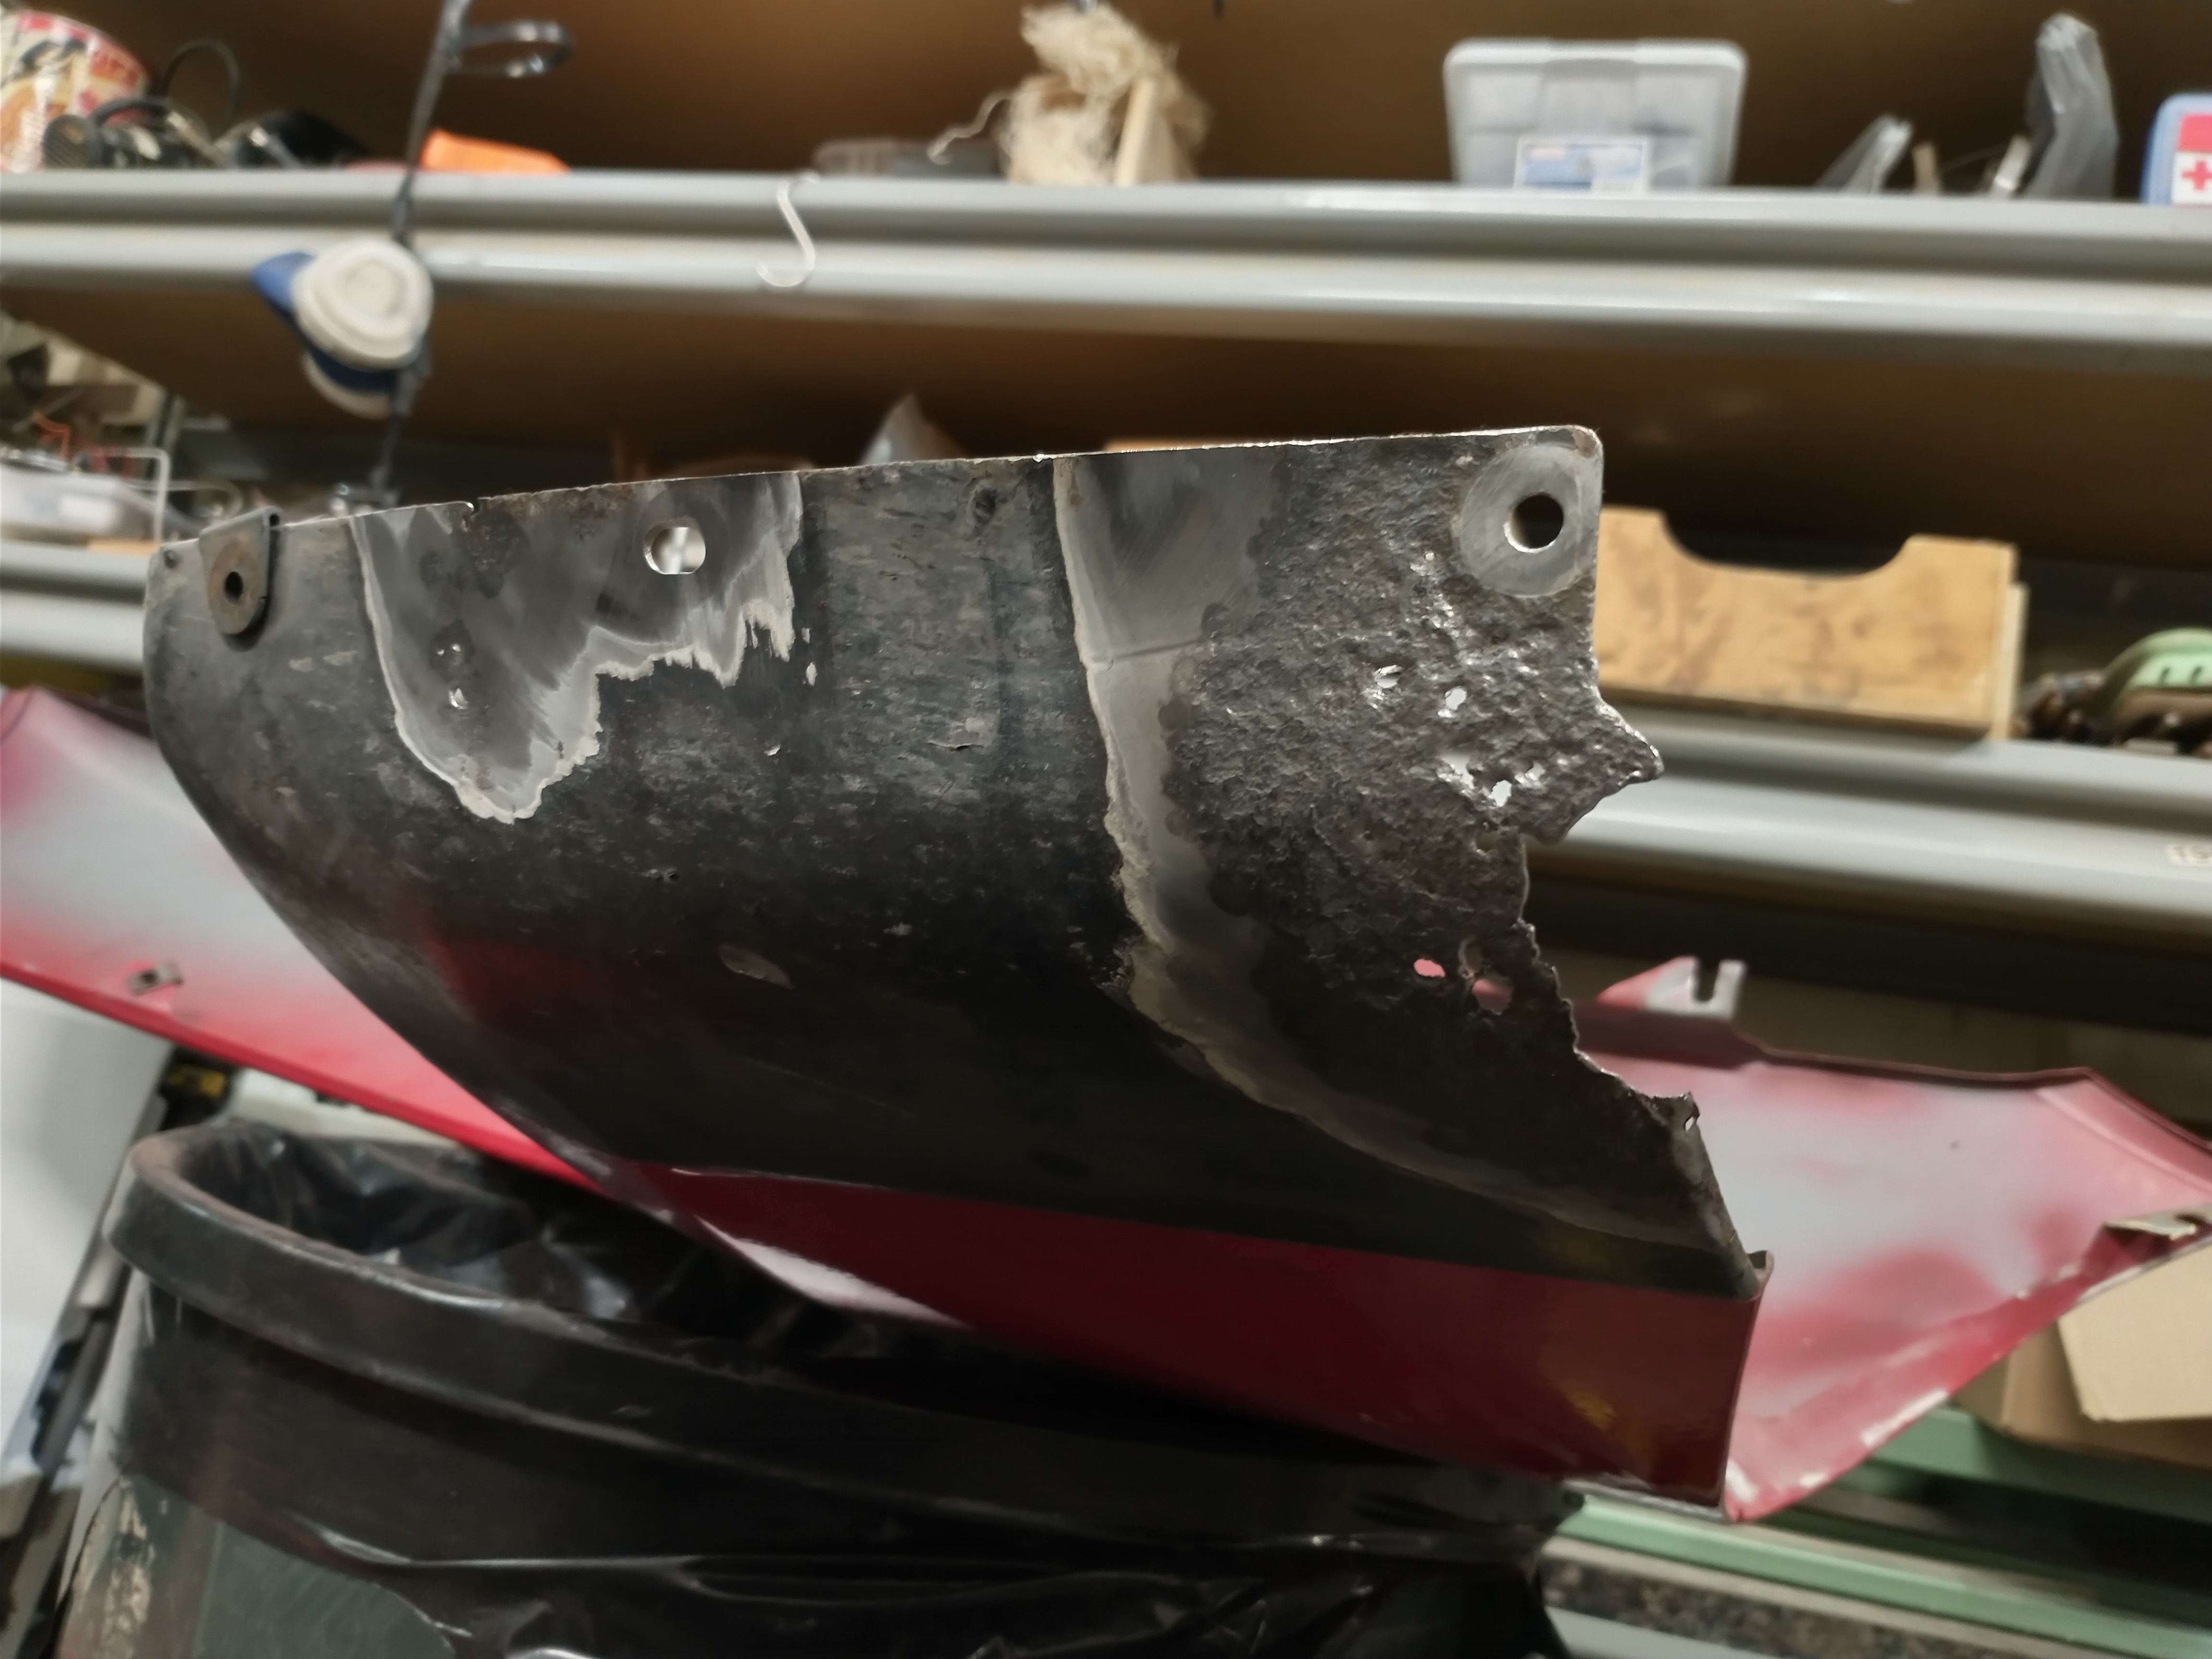
I put a little fiberglass on to back the holes and to re-create the missing chunk:
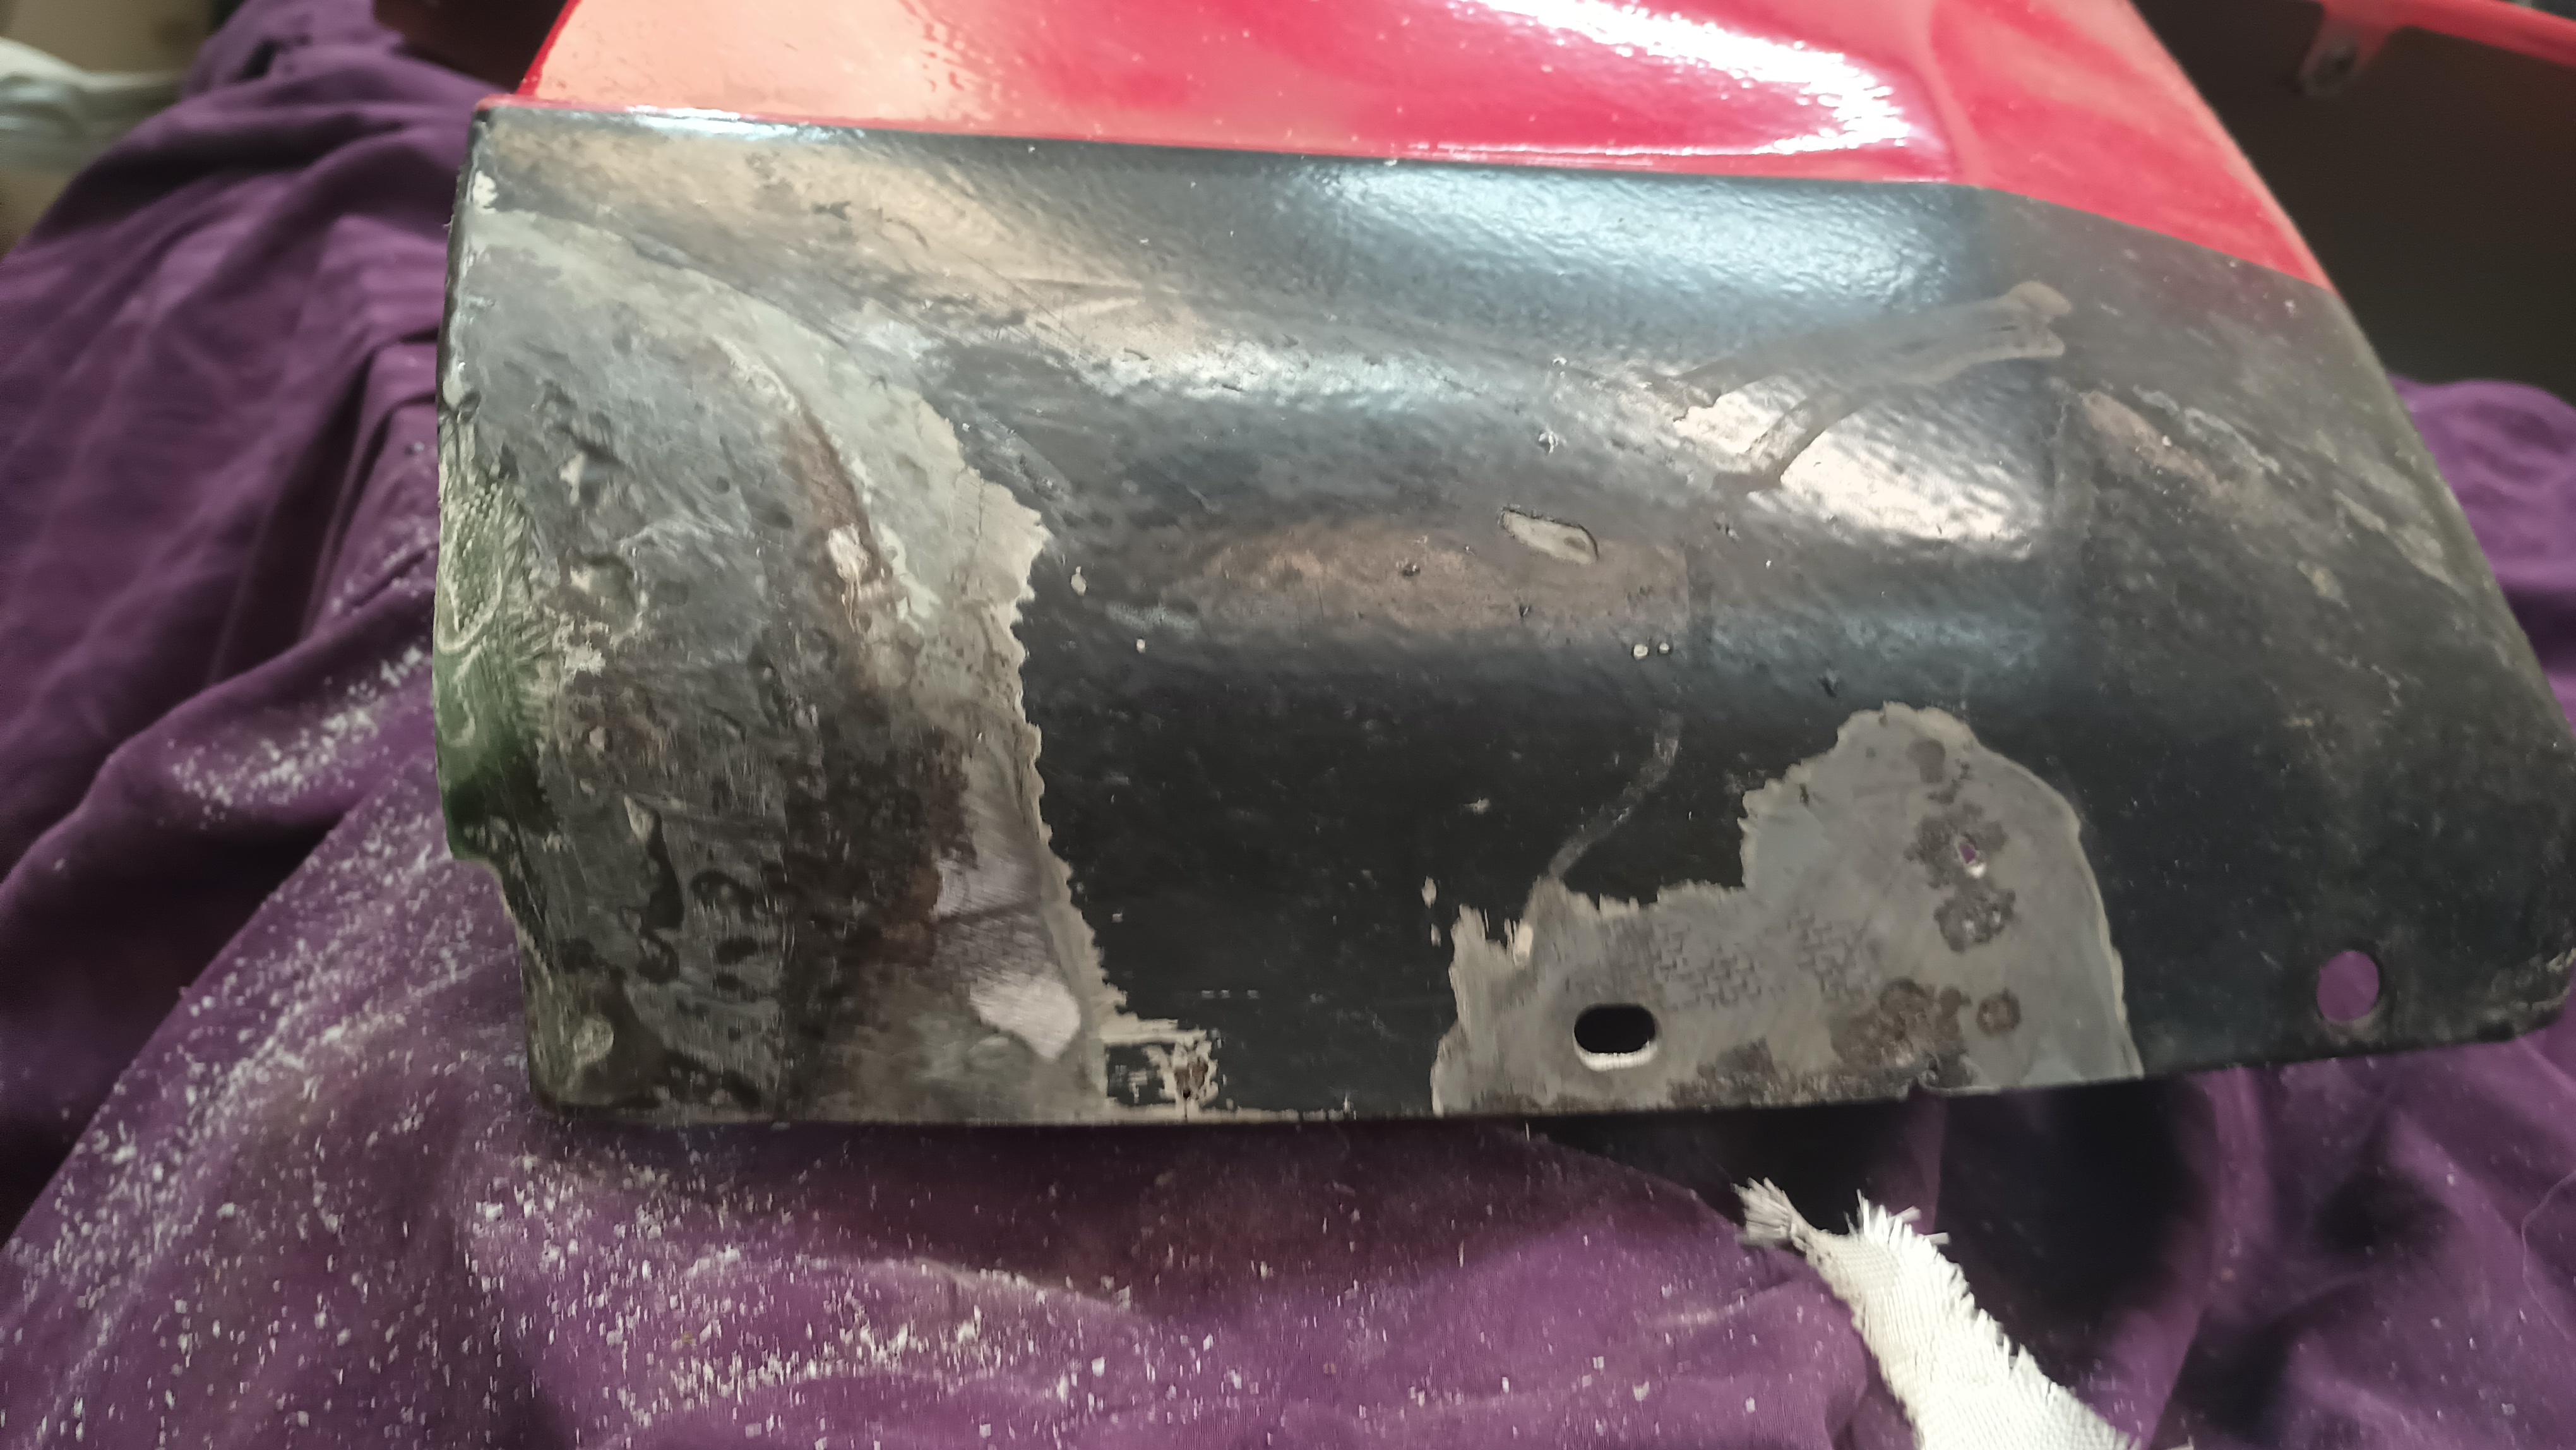
A couple thin layers of Evercoat took care of the finer detail:
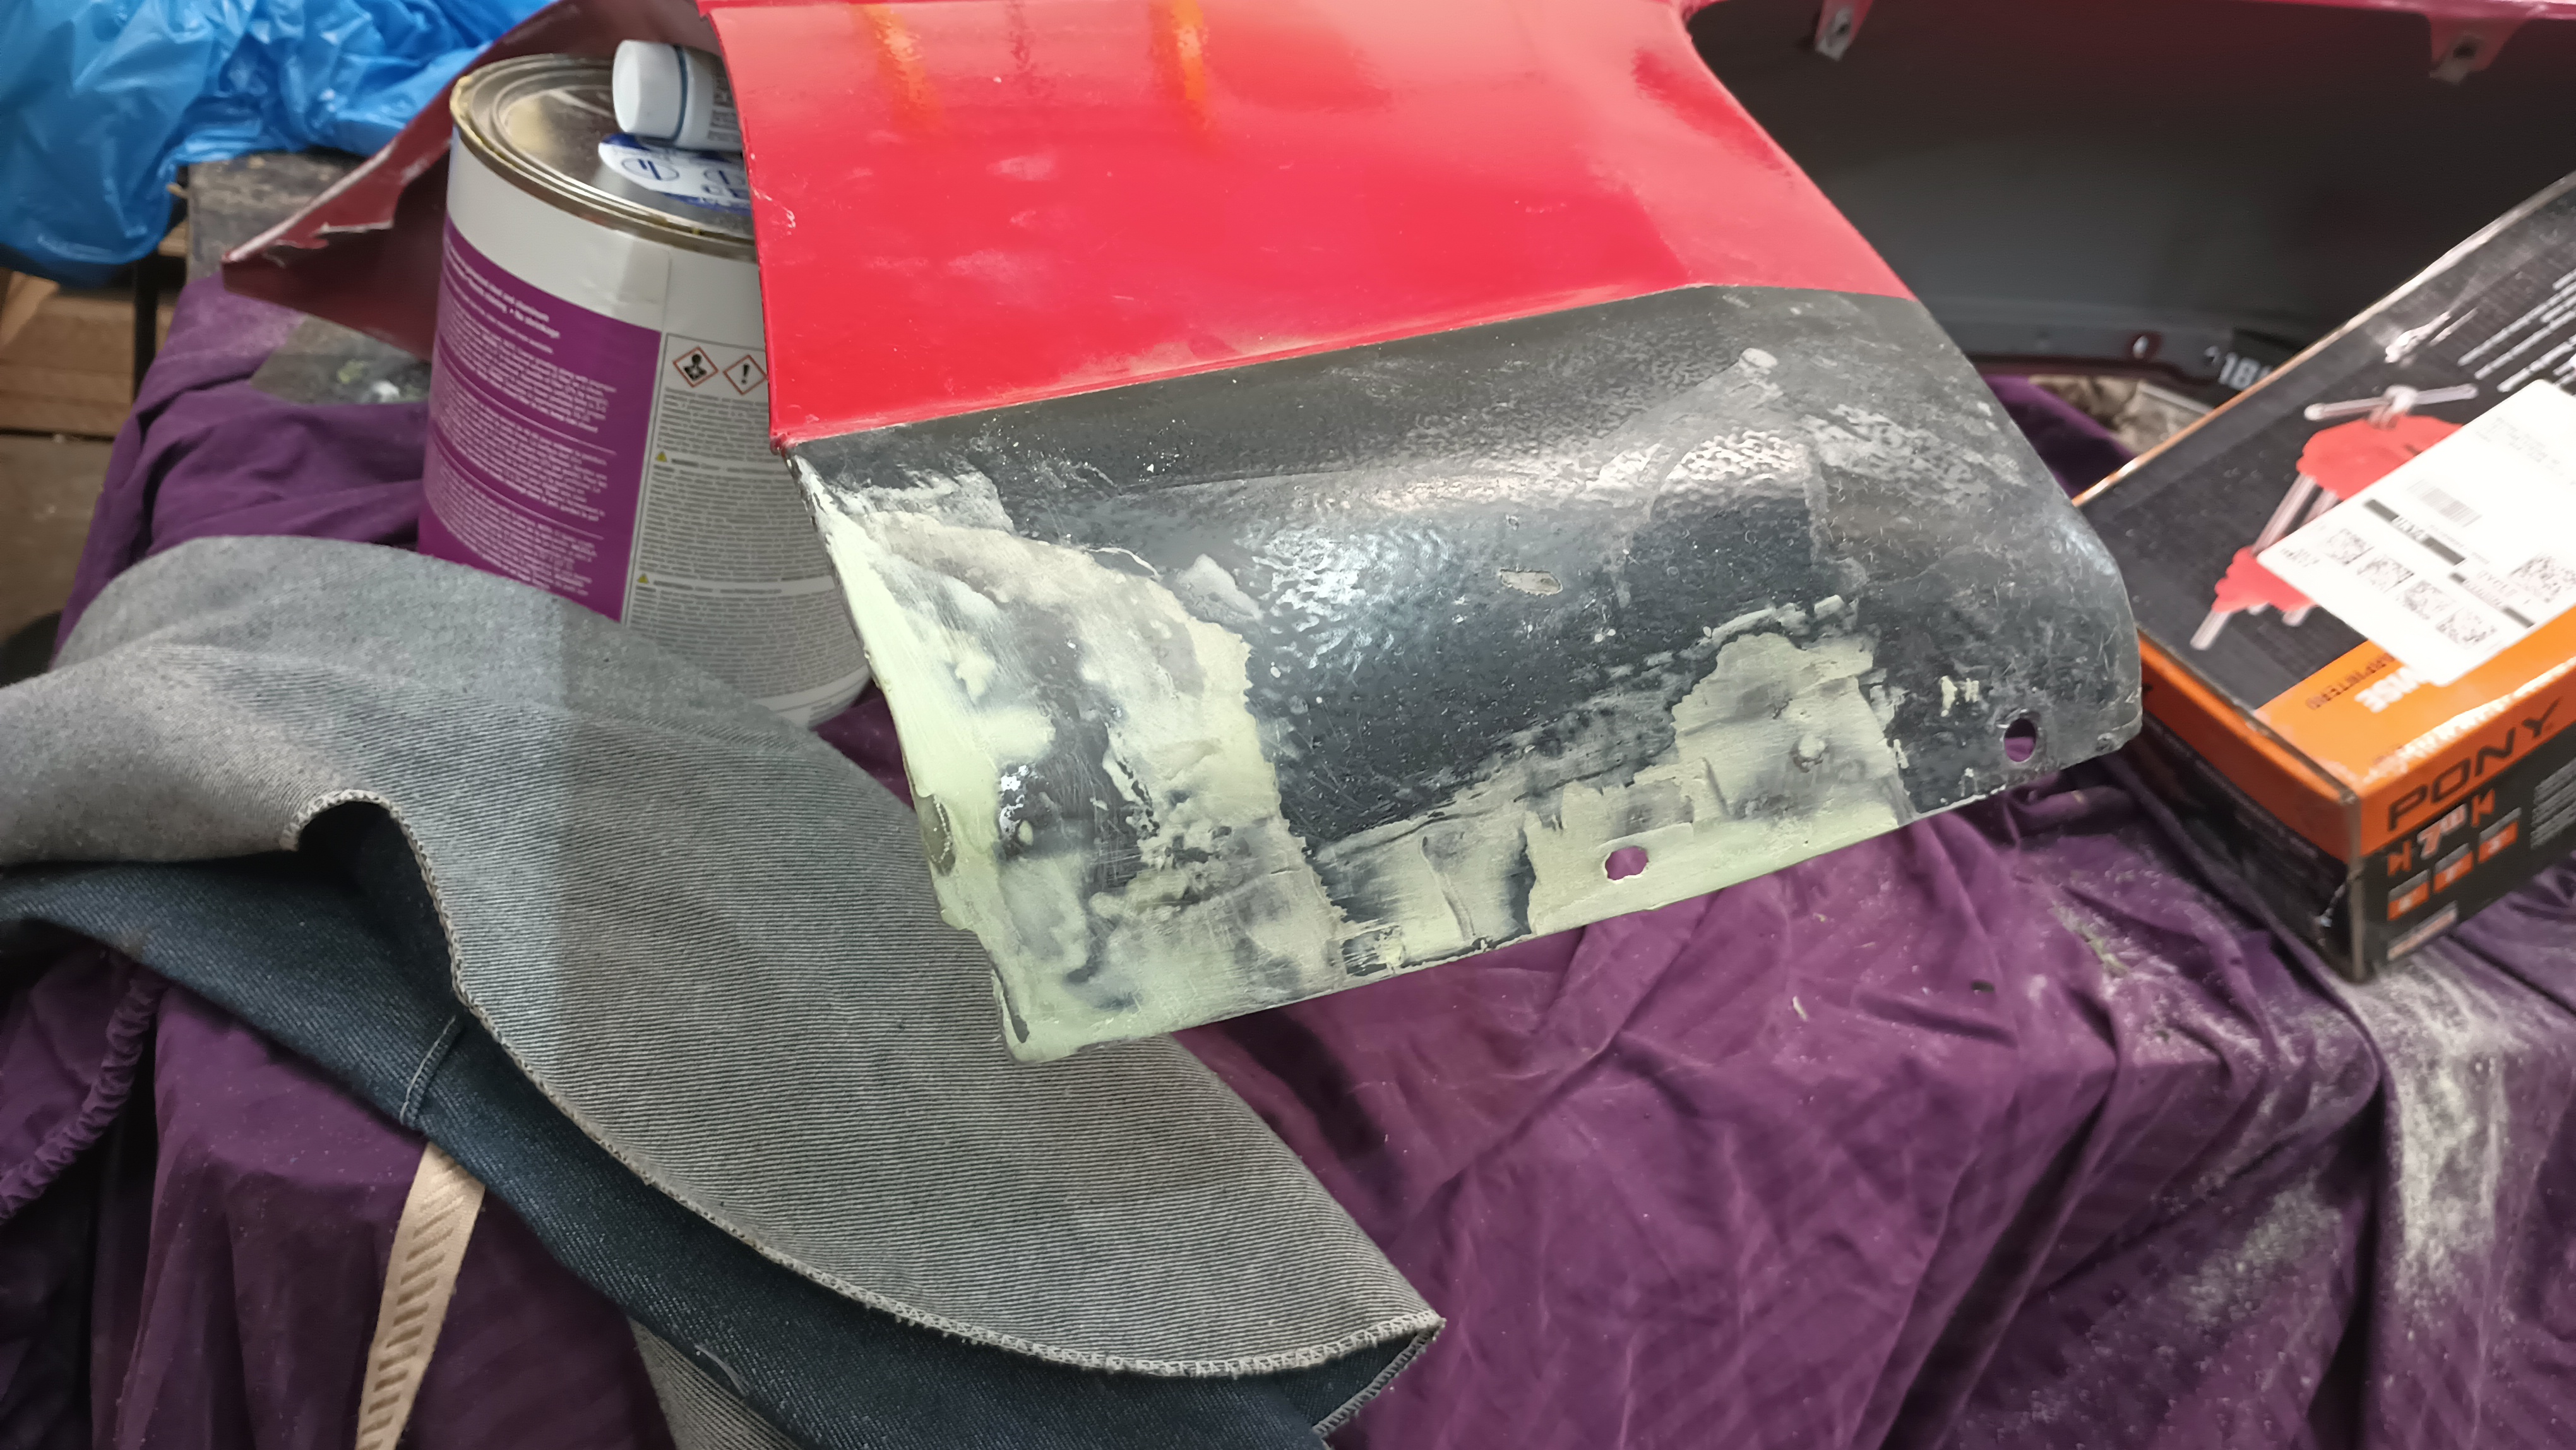
And I just used a couple dozen coats of a relatively cheap satin black to approximate the original chip-guard finish:
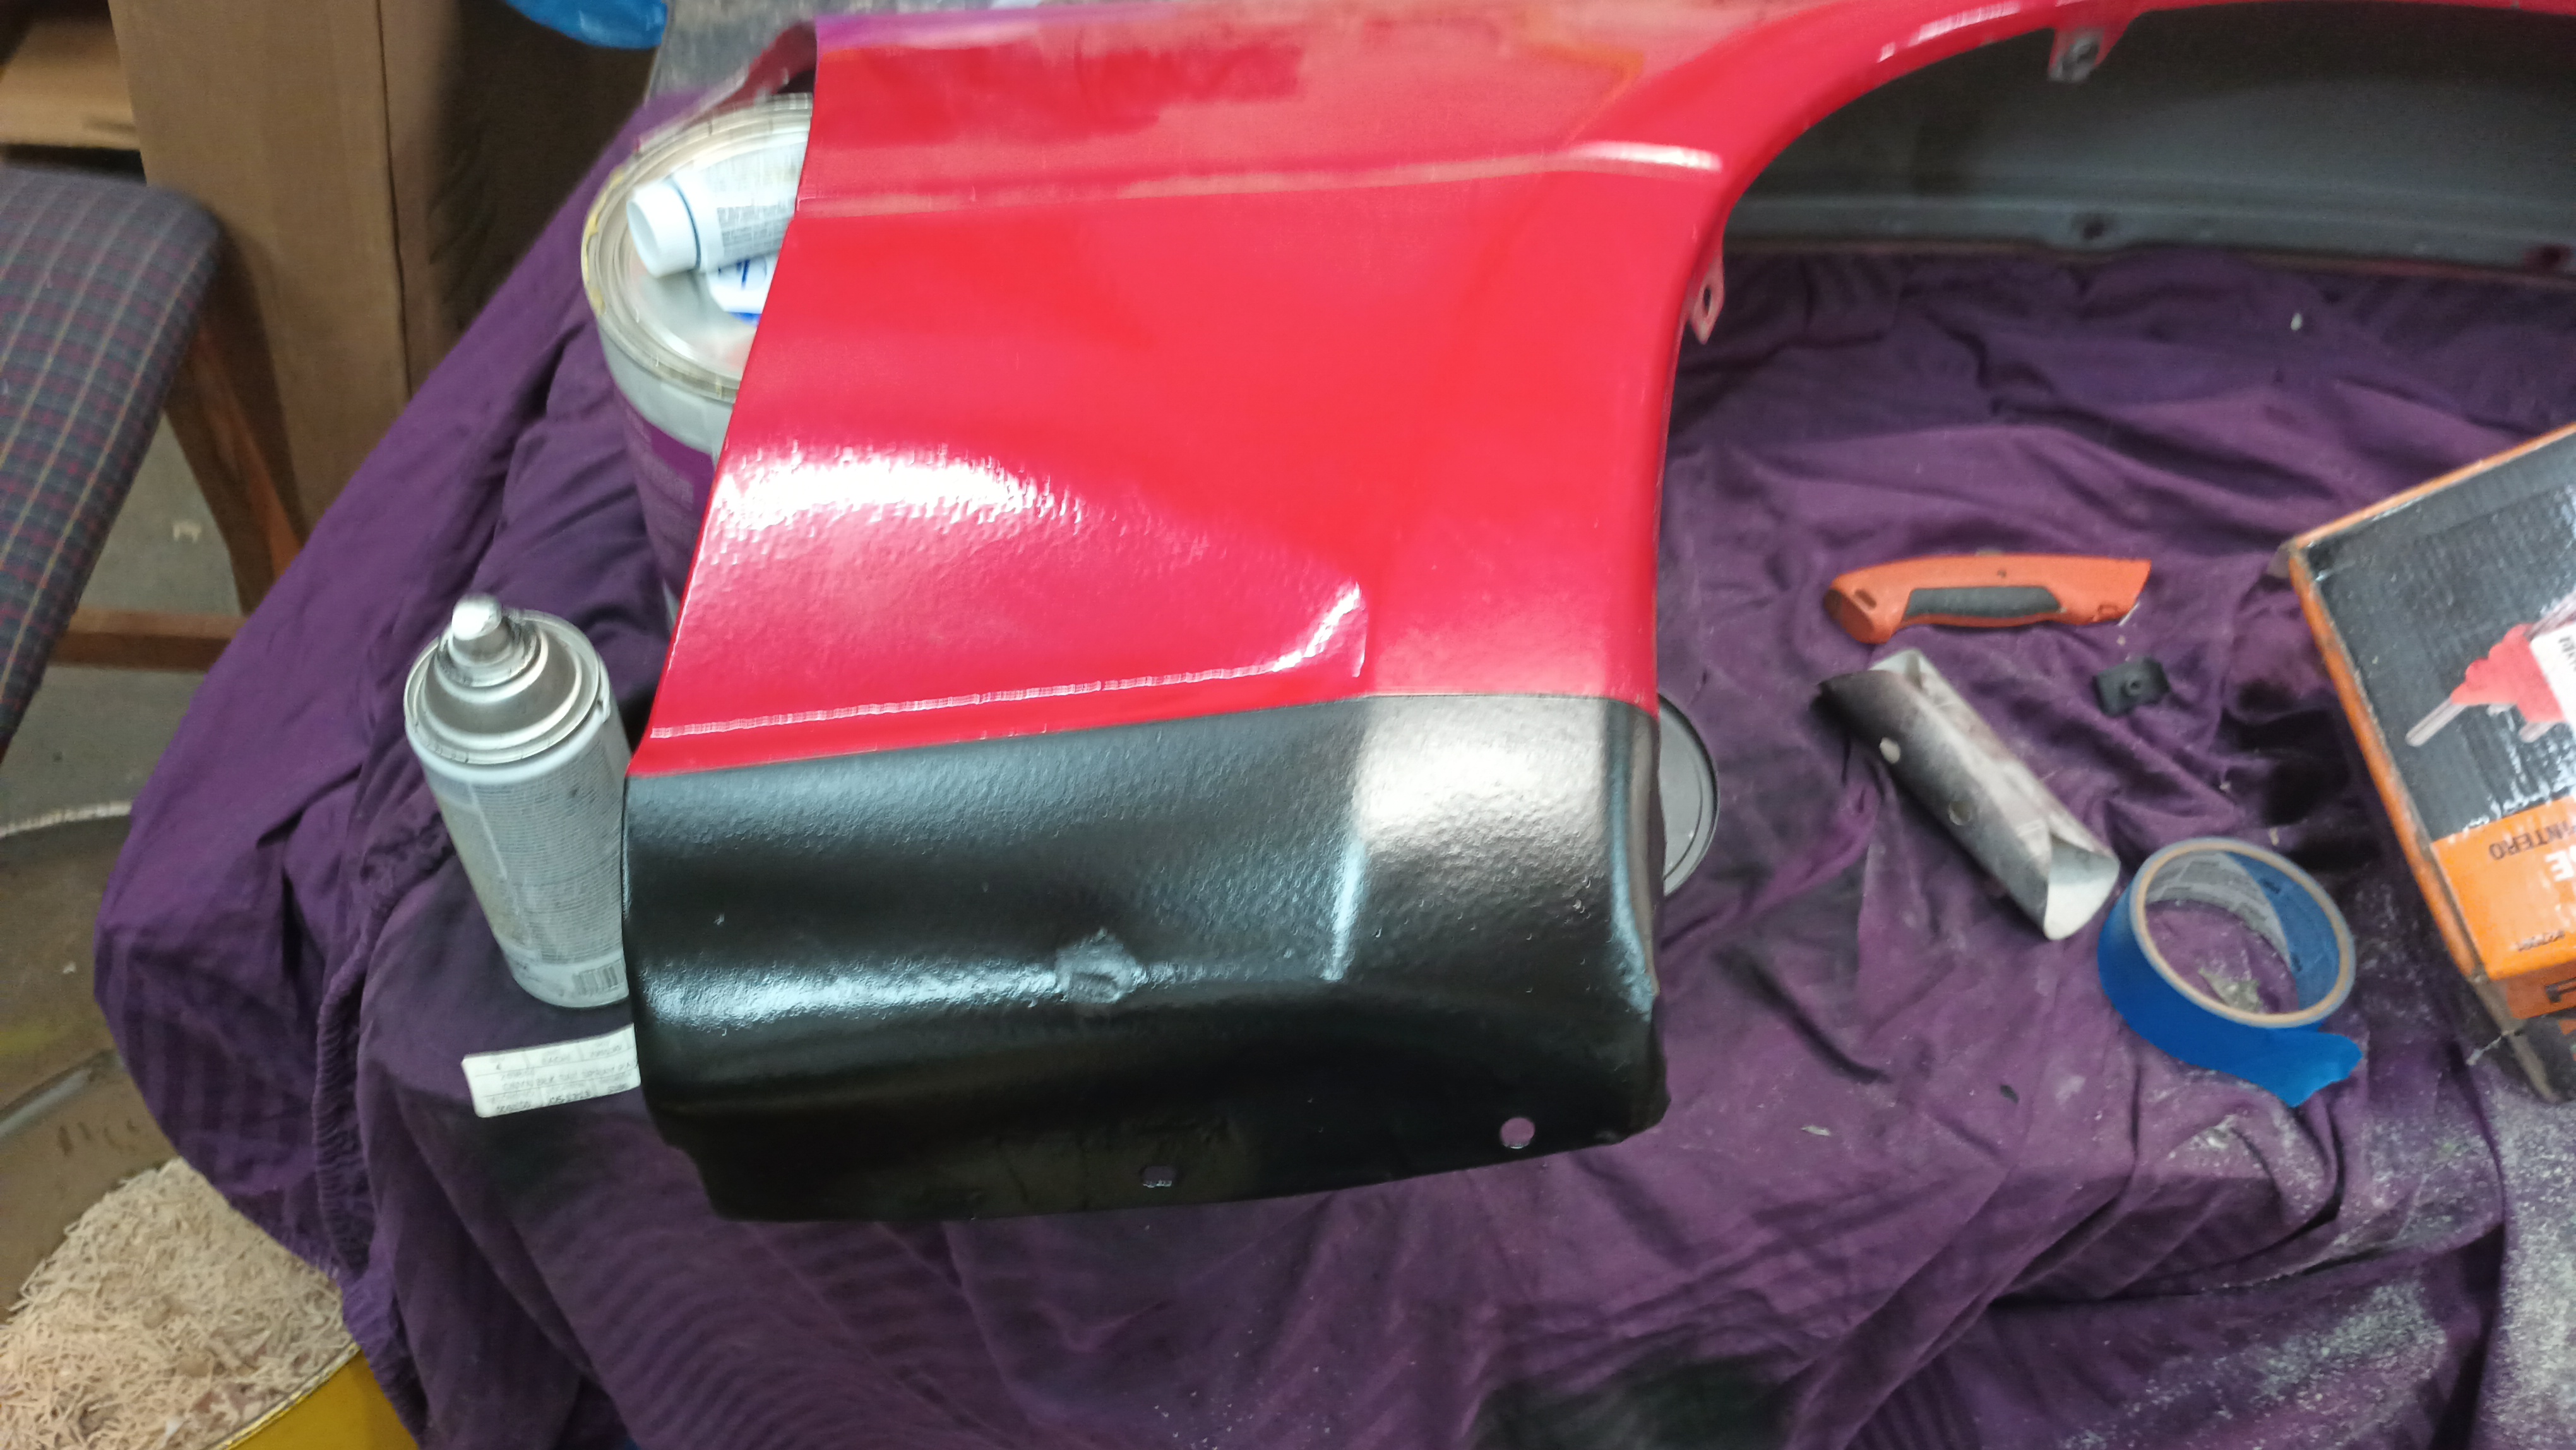
 

With the Biturbo sold, I'm going to allocate those funds to the Miata so my next step, which I plan to do today, will be to get that fender re-installed onto the car.  Then I can call around and see about getting someone to paint it.  If at all possible, I would like to find someone that could manage to shoot only the areas that I tore up with the rust repair and blend it to the rest of the paint.  Yeah.  I know.  But here's the thing:  The car has a lot of little dings on it.  I mean, a lot a lot.  So If I'm going to have the whole thing painted, then I'd want to have all those taken out.  Which would make it look much nicer, to be sure, but I am tragically cheap. 

Anyway, we'll see what I can find.  Once that is in progress, I need to track down some decent 14" tires, clean up those daisies that I got from Evan, run down (or maybe print!) some center caps, and then I'll have something worth driving on.  It looks like if I move to a 195 section width there are some good Falken options out there.

The battery probably needs to be replaced as does the splash shield under the engine.

I have a tan top to install still, so that'll happen once the paint is done.

I would like to get some sort of modern-ish stereo installed that would involve Android Auto.

And then I want to go hit some of the routes that the Backroads of Appalachia people have cooked up.

Keith Tanner
Keith Tanner MegaDork
8/18/24 10:31 a.m.

FYI, if you want to replicate that chip-guard finish in the future you can get Stone Guard from NAPA. One shot and you've got the texture and stone protection. Then top-coat with black - I think. I can't remember if I've left it bare.

https://www.napaonline.com/en/p/MS_4004

Daisies look good without center caps, don't worry about missing those :) 

wae
wae UltimaDork
8/18/24 11:58 a.m.

In reply to Keith Tanner :

After some image search, yeah, you're right: Those don't look too bad at all!

Thanks for the tip on the Stone Guard.  I may just go ahead and get a can of that from the local NAPA next week and shoot it over that section just to make sure.  Would you also spray that further up between the rocker and the character line/groove and then cover it with the regular body color?


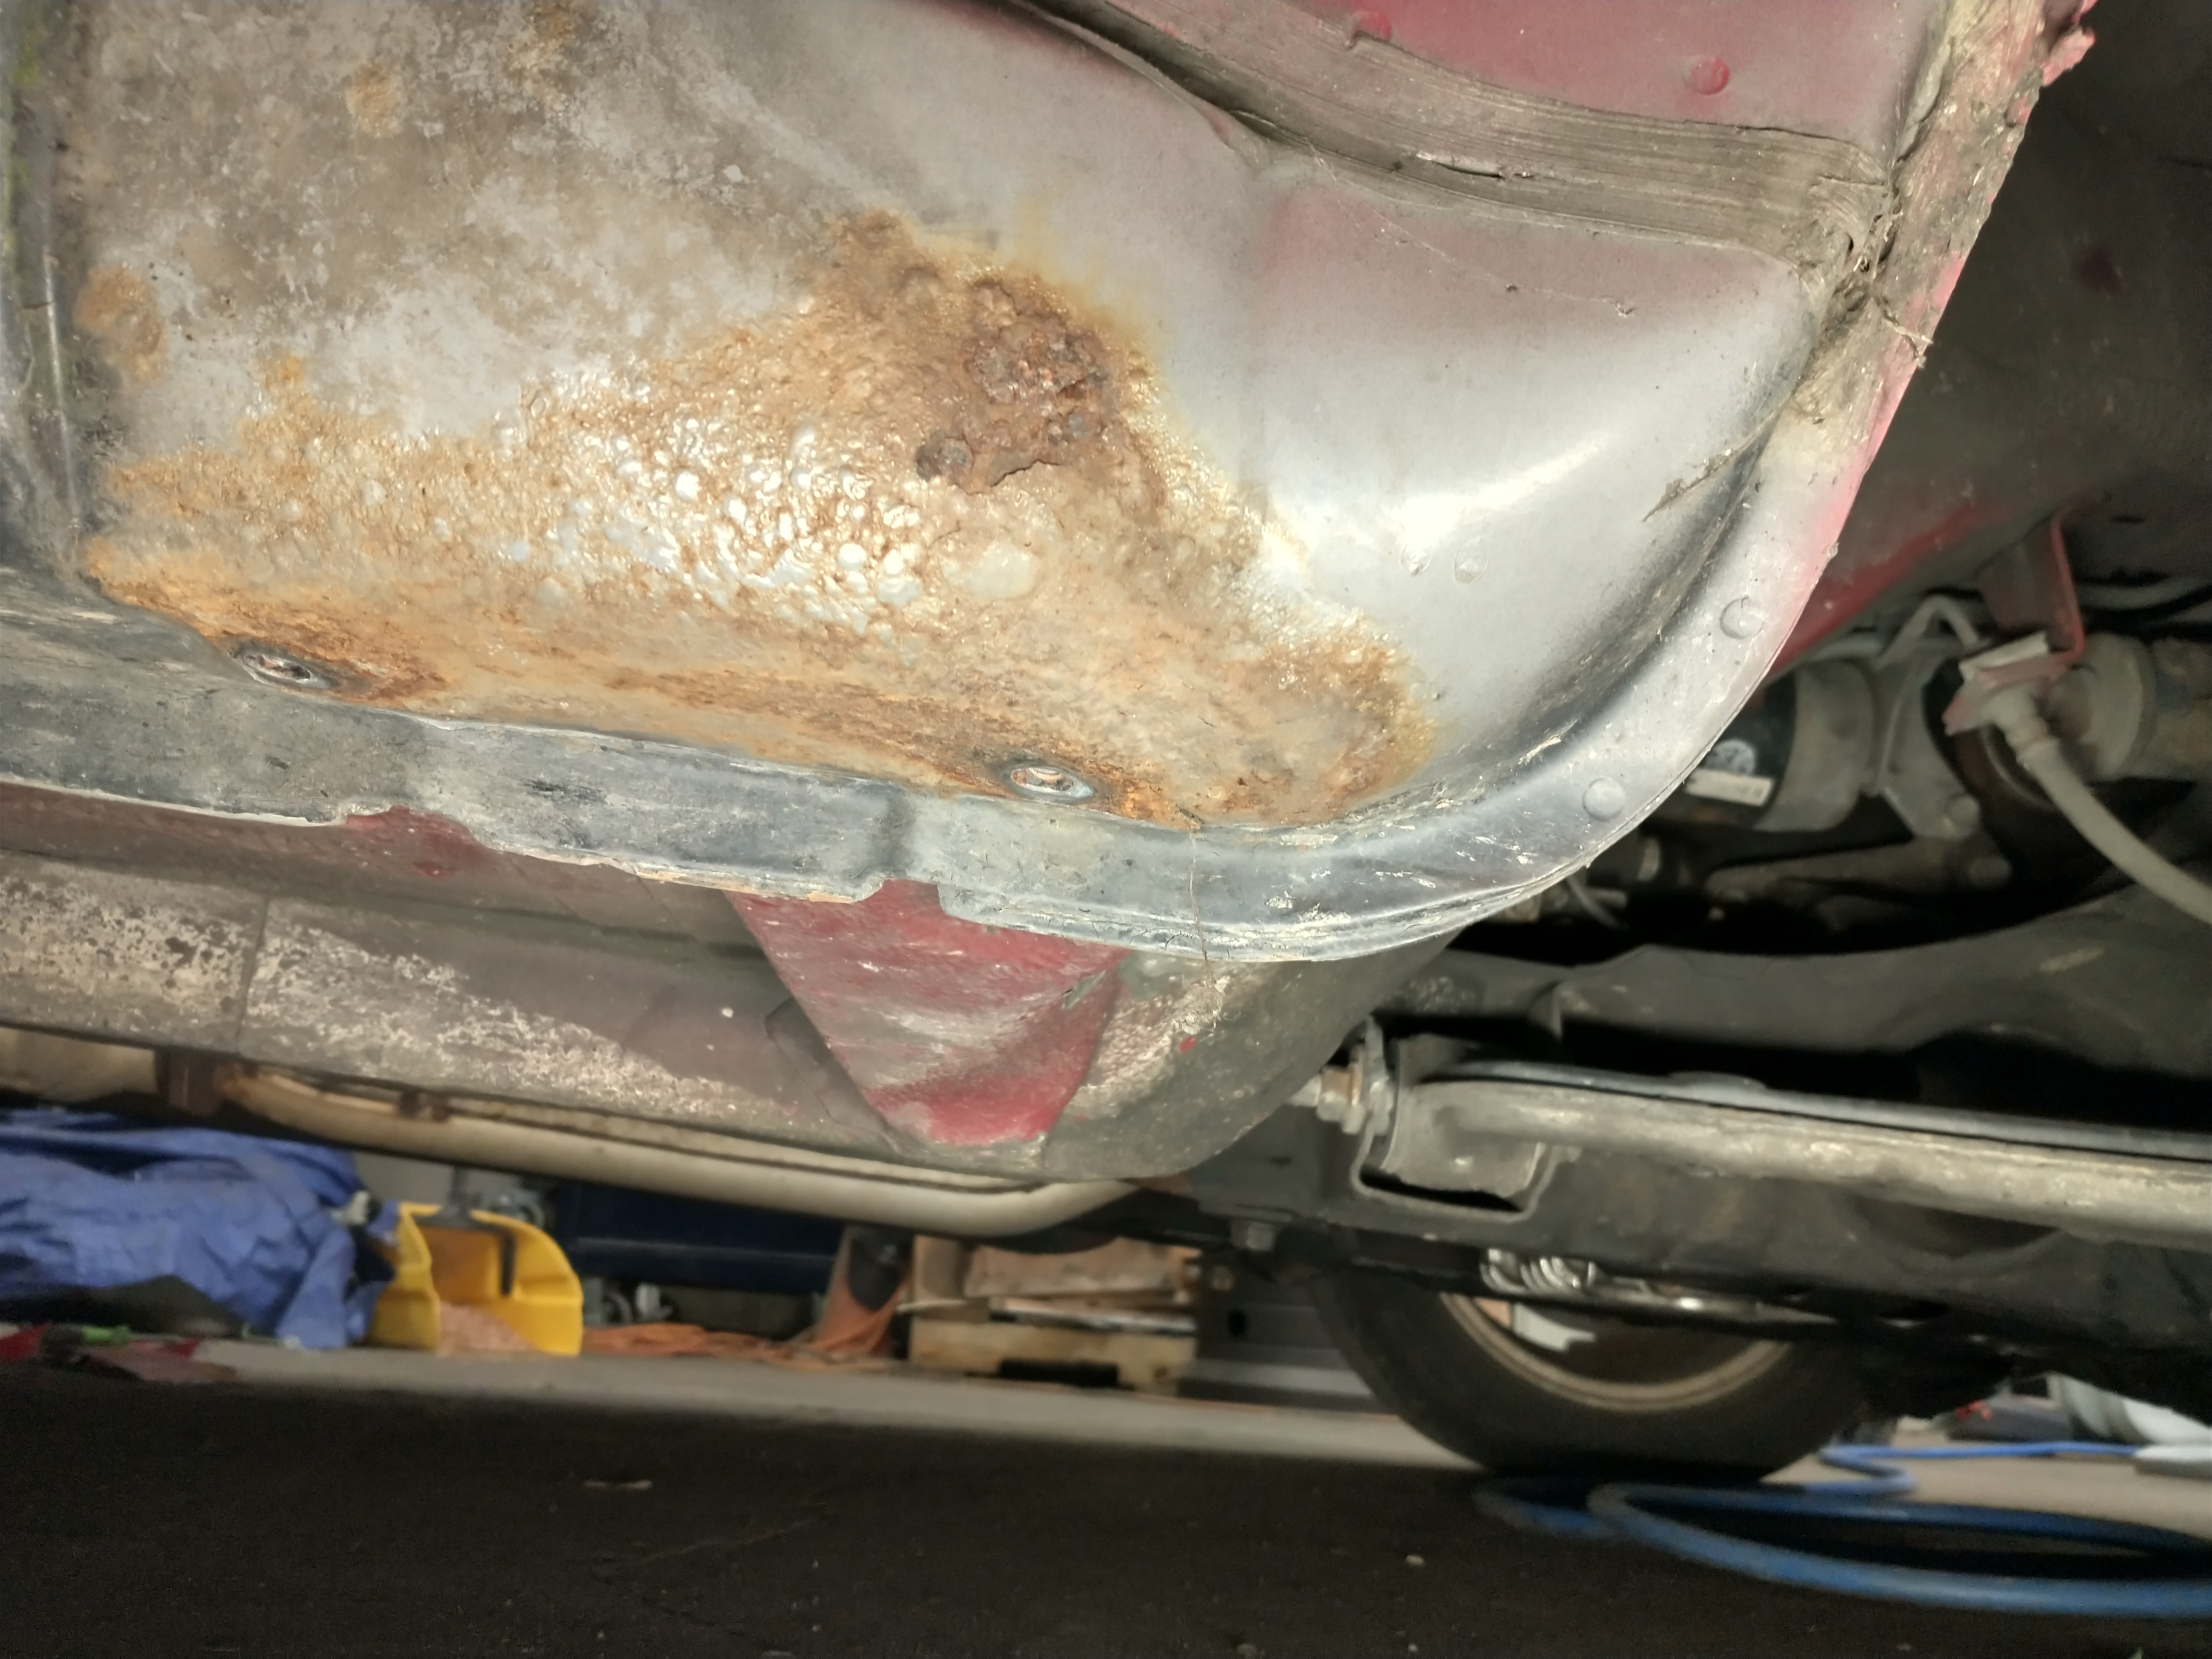
I went out to throw the fender on real quick but I forgot that there was a little bit of rust forming on the tub of the car down towards the ground:

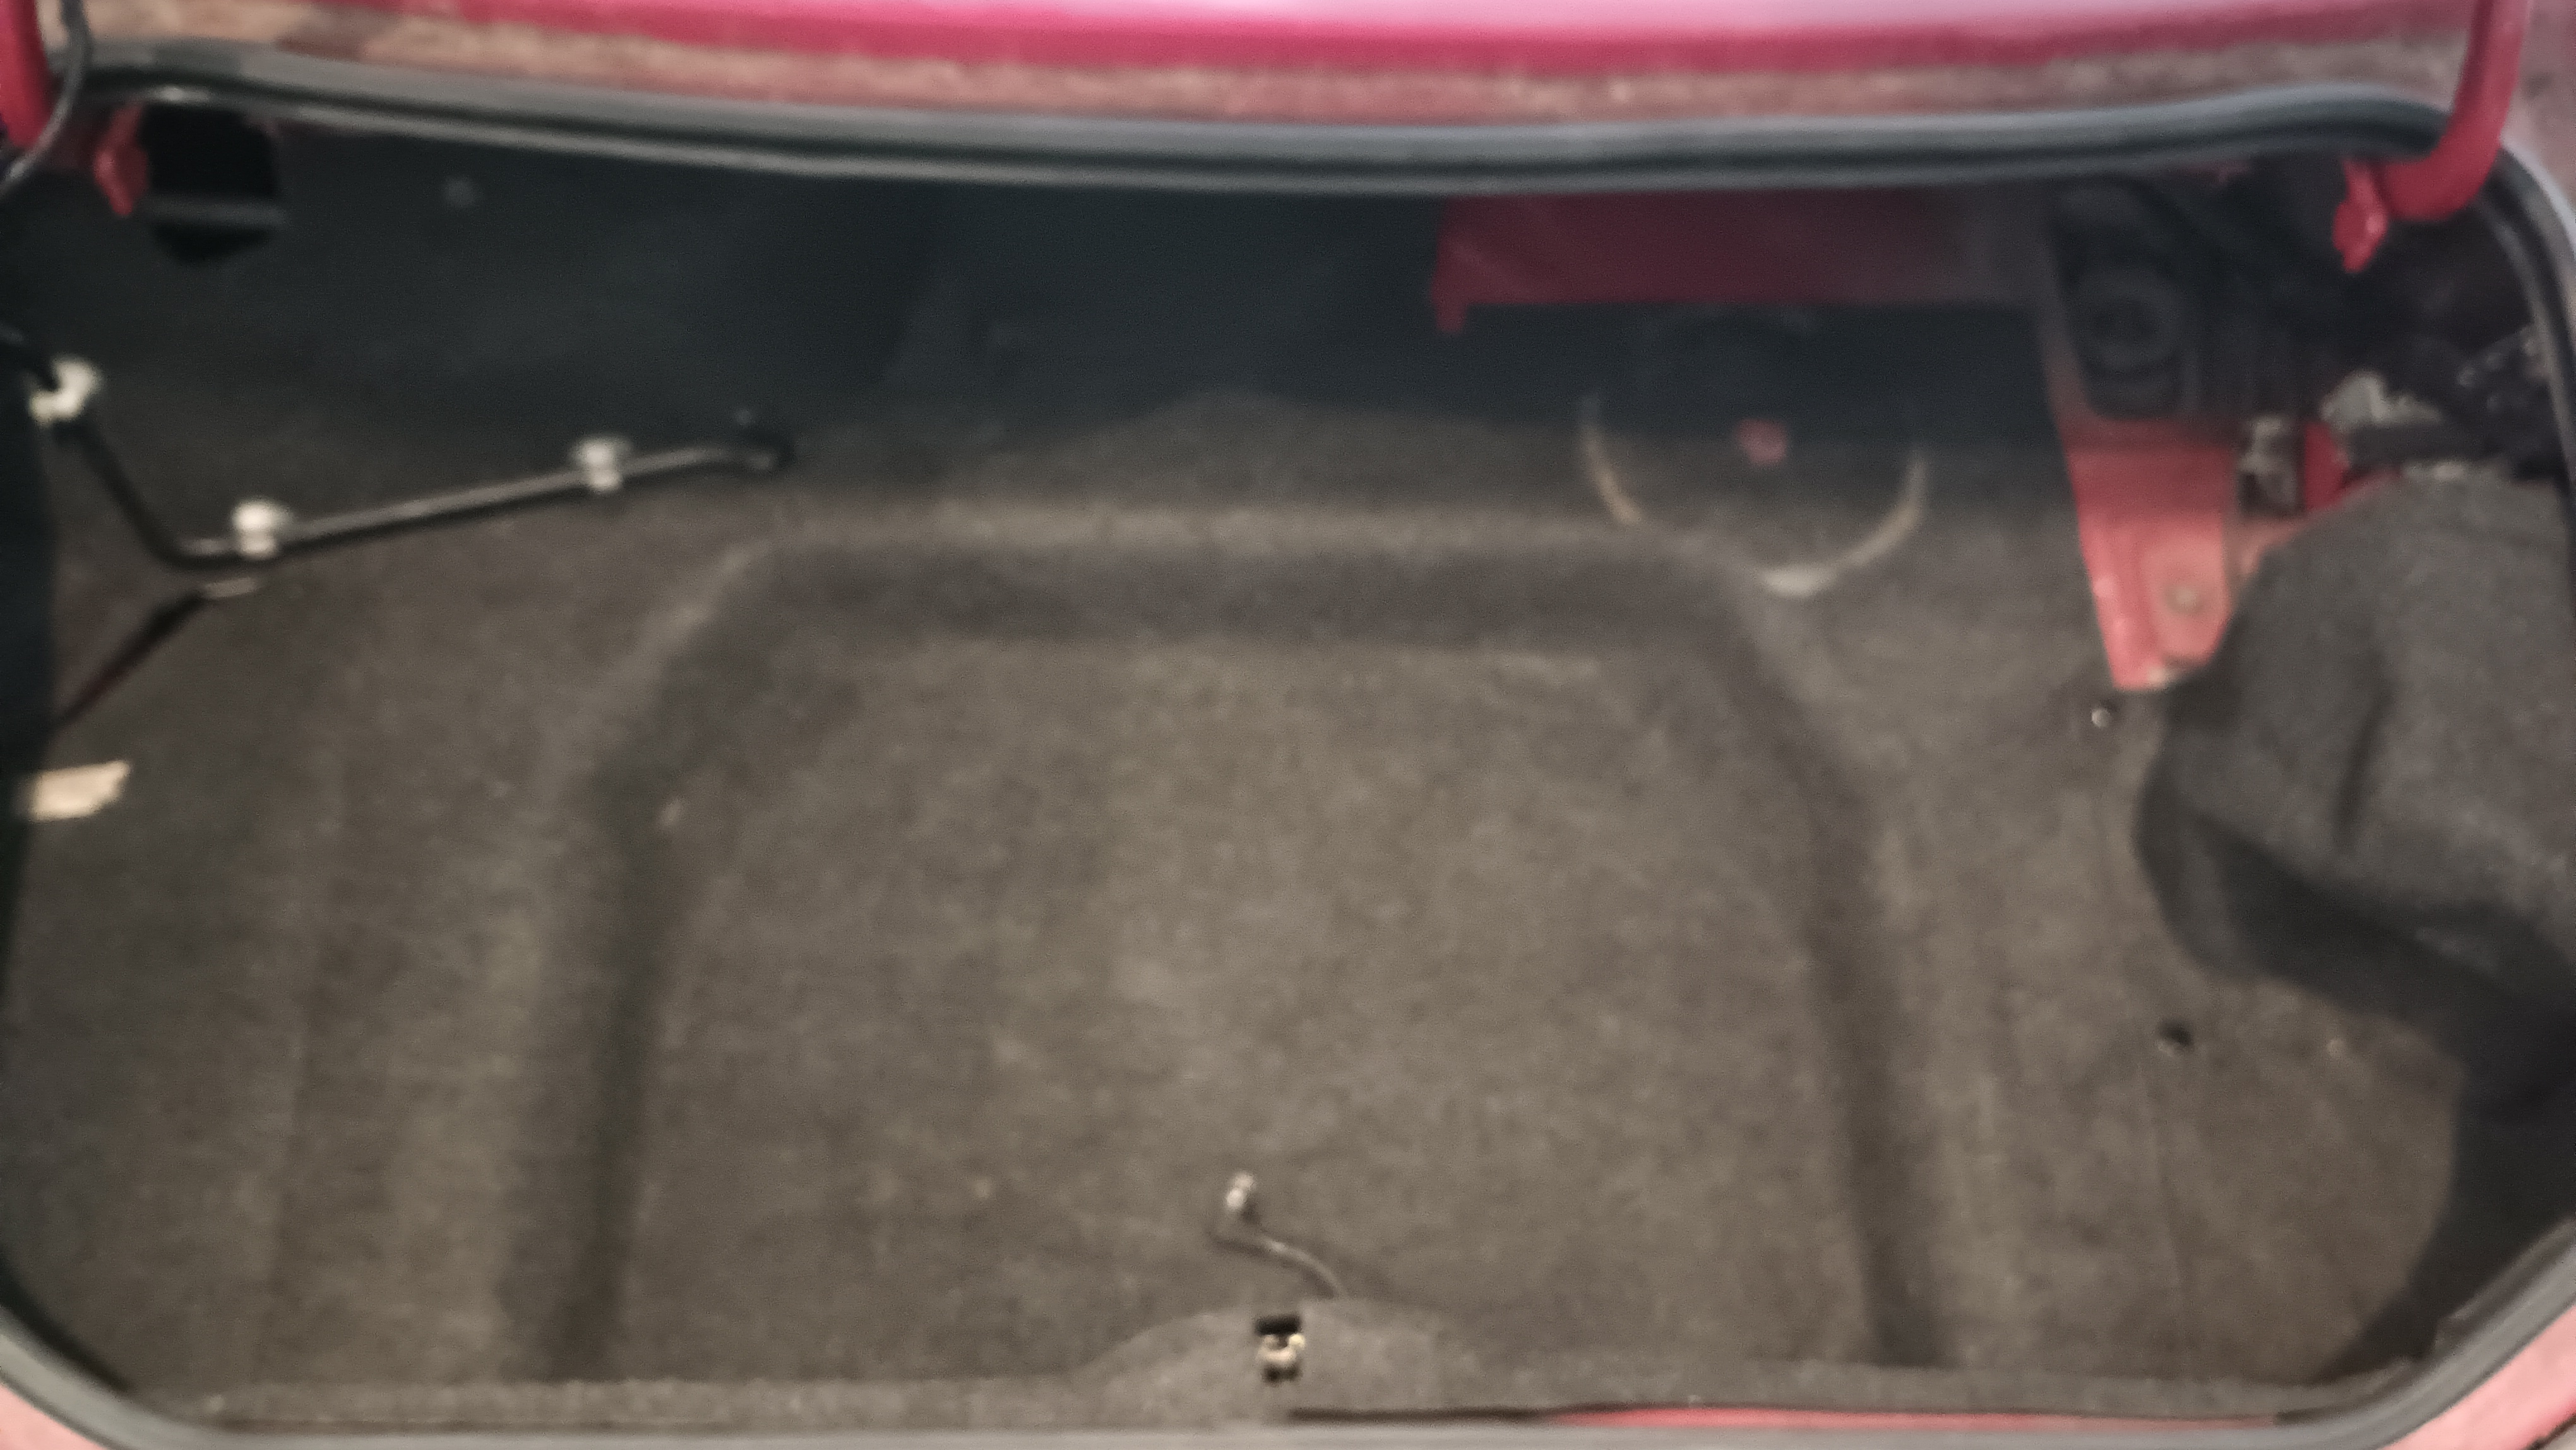
That was on my list of things to do, but I sort of forgot about it because I didn't actually write that list down anywhere.  So instead of mounting the fender, I gave it a quick sanding, some treatments of naval jelly, and I'm going to go get a decent primer to hit it with.  In the meantime, I dug out all of the various baggies of hardware during which time I discovered that a mouse had decided to tear-ass through the trunk.  But that's now all cleaned up. 

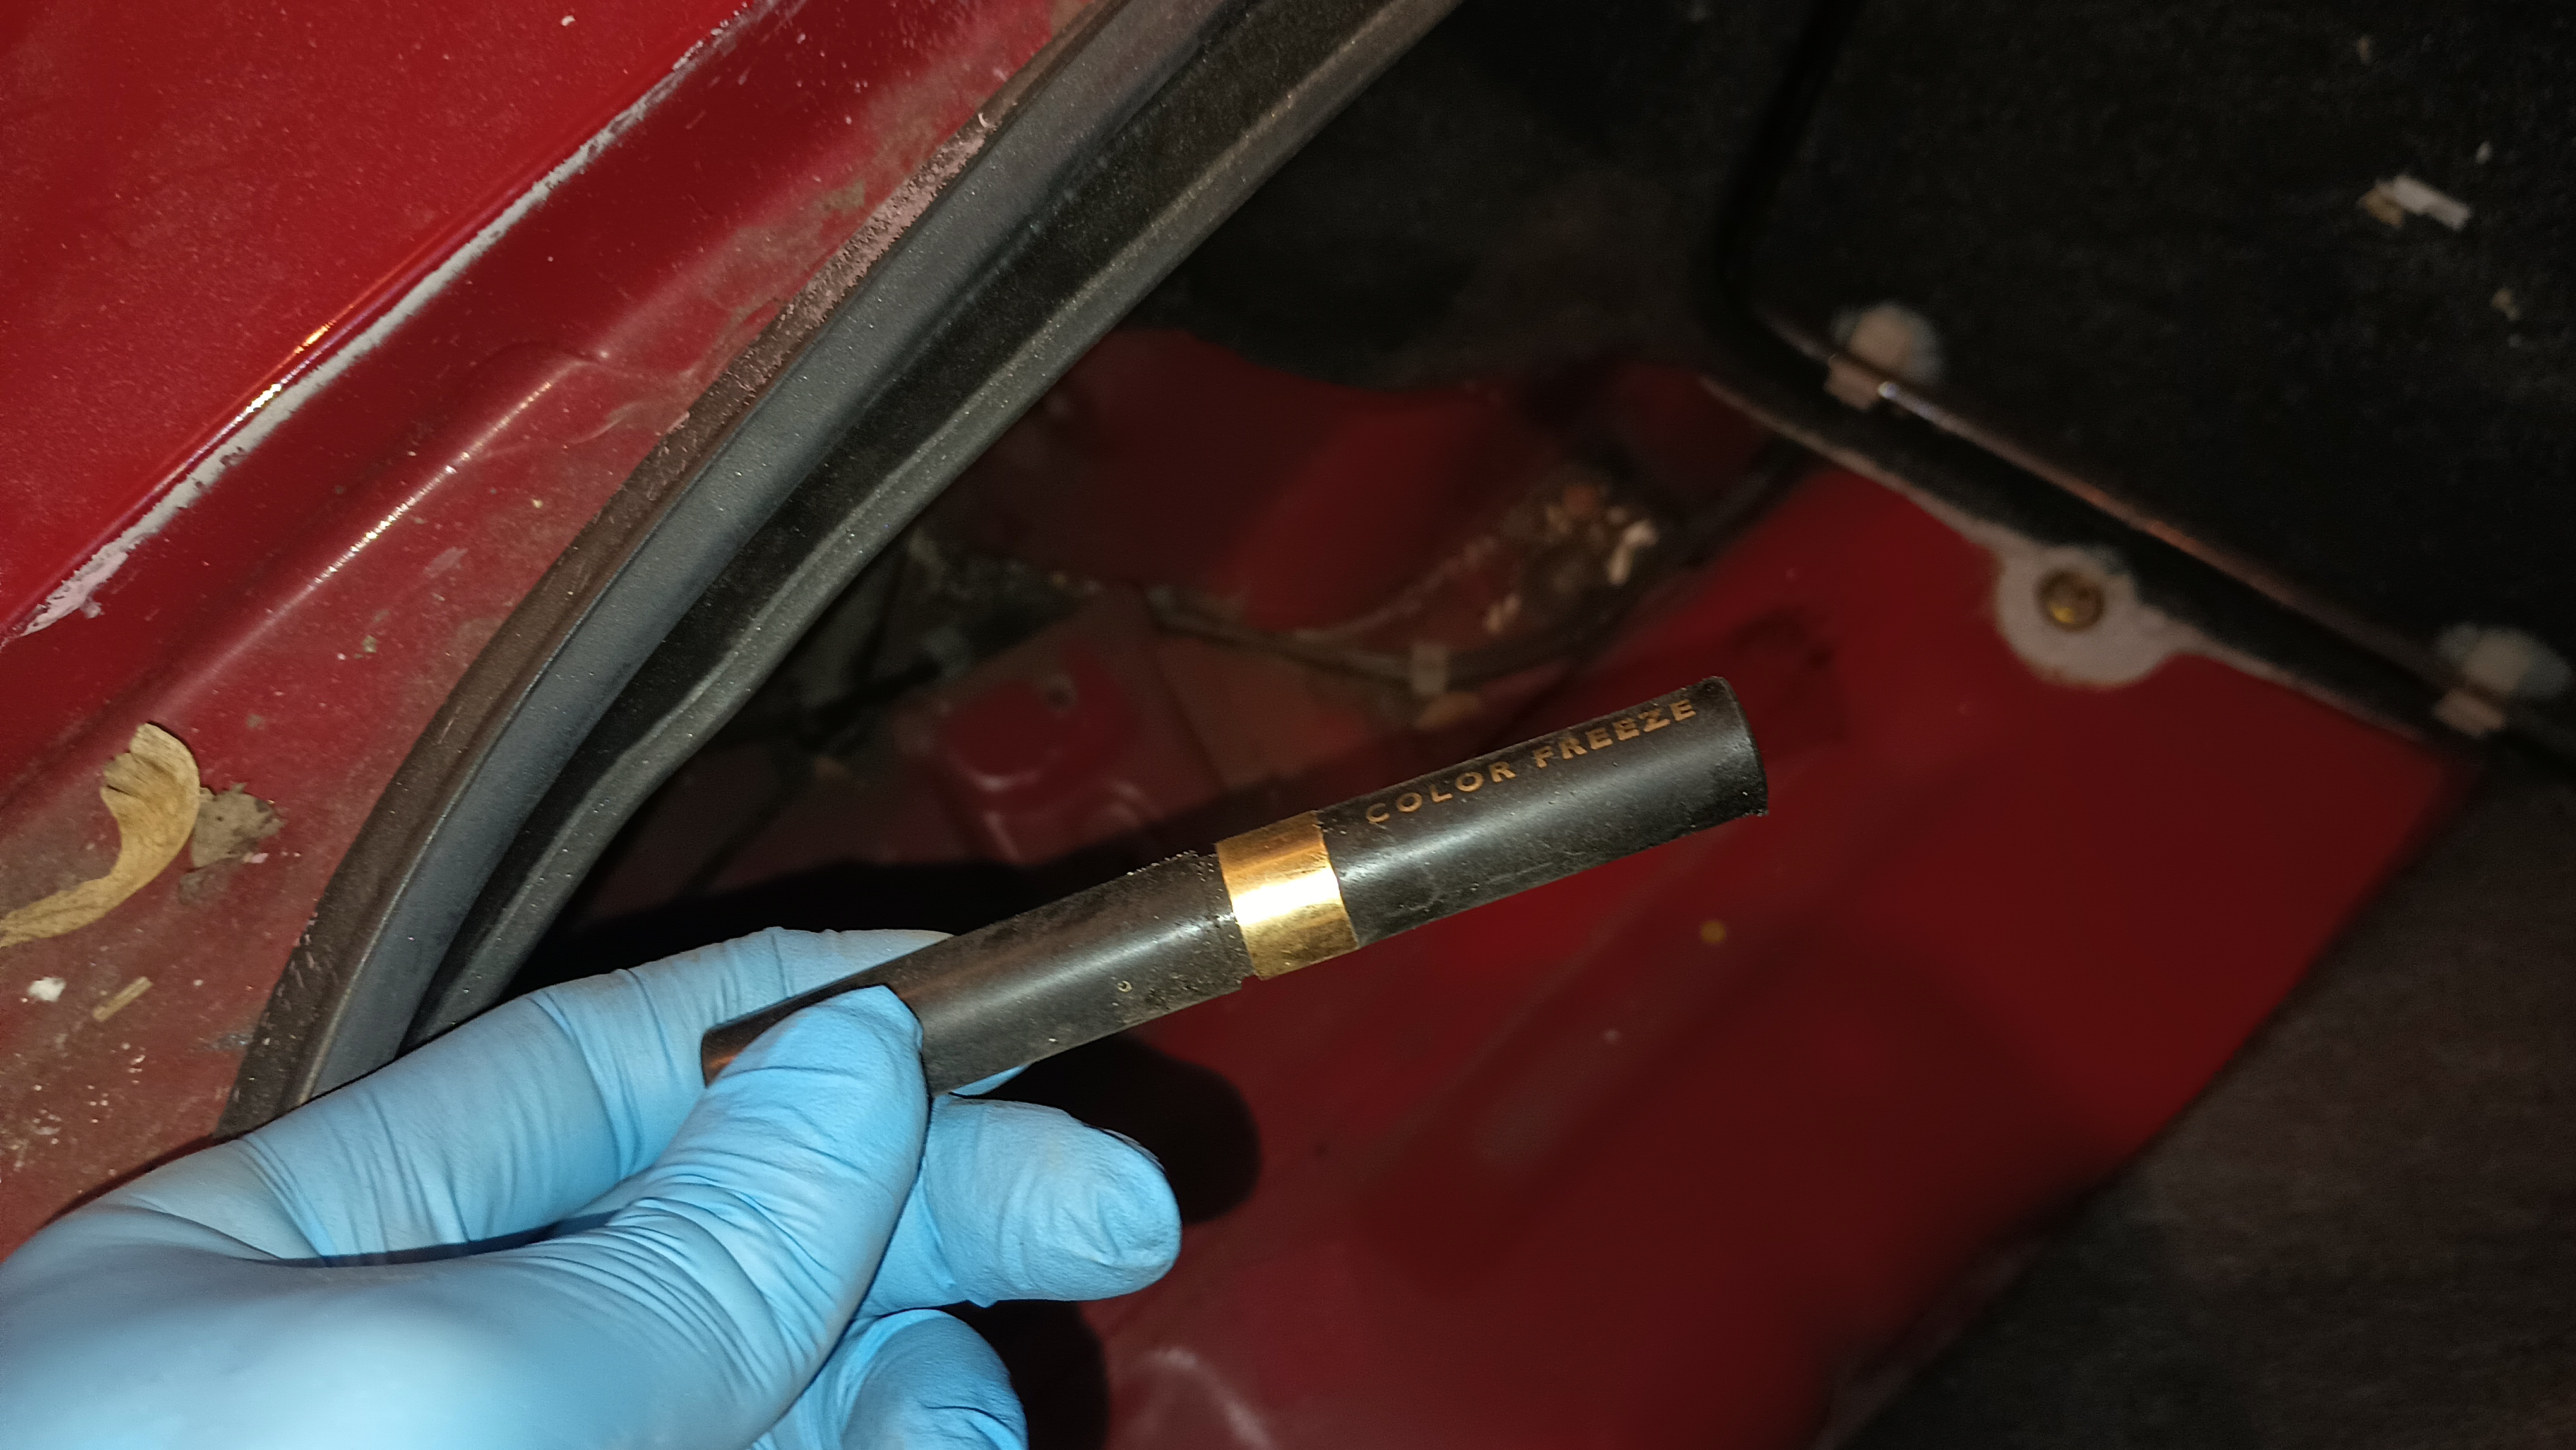
The car continues to do a bad job of shedding the hairdressers' car stereotype.  I found more make-up in the trunk.

Keith Tanner
Keith Tanner MegaDork
8/18/24 6:14 p.m.

I'd shoot any metal below the character line that you stripped the texture off. It's pretty easy to feather as part of a repair. 

Daisys look good if you paint the center black and polish the lips :)

wae
wae UltimaDork
8/21/24 12:54 p.m.

Yeah, that does look awfully hot.  The polished lip really takes it to 11!


I think I might have a line on someone to either paint it for me or teach me how to do it.  One of my wife's friends has done body work and paint professionally for quite a while and is quite good at it.  What I'm hoping for at a bare minimum is to see if he can come over and look at what I've got and give me solid advice on a direction to take.  I've already told him that I'm more than willing to pay him to do the paint work and that I'd even pay extra if he learned me good!  We shall see if that works out. 

In the meantime, I buzzed out to the garage at lunch and got the fender mostly attached:

The bolt that goes to the front of the fender, behind the bumper cover is quite the little bi.....bother to install and apparently my 10mm wrench that I had in the home toolbox is gone.  Because of course it is!  But once I have that, I can get that cinched up, put the fender liner back on, put the lights back on, and get the bumper cover re-attached the rest of the way.

wae
wae UltimaDork
8/24/24 12:03 p.m.

Chuck is supposed to come by today and grade my attempt at body work and at a bare minimum tell me what is possible and how much I should be paying.  I'm hoping he is able to take it on because I know he'll do a good job and I also would always rather give my business to people I know.  In preperation for my exam getting graded, I got it out into the sun for the first time in a while.  I had to jump it of course, but it started right away and then sat in the driveway idling just perfectly quietly and smoothly.

wae
wae UltimaDork
8/24/24 6:34 p.m.

Well, I failed my exam!  For the right side, he recommended that I give it some more sanding and then a quick skim coat of filler.

On the left side, the area below the character line is okayish enough, but the upper part is a horror show.  He wants me to grind out all the filler, use a stud gun, and work the metal.  There are some high spots that need to be knocked down and if I grind through and make a hole, I'm just going to have to fix it.

So, back to work!

wae
wae UltimaDork
9/2/24 6:42 p.m.

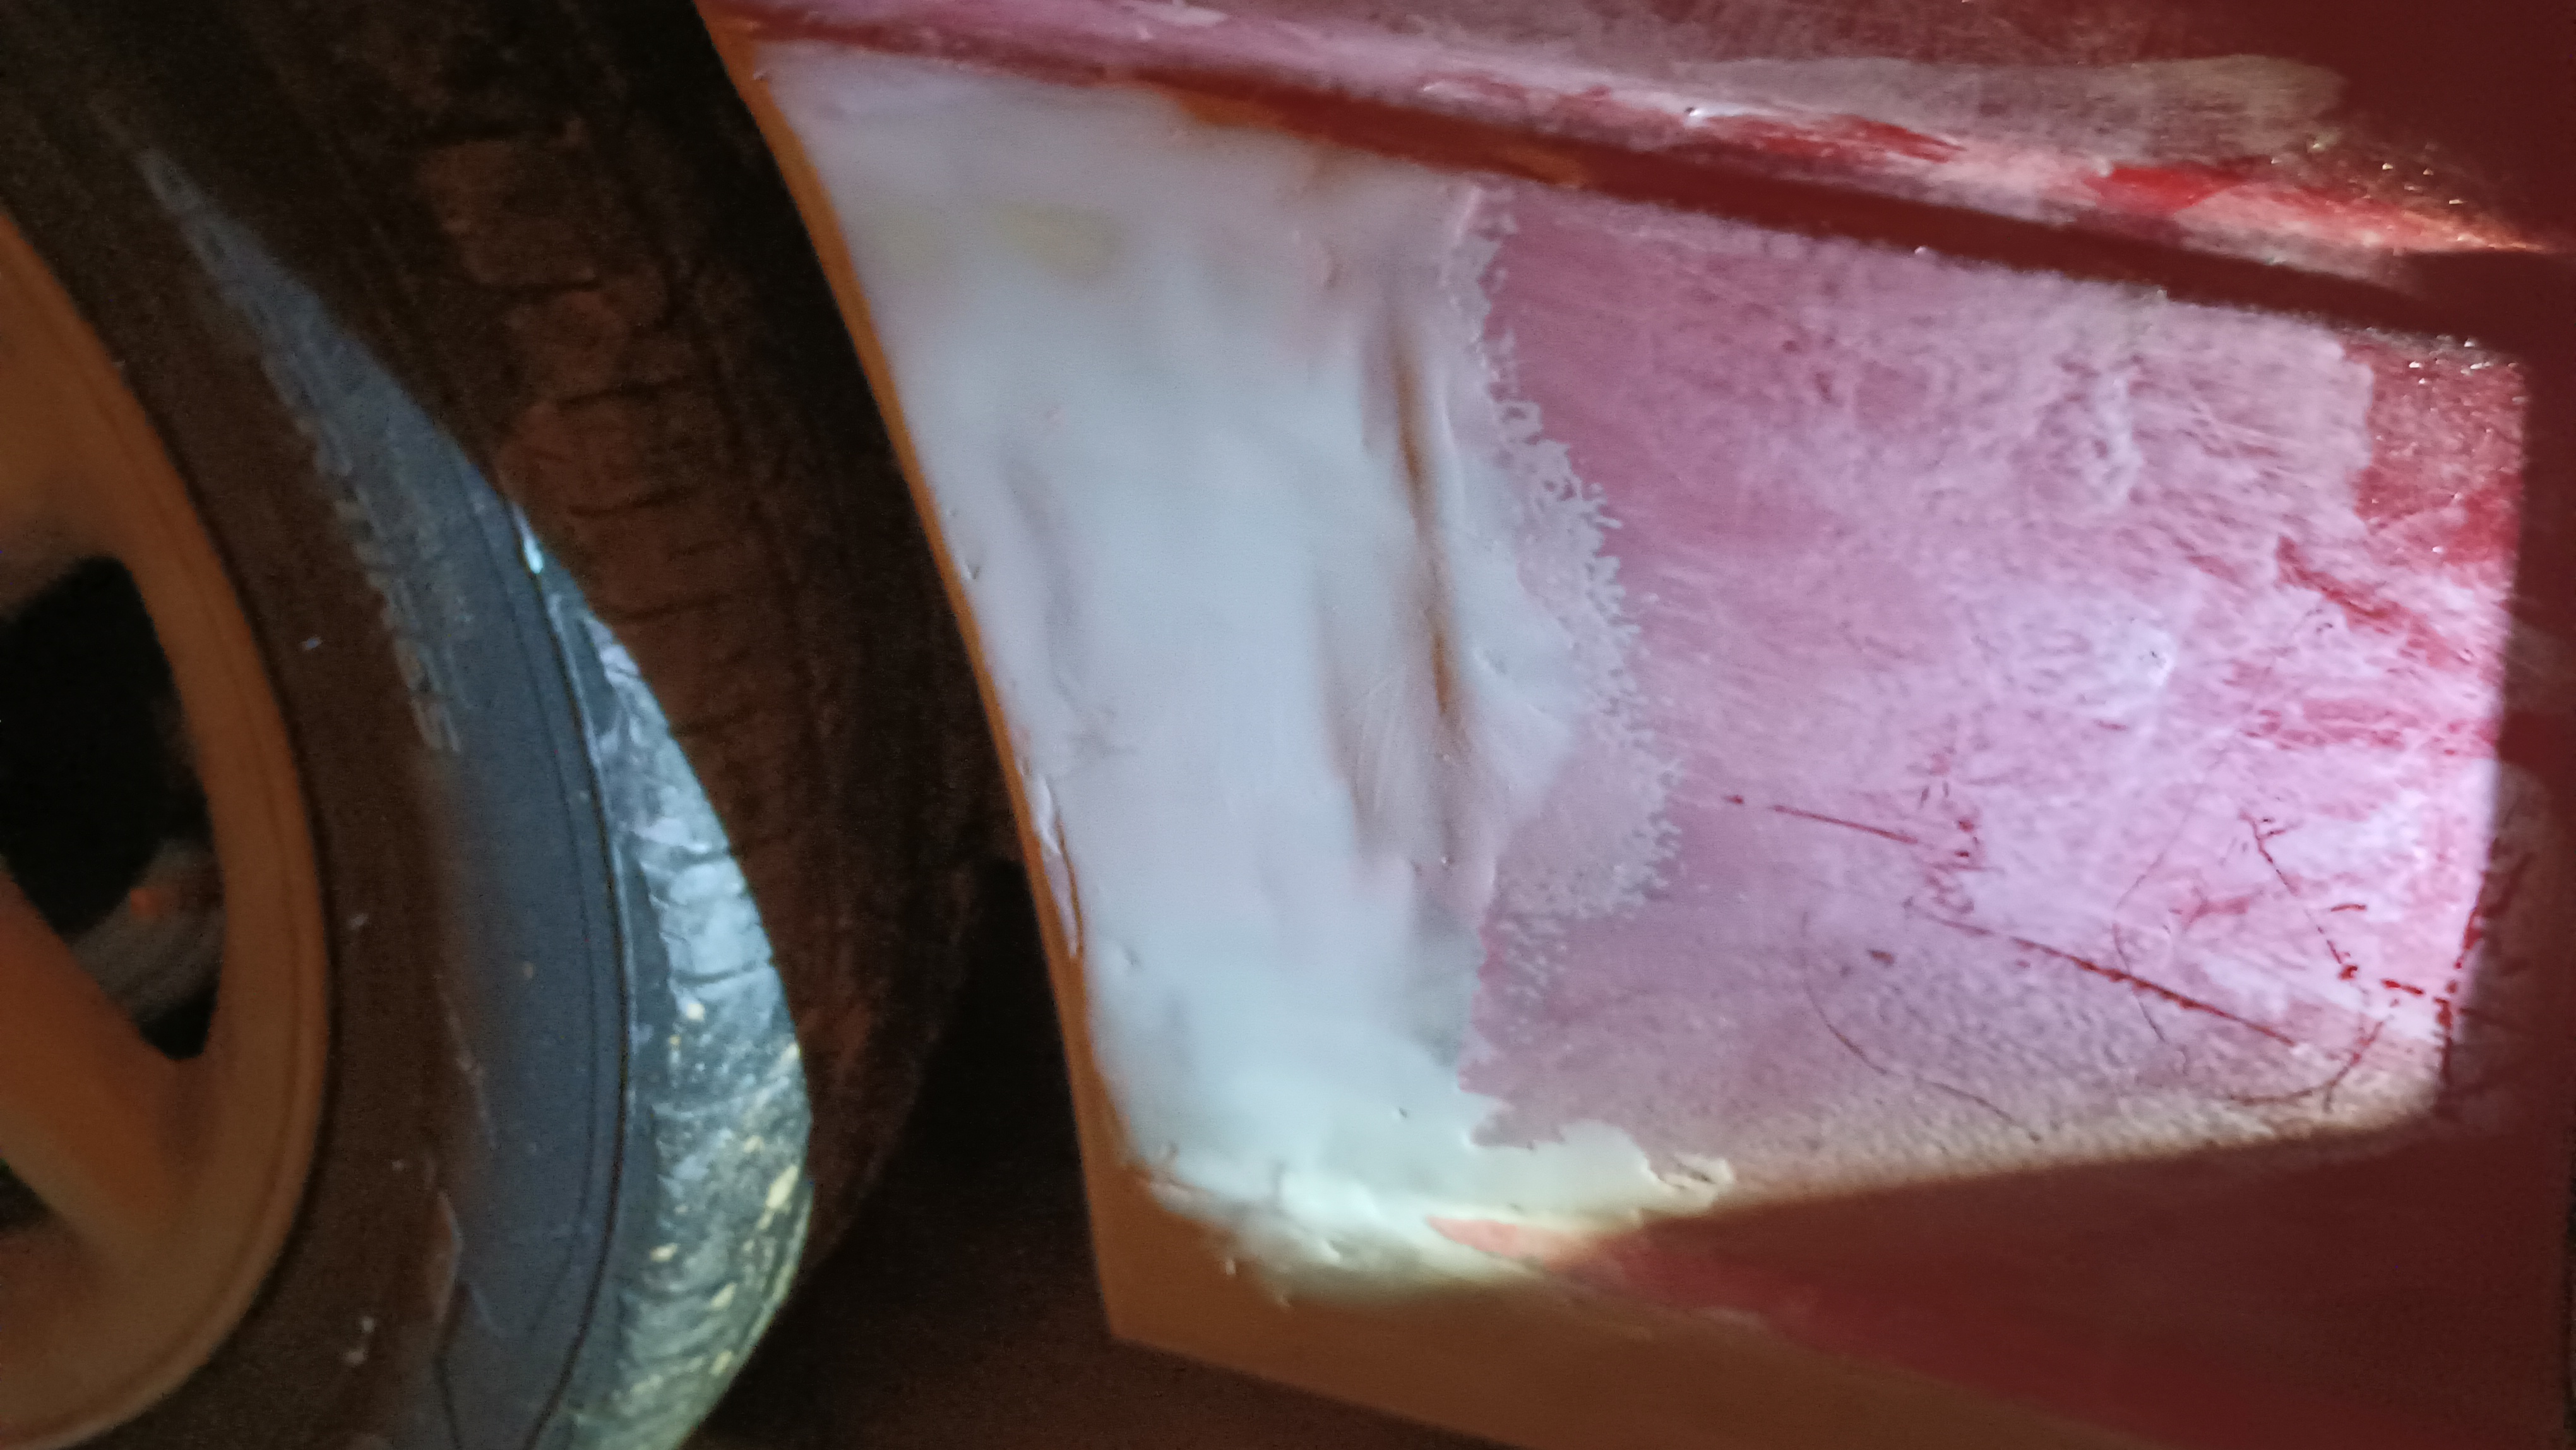
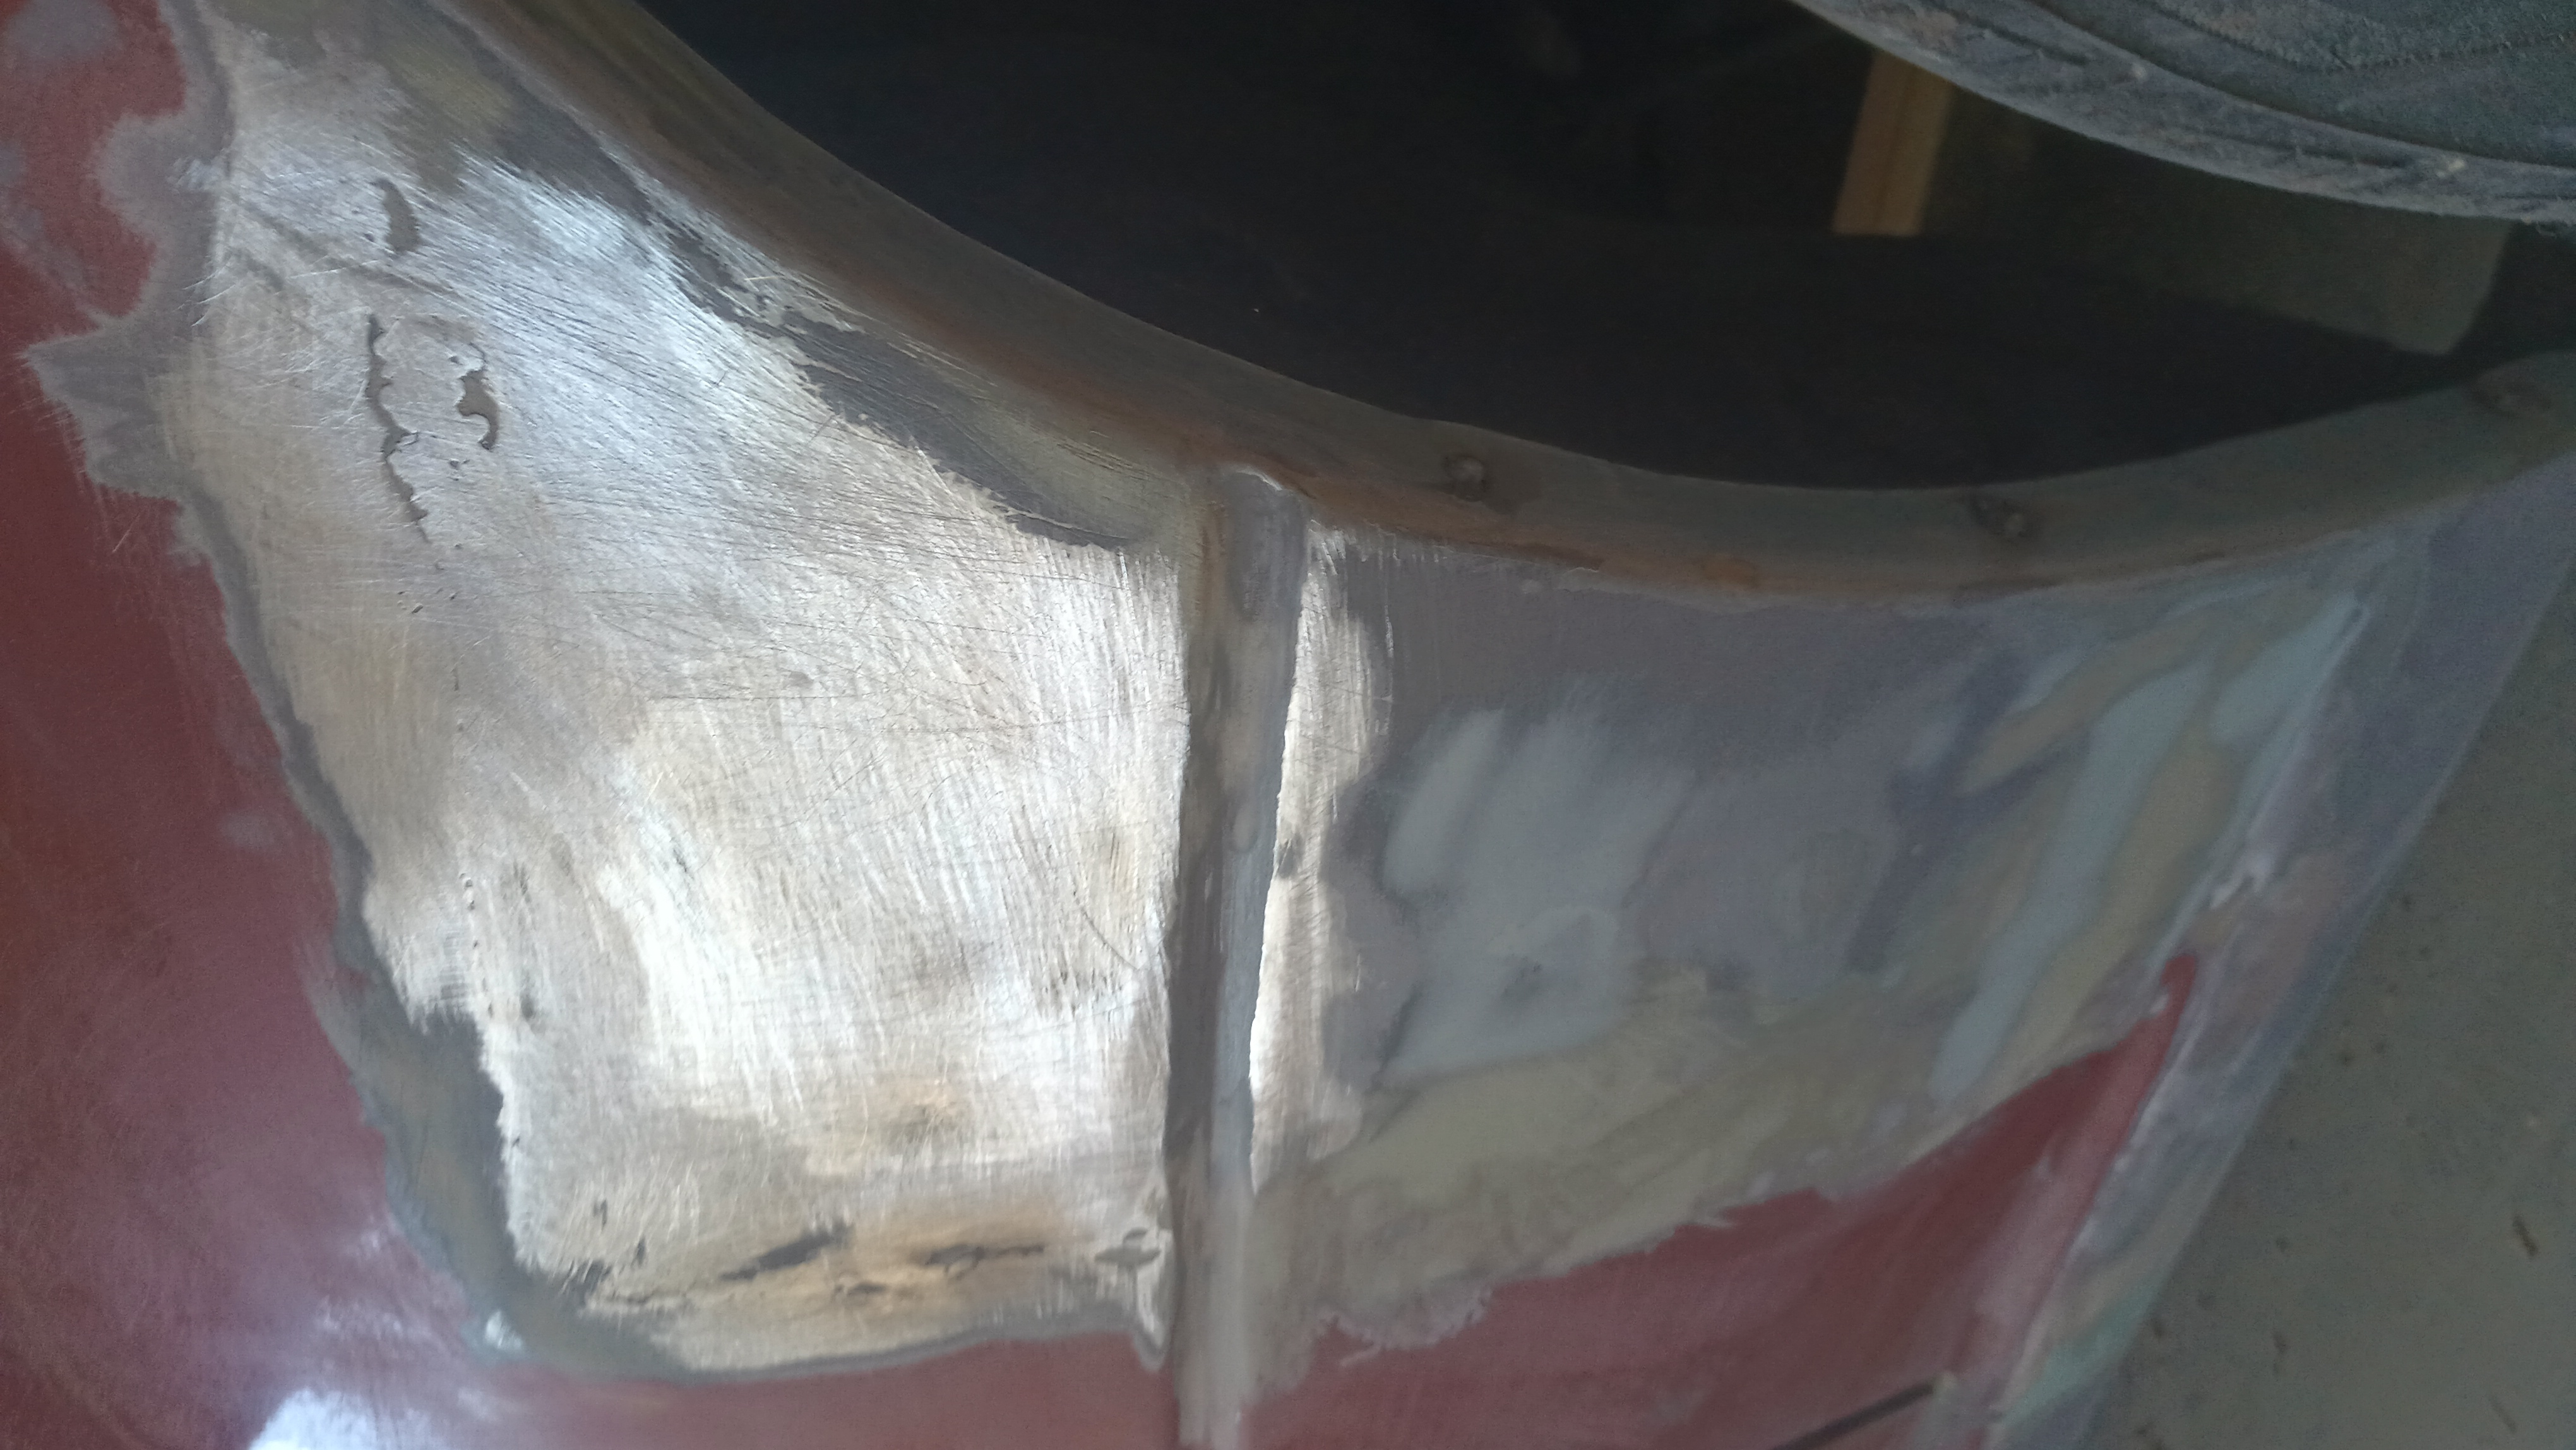
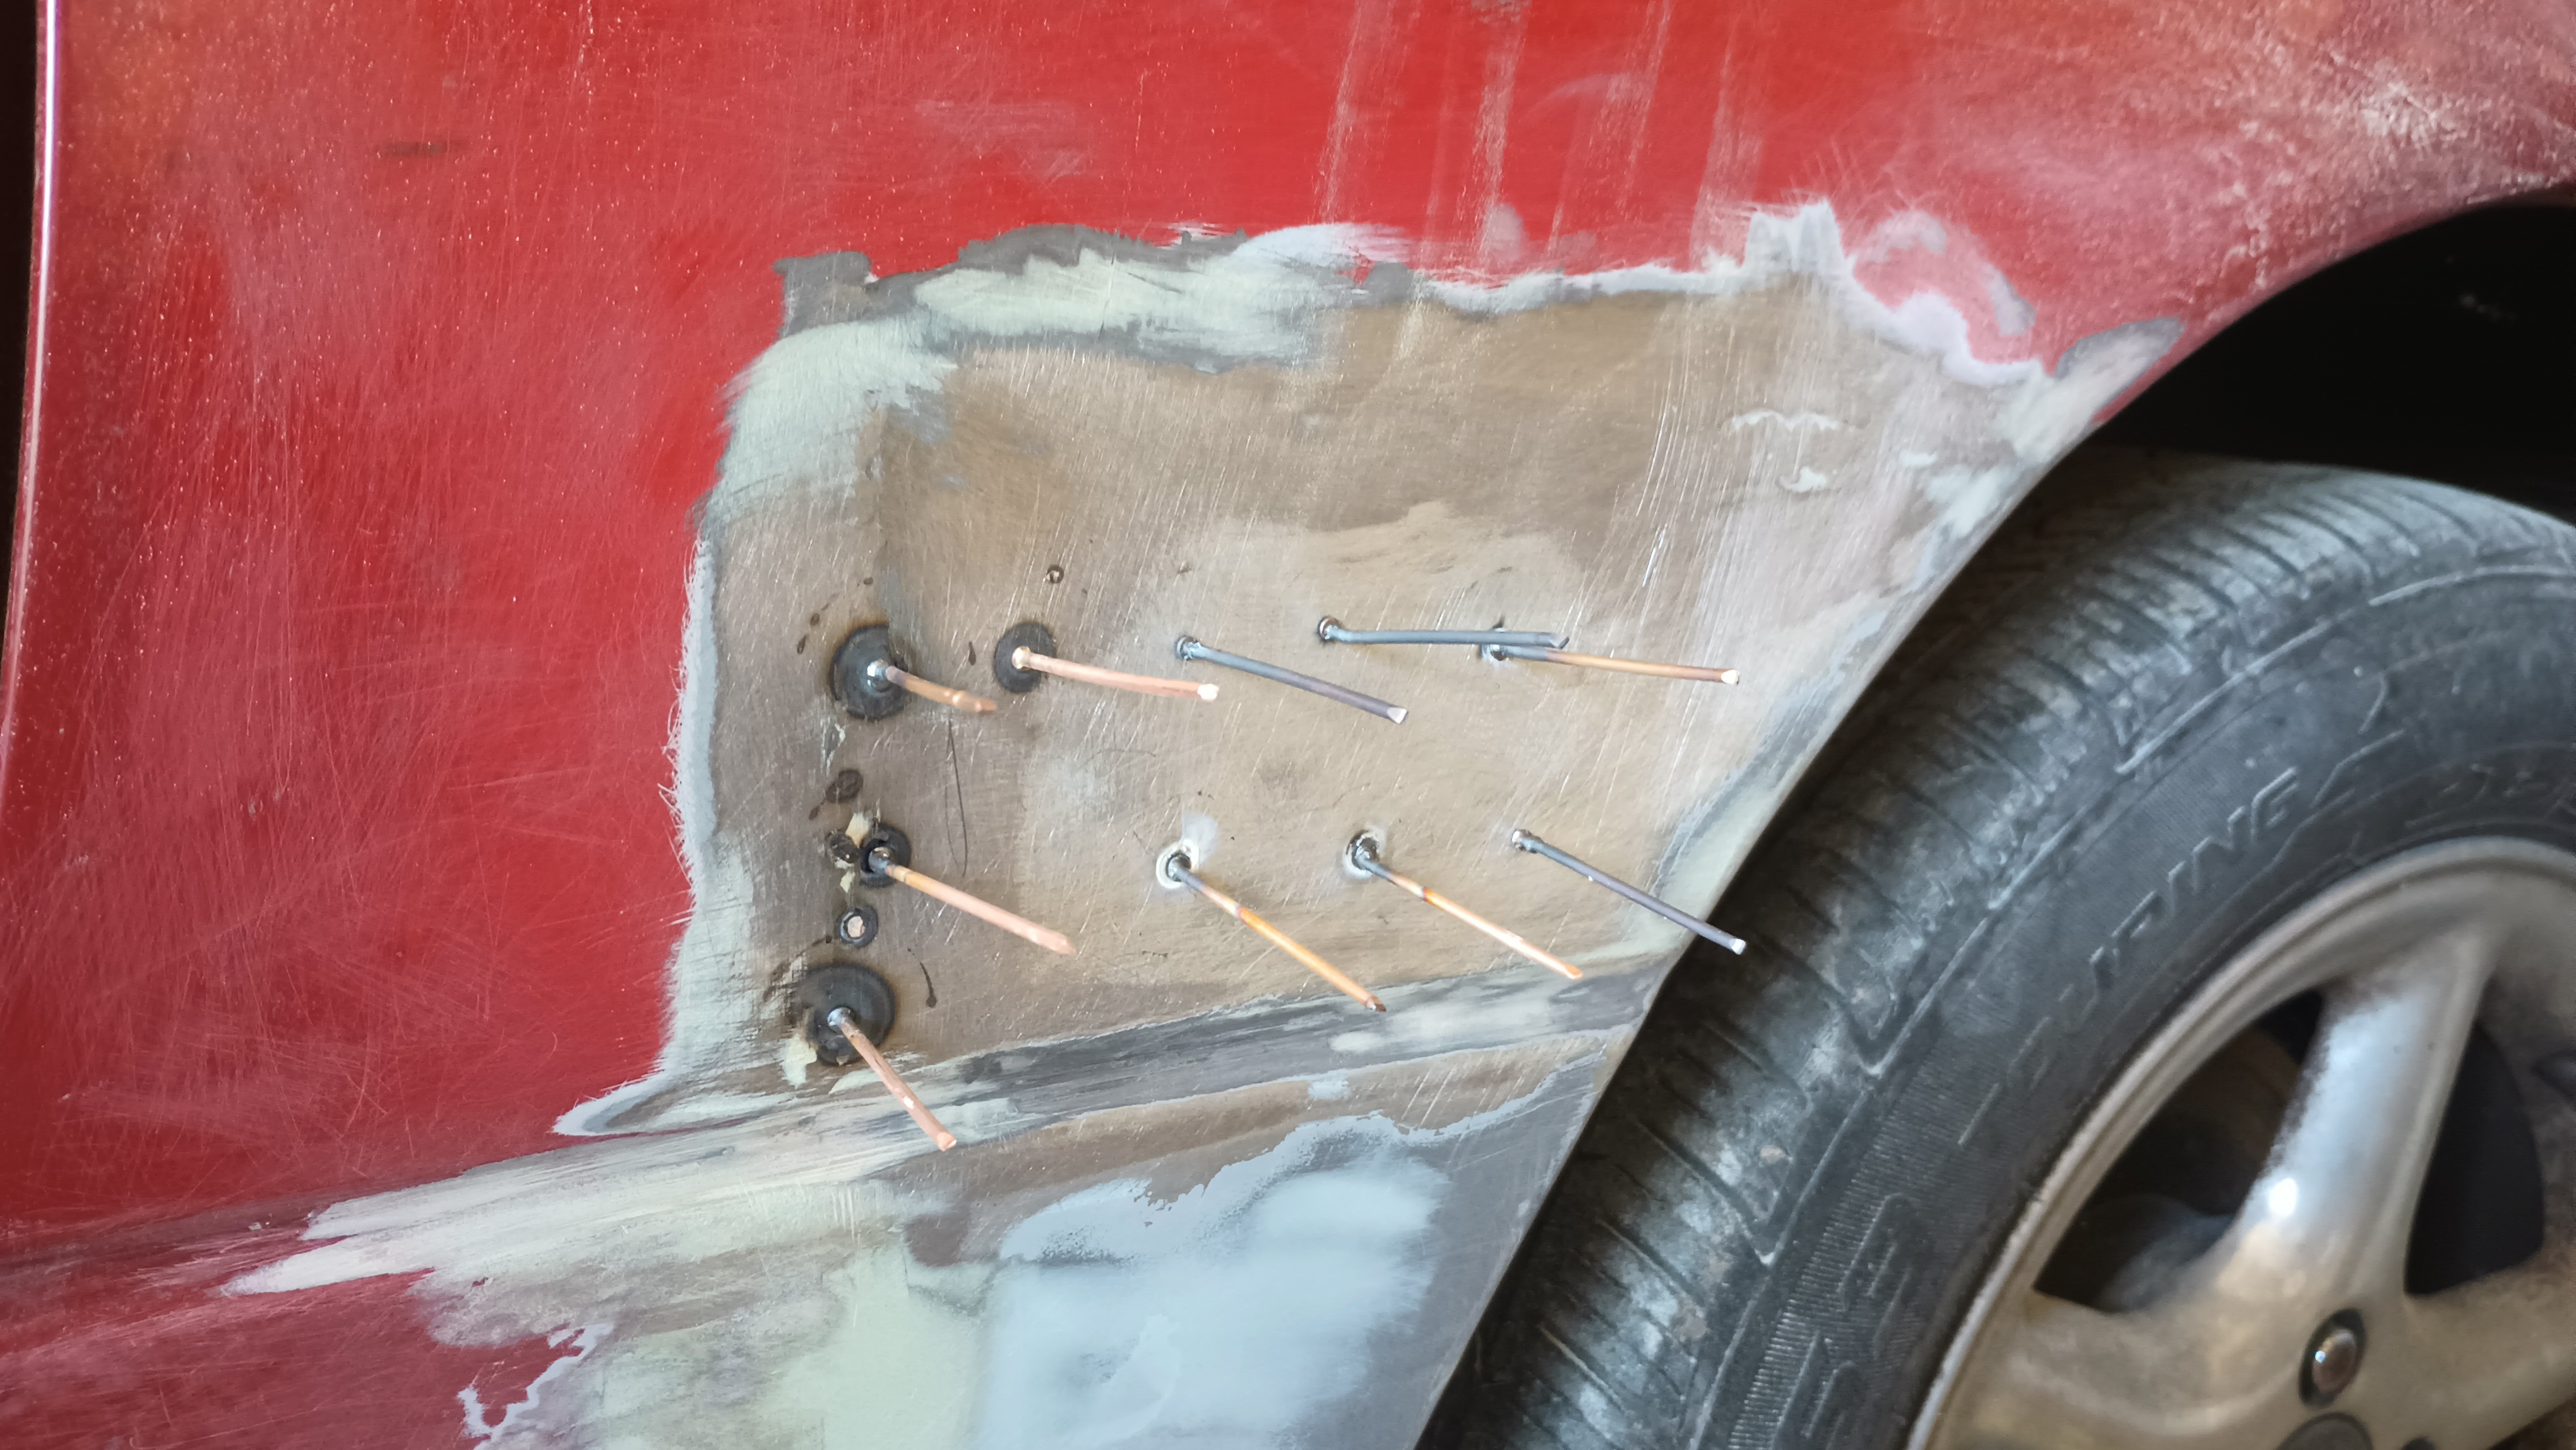
Okay, per Chuck's instruction I ground out the filler:

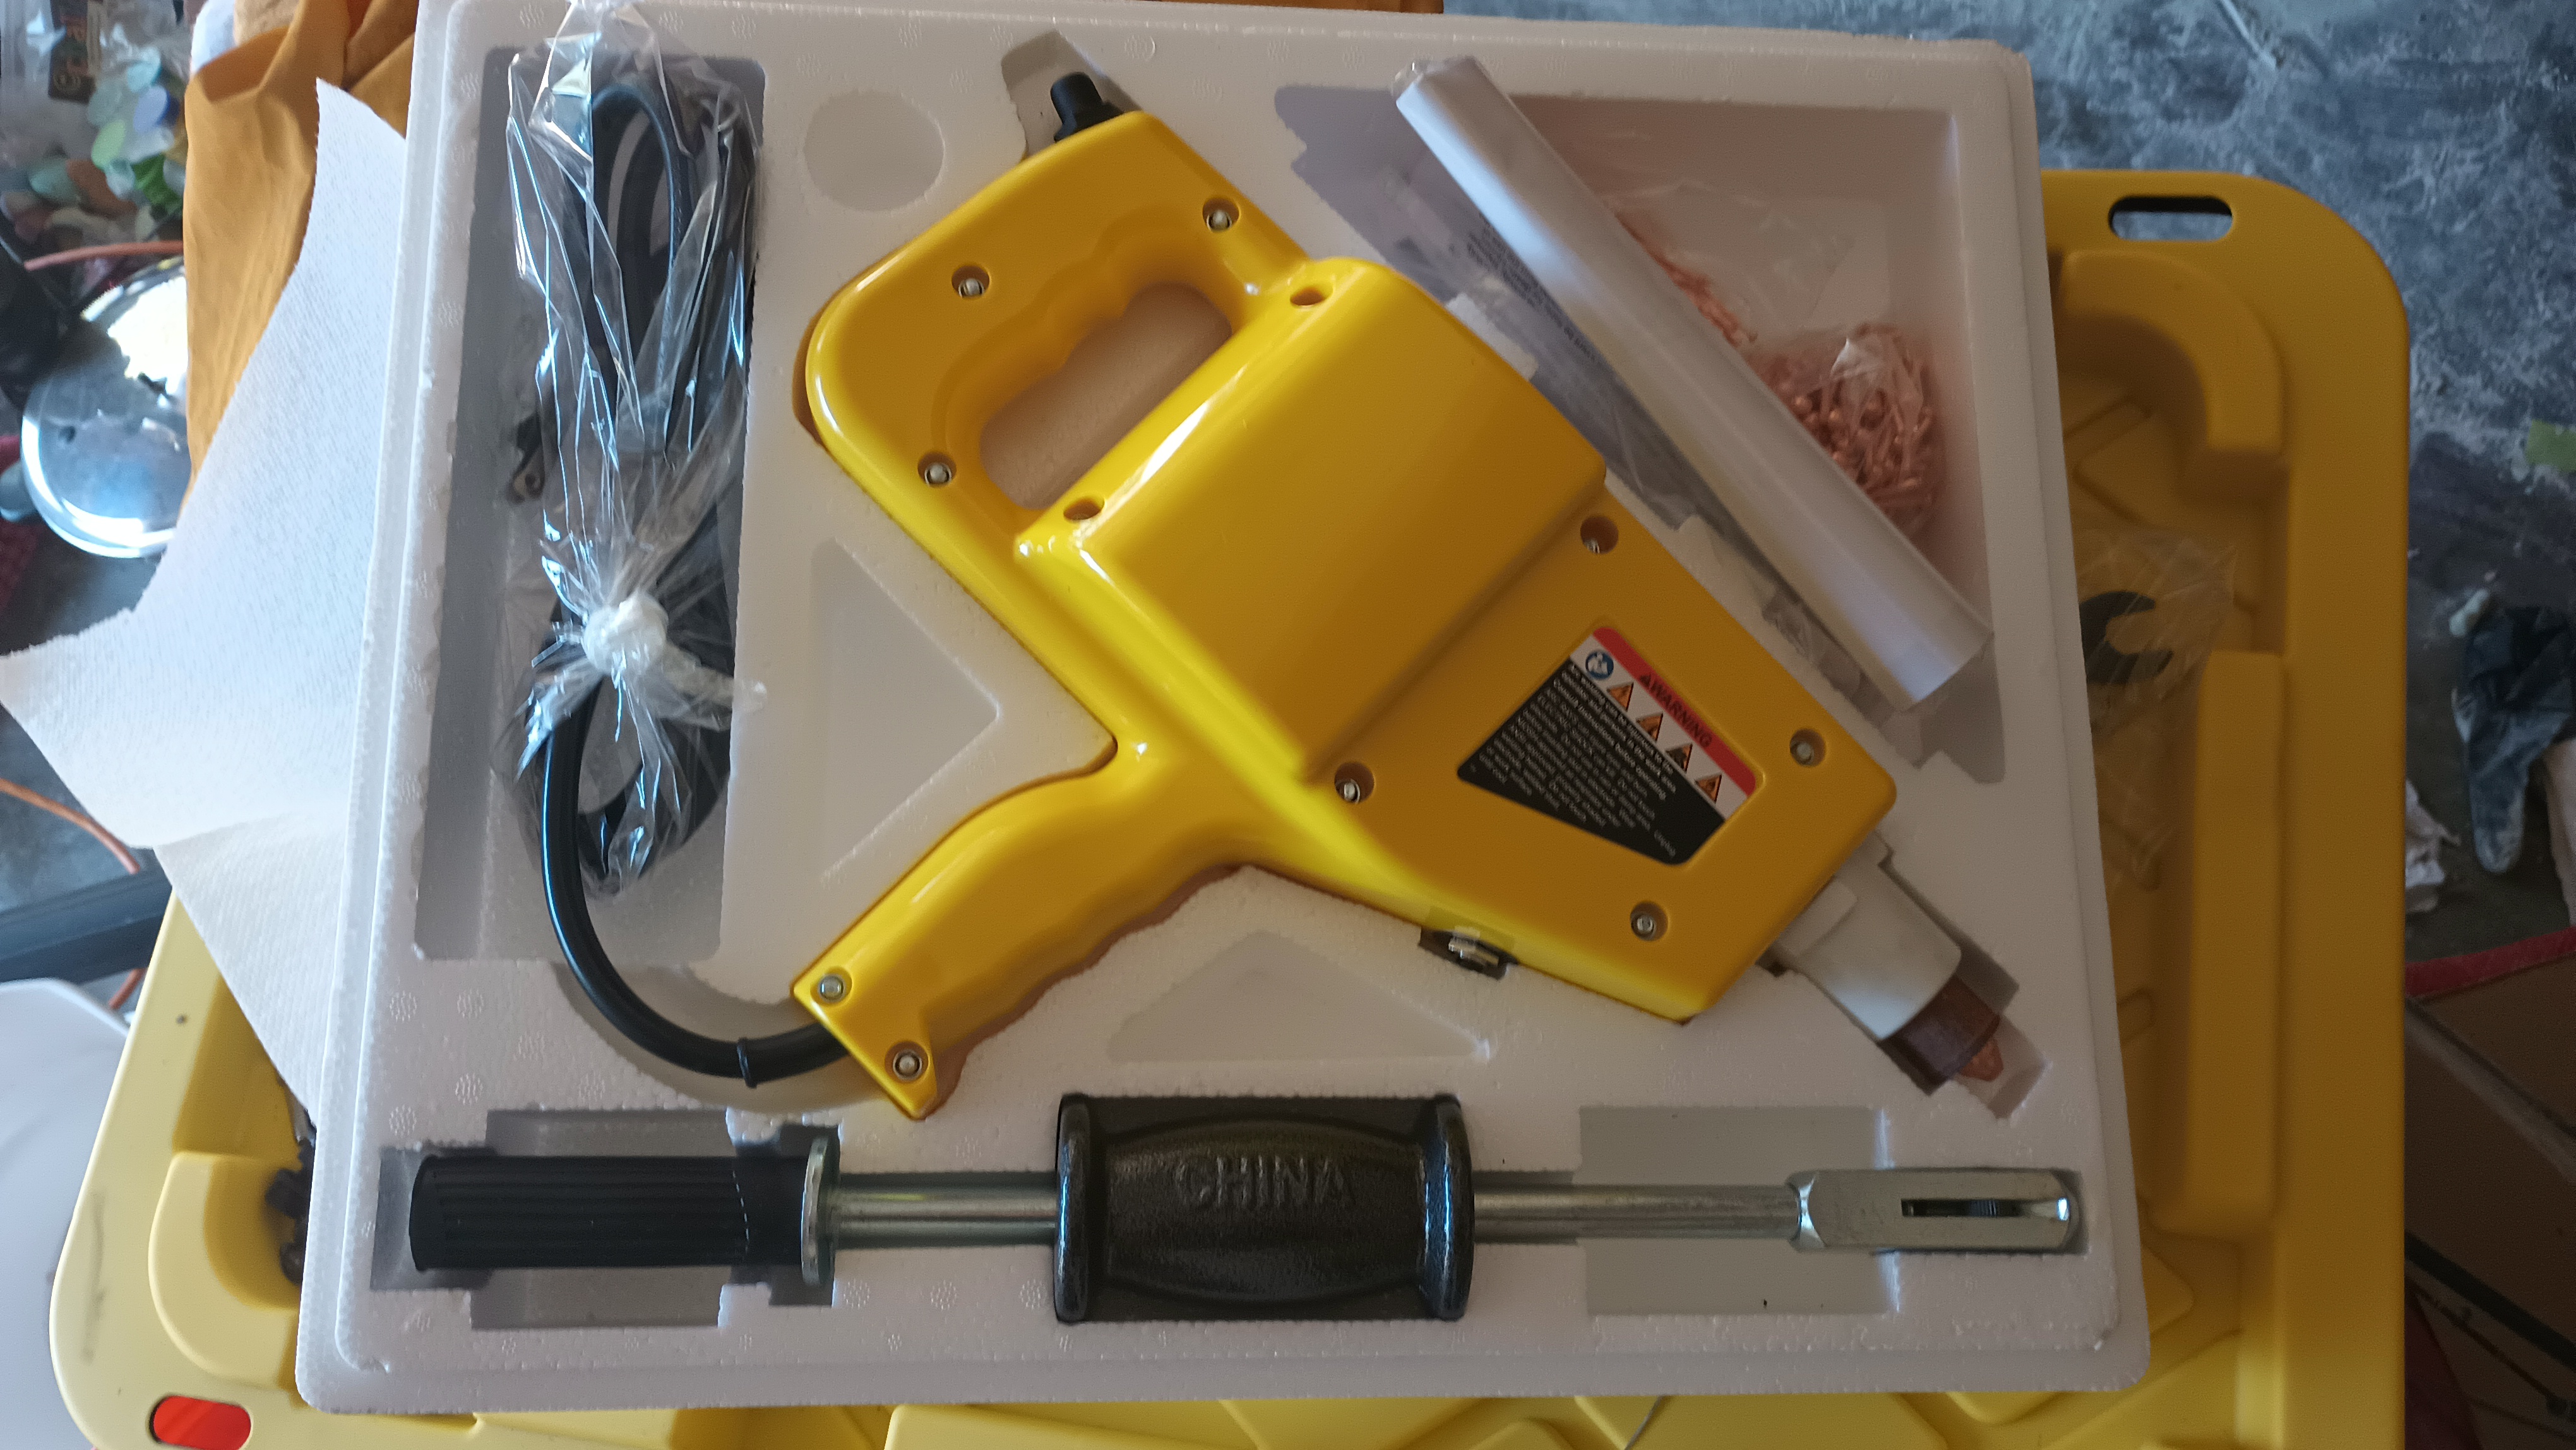
Then I picked up this bad boy:

It's a kind of magic!

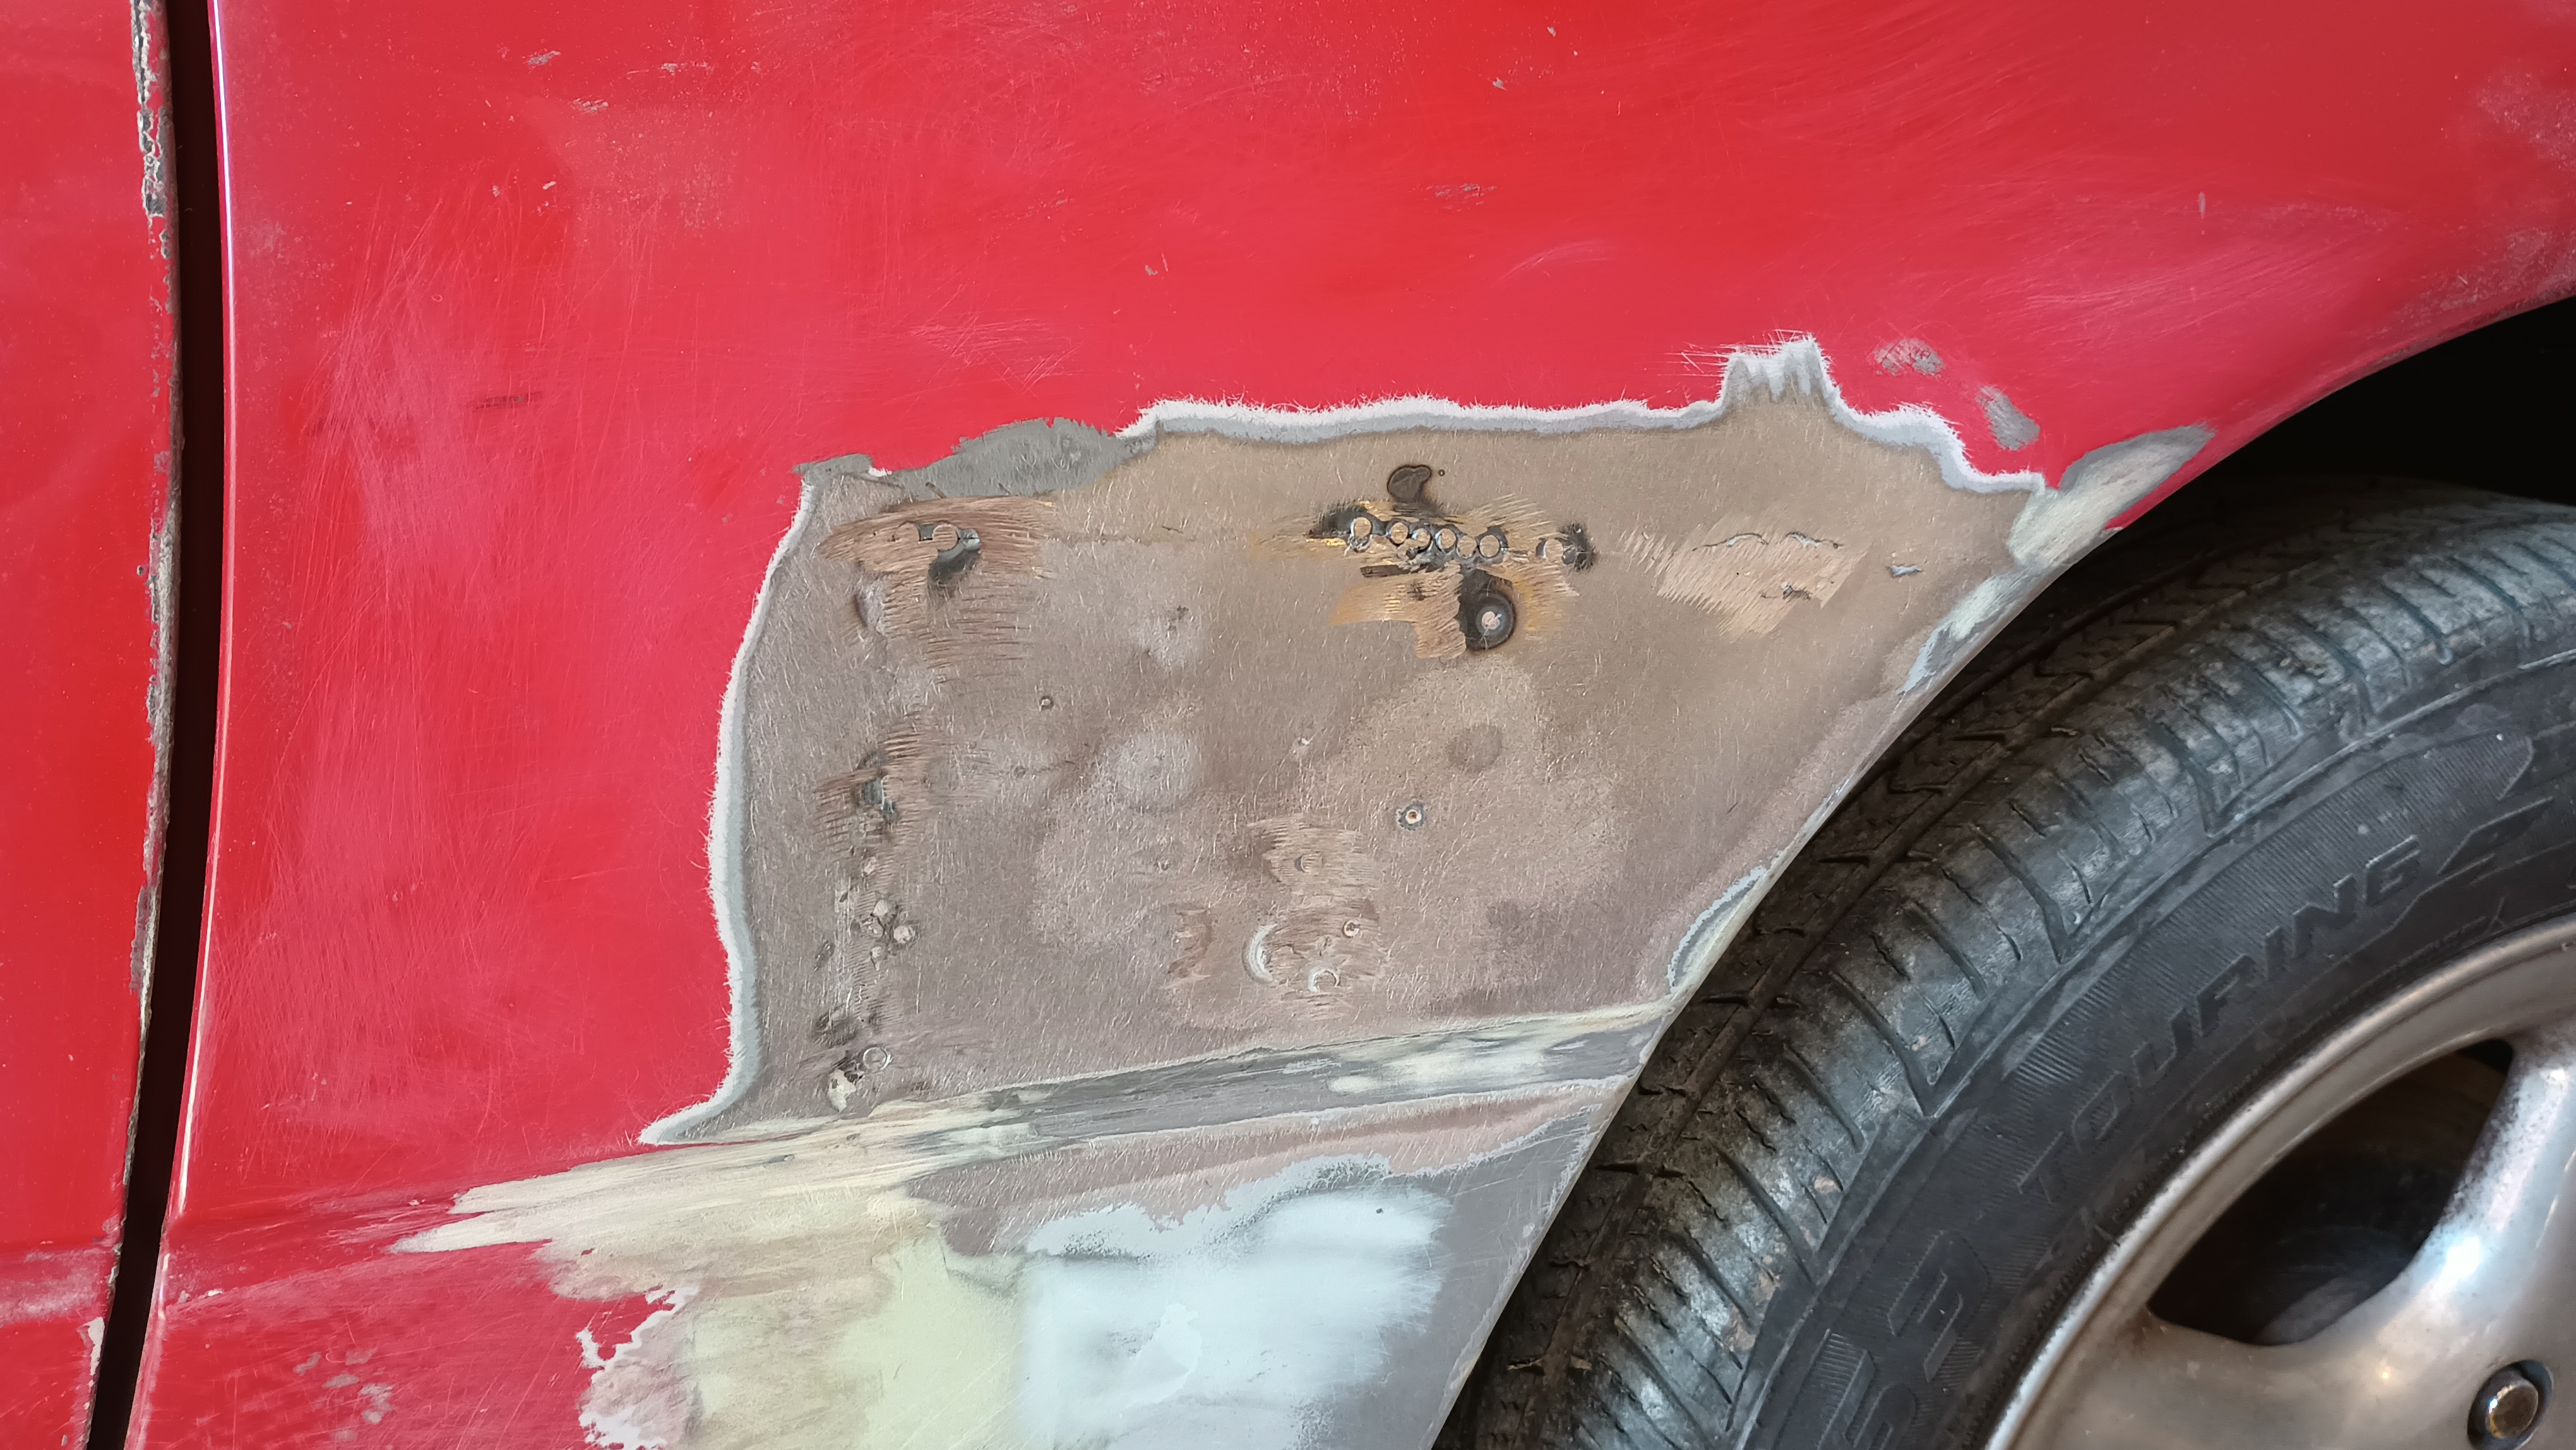
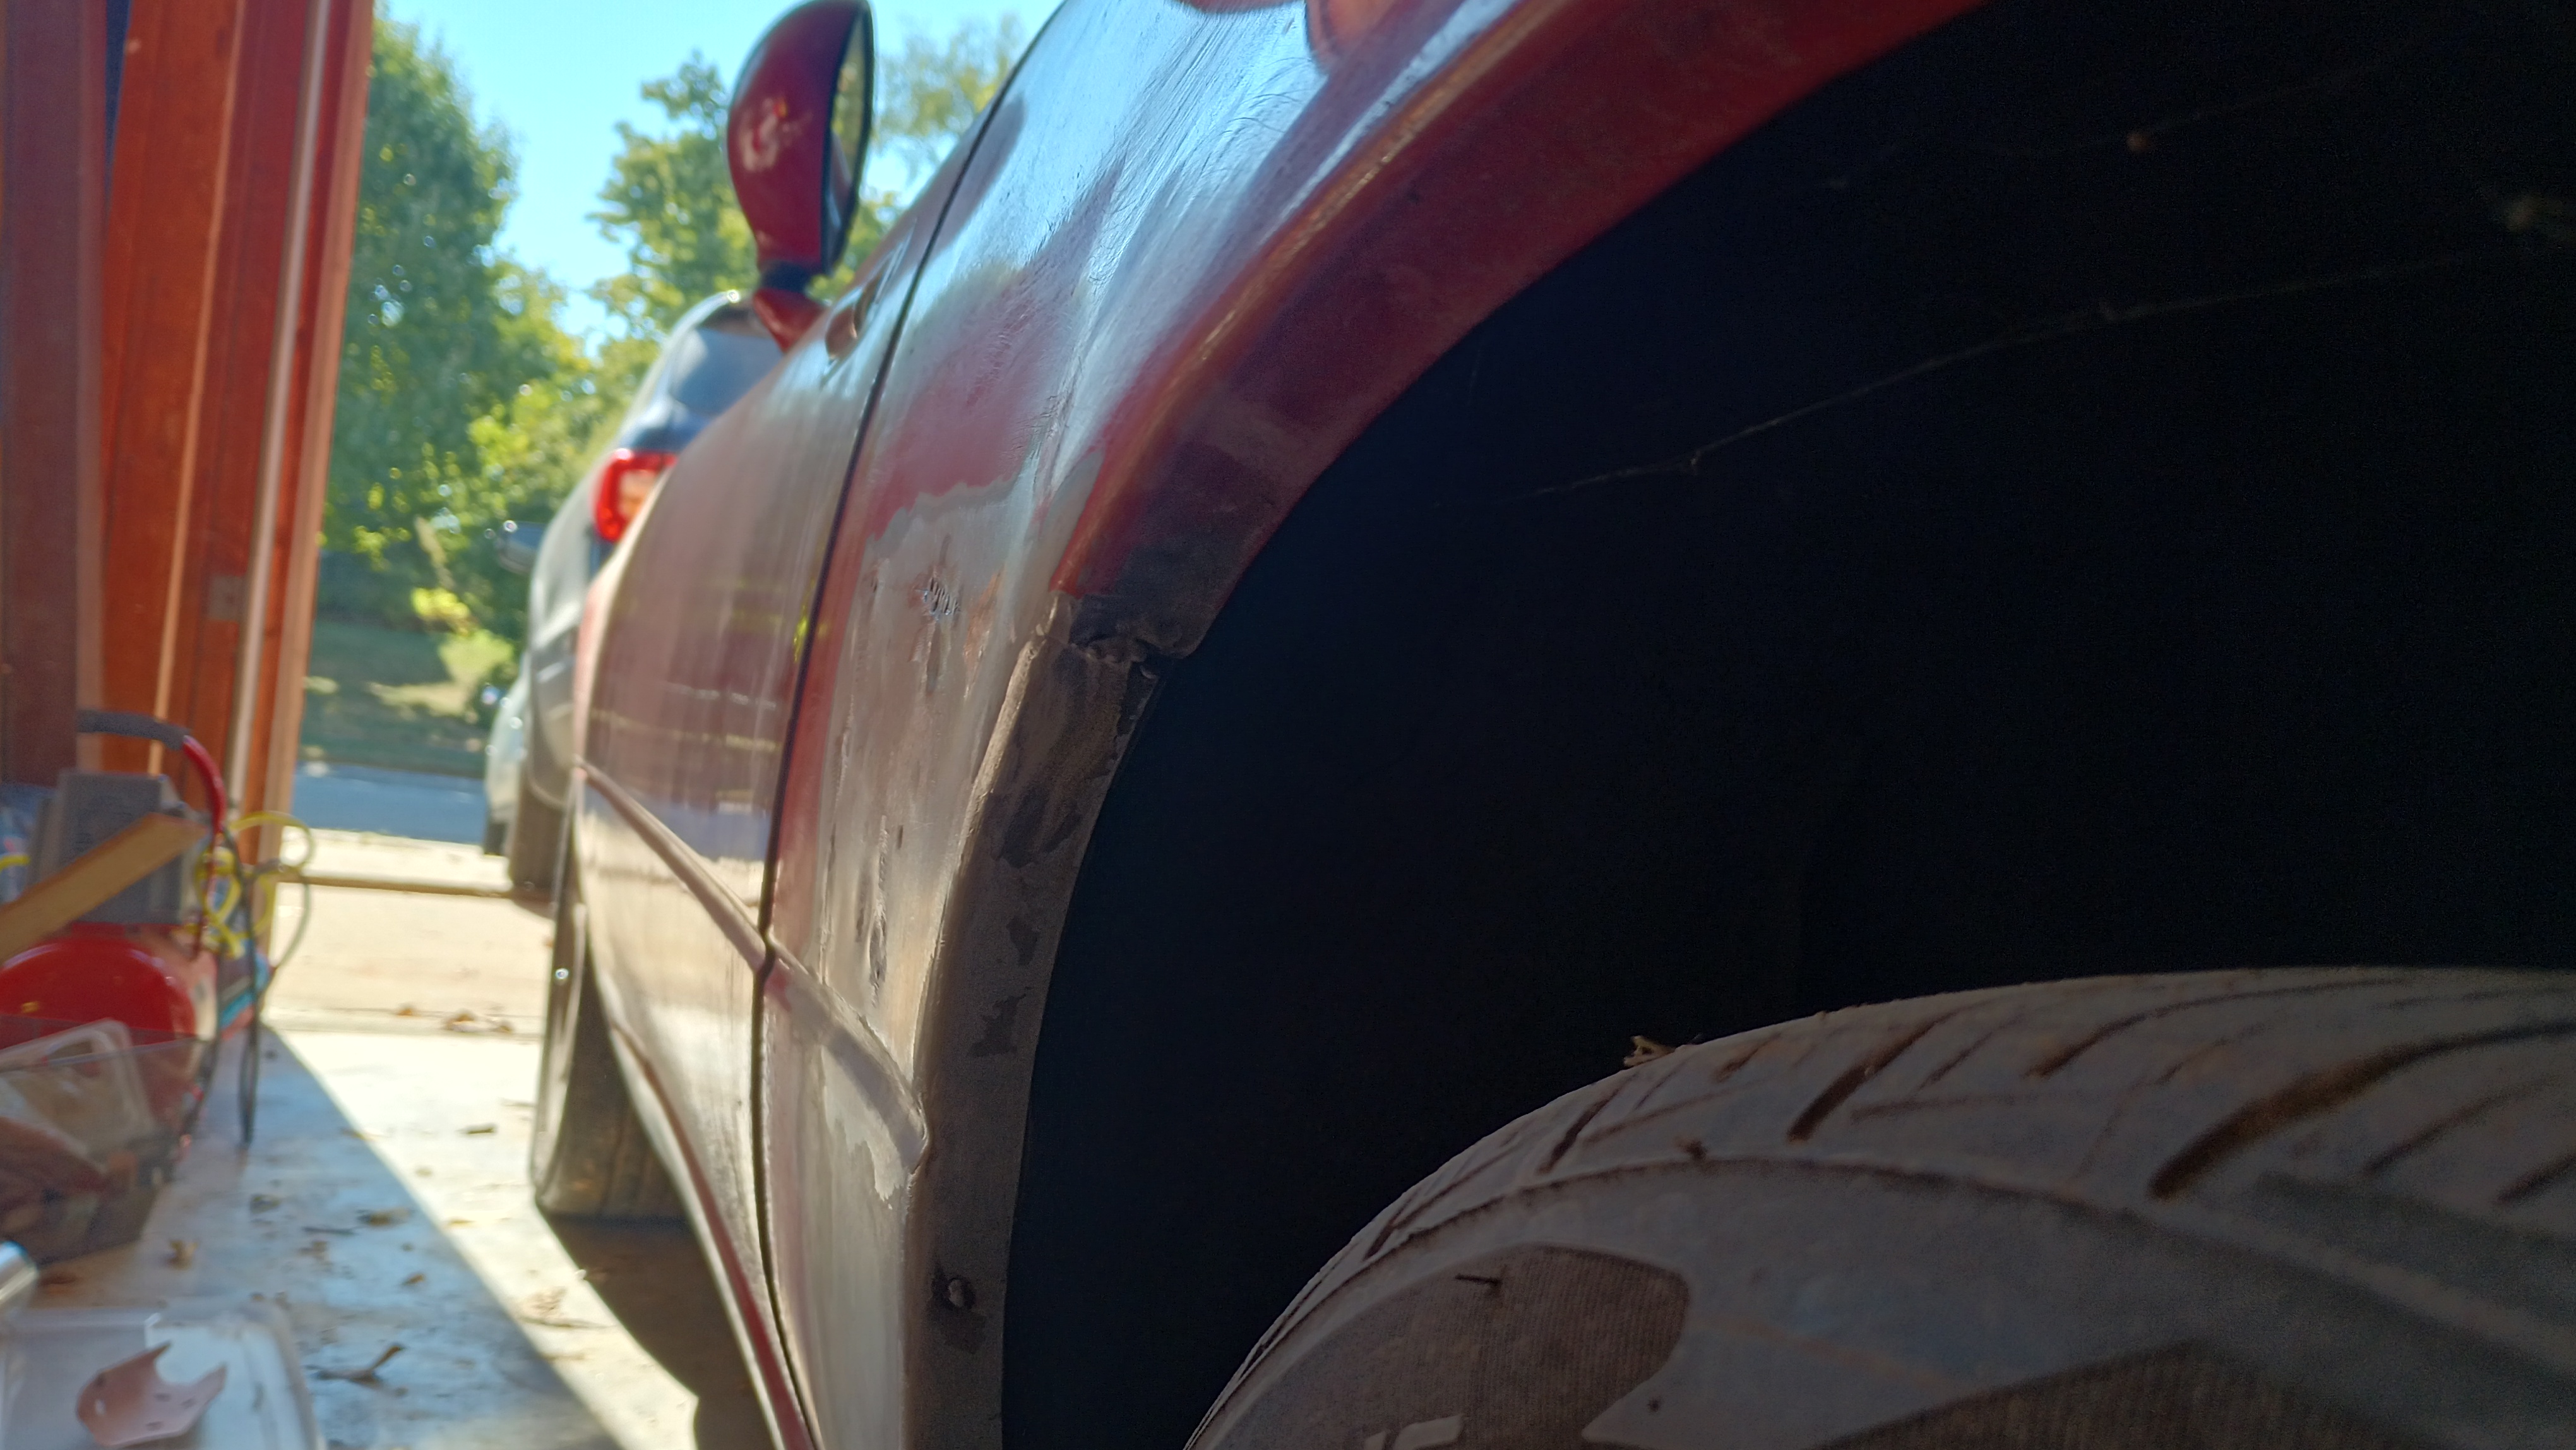
It isn't perfect, of course, but the metal is way closer and by bringing some bits up and hammering others down, I no longer have this weird hump at the weld.

I'm putting a couple thin layers of Evercoat on now to smooth it out.  There were a couple places that were still high, so I knocked the metal down.  It's getting pretty close.

One trick that Chuck taught me was to use a paper towel instead of a bare hand to feel the panel.  The paper towel takes out the feeling of the different surfaces and accentuates any waves in the panel.

Hopefully this is almost there for reals this time.

6 7 8 9 10

You'll need to log in to post.

Our Preferred Partners
MwmNNx0nzK1yI1Ey5DxPNIT6UTX3y7x4y4ceuCUaKpeqkg3frk9XWCkg5WJl72CB