This might not be particularly grassroots, but the guy doing the work definitely is. And that guy is me!
I have an awesome job.
About a year and a half ago we got a particularly awesome car in for assessment. The owner wanted to just get it running so she could drive it again.
Yep. A '62 Ferrari 250 GTE. Italian market car that was brought into the states in the 70's.
Sadly it was stored in an outbuilding since the early 80's and that means mice.
What we found was a nest in the glove box that destroyed the dash, no biggie. Problem really was a nest in the number 11 cylinder and no compression in it
The client decided to go for a total mechanical rebuild and leave the exterior as is, repair the dash and just clean up the interior.
I started by pulling the drivetrain and suspension and then hit the interior
Dash out
It gets worse the deeper you get
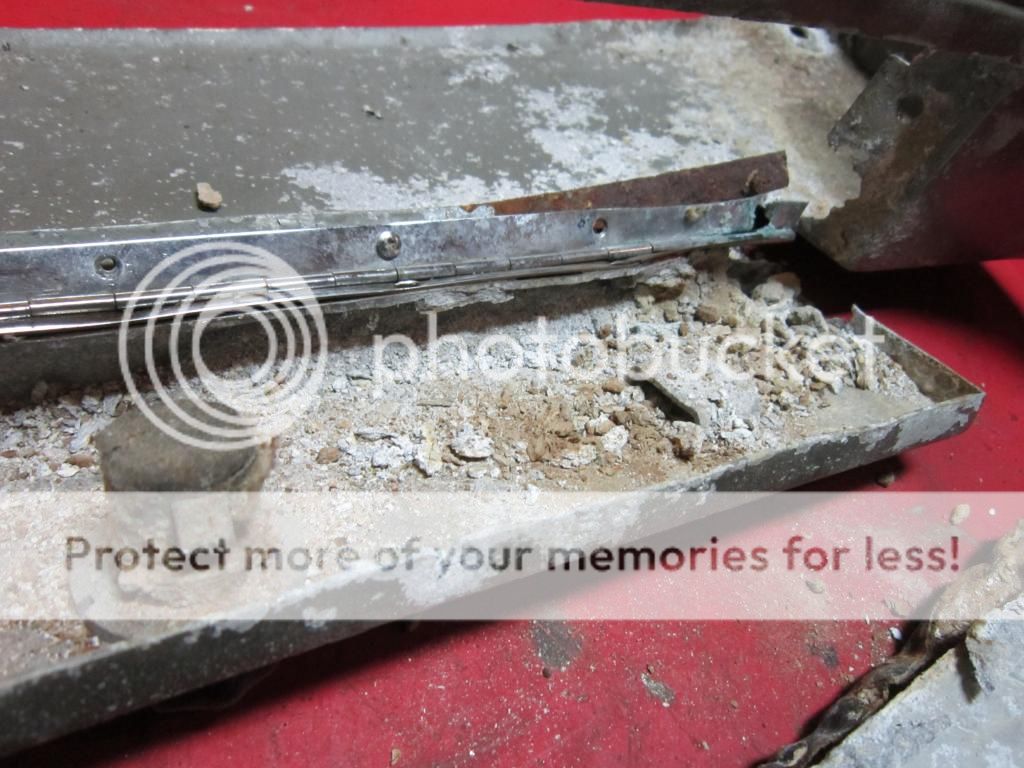
Mouse piss + Aluminum = a strange oxide powder everywhere
The glove box itself
But I ain't no sissy. I mean this is the most expensive thing I have ever cut into but that only took a half hour to get over.
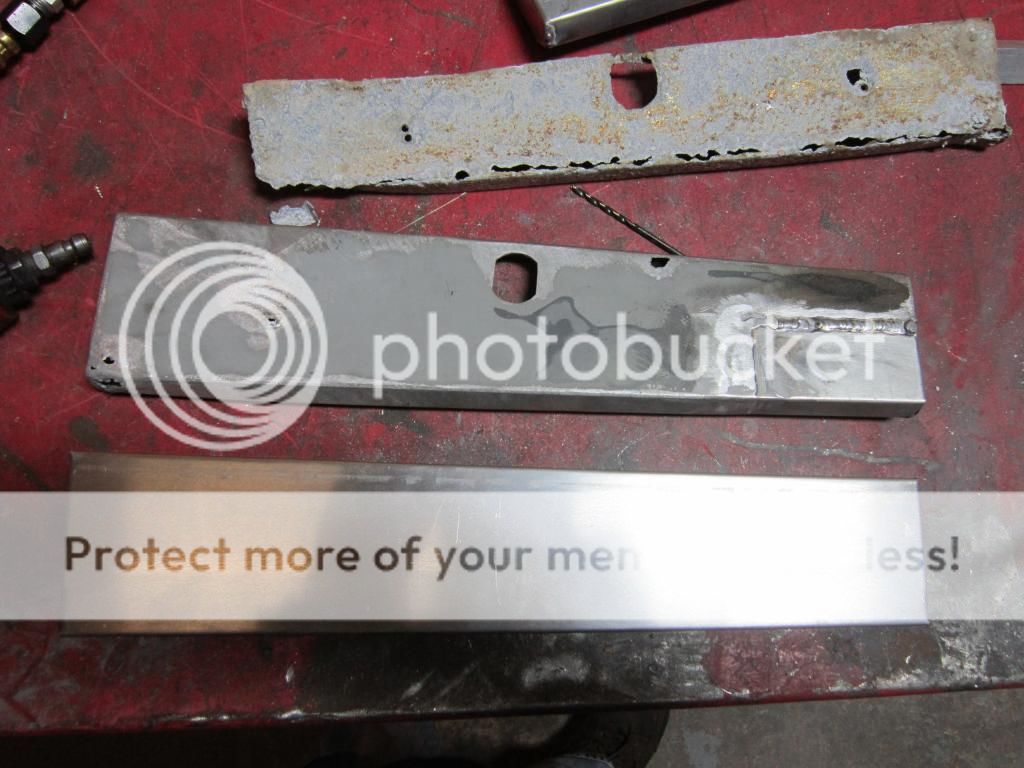
Let me tell you. This thin, rotten aluminum did not like being welded. I turned the old synchrowave to full cleaning on the AC and went to town.
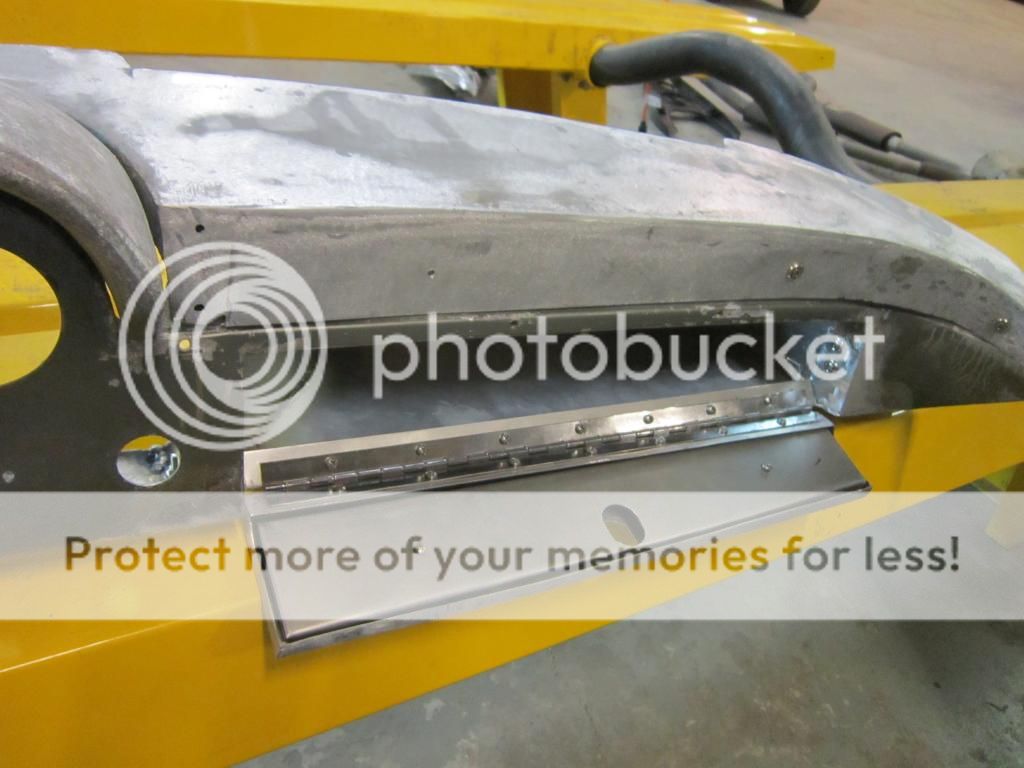
The door was a goner. so lets just make that from scratch. I consulted several owners for measurements and gaps and did my best. The gaps were bigger from the factory than I expected.
And together. There were at least 20 other patches to the dash. Upper, lower....everywhere. That piss destroyed a lot.
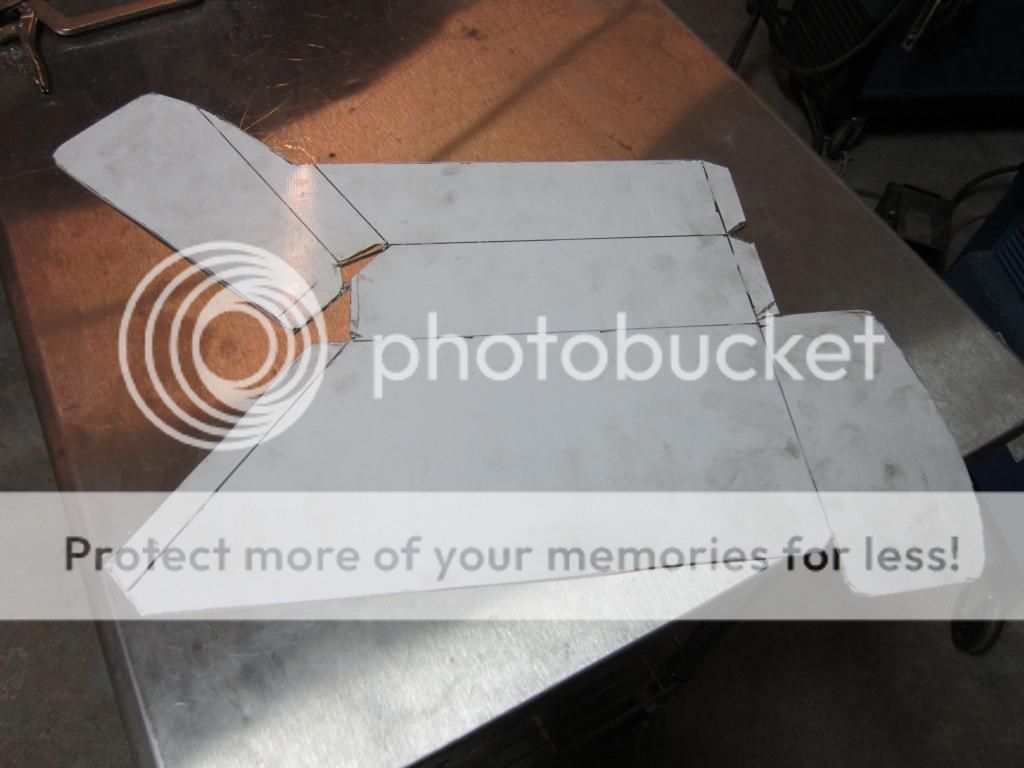
To remake the box itself I just flayed the old one open and was able to copy it
And the painters make me look like a hero
The main tools I have at my disposal are a 36" shear, brake, slip roll, hammers, dollies, bead roller and the synchrowave TIG.
I have a year and a half worth of pictures and stories to tell so I hope to be able to do an update a day for a while.
Cool project. I'm sure you're aware of Tom Yang's Ferrari website, he has a lot of good info on that model.
Yep. A '62 Ferrari 250 GTE. Italian market car that was brought into the states in the 70's. Sadly it was stored in an outbuilding since the early 80's and that means mice. What we found was a nest in the glove box that destroyed the dash, no biggie. Problem really was a nest in the number 11 cylinder and no compression in it The client decided to go for a total mechanical rebuild and leave the exterior as is, repair the dash and just clean up the interior. I started by pulling the drivetrain and suspension and then hit the interior Mouse piss + Aluminum = a strange oxide powder everywhere But I ain't no sissy. I mean this is the most expensive thing I have ever cut into but that only took a half hour to get over. Let me tell you. This thin, rotten aluminum did not like being welded. I turned the old synchrowave to full cleaning on the AC and went to town. The door was a goner. so lets just make that from scratch. I consulted several owners for measurements and gaps and did my best. The gaps were bigger from the factory than I expected. The main tools I have at my disposal are a 36" shear, brake, slip roll, hammers, dollies, bead roller and the synchrowave TIG. I have a year and a half worth of pictures and stories to tell so I hope to be able to do an update a day for a while.
That is the beauty of old cars..those tools and a sewing machine will cover most repair needs. If you must, add an old stump with a shallow bowl to the tool arsenal for panel beating Italian style. No need for anything as sophisticated as an English wheel for a Ferrari!
For all their exalted value, classic Ferrari are pretty simple constructions when it comes to the carroceria.
The drivetrainss? Maybe not so much, but then they also blow up a lot.
Looking forward to more post.
Wow great work! I've been looking for a Ferrari like this one. I'm curious was she considering selling the car? I'd love to make an offer.... let me know if so and thx for your time as well as your post
regards
Next step was the simple task of pulling that lovely V12 and transmission. Pretty quick work.
Then I broke it down, cataloged and sorted every piece. It took about 18 hours to do and it went well. Heads were not stuck. What a cool motor. Even the rod bolts are drilled to reduce rotating mass. The flywheel is the bare minimum of aluminum that will hold a friction surface and a ring gear. This thing is built to spin. The block could be carried with one hand when bare.
Mice can do a number on delicate parts though.
After cleanup
Everything was sent to a vintage Ferrari specialist. The head was welded up, all new seats, block bored and honed, Rods machined... ect.
We got new valves, rockers, forged pistons and everything else necessary. The cost of all this was staggering. I cannot comprehend....
While the machining was being done I busied myself with the rear end and rebuilding the Laycock overdrive
New bearings and seals, everything re-plated and painted. Lash and mesh set
The coolant manifold was rotten and poorly patched
Materials
By this time I moved my lathe into the shop
Looks right!
Keep on rolling
Well chuffed with that bit.
The motor build went slowly. Both my boss an I took turns assembling.
This motor seems designed to leak from every seam and joint. Just setting the cam and ignition timing took days. Checking and doublechecking everything until you second guessed yourself and started over again. The carbs were gone through and re-enameled.
And then after a while this happened
http://s459.photobucket.com/user/ditch_digger/media/work/250gte/MVI_4437_zps4f304ba3.mp4.html
More later I guess.
WOW...so much awesome in one thread!
I love any vintage Ferrari V-12, and the resto work ain't too shabby either.
What's with the weld beads or blob on the surface between the banks? Looks like someone painted over bird poop?
The square welded area was factory. A change in design? Hangover from when the intake and exhaust sides of the heads were swapped? Not sure but the welds are supposed to be there.
The 5 individual blobs are epoxy sealing some notoriously leaky freeze plugs. That was done by the specialists that did the machining.
Ditchdigger wrote: Then I broke it down, cataloged and sorted every piece. It took about 18 hours to do and it went well. Heads were not stuck. What a cool motor. Even the rod bolts are drilled to reduce rotating mass. The flywheel is the bare minimum of aluminum that will hold a friction surface and a ring gear. This thing is built to spin. The block could be carried with one hand when bare.Mice can do a number on delicate parts though. After cleanup
![]()
How did this get repaired? Did you get any pics of the mouse nest inside the cylinder? That engine on the test stand sounds amazing!
Kenny_McCormic wrote: How exactly does one get into this line of work?
I spent 11 years as a millwright developing skills like machining, welding, problem solving, mechanical empathy and the ability to keep going forward when things fight you tooth and nail. I was doing custom machining for my current employer for years. The kind of stuff automotive machine shops don't do. I always made sure I did the best job I was capable of and as fast as I could deliver. Daily driving a wild rear engined Fiat also made an impression since he does a lot of Abarth restorations.
When the plant I millwrighted at closed I figured I would get me some of that unemployment money I have been paying into for 25 years and never used but I got a call the next day.
He said "Trent, I need some pistons for a Packard 12 turned down thirty thousandths to drop the compression and... Well. I am shorthanded. Will you come work for me?" I had exactly three days off work The longest spell of unemployment ever for me.
So to answer your question. Hard work, skill building, networking and a healthy dose of good old fashioned luck.
I consider myself lucky every day. Even a bad day fighting a car as terrible as an E-Type is better than a good day millwrighting. I would do it again in a heartbeat though. The skills I learned in that time I will use everyday for the rest of my life.
edwardh80 wrote:Ditchdigger wrote: Then I broke it down, cataloged and sorted every piece. It took about 18 hours to do and it went well. Heads were not stuck. What a cool motor. Even the rod bolts are drilled to reduce rotating mass. The flywheel is the bare minimum of aluminum that will hold a friction surface and a ring gear. This thing is built to spin. The block could be carried with one hand when bare.How did this get repaired? Did you get any pics of the mouse nest inside the cylinder? That engine on the test stand sounds amazing!Mice can do a number on delicate parts though. After cleanup
![]()
That I can't take credit for. It was welded up and the chamber was hand ground and polished by a Columbo V12 specialist. I can't find the after pics for some reason
Ditchdigger wrote:Kenny_McCormic wrote: How exactly does one get into this line of work?I spent 11 years as a millwright developing skills like machining, welding, problem solving, mechanical empathy and the ability to keep going forward when things fight you tooth and nail.
There's the real skill right there.
OK. Where were we? At this point the car was intact other than the running gear, dash and interior. I had it on a cart for ease of rolling around.
Up until this point the owner was laboring under the hope that the original paint could be saved..... until I pointed out that it wasn't the original paint and there was some pretty bad rot that needed to be dealt with. The decision was made and I stripped the car completely. Since the bulkhead was aluminum acid dipping the car was out
Man that thing looks rough. Mouse piss is truly evil stuff.
I was delighted to find the remnants of some factory grease pencil denoting the bulkhead as the 2+2 GTE unit
The car was sent to a gentleman who specializes in soda blasting. This is a mistake I won't make again. What a mess in many ways.
And now I can see the depth of the damage and bodged repairs
The trunk floor corners are shot. One was repaired with a sheet of tin and rivets creating pockets that invited more rot. The floors are two layer. A fiberglass insulation sandwiched between two sheets of steel. That is a recipe for disaster. The front quarters had a fair bit of rot and there was the usual lead filler based damage all over.
On to the repairs next episode.
You'll need to log in to post.