This is gonna be so cool.
X 10 on cool. My first car was a 74 Corolla that ran great but was already way rustier than that in the 80’s. I’m really impressed how clean that is for pushing 50 years old. Everything here in the northeast from that time frame has long since returned to iron oxide.
oldeskewltoy said:A bit further....
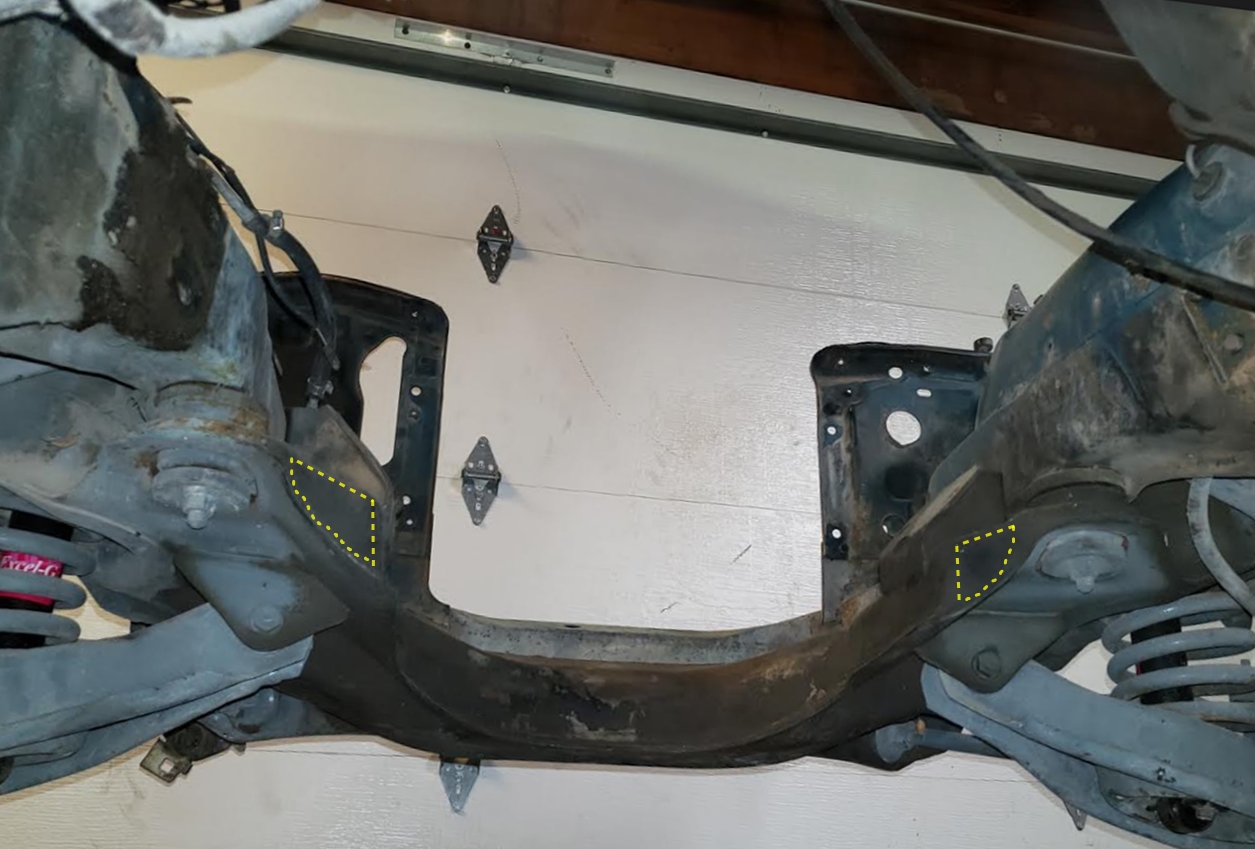
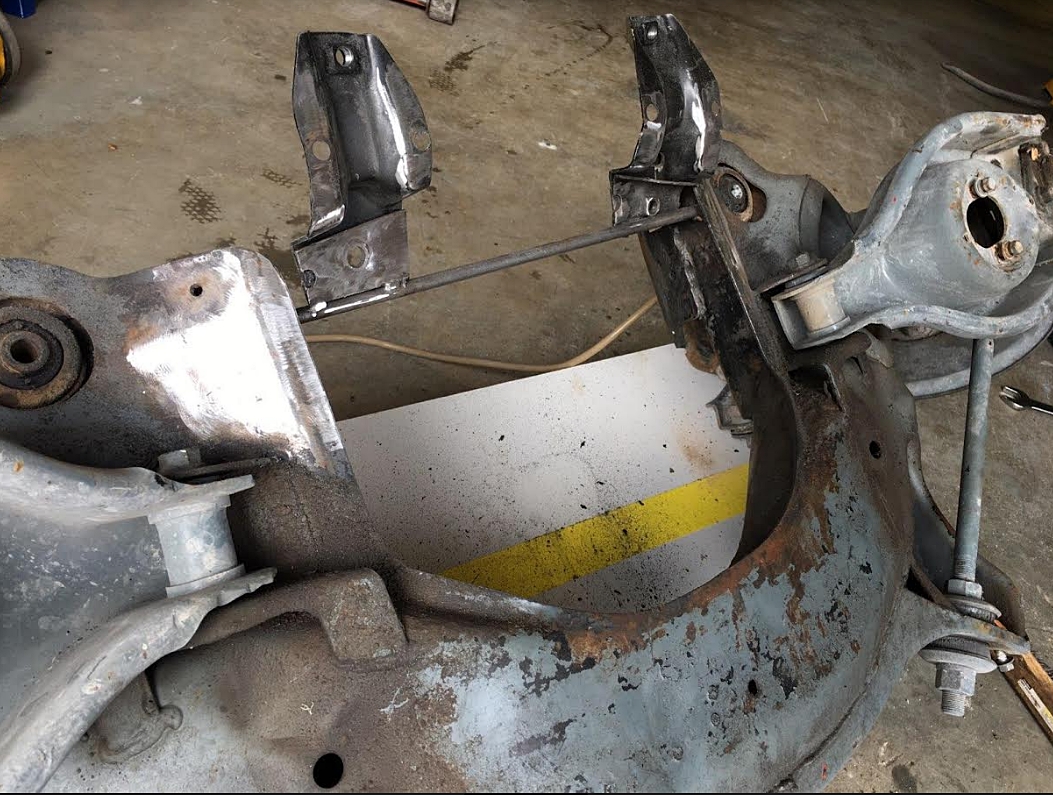
The plan now is to build a rear mounting on to the back of my front cross member, and then remove the rack mounts from the AE86 cross member, and fit them to the newly made rear mount. There is SUBSTANTIAL metal on the cross member for fitting this
where those mounting points are....
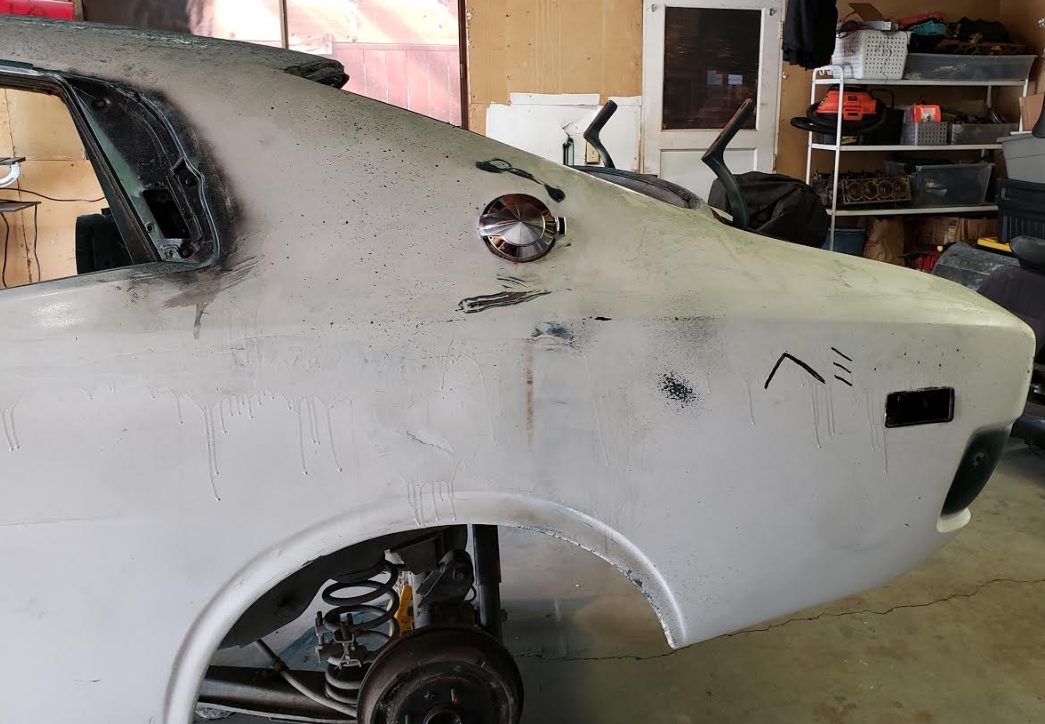
I had a feeling...... (Mopar pop open fuel cap) This shows it kind of fitted, but the whole assembly will be recessed neatly where only some of the higher center section will be above the body line. While the current recessed hole is the correct diameter, some custom work will need to be performed to fit the hinge, and latch into the body
The interior structure is in very good shape, yes there is some rust, but overall the the cars condition continues to impress.
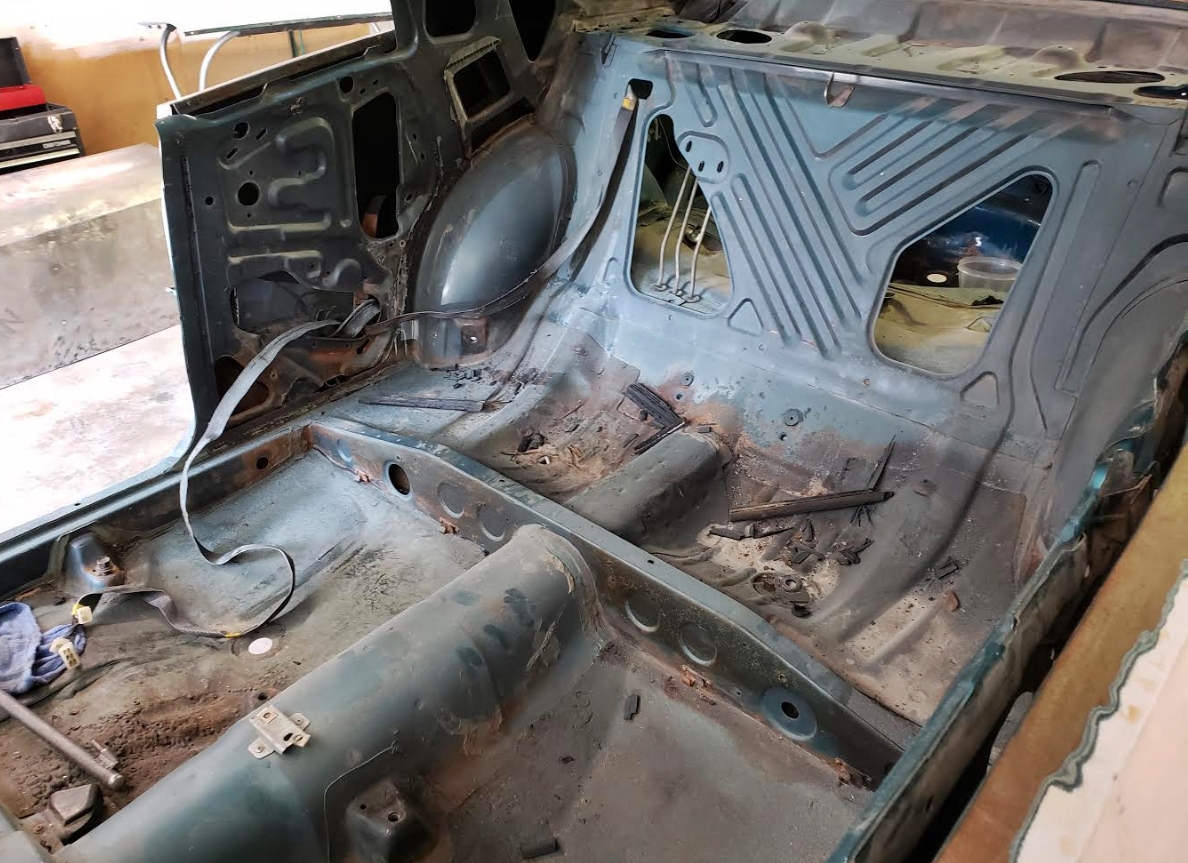
By the way anyone catch site of the ribbon wiring harness for the back of the car... First I've ever seen.
And low and behold... the worst(???) uglies have revealed themselves... it appears that someone may have tried to swap something already...
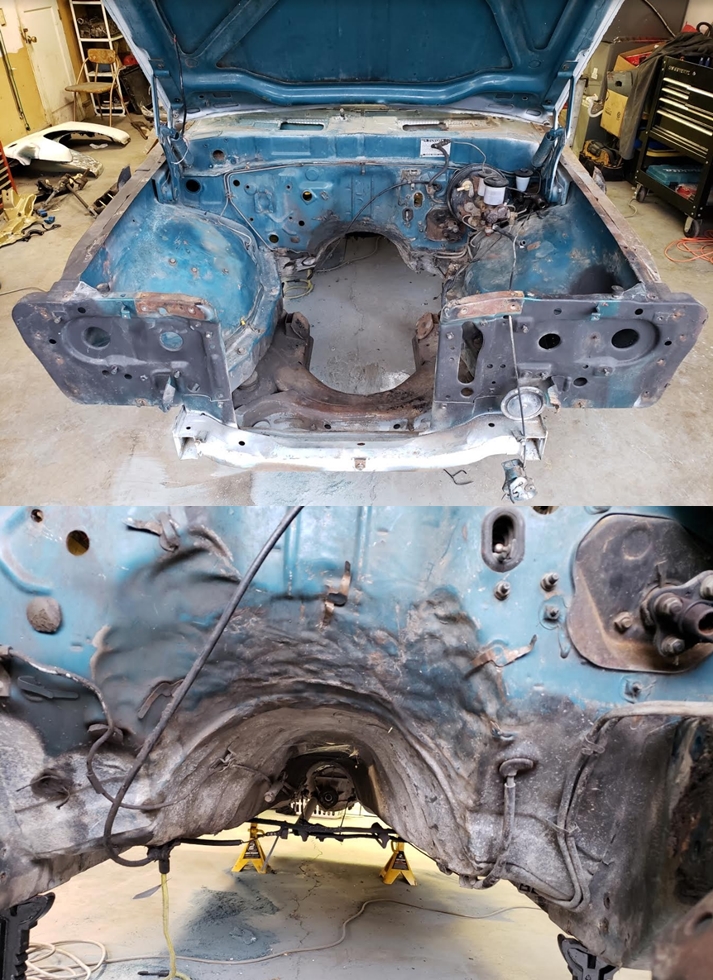
Anthoni, and my (best, better?) guess is they had the same problem we have (steering box interference), and they thought they might raise it above the box????
More to come..... ![]()
Well I just got lucky.... VERY lucky!
it is a shame, or it was.... On top you see the console I got with my car... broken in many places, big holes for speakers, the vent section totally hacked off, no switch panel, and a shaped galvanized tin plate shaped to fit the opening, and made to accommodate very small gauges... and on the bottom my brand new acquisition... an unhacked-up complete console.... ![]()
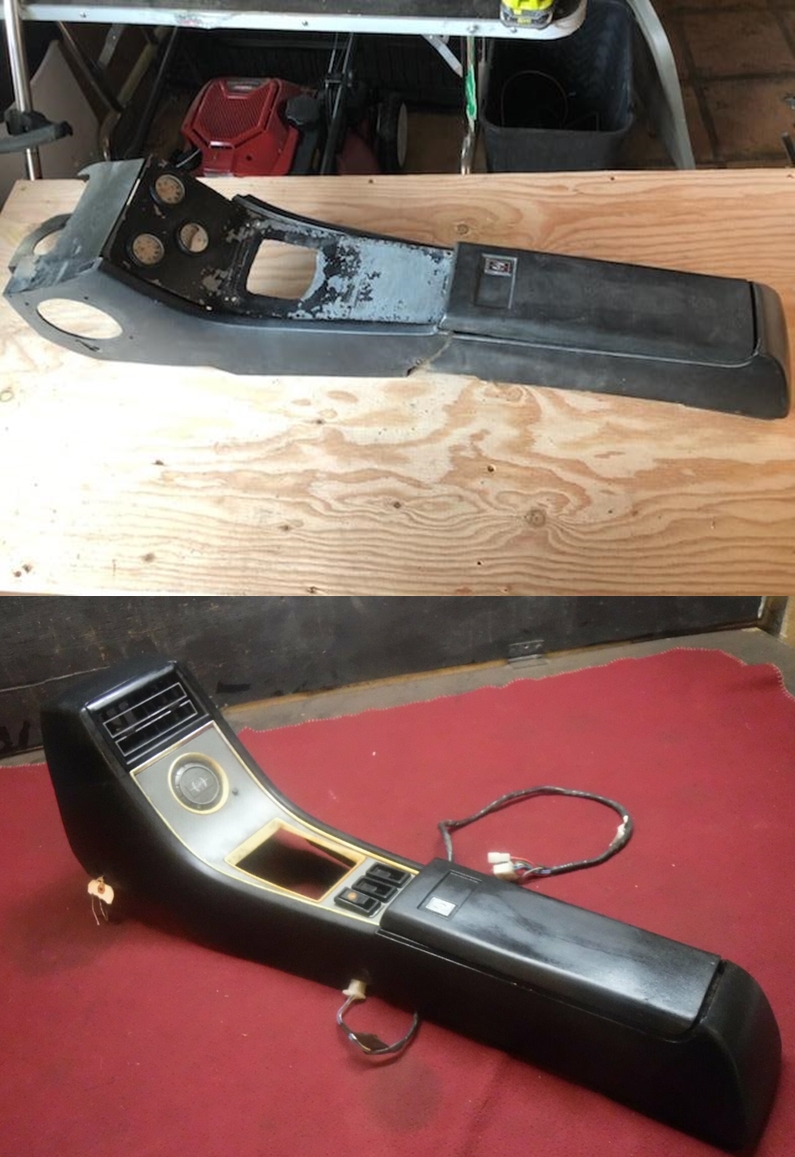
Please... all pray for its safe arrival........
more to come.... ![]()
The console arrived unharmed (yeah!), it does need to be cleaned up, and restored, but it is unbroken!
For the center of the Mopar fuel cap... I have 3 thoughts... leave it plain, or use one of 2 emblems in the center. The first emblem idea is using my logo

The 2nd idea is having the Mark II emblem 3D printed
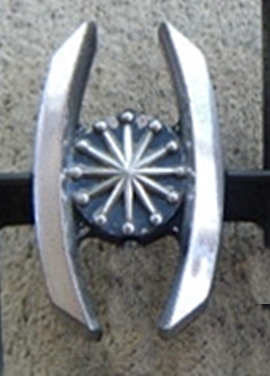
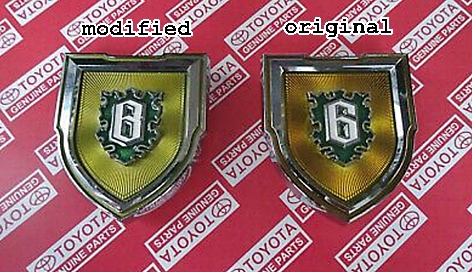
Speaking about 3D printing (or custom) emblems.... I'm looking to see if I can get the one on the left made.....
more to come..... ![]()
oldeskewltoy said:Some surgery.... and some Sprite???
more to come.....
in the top view... can you see inside? Enough to see some ugly metal??
I was worried, and I had persuaded Anthoni to open the whole rocker for inspection.... but I don't believe we actually need to open the whole thing... just a little bit more in this vicinity. The rocker appears(parts scan to follow) to only have that internal structure for a small area....... I wonder why it is there at all???
Additionally I can see how some water, getting in the rocker, would "eat" that small area.......

more to come........ ![]()
So I don't want to steal OST's thunder, but I went to check out the Mark II today and a) It is at least as impressive as this thread makes it seem, and b) It is going to be totally awesome when it is done. Oh....and we also did a thing....with lasers! ![]()
ae86andkp61 (Forum Supporter) said:So I don't want to steal OST's thunder, but I went to check out the Mark II today and a) It is at least as impressive as this thread makes it seem, and b) It is going to be totally awesome when it is done.
Oh....and we also did a thing....with lasers!
Yes we did!!! And thank you for your assistance......
By the way for the casual viewer... in the above photo... some thing[s] are missing.........
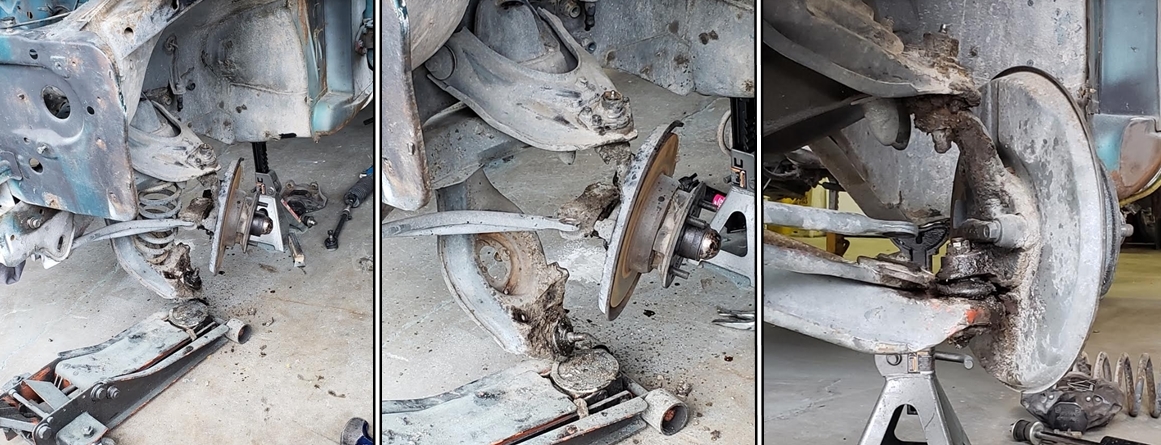
removing the spring and shock allows the suspension to travel through its arc......... This allows us to find the ideal height for rack placement - finding the sweet spot that allows the suspension to travel and not change the steering angle. Perfect placement = a vertical line
We begin with this photo......
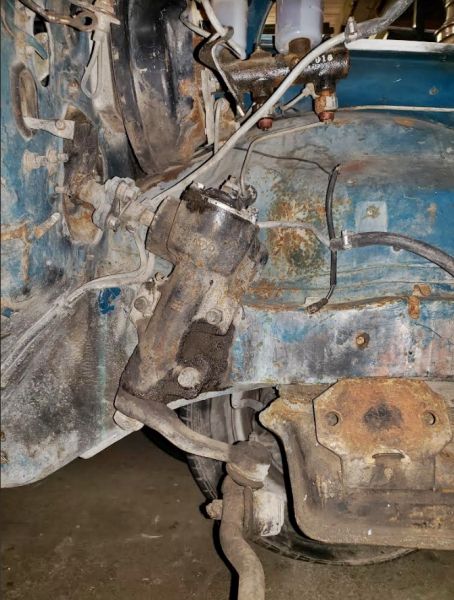
and we are trying to mimic the location of the centerlink (in space). We begin with a 1/4" simple steel bar, cut to size to fit within the subframe. We then pick an angle that looks about right..... The rack is centered - 3.5 turns lock to lock - 1.75 turns is halfway. We then line up (as close as we can using the jackstands) the inner tie-rod knuckles to even points on the subframe - all in an effort to center the rack side to side.
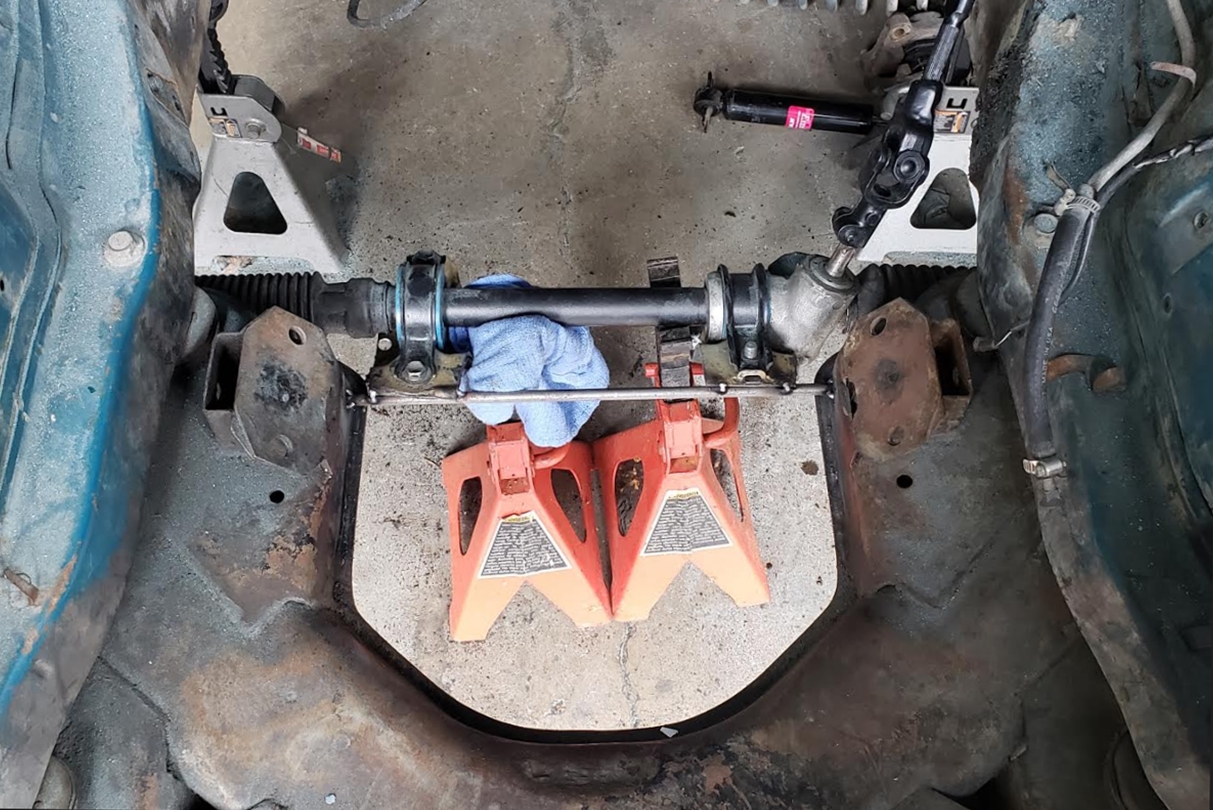
The rack is tacked to the steel bar... and we do our first laser test... the right side looks to be pretty close - the line scribed by the laser is nearly vertical... but the line on the left is NOT vertical at all... in fact it traces a line nearly 45 degrees off the vertical ![]() . So some of the welds are cut so we can reposition the rack , we lower the left (but in doing it raises the right a small amount) we get the left much closer to vertical, and now the right is less then good (not as bad as left 45 degree, but unacceptable). We then cut a different weld and shift things a bit more....
. So some of the welds are cut so we can reposition the rack , we lower the left (but in doing it raises the right a small amount) we get the left much closer to vertical, and now the right is less then good (not as bad as left 45 degree, but unacceptable). We then cut a different weld and shift things a bit more....
Here are our results.........
Left........
and right......
more to come....... ![]()
In reply to oldeskewltoy :
I say, well done! Seems a very doable solution. Much simpler than Project Binky's (less math and more lasers).
Along with the rack... we did a bit more engine "fitment".....
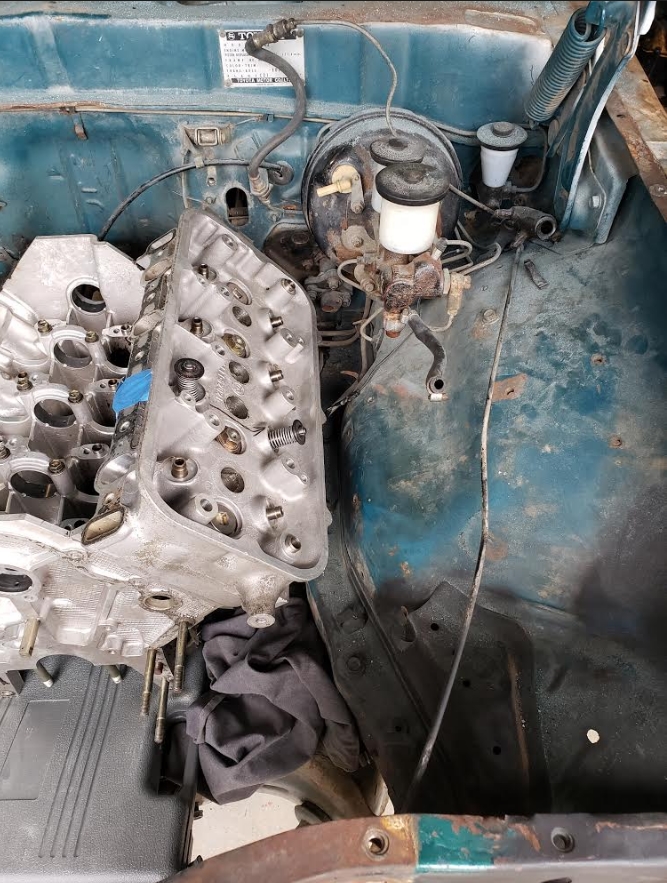
It looks like I'll need some custom headers...
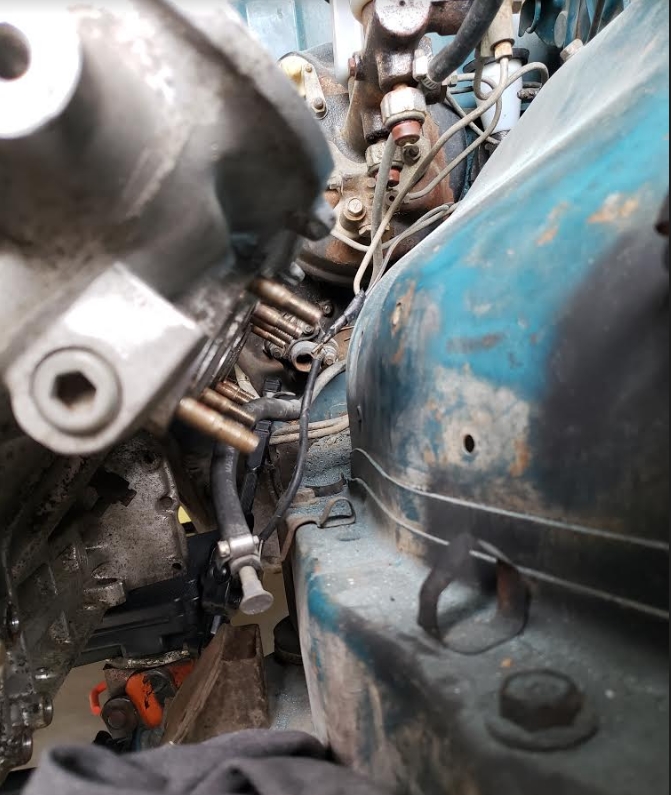
more to come..... ![]()
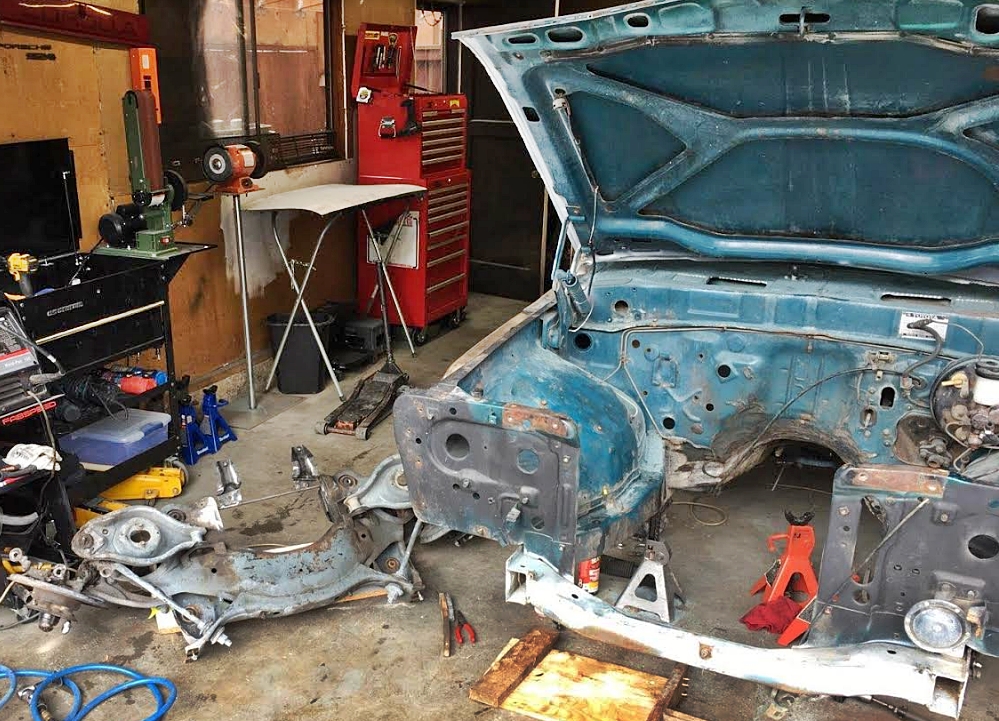
With the mounts kind of in place, the front subframe comes off so the new rack mounts get built and installed
front subframe... a bit more detail
more to come.... ![]()
Oh man, I didn't realise you're local. Can't wait to see this thing rolling around town. You're going with that bitchin' red paint?
thatsnowinnebago (Forum Supporter) said:Oh man, I didn't realise you're local. Can't wait to see this thing rolling around town. You're going with that bitchin' red paint?
yep... Brandywine Candy ![]()
jimbob_racing said:Amazing project.
Thank you........
oldeskewltoy said:
front subframe... a bit more detail
more to come....
A wee bit sturdier....
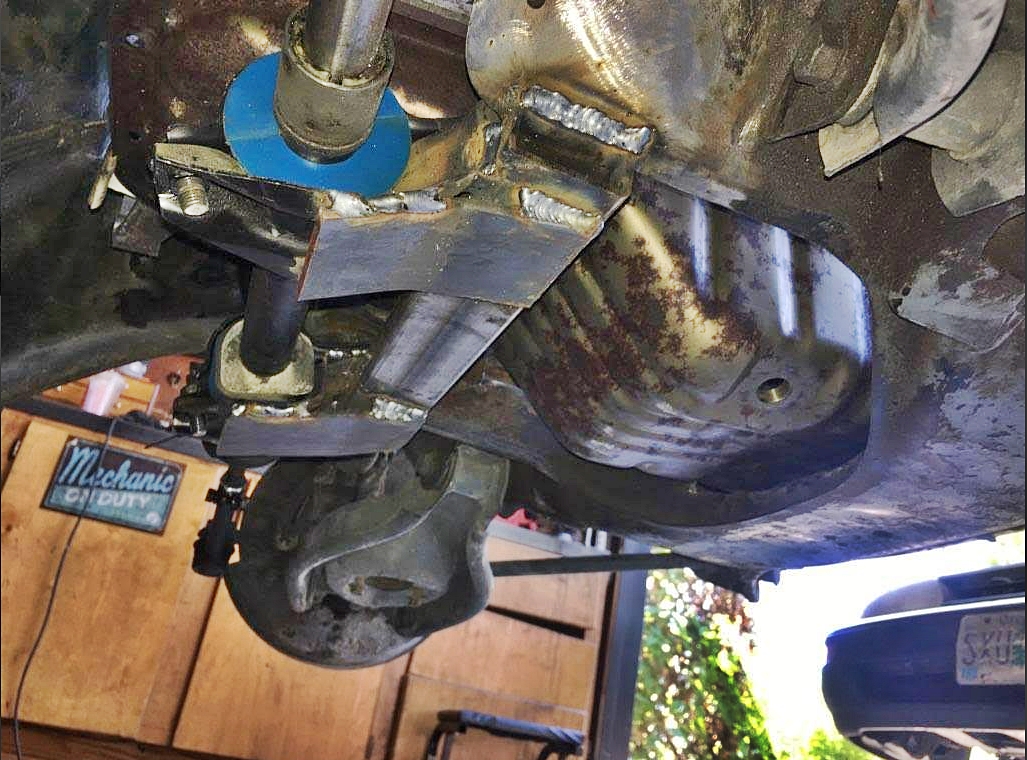
It should read fabricator on duty....
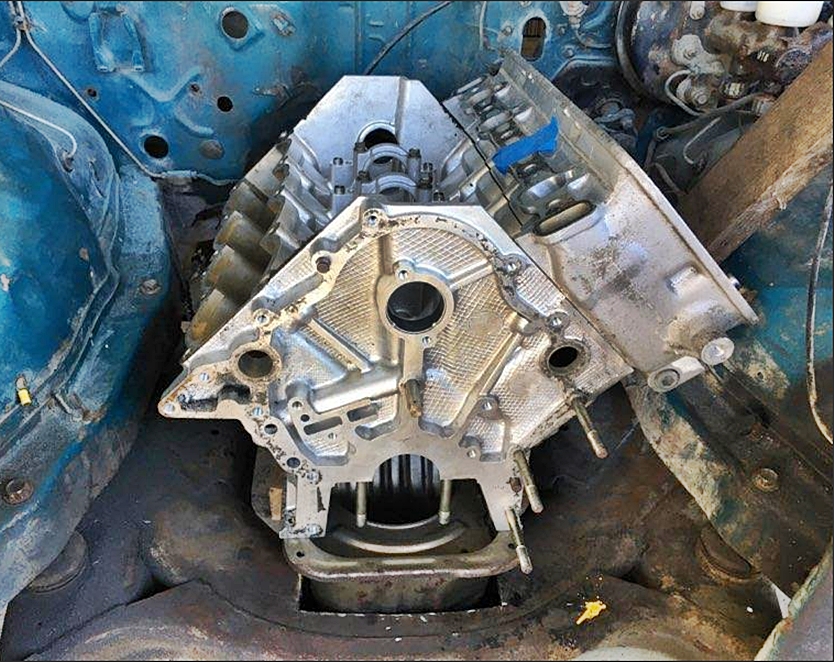
and making room for the Hemi..
more to come..... ![]()
I don't see an option to subscribe without replying, so I'm replying. And subscribing. And more than a little envious. I've been pondering an MX22 build for the last twenty years ago, though always figured a hot 5M-GE on sidedrafts would be my approach, as the V-series always seemed too rare and exotic for my Dollar General budget, so it's super cool to see this combination coming together.
If it ain't too late, I'm going to cast a vote for a less flashy finish, more like something you would have seen on the car when new. Maybe a solid color, like Ford's Grabber Orange. Actually, I dig the original metallic blue, too. The green example you posted on page three is gorgeous as well. I really like that softer metallic OEM paint look.
You'll need to log in to post.