About 14 years ago, I made a human being, female model.
A year and a half back I decided to make another human, male this time.
Both projects were fun to make, but the ongoing maintenance is time consuming and expensive.
In reply to DuctTape&Bondo:
You are only a beermiester away from "E30 Porch Nirvana". In the meantime... placing a cooler between the seats and using a hole saw to make cupholders on the arm rests is a nice upgrade ![]()
RossD wrote: The headrest and armrest are electric? You should be able to find a schematic of them.
I'm trying to identify what car they came from, a little googling last night thinks w216 or something. I have 3 pdfs I found to look at when I get a chance. ![]()
Giant Purple Snorklewacker wrote: In reply to DuctTape&Bondo: You are only a beermiester away from "E30 Porch Nirvana". In the meantime... placing a cooler between the seats and using a hole saw to make cupholders on the arm rests is a nice upgrade
Was going to throw cupholders in between the seats, hole saw was MIA so that is delayed. ![]()
To compliment my Mercedes Picture Frame, I decided to make an office chair that doesn't hurt my back. I had a pair of clean MK1 MR2 seats doing nothing so I bought some square tubing and fired up the welder.
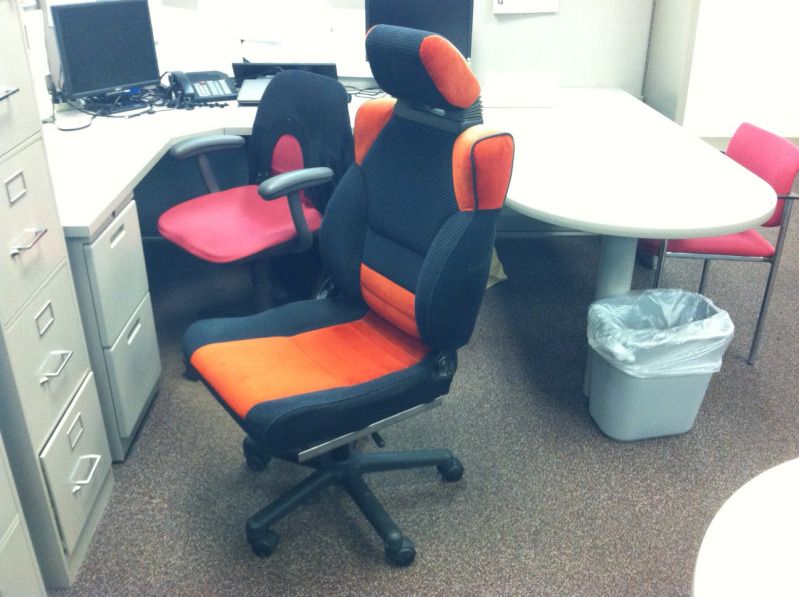
Don't look too close. Owning a welder does not make one a welder
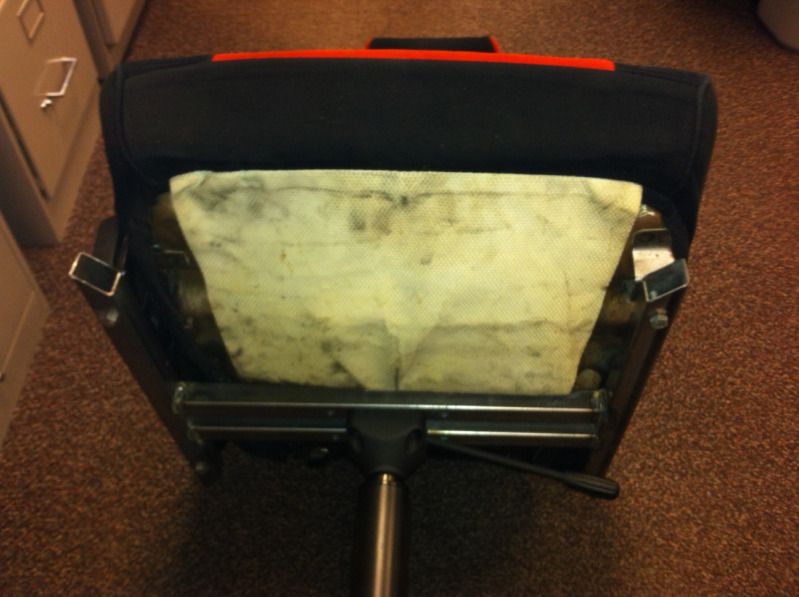
But I really like it. It's more comfortable than the chair I had. I'm going to paint the frame black and cut the angles on the side tubes the other way for a sleeker look. I think I'll cap the tubes as well.
I should take a photo, but this weekend my wife turned a cast-off glass water cooler jug into a planter.
NERD ALERT.
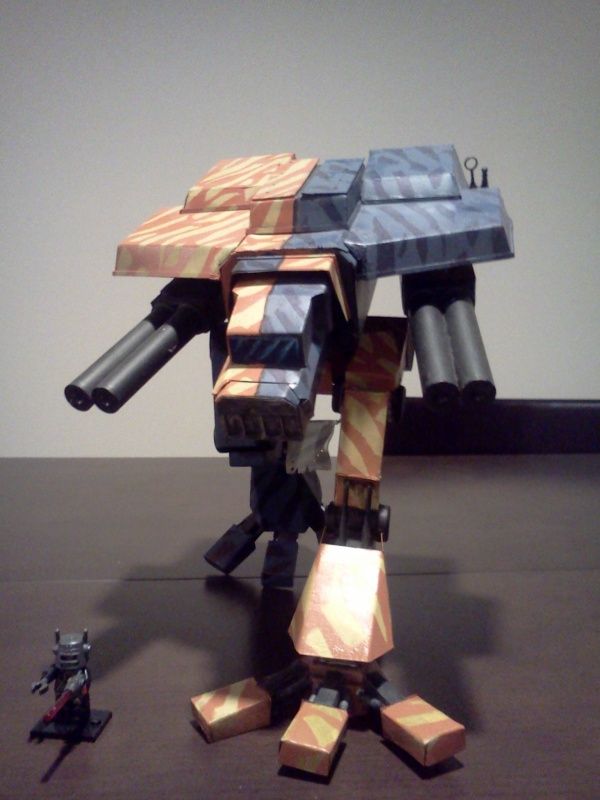
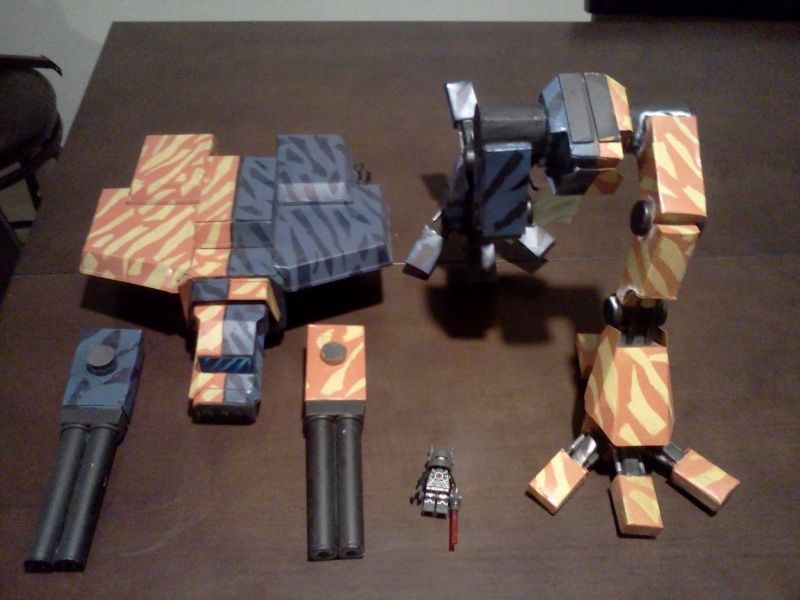
Warhound titan for Warhammer 40k (tabletop miniatures game)
scratchbuilt from paper, plastic, and a ton of superglue.
Appropriate for GRM as the 'real thing' costs a few hundred bucks...
I spent about 5 bucks + labor
I made a non-reversing mirror for my wife. It's a pair of first surface mirrors mounted at a 90 degree angle. The two mirrors reflect off each other and the net result is seeing an image that isn't flipped horizontally.
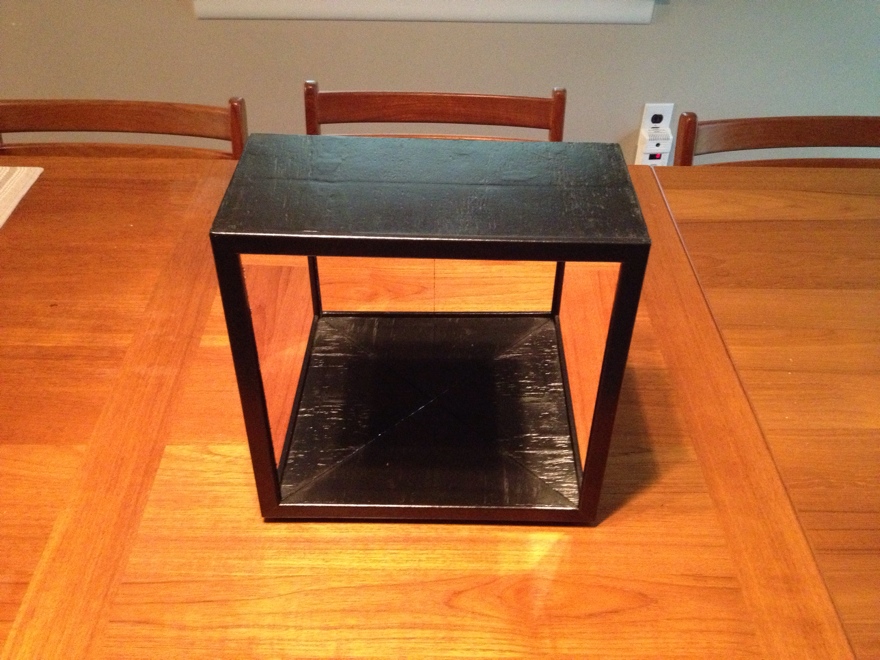
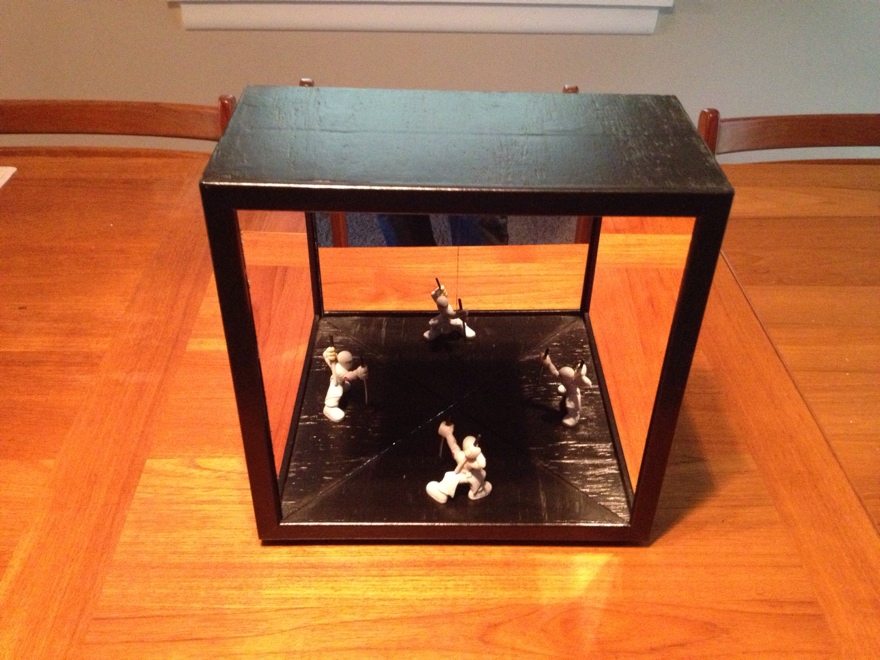
There's a knob on the side to adjust the mirror, in case it gets out of whack. Part of me wishes I had just made dang sure it was exactly 90 degrees and then just glued it down, but I guess that might be difficult. If the angle is even slightly off 90 degrees the image is thrown off. The adjuster works fine so it's not a problem.
skateboard ramps. Lots and lots of skateboard ramps=]
not much else scratch-made in my life, I need to work on changing that
I forgot to mention on the mirror that manufactured ones are in the $200 range, and my net materials cost on that was about $3. I had the wood, had the first surface mirrors (cut them out of a huge 24" x 36" 1st surface mirror I had), and had all of the hardware. I bought some adhesive and think that's it. Oh, I bought paint. So ~$6 total.
Table! 50's Chrysler trunk lid and Ford 429 Pistons. Project was slightly rushed so it isn't quite what i wanted. Pardon the insane mess....working on a bedroom, garage, E30 at the same time = things everywhere.

 electrical conduit roof basket $9
 Lawn ornament, moving frog on a mushroom with a blowing away umbrella, hat and tie, made from scrap and stolen signs free.sorry kinda hard to see in the pic the frog got seasoned with motor oil and a weed burner
I just used hammer forming and shrinking to make a face plate/cover for a K&N filter. The material was some thicker steel - probably 22 ga???? - that was a scrap from the local sheet metal fabrication shop. We're using the the K&N's on the datsun replica because the stock 240z air filter is too thick and would interfere with placement of the steering column.
The K&N (part number RA-0750) is designed to fit onto a tube intake. Dad modified it, cutting the flange off so it could sit flush with the backing plate of a Ram-Flo
photos later....too tired right now.
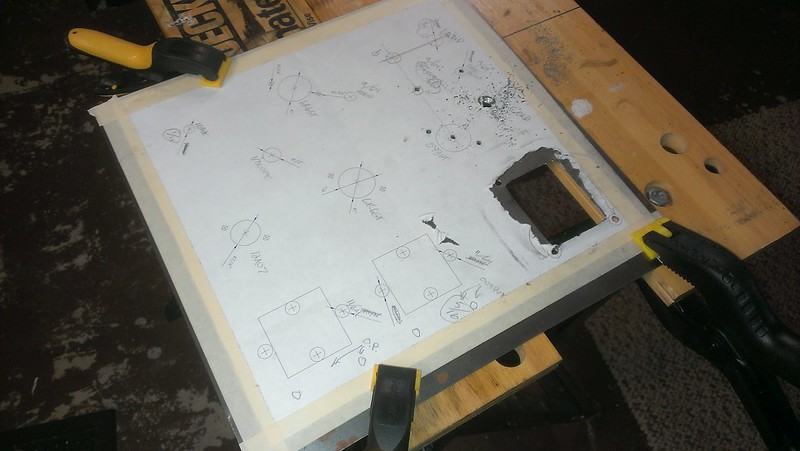
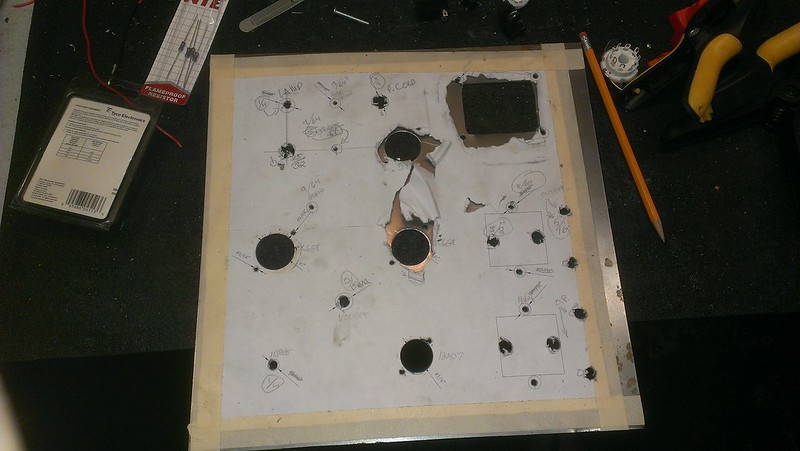
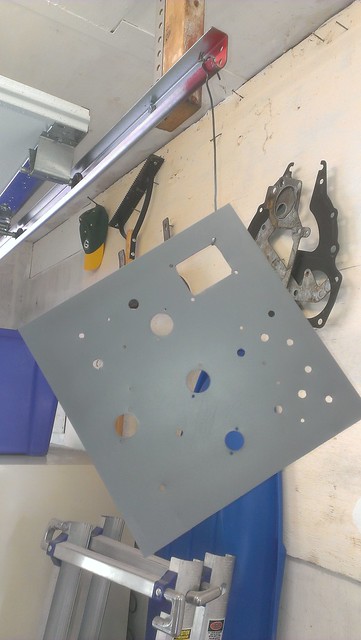
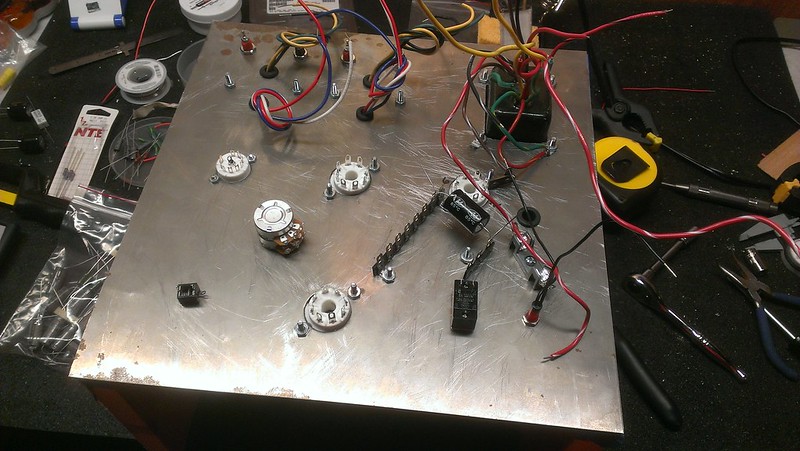

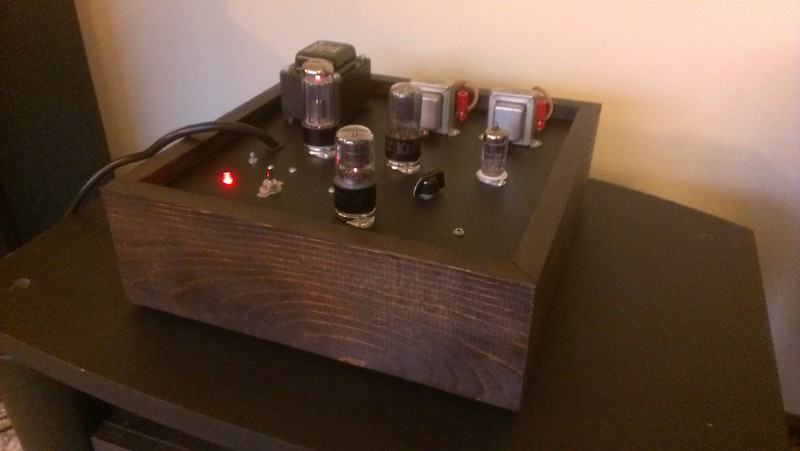

I made a new stereo tube amp. An old 6K6GT driven by an old 12au7 and rectified by a new Sovtek 5y3gt. Single Ended and ultra linear mode. I used the RCA tube manual to approxiate a operating point for the 6k6gts using the pentode mode and used a diyaudioproject.com forums members designed preamp. It probably puts out about 3.5 watts at best. The frequency range is probably a bit choked down since I'm using guitar amp output transformers. Oh well. I don't seem to notice.
In reply to Woody:
Are you going to trim around the deck some how? Or just stain the wood? The plastic boards look like a pretty close color match to your concrete patio.
We separated the boys bunk beds so we could put both dressers under the top bunk. It freed up floor space. The problem was, you couldn't see in the dresser drawers, even in the day light.
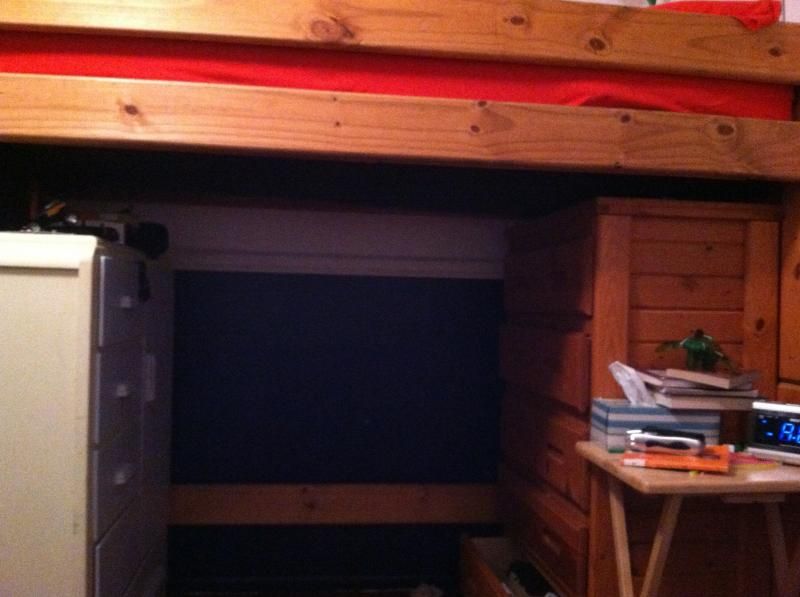
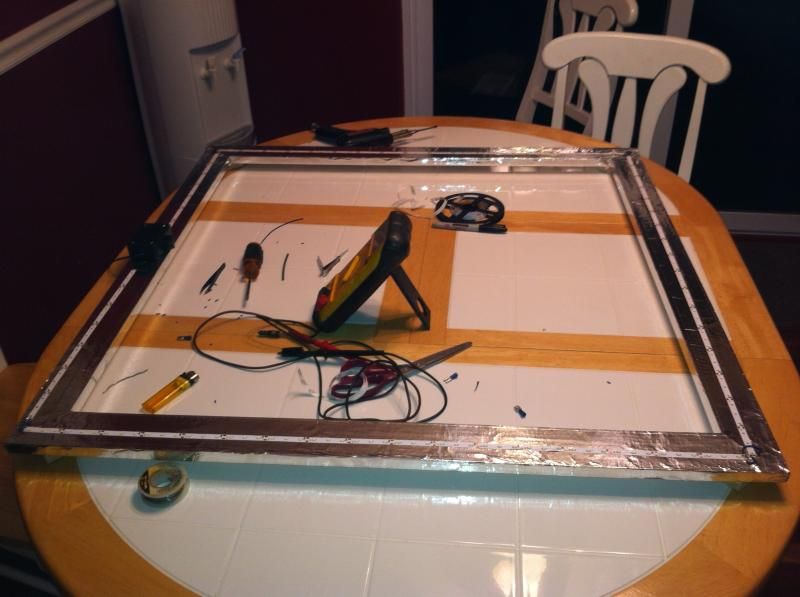
So, I bought a strip of LEDs from eBay, scrounged around and found a 12V transformer from a rechargeable shop light. I built a frame to fit under the top bunk. Not to brag, but it was a perfect fit. I had to press it in there, nice. Of course I did nail it in place. But before I installed it I took that metal tape you use on HVAC ducts and covered the wood frame for some reflectivity.
I picked up a Radio Shack project box to house the switch and attached the lights and box to the frame. Here's the finished product.
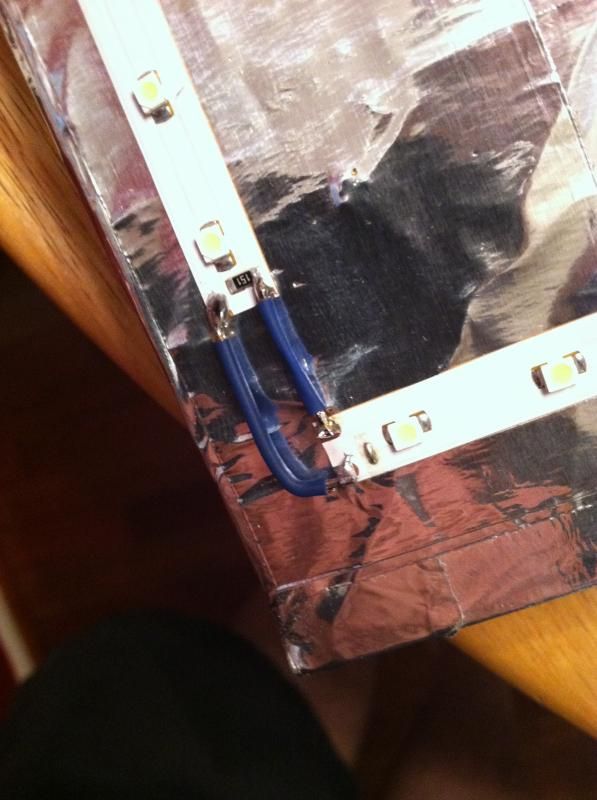
Since you can't make tape bend sideways I had to cut the LED strip into 5 pieces. That meant soldering little jumpers to the ends to complete the circuit. Since I only have a manly soldering gun, it was like lighting a birthday candle with an oxy/acetylene torch. Possible but tricky. Here's a shot of one of the corners.
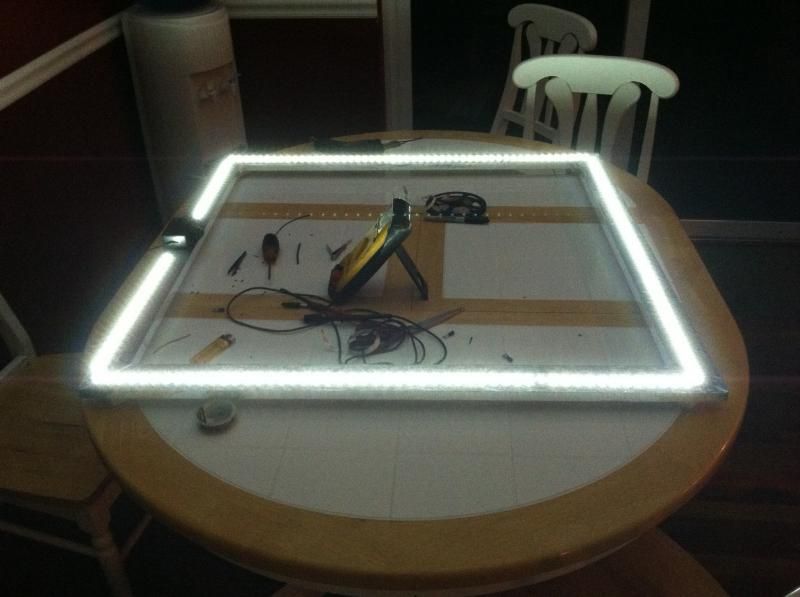
Here's the unit turned on, but not in place.
Ind finally, here's the finished product, in place.
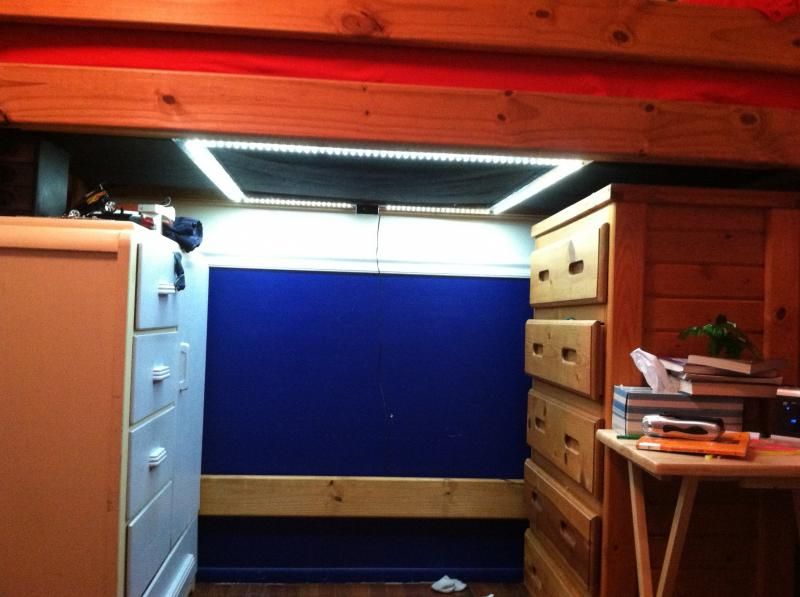
I must say, it turned out great. I had the lumber and metal tape laying around. Other than that, the project was about $15 or so.
I like that. 12 volts you say?
We've got a cabin with solar panels and whatnot running on 12 volts....
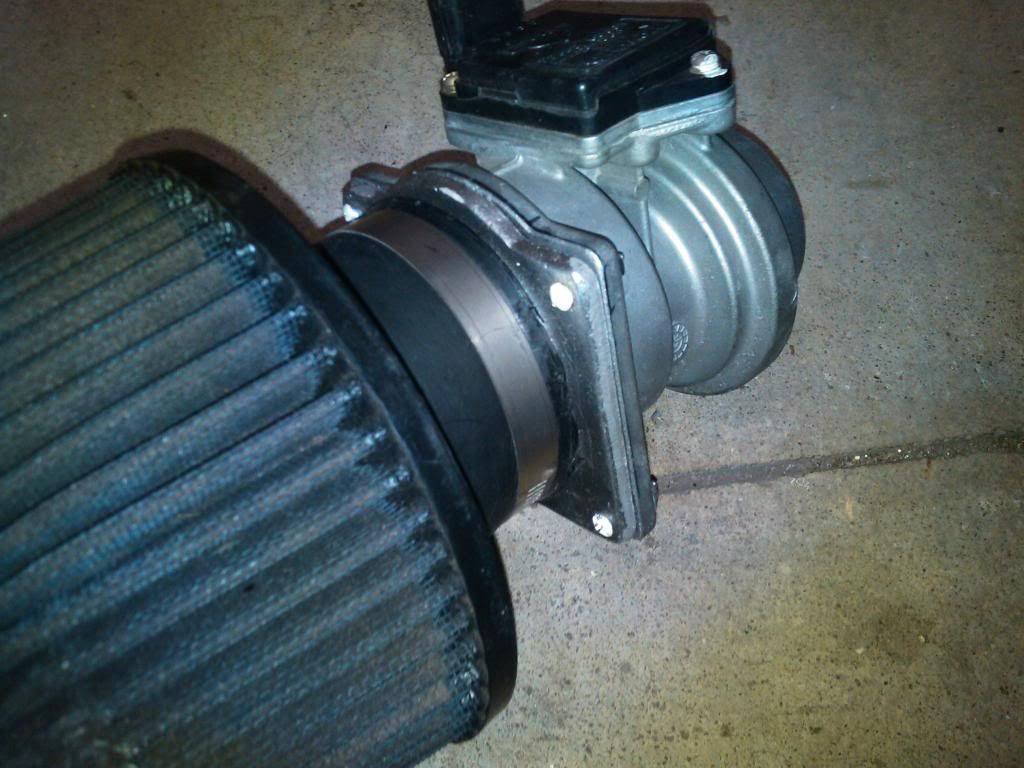
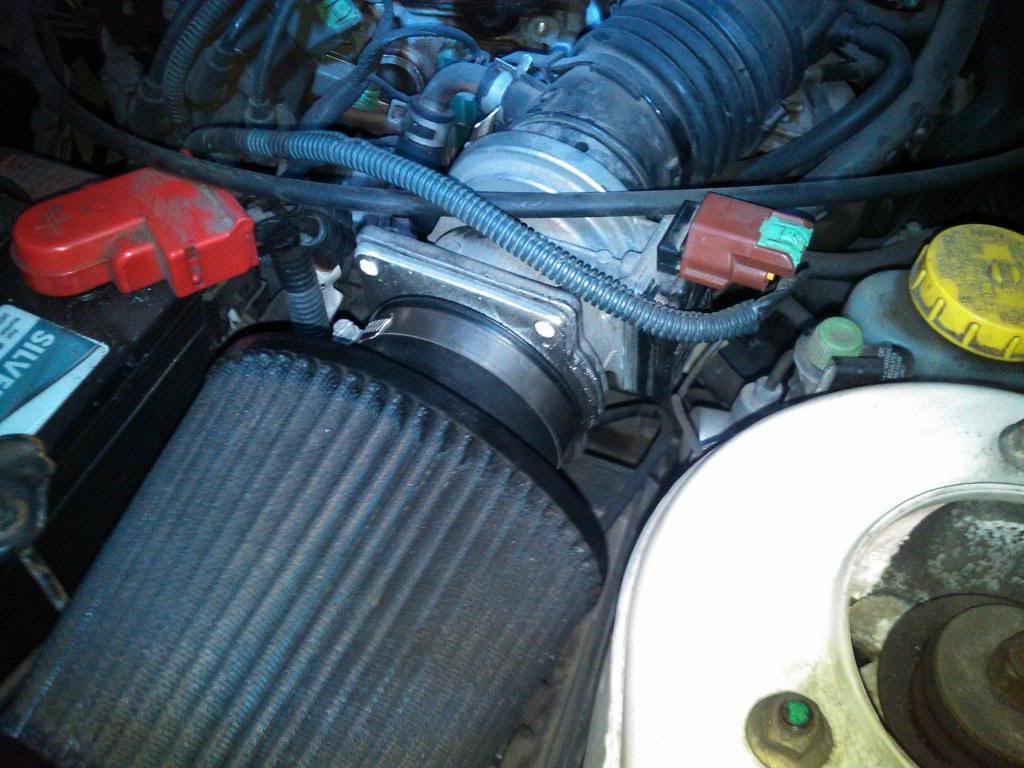
I scratch built a MAF adapter!
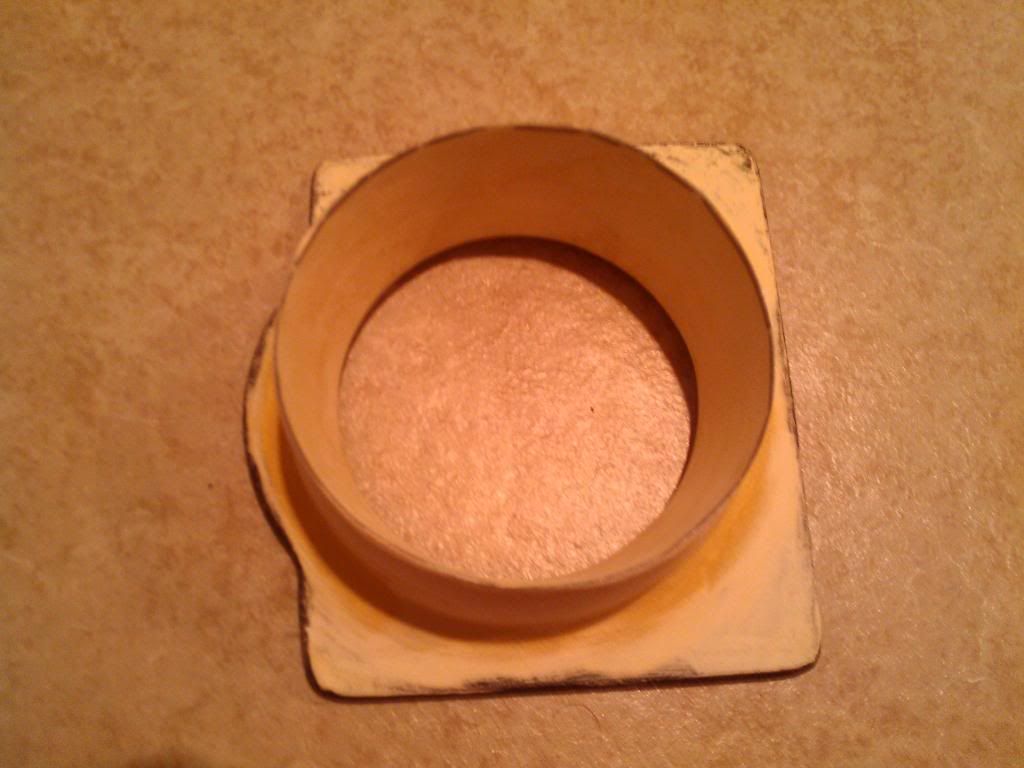
Pattern from Bondo, a chili can, and luan paneling:
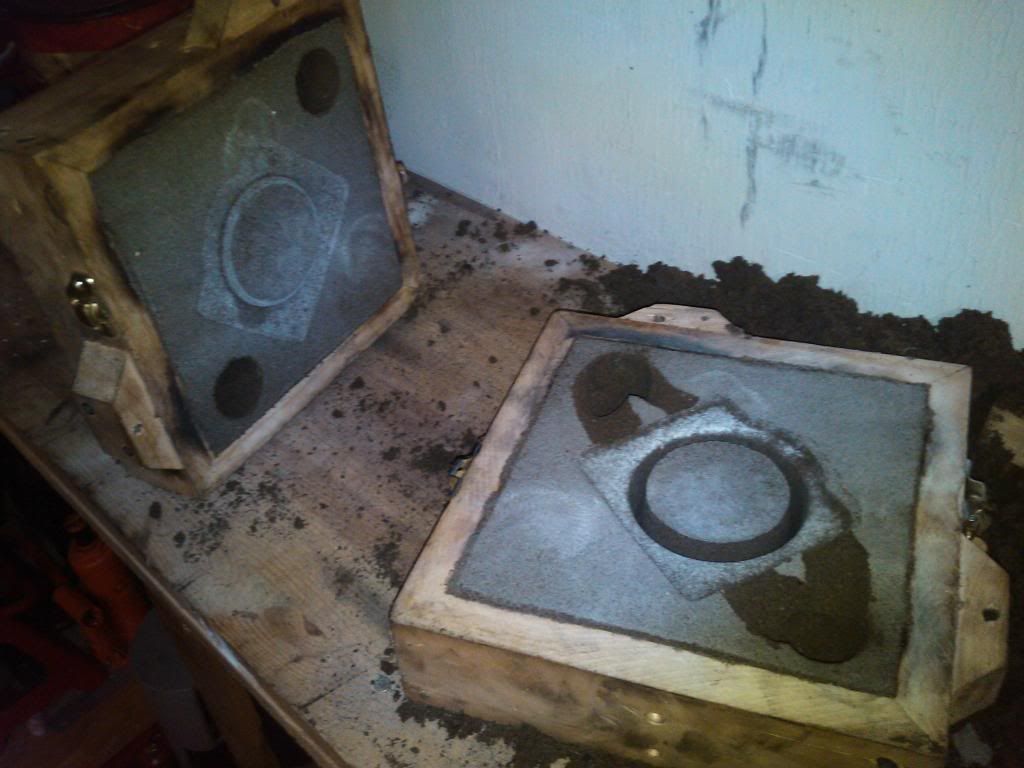
Rammed up a mold:
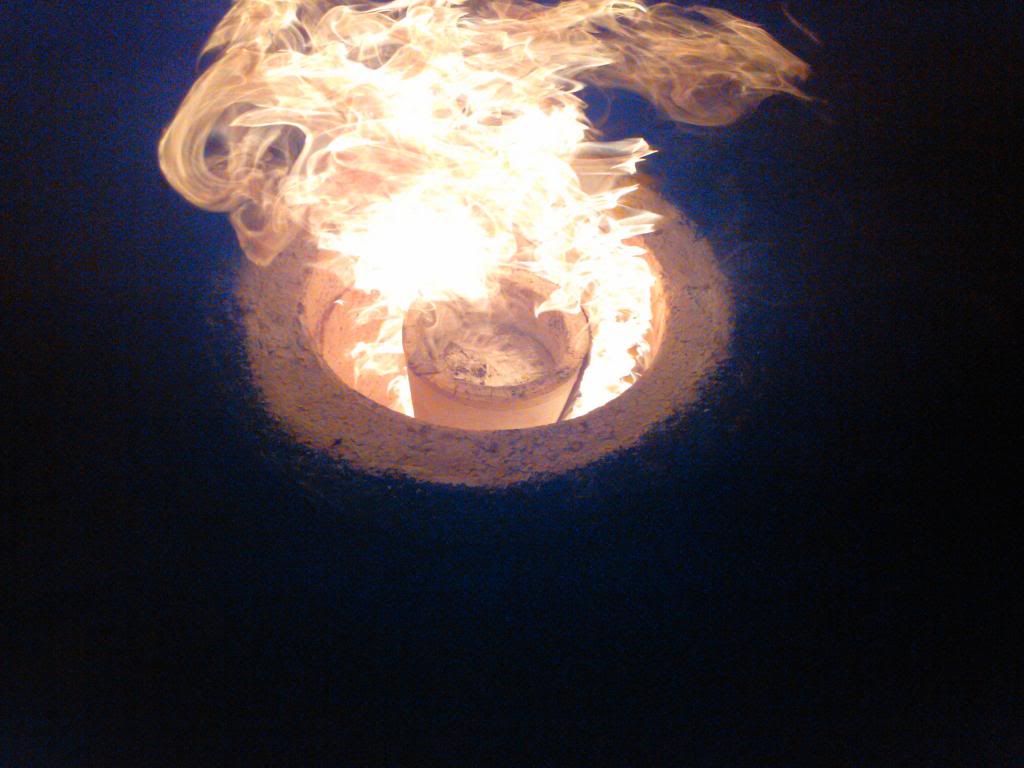
Melt some old lawnmower engines:
A little work on the drill press:
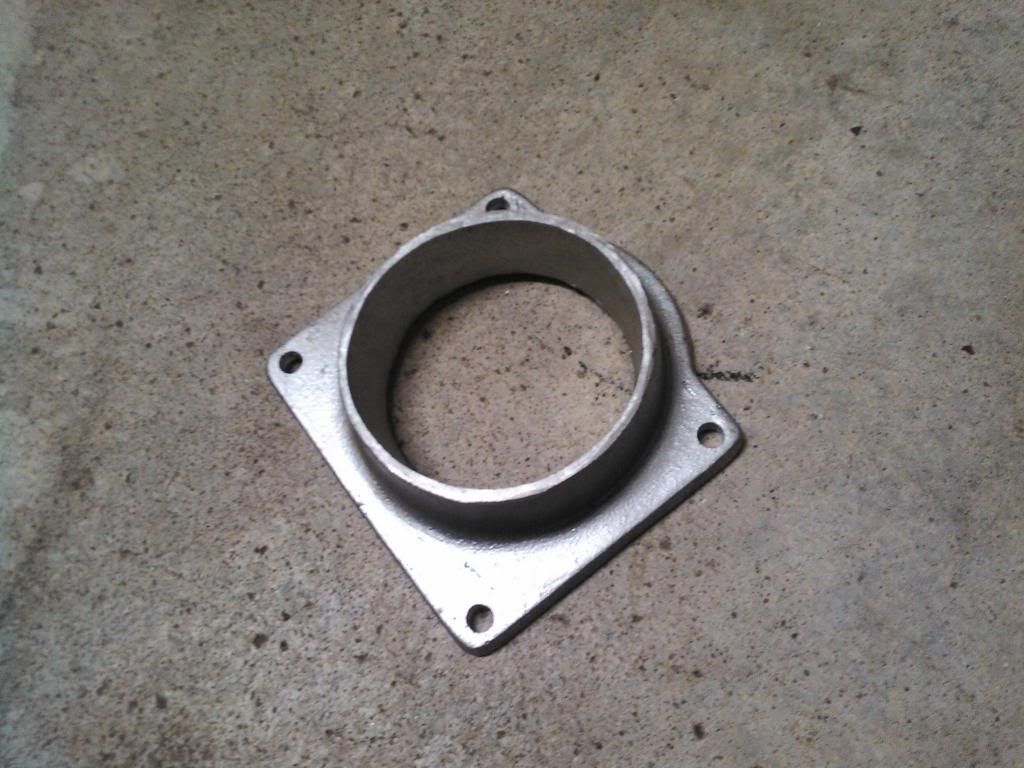
BAM!!! instant badassery (and by instant, I mean waaaay more costly in man hours than just buying a generic one off eBay ![]() ):
):
RossD wrote: In reply to Woody: Are you going to trim around the deck some how? Or just stain the wood? The plastic boards look like a pretty close color match to your concrete patio.
Yes, it's going to get trimmed out with the 3/8" thick wood grained white plastic stuff.
RossD wrote: I like that. 12 volts you say? We've got a cabin with solar panels and whatnot running on 12 volts....
Yeah, 12 volts. A 16' strip of 300 LED was $5.56 from ebay, free shipping. If you want a link IM me or post here.
In reply to 4cylinderfury: That may have cost you a lot in hours, the making your own part like that puts some serious credit on your Man Card. You could go out and buy The Notebook on DVD and cry while listening to Kelly Clarkson and you'd get a pass.
DrBoost wrote: In reply to 4cylinderfury: That may have cost you a lot in hours, the making your own part like that puts some serious credit on your Man Card. You could go out and buy The Notebook on DVD and cry while listening to Kelly Clarkson and you'd get a pass.
doh...I didnt think Id run into anyone I knew when I went to blockbuster the other day. How did you know that was me? Id had a rough day, my boss had been yelling at me, and I thought my jeans made my ass look fat...
lol, but thanks. Thats my Infiniti DD with a SR20DE. Next, Im going to cast a 2 piece intake tube with the bosses for vacuum etc in place (smooth inside, the stock tube is atrocious). And after that is a turbo MAF adapter where the stock sensor equipment gets dropped into a cast aluminum tube that simply hose clamps in the intake tract - currently, a lot of turbo SR guys are using plastic MAF units from Z32 300zx's which get brittle and crack. Then after that, battery tie downs...and then, and then....I have lots of ideas!
In reply to DrBoost:
I think I found* the same stuff on Amazon for $2.99 and another $3.99 to ship it from China.
*Ninja edit: and purchased!
In reply to 4cylndrfury:
What kind of shrinkage did you get from the mold to the finished product?
In reply to RossD:
Aluminum is typically in the 1.8% range. Different alloys can display different shrink rates, and if you have varying thicknesses in a piece, that can mean dimensionally, shrink may not be equal across the item. Luckily, this thing is about 1/4" in most places, so no real worries.
You'll need to log in to post.