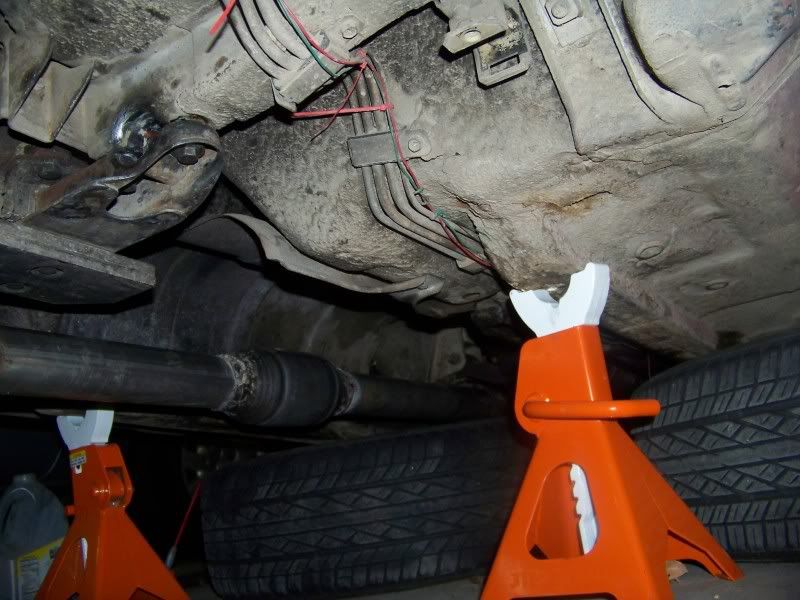
All right this is a carry over from another website so bare with me while I transfer stuff over. I am doing this because I am trying to make more useful posts that show how to take things apart and my experiences with them. This has been a very long build and there are many pictures to accompany it, the main thing to remember is this car is constantly changing and at the time I decided to start this build thread I am in the process of adding a lightened flywheel and a new front differential mount. I hope you all like pictures, they will be being added over the next few days.
Alright the car I have is a 1975 Datsun 280z that I picked up in 2002 when I was still in highschool. I have had the car for a long time. While I don't have a ton of pictures from the first 5 or 7 years I have been trying to do a good catalogue of the work I have been doing.
First post: From January 2012
I got this car when I was 17 it was butterscotch brown and in decent shape. I ran the car for about 6 months until I saved up enough money for paint. After that I drove her for a while then swapped in a 5 speed from a 1979 280zx parts car. Then trouble happened I decided to swap in a turbo . It has been a learning experience. I swapped it in and got her running, but not running well. I then decided I wanted MegaSquirt. This has been one of my favorite things I have ever done, that being said it definitely hasn't been all roses.
I got MS and all the parts over the span of about 3 years for gifts/ extra money when I had it. I finally put it all together and got her running (boy that's making a long story short), but she wouldn't run well for very long. It turns out a car left sitting for about 5 years without moving with gas in the tank might get some crap in the tank when the gas goes bad. So I got her running but the fuel pump would clog off and starve my engine for fuel. So I pulled the tank had it coated, left her sitting for another 6 months still has some crap in the tank (I put in a fuel filter and am hoping to run a few tanks through to see if this clears it up).
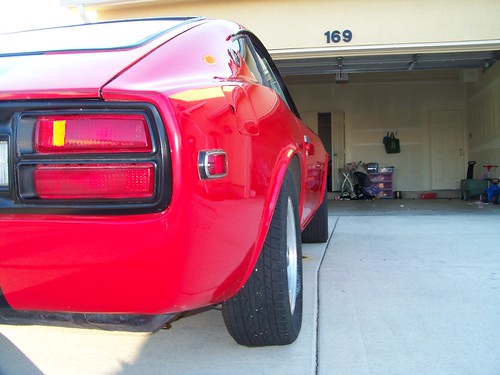
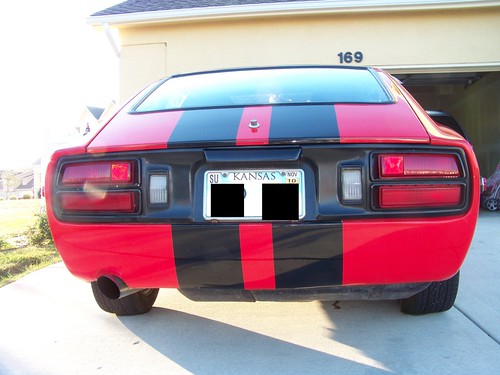
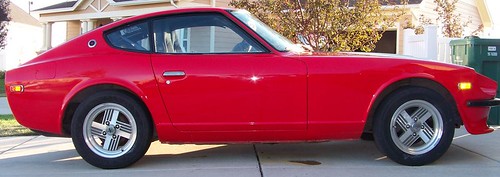
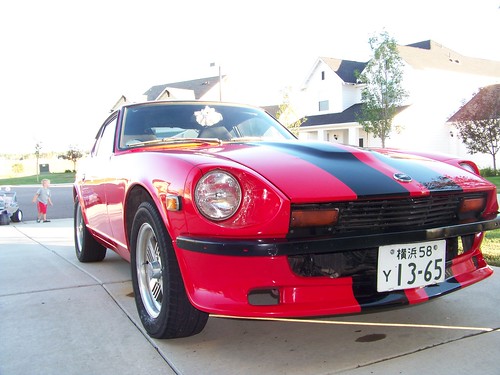
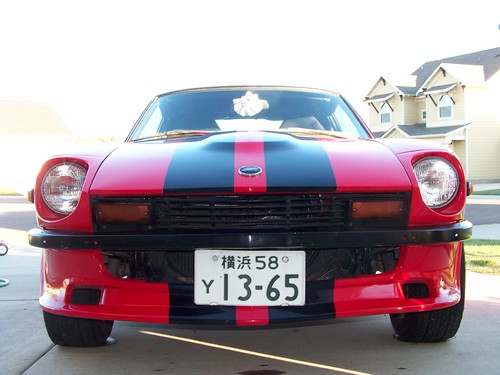
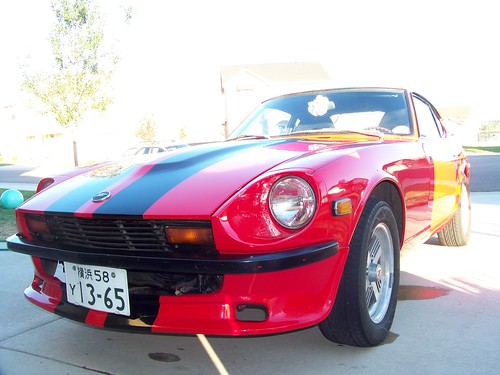
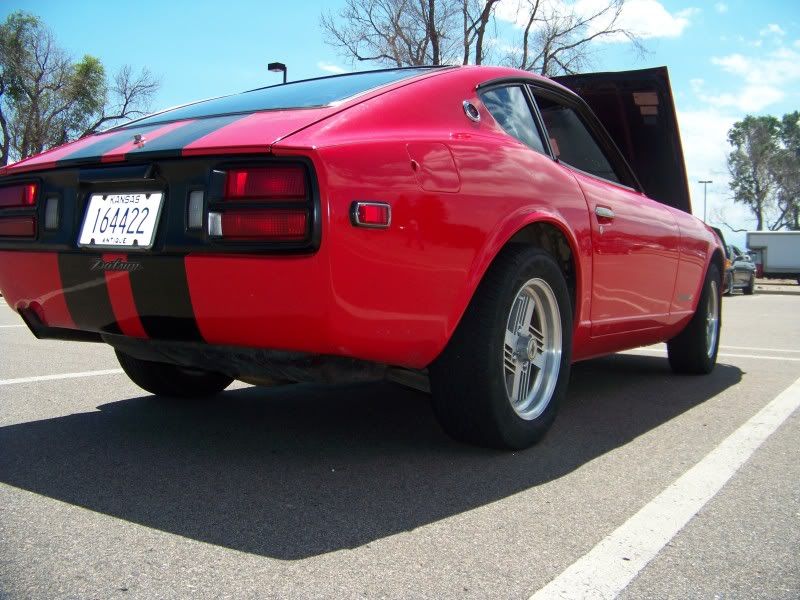
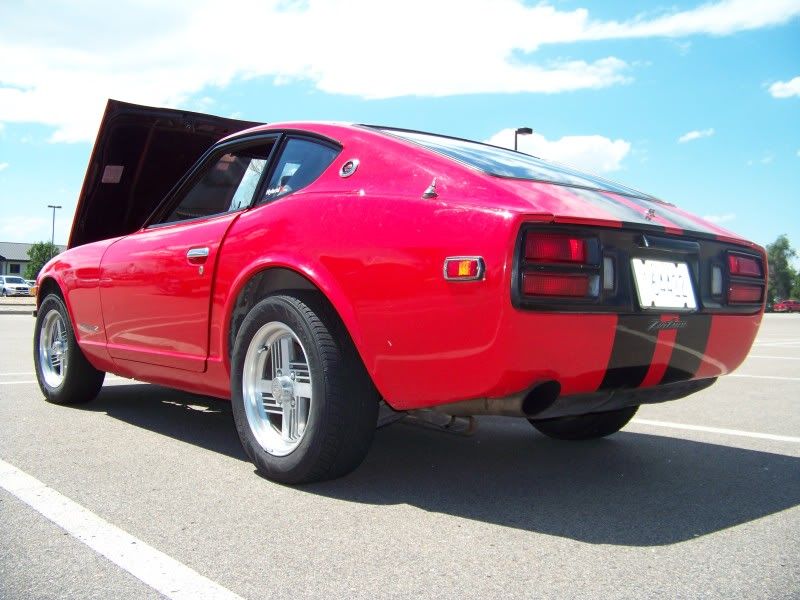
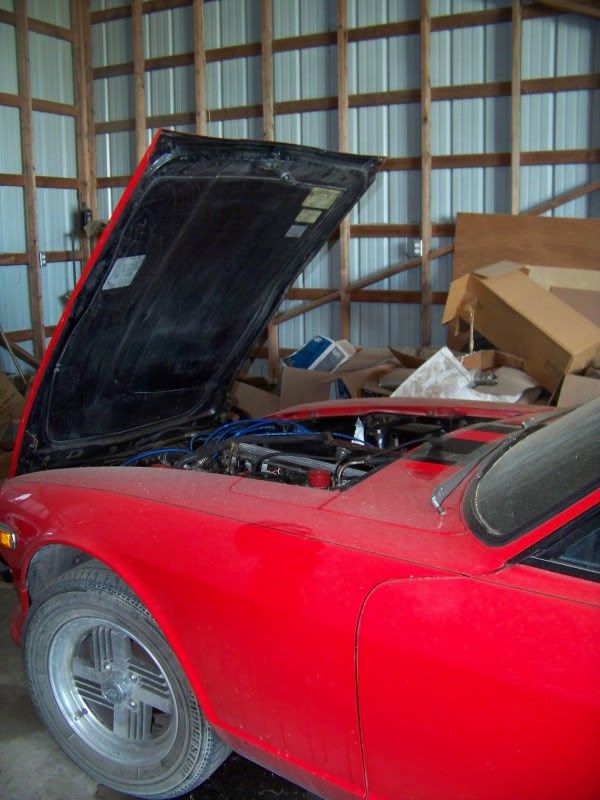
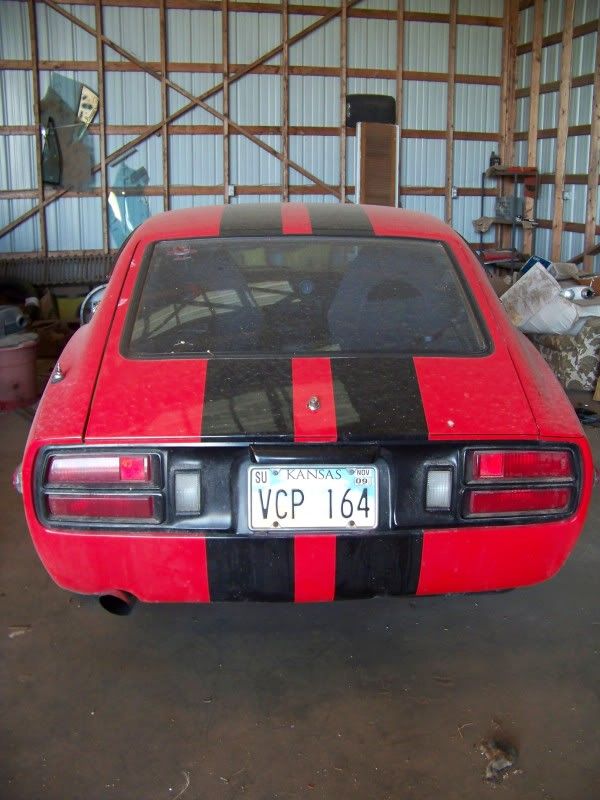
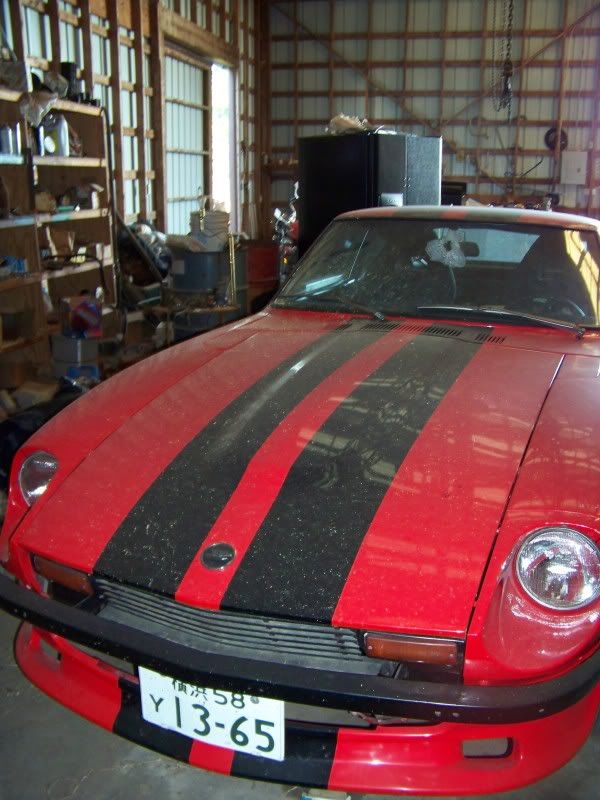
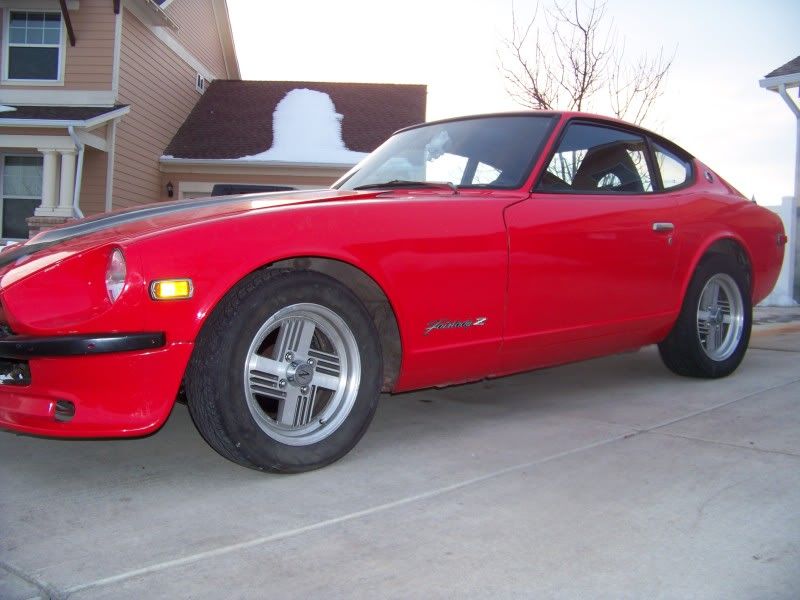
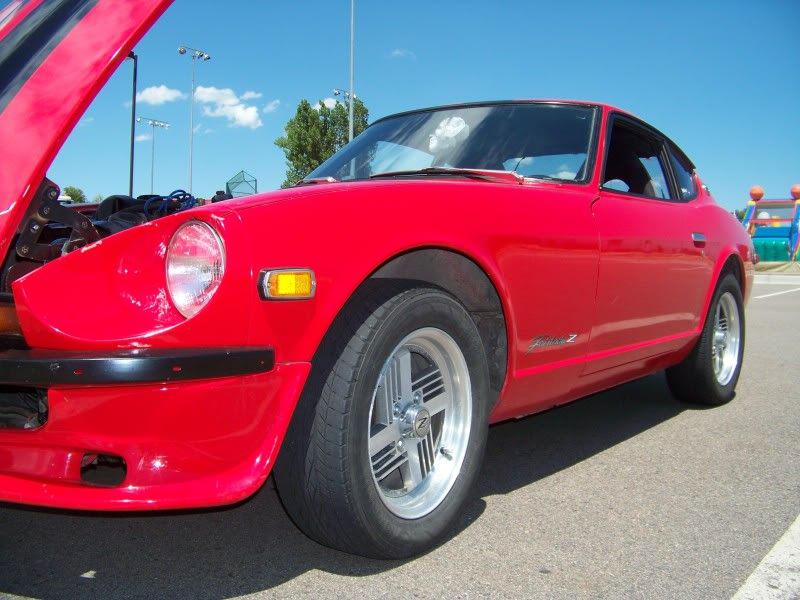
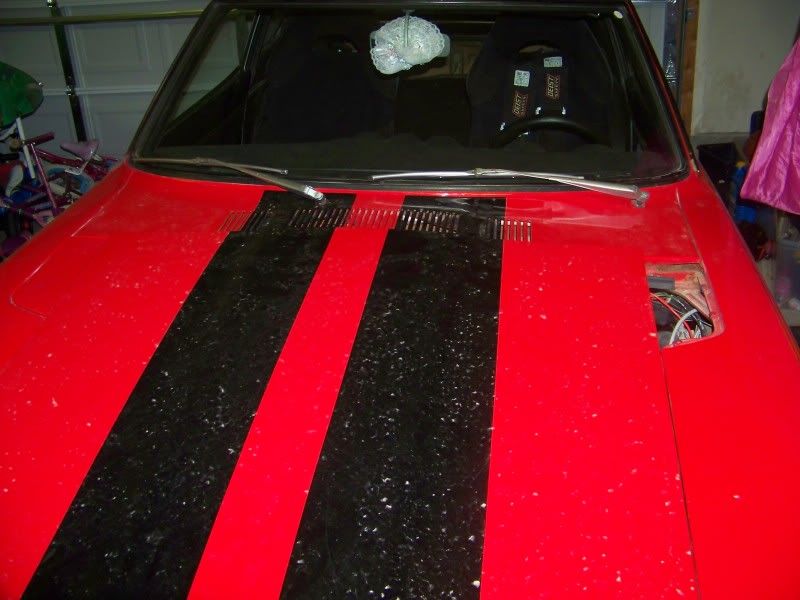
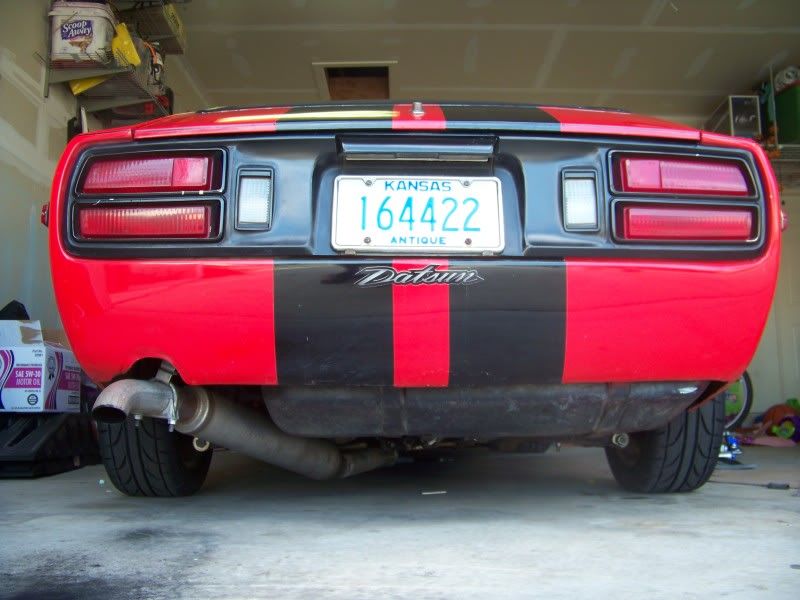
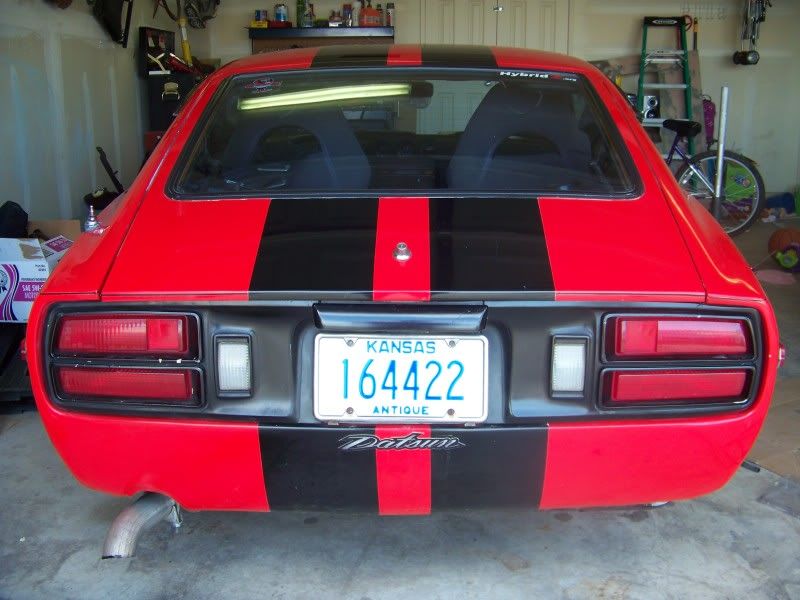
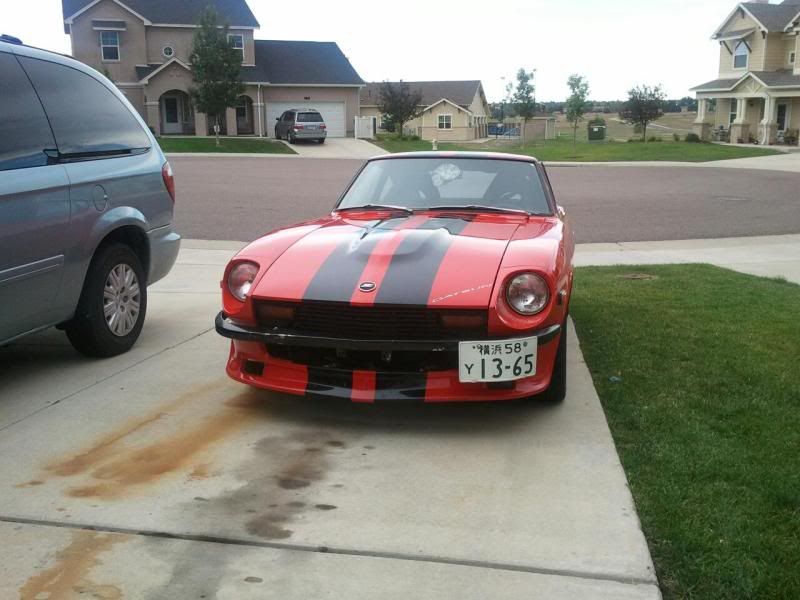
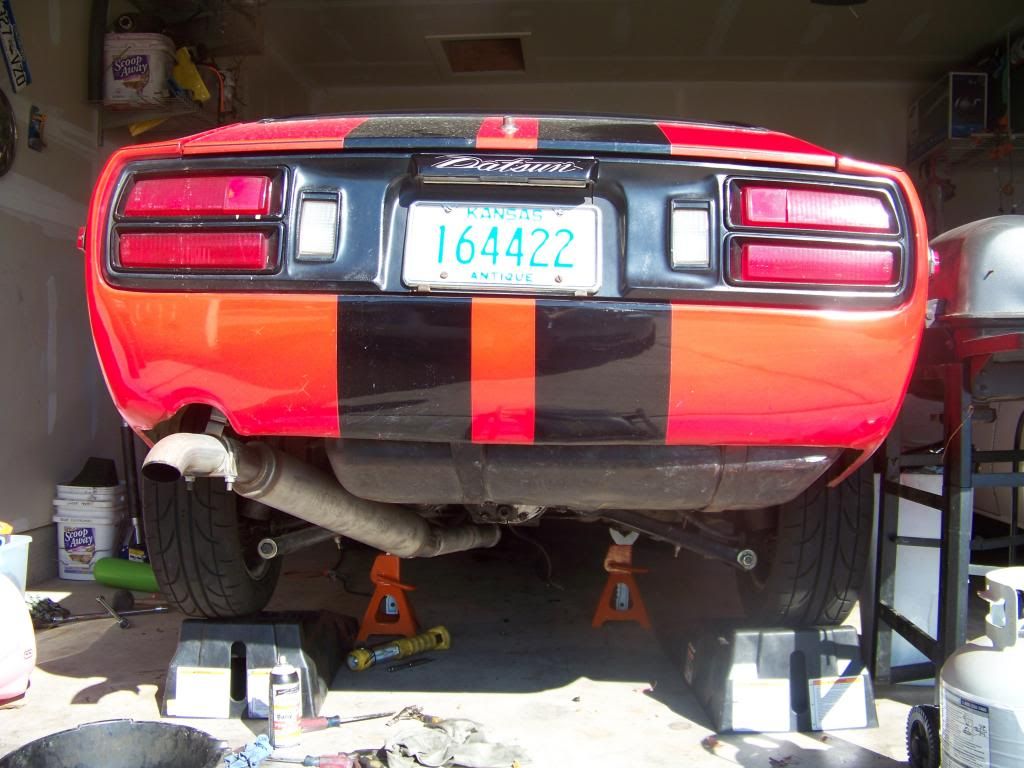
The Car: 1975 280z red w/ 2 black racing stripes
The Body: A little bit of rust here and there but nothing bad, a few dings and dents the paint job is now 9 years old. MSA front spoiler, Shaved rear bumper, 240z front bumper, Deleted lower side and rear emblems, All chrome trim was masked off and painted black I think it looks really good.
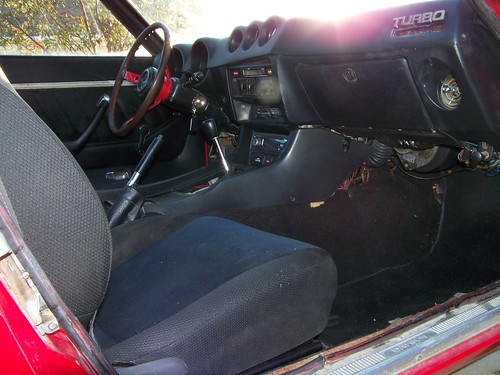
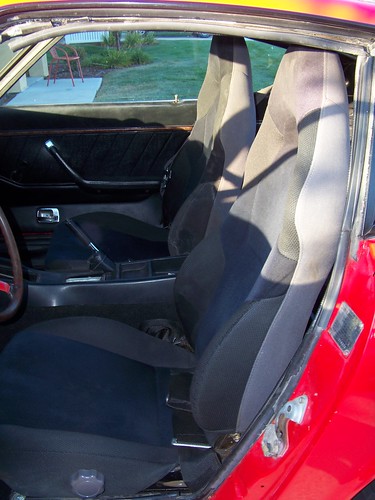
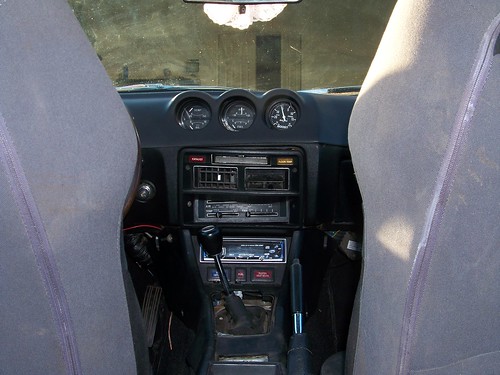
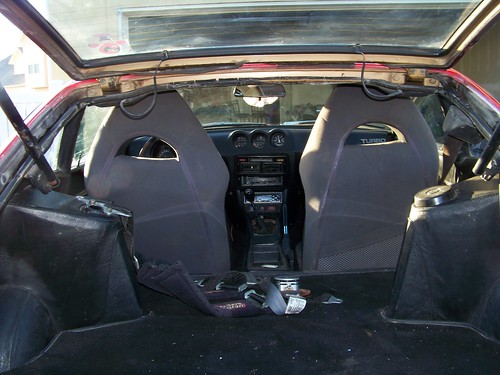
The Interior: 2001 Toyota Celica cloth seats: fabricated using a mixture of the datsun and celica mounting hardware, DOT Legal Schroth 4 Point Harnesses for both Driver and Passenger, MSA Dash Cap, Generic Boost gauge, The interior was actually in pretty good shape and I have tried to leave it alone mainly.
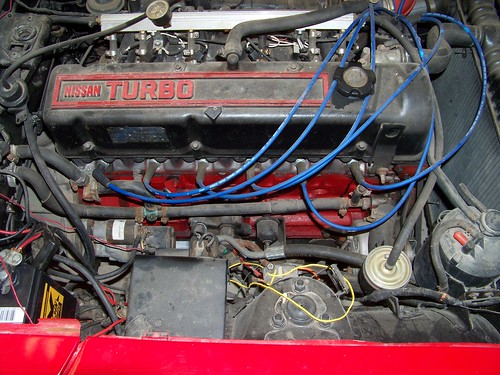
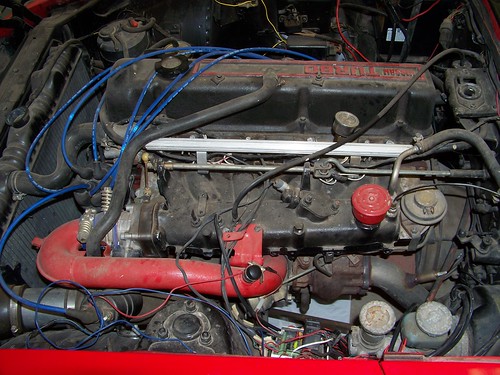
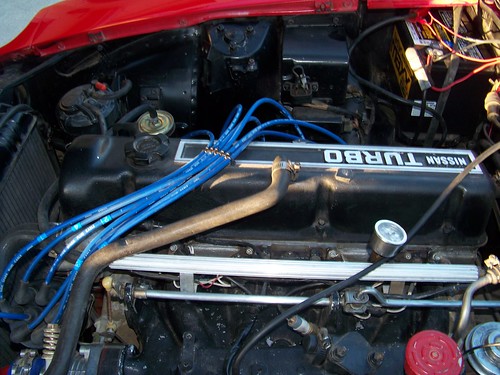
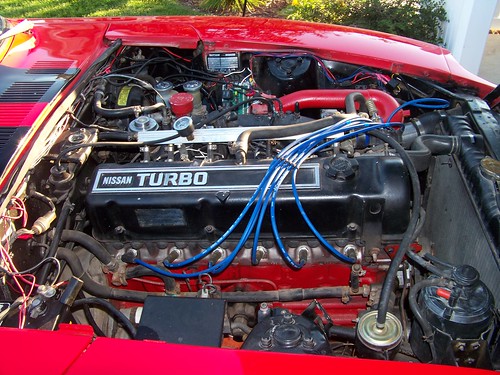
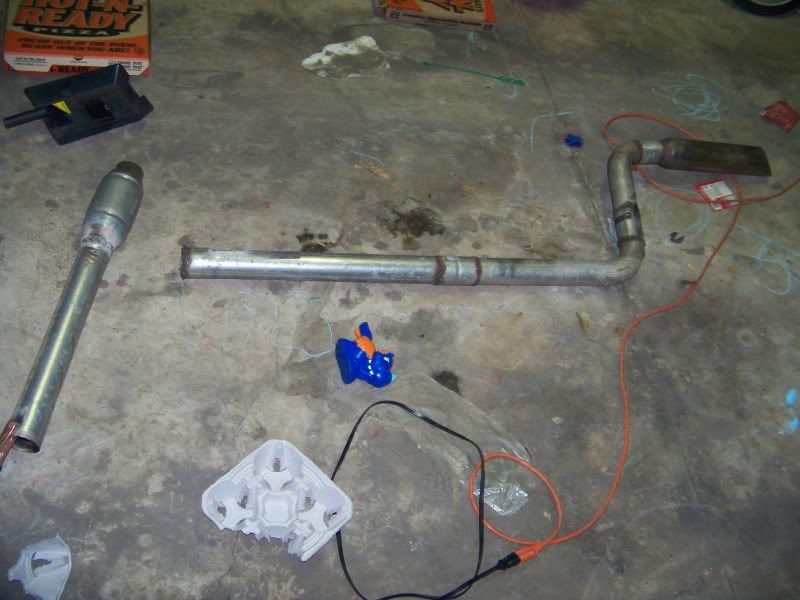
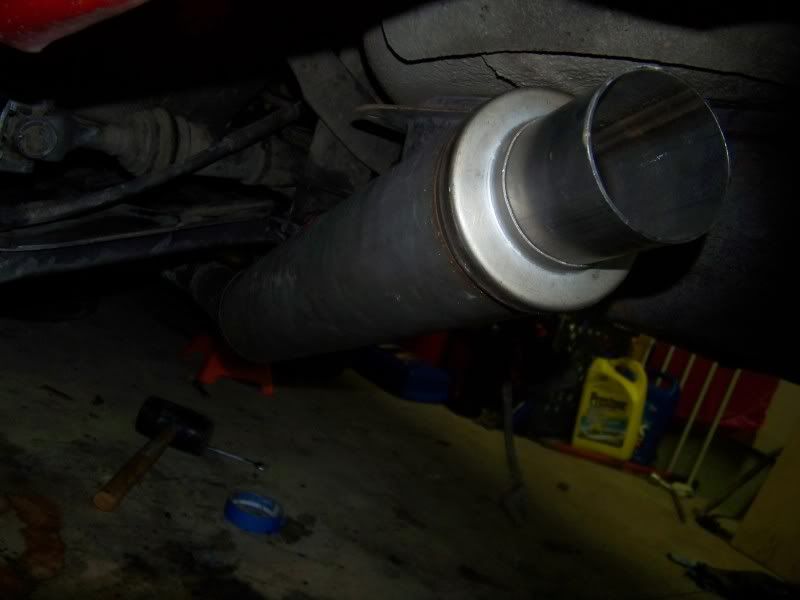
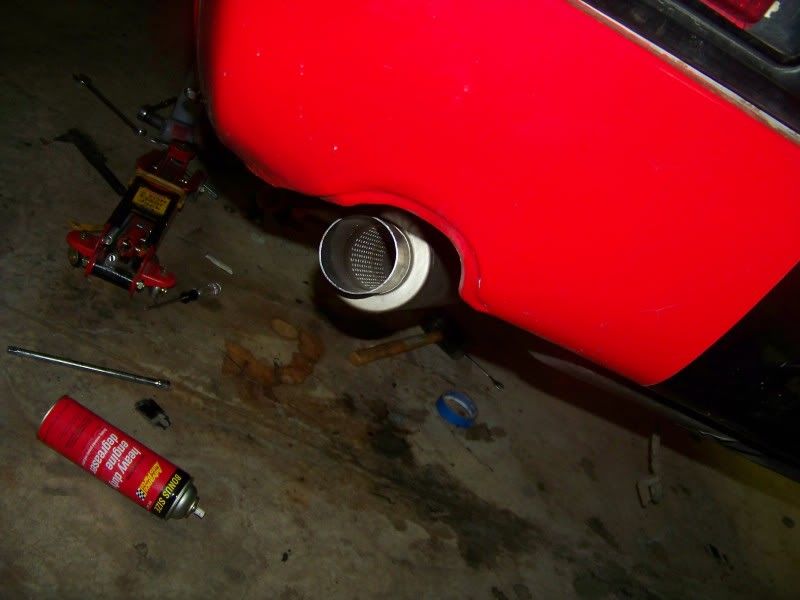
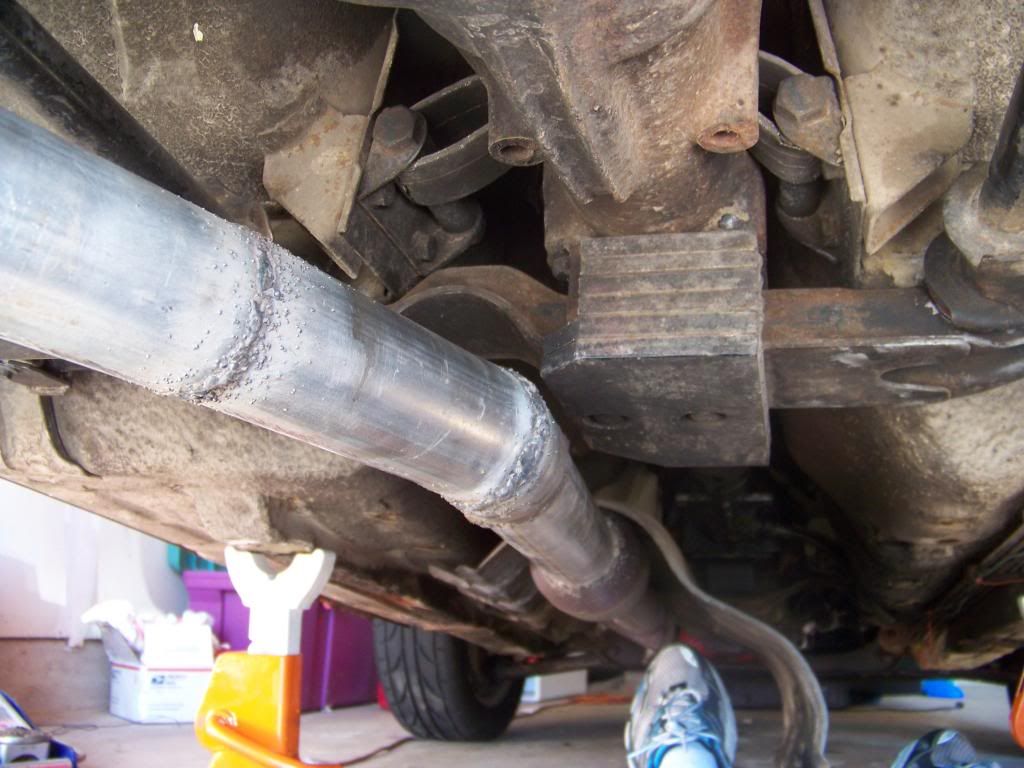
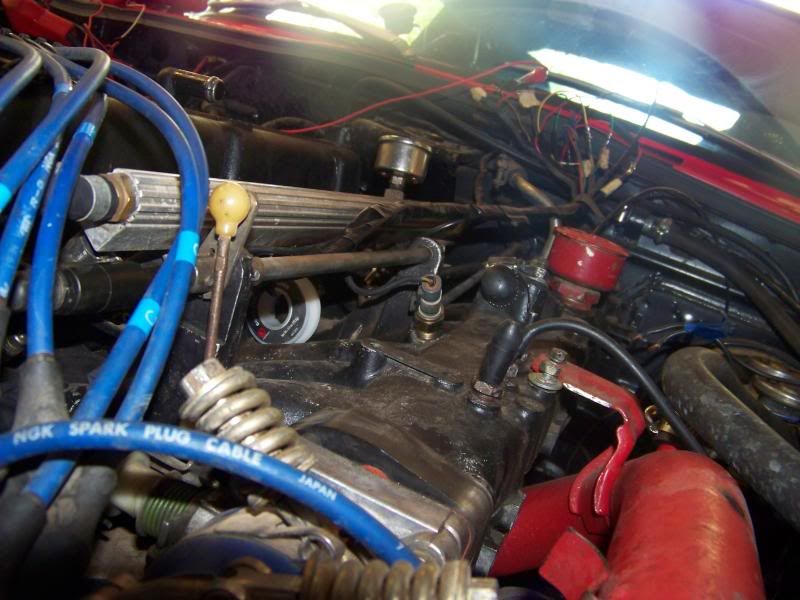
The Engine/Drivetrain: L28et from a 1983 280zx, Pallnet fuel rail, 60MM TB, Ported Intake, 2.5" MSA DP, full 2.5 inch mandrel bent exhaust, catalytic converter, and muffler it isn't the best exhaust but it does the job I need it to. MS1 V3.0 board running MSNS. Champion Aluminum radiator- the 280zx radiator that replaced the stock one wasn't up to snuff at the track, the original got ruined doing some fun stuff and the fan decided to destroy the radiator Dual 12inch electric fans controlled by Megasquirt, Oil Cooler (Compliments of the turbo auto car know I didn't have to just wanted to), CIA (I know so cool), 5 Speed transmission from a 1979 280zx, Regular turbo clutch,
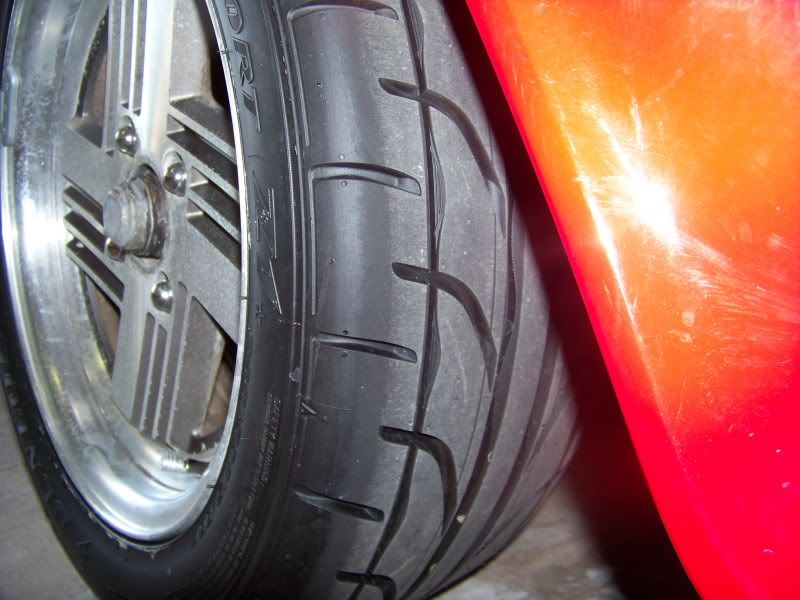
Other Stuff: Swastika rims, SS brake lines.


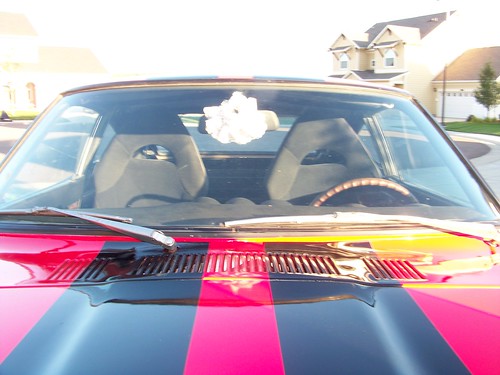

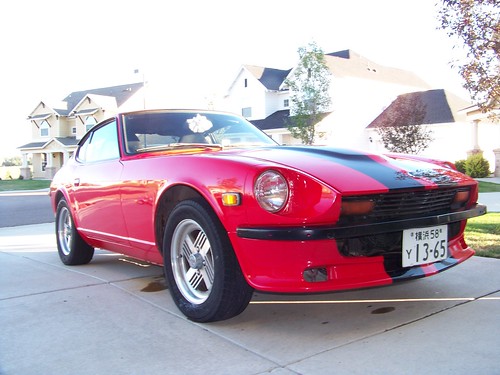
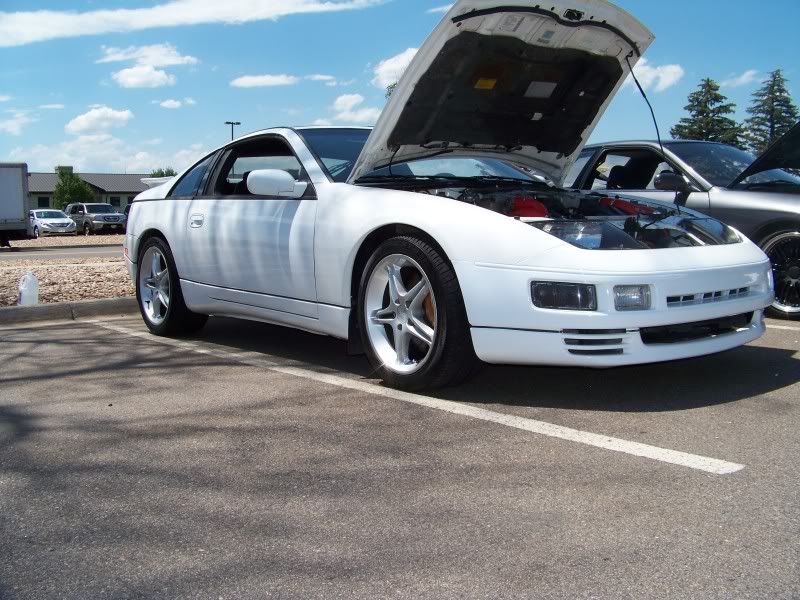
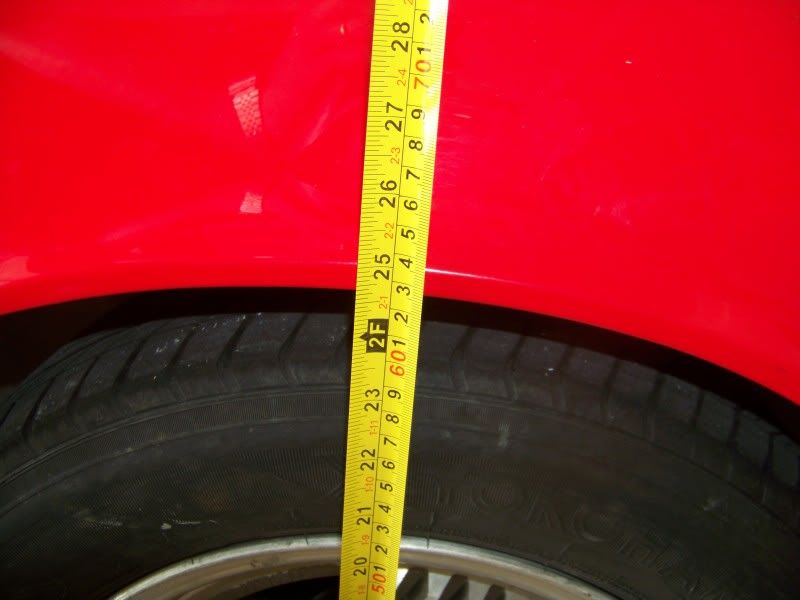
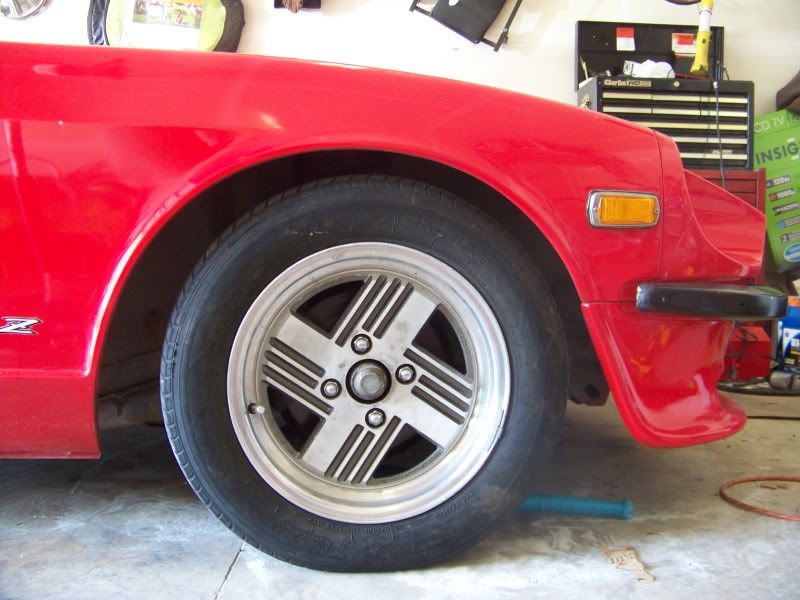
 Notice the Monster Truck stance that will be fixed in the next month or so hopefully just got in my suspension parts
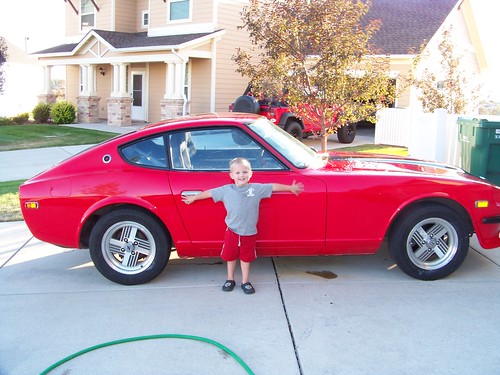
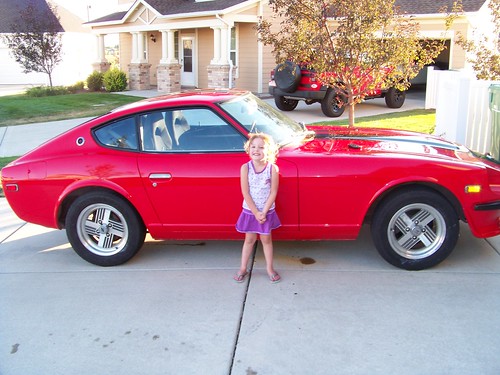
 Two of my three kids with the Z

 [IMG][IMG]http://i1225.photobucket.com/albums/ee390/aaronwarren/1975 Datsun 280Z/100_1108.jpg[/IMG]

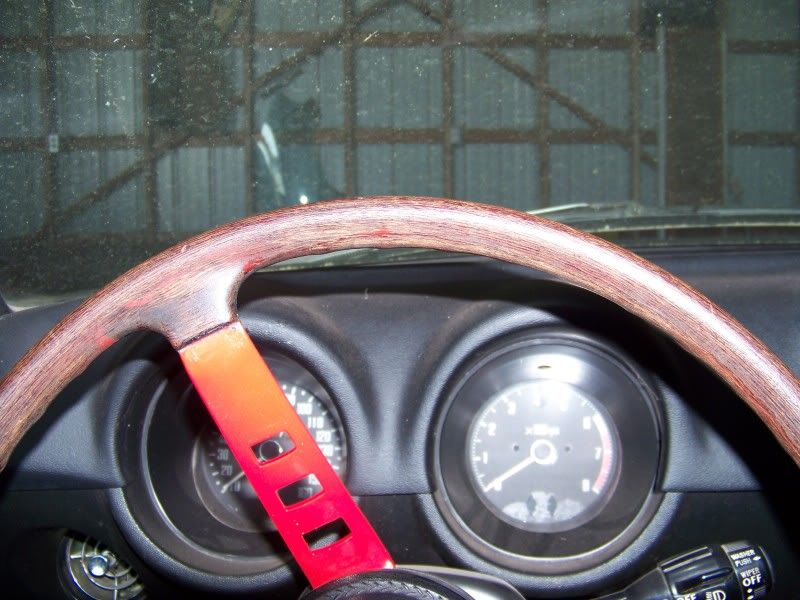


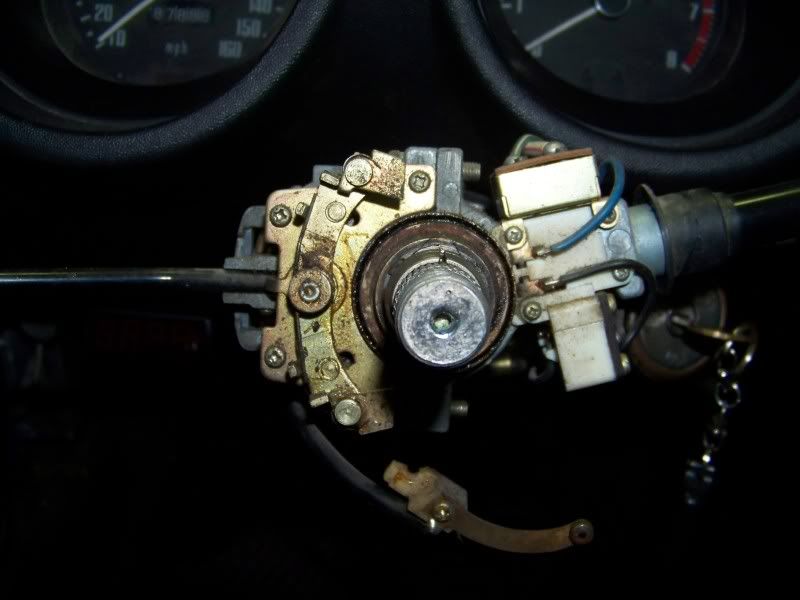
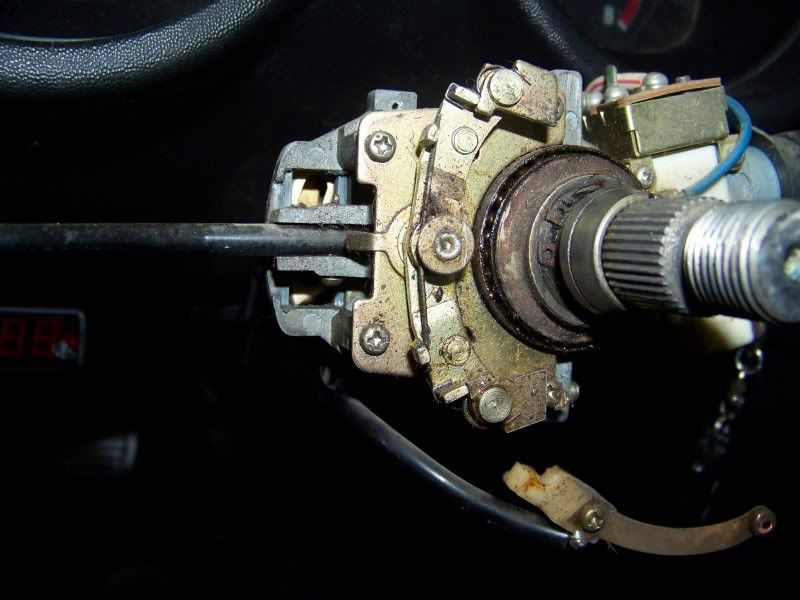
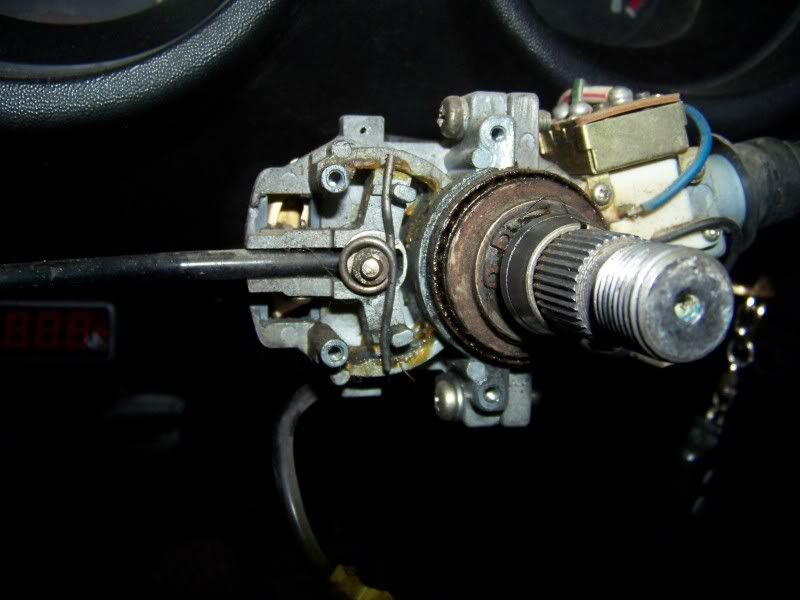
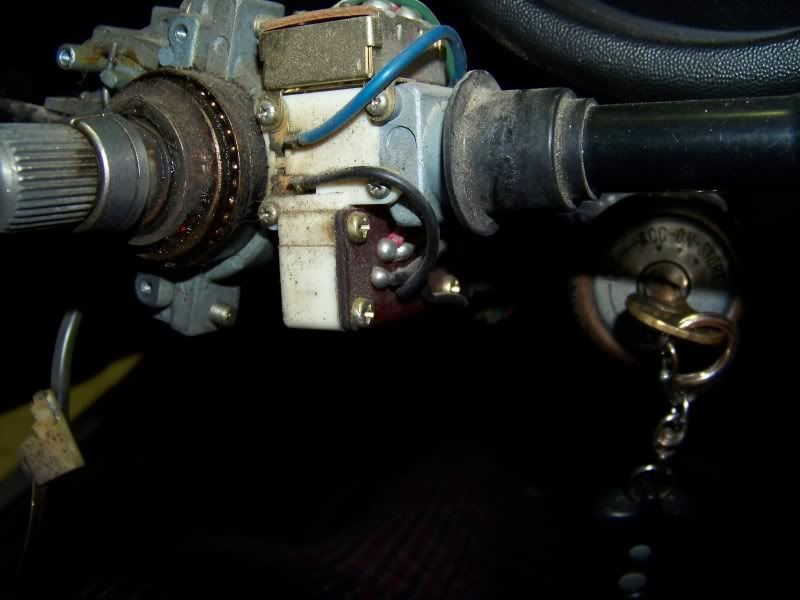
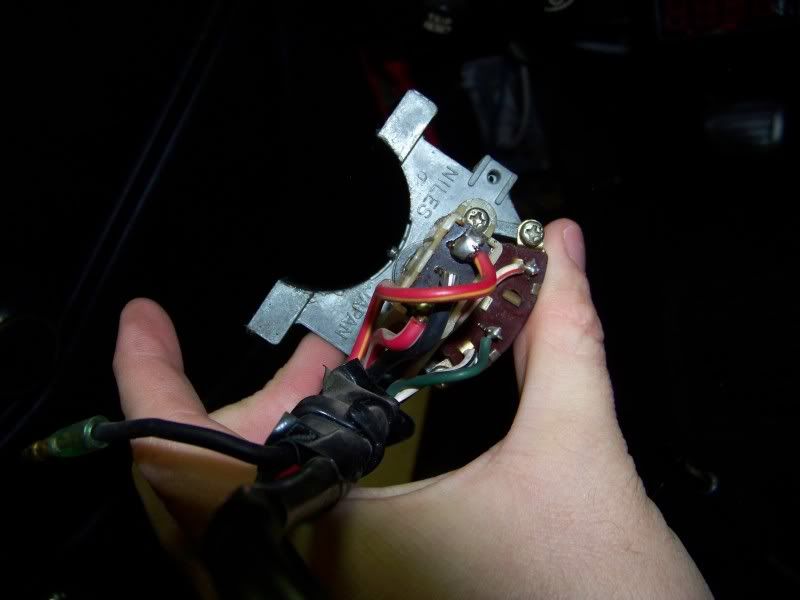

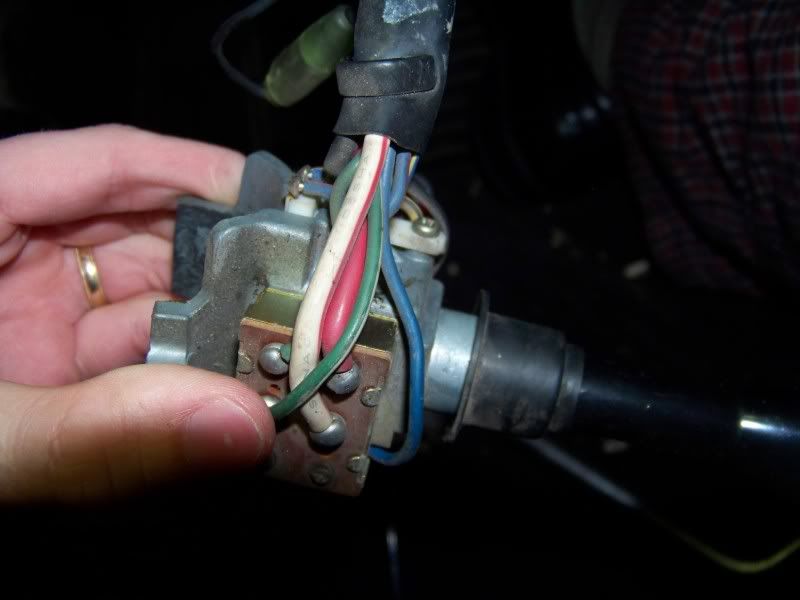
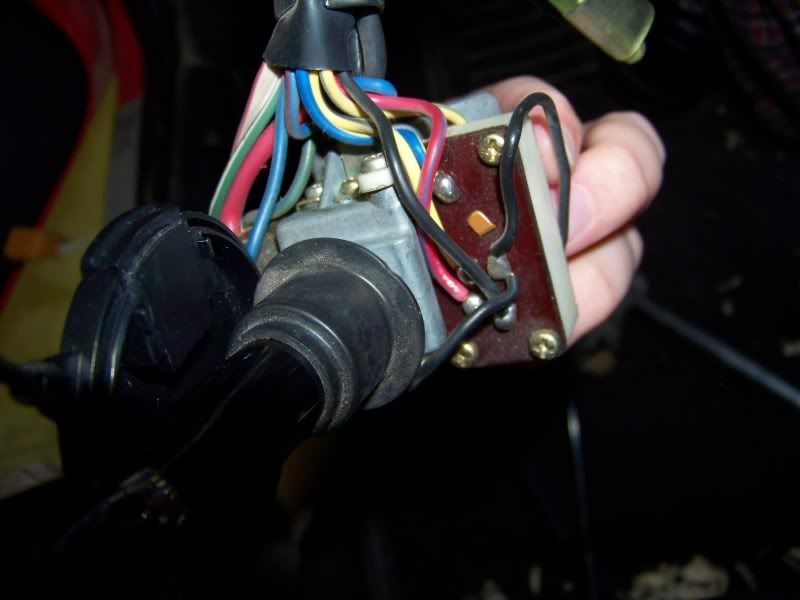
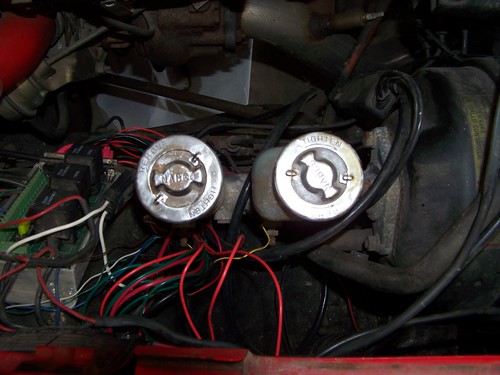
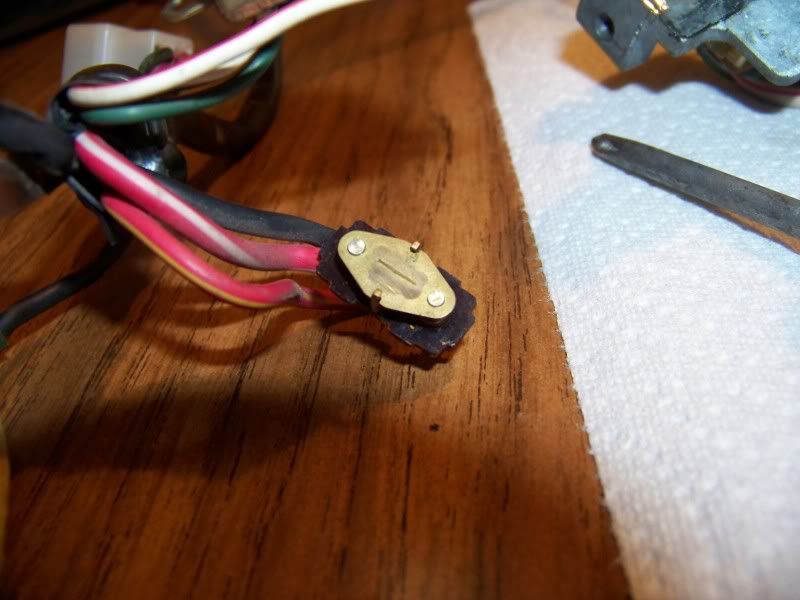
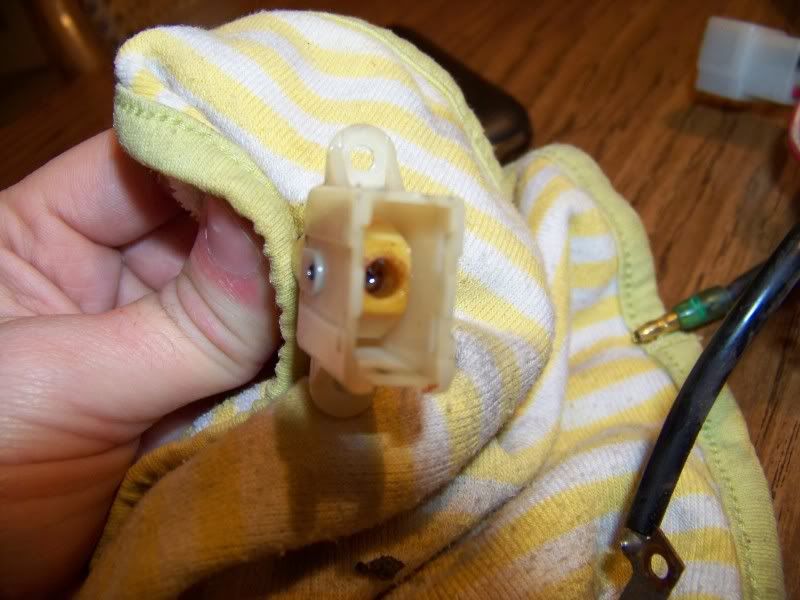
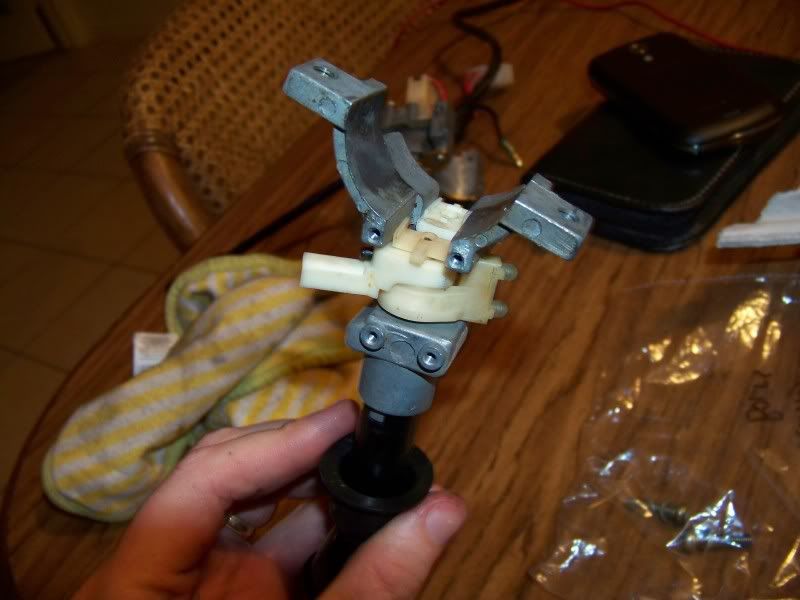
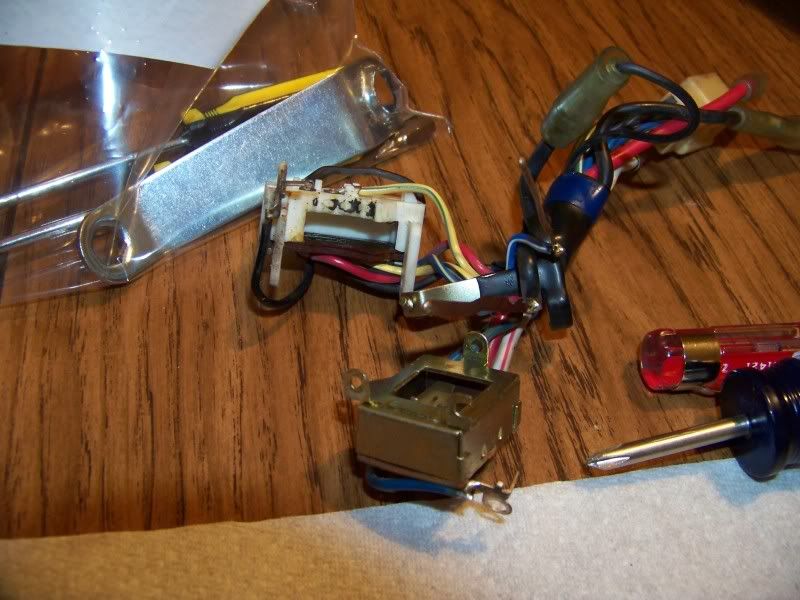
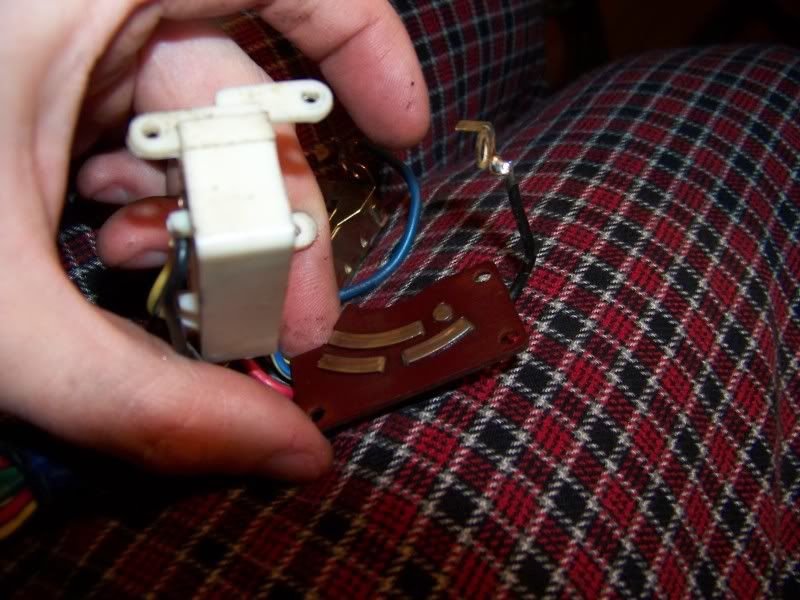
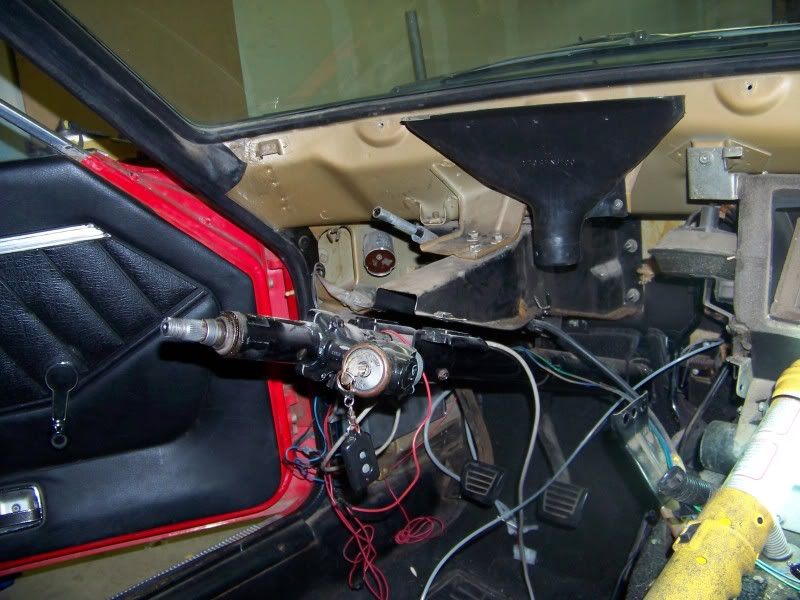
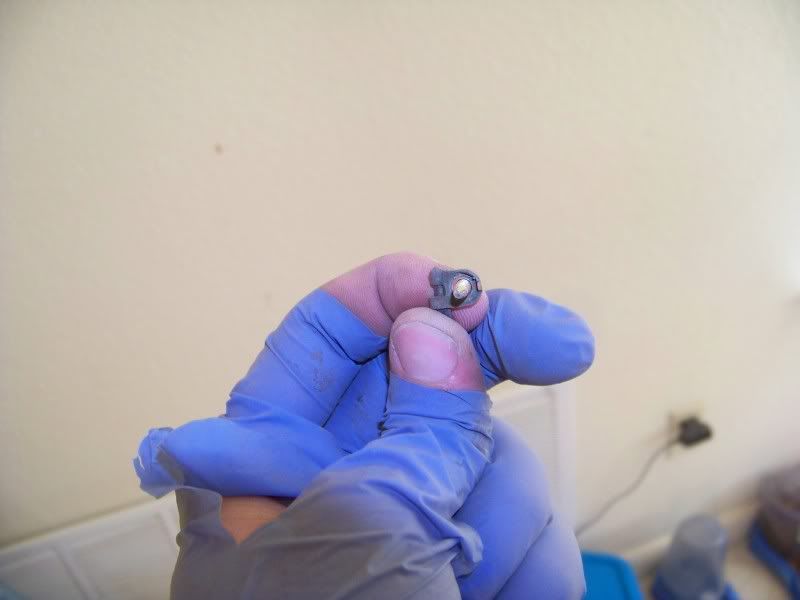
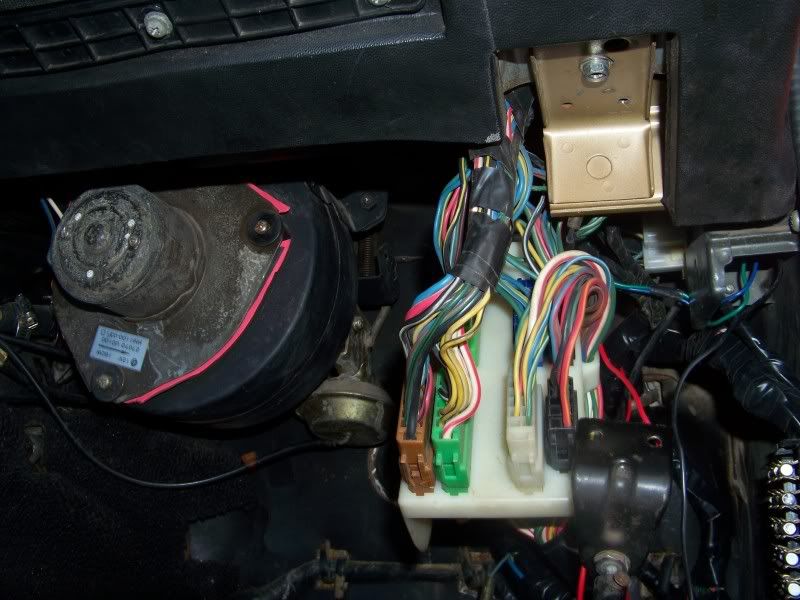
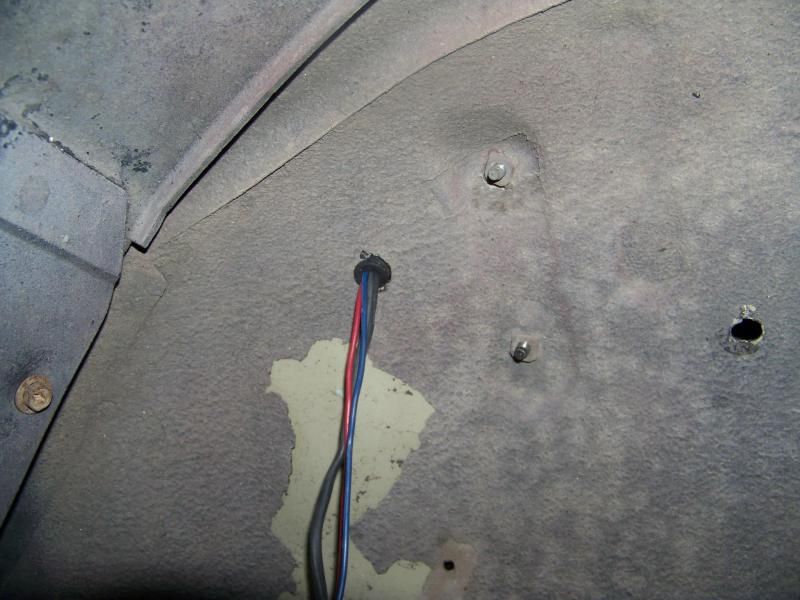
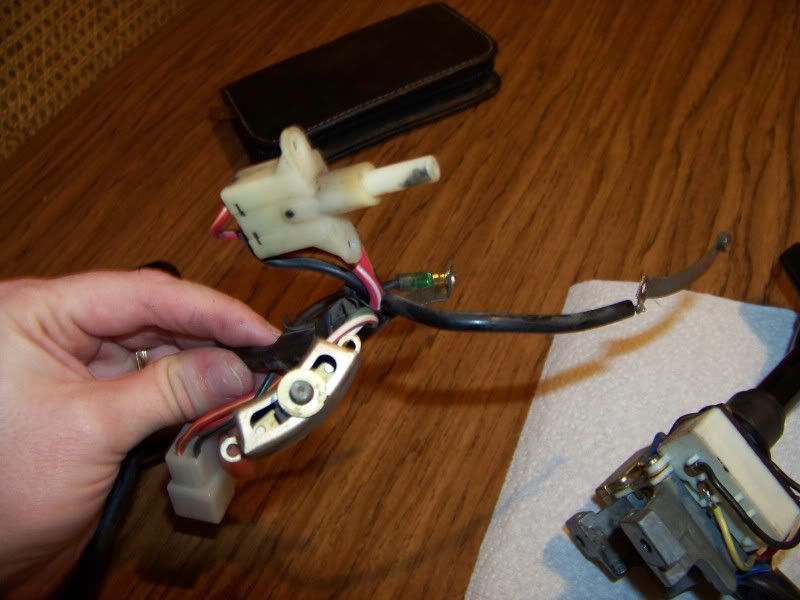 The top of the switch for the brights
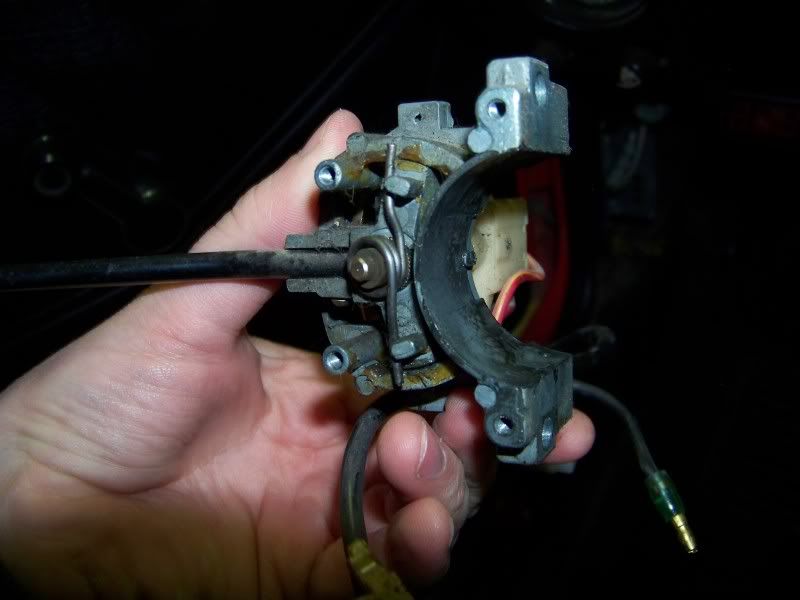
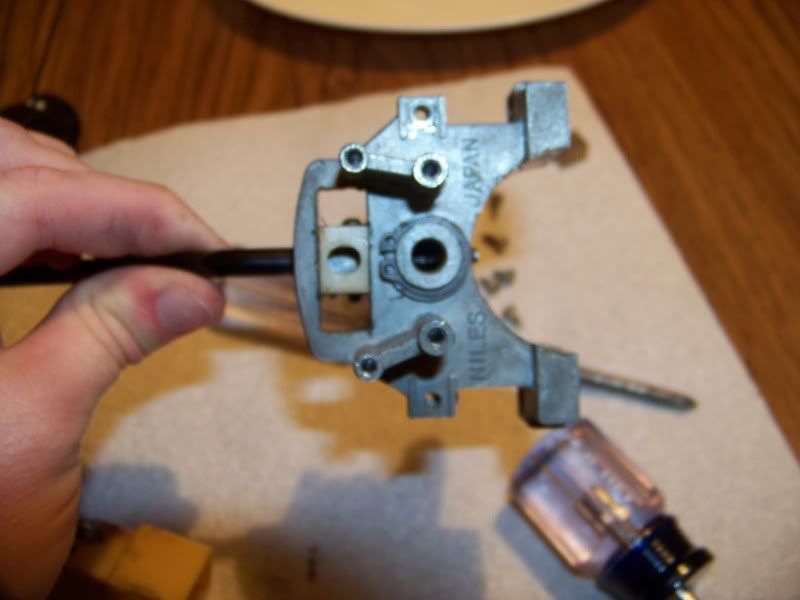
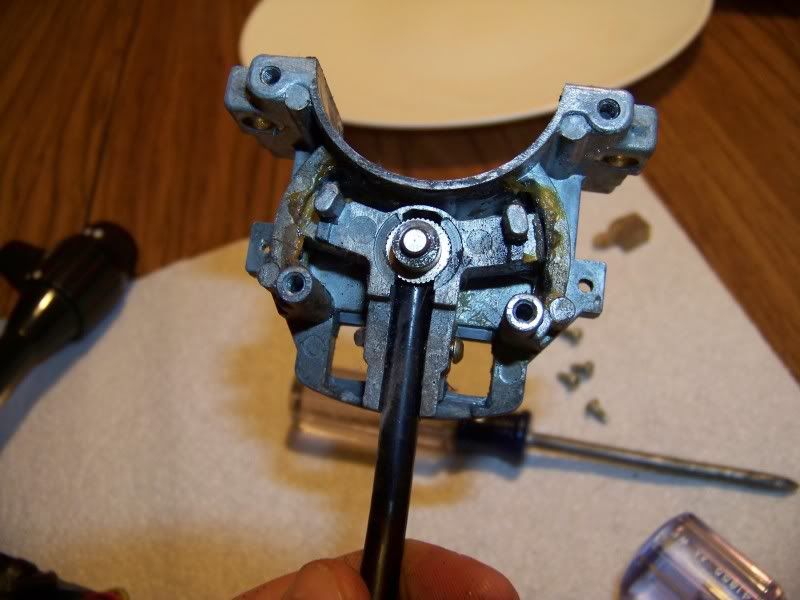
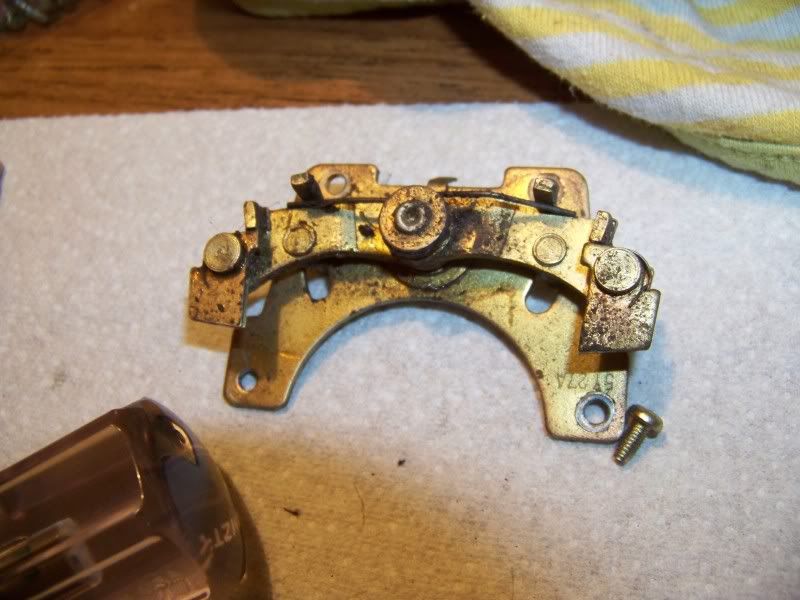
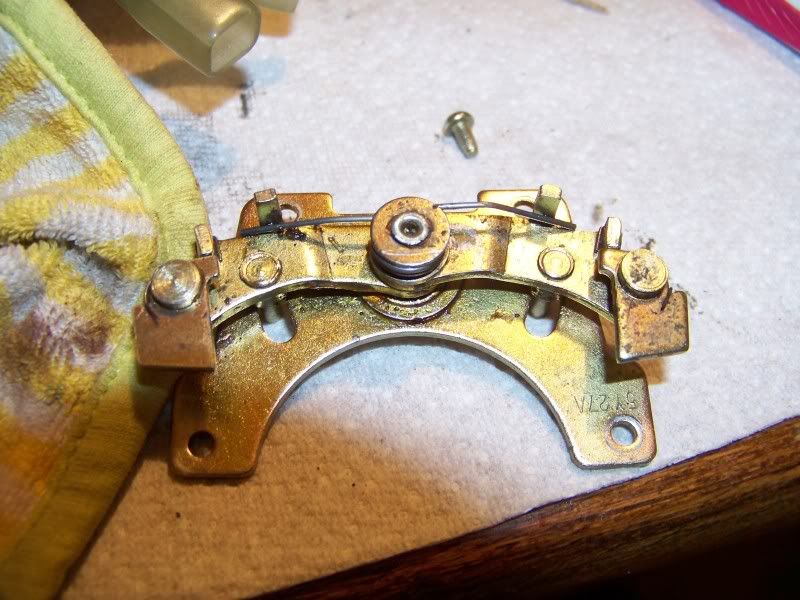
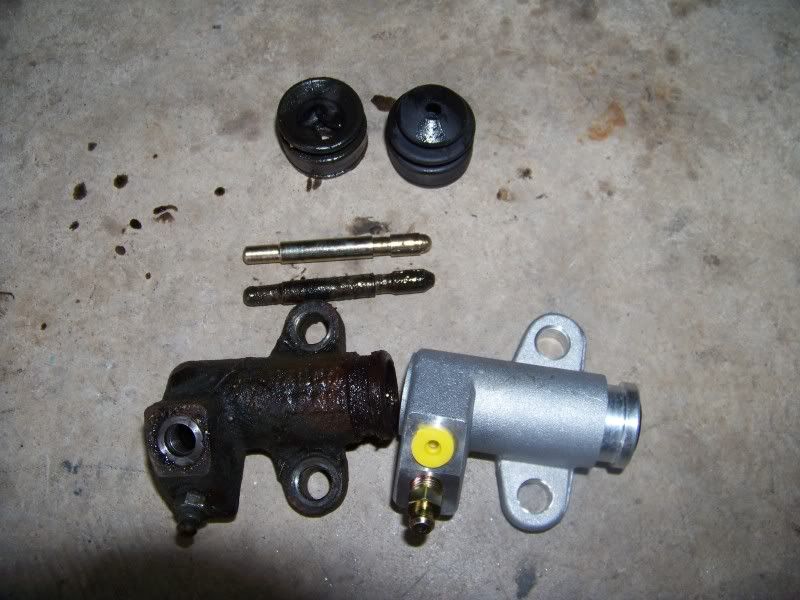
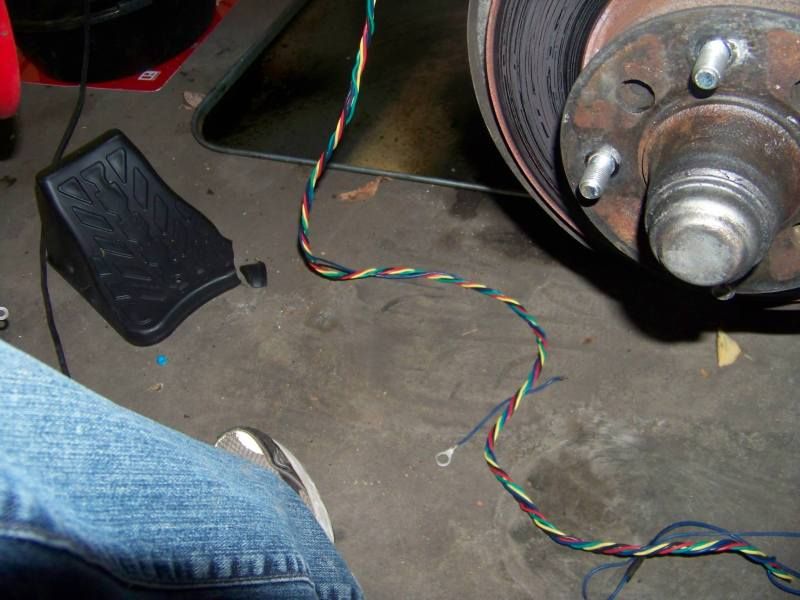
 Turn signal return parts this was very gunked up with old dried up grease and nasty crap.
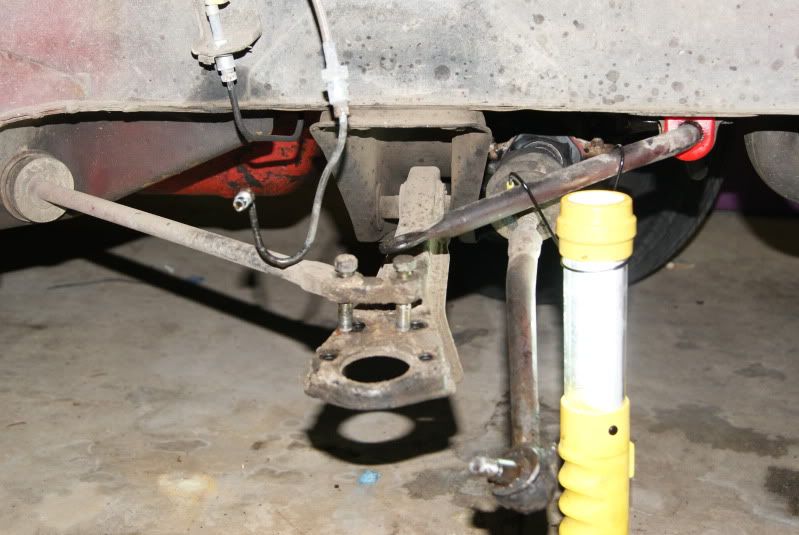
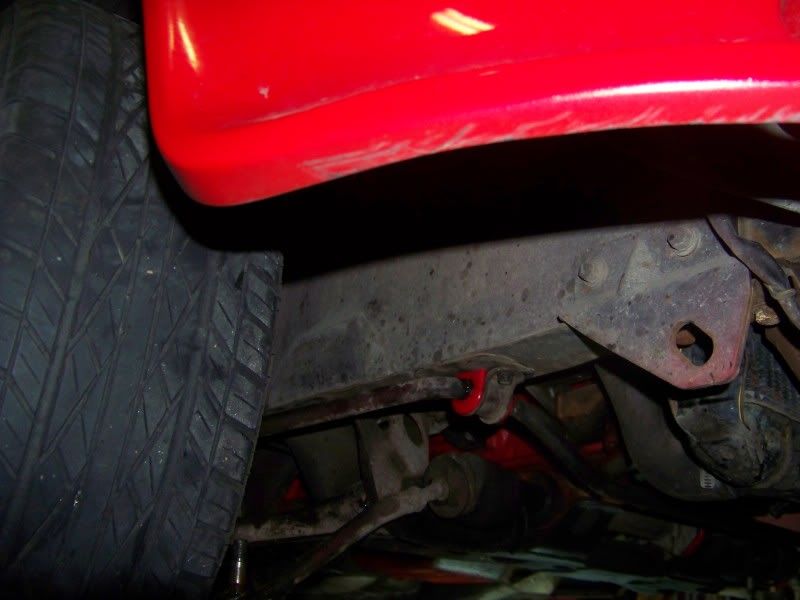
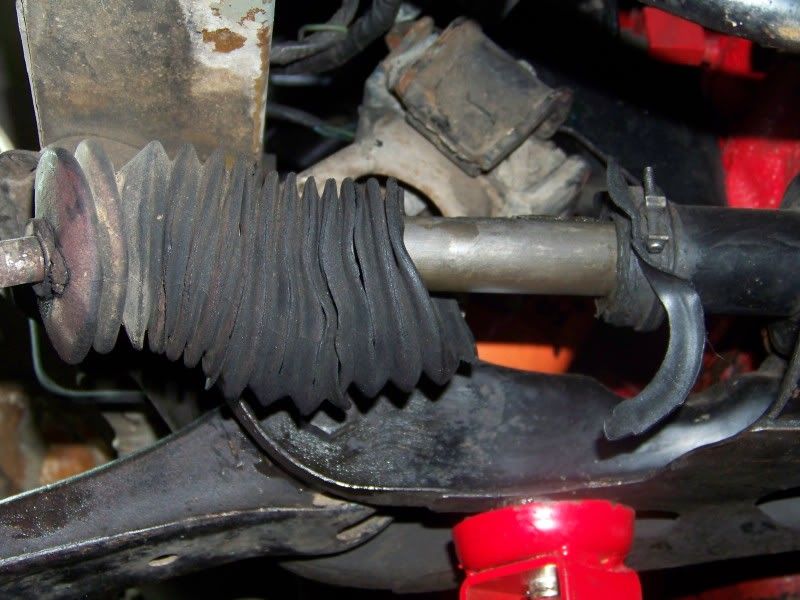
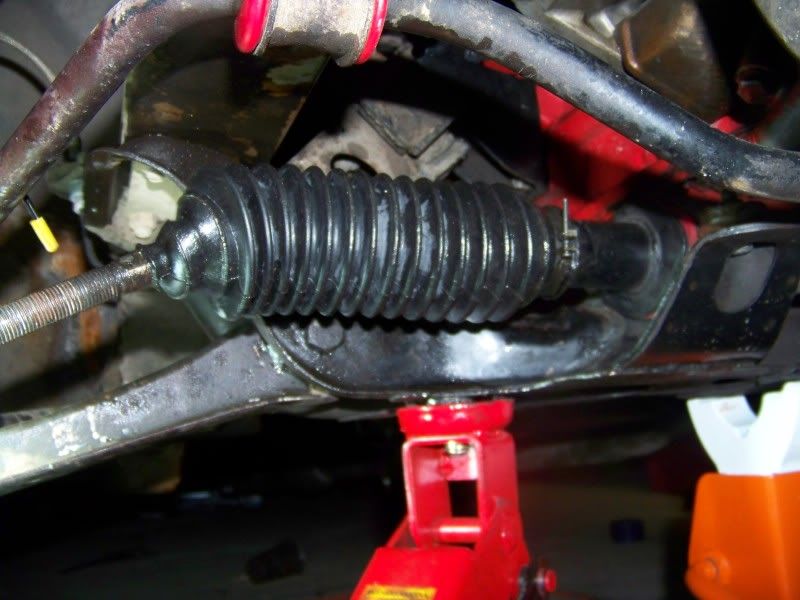
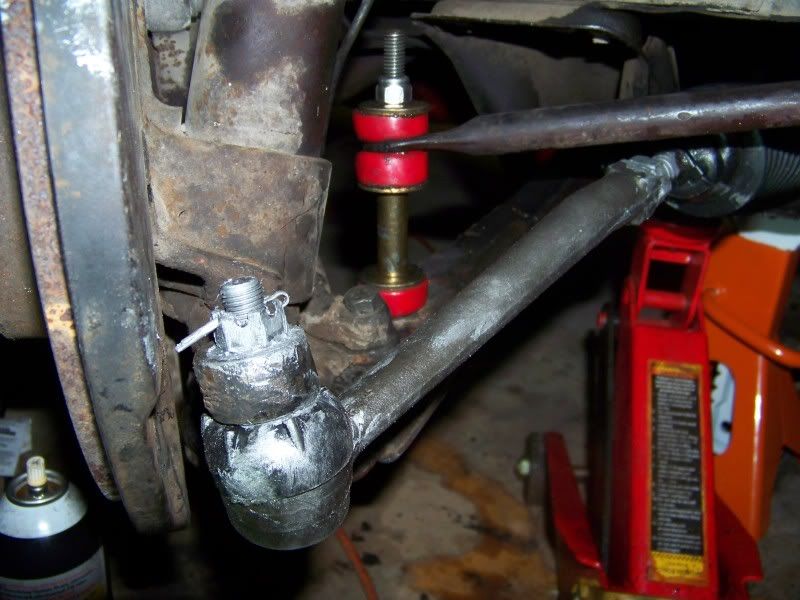
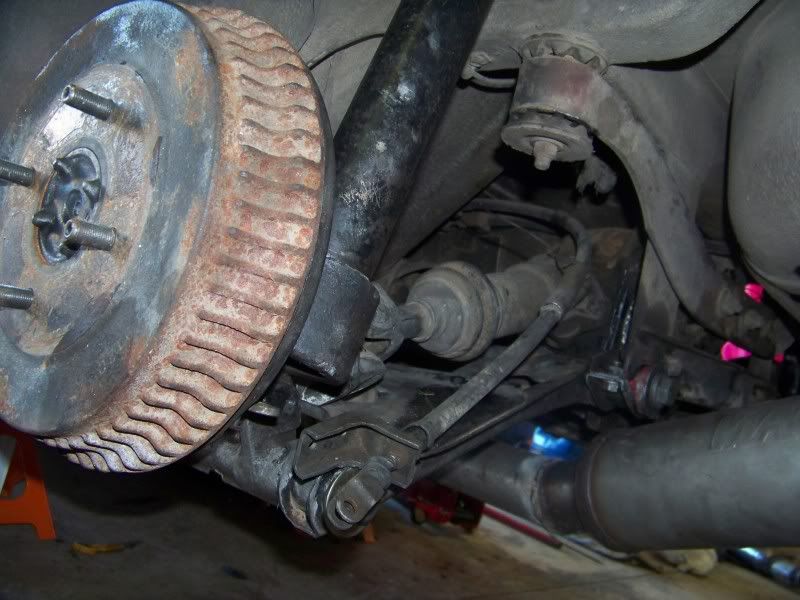
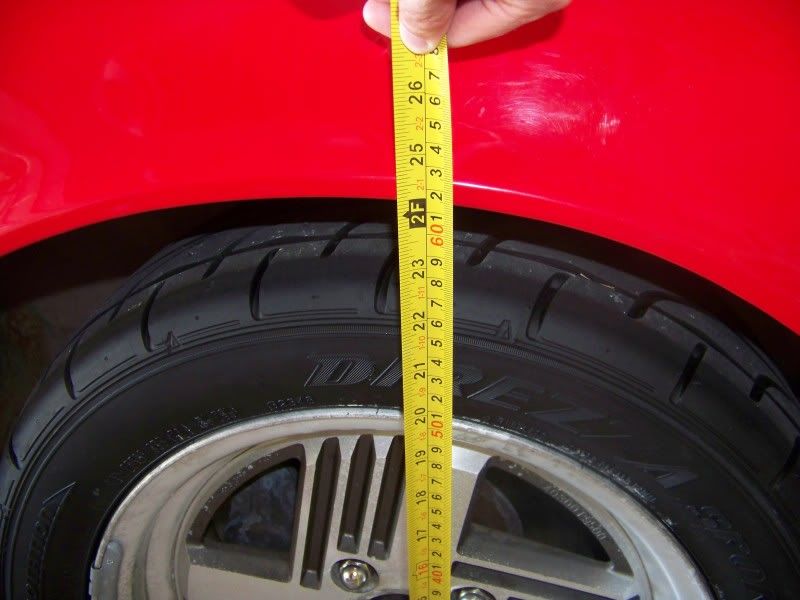
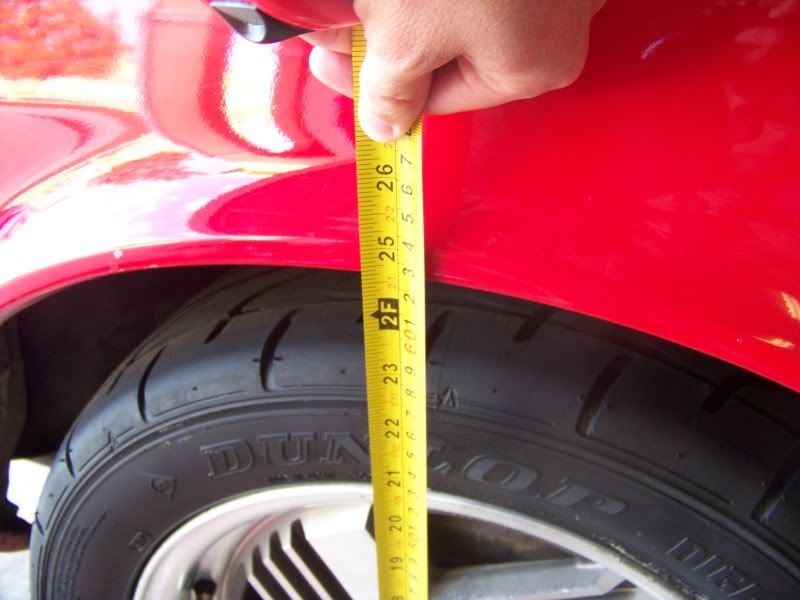
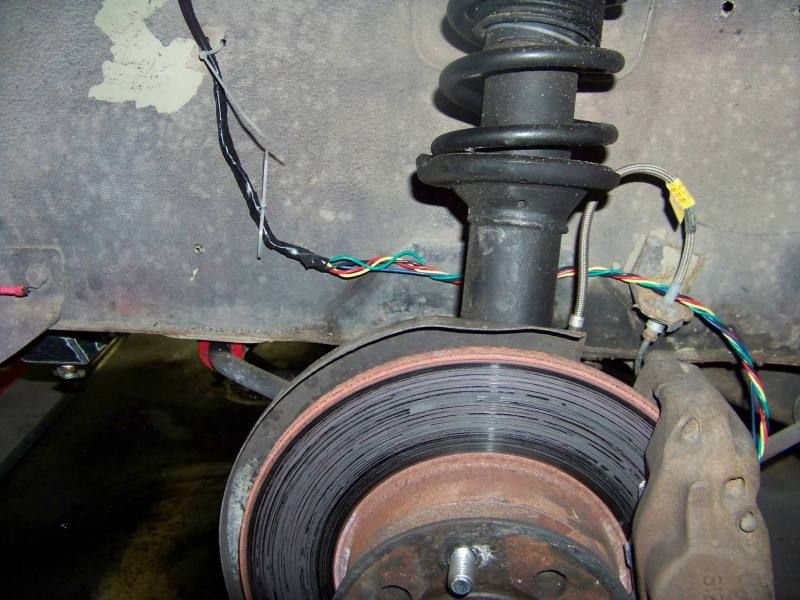
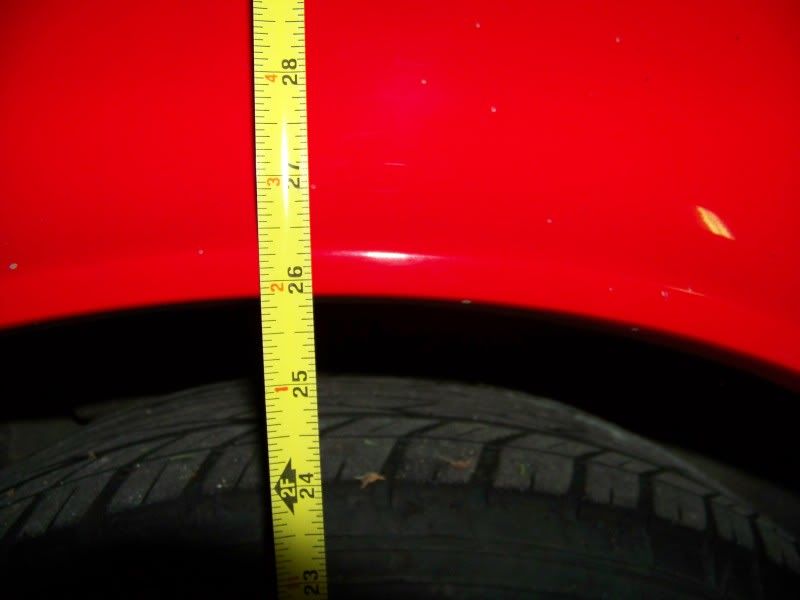 Front before height below
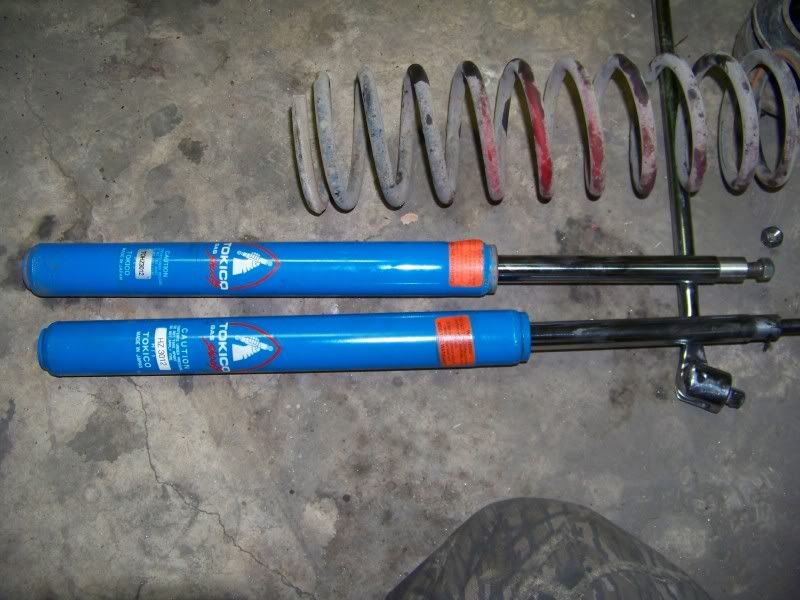
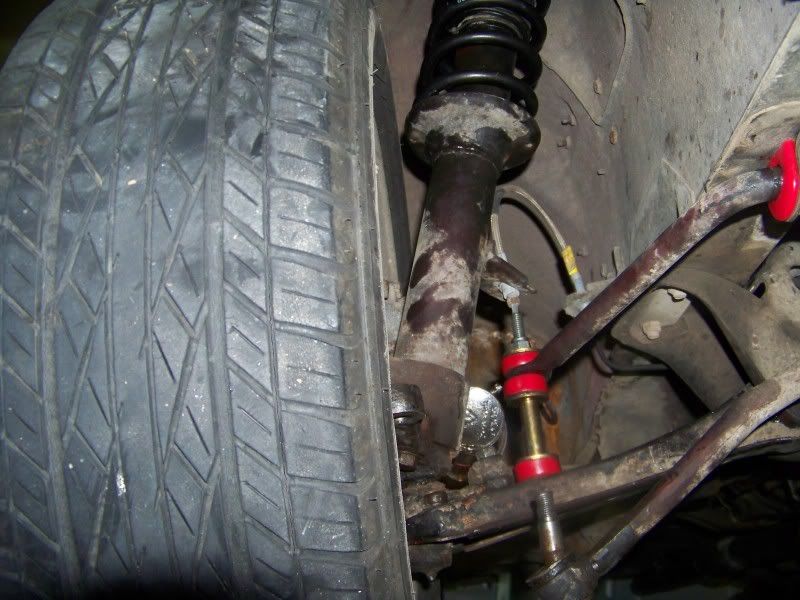
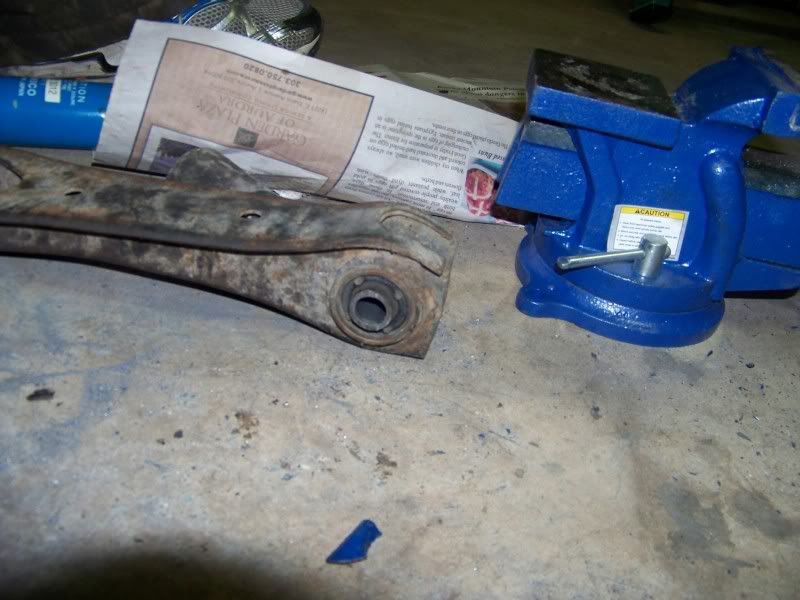
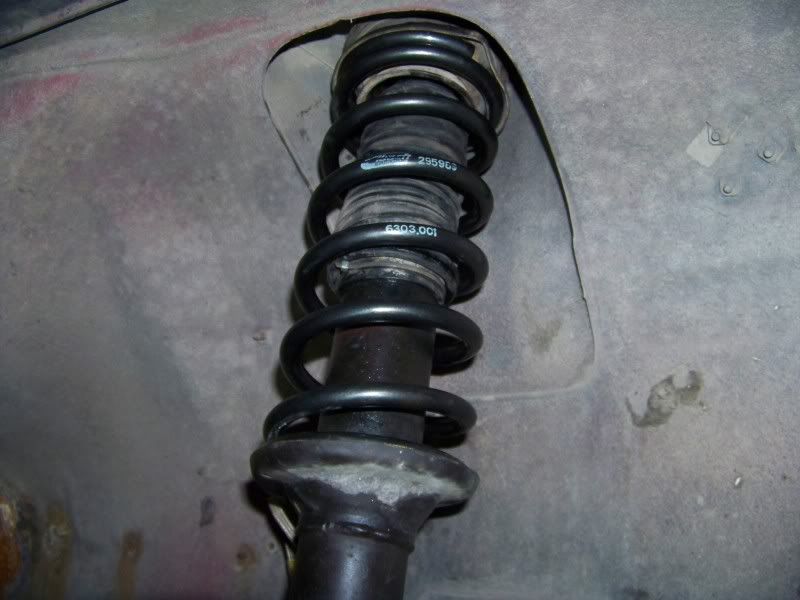
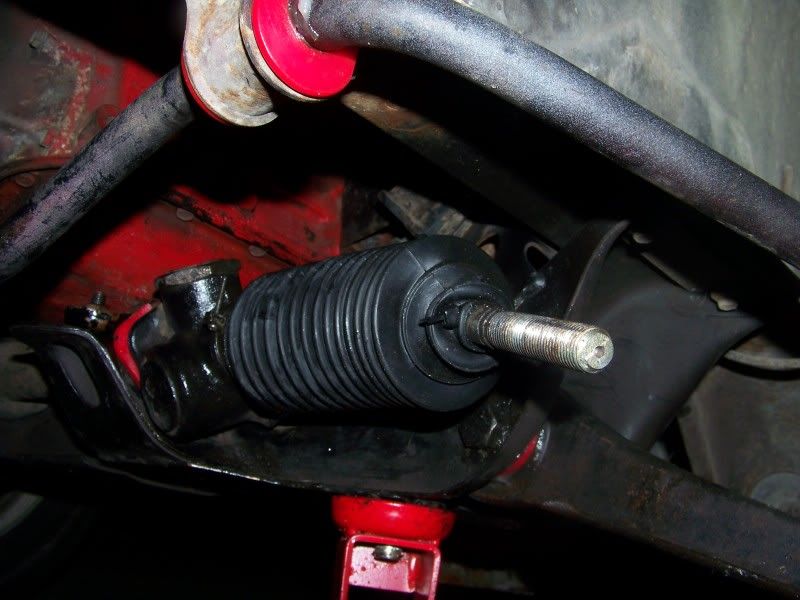
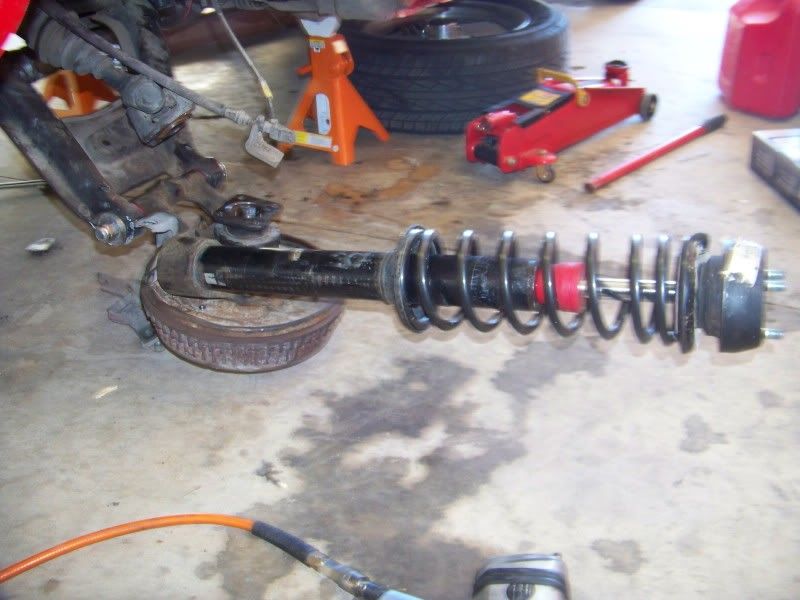
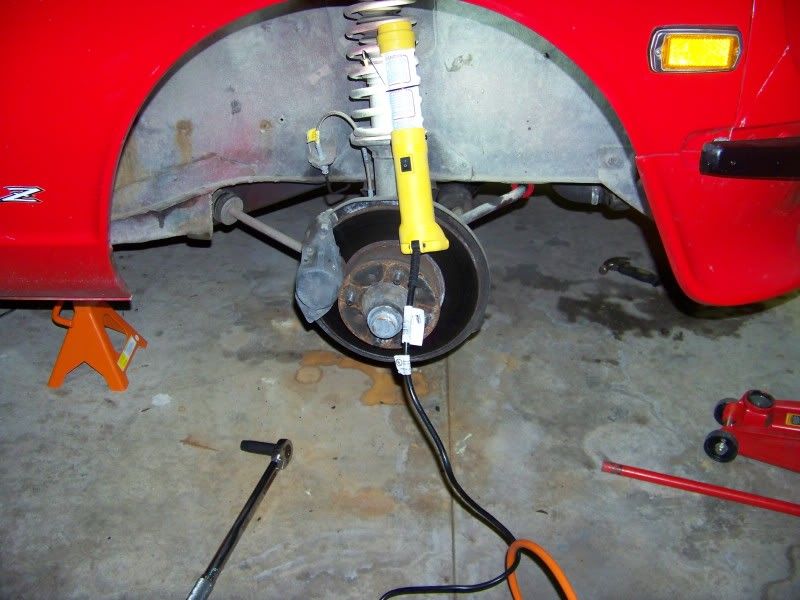 Old and new strut for passengers front
 Yes that bench vise is on the floor I just got it yesterday and haven't mounted it yet
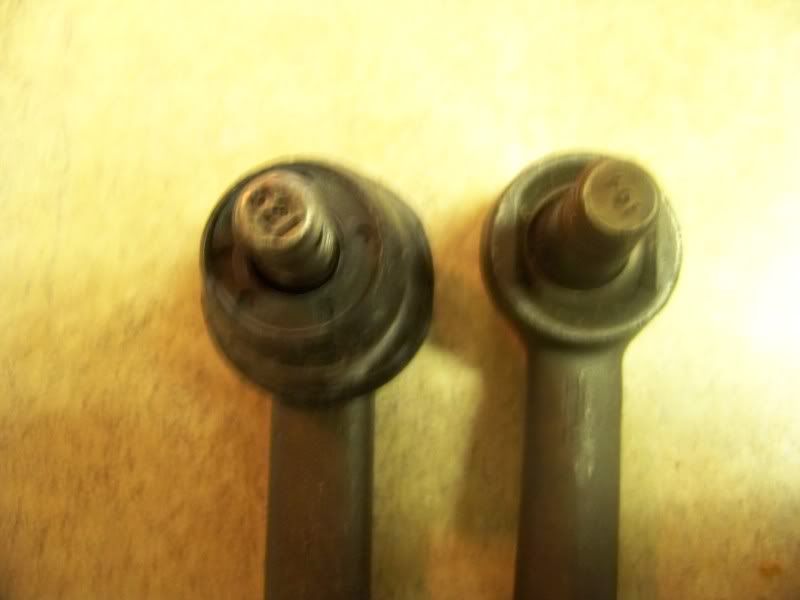
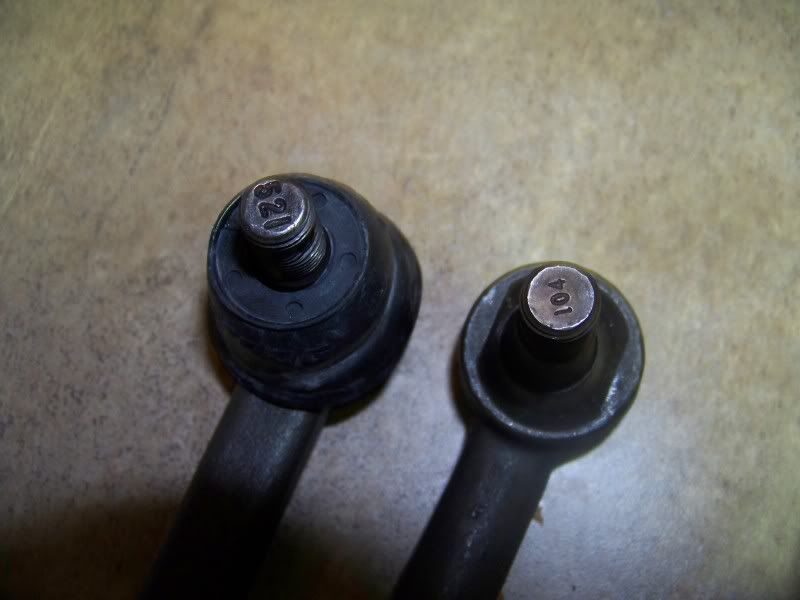
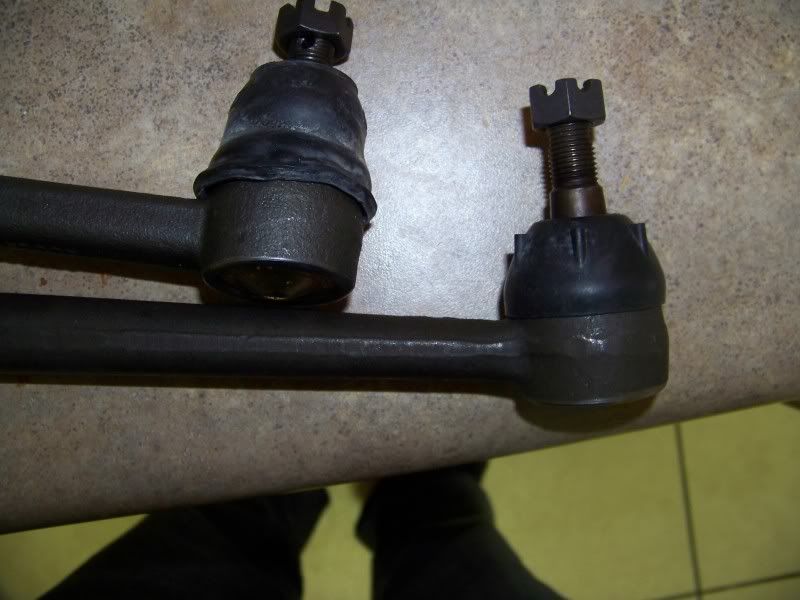
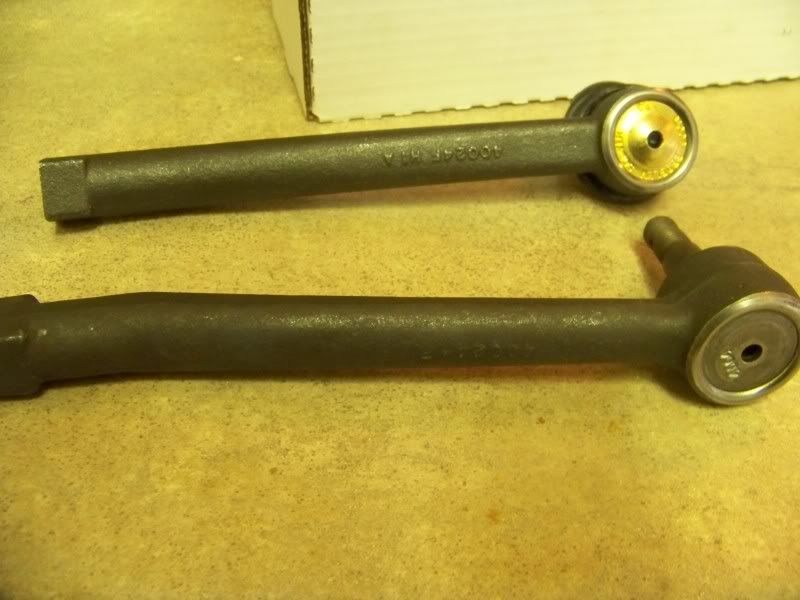
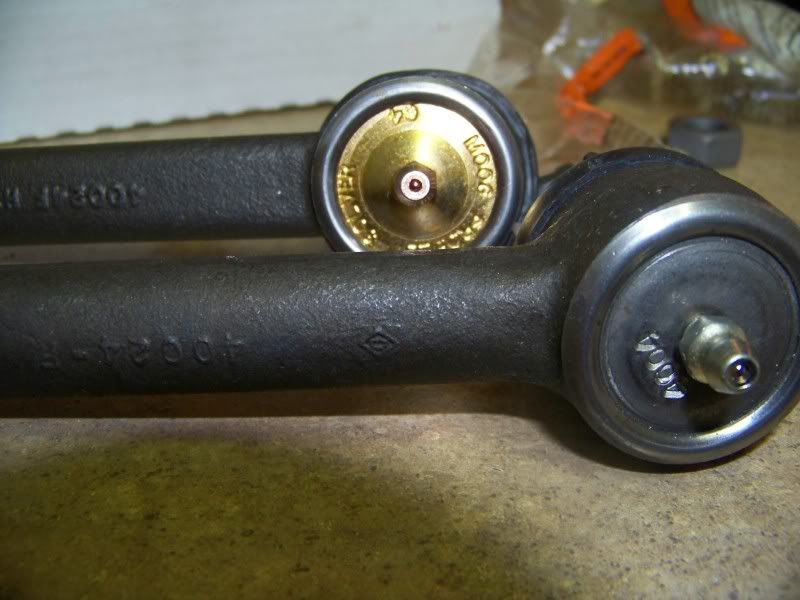


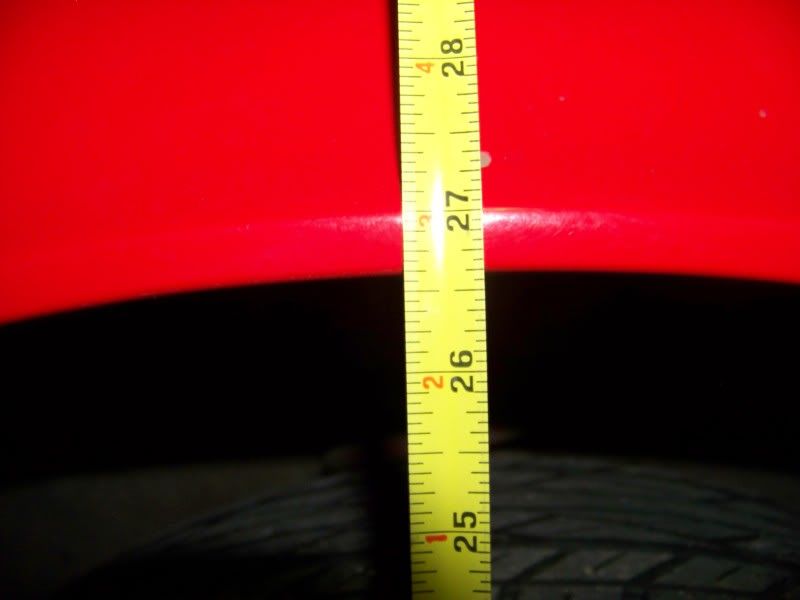
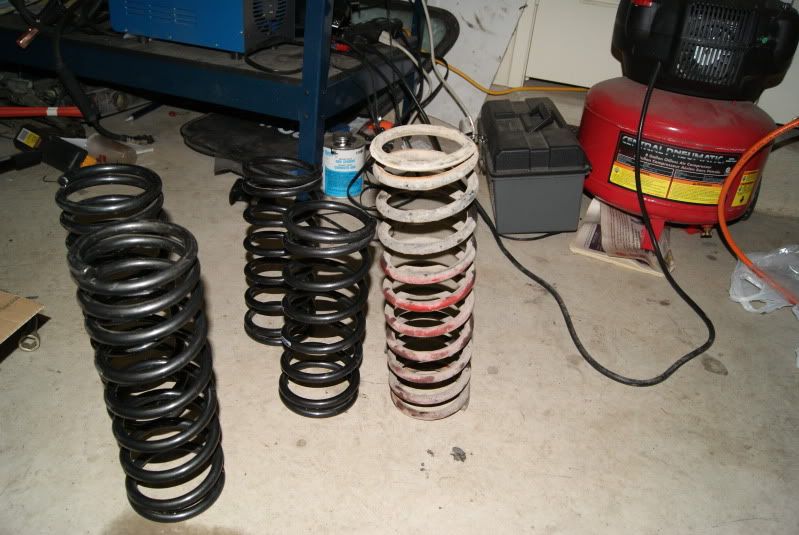
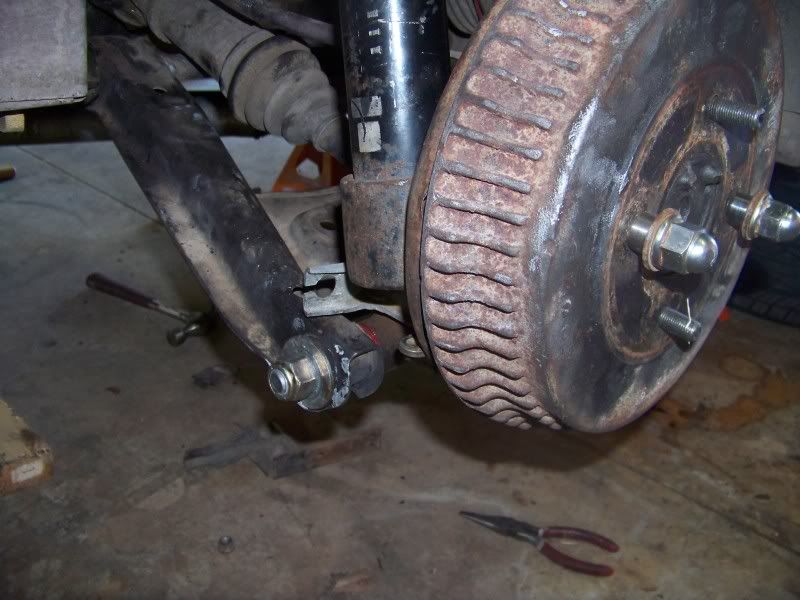
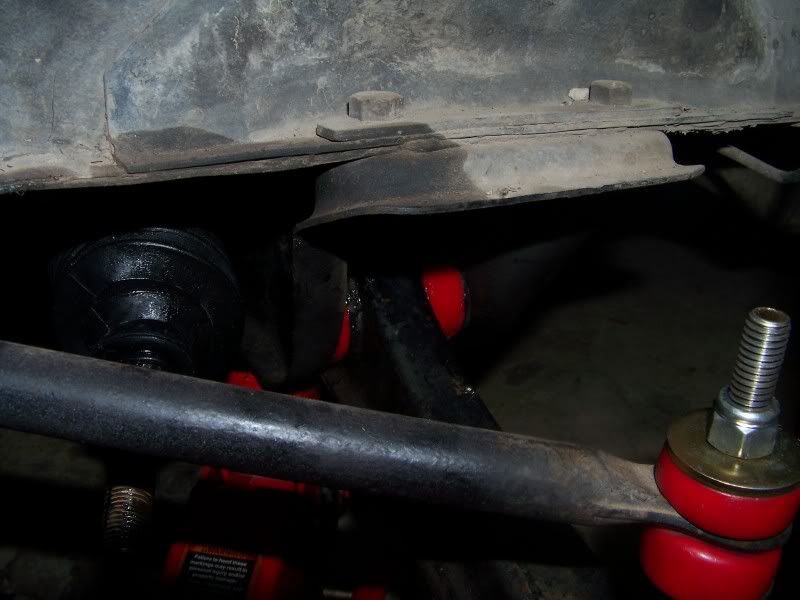 Below you can see the difference
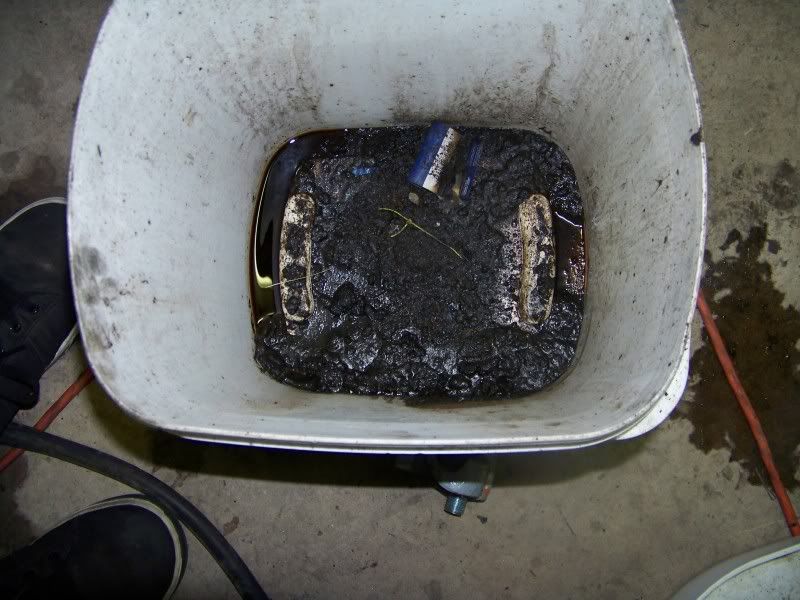
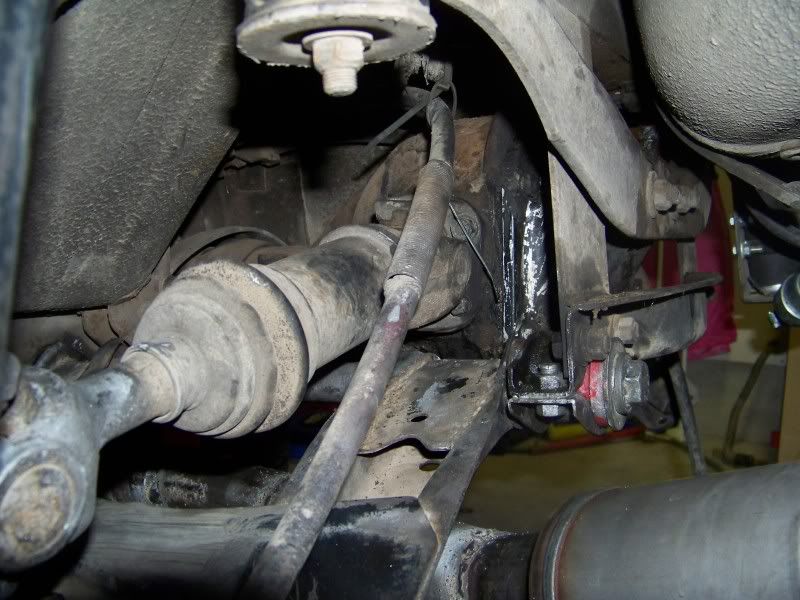
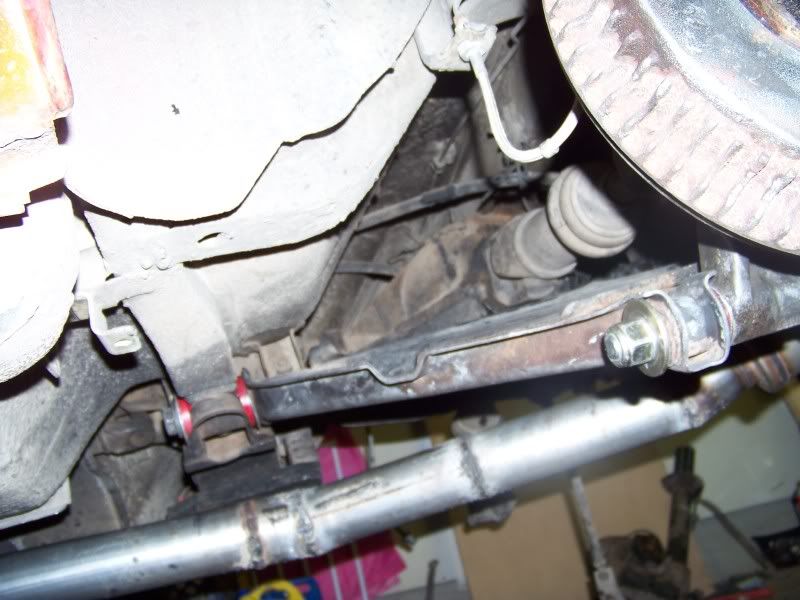
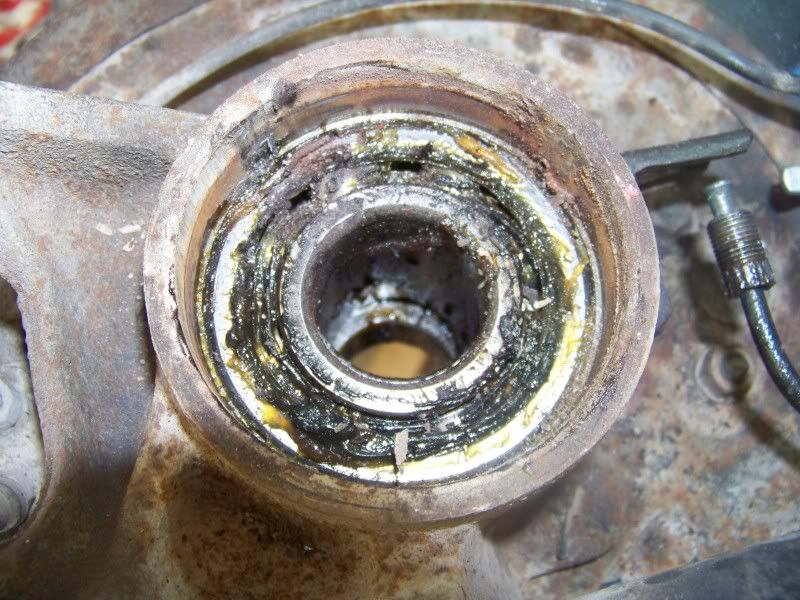
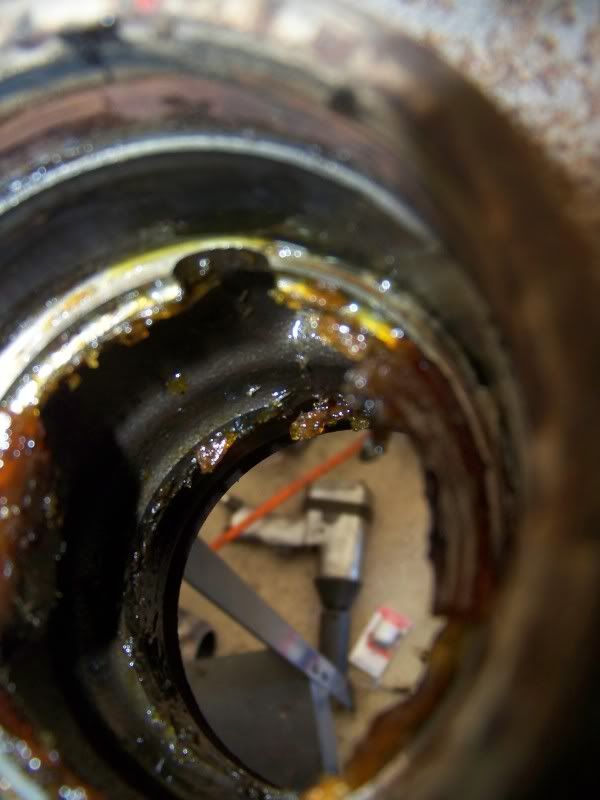
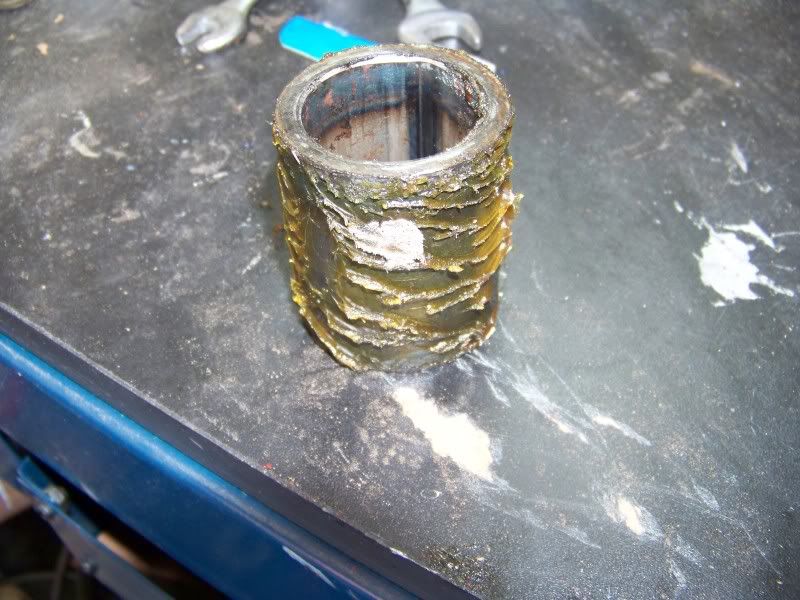
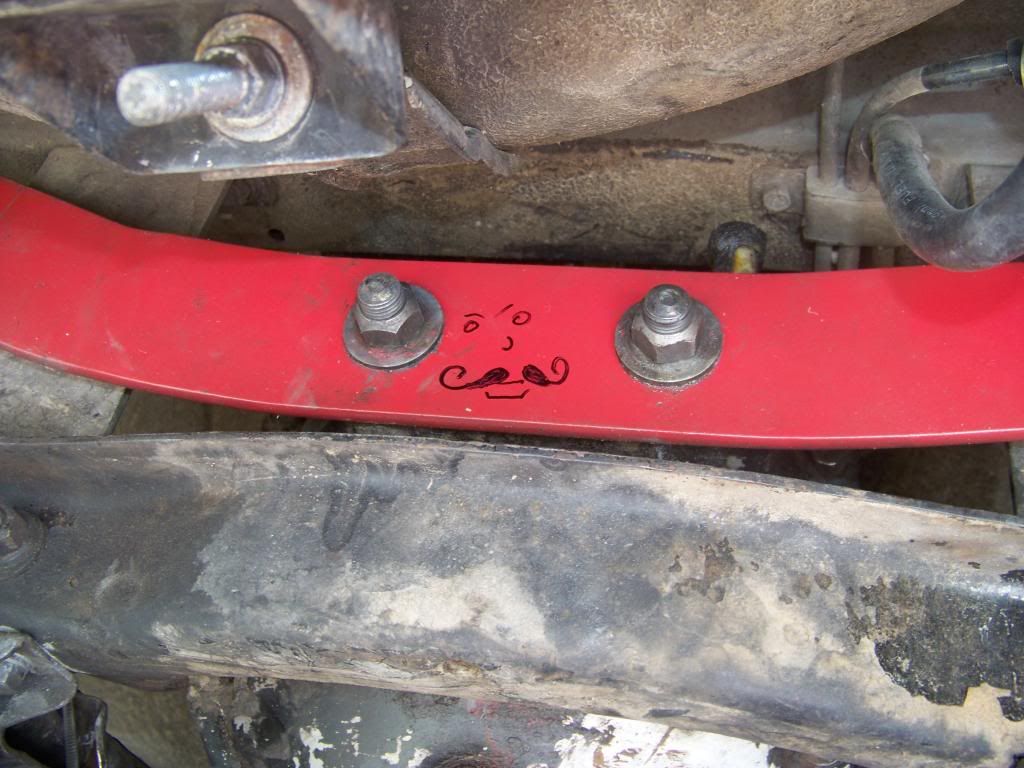
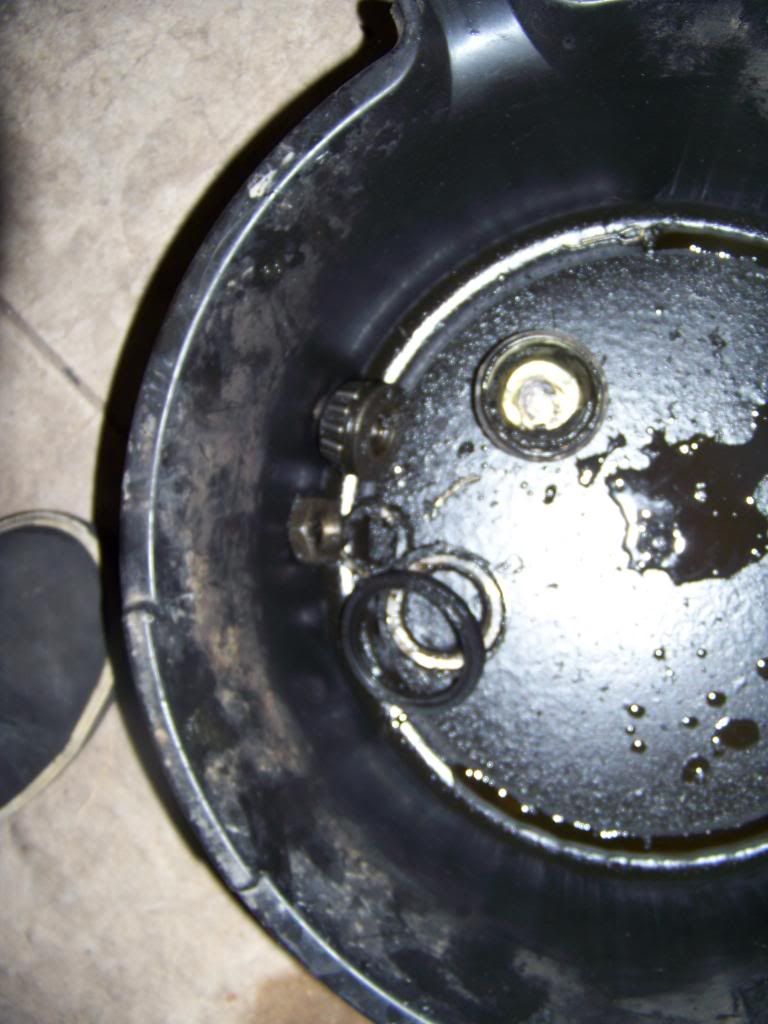
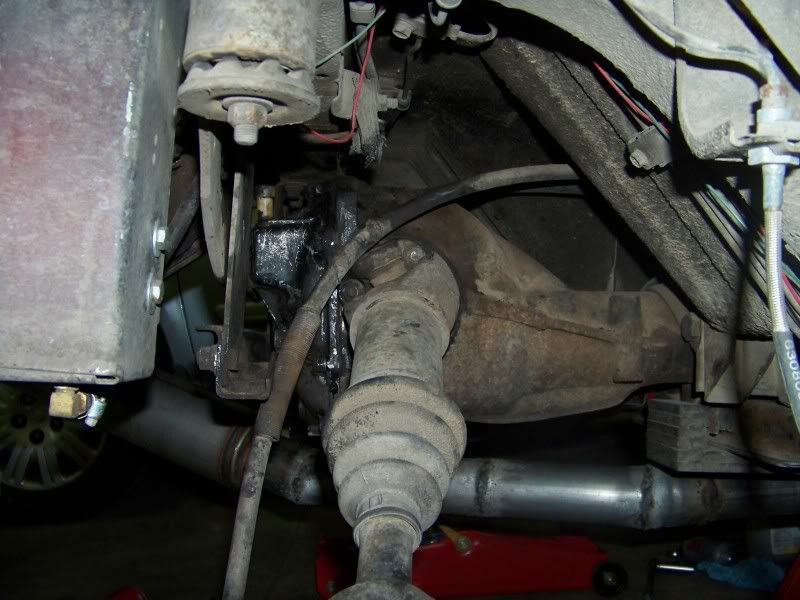 The Crud I cleaned off of the diff.
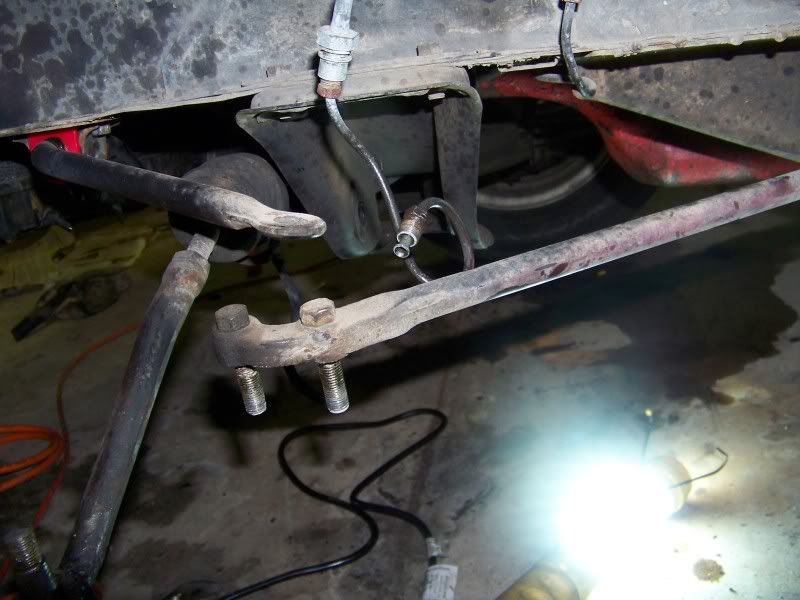
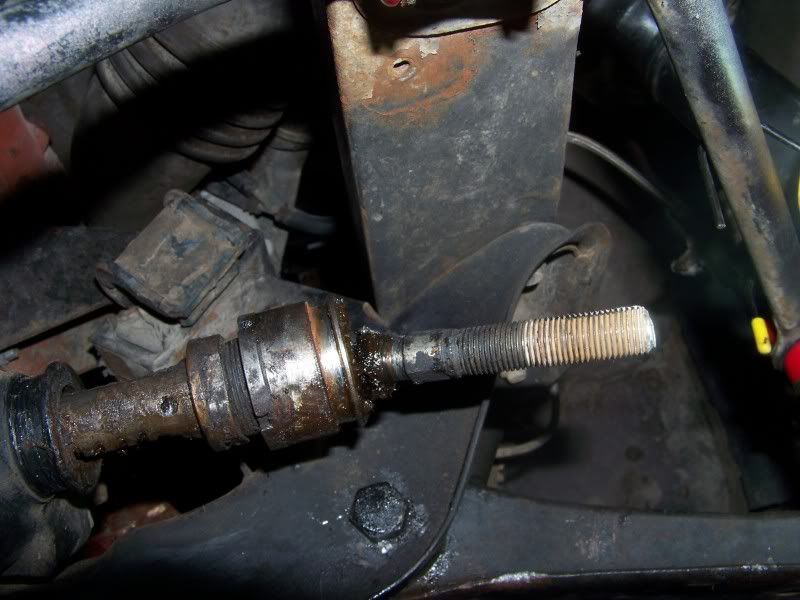
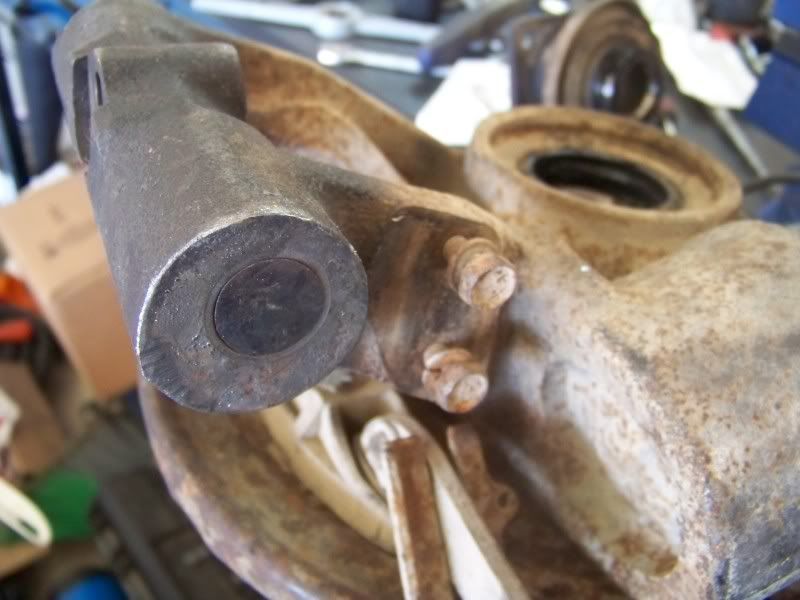
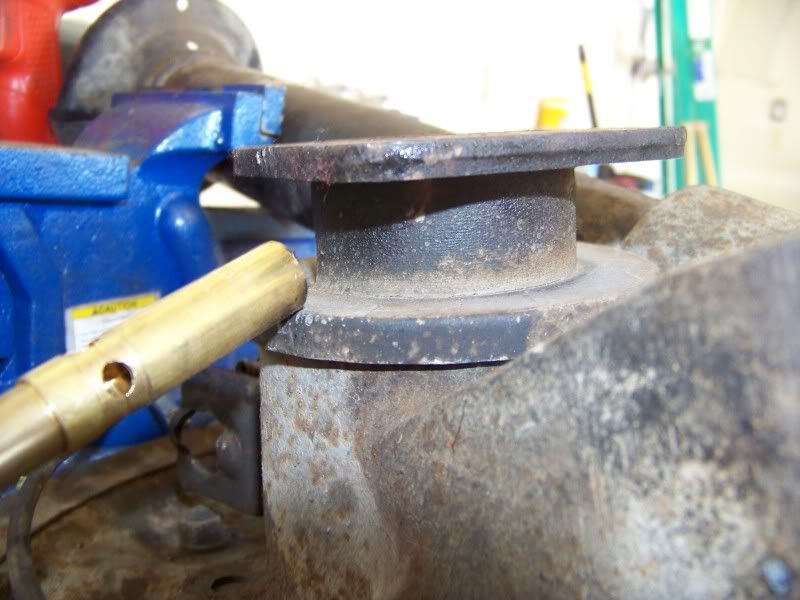
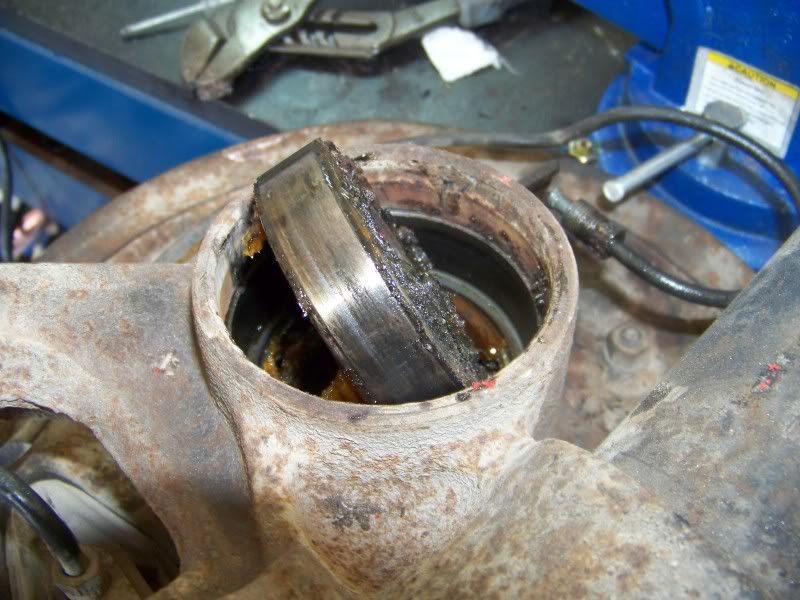
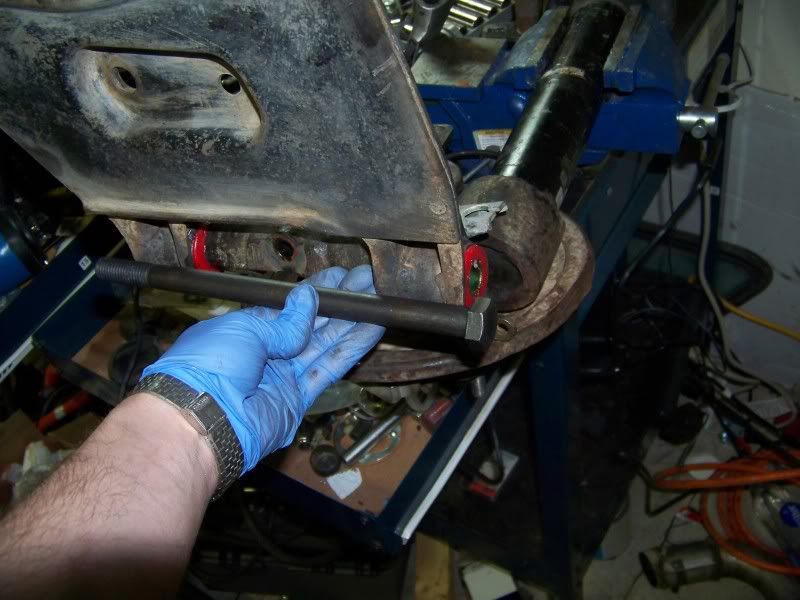
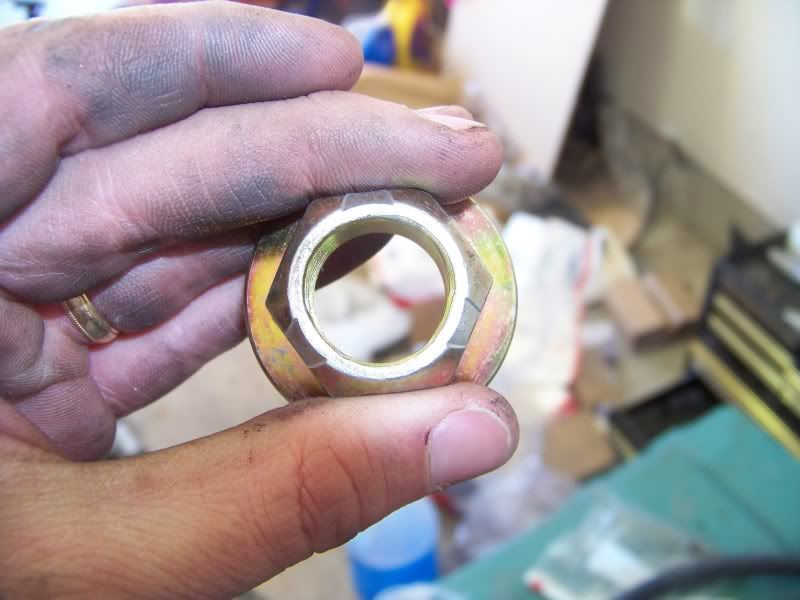
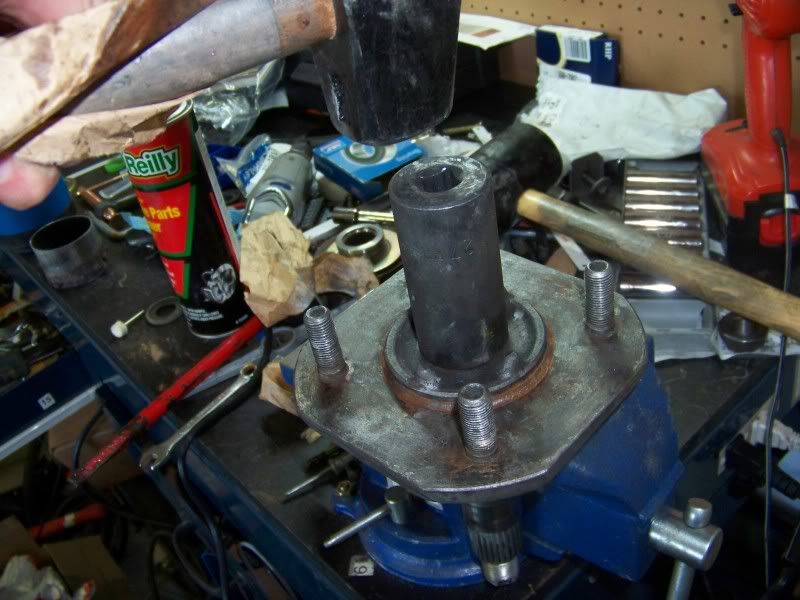
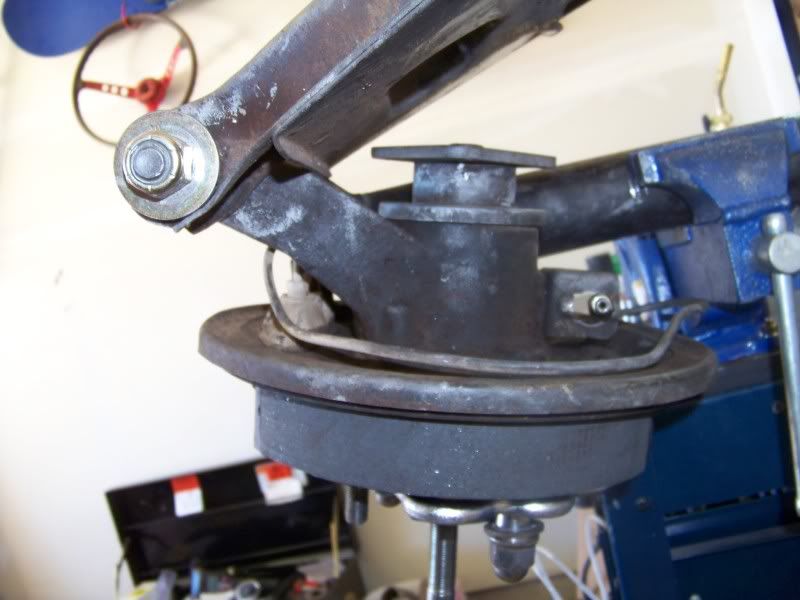
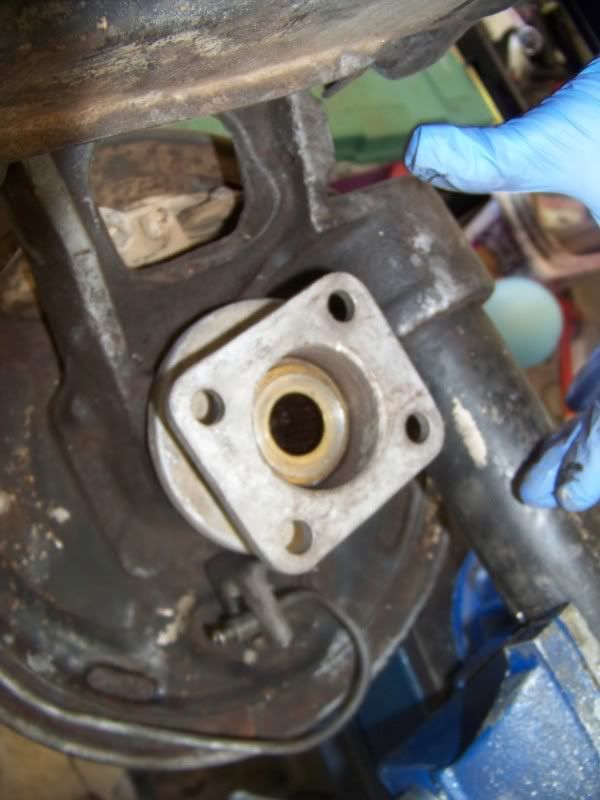
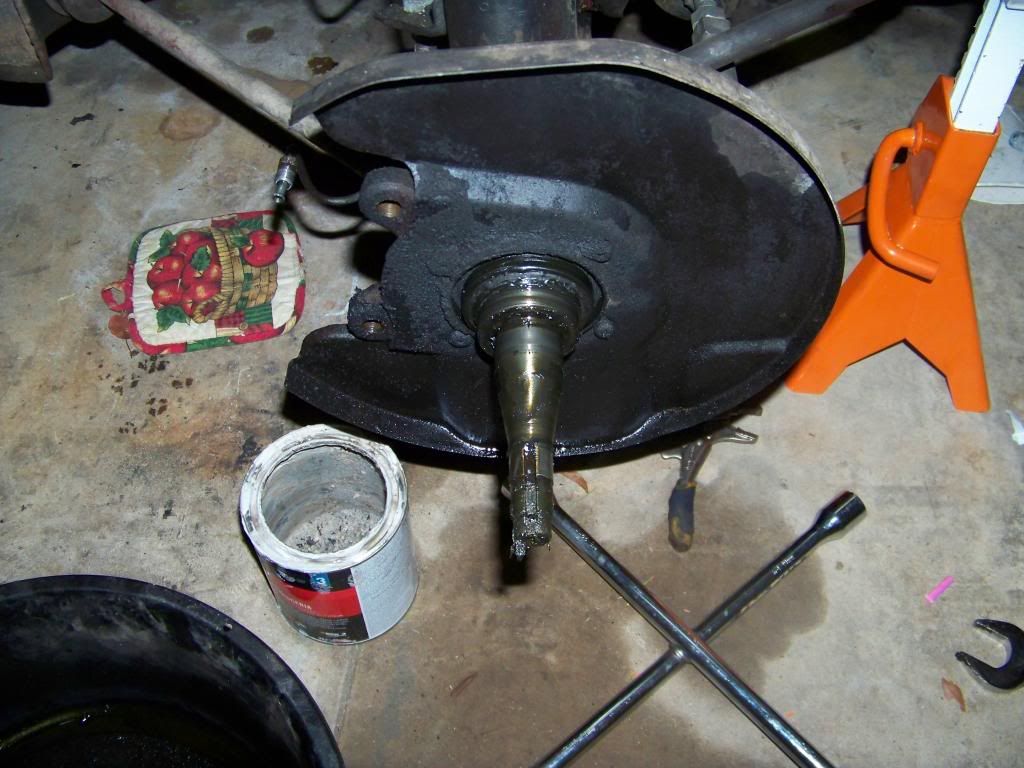
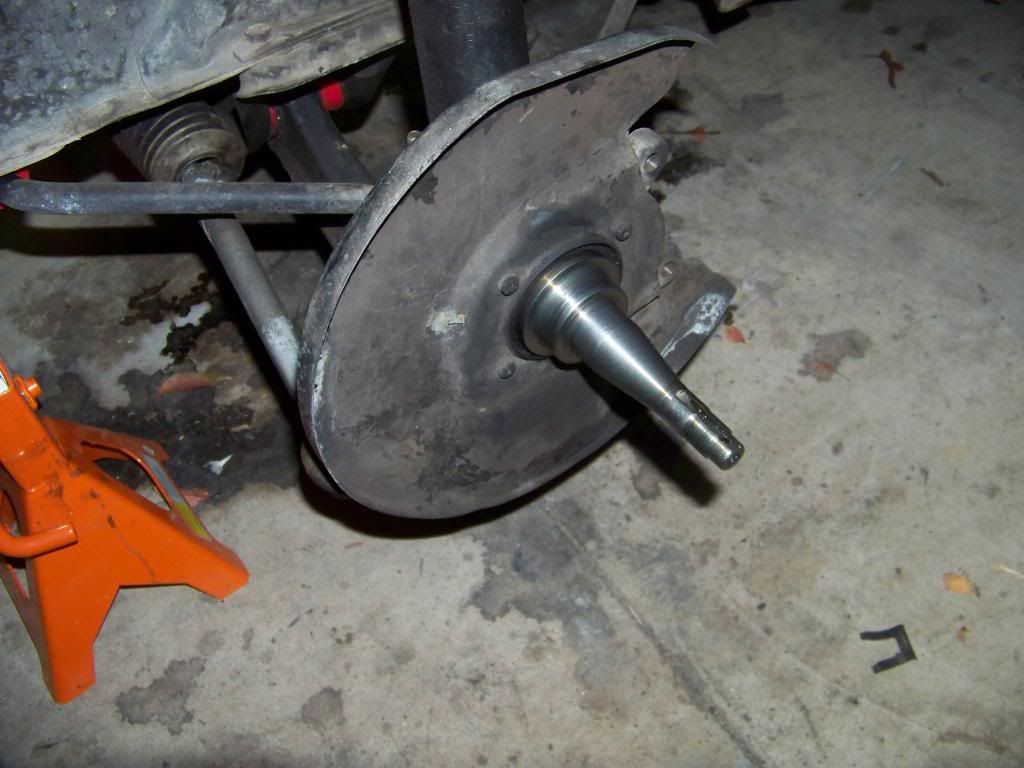
 The evil Spindle that won't budge!

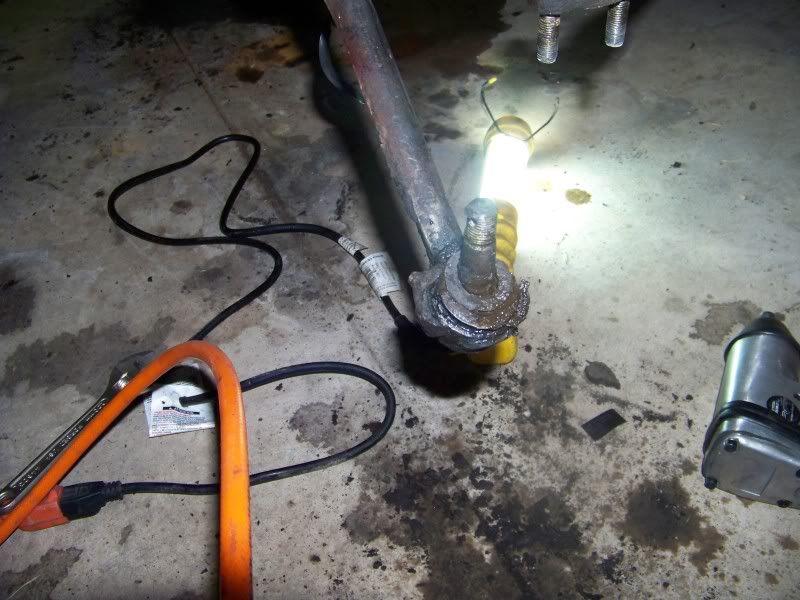
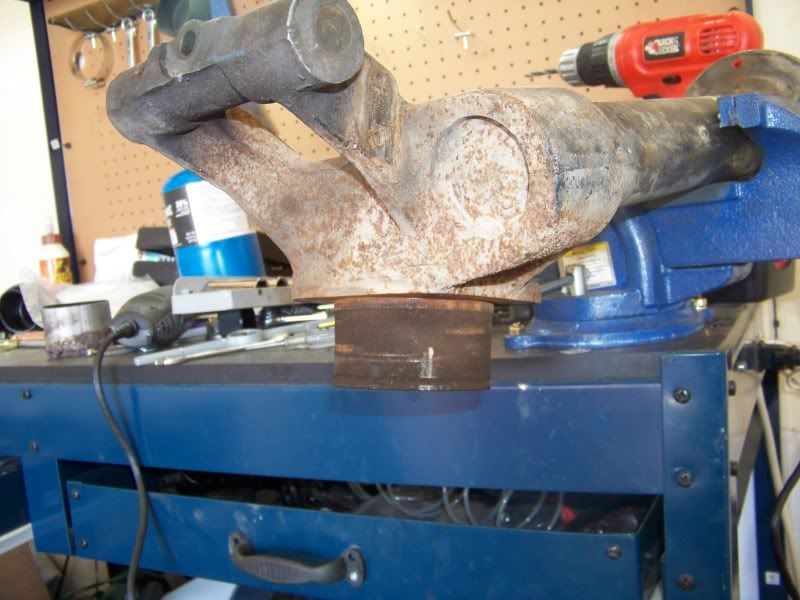
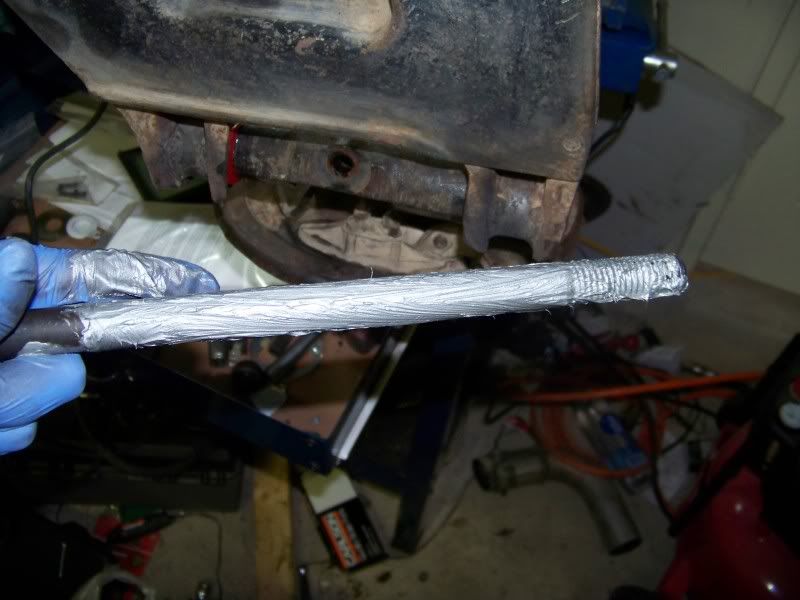
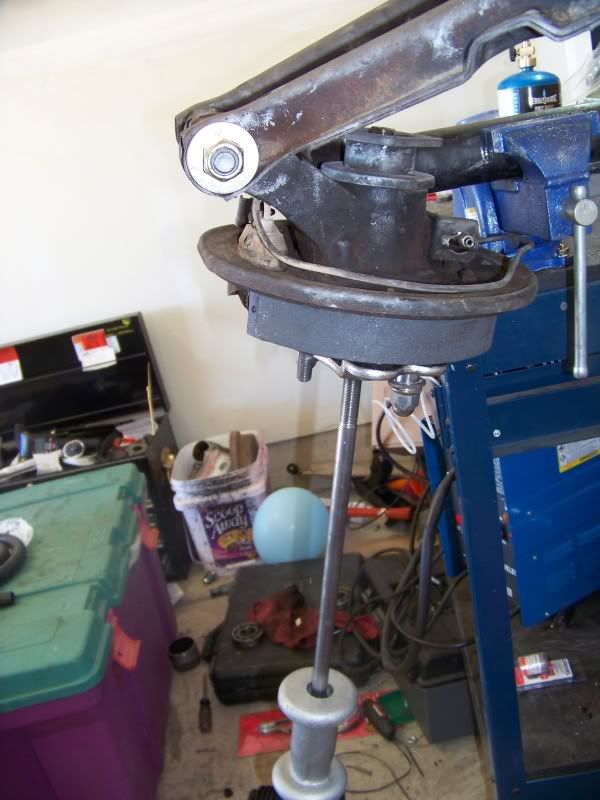
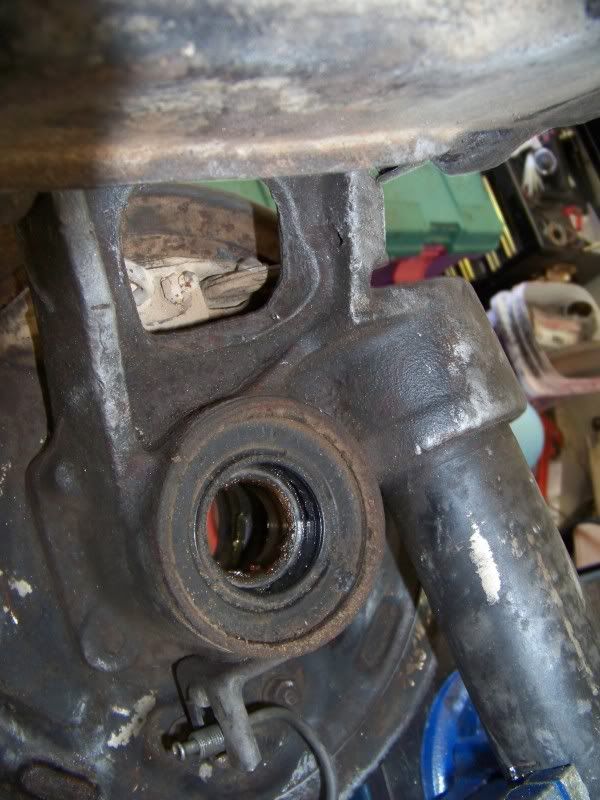
 This is where I heated the flange I rotated it around a couple times.

 DONE!
http://i1225.photobucket.com/albums/ee390/aaronwarren/1975%20Datsun%20280Z/100_1279.jpg[/IMG]
DONE!
http://i1225.photobucket.com/albums/ee390/aaronwarren/1975%20Datsun%20280Z/100_1279.jpg[/IMG]
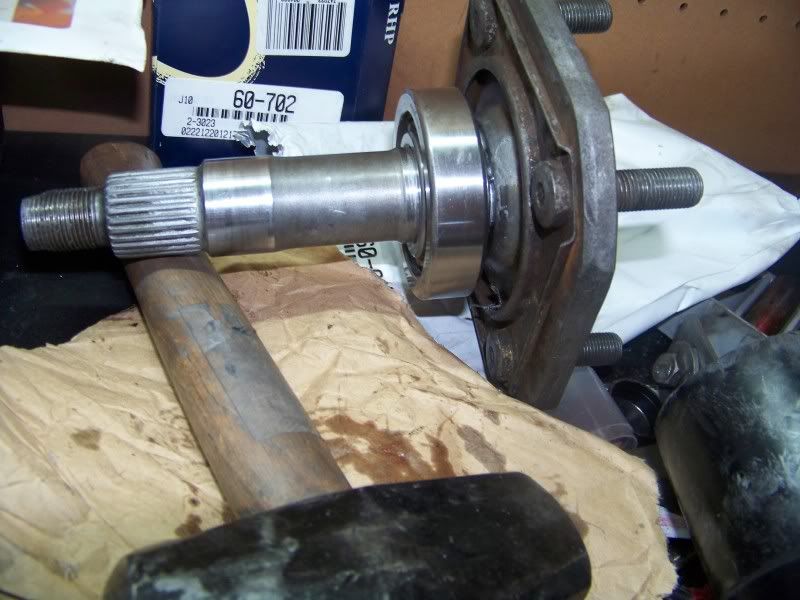
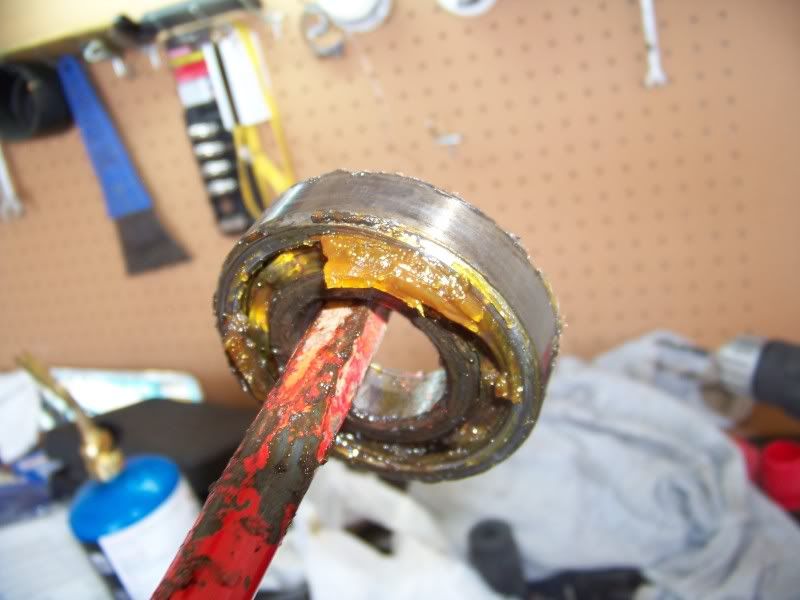
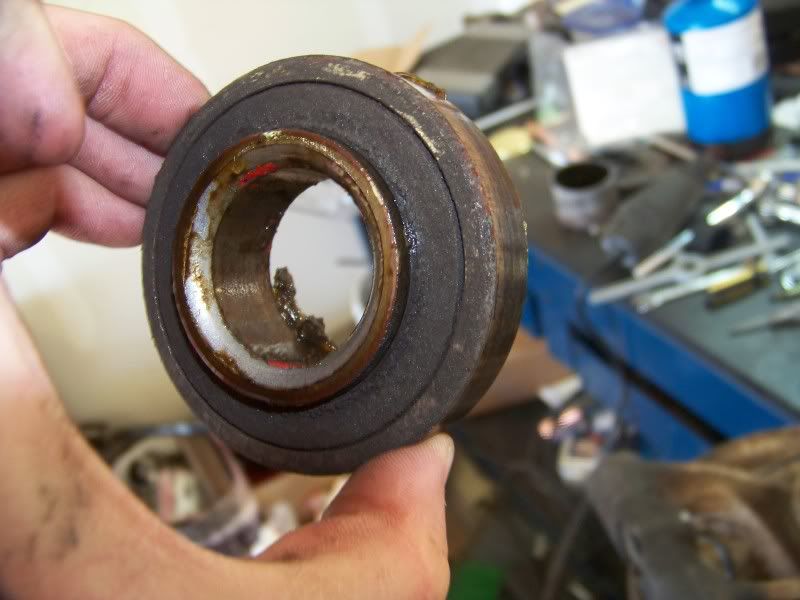
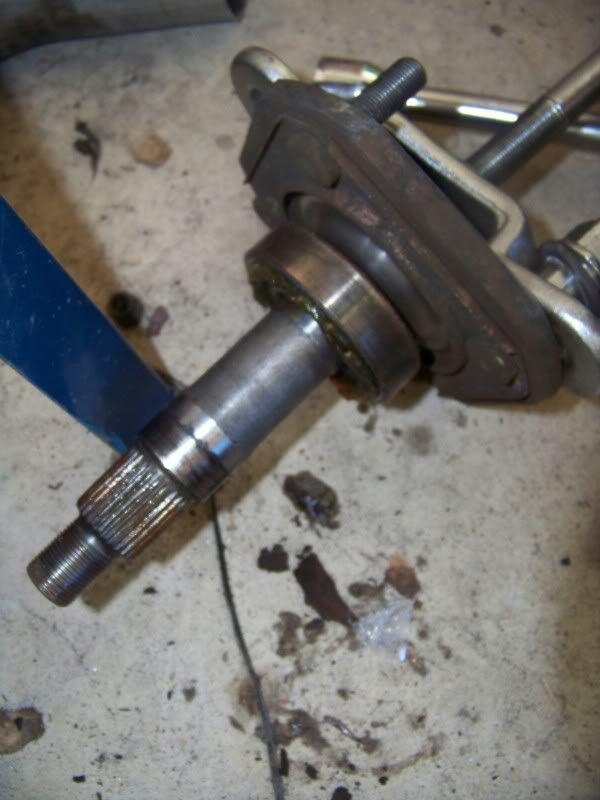
 Apart! I ended up having to carefully cut this bearing off because I could not press it off myself.
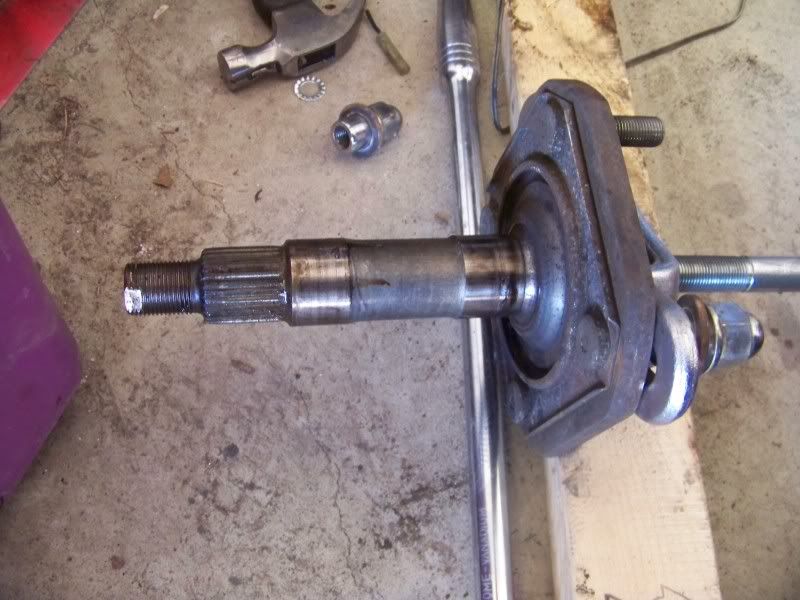
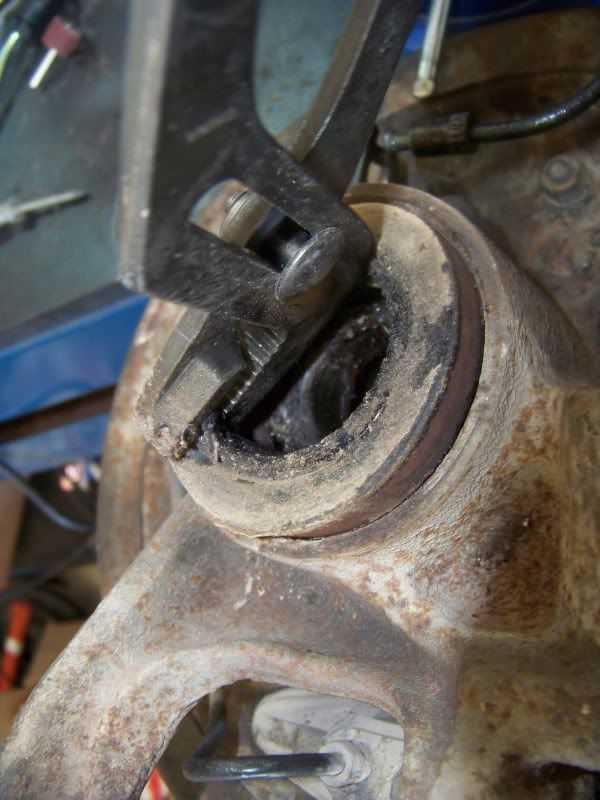
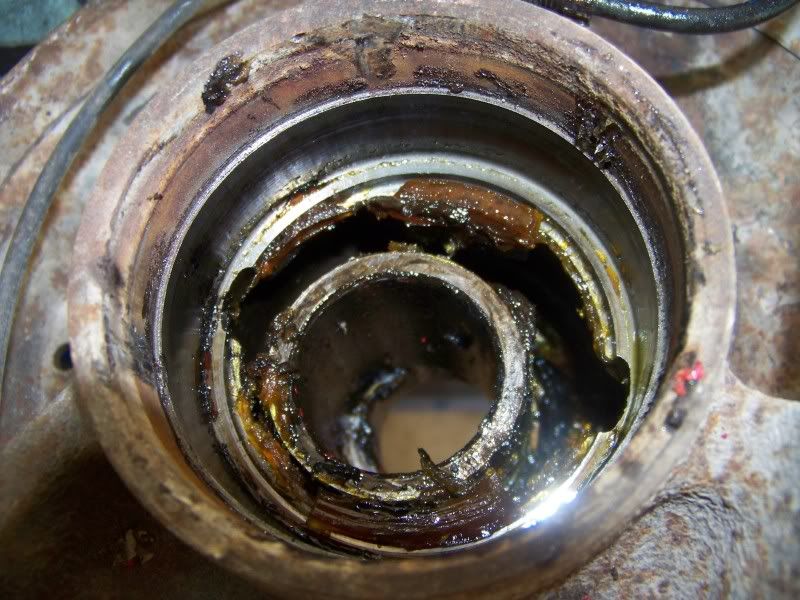
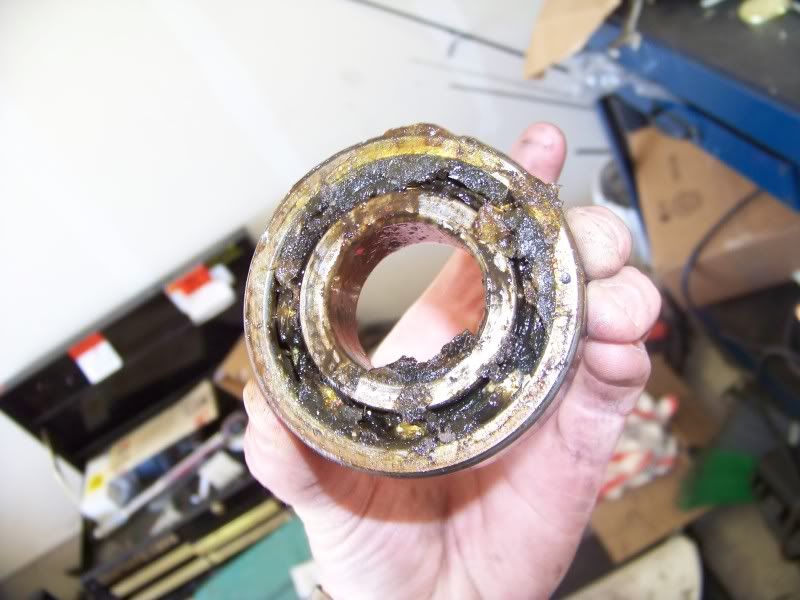
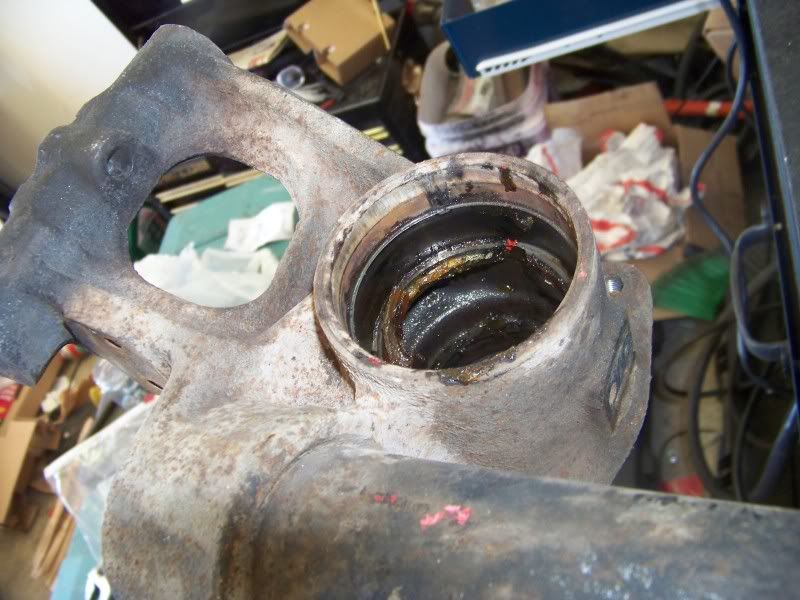
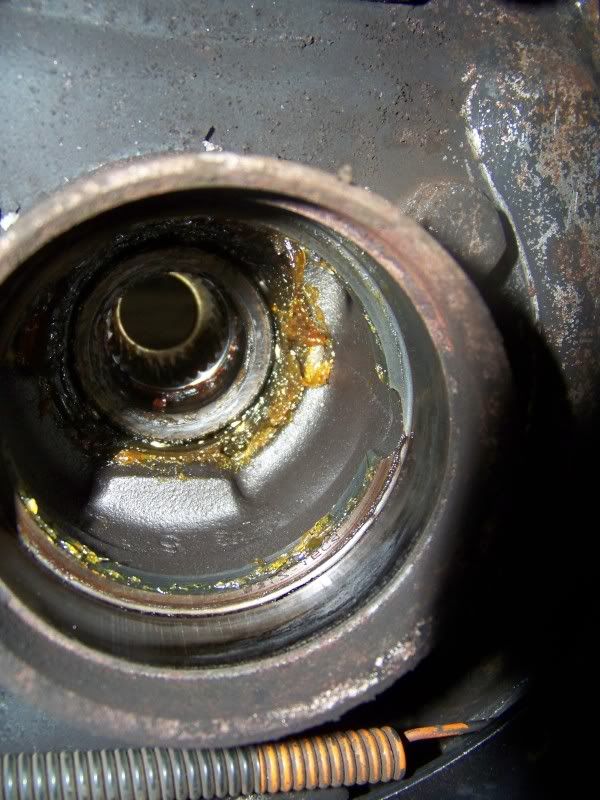
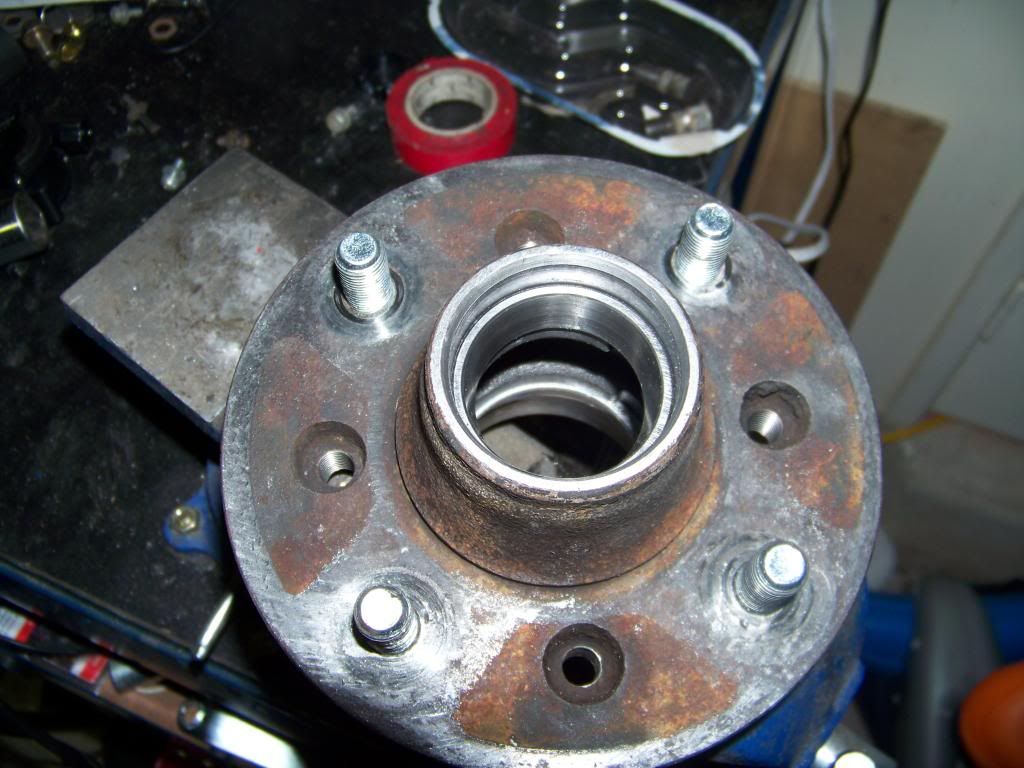
 Just drive that old bearing out. Make sure and take off the rear flange and seal first.
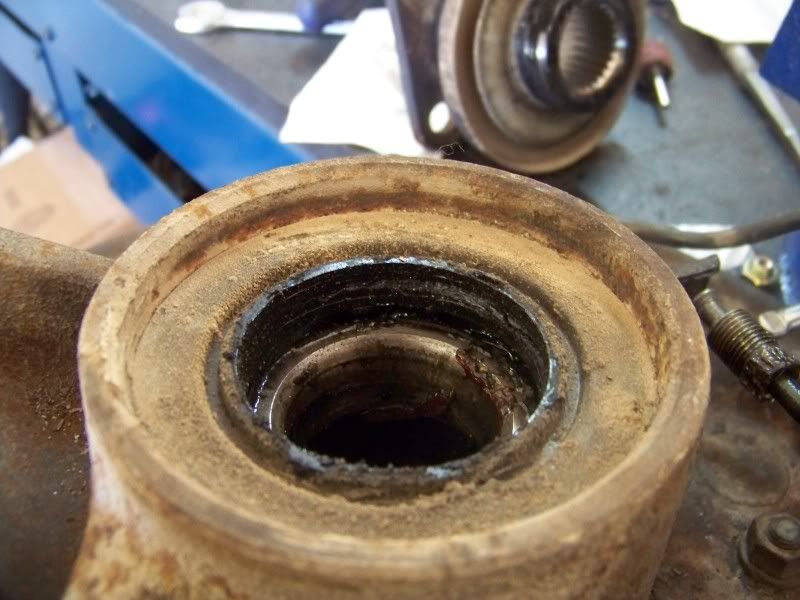
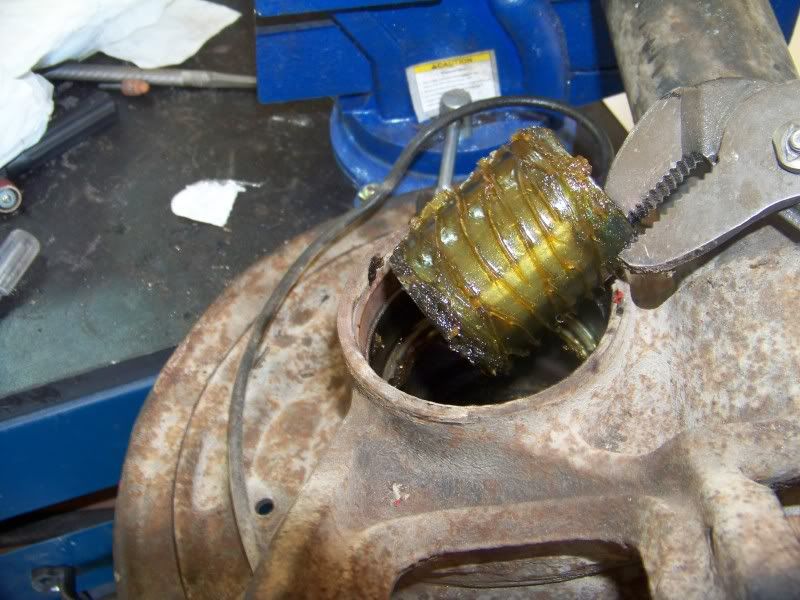
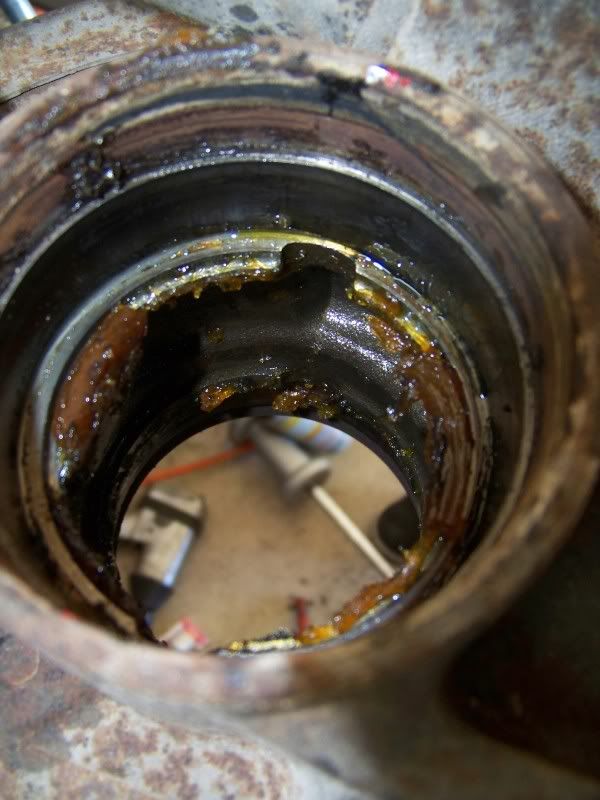
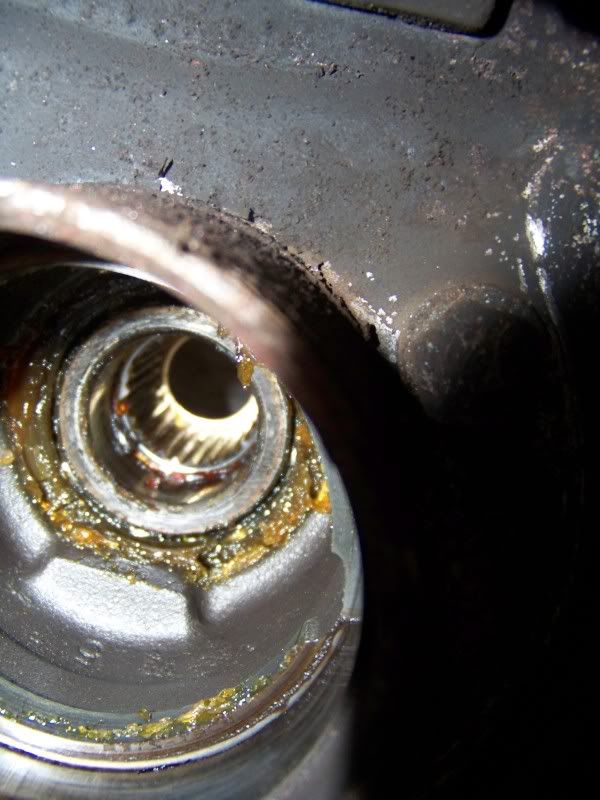 The spacer that does in the middle. I have read that these need to be matched to the housing both the housing and this part were stamped with B so I think I am ok. I cleaned and regreased it before putting it back in.
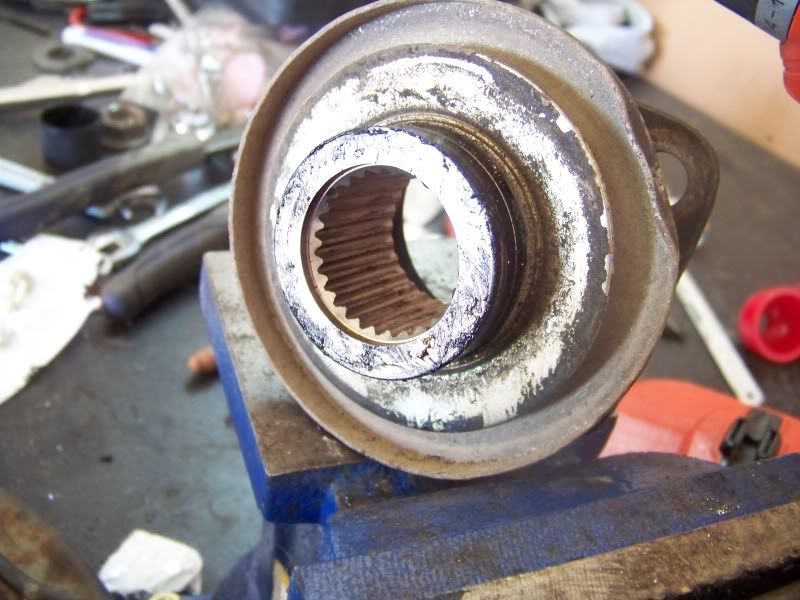
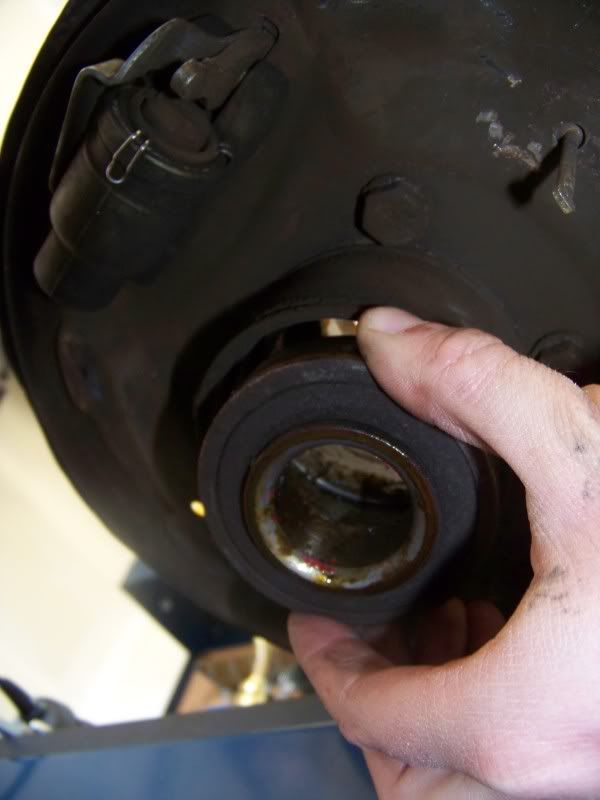
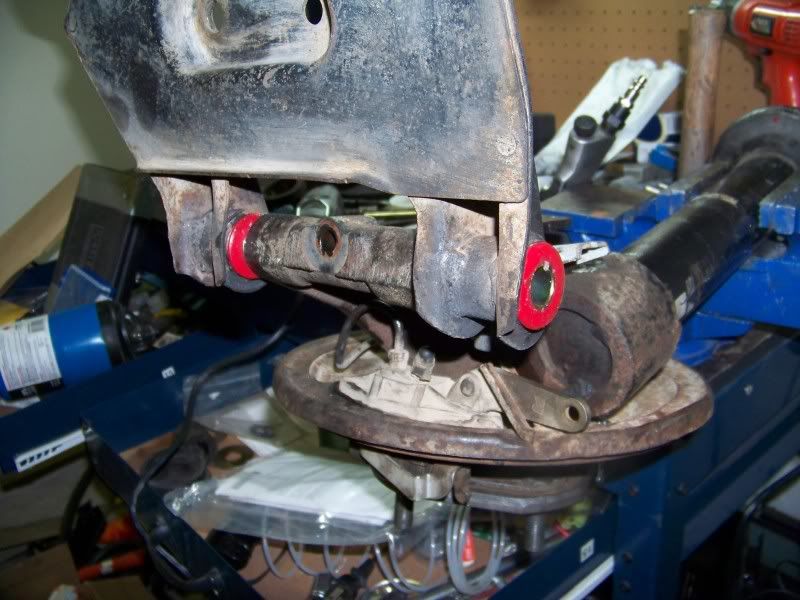
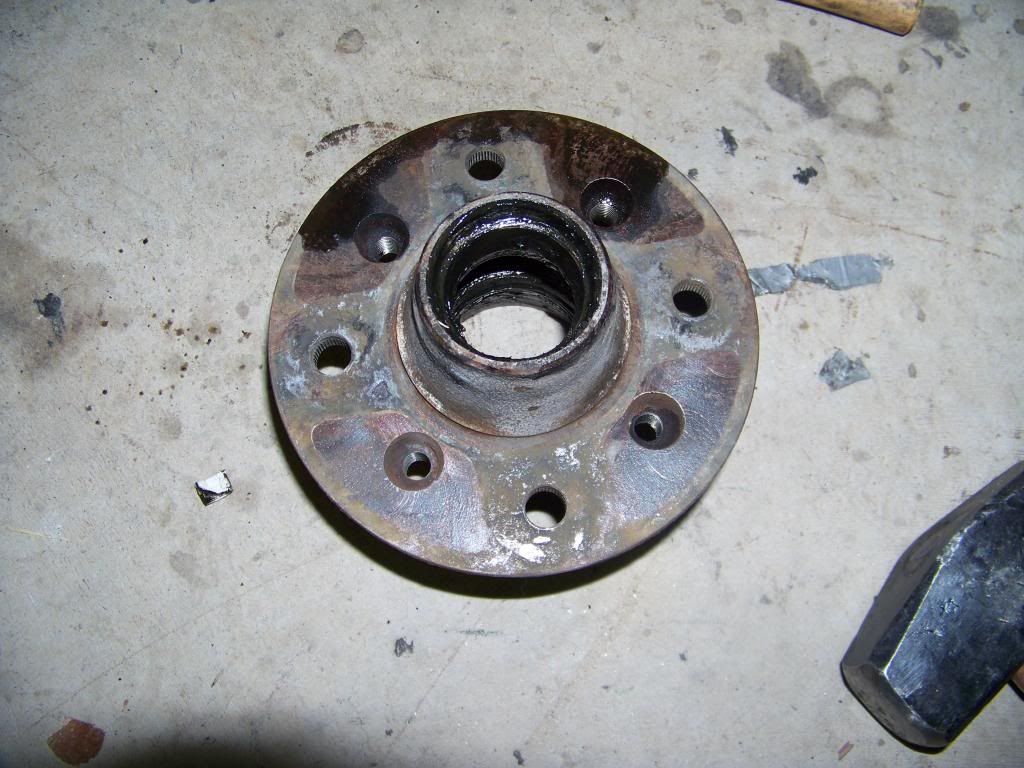
 Rear Flange no axle!


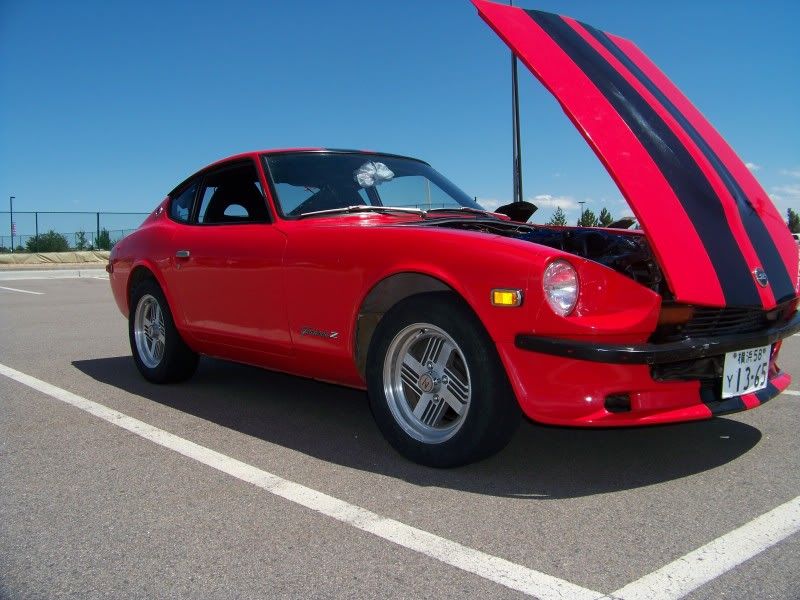
 That is correct I found a competition hood scoop pretty stoked! Note I have had the scoop worked on but I have still done nothing with that scoop as of 11/11/2013!
I think since I have the crappy hood on hand I will go ahead and shoot it black and see what it looks like before I cut into my hood. The old hood was not cut, it is now :D.I will get a photo of the scoop sitting on my car, it will sit up a little high though since the mounting studs are inlayed into the hood scoop.
That is correct I found a competition hood scoop pretty stoked! Note I have had the scoop worked on but I have still done nothing with that scoop as of 11/11/2013!
I think since I have the crappy hood on hand I will go ahead and shoot it black and see what it looks like before I cut into my hood. The old hood was not cut, it is now :D.I will get a photo of the scoop sitting on my car, it will sit up a little high though since the mounting studs are inlayed into the hood scoop.


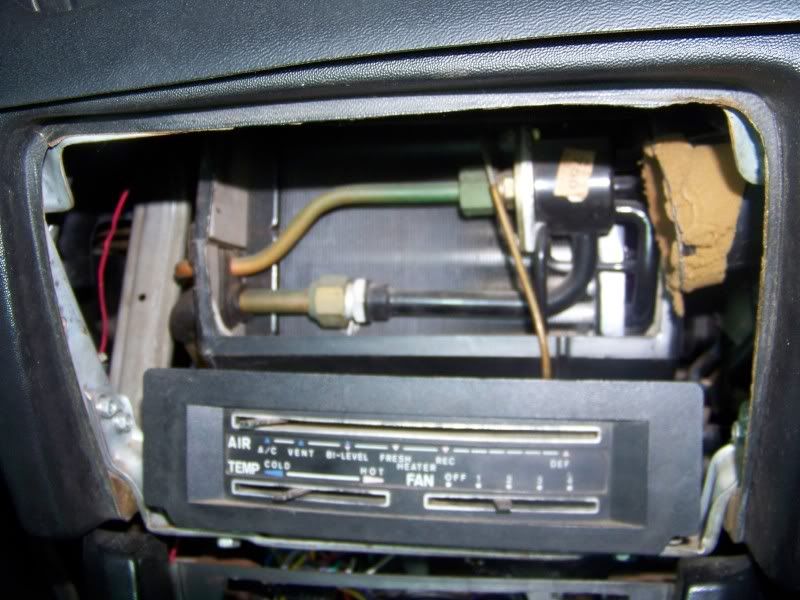
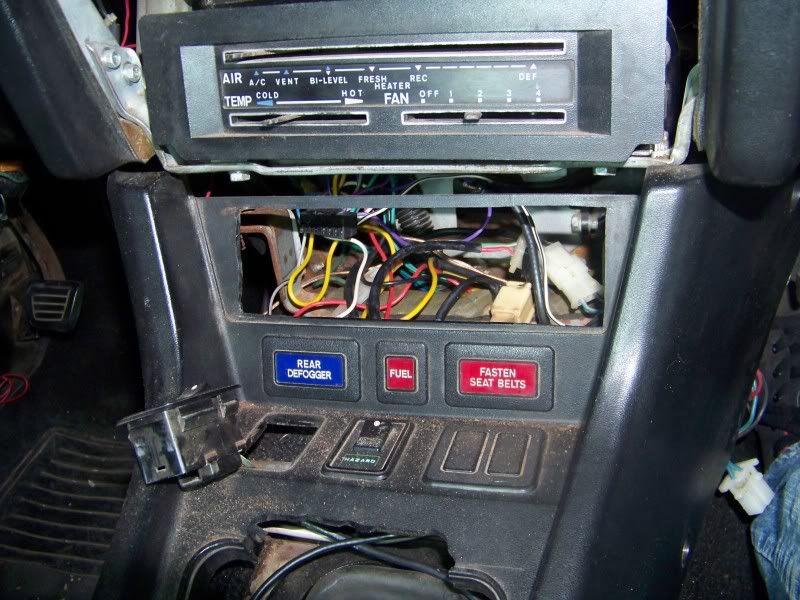

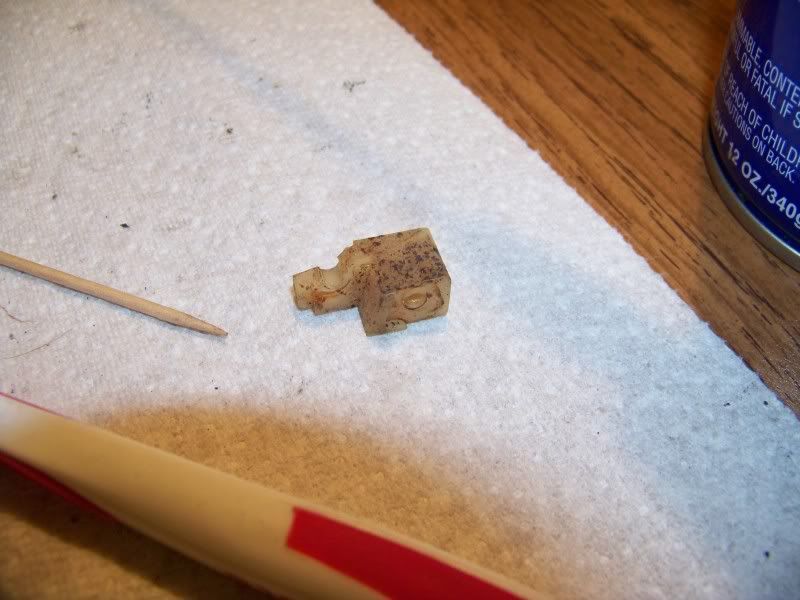
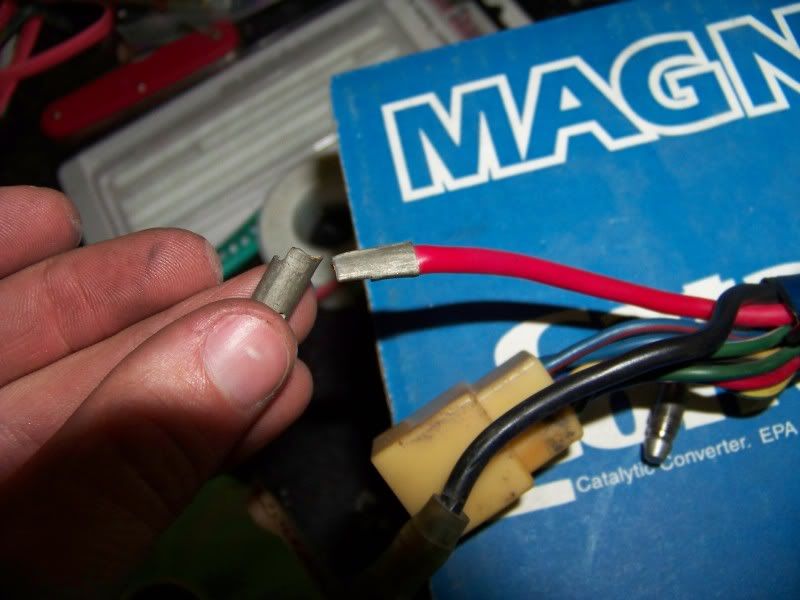
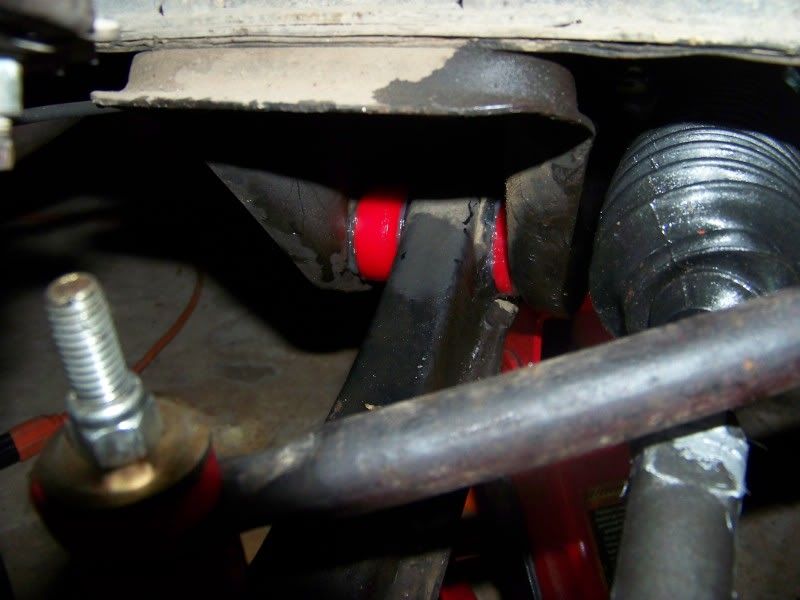
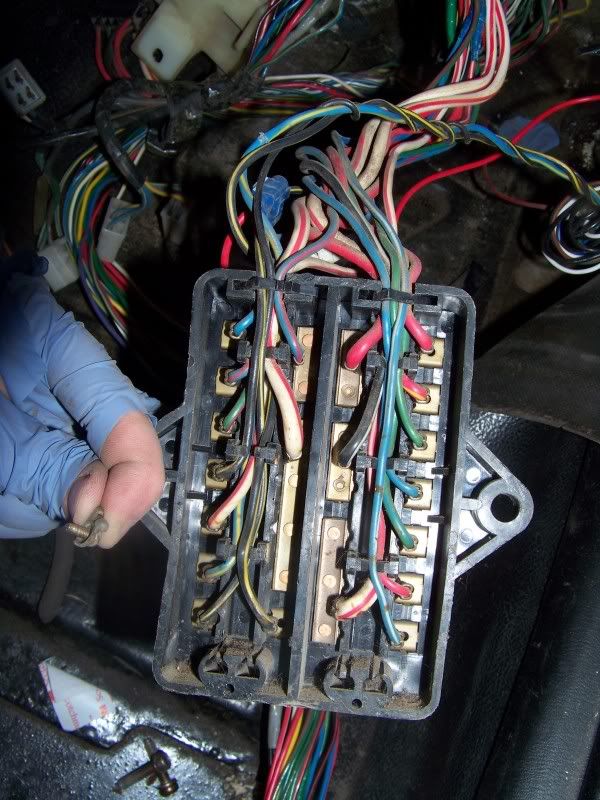
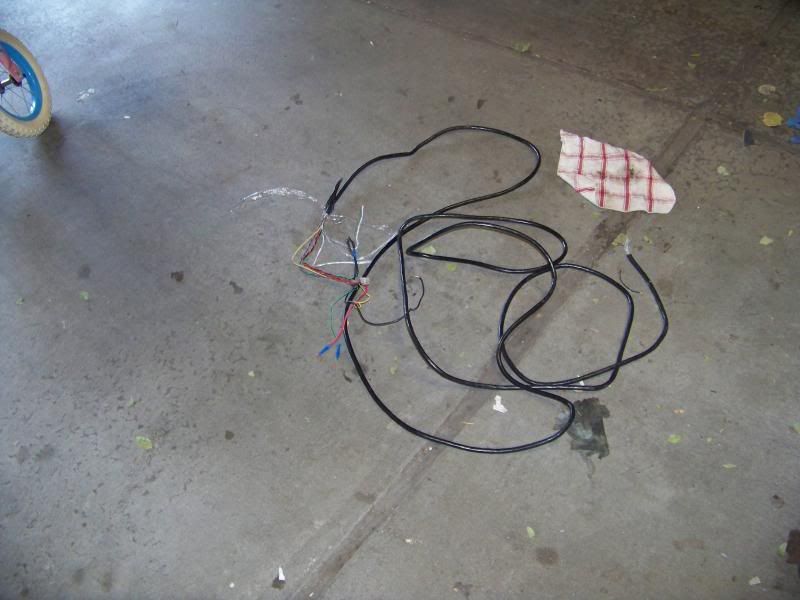
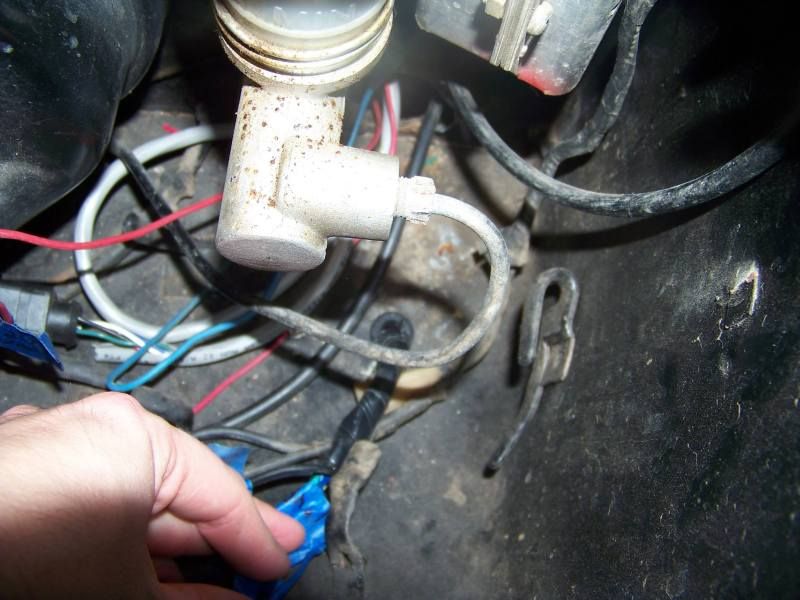
 I have no idea what these are this whole thing somewhat started when I saw those and was pretty sure I didn't need them.
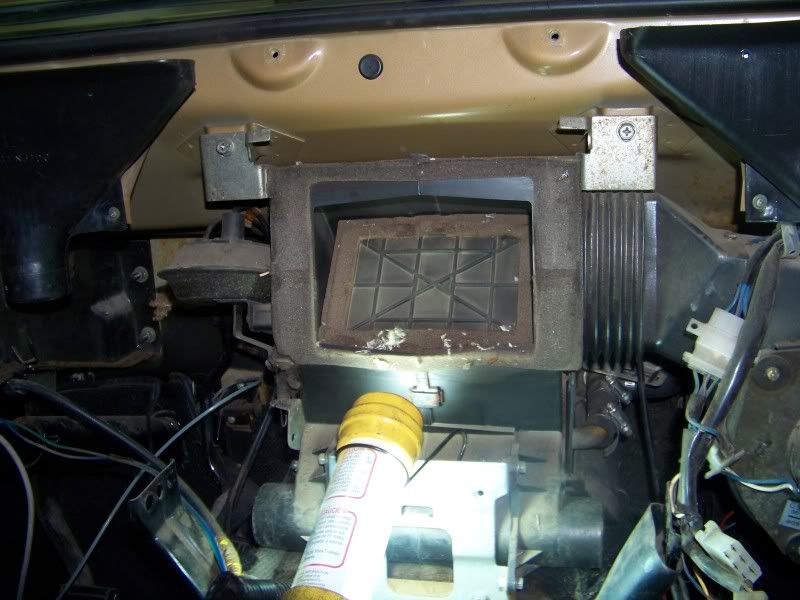
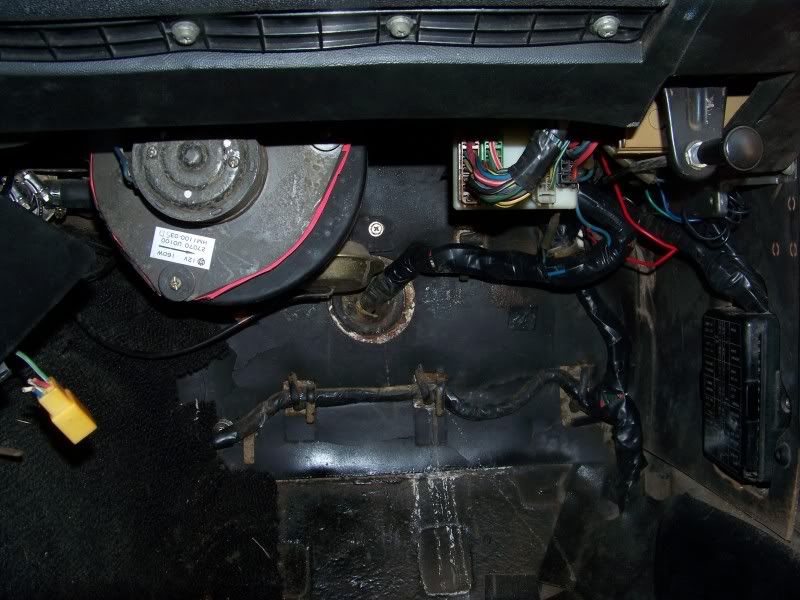
 Heater Core vent stuff I think I am going to try and find a good replacement for that foam all along the outside of the housing
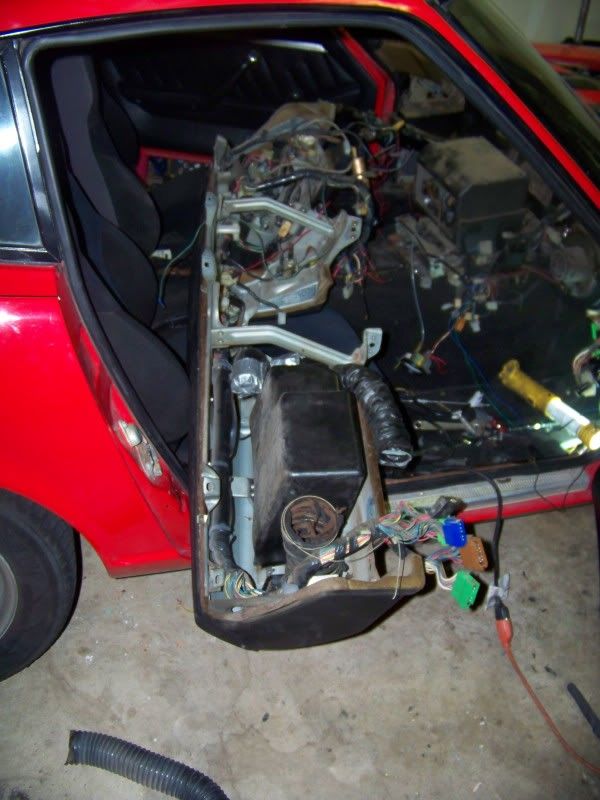
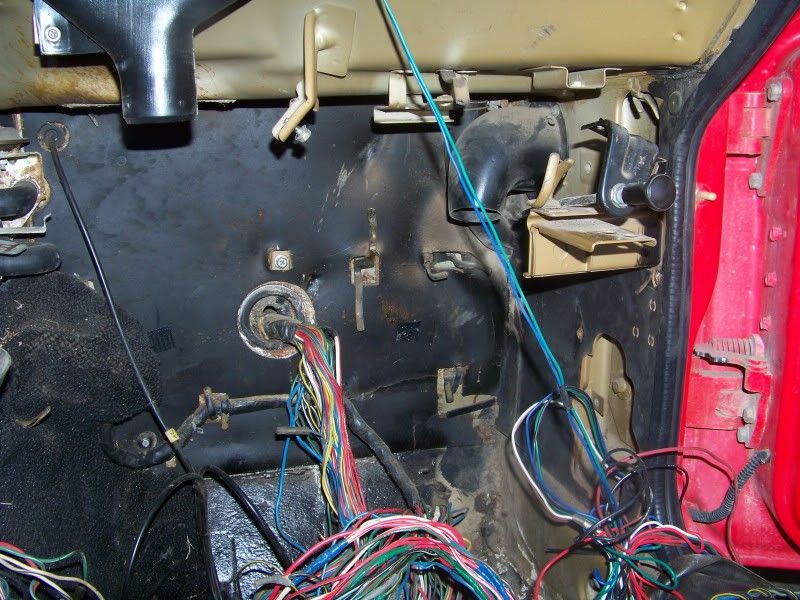
 Just some empty space
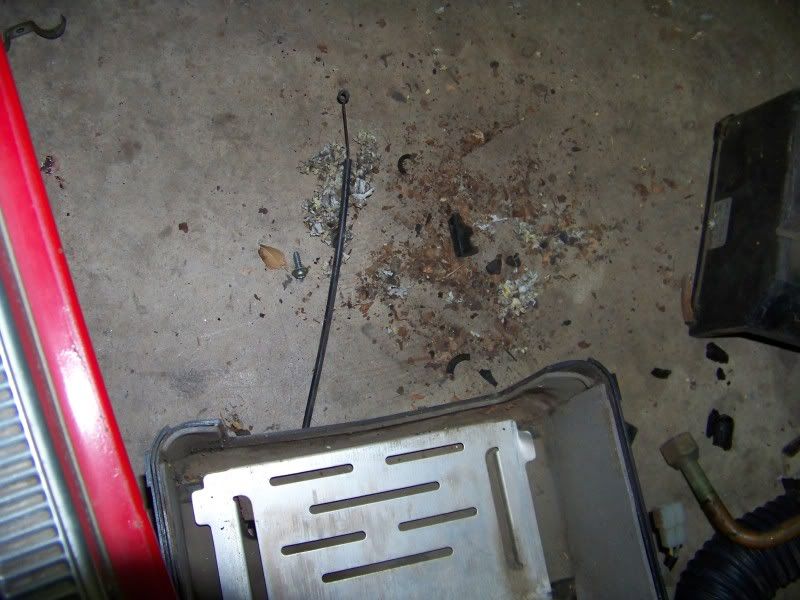
 When my car sat for 5 years in a shed at my family's farm mice got into it this is some of the junk I got out
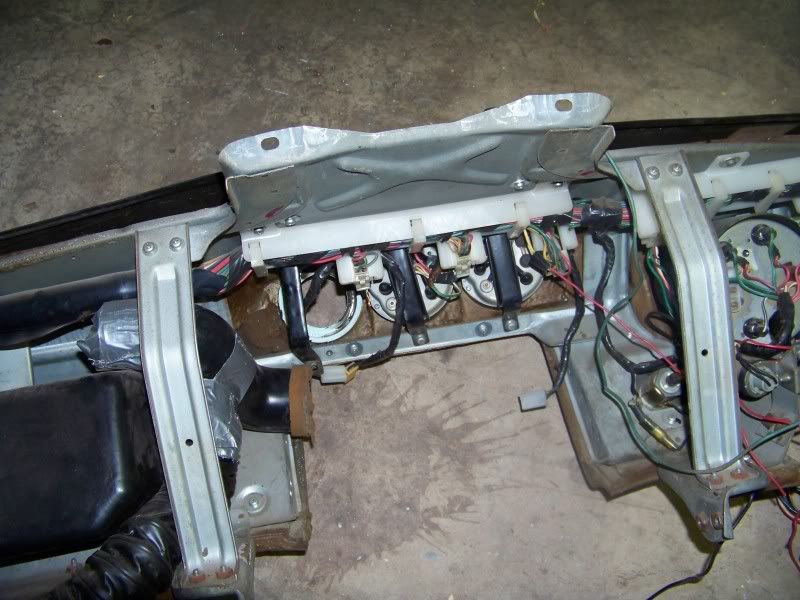
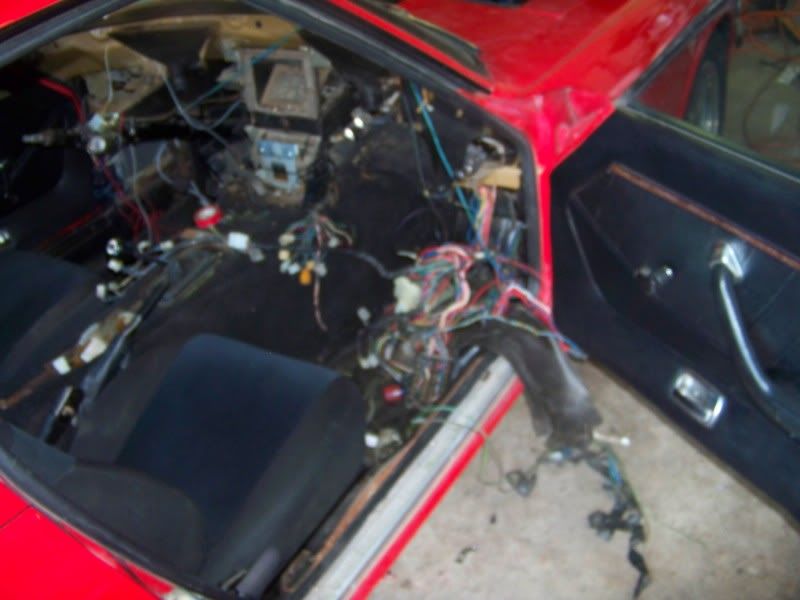
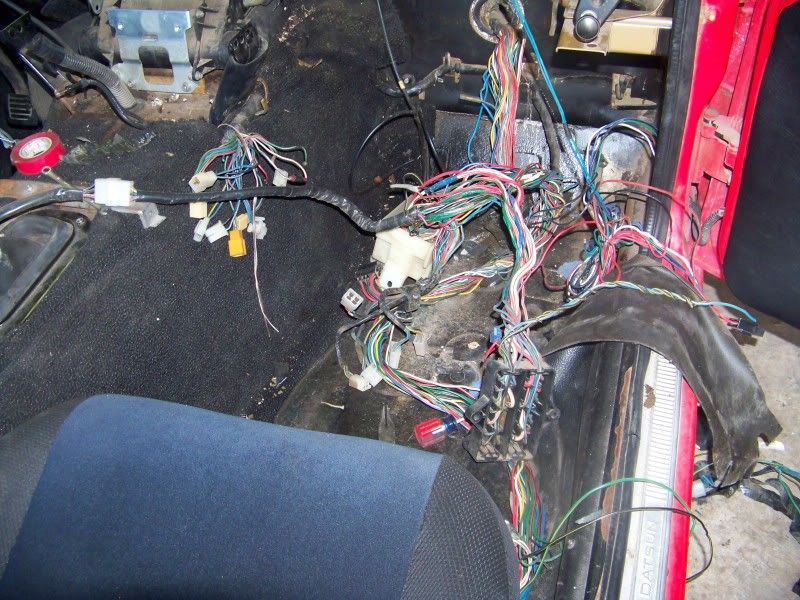
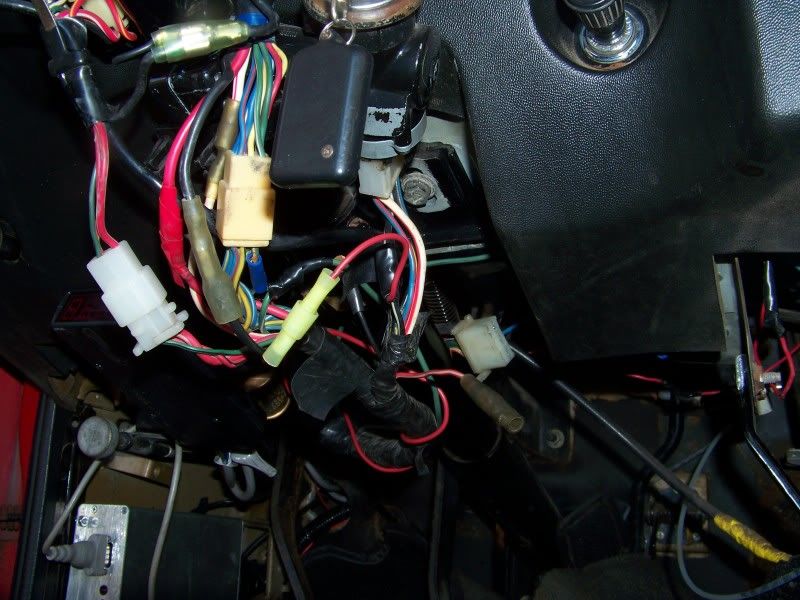
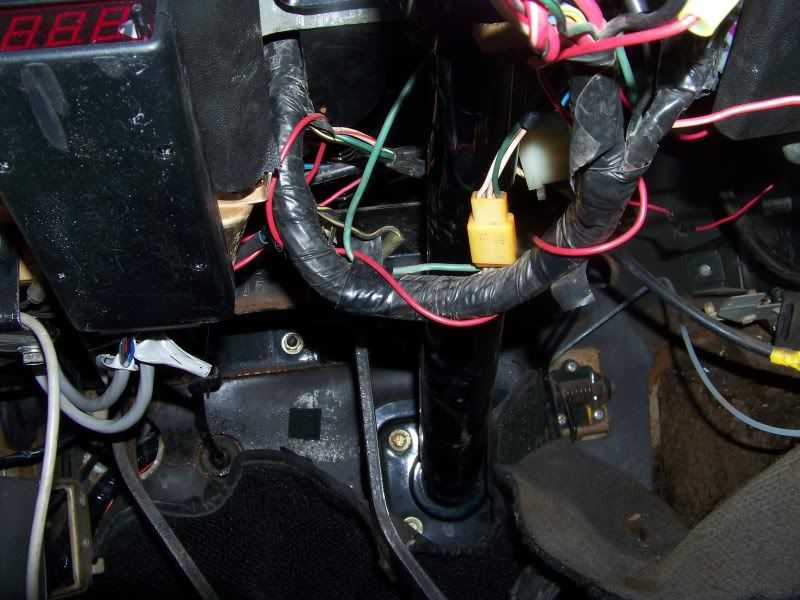
 Some Shots of the back of the dash I will post some pictures of the cracks in the dash that the cap covers in a few days.


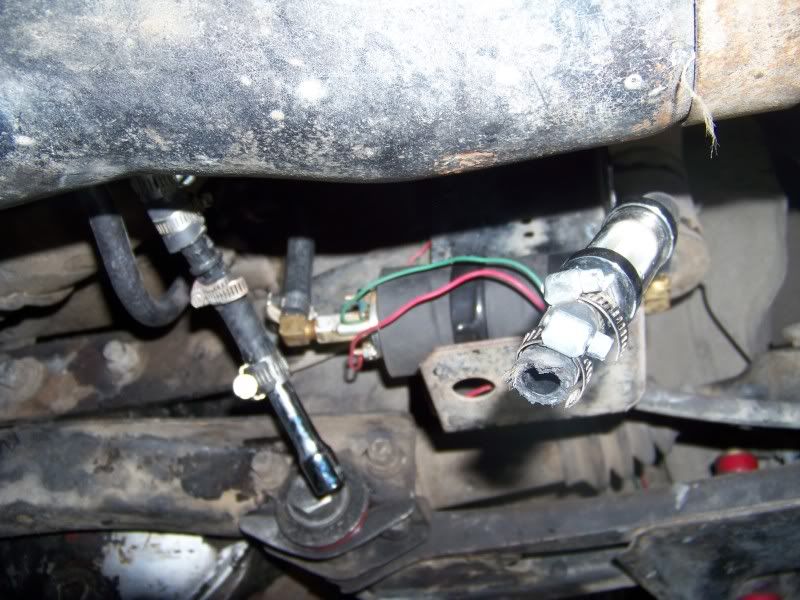
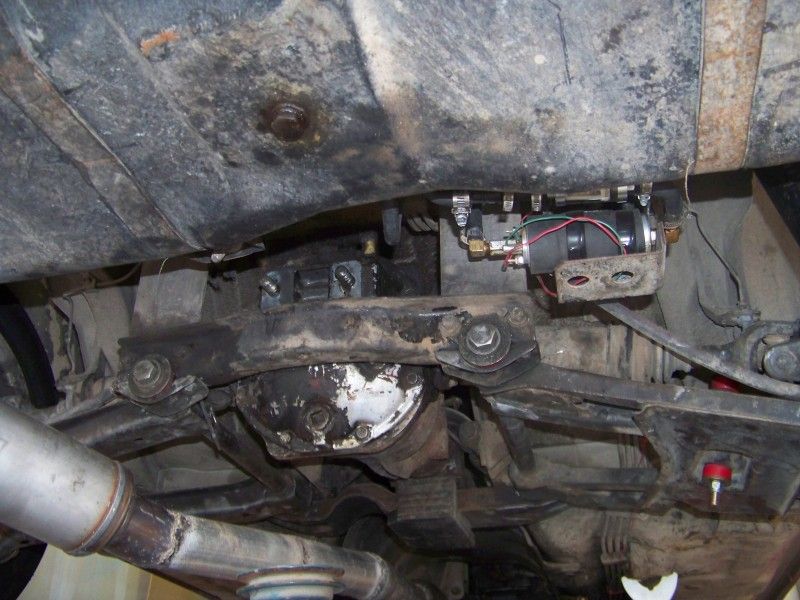
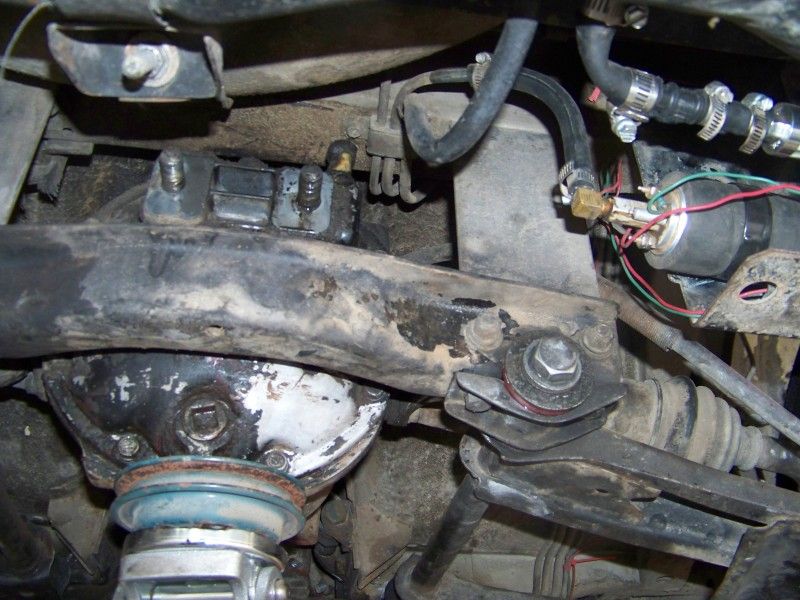
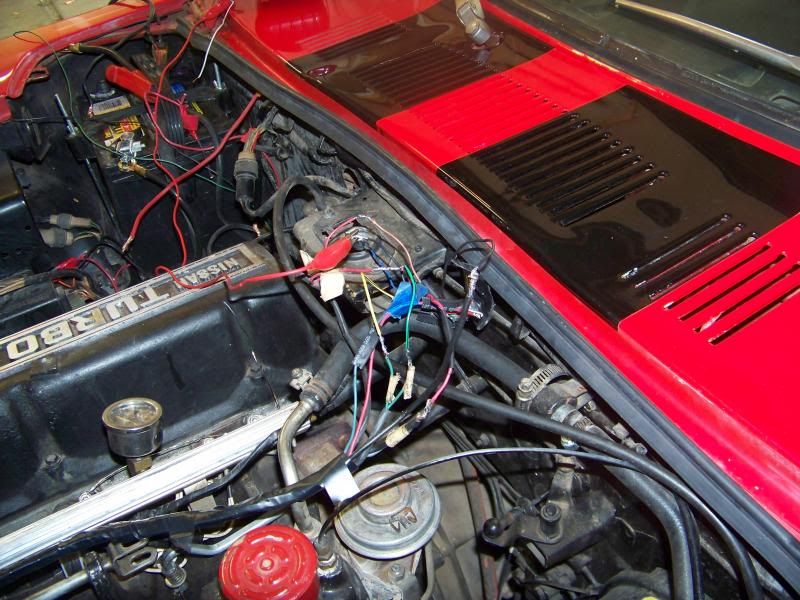
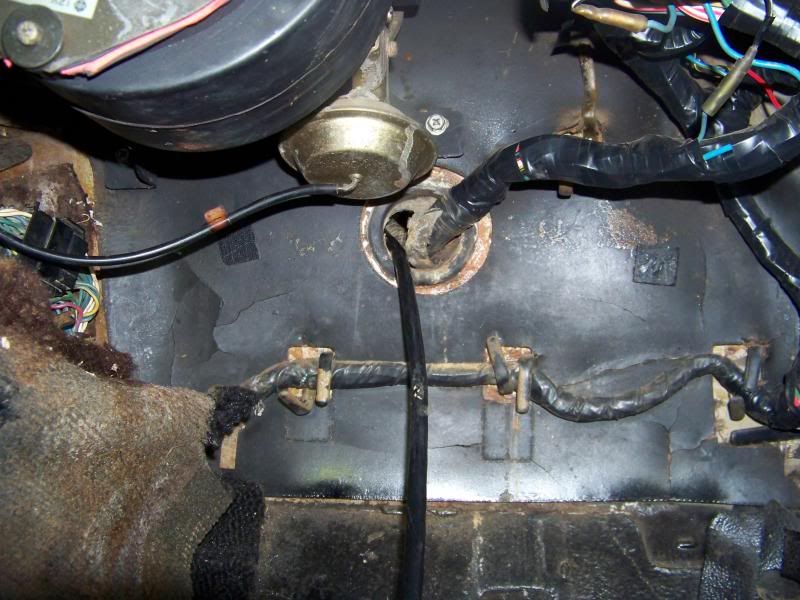
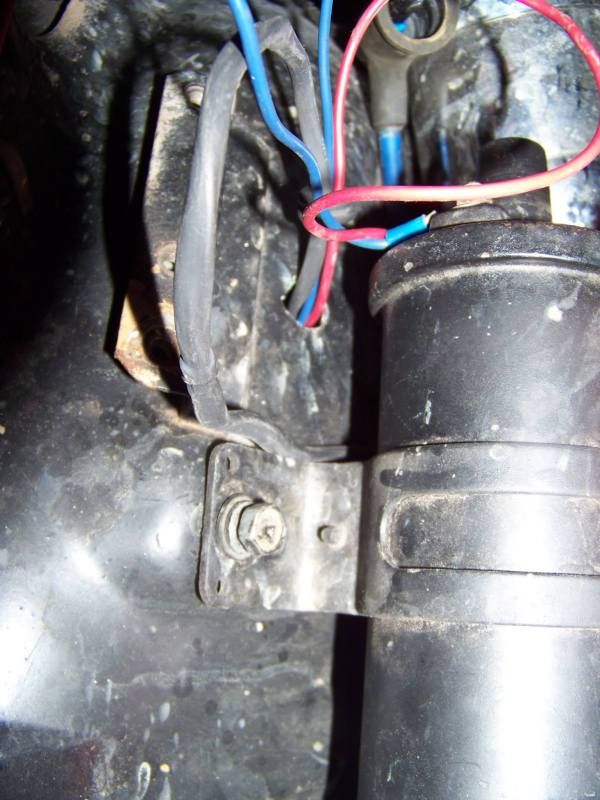
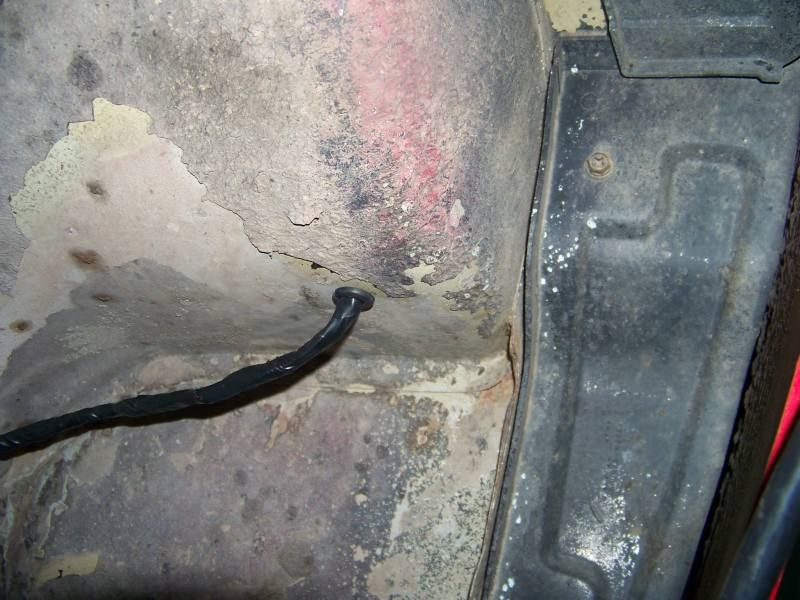
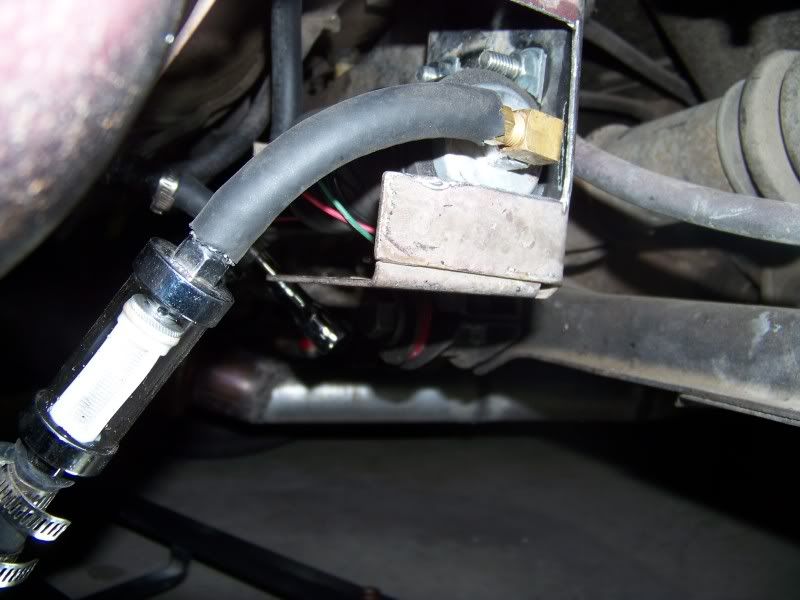 Now the fuel line will run beside the pump then loop back to it, I am planning on putting a different fuel filter there hopefully with a bigger inlet and outlet.


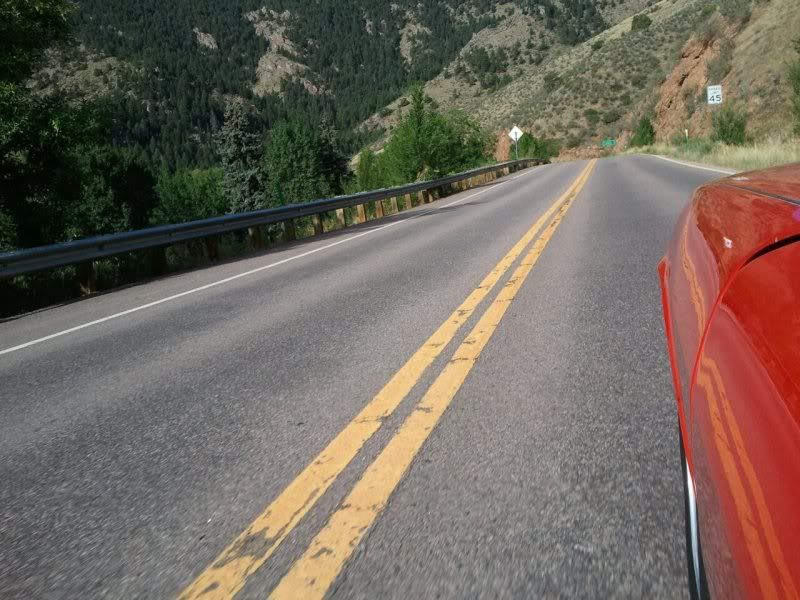
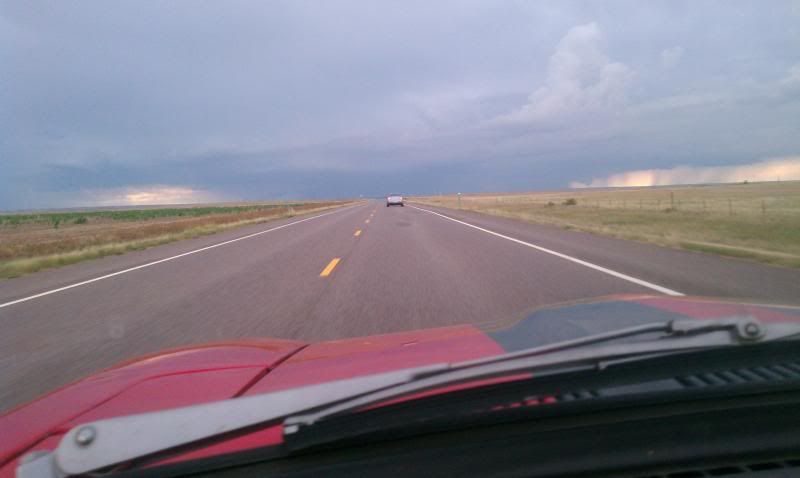
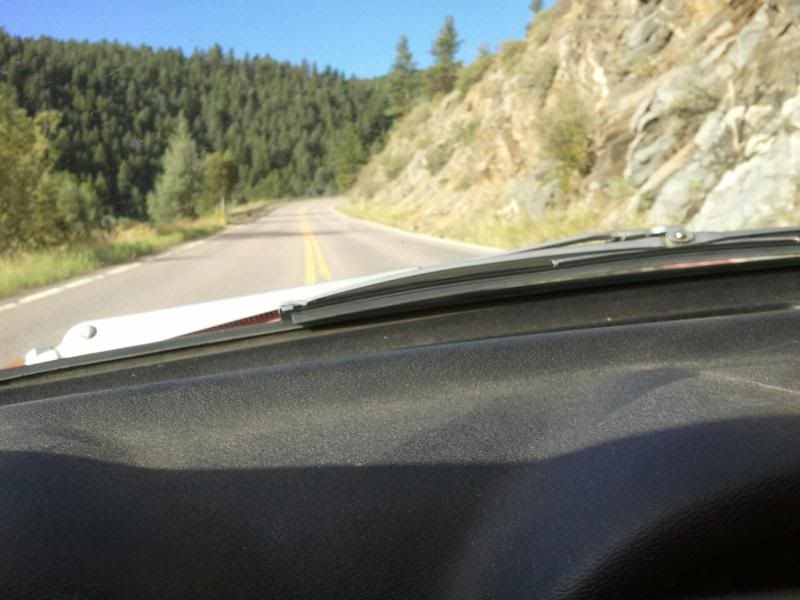 Heading back from the mountains
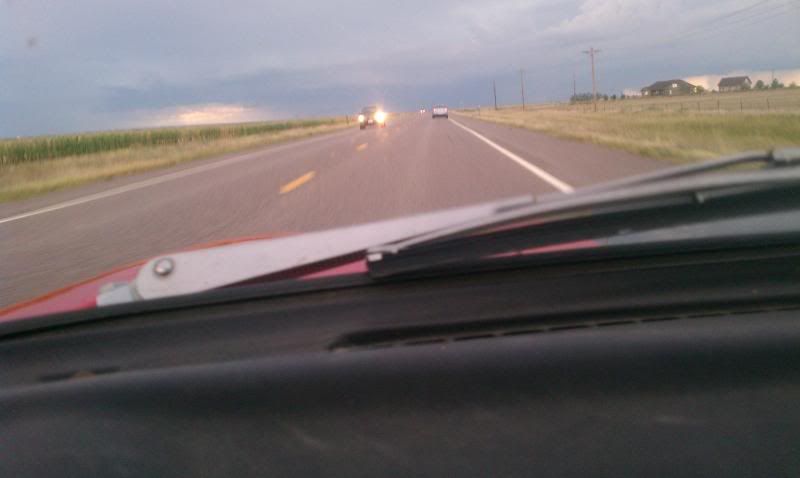
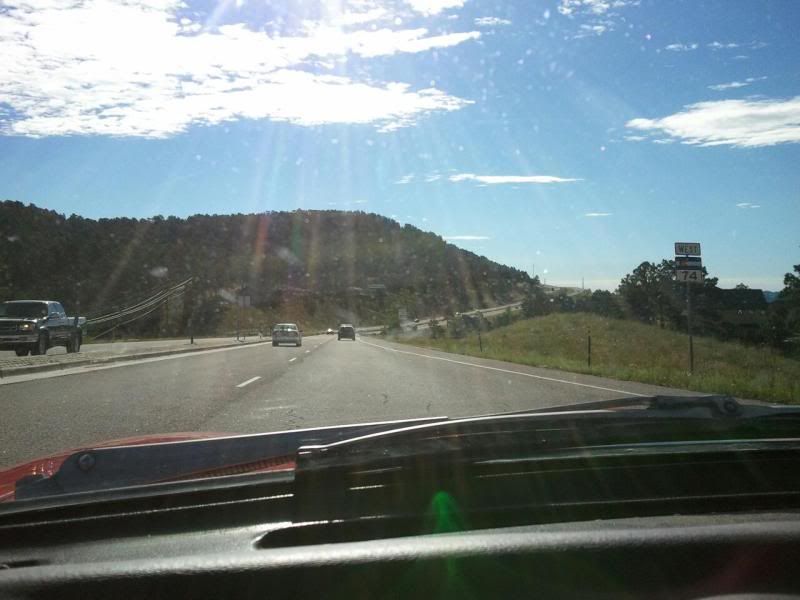 Back to civilization
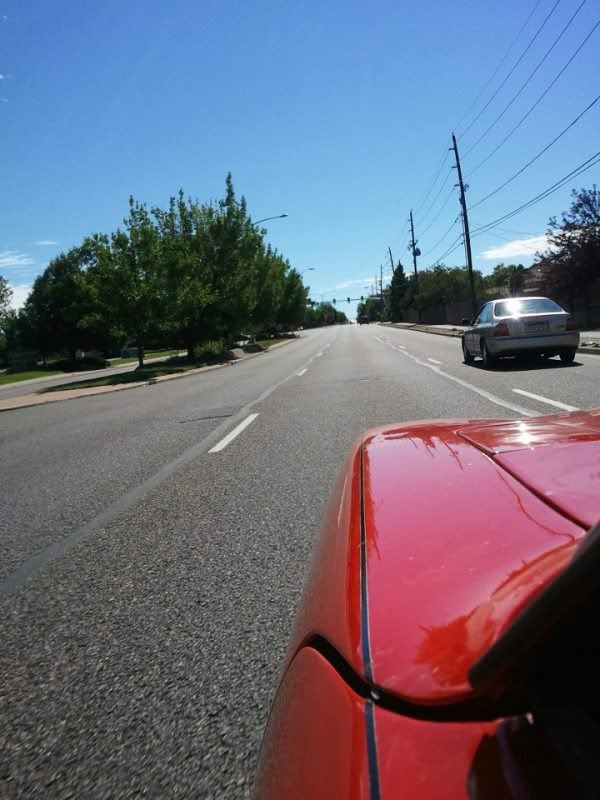
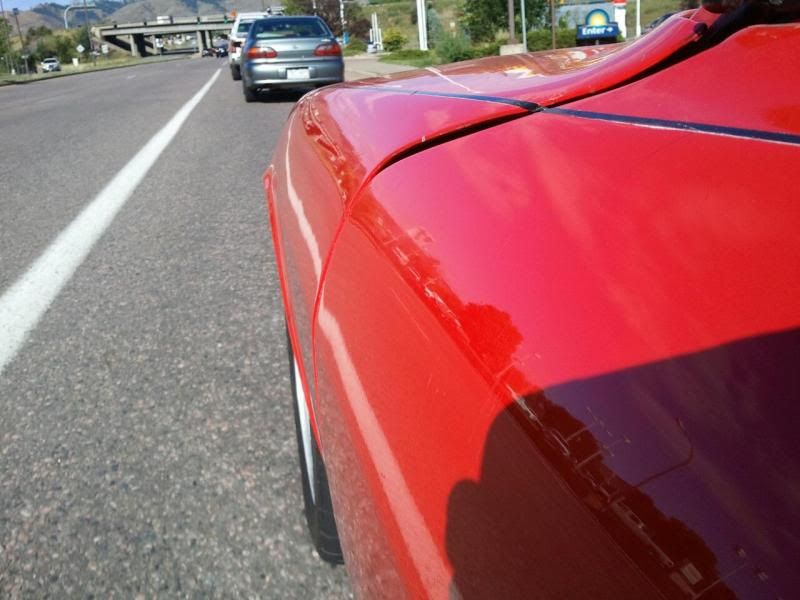 Almost Home

 I moved the datsun Sticker to above the plate I saw someone else had it there and really liked it.
 Out with the old grease and bearings.
 New Lugs new races
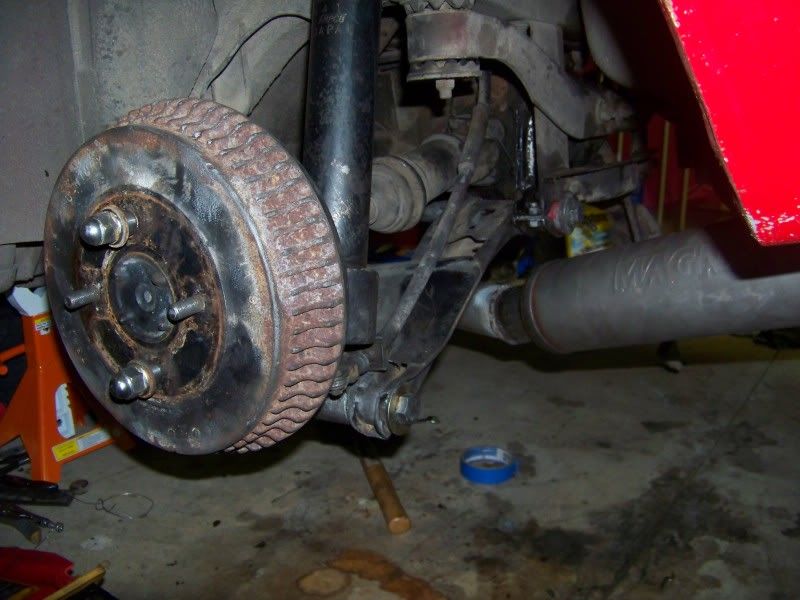
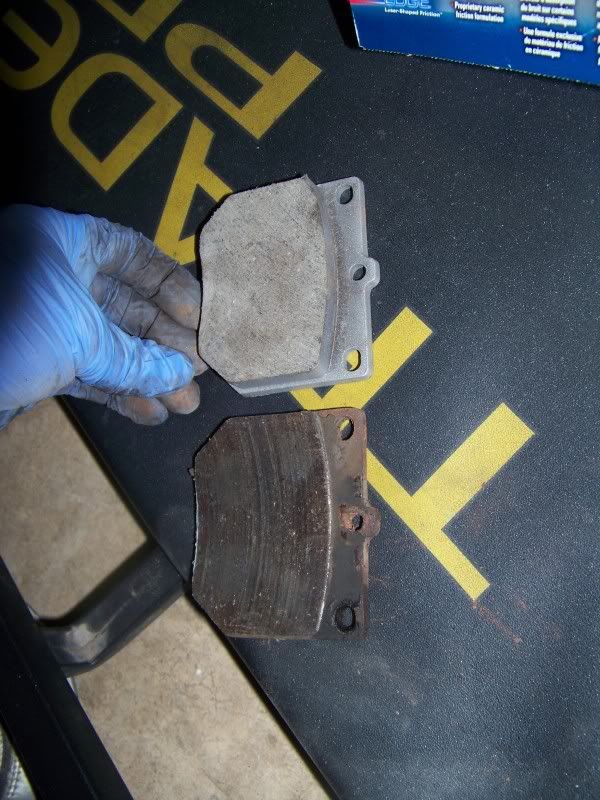
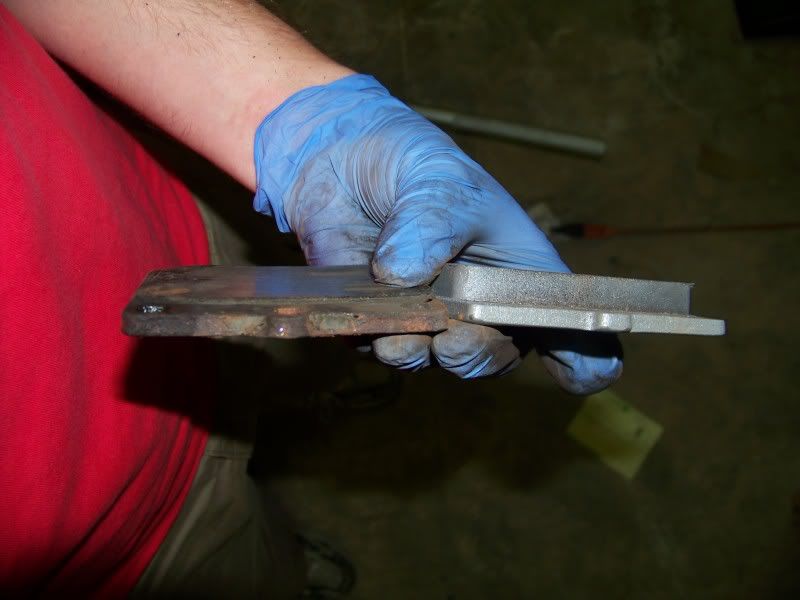
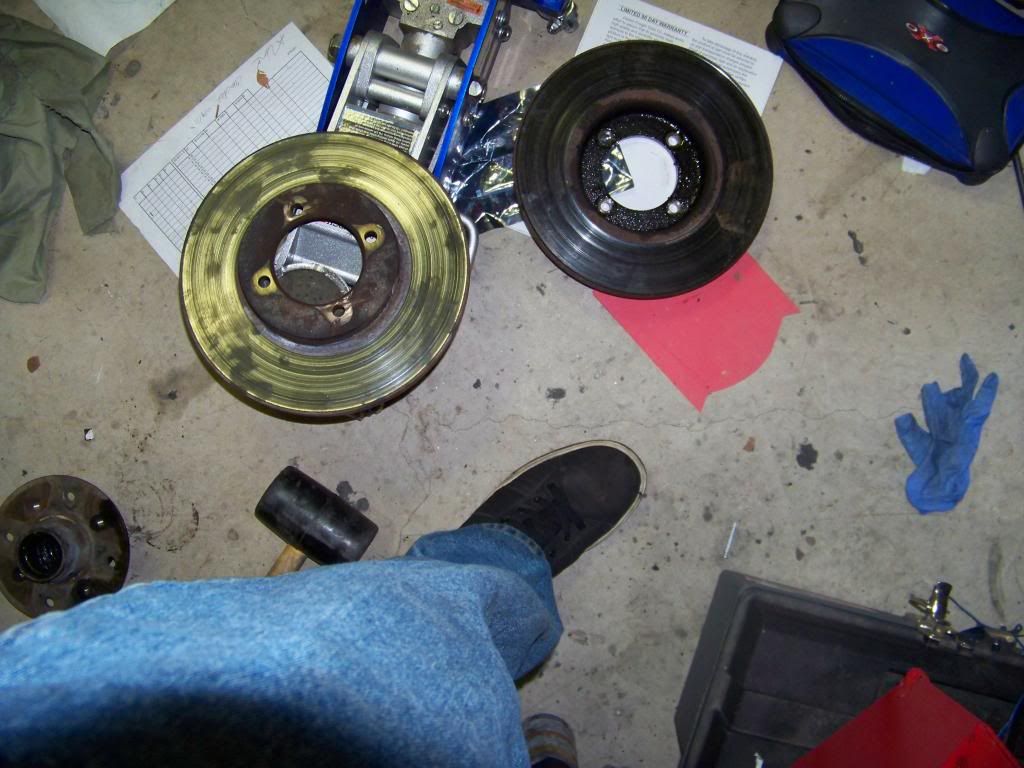
 Old rotors (they were in spec, and those those are my shoes!
 Cleaned up
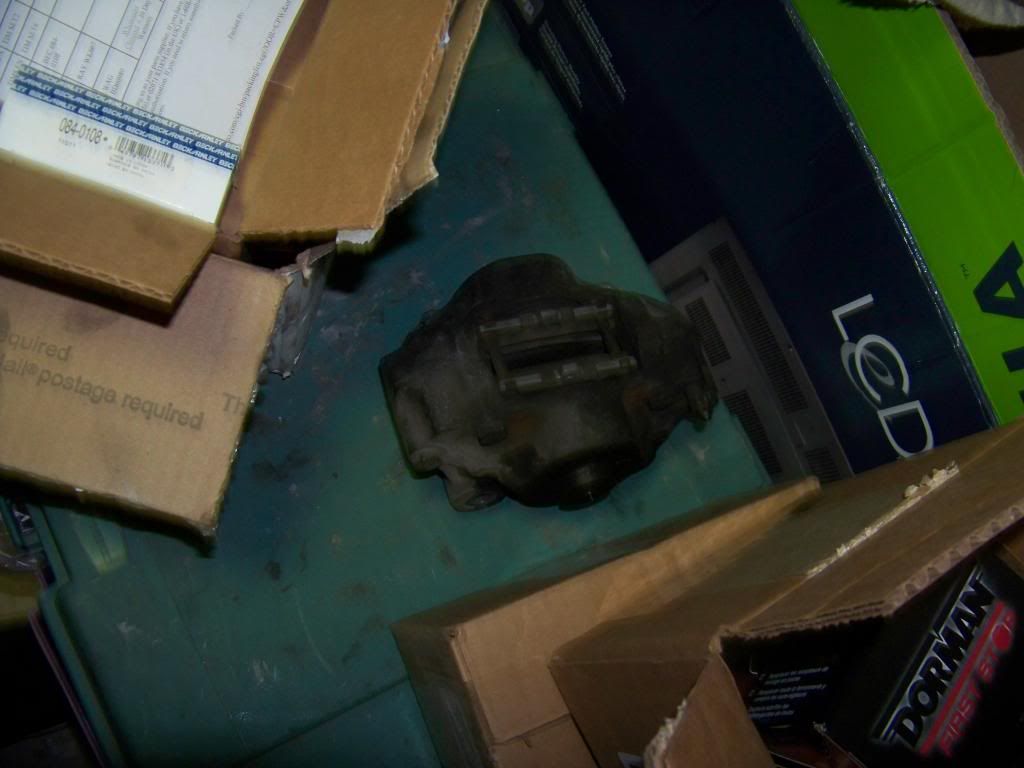
 old frozen calipers
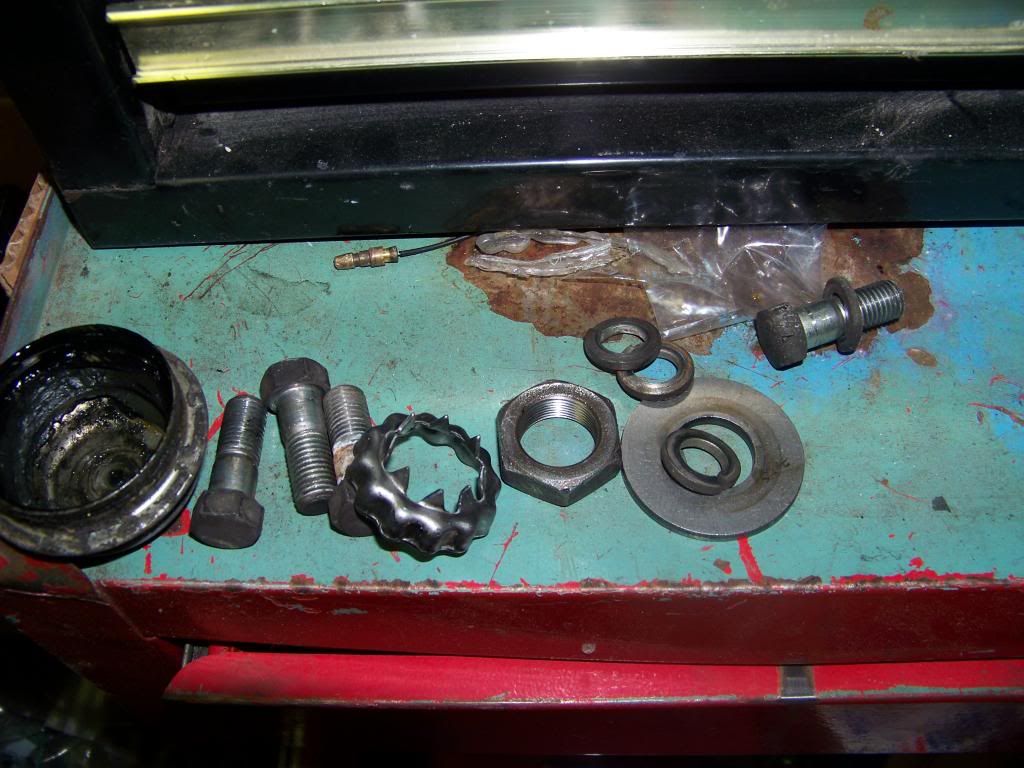
 Hardware all cleaned up, well most of it

 This M3 was very very fast!
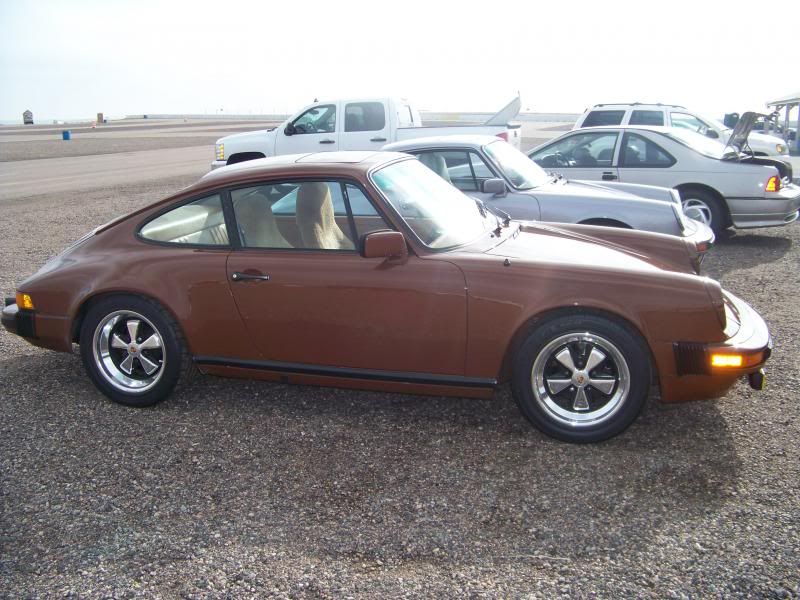
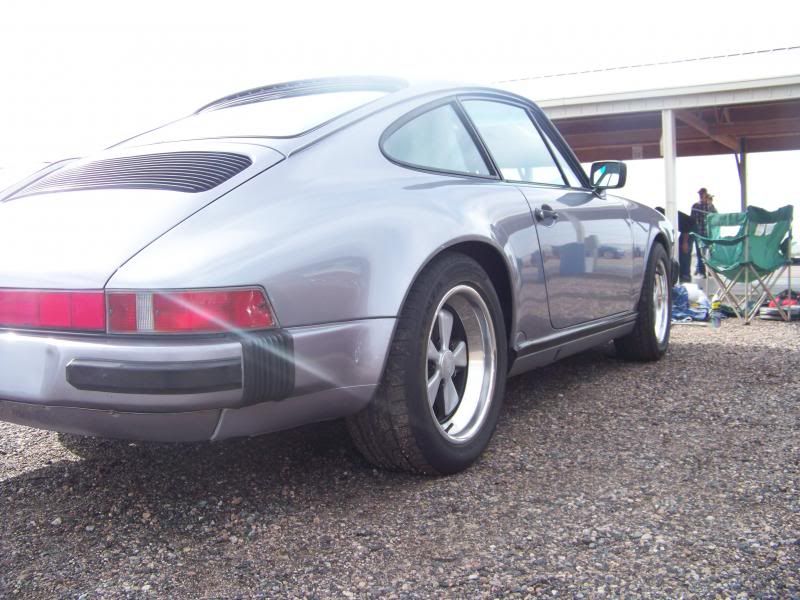
 They are porsches who can say no?
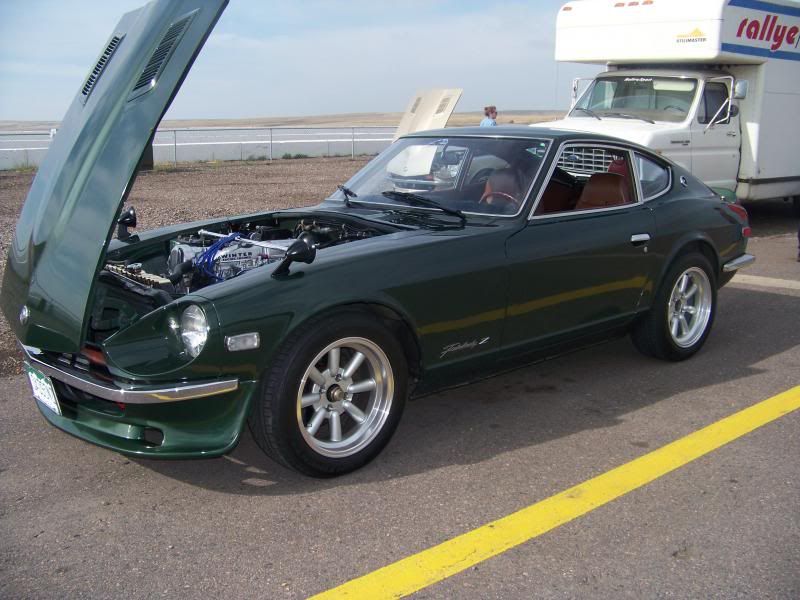
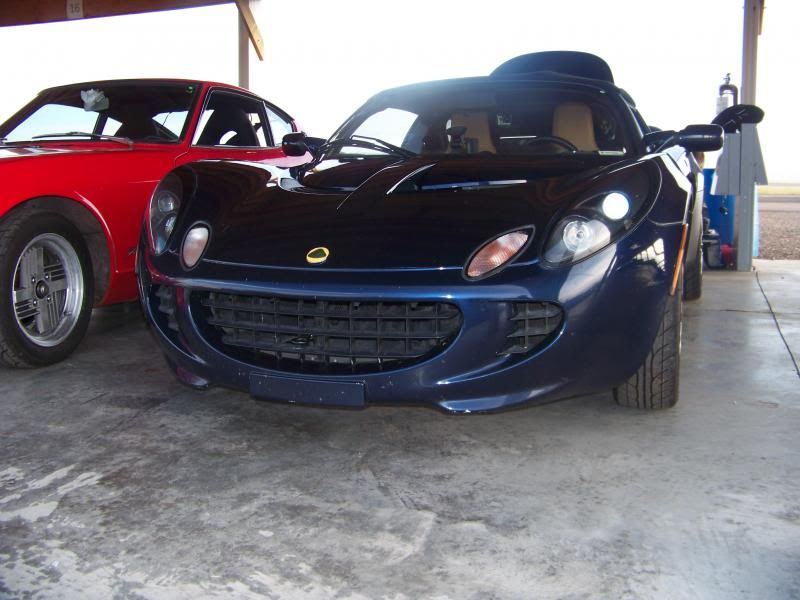
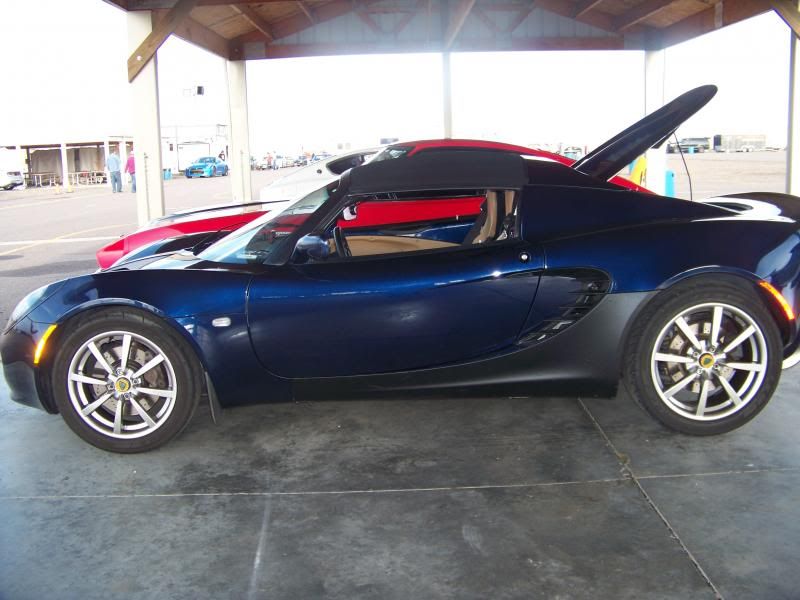
 The lotus driver was Super cool, along with the Porsche that park behind him (I didn't get a picture of it it was a carrera, and I got to ride in it)
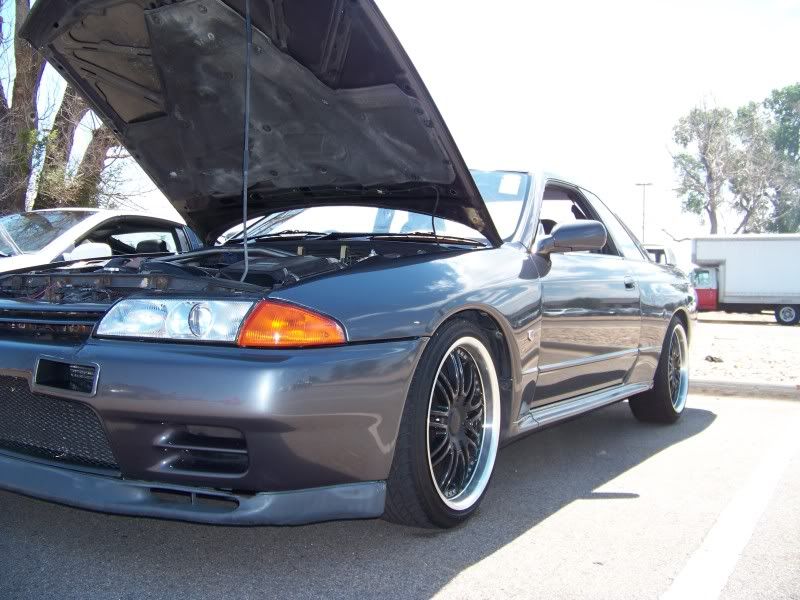
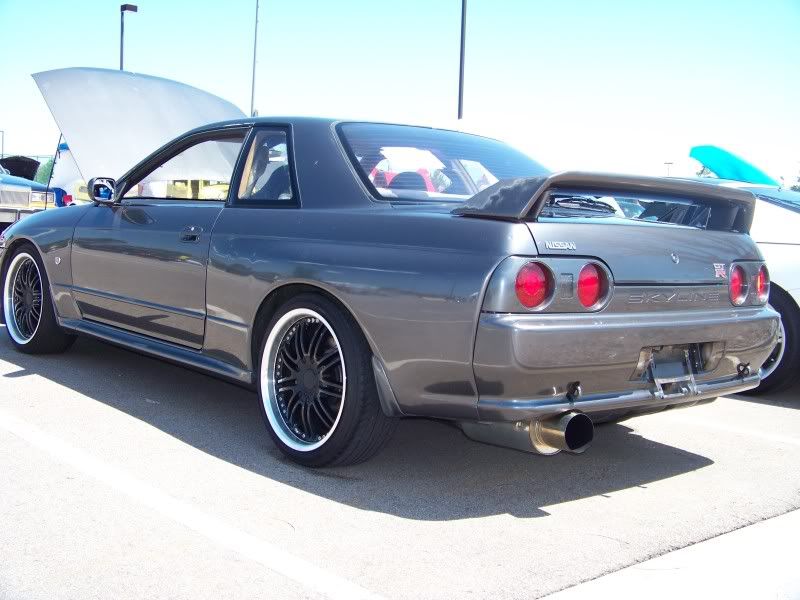
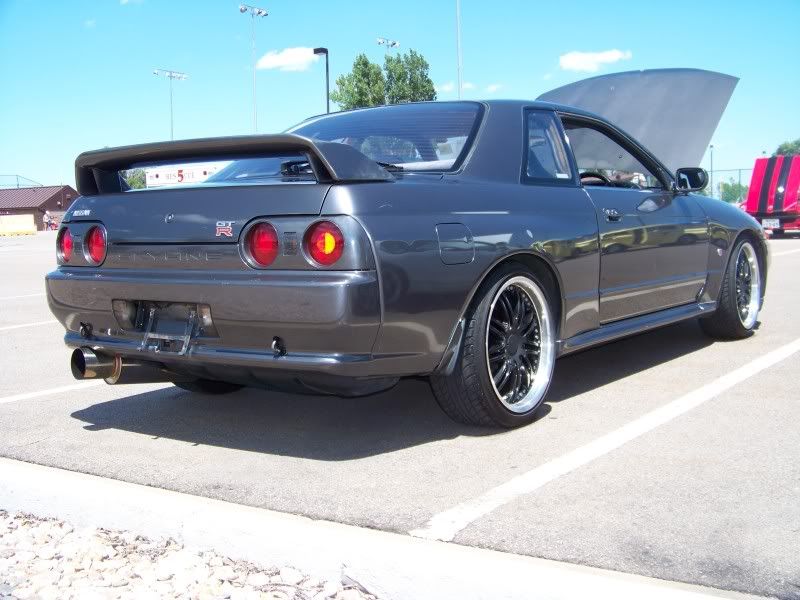
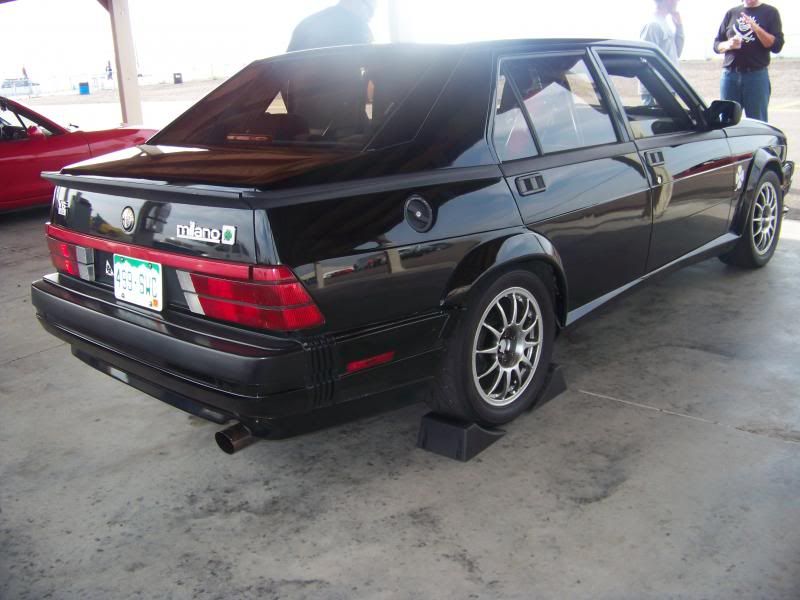
 Alpha anyone?
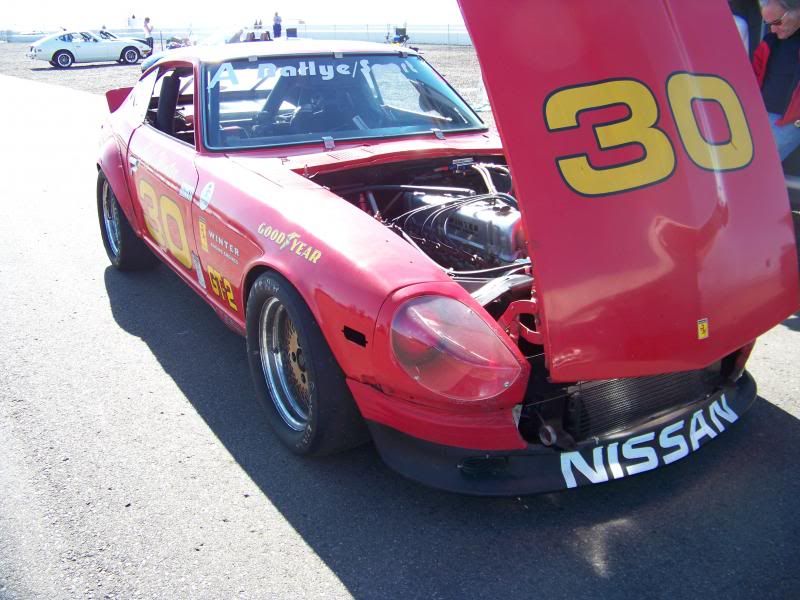
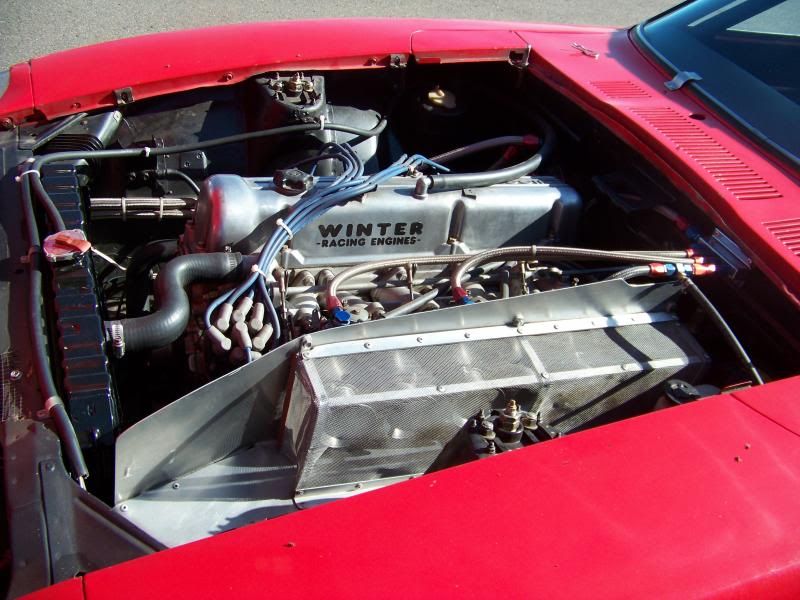
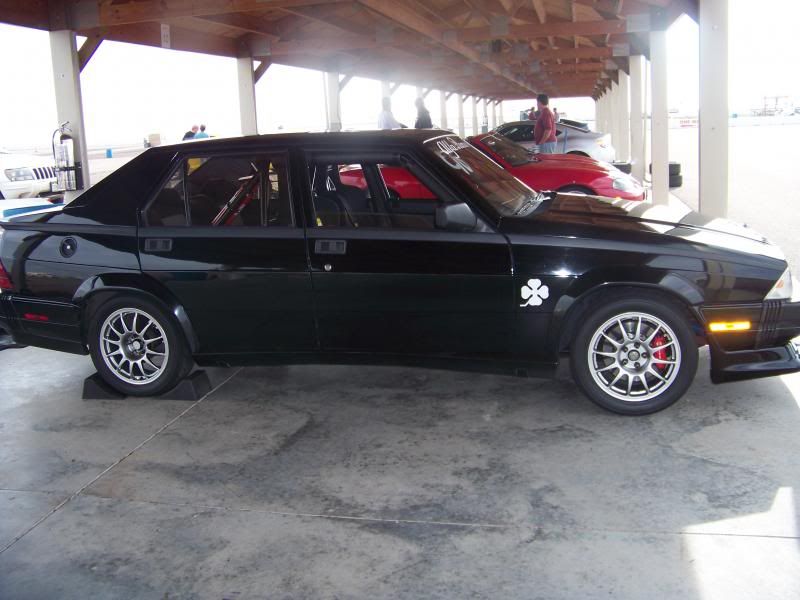 I also got to ride in Jeff Winters car it is very cool, loud and fast, the most amazing part is watching him drive it, and how well it handles.
 [IMG]ttp://i1225.photobucket.com/albums/ee390/aaronwarren/100_1130.jpg[/IMG]
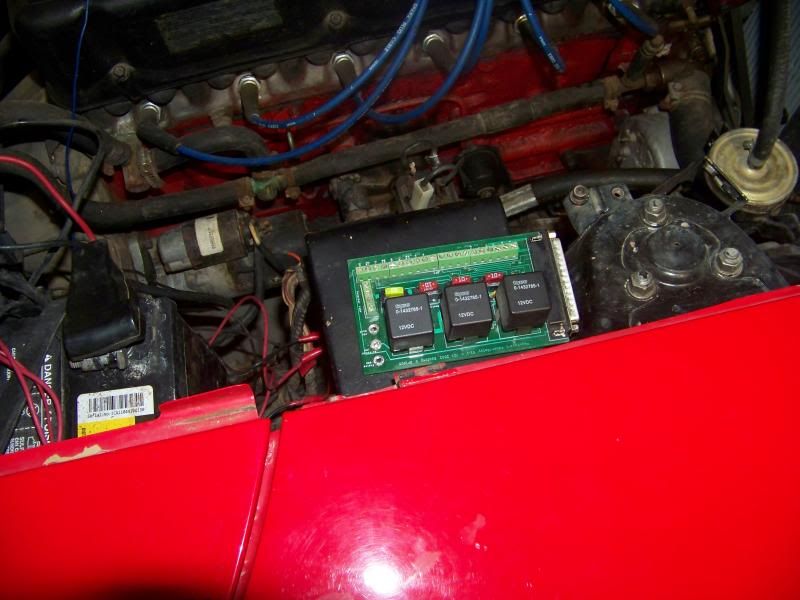
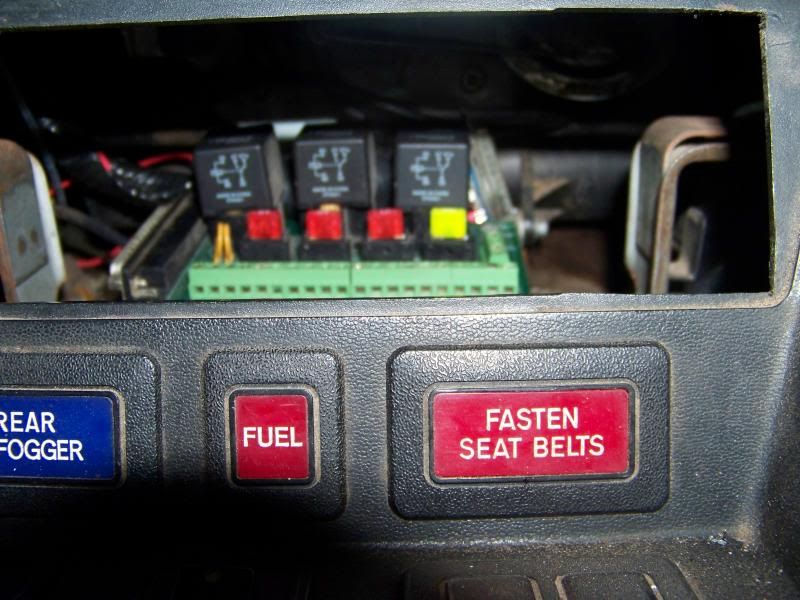
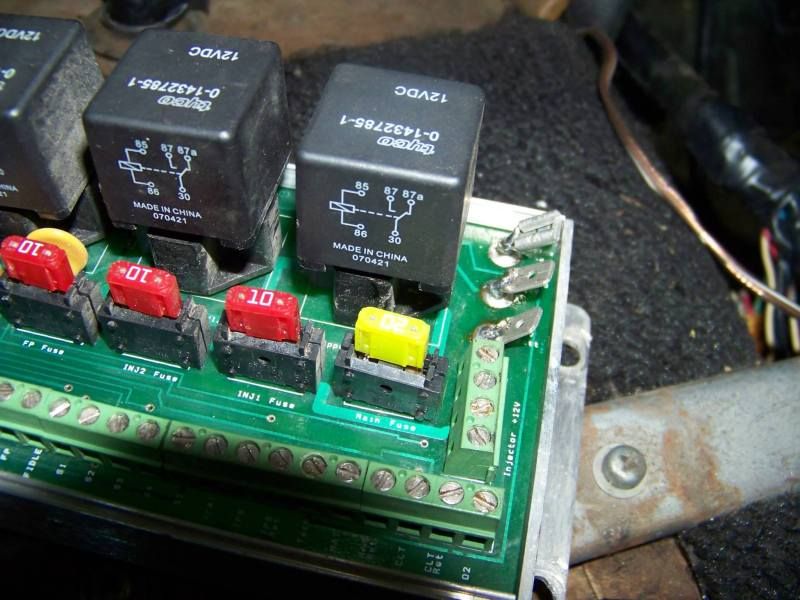
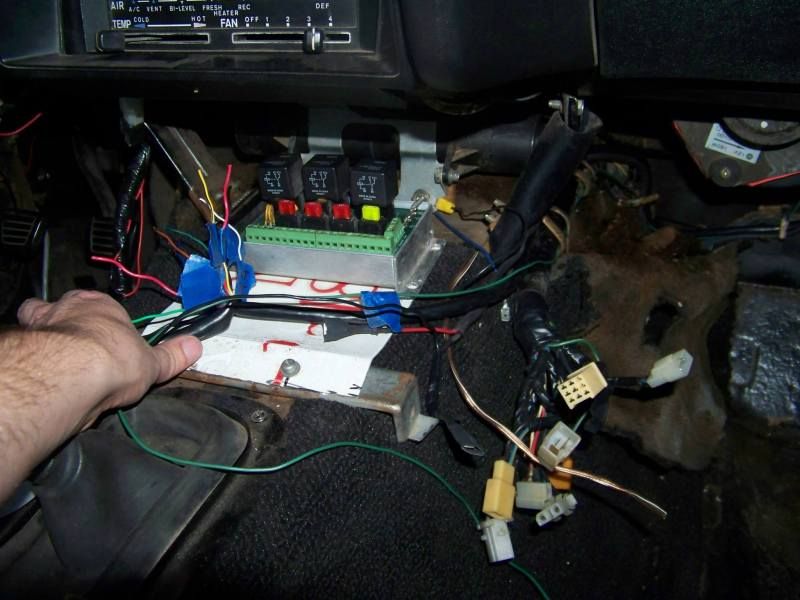
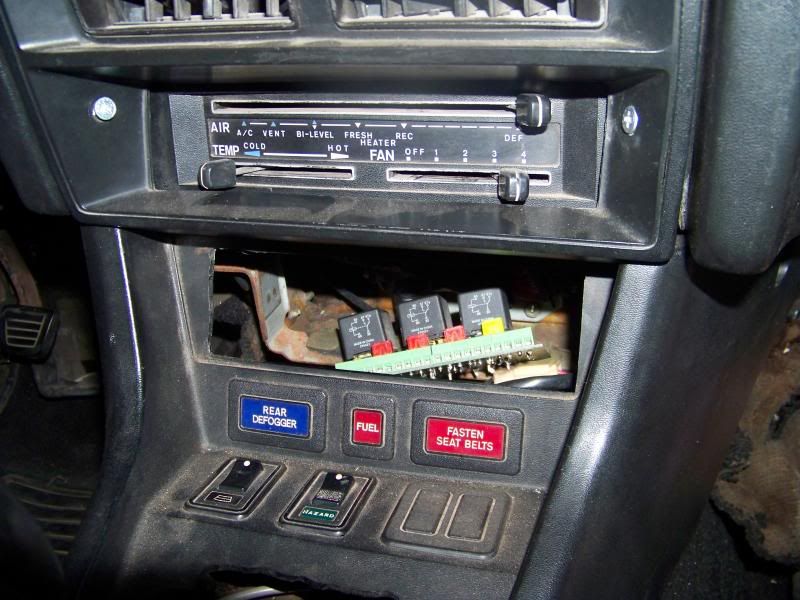 The relay board cleaned up
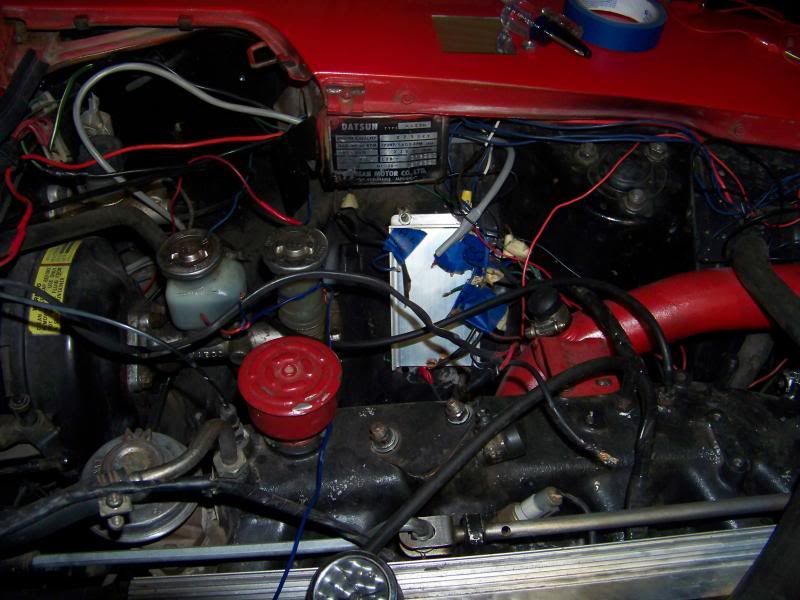

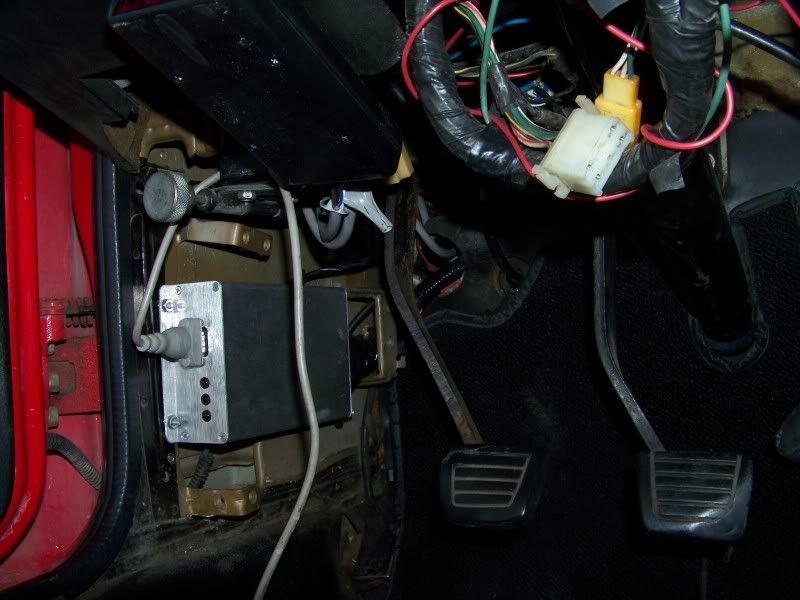
 Megasquirt itself
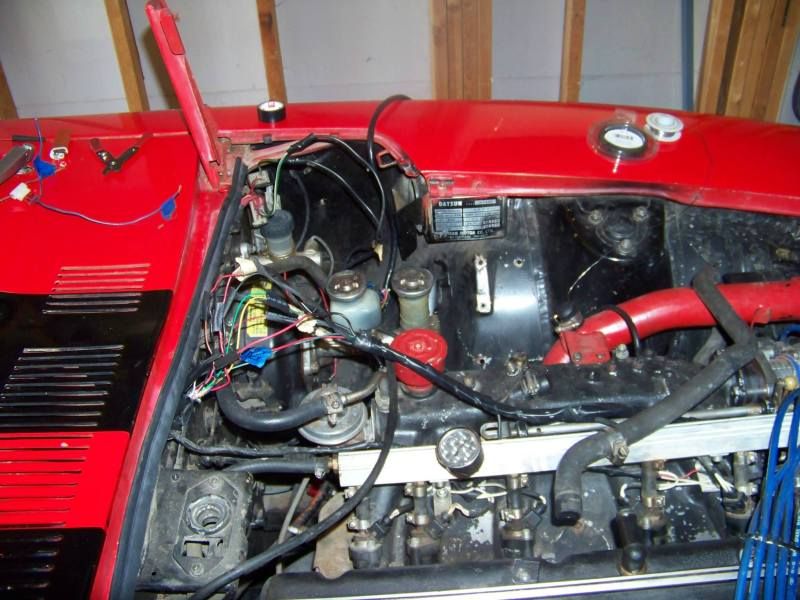
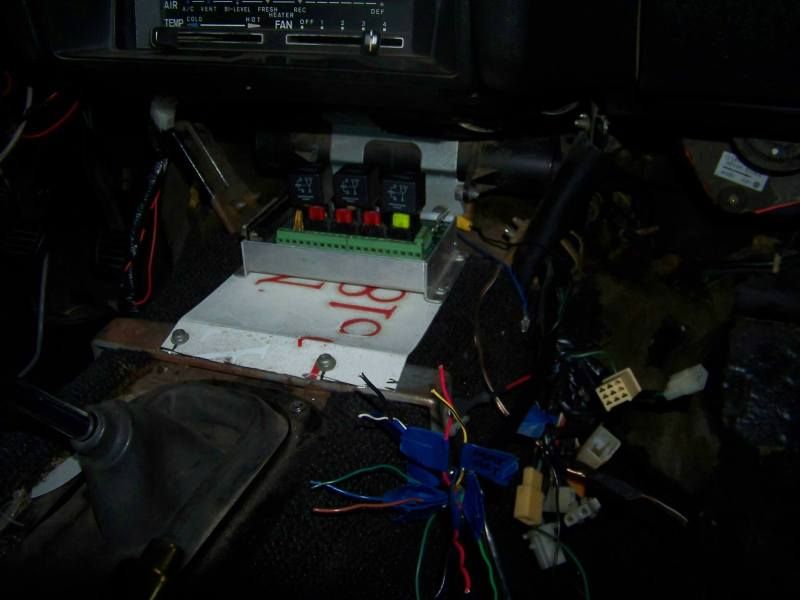
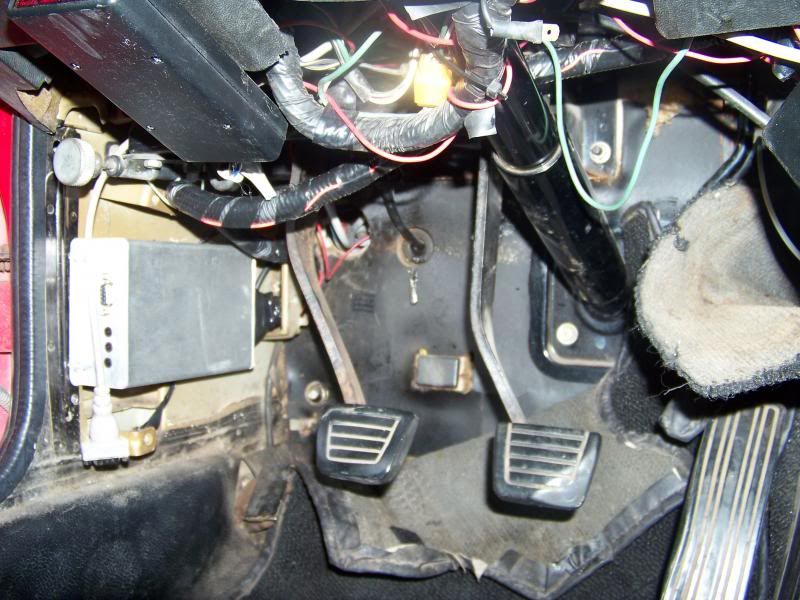 The new location for the relay board

 Two out of three of my little helpers!