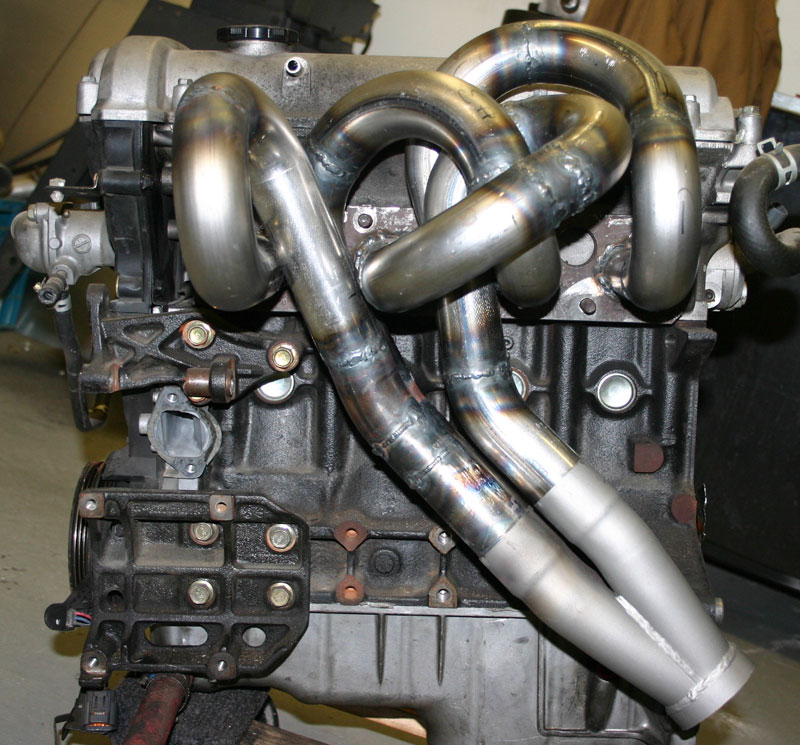
I dunno, looks to me like you had loads of room! I had to work a little harder to get package 10' of primary tubes into a Miata engine bay.
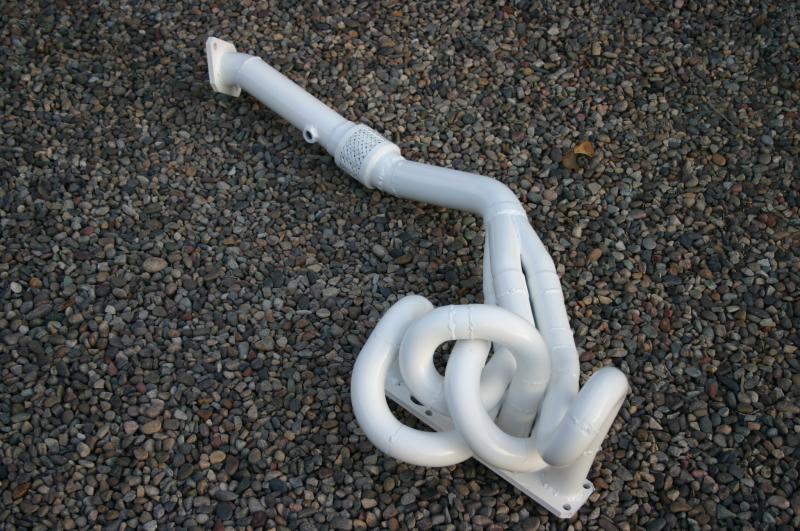
How it started...
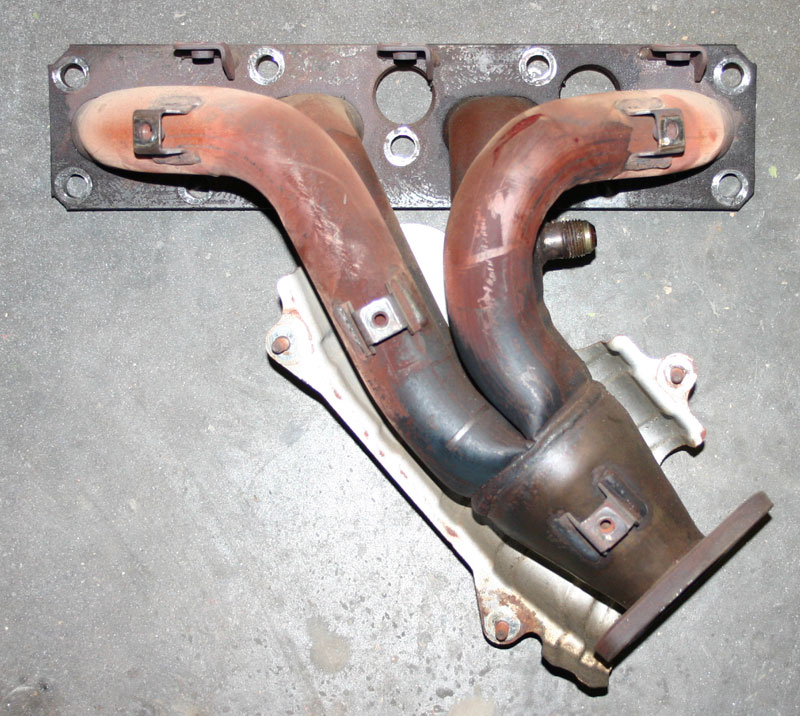
How it finished...

Photography by Tim Suddard
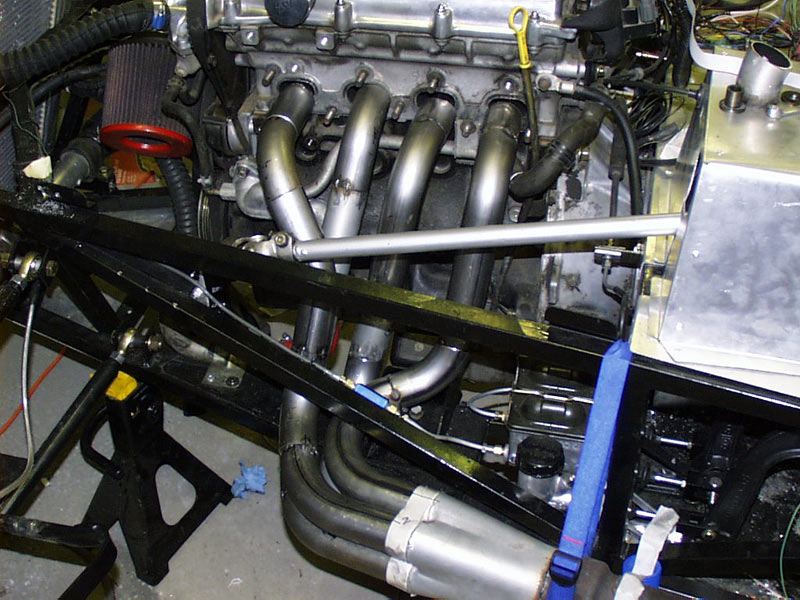
Our Elva sports racer arrived incomplete and unassembled. Among the missing parts, an exhaust header for its Coventry Climax engine.
While we saw a few pictures of what this header should look like, actually designing one seemed rather daunting. Never mind designing a header for maximum performance, just making it fit among the chassis’ many tubes seemed rather challenging.
And then we got lucky: A reader who owns the sister car to ours had an original header. Did we want to borrow it?
We now just had to find a pipe bender good enough to do the correctly job. Enter Jack Burns, an old friend who recently retired from Burns Stainless, one of the country’s premier header manufacturers. For a reasonable fee, he said, he could help us.
He first sourced the flanges and tubing from Burns Stainless. Then, working via the photo and some measurements from our chassis, fabricated a replacement header for us.
He made a few improvements, too, to increase durability as well as flow. One of his primary complaints with the original header was the way the two halves were just bolted together. He told us that a spring clamp would still allow the header to come apart for servicing while also original to the era and reducing the likelihood of stress cracks.
Since he built the header remotely, he suggested making the rear pipe mounting tab bigger than it needed to be. We can then cut down the tab and source the appropriate heat-resistant mount.
The new header fits like a dream, perfectly clearing every frame tube. It also looks like a piece of art.
I dunno, looks to me like you had loads of room! I had to work a little harder to get package 10' of primary tubes into a Miata engine bay.

How it started...

How it finished...

Keith Tanner said:I dunno, looks to me like you had loads of room! I had to work a little harder to get package 10' of primary tubes into a Miata engine bay.
Amazing work! Someday I hope to learn how to do this, but today is not that day.
The secret is ICEngineworks "header lego" and the inability to realize that you are completely over your head. Here's the whole journey, including dyno testing. I think I was within 3/8" of equal lengths on that thing.
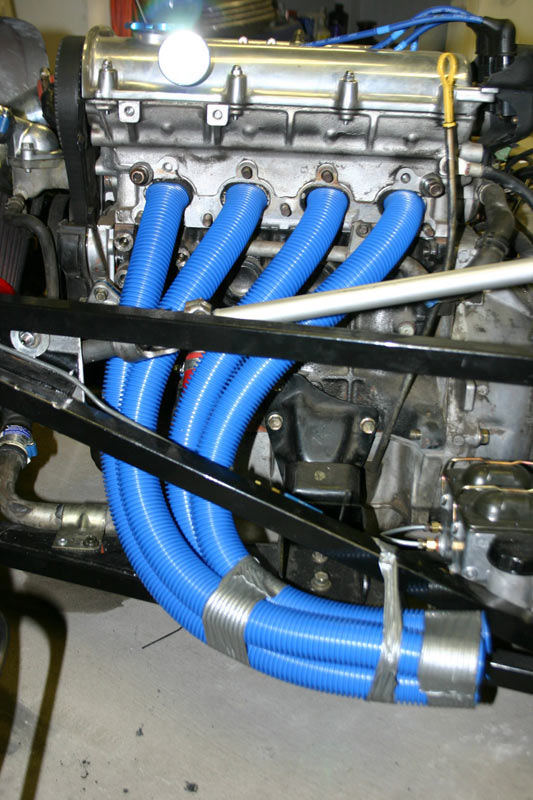
I start with flexible pool hose cut to length to get an idea of general layout.
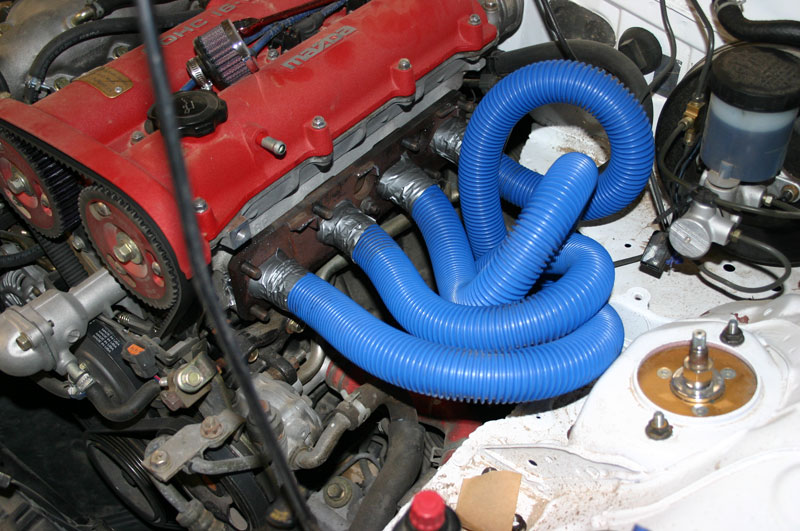
I've built three headers. The one for the MG was a packaging challenge, as they had to go over the steering column and actually were mostly in the wheel wells. I realized I'd never be able to manage equal lengths, this was all about packaging.
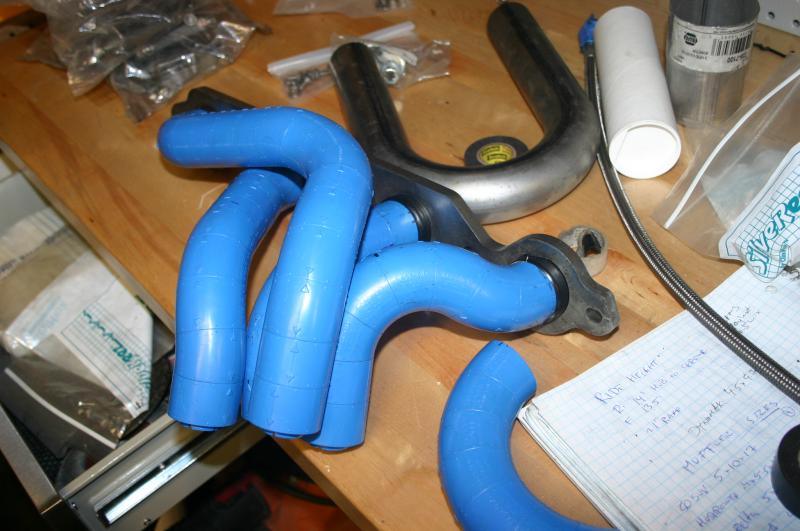
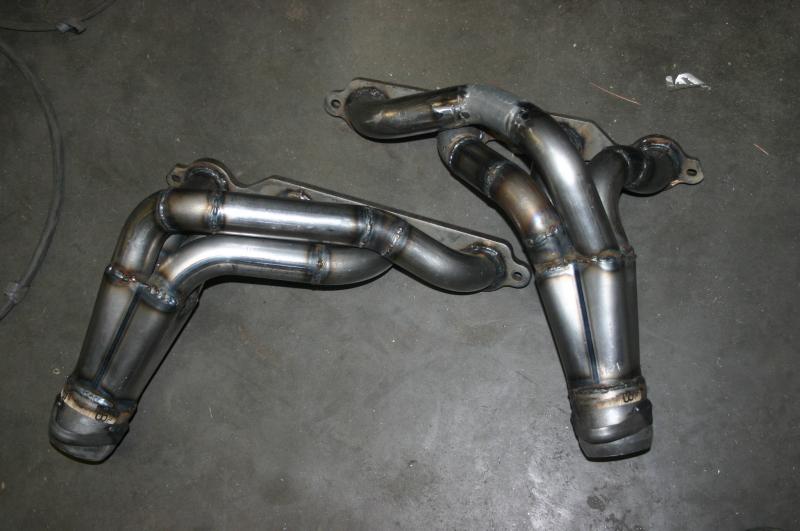
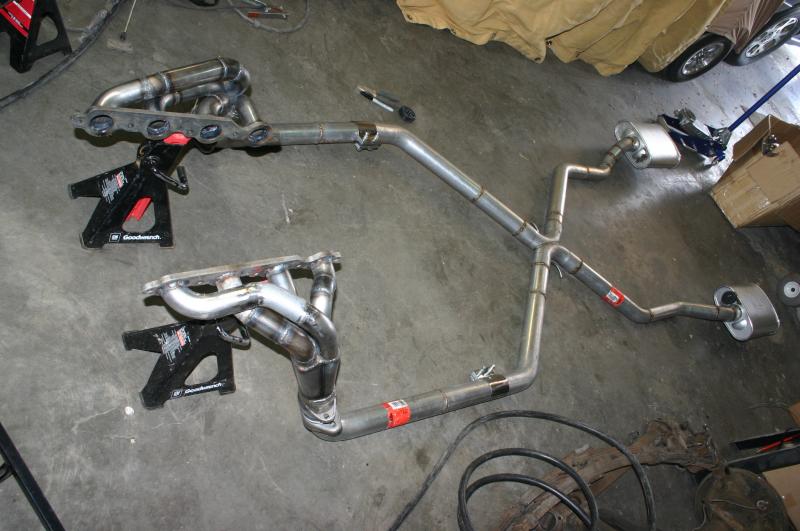
The one for my Locost was closest to the Elva. It was done with the blue pool hose, then bent welding wire, then steel. No header lego at that time.

Amazing headers, Keith.
My congrats to the welder (was it you?). I like art done in metal.
Here is one of my favourite exhausts:
They were done in titanium (I have absolutely no idea what that adds to the difficulty of the job) and were fitted to the Gurney-Weslake V-12 engine. Poetry in metal!


I did do the welding, it is serviceable and definitely not art on its own. I tig'd the Miata one, which was a learning experience.
A good header is gorgeous. The things that make them good headers just happen to be really attractive.
Displaying 1-6 of 6 commentsView all comments on the CMS forums
You'll need to log in to post.