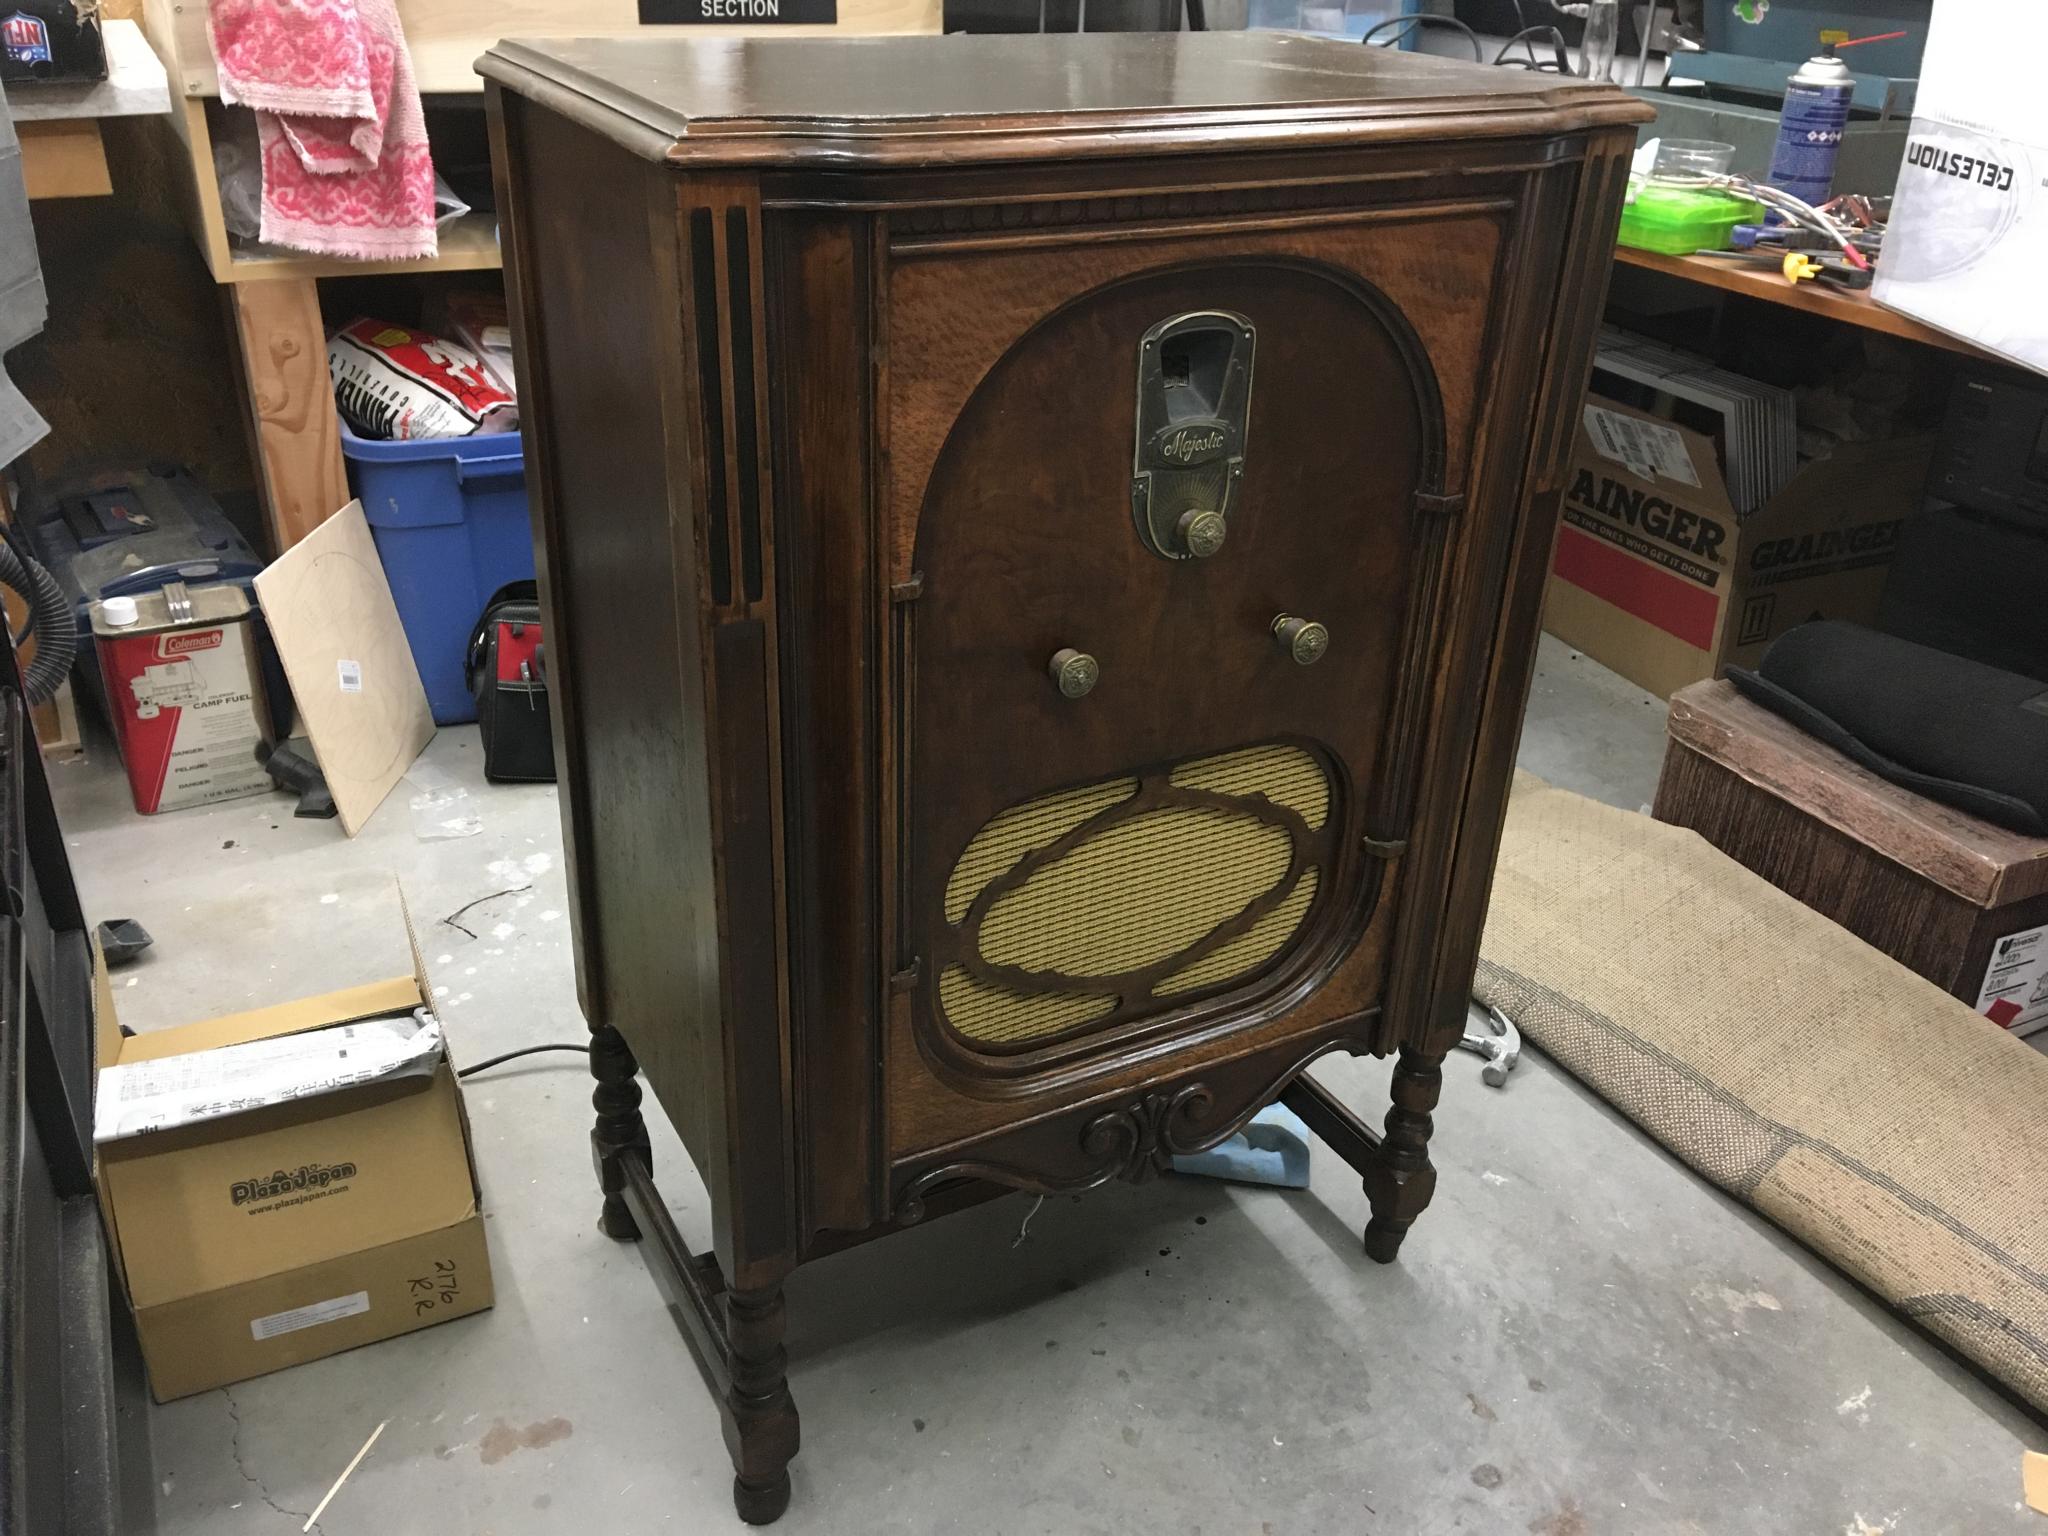
1 2 3
Keith Tanner
Keith Tanner MegaDork
8/12/14 10:01 p.m.

This one found me.

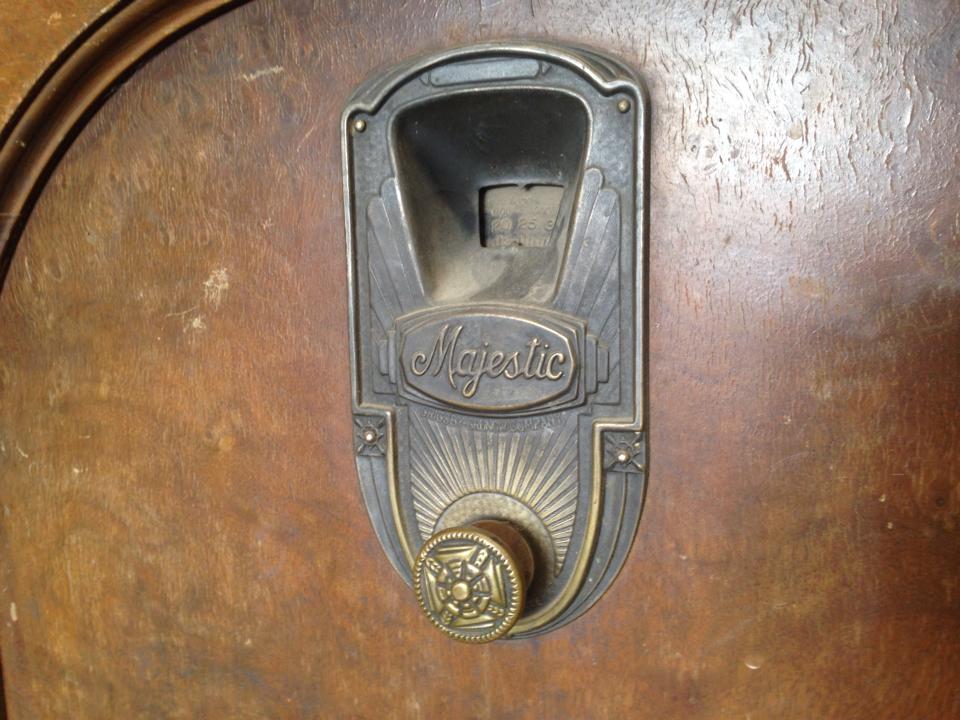
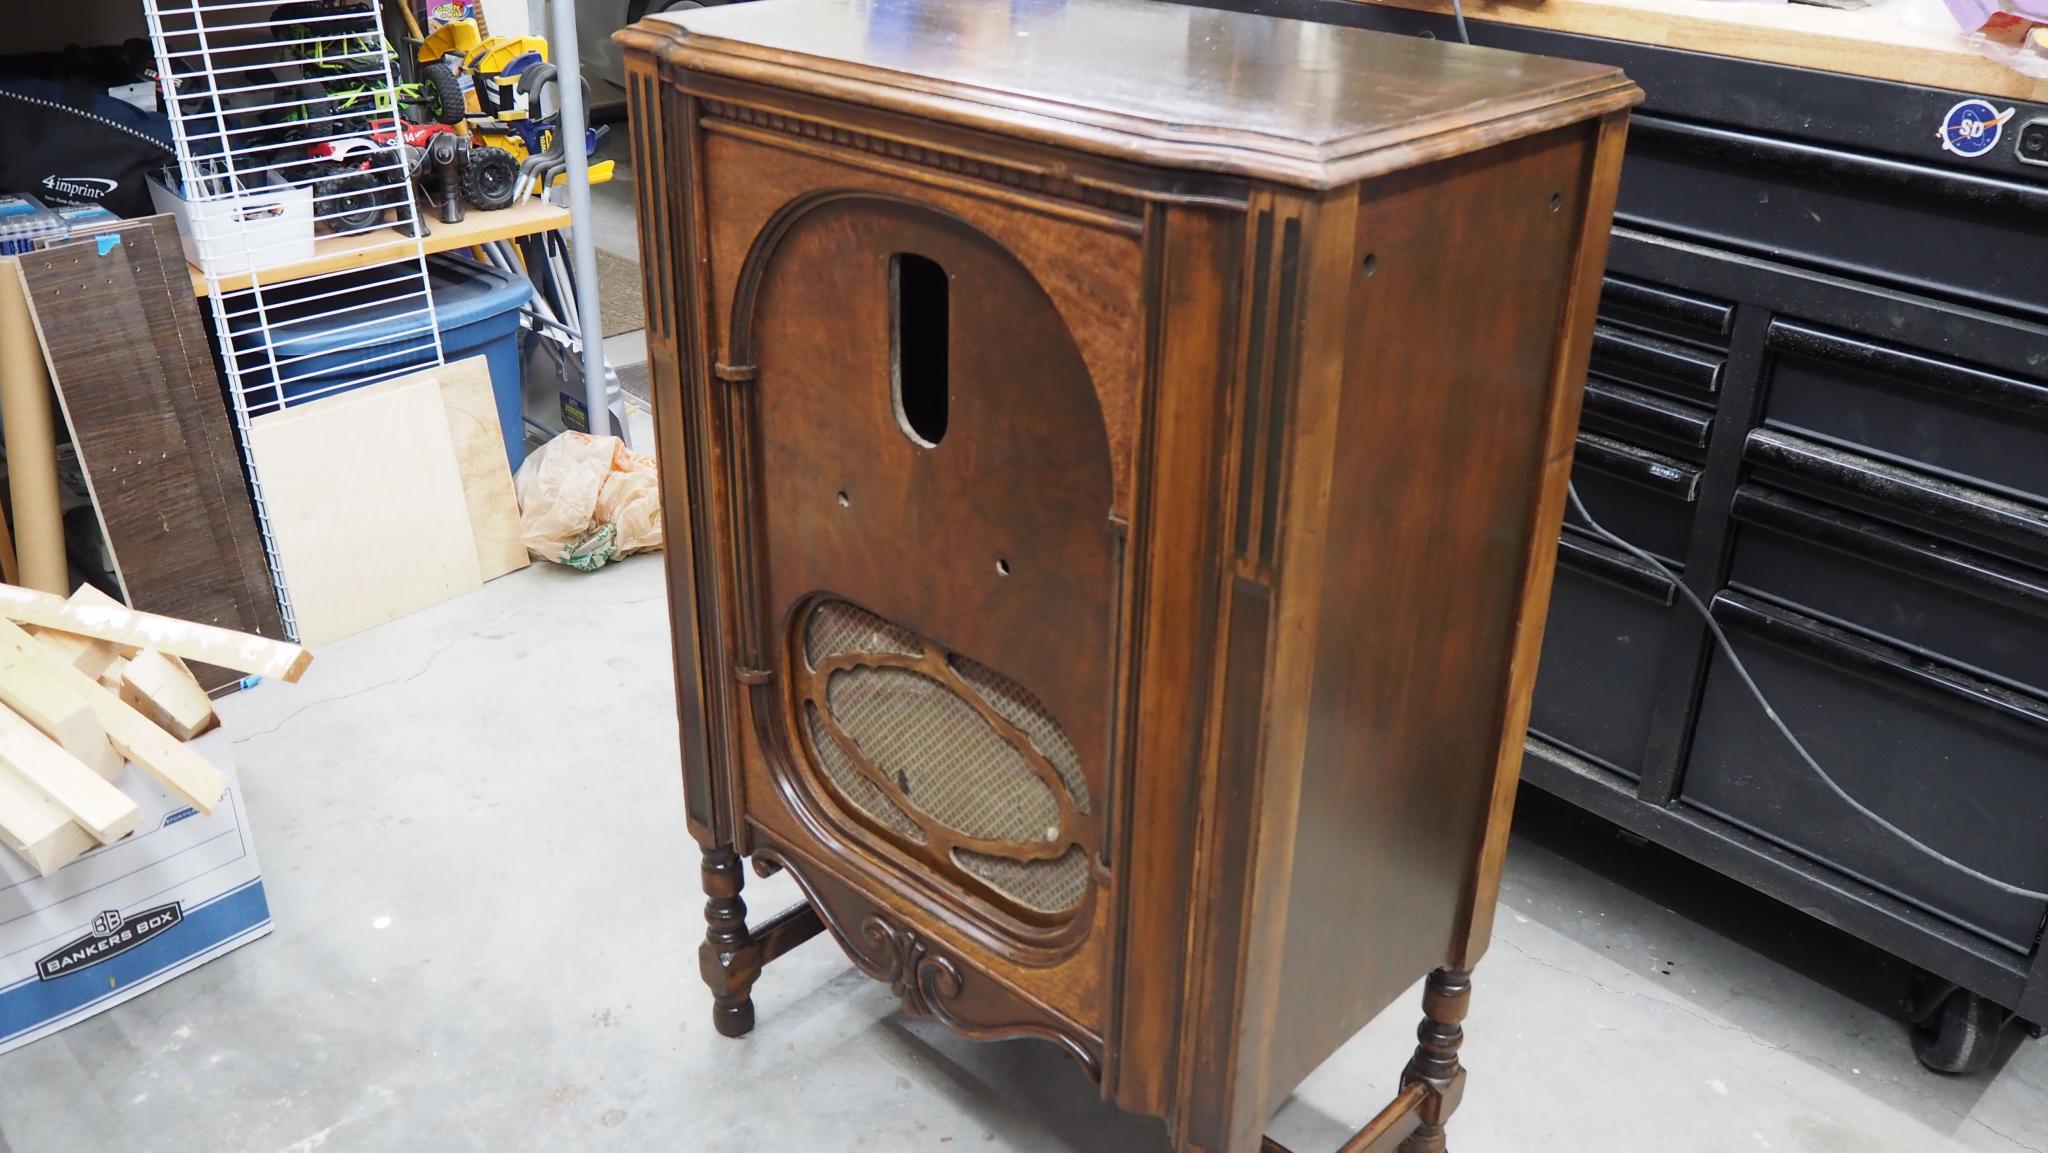
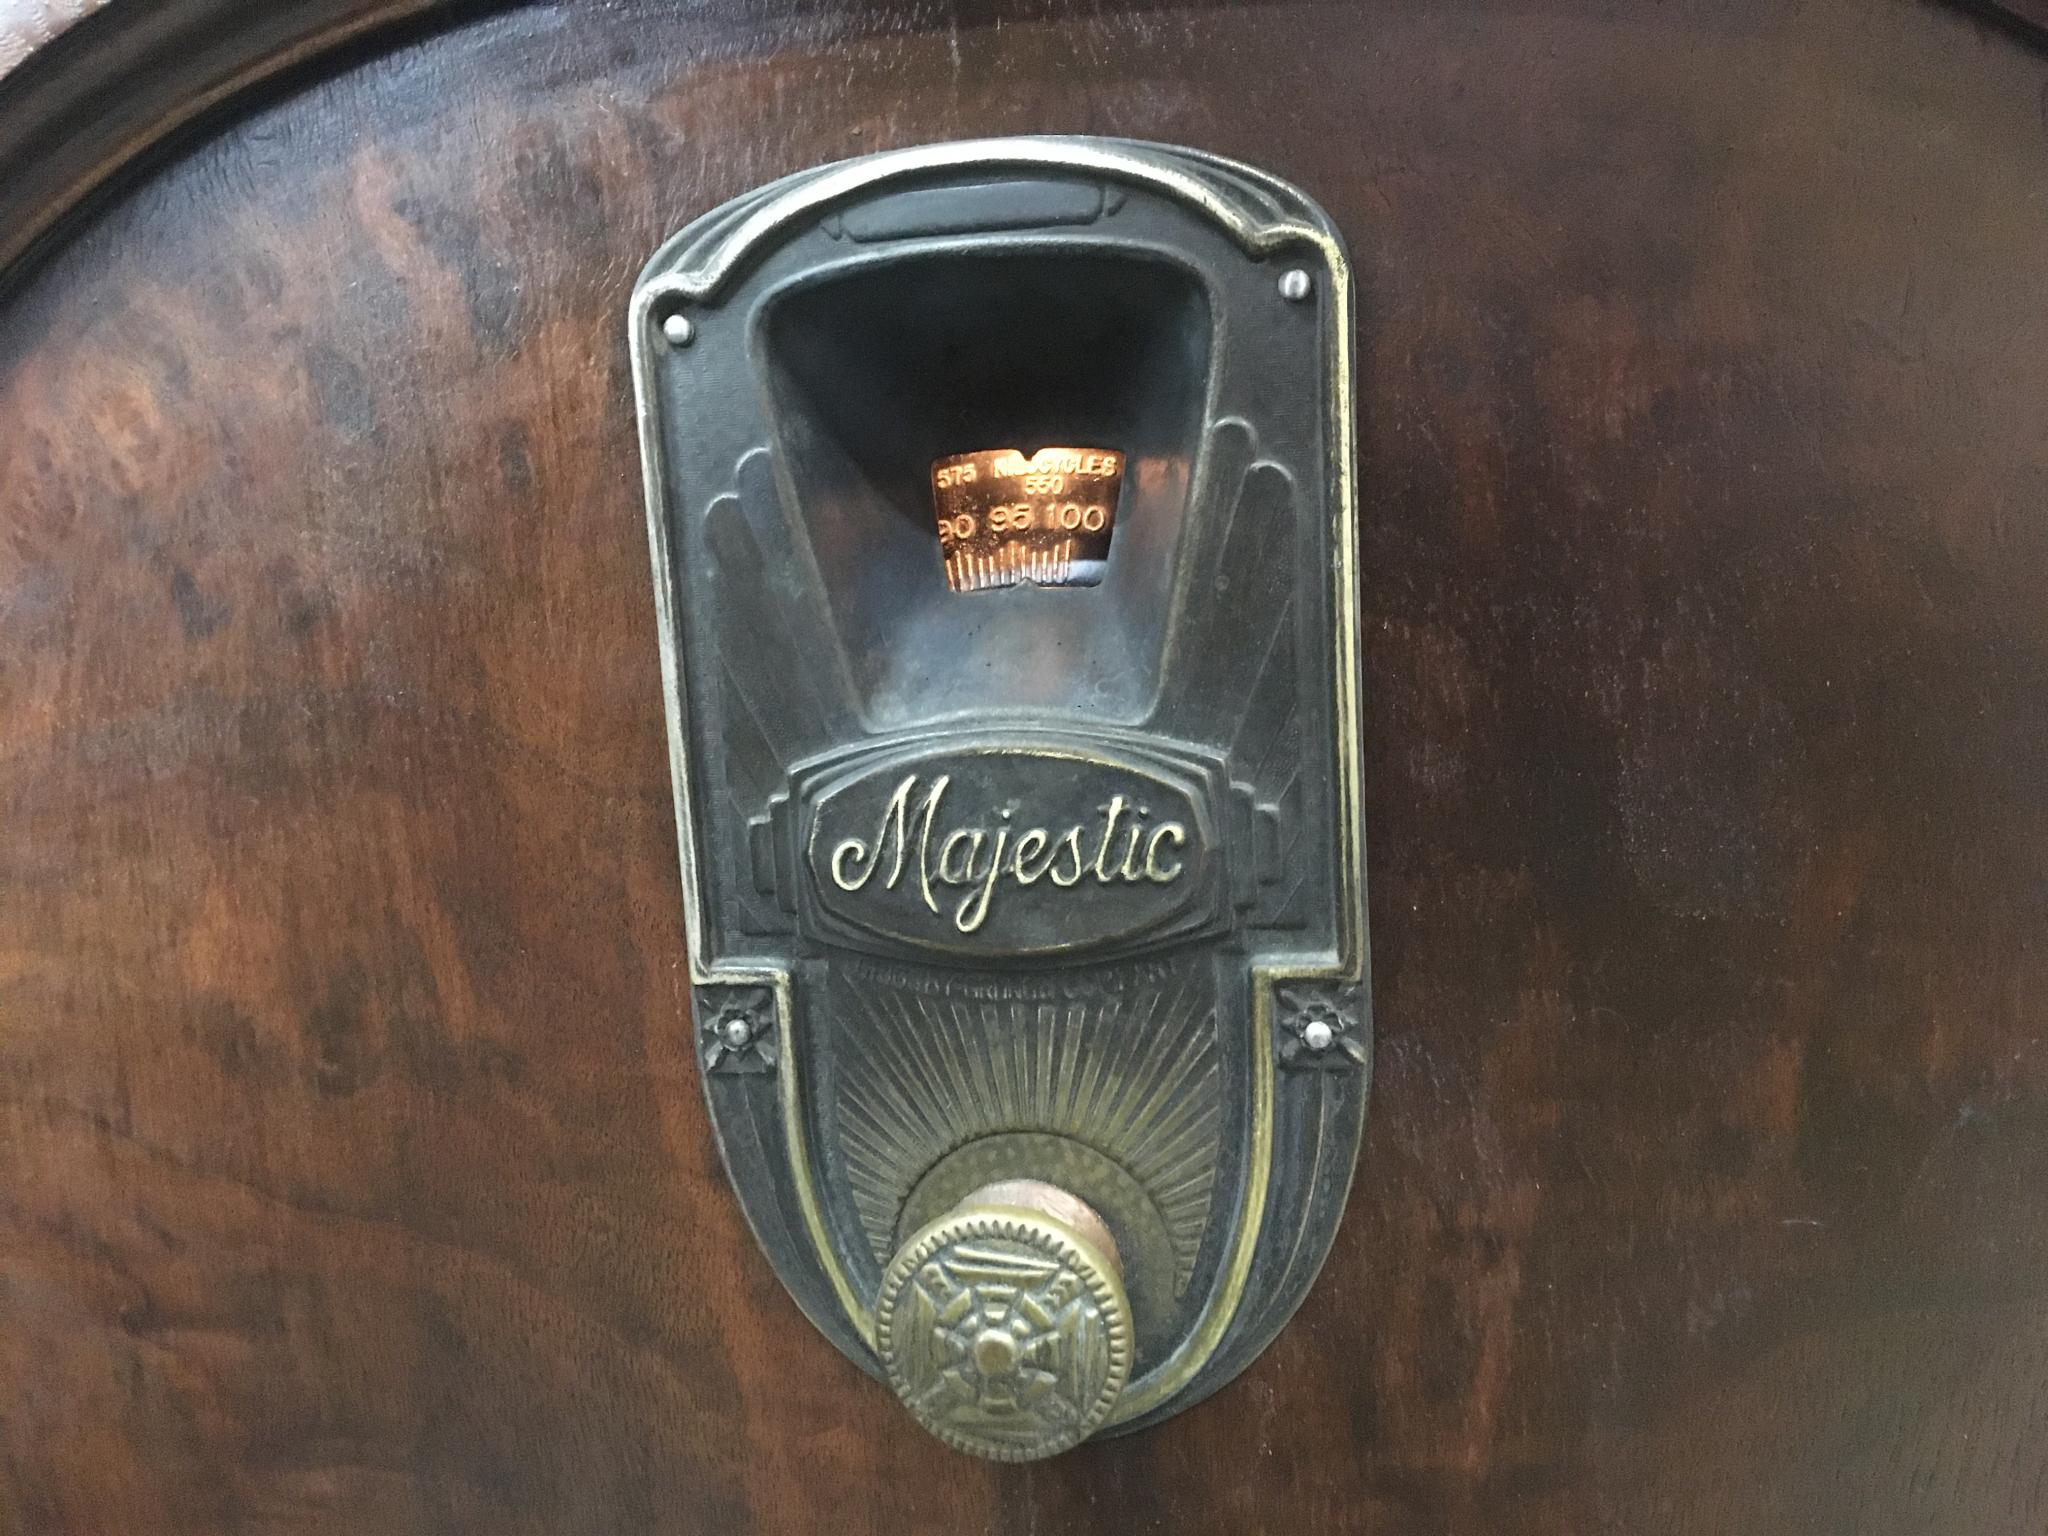
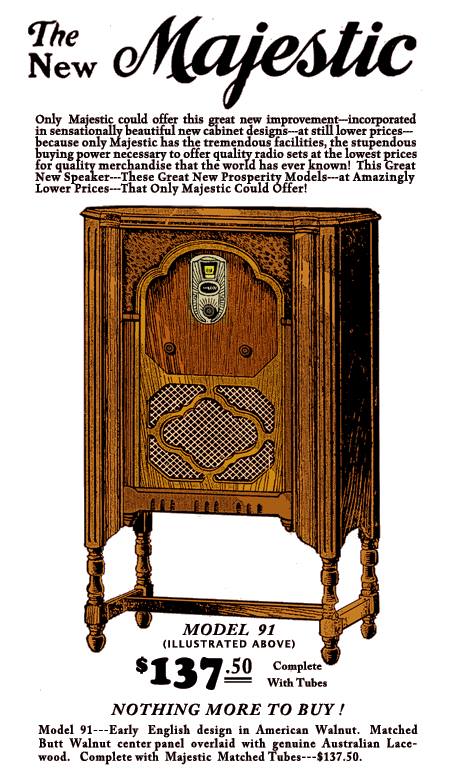
It was given to my mother-in-law when she got married in 1971, and she's decided I need to fix it. So has my wife. It's been in the garage for the past 43 years. It appears to be a Majestic Model 91 with the 90 chassis (separate power supply), which dates it to right around 1929. At that time, it sold for an eye-watering $137.50. That's about $1962.40 in today's dollars. Today, this particular radio is worth about the same when it's in great condition and working. The $137.50, that is.

 I know a bit about electronics - my grandfather was a ham and learned a reasonable amount from him. Enough to tell my resistors from my diodes, and even read a resistor with a cheat sheet. But this is going to be something else. I haven't worked with vacuum tubes and things were done differently in this era.

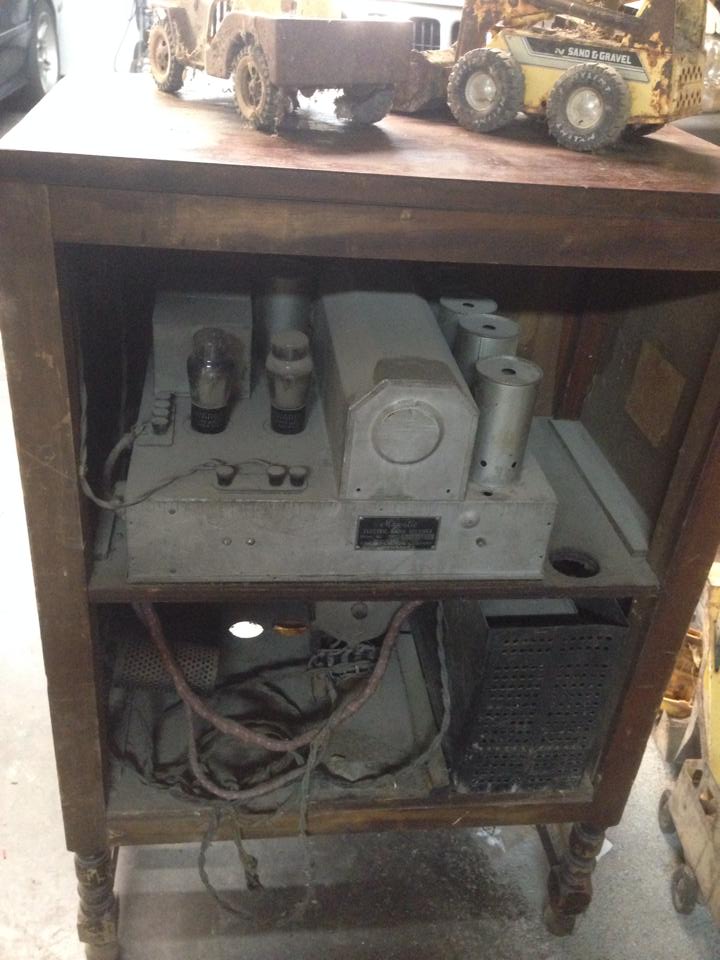
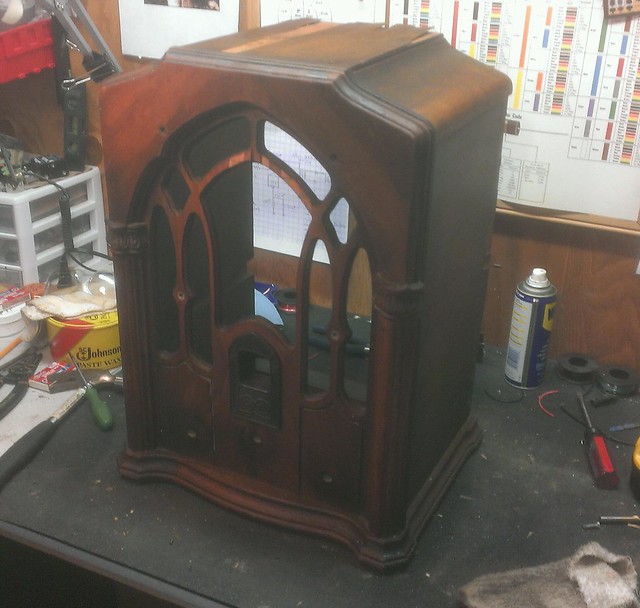
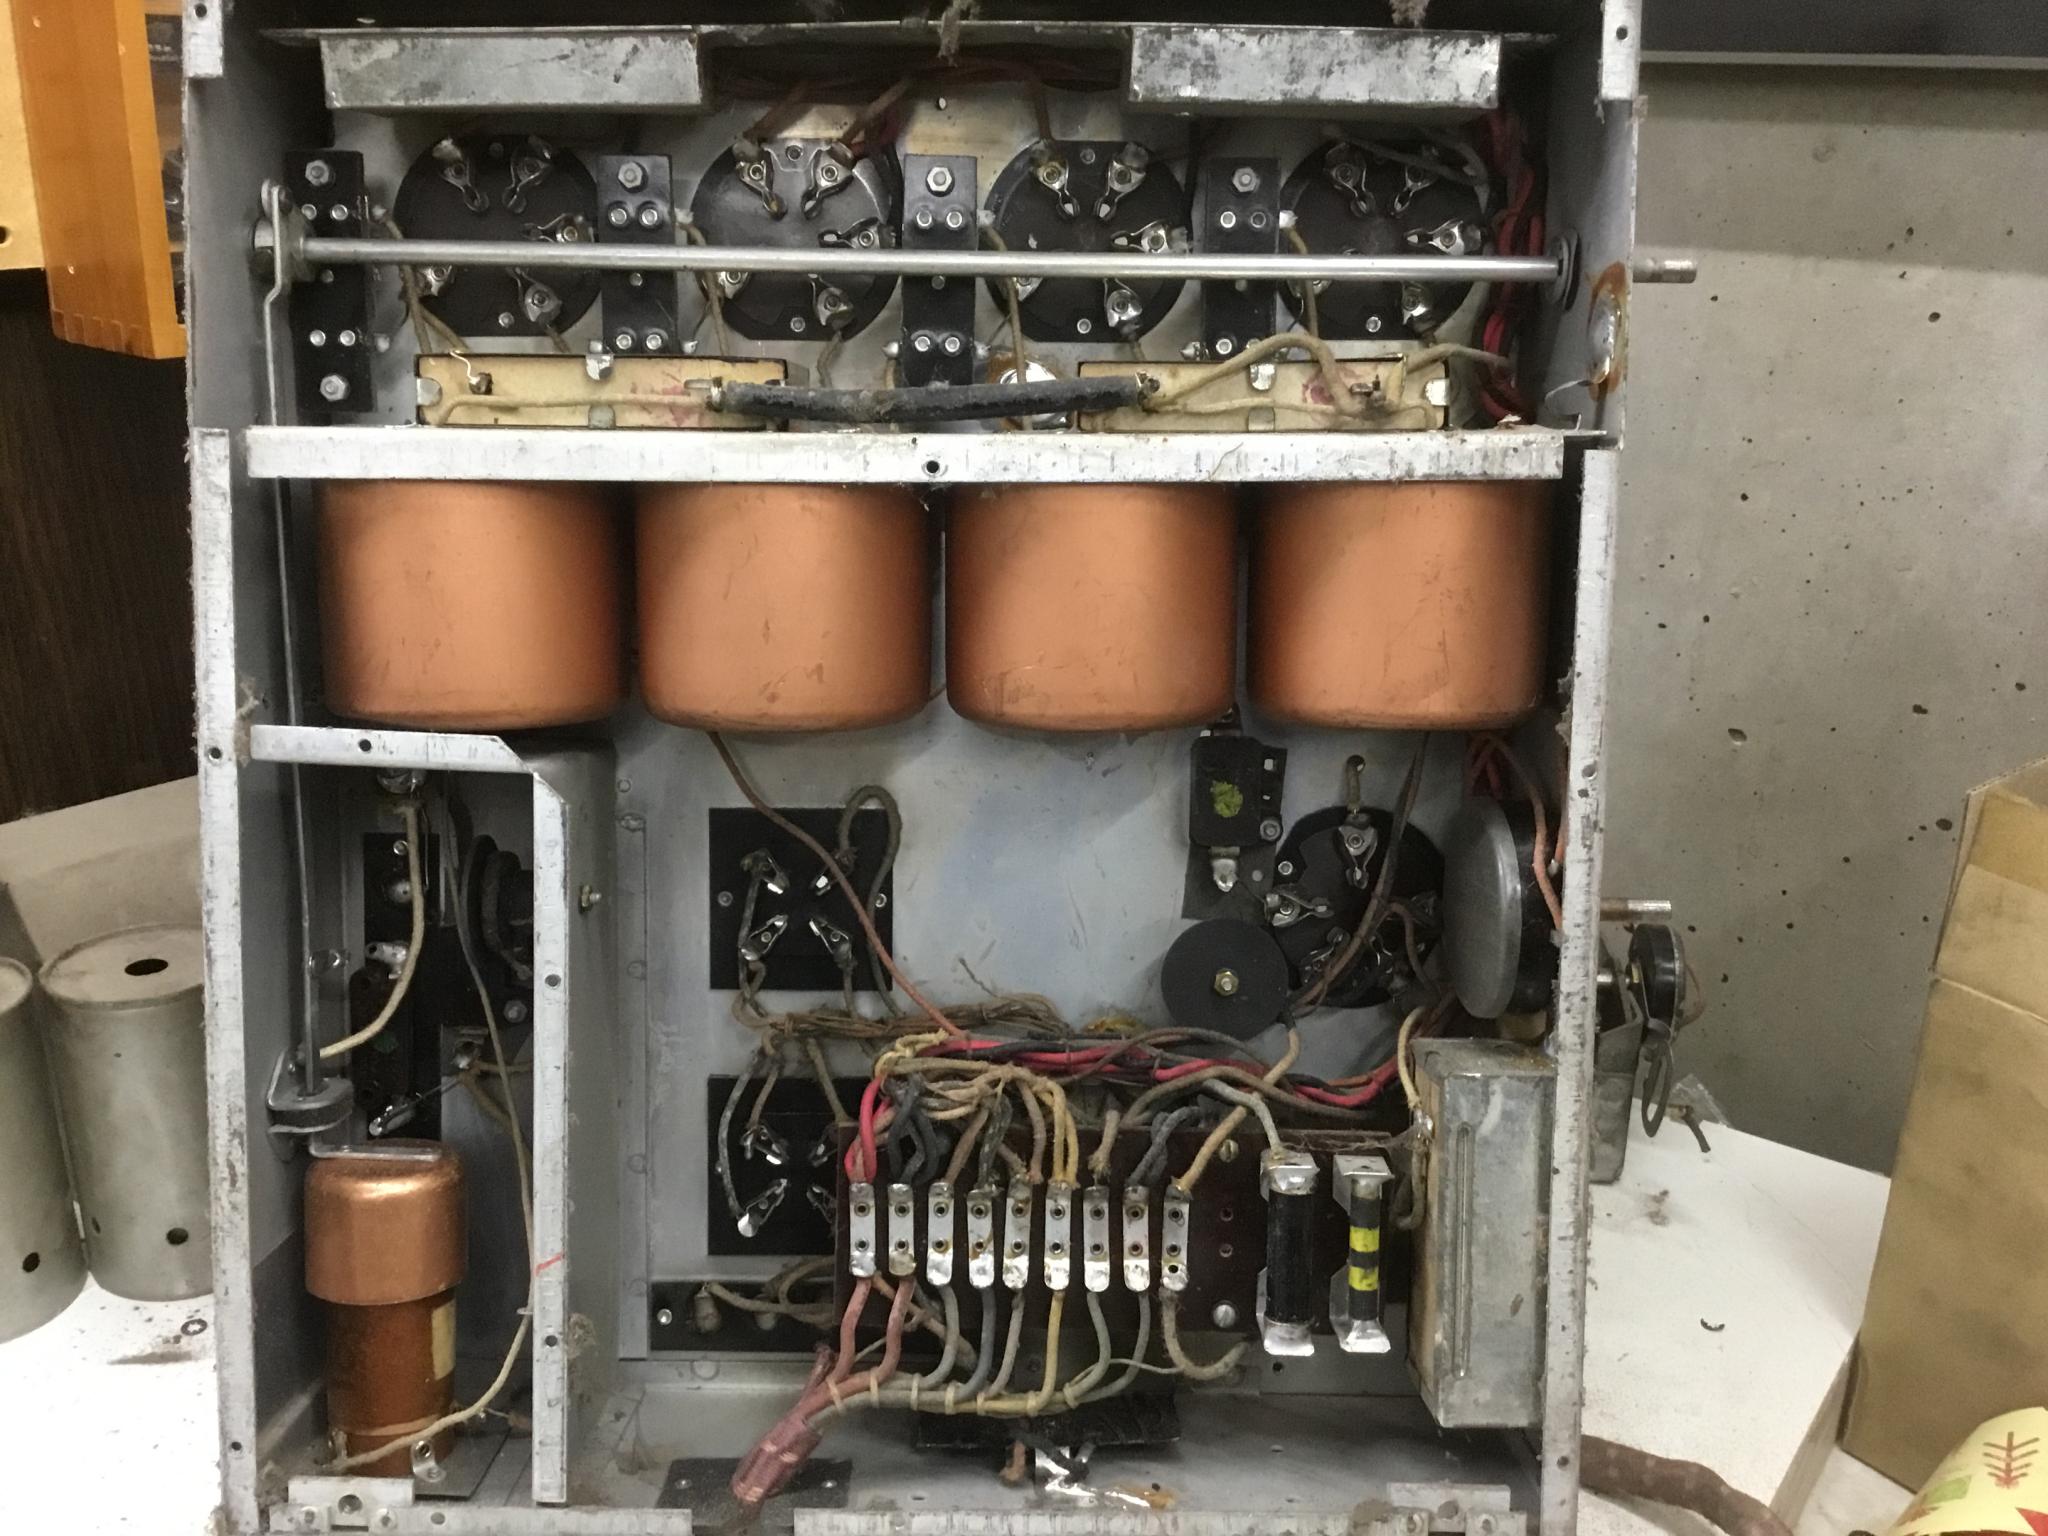
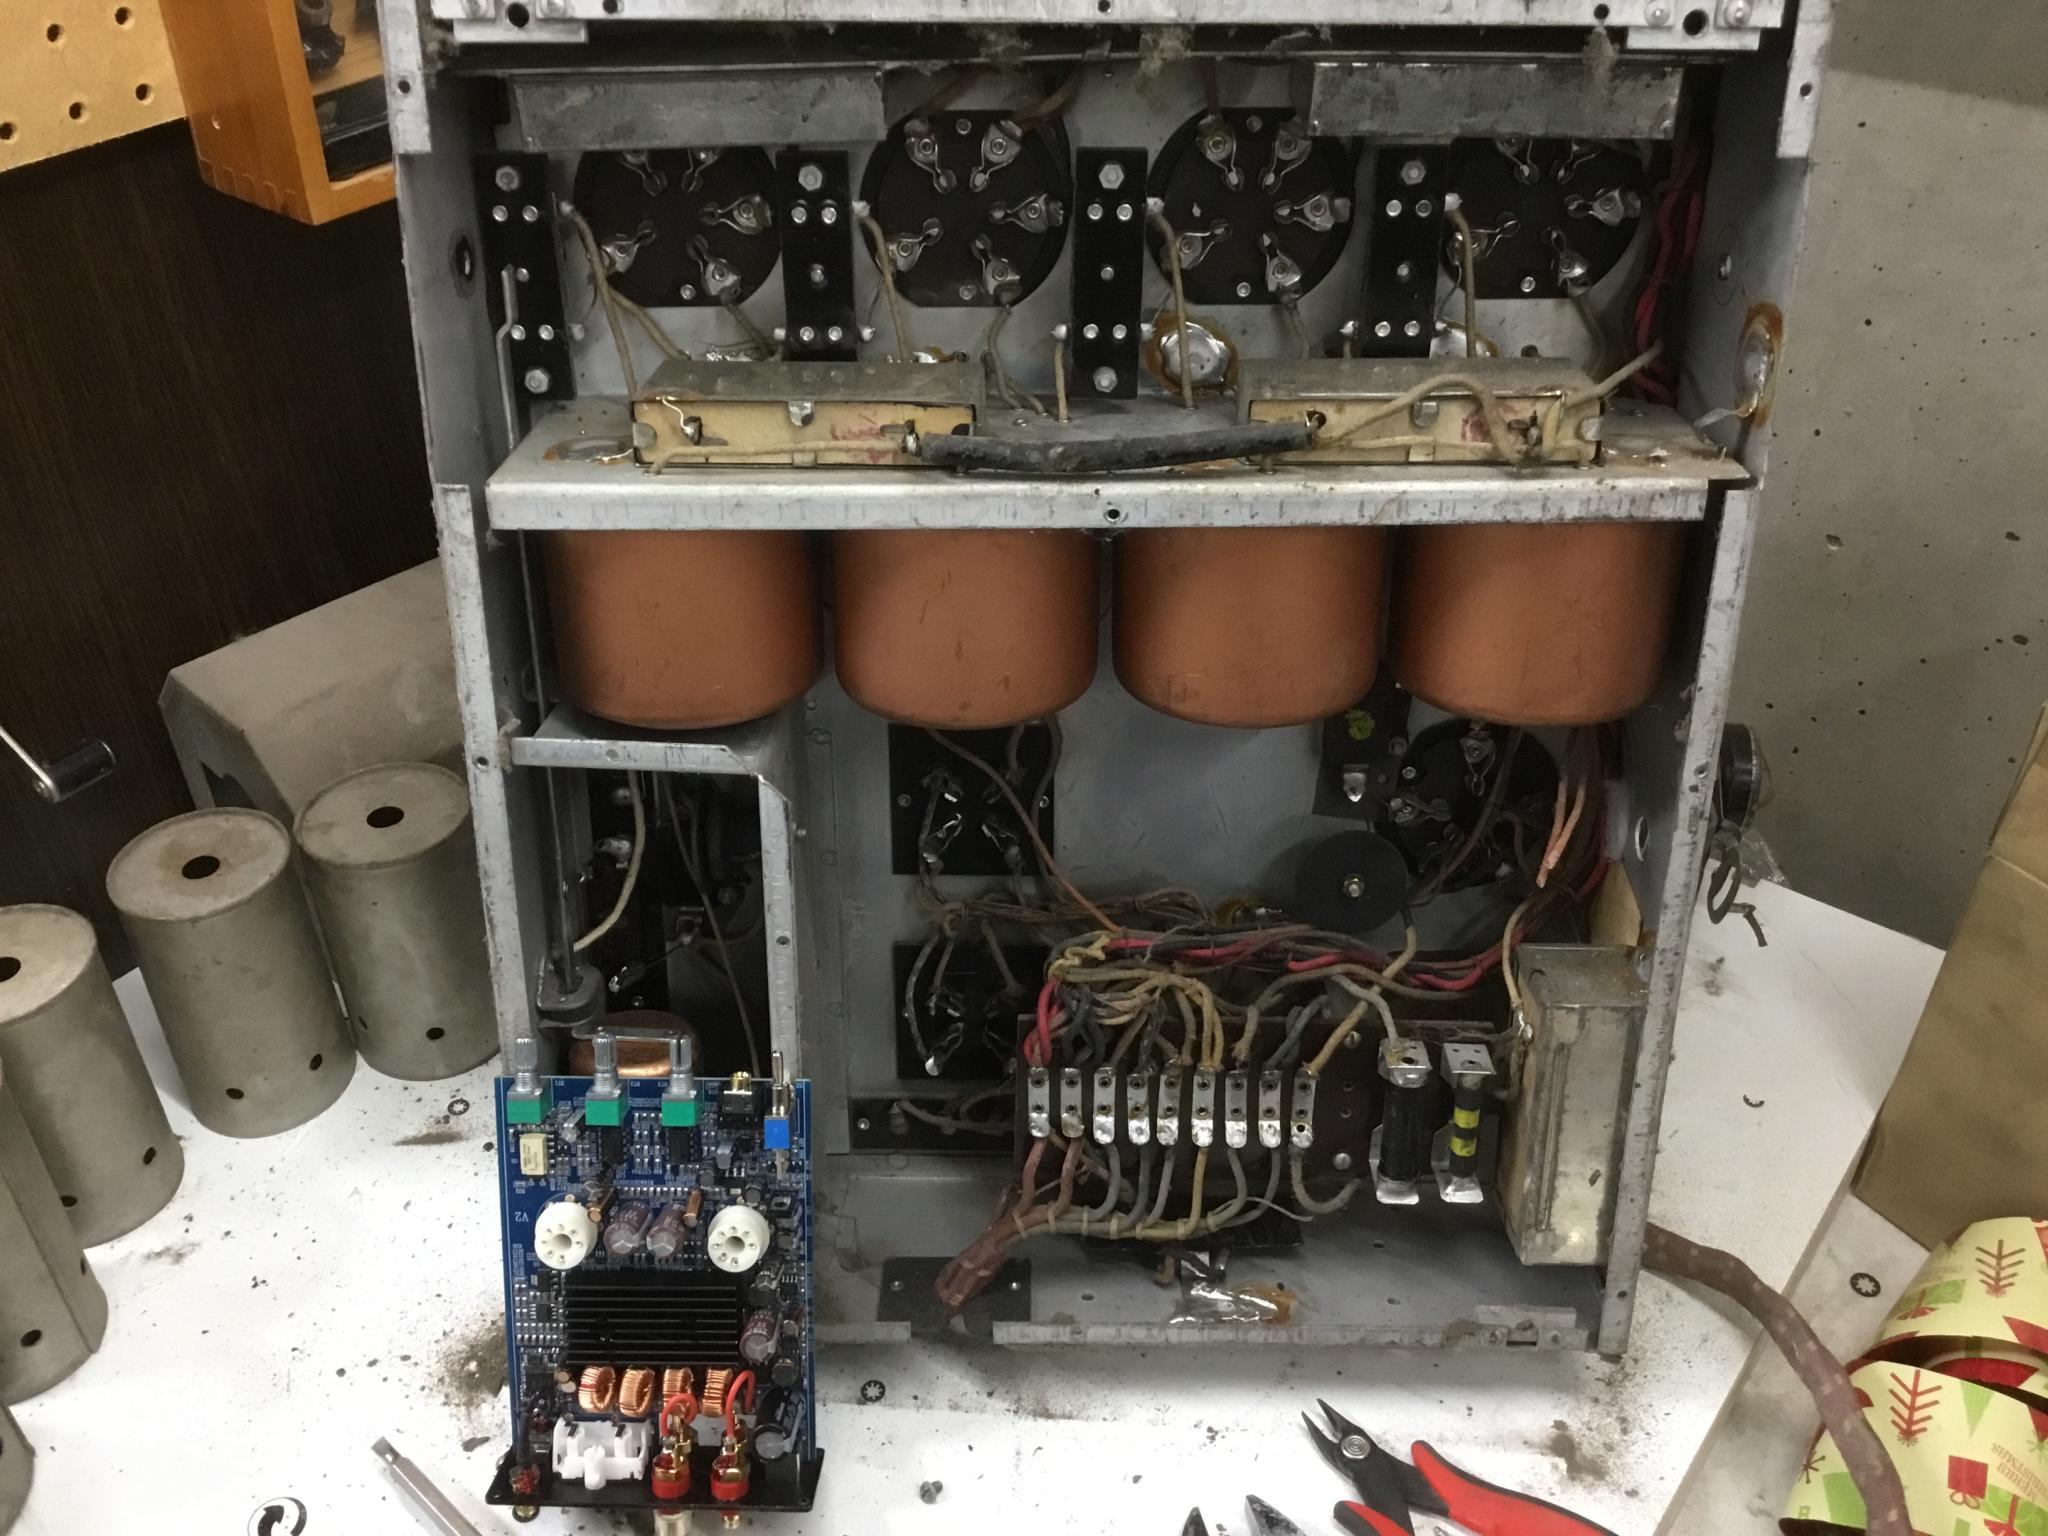
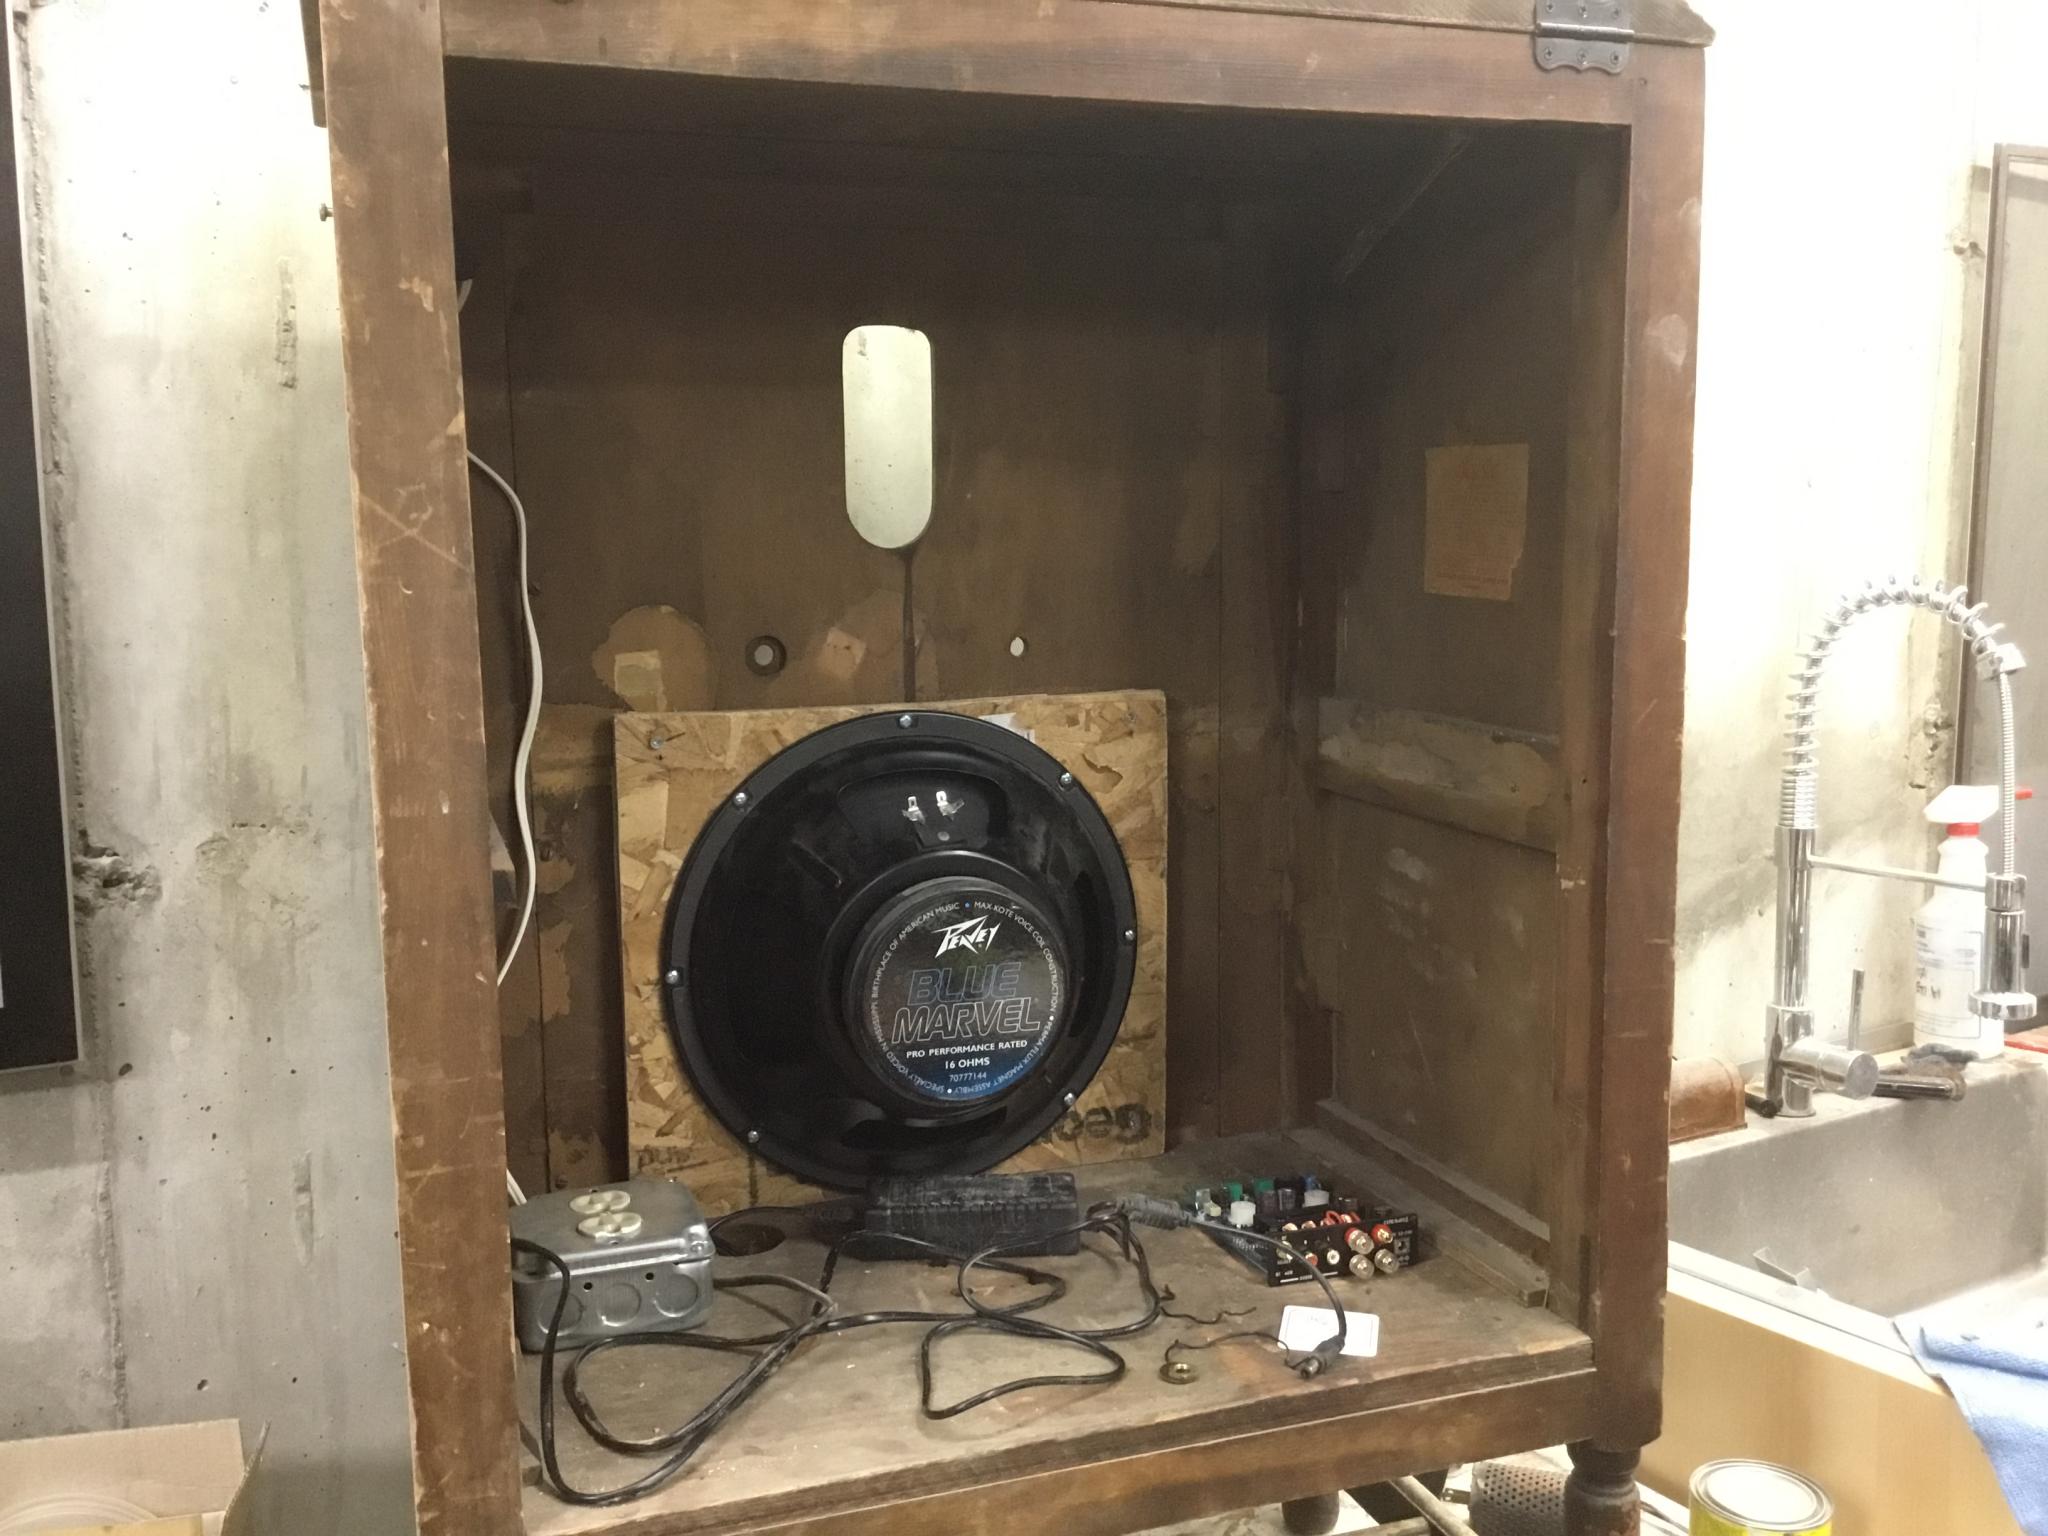
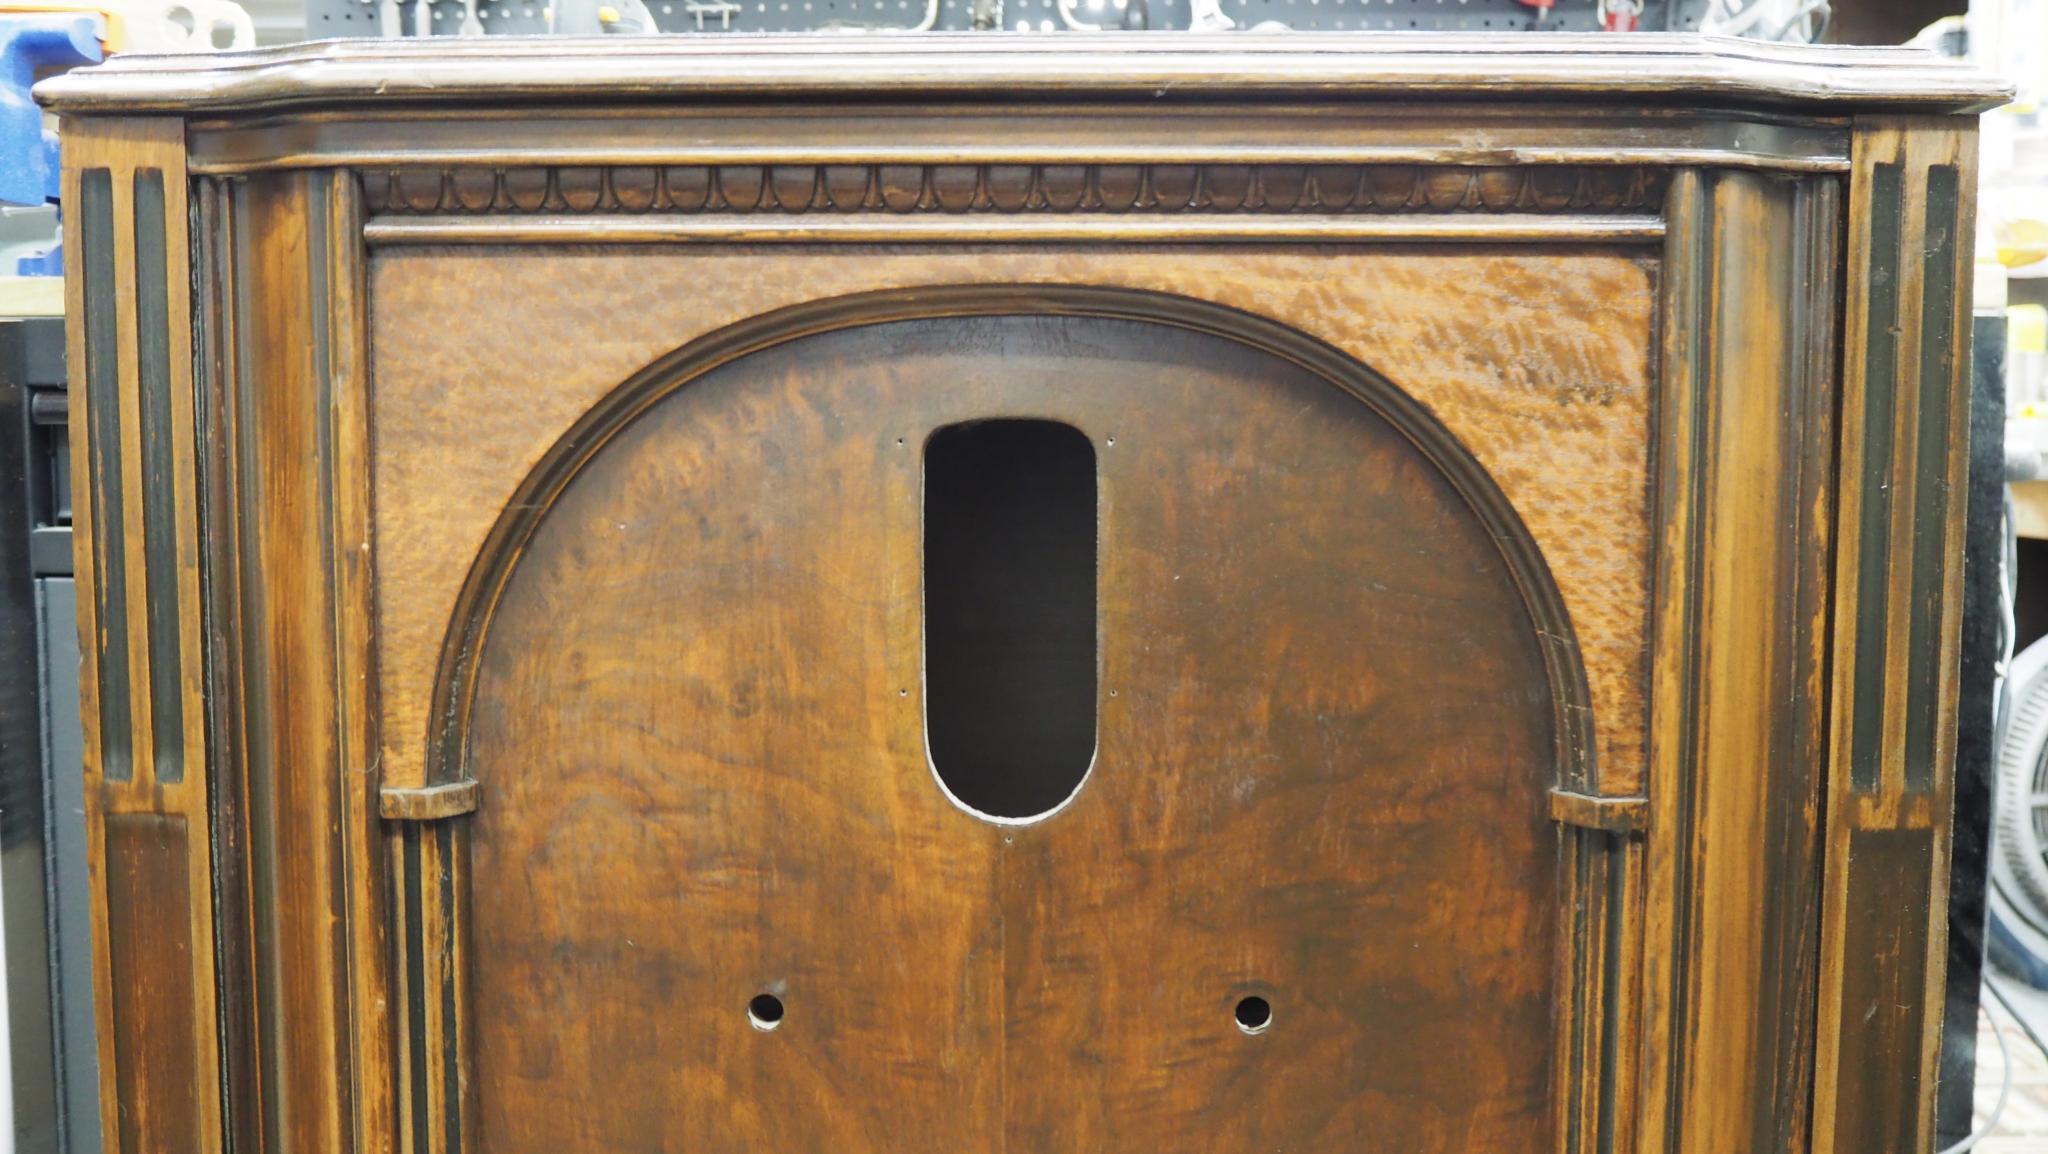
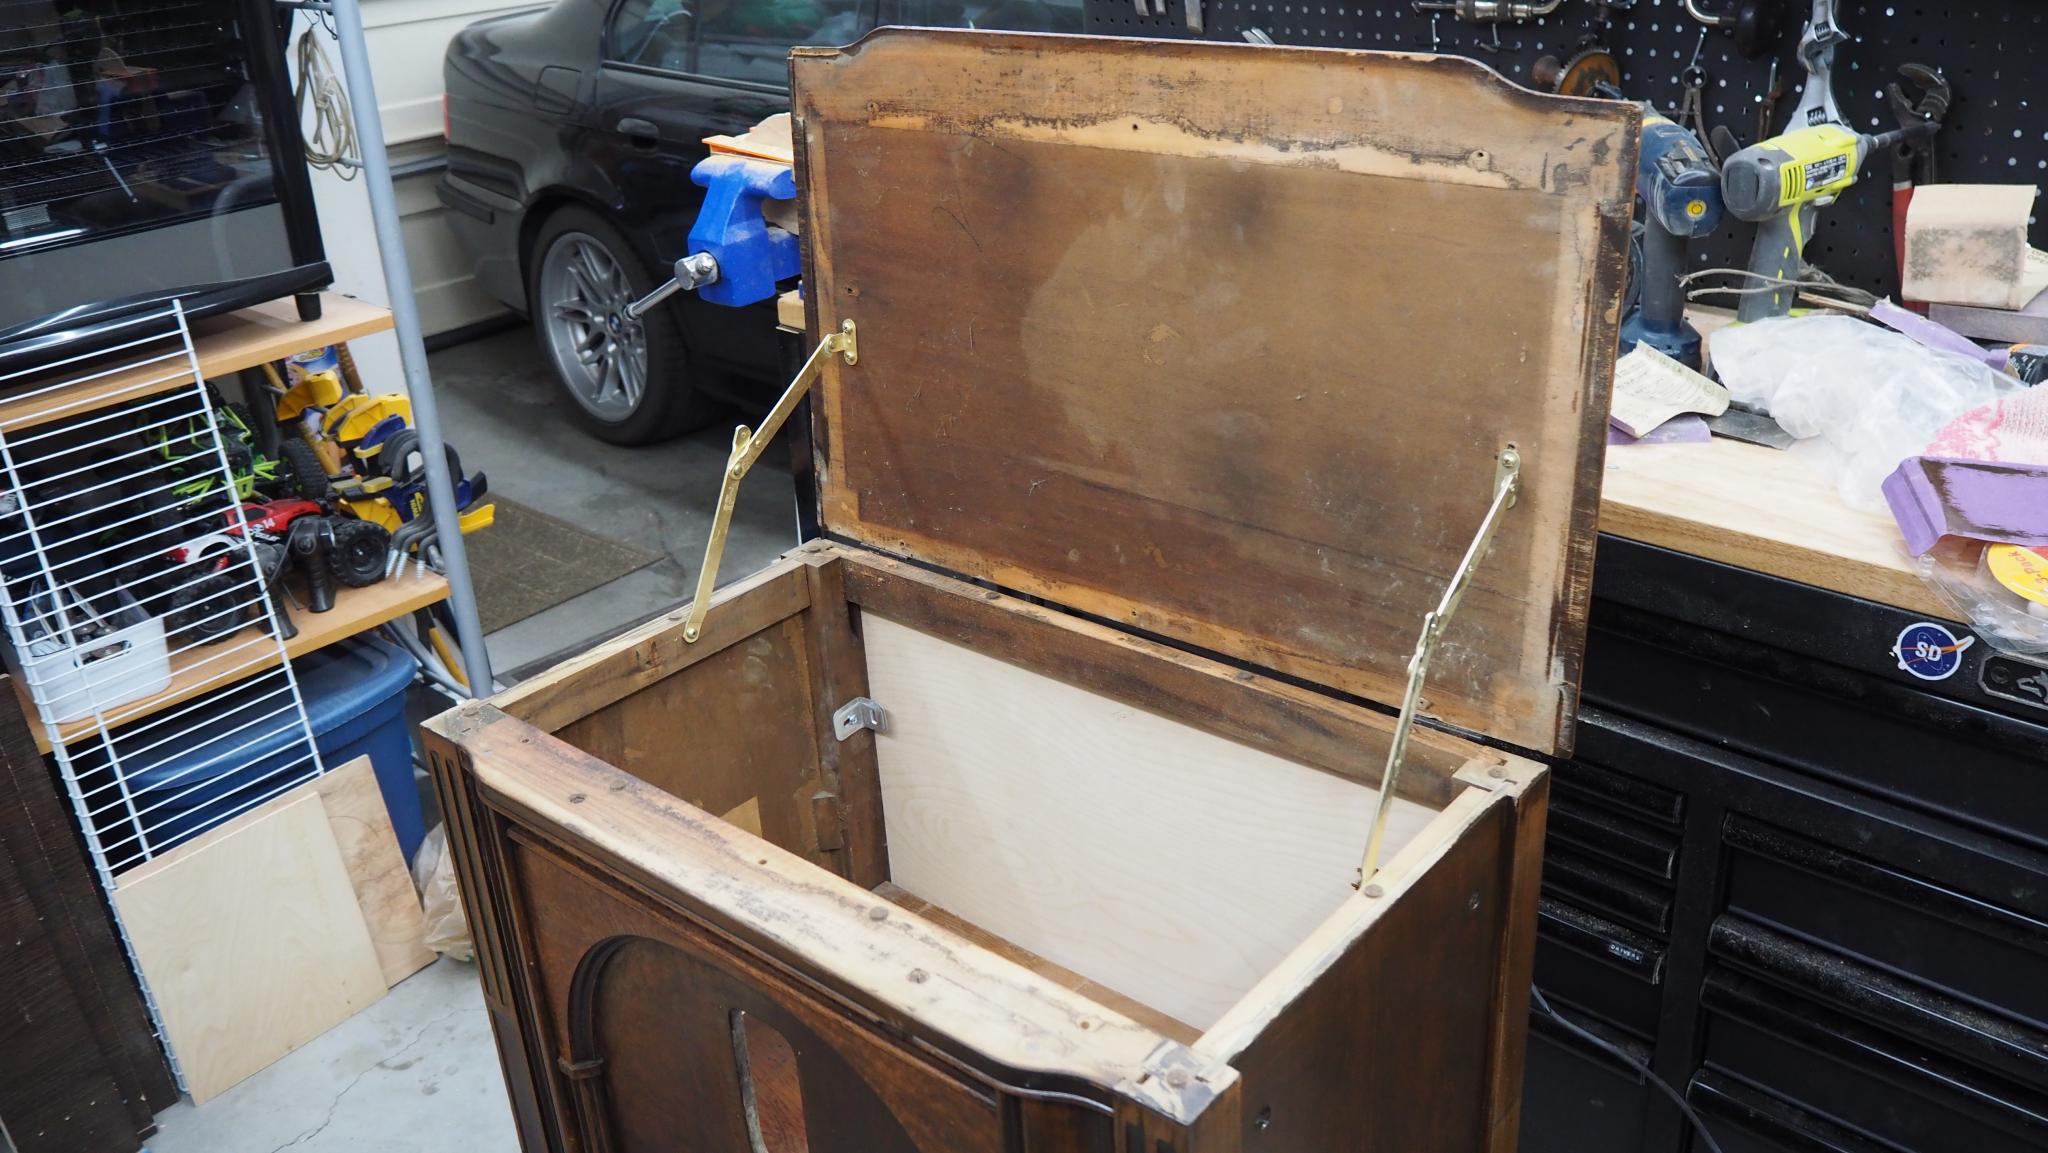
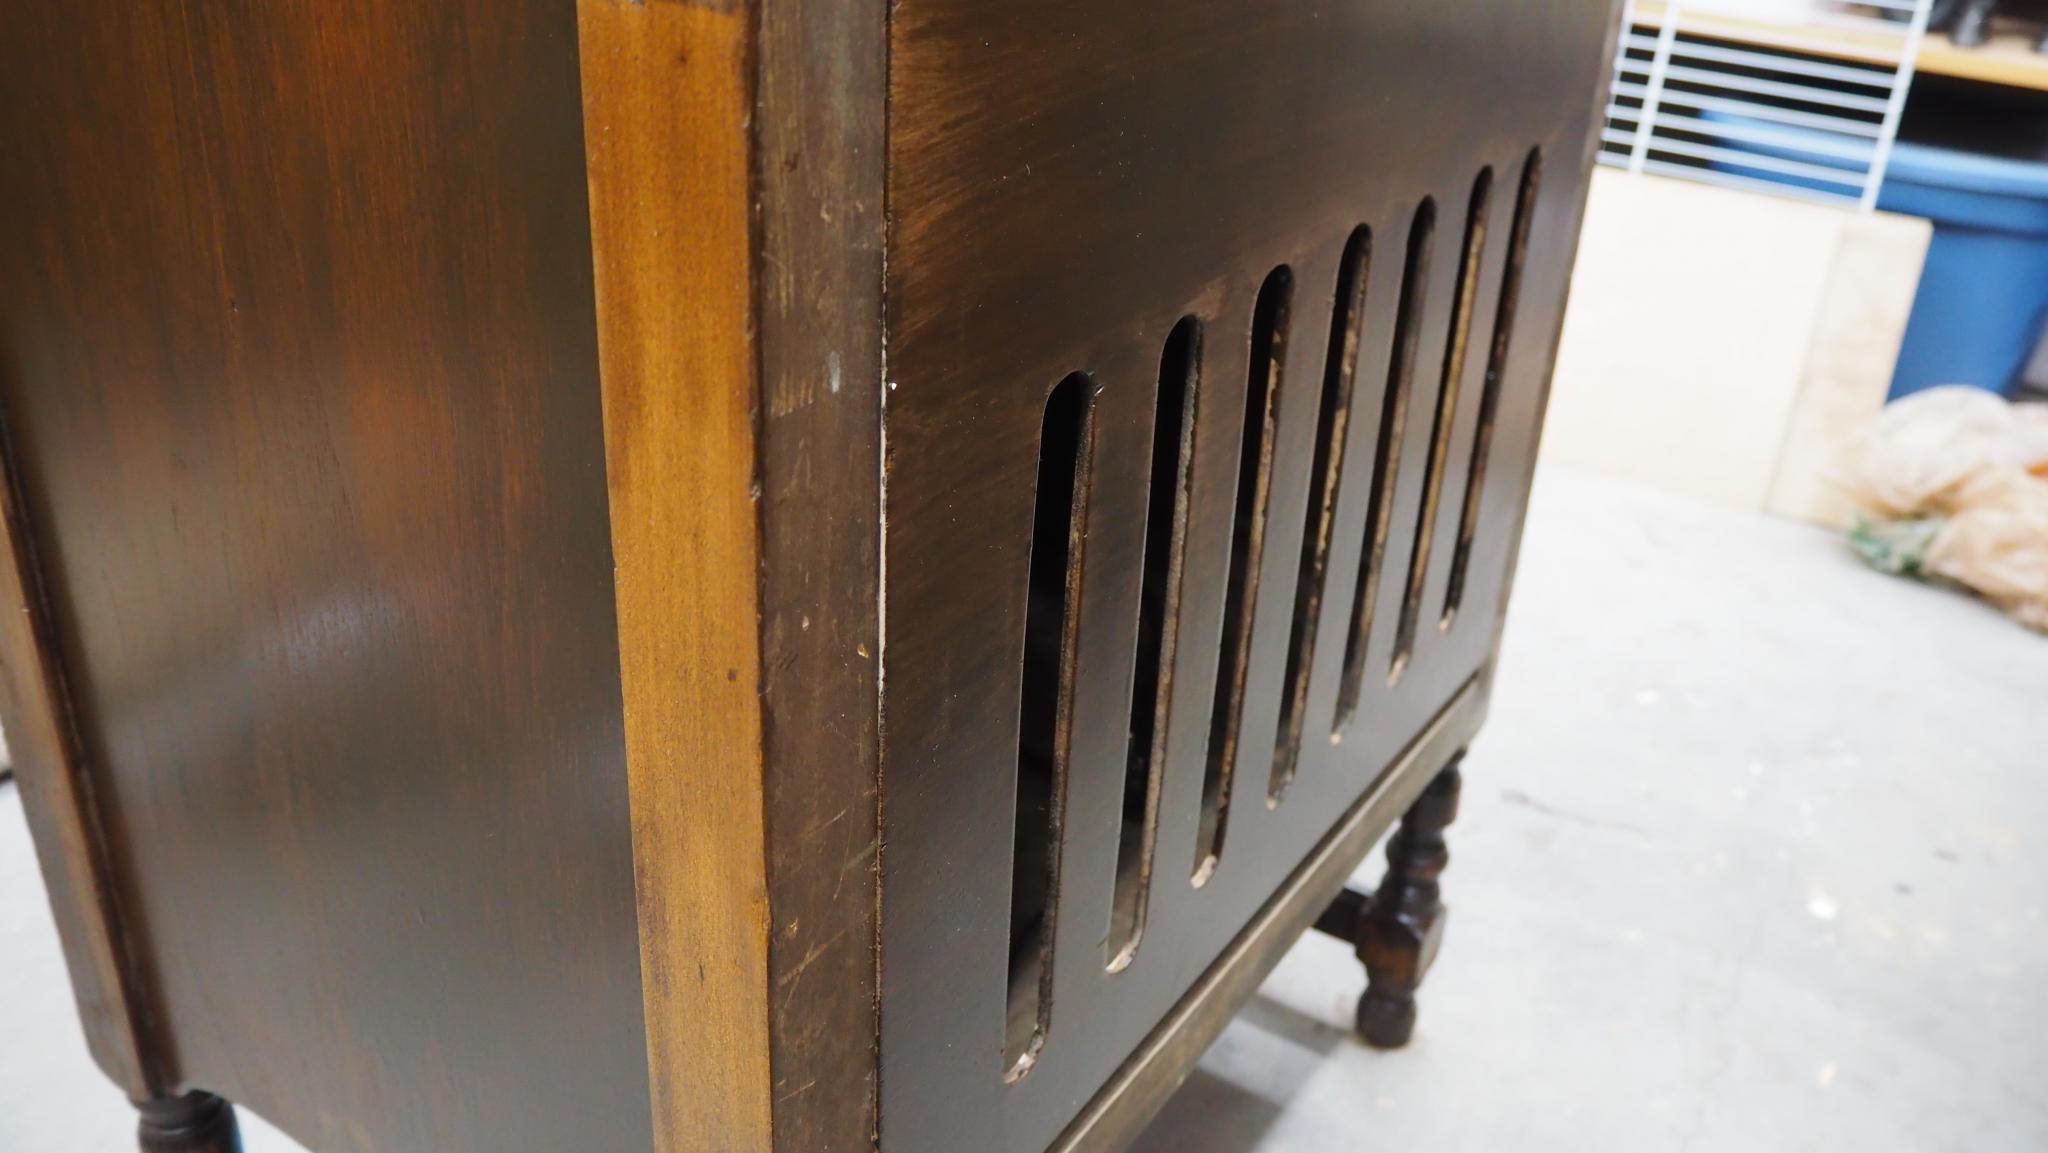
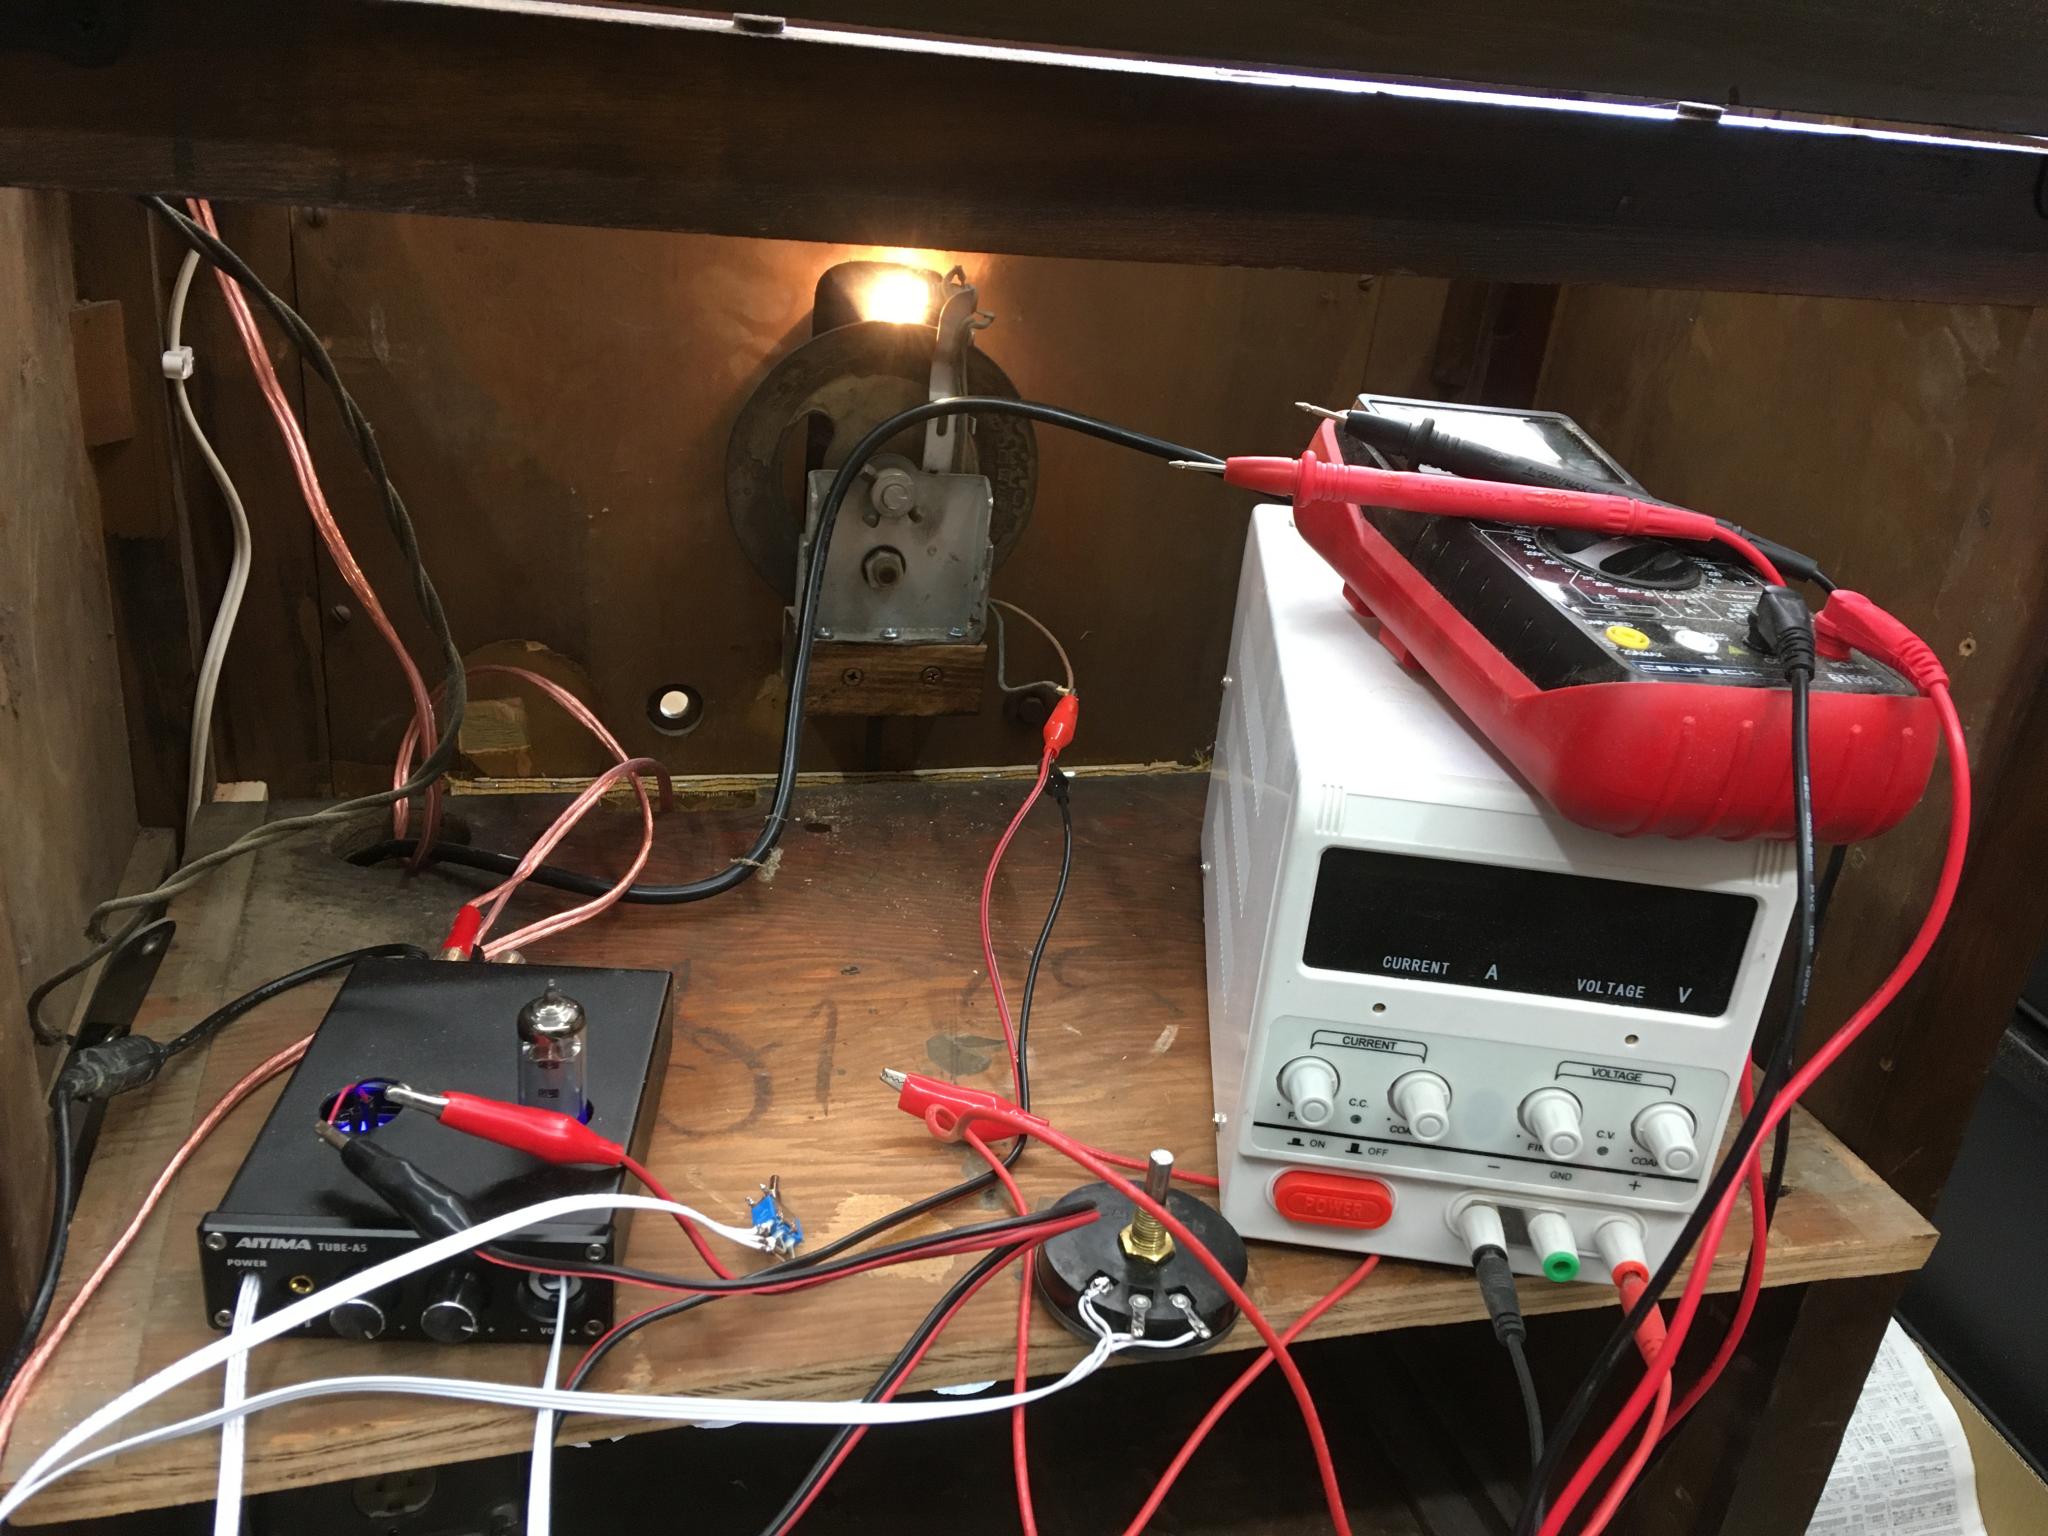
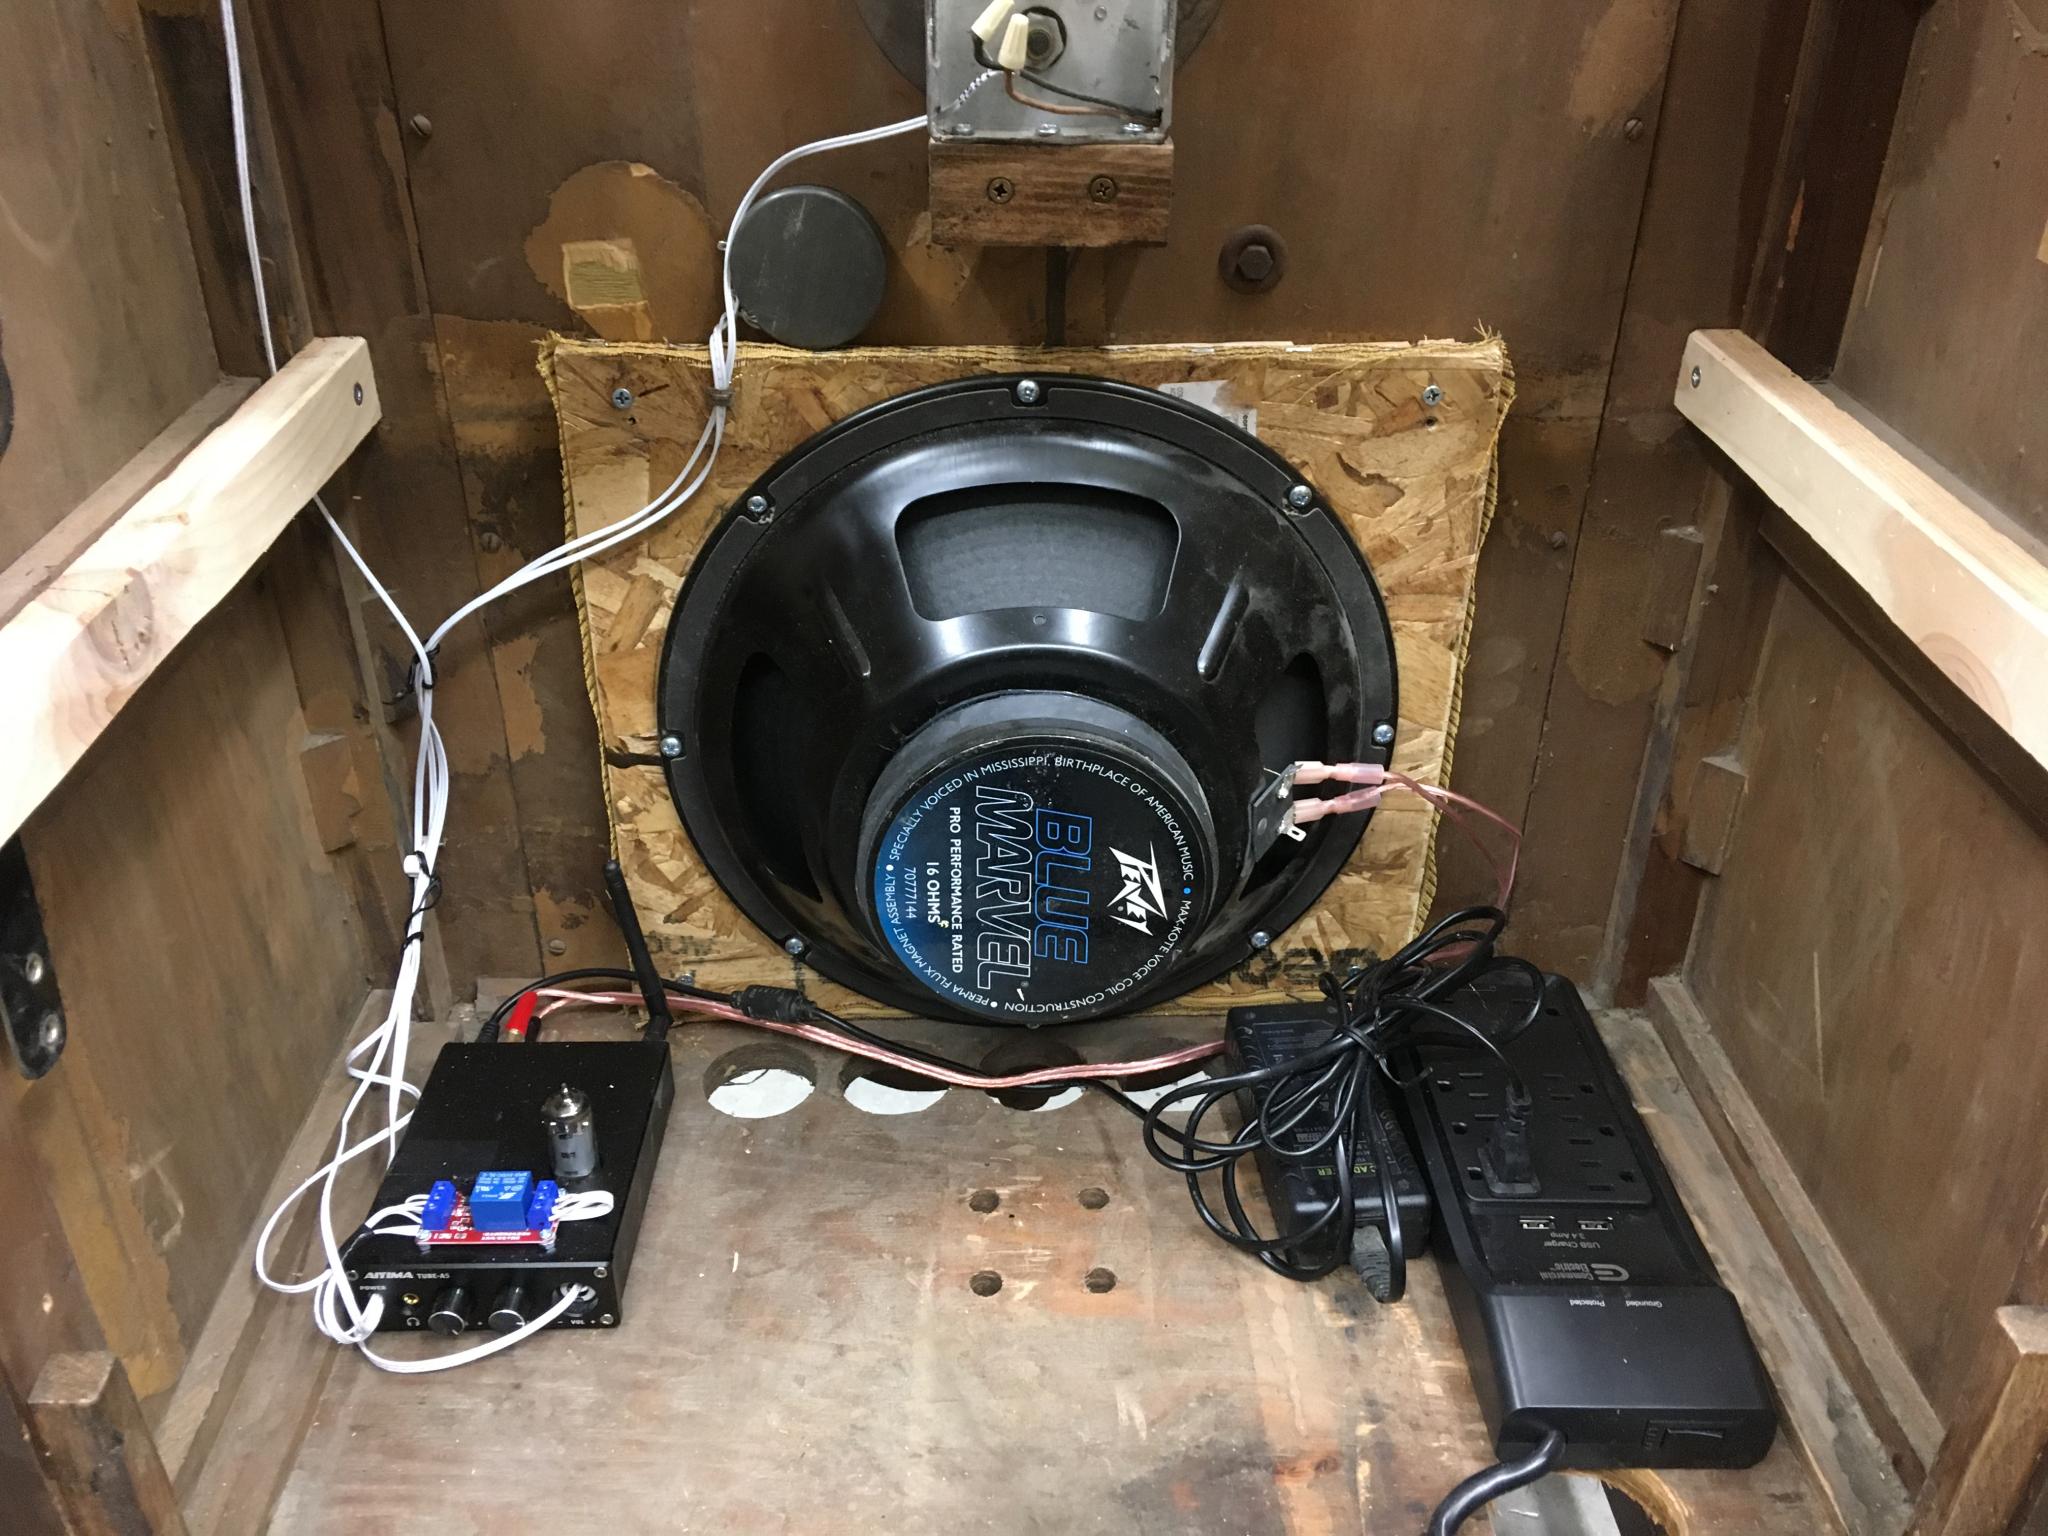
It's all there, but obviously dusty. These radios apparently had a history of having trouble with pot metal parts in the tuning gang. The tuner does have some resistance that comes and goes, so I suspect I'll be dealing with that. The cabinet has a bit of mouse chewing and delimitation on the front, so I'll have to decide just how far to go. It's apparently not that valuable even when perfect, but that's not the point here. I'm going in blind. It's going to take a lot of learning and research to even figure out how to get into the power supply and find out why that one piece of wire insulation is hanging free. It may end up just being an old case that gets modern guts stuffed inside (sounds like my MG), or if I get lucky with the tubes I might see if I can bring it back to life. There's a dedicated community of people out there that work on these, but I'm at total newbie level at this point. And yes, the Tonka toys will get restored as well. 

Ditchdigger
Ditchdigger UltraDork
8/12/14 11:05 p.m.

Replace the power supply filters, any electrolytics in the circuit and fire it up. Some of the old carbon composition resistors might have drifted but it should work.

I have over 40 Vintage radios from the late 20's to the early 60's. From huge Zeniths to tiny Emersons. I love the things even though there is NOTHING to listen to on them around here save for sportsball and right wing talking heads screaming.

Kenny_McCormic
Kenny_McCormic PowerDork
8/13/14 3:08 a.m.

Replace every paper and electrolytic capacitor you find(likely all of them in 1929), and plug it into a current limited power supply (150watt lightbulb spliced inot the hot wire of a cheap extension cord) to check for shorts, lamp will light if there's a problem, rather than destroying things. Odds are good it will fire up and run reasonably well at that point.

Also, keep in mind that in stock configuration old tube equipment like this often uses a "hot" chassis, as in depending on which way the unpolarized plug is plugged in, the chassis will be connected to either the hot wire or the neutral. IIRC depending on how its wired, this condition may be flipped back and forth with the power switch. So when plugged in the chassis ist nicht fur fingerpoken till you put a polarized cord on it, rewire the power switch and directly terminate the neutral wire to the chassis.

Woody
Woody MegaDork
8/13/14 6:21 a.m.

My brother in law found a vintage TV in the trash. He threw it in the back of his truck ('56 Ford F100!), brought it home, removed the guts, restored the case, found a modern TV that fit perfectly into the open space. It looked beautiful and was completely usable. He even hid the cable box behind a screen where the original speaker was.

ultraclyde
ultraclyde SuperDork
8/13/14 6:33 a.m.

I have a family heirloom floor model Zenith that still lights up when plugged in and some of the tubes glow, but the cabinet is in worse condition than that one. I've thought about restoration but I know nothing about them. I'll be watching this with interest. I've also thought about gutting it and using it as a case for mu multimedia PC

bentwrench
bentwrench HalfDork
8/13/14 6:53 a.m.

I would think twice before any cozmetic restoration is attempted.

In many cases the original "patina" is desirable.

Woody
Woody MegaDork
8/13/14 7:02 a.m.

That applies more to furniture than to stuff like this.

cghstang
cghstang Dork
8/13/14 7:33 a.m.

Isn't this thing furniture?

RossD
RossD PowerDork
8/13/14 7:57 a.m.

WARNING: HIGH VOLTAGE! Watch out for capacitors and the high tension/voltage wiring. Read up on safety. There, now that's out of the way.

I would definitely replace the electrolytic capacitors and the power cord with a proper 3 prong. All of the parts that can fail, are replaceable and easy to find on the internet. It's all of the little tuned coils for the radio portion, I'm not sure about, but I don't think they fail unless physically damaged. The transformers' wiring can get brittle and usually scares me a bit with the possibility of shorting out. I'd consider replacing them if that's the case, but that will bring the cost of restoration up. Maybe someone else will tell you to just re-insulate the leads...

I looked up the Majestic and it has two rather rare power triodes; the '45. Those are basically Audiophile gold, or at least people talk about them that way on the internet. The rectifier is a common '80, and the rest of the tubes look like they're still available NOS or used. If you need to replace a '45, you're going to pay a little extra compared to the others.

I used some Watco Rejuvenating Oil on an old radio and now the almost completely dried out wood looks much better. I'm sure other oils could work too.

I'm also planning on learning how to fix the veneer. I have a roll of vintage looking speaker fabric, too.

Some websites:

diyaudioprojects.com <--- Good forum, but low traffic

www.tubedepot.com <---parts

www.parts-express.com <---parts

triodeelectronics.com <---parts and lots of tech data

www.tubebooks.org/technical_books_online.htm <---- tons of information

If you want a technical hand book: search for a Radiotron RDH4 pdf

As for what I'm doing with the above radio, I'm gutting it and putting a stereo tube amp into it. It won't have a speaker inside the cabinet or any radio functions; it's basically just a pretty cabinet over a homemade tube amp.

Keith Tanner
Keith Tanner MegaDork
8/13/14 10:02 a.m.

I'm definitely going to be taking this slow - there's a fairly steep learning curve ahead. The antique radio forums keep popping up one guy who has a particular enthusiasm for these, so I'll educate myself a bit more before talking to him.

As I mentioned, the weak point on these is the tuning mechanism. It's unique and made of pot metal parts that are well known for warping and causing problems. There's a bit of variable resistance as I spin the tuning knob, which has me a bit concerned. So the first step after cleaning is to check those tuning doodads. If they're bad, we may move on to a restomod and stuff modern bits inside the case. Depends on how my mother-in-law feels, she may want it kept original - but I suspect not.

The good news is that all the tubes are present and accounted for. So if the tuning setup is salvageable, I may not have to go on a hunt for significant parts.

The patina on the case is a bit too far gone. It's delaminated around the speaker opening and a mouse has had at one leg. It's also been in a garage so the top shows some stains that look suspiciously like an oil can footprint. I might replace that filigree in front of the speaker and see if I can turn another leg for it - but I do think that oil is worth a shot.

Still in the investigative phase here, thanks for all the suggestions.

GameboyRMH
GameboyRMH MegaDork
8/13/14 10:18 a.m.

My grandfather liked fixing up these things, I remember he had a radio the size of a washing machine!

If I were doing this I'd have to find a way to fill that big box with modern useful stuff, keep it looking the same but with up-to-date tech. I just couldn't bring myself to restore such a relic to factory-spec for home use when we all have radios built into our phones

If you want to go this way I could give you some great ideas.

bigdaddylee82
bigdaddylee82 Dork
8/13/14 11:32 a.m.

Sweet!

We picked our Majestic up on craigslist this past spring. I figured mine to be about a '33 model if I remember correctly. It even works, kind of.

It's an addiction, I "stole" this Zenith 1005 from a guy on craigslist who didn't know what he had. I've strongly considered making it a restomod, the 6X5 tubes in these are known to kill transformers, and while it looks pretty it doesn't function.

Sorry for the threadjack, just excited to see another antique radio get some love.

Kenny_McCormic
Kenny_McCormic PowerDork
8/13/14 4:38 p.m.
Ditchdigger wrote: I have over 40 Vintage radios from the late 20's to the early 60's. From huge Zeniths to tiny Emersons. I love the things even though there is NOTHING to listen to on them around here save for sportsball and right wing talking heads screaming.

Put a bigass wire loop in the attic and see what you can pick up at night?

stuart in mn
stuart in mn PowerDork
8/13/14 7:49 p.m.

First thing I'd do is look for a Sams Photofact schematic for the radio; there are a number of places selling them online or you can look for a radio repair shop locally. One place I've gotten them in the past is at Great Northern Vintage Radio in Minneapolis: http://www.alanjesperson.com/

A friend of mine sells a neat little gadget that allows you to connect an iPod/smart phone/CD player/etc. to an AM radio. His current products are designed for use in old cars, but he's coming out with a version for use at home - it would be a good way to play the music of your choice on an old radio, if you don't have any decent AM stations in your area. http://rediscoveradio.com/

dsligar
dsligar New Reader
5/29/19 11:01 p.m.

I bought one of these nice old Majestics in the '60's at the San Francisco St Vincent's for $15.  Took it home and it worked!

Had it ever since, it's a lot older now.  And has undergone some repairs.  The wiring and insulation is in very poor condition, as I might be also when I turn 90.  The first thing that happened is that one of the power supply filter units blew.  Contrary to some of the posts here, there are no (original) electrolytic capacitors, and no replaceable paper caps either.  The filter units are in metal boxes and potted with an asphaltic substance commonly used in that period, so aren't replaceable.  I built a board with 4 modern electrolytics and a 2000 ohm resistor and mounted it in place of the filter unit.  Works very well.  Also replaced some of the power supply wiring with modern wire -- safety first!  At the moment, after long storage, the radio isn't working.  Just yesterday I pulled it up to the bench and am spending a little play time with it -- most enjoyable!  Note, this radio needs to be completely connected before power up.  I started the power supply without the radio yesterday and blew up two of my electrolytics.  When I measured the transformer secondary it read about 2000 volts AC -- this one needs a load!  I'm still measuring excess voltage, about 450 VDC instead of 350 -- would need to run this with a variac to bring the voltages down to spec. 

As noted before, the outputs are two type 45 tubes.  The other tubes are type 27's, five of them, 4 RF amps and a detector.

Please note the previous comments about safety -- unless you're familiar with high voltages, I advise getting knowledgeable help.

Keith Tanner
Keith Tanner MegaDork
5/30/19 12:55 p.m.

Wow, blast from the past.

I'm not going to restore the innards of this beast because, well, I just don't need an AM radio. I have built a tube amp in the past so I have real respect for their ability to bite. If I ever do anything with it, I'll set it up as just an amp and speaker with an aux jack or a bluetooth connection. 

The most fun suggestion has been to set it up with the ability to play old radio serials . The Internet Archive has a whole bunch of old radio programs available for download. It could be set up to play a random program when you turn it on. Or maybe it runs off a schedule, so that Thursdays at 8:00 it plays Gunsmoke and if you want to hear Gunsmoke you have to tune in at the right time based on a printed program schedule.

Take that concept and extend it with a copy of the time machine control box from the Back To The Future Delorean bolted to the side. Want to listen to a certain broadcast? Dial in the time and date for the broadcast and it'll play the program for that time. So if you want the first episode of Gunsmoke, you set the time machine to June 26, 1952 at 8:00 and it plays for you. It's a very user-hostile interface, but it combines the time-locked nature of radio broadcasts with a fun sci-fi twist.

I do have the tubes out of this thing if you want some backups.

Keith Tanner
Keith Tanner MegaDork
12/29/19 6:26 p.m.

RESTOMOD TIME!

I promised Janel that I would get her radio working, and the Christmas break gave me the chance to start. But as noted, we don't need an AM radio. What she wants is a big, highly inconvenient Bluetooth speaker.

It will live in the same room as my real audio system, so we're not looking for high fidelity. I figured I'd reuse some parts I already own. The speaker is a ridiculous 12" unit that I pulled out of a Peavey guitar amp. Maybe not the best choice, but I have it sitting on the shelf. For an amp, I have a few sitting around that I could use but I decided to pick up a little tube unit from Amazon - I wanted the warm-up delay to keep a bit of a feel of the tubes. It has a built-in Bluetooth receiver so there's that handled.

We revisit what we're starting with. The upper shelf is the tuner, the lower is the power supply and speaker.

First, it's time for teardown. This thing is very cool looking inside. This is, I am informed, a variable capacitor. That's what the tuning knob rotates. They kinda look like the power generators on Hoth...

Here's the bottom of the receiver. Are those enormous capacitors? Also, one of the knobs on the front of the radio runs a shaft that goes to the back of the case and then moves...a plunger?... in the very bright copper doodad down at the bottom.

For scale, here's the new amp.

Here's the new plan inside. 12" speaker mounted, tiny BT/tube amp sitting in the bottom. I want to retain the original power switch, so I installed a switched receptacle in the bottom. There sure is a lot of room left. This is obviously an in-progress photo.

Keith Tanner
Keith Tanner MegaDork
12/29/19 6:53 p.m.

Problem, that little amp makes a sharp pop when you power it up with the switch turned on. Once in a while, it doesn't initialize properly. So I'm going to have to wire the power switch right into the amp instead of the receptacle. Problem, the amp power switch is a double-throw. Parts are incoming to solve this.

The case itself needed some love. We wanted it to still look old, but not like it had been sitting in a garage for 50 years. Here's that starting point.

The speaker grille fabric is damaged and I need a larger hole for the big 12" speaker, so that will be redone. I'm just waiting for the fabric to arrive. That ornate wood in front of it was damaged - most of this thing is made of plywood with a veneer, and that didn't survive the knocks of life all that well. Some of the veneer is gone and chunks of the plywood are starting to come apart. So I recreated it in birch plywood.

I sanded down the case - mostly. The top had some damage from what looks like a leaking Vaseline container (it left a footprint in that characteristic ovalized rectangle) so I took it right to bare wood. A few days later, it felt damp. Something's soaked into the wood, I'll sand it down again and see if I can somehow get rid of whatever has invaded. The rest of it cleaned up well. I didn't bring it all to bare wood, partly to retain some of the patina and partly because some of those details just weren't going to come clean without chemical assistance.

Here it is with a coat of stain ("warm honey") and polyurethane. Not perfect (and still drying here) but it has just the right mix of old and loved.  Some of the mottling is from old varnish that I didn't sand off completely, and it's not as obvious in person as in the camera.

The top didn't come out well. It's too dark, the woodgrain is gone. It was almost repelling the stain instead of soaking it up. I'll try it again. At worst, I can recreate the top with virgin wood.

The grain on the front was a surprise! The old varnish was so dark this was invisible. I like it. You can see this in the ad in my first post, actually.

Because the new stuff is so much smaller than the original electronics, I decided to put a shelf inside and turn it into a fairly capacious storage space that's about a foot deep. To access it, I hinged the top.

I also added a back to it so the radio can be free-standing and also to keep stuff from falling out and cats from getting in. In testing, the speaker sounded best with the cabinet open so I added some openings to let it breathe. I'll put some grille cloth behind it. I still have some touchup to do on the finish. I didn't sand the back of the case, partly to remind us where it came from.


Keith Tanner
Keith Tanner MegaDork
12/29/19 6:58 p.m.

I still have some plans. First, reinstall the knob and dial for the tuning mechanism because it looks cool. That involved some destruction of the original parts. Pics to come when I'm done.

I also want to reuse the original power switch (as mentioned) as well as the original volume knob. Check the size of the potentiometer on this thing.

It felt like crap when I started, but cleaned up well with some contact cleaner. Now I just have to tweak the resistance and install. The volume pot on the amp is a dual wiper setup, but since I'm running in mono I only need one channel. I'm working with a ham friend on this because I'm way too rusty to come up with it myself.

I also haven't given up on the vintage radio recreation. More on that as parts come in. I have plans.

We are now caught up. The cabinet is waiting for maybe one more sand and coat, the grille cloth should be here before the end of the year so I can assemble it. 

Keith Tanner
Keith Tanner MegaDork
12/30/19 8:14 p.m.

Three resistors and the original volume knob is now in the right ballpark. 

Wired into the amp. I also put the power switch on an extension for now. The knots in the ribbon cable are for strain relief. 

It’s not perfect - there’s a bit of hum that may be from the unshielded wire, but once I put a small ground strap on the metal back of the Bakelite potentiometer housing, it dropped to an acceptable level.

The grille cloth came as well. It’s a bit brighter than expected, not as rich as the original. But I think it kinda works. It might be better if I polish the brass bits, but Janel likes the patina. If I have to make another Stewmac order, I might pick up some oxblood cloth to play with.

More parts tomorrow!


Keith Tanner
Keith Tanner MegaDork
12/31/19 10:43 p.m.

More work!

The tuning knob mechanism is in place. This has a 2:1 ratio of knob-twiddling to dial-moving so it's more fun to play with than just a simple knob. And it needs the light as a finishing touch.

How to make the light come on with the amp? Well, I'm only using one side of the amp, and it has one tube for each channel. So I helped myself to the heater circuit for the now redundant tube. This took a bit of experimentation.

The 5v relay arrived today so I could wire in the original power switch as well. This is a nice push-pull unit with a solid feel to it, it would be a shame to replace it with something more modern.

I think it's fair to say I've voided the warranty on that amp.

We're at the end of Stage 1 of this thing, so I did a little bit of wire management. The original switched receptacle has been replaced with a surge protector/power supply as part of the plans for Stage 2. 

Here's how that poor little amp turned out. I'm pretty happy with it. 

I then screwed on the back panel with the new grill cloth insert (didn't take picture, I'll get one tomorrow) and humped the thing into the living room where it entertained us with Brian Setzer and Dave Brubeck as we enjoyed a New Years Eve dinner. The sound quality is fully acceptable for this use, with some knob twiddling and the case mods it's turned out reasonably well. Janel is very happy that the old radio looks loved once again and that she can now listen to her favorite music with something as simple as a Bluetooth speaker instead of having to deal with my, umm, more complex setup in the same room. 

Stage 1 complete. Stage 2 will start in about a week when the parts arrive. I'm still working on the plan - but there's an unused switch on the side of the case that says "LOCAL" and "DISTANCE", and a friend is trying to get me to mount an encoder on that tuning dial...


914Driver
914Driver MegaDork
1/1/20 1:24 p.m.

For the veneer, try 50/50 linseed oil and mineral spirits with a scotch-brite pad.  Works very well on the oak furniture we have.

Keith Tanner
Keith Tanner MegaDork
1/1/20 9:11 p.m.

I’ll give that a try. I need to strip the top again and give it another shot. The rest of it looks great now. 

But we had a problem last night. A couple of hours in, it died. I’m thinking the light bulb running in place of the missing tube heater took something out. No visible damage on the components but no power to the heater. I haven’t hunted any further, but I will fix it.

I was able to quickly build a workaround using an old amp (I bought it in high school!) that has a bum channel - perfect for a mono system - and a cheap Amazon Basics BT receiver that I had sitting around. The volume knob doesn’t work but I was able to kluge the power switch in. That’ll do for now because I have A New Plan!

As I’ve been building this, I’ve been working on Stage 2 in my head. And I realize that the little tube amp is actually kinda redundant and, given the amount of modification I made, obviously not right for the job. So I’m pivoting. More info as the parts arrive in a week!

Keith Tanner
Keith Tanner MegaDork
1/9/20 10:30 a.m.

So apparently I don't know enough about tube amps, and it turns out these could have been wired in a push-pull setup that eventually causes failures like the one that happened. S'ok, it was obviously the wrong path anyhow and that's why I used a cheap Amazon amp instead of a good one. Had I left that extra tube in place and powered my little radio light off a different source, everything would have been okay. Oh well.

Stage 2! This is a little more serious.

That's a Raspberry Pi 4, an Amp 2 from HiFiBerry, a case and a bunch of 5v relays. The immediate plan is to get back to streaming, then I want to add some other capabilities. Since I want the Majestic to look original, I also need to run it "headless" with no screen. No problem, I actually kinda like mucking around on the command line. This Pi is overqualified for what I need it to do, but given the price on these things I figured I'd buy a little more horsepower in case I decided to do something else later.

No pictures because it would mostly be screens of green text on a black background, but after getting distracted and installing a full on webserver on the thing with a database and PHP (because it amuses me to have that in something that's smaller than a deck of cards), I got it working using the on-board audio board. Couldn't get Bluetooth to stream audio because Apples are a little annoying in that regard, but I did get Airplay working pretty easily. At this point, I had a handheld computer that would output a signal that could be amplified. But the sound quality sucked.

Enter the HiFiBerry Amp2. This is a 60W amp that just piggybacks directly on the Pi.

Problem is, I couldn't get the Pi to use the amp instead. There was something wrong with my configuration but I couldn't find it. When looking around for ways to double-check hardware, I discovered that HiFiBerry has their own custom OS that's designed to do EXACTLY what I was trying to do. 10 minutes later, it was up and running. Airplay or Bluetooth to the Pi and the speaker makes satisfying noises. Woo! Airplay is a lot easier to use and better sound quality, so that'll probably be the primary option.

I still want to do more, so I'm going to keep working on the version that didn't work out. I want to enable the power switch, but of course you can't just chop the power to a computer or it might corrupt files so that has to be done correctly. I still want to run that light but this time it will be implemented differently. The Pi has loads of leftover horsepower so I might hook it up to a big external hard drive and use it as a Plex media server for the rest of the house. I also want to get the thing to broadcast old radio plays just because. All this without a visible screen, probably through a web interface. But in the meantime, I have a functioning setup.

This is fun.

Keith Tanner
Keith Tanner MegaDork
1/11/20 7:46 p.m.

Stage 2 continues.

I picked up another Pi to use for experimentation. Using it, I started over and just loaded the software I needed to run the Airplay capabilities and the amp. That went pretty quickly and easily. I wanted the more open OS for future plans. Cloned that setup and stick it in the "production" Pi.

Then I attempted to add a software equalizer and it works, but not for the Airplay stream. I banged my head against that for a while, then set it aside.

Then I added a Plex media server to the staging Pi. That went pretty easily other than some screwing around with filesystems. Downloaded the Plex app to the AppleTV and now I have a nice smooth streaming experience. All I need to do is load up an external hard drive with all my various movies and we have a 1929 media server. I think Plex will also do music, I'll have to look into it further. 

No good pics yet, but here's a peek of the Pi and amp beside the power supply. I went a little overboard on the latter due to my high impedance speaker. I'll do a final install down on the lower deck when I'm finished playing around. Still to come - the power switch and the volume control and the little light for the radio dial.


1 2 3

You'll need to log in to post.

Our Preferred Partners
iWaaJdPTPF6btDa0b4wsGnxEd4hNsFG4gc0QyvBUKwEDp9X3VcWmBL9MYSPCrRRY